Maybe you guys remember my first experiment with resin casting. Long story short, nothing got casted because I blew up my pressure pot when testing it.
http://www.spamodeler.com/forum/viewtop ... e&start=10
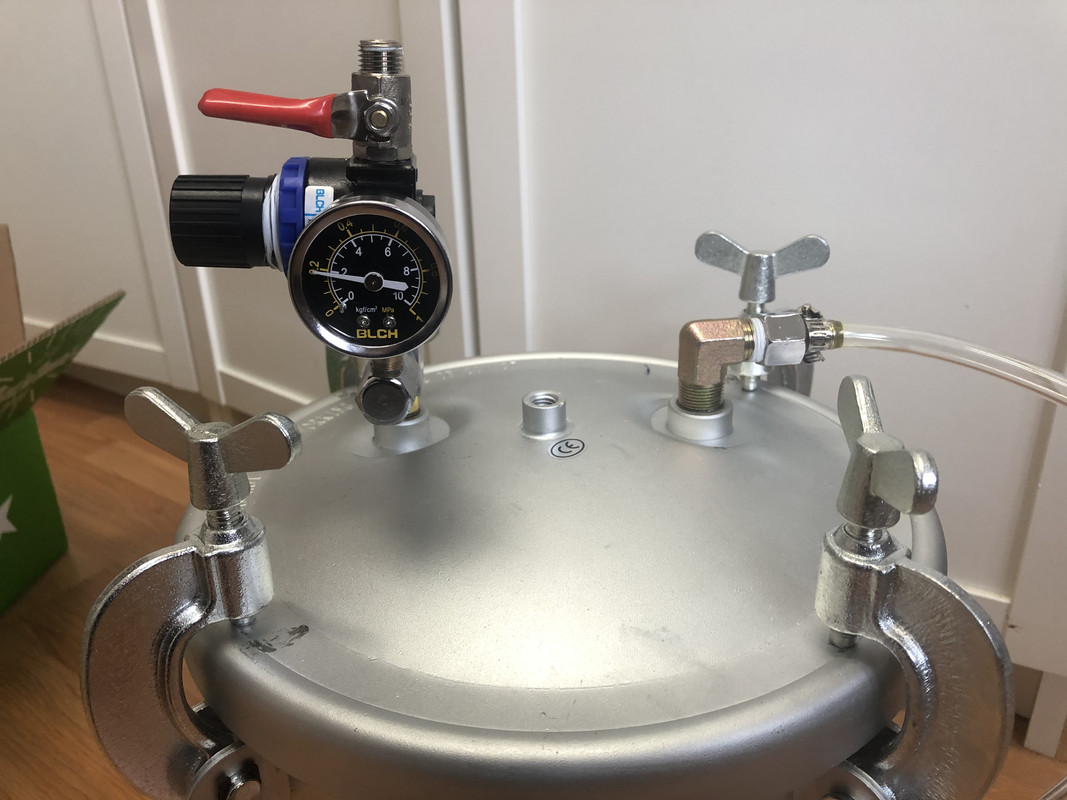
But I have gotten a true pressure tank for Sinterklaas so this Christmas holiday I want to see if I can use that!
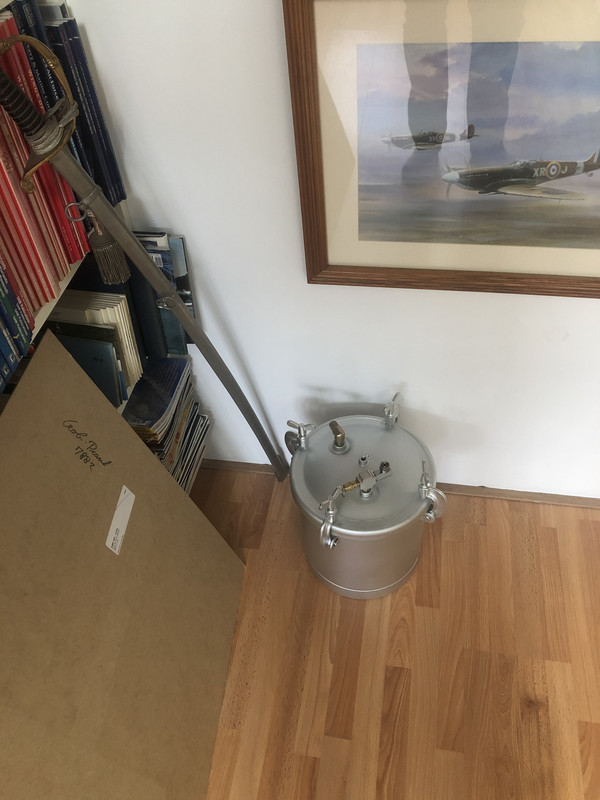
Step 1 one was testing the pressure tank. I had a few leaks in the attachments of the hose so I fixed that with Teflon. (Here is where is forgot to test it twice and that is going to bite me in the butt later on)
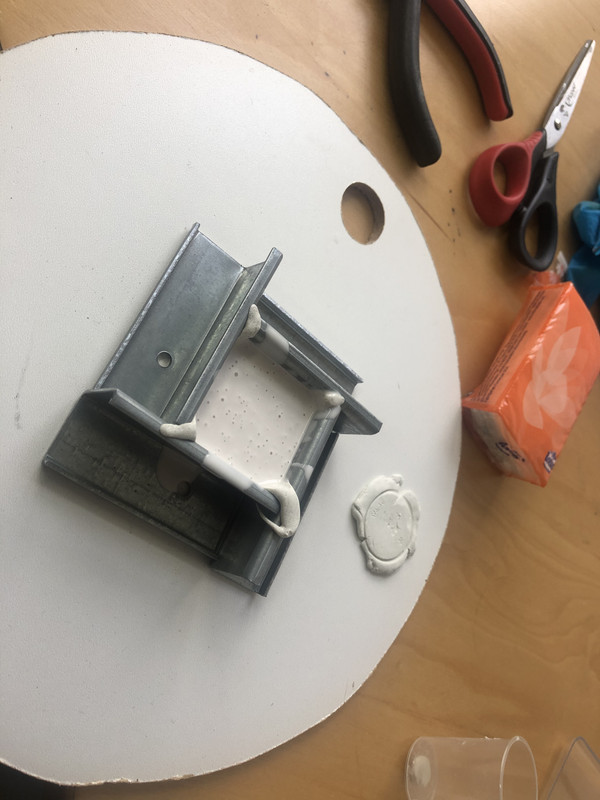
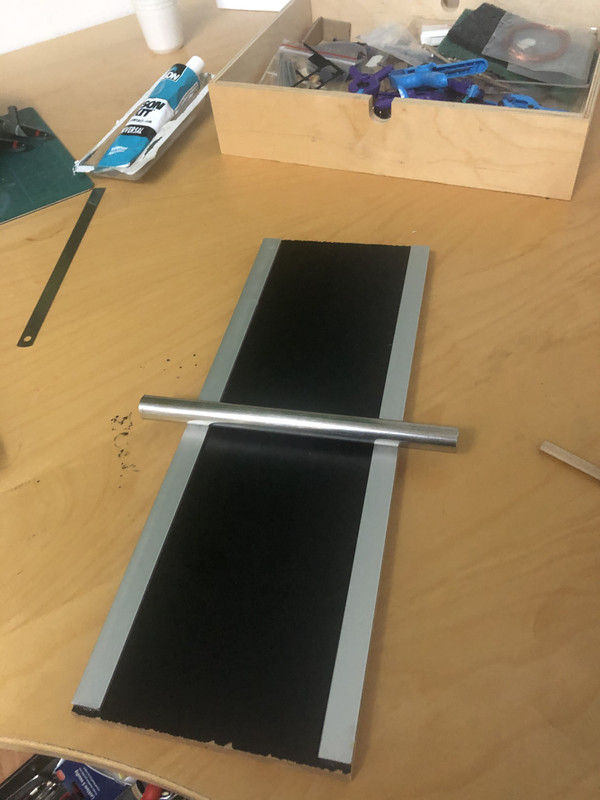
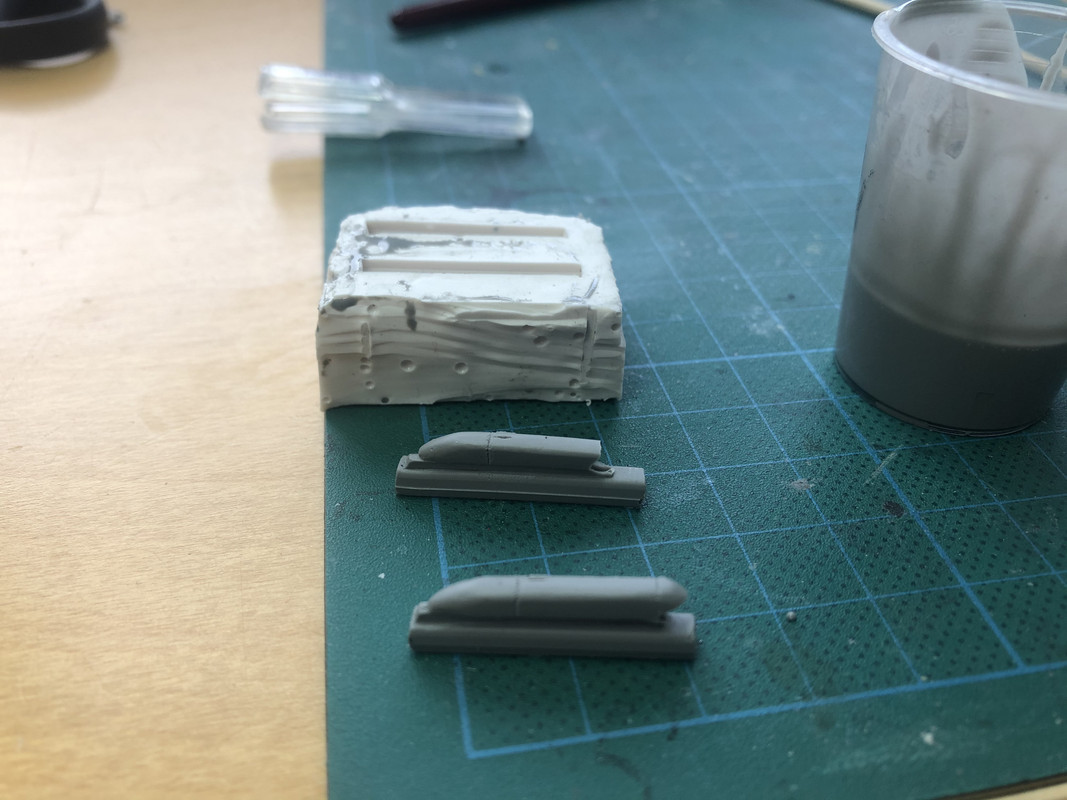
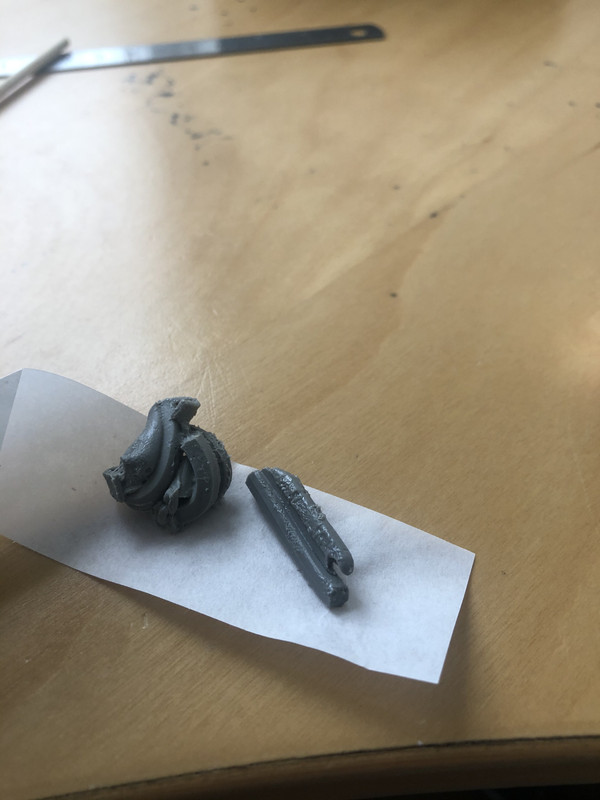
I have made some master years ago. I put those on a wooden board with plasticine and used L frame to construct a flask.
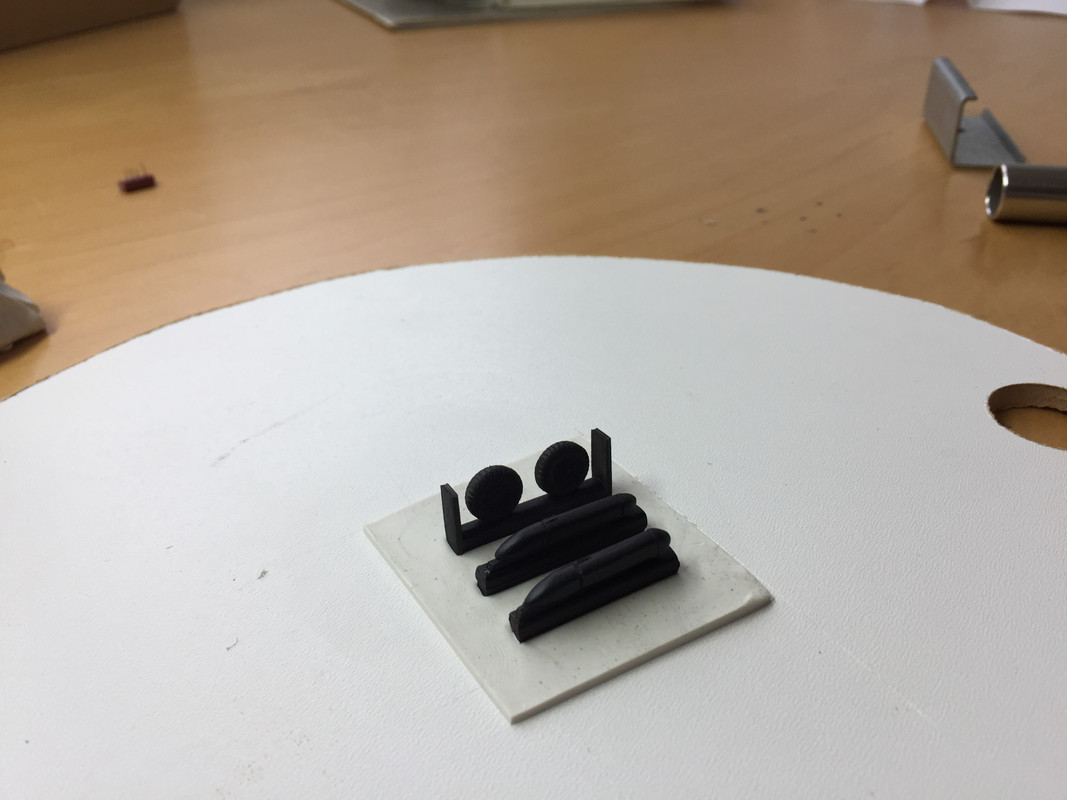
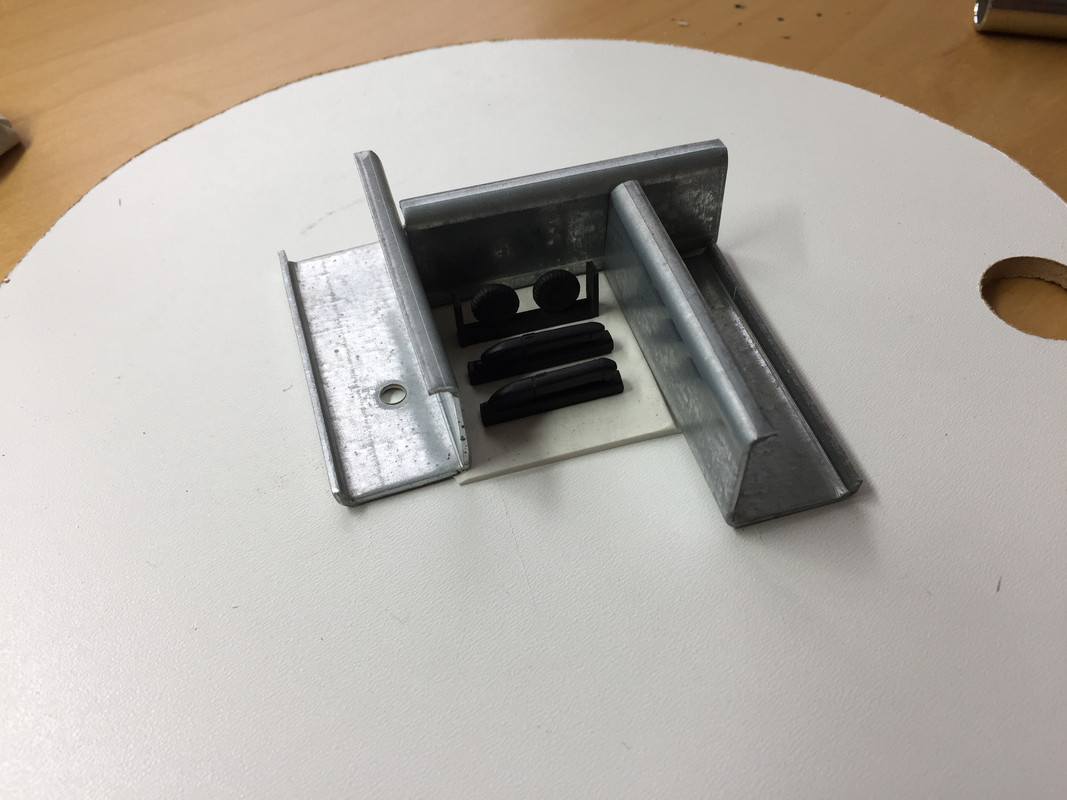
All the corners where sealed with plasticine.
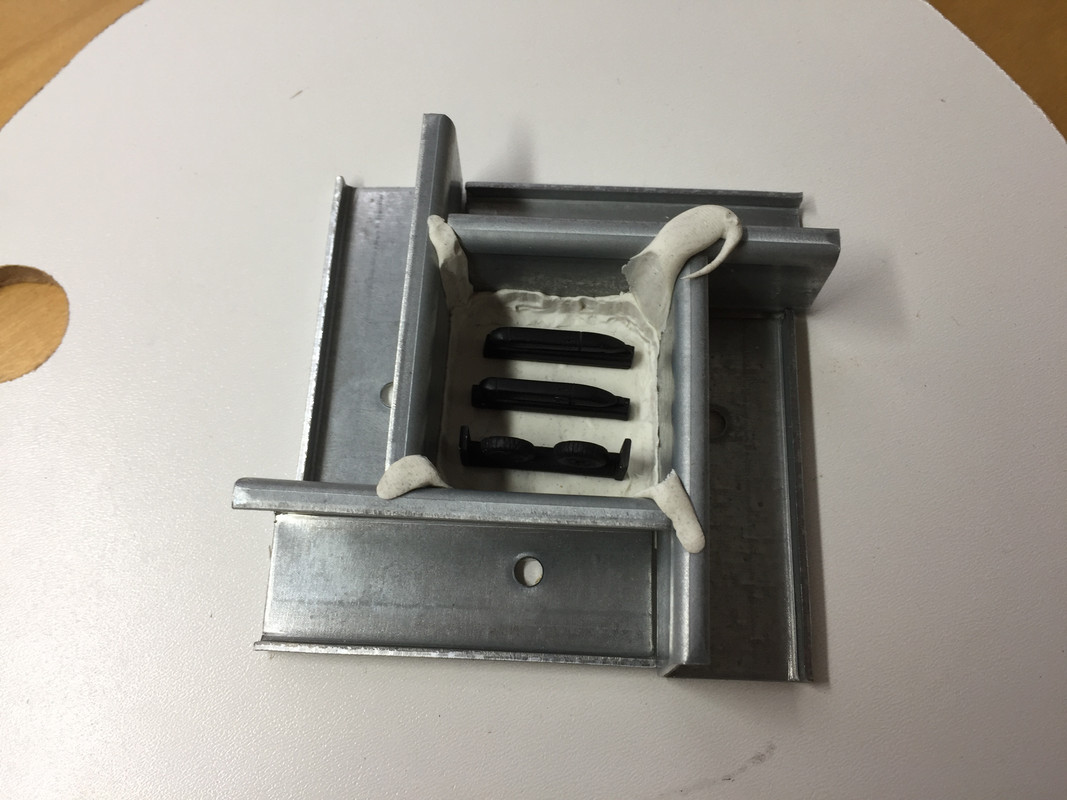
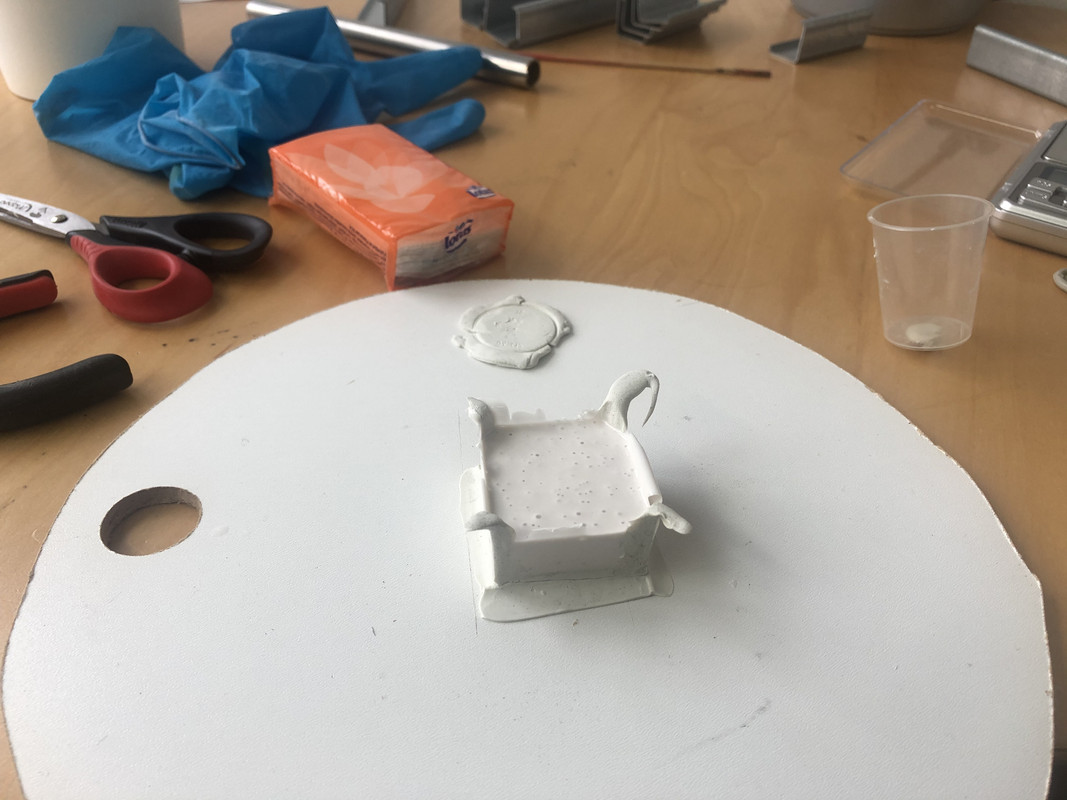
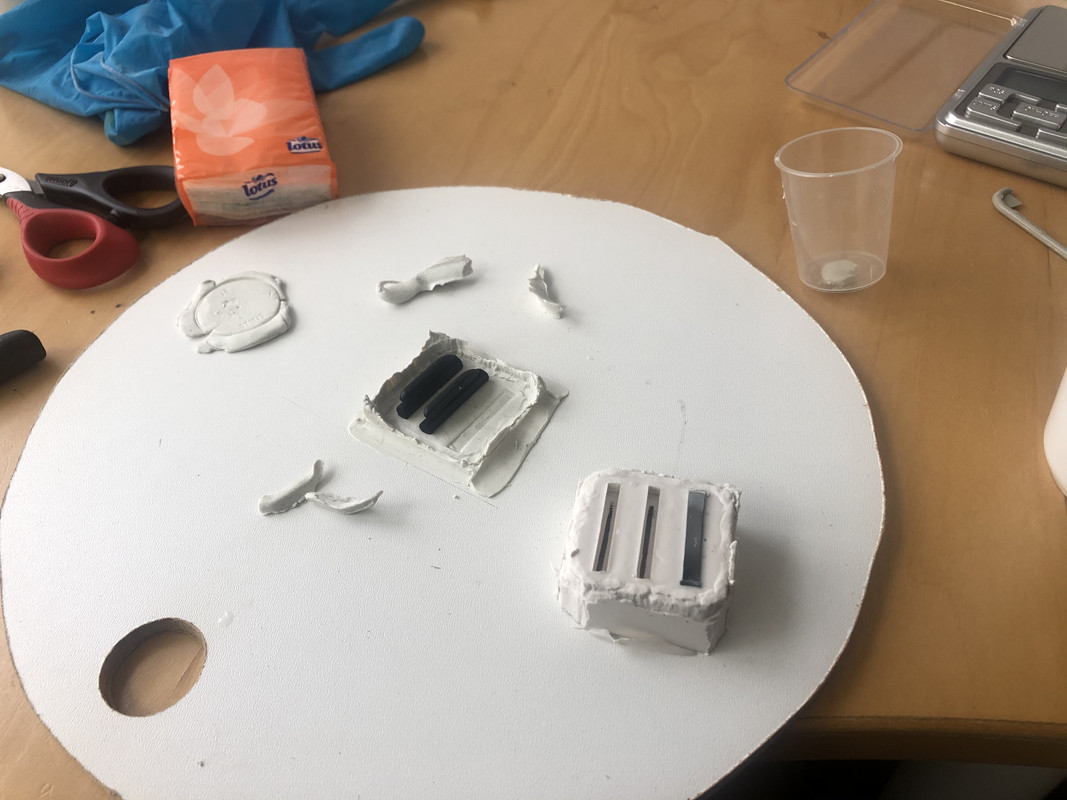
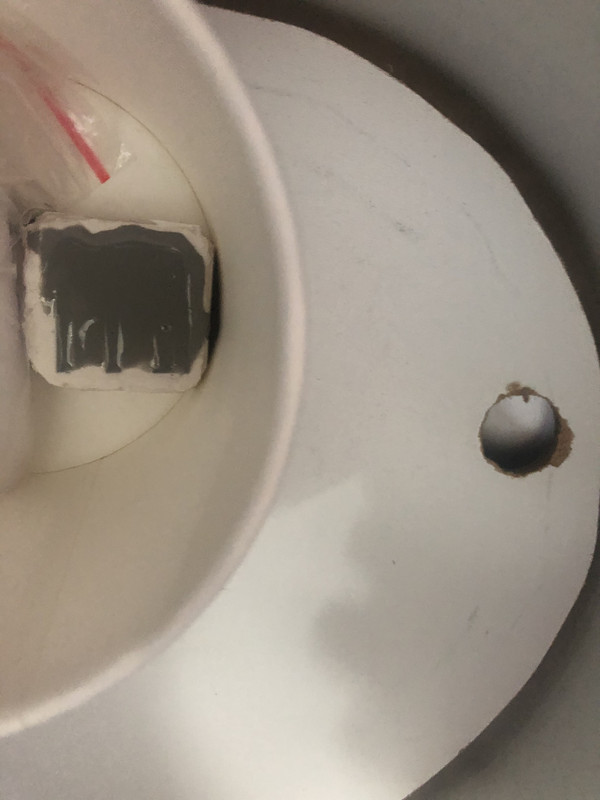
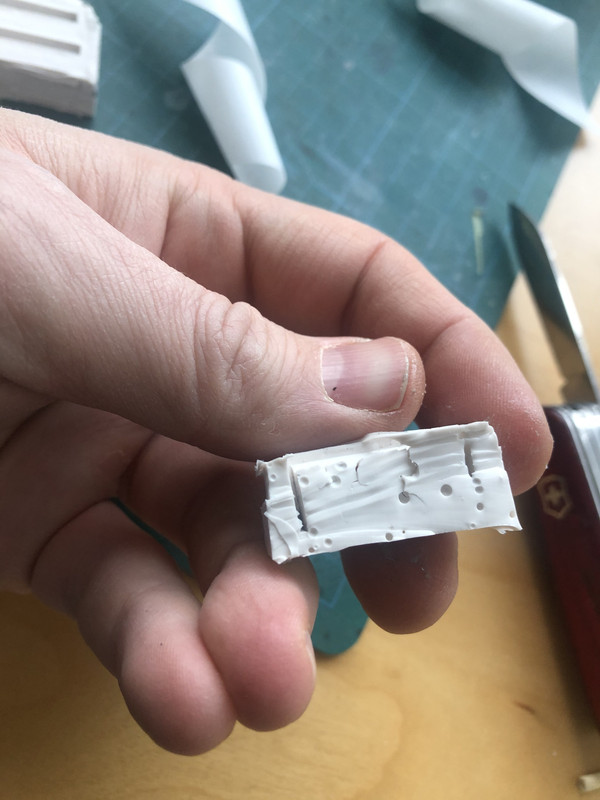
I then mixed and poured in the silicone rubber. That was put in the tank. I put the pressure one and.... it leaked.... I tried to fix it but it was because of an error I made attaching the hoses so I could not fix it quickly. I therefore had to let the rubber set without pressure.
Further experiments with resin casting
Re: Further experiments with resin casting
Now the pressure part of the casting had failed but I do have a silicone mould. So I decided to do an ambient casting. That way I at least can gain experience in mixing the resin. Furthermore because this mould did not set under pressure it can not be used for pressure casting.
I made a bit of mould release agent with Vaseline and white spirit. Then I mixed and poured the resin. Like the rubber it was surprisingly thick and difficult to pour. I used a piece of sprue to poke it into the nooks and crannies. I then did the mould filled with grey resin in a paper bowl together with a “medical device” that produces vibrations. The theory is that the vibrations will vibrate most trapped air bubbles to the surface.
So that is where I am now. I am going to let that sit for 24 hours and hope for the best.
- jeaton01
- Elite Member
- Posts: 2070
- Joined: Thu Apr 23, 2020 9:20 am
- Location: Northern California
- Contact:
Re: Further experiments with resin casting
I put the silicone in the vacuum chamber and de-air it first before I pour the mold, it's amazing how much the silicone expands during this process. The vacuum chamber I am using now has a clear top, very thick plexiglass, so I can see when the silicone has settled back down and the air is out. Then I pour the silicone into the mold very slowly so no voids are formed that trap air. It does all have to happen without much delay. I don't know much about pressure casting, I'd like to know more.
Re: Further experiments with resin casting
Borg, this is really interesting to follow !
More info please, really interesting stuff!
- Kari
More info please, really interesting stuff!
- Kari
---
On the bench:
Tamiya F-4B Phantom II 1/48
Kinetic F-16A (new tool) 1/48
https://www.facebook.com/GrundAsk-Scale ... 721218708/
On the bench:
Tamiya F-4B Phantom II 1/48
Kinetic F-16A (new tool) 1/48
https://www.facebook.com/GrundAsk-Scale ... 721218708/
Re: Further experiments with resin casting
Vacuum casting is another popular option. But since I already have a compressor I thought pressure casting would be easier to start.
I also read to some people combine the two: first a vacuum for 15 minutes and then pressure until it is set.
But this is old school ambient casting. I hope the vibrations help but it is a long shot.
I also read to some people combine the two: first a vacuum for 15 minutes and then pressure until it is set.
But this is old school ambient casting. I hope the vibrations help but it is a long shot.
Re: Further experiments with resin casting
24 hours later and the resin is still not hard. Maybe I did not mix it good enough, maybe I got the ratio’s wrong... who knows. I am going to wait another 24 hours before even attempting to lose it from the mould.
Re: Further experiments with resin casting
Everything is still sticky like chewing gum. So I think we can call this experiment a failure on the part of the resin. But the mould making went well so that is pretty nice.
I have adjusted all the fittings of the pressure tank. And tested it at 2 Bar, it works!
Furthermore I made a small rolling board so I always roll the modelling clay at an even thickness.
Further experiments after Christmas.
I have adjusted all the fittings of the pressure tank. And tested it at 2 Bar, it works!
Furthermore I made a small rolling board so I always roll the modelling clay at an even thickness.
Further experiments after Christmas.
Re: Further experiments with resin casting
Round 2.
I separated the soft resin from the mould. But destroyed half of it doing so.
I then mixed more resin. This time 10g with 2,3g of hardener. By mixing a bigger batch it is easier to get the right mixture. This second casting was better but still a bit soft. So it could be that I have the wrong resin. Furthermore it was short shot.
Next up: casting the mould a second time but now with pressure. And then try again.
Re: Further experiments with resin casting
Hmm, but aren't there any instructions included telling the correct and precise mixing ratios ?
- Kari
- Kari
---
On the bench:
Tamiya F-4B Phantom II 1/48
Kinetic F-16A (new tool) 1/48
https://www.facebook.com/GrundAsk-Scale ... 721218708/
On the bench:
Tamiya F-4B Phantom II 1/48
Kinetic F-16A (new tool) 1/48
https://www.facebook.com/GrundAsk-Scale ... 721218708/