Stikpusher wrote:
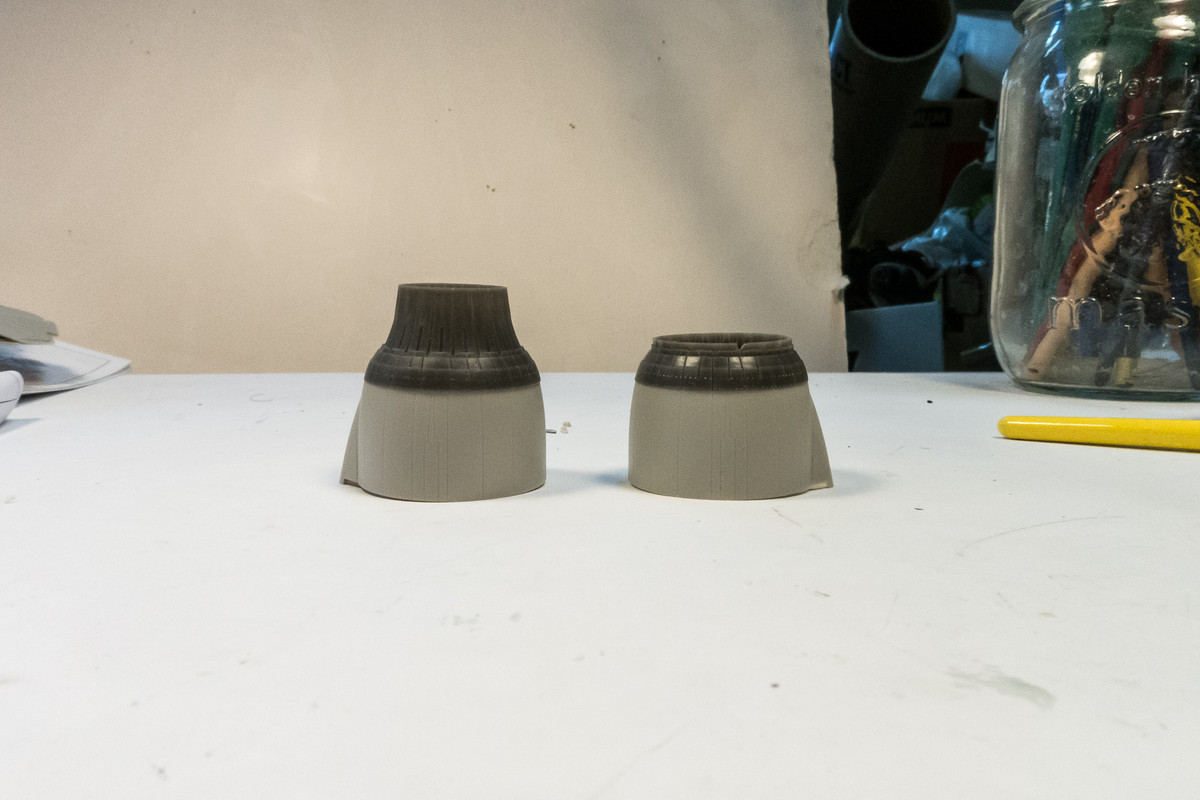
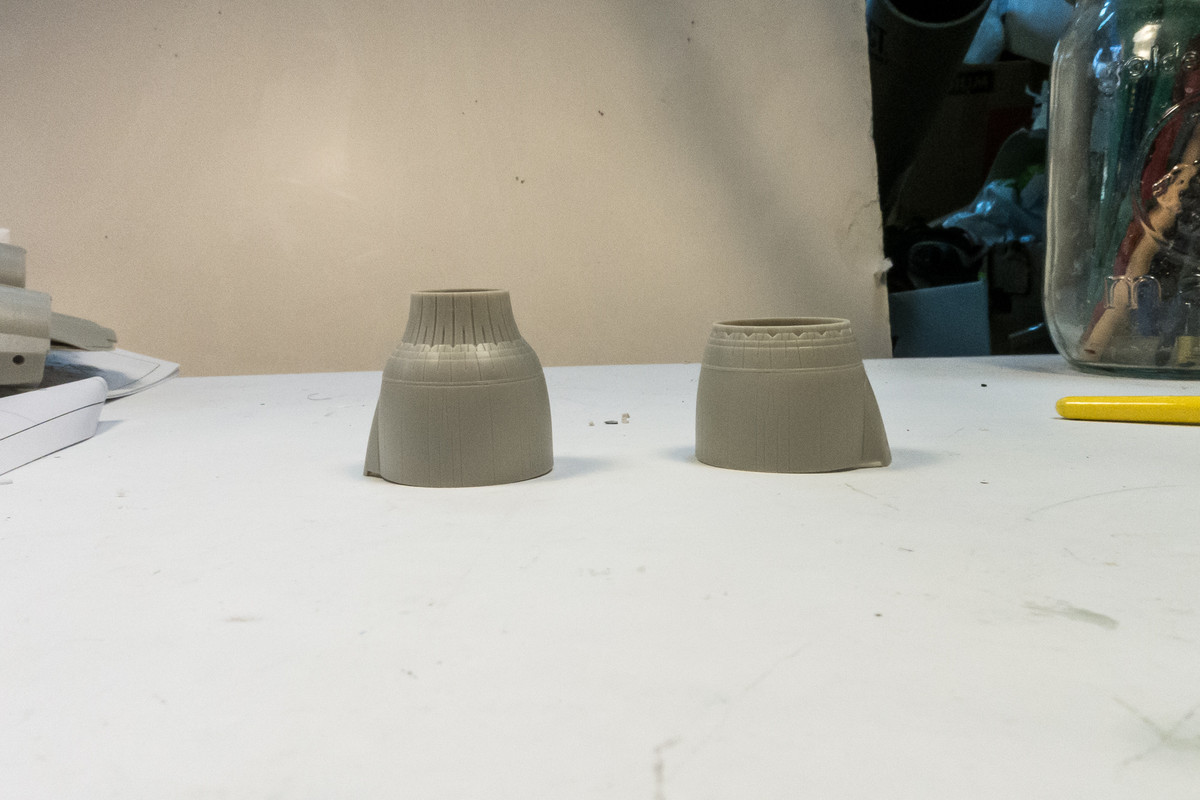
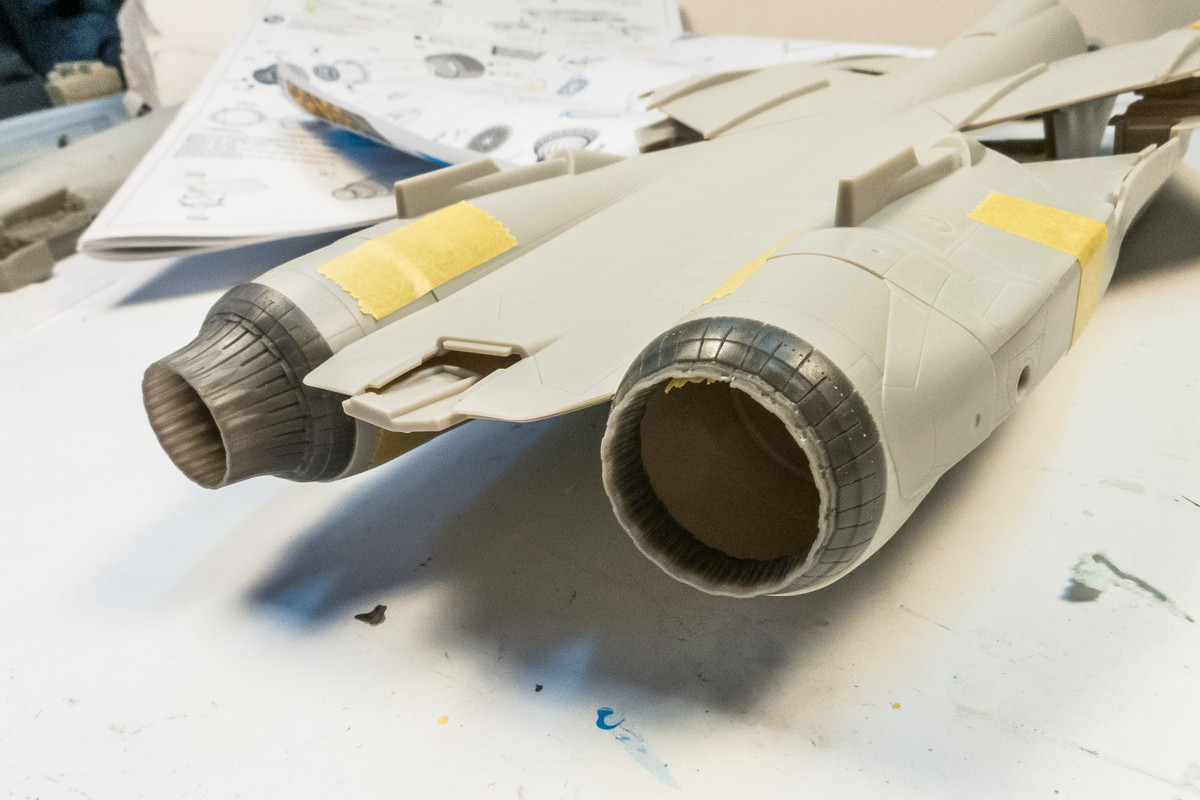
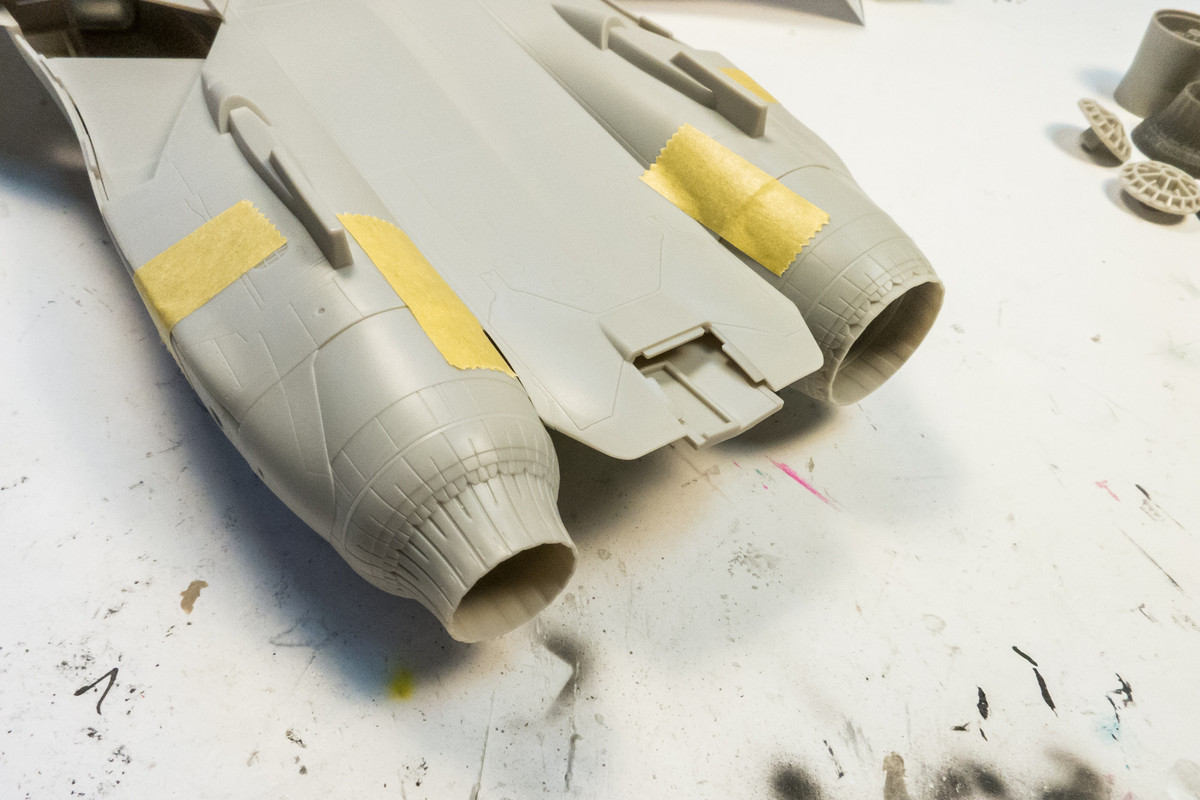
hmmmm tough choice…. The resin does look better… and it looks like if you rotate the nozzles, you might get past some of the fit problem.
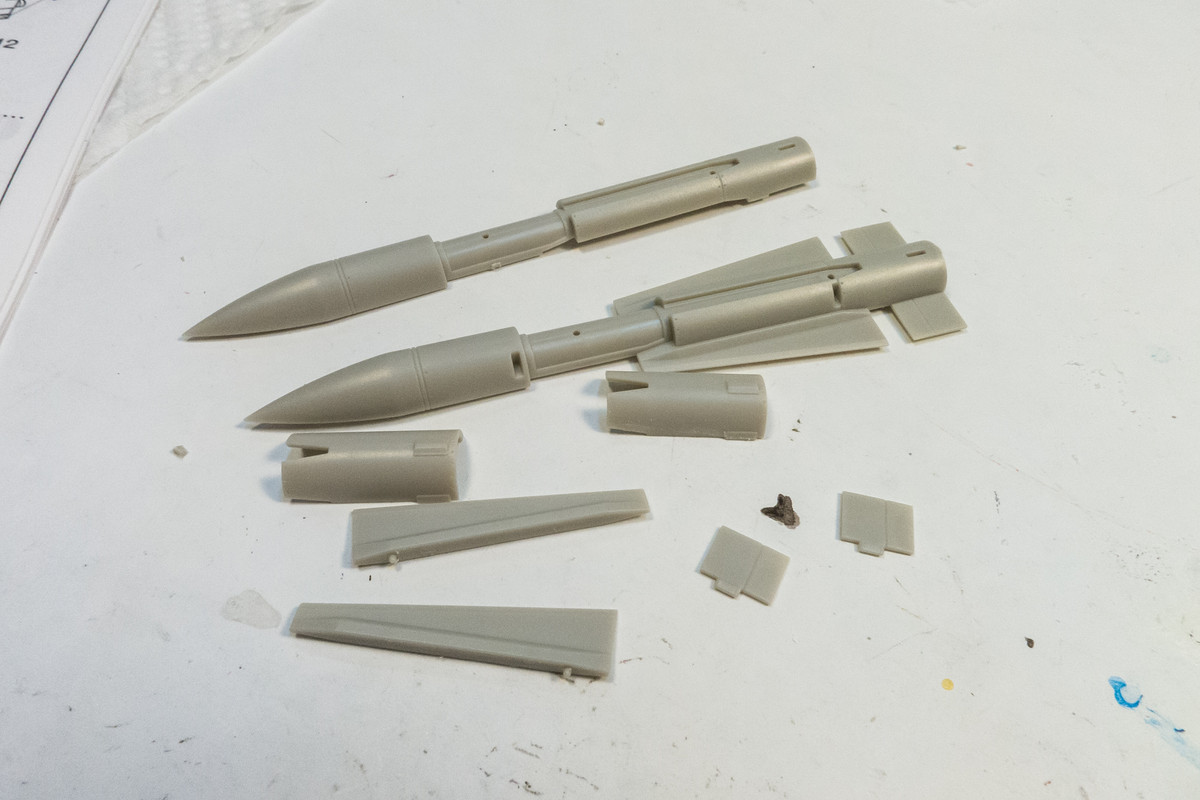
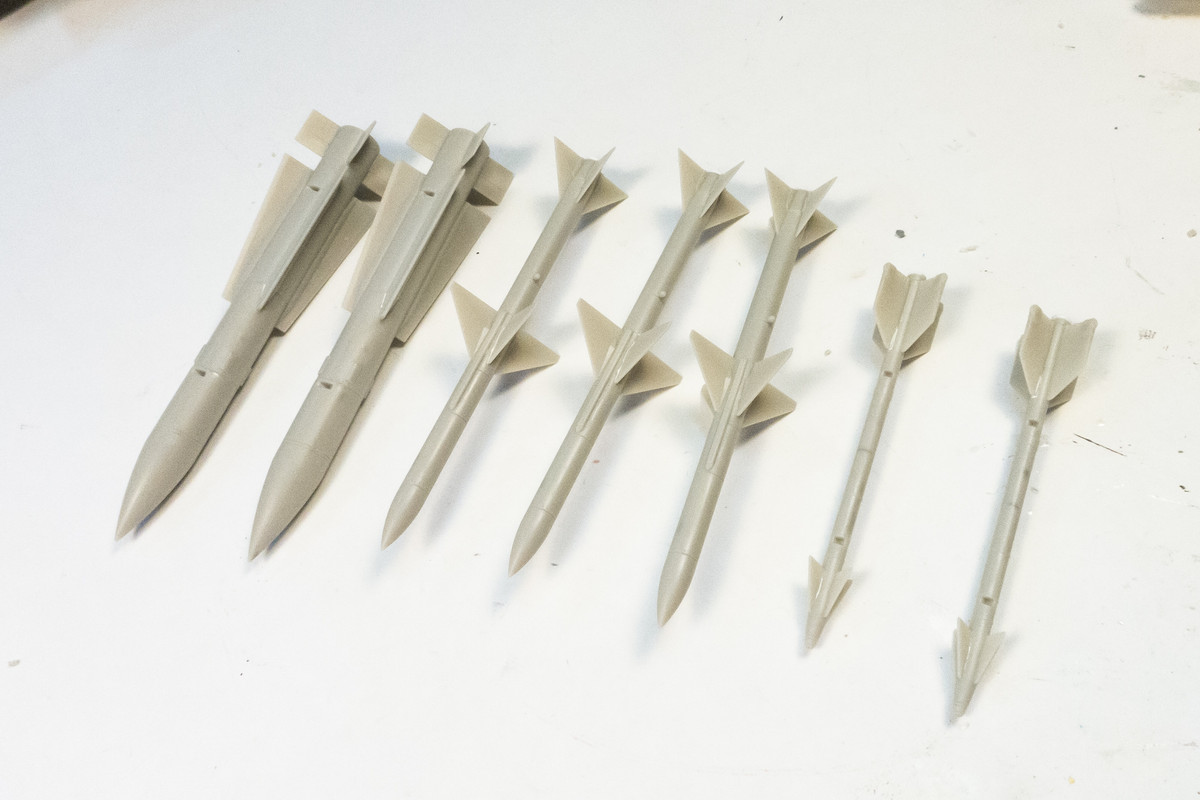
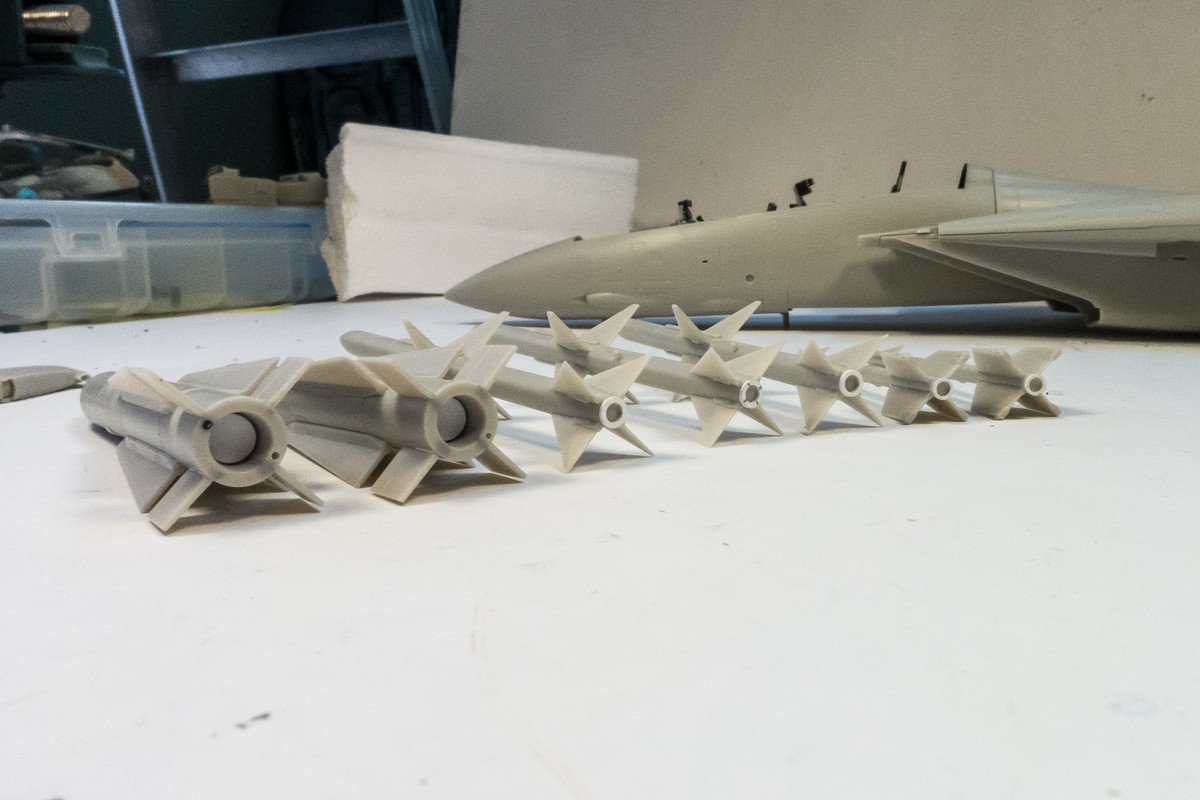
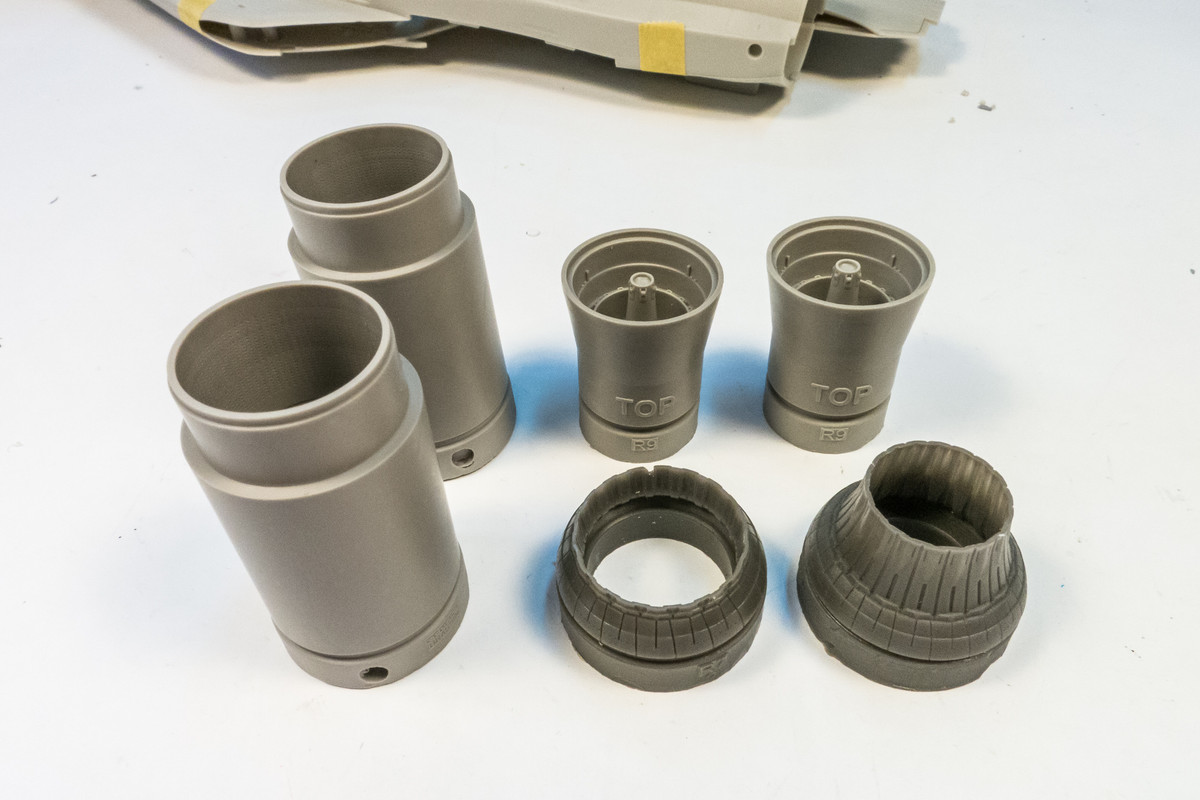
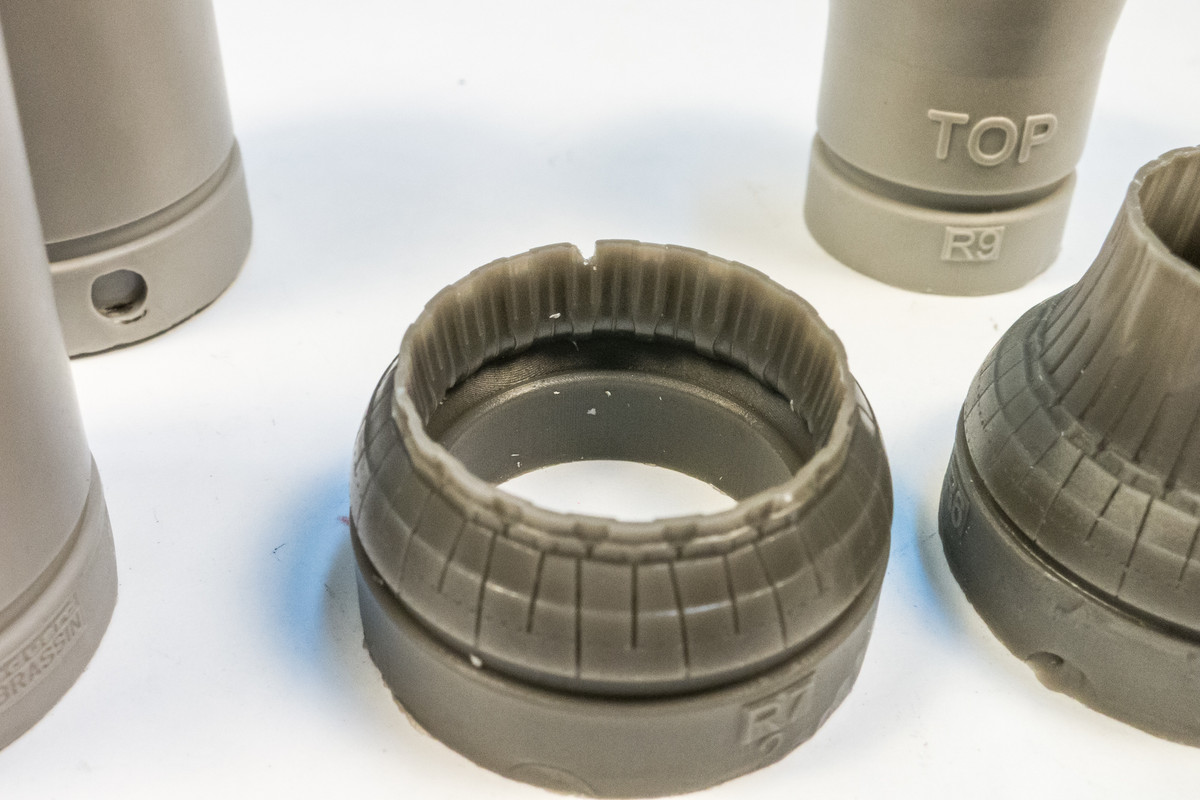
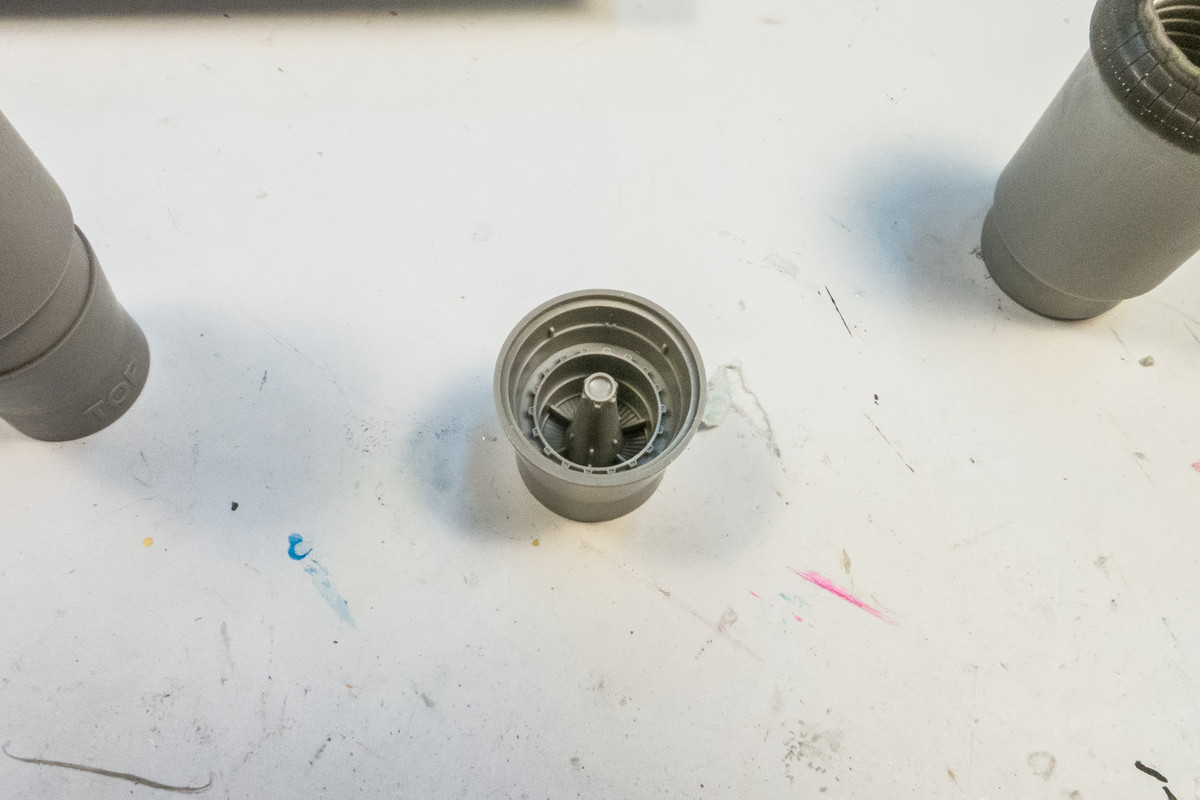
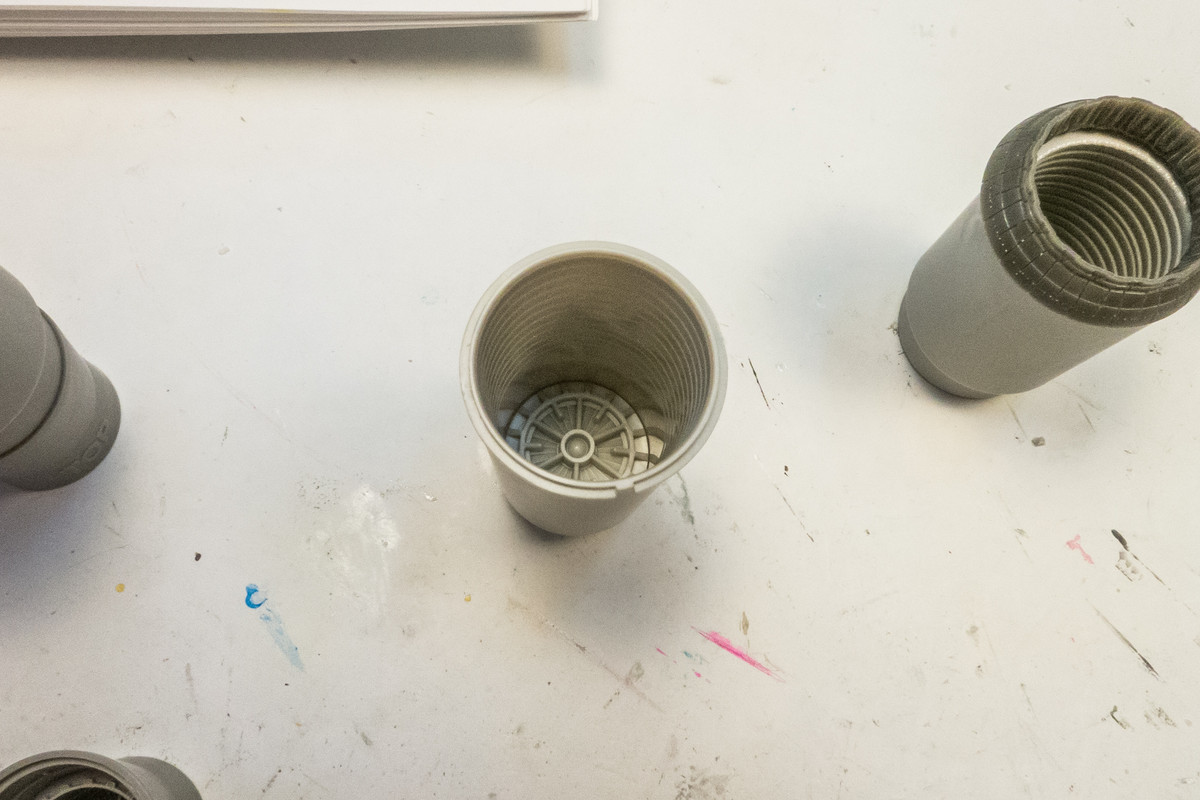
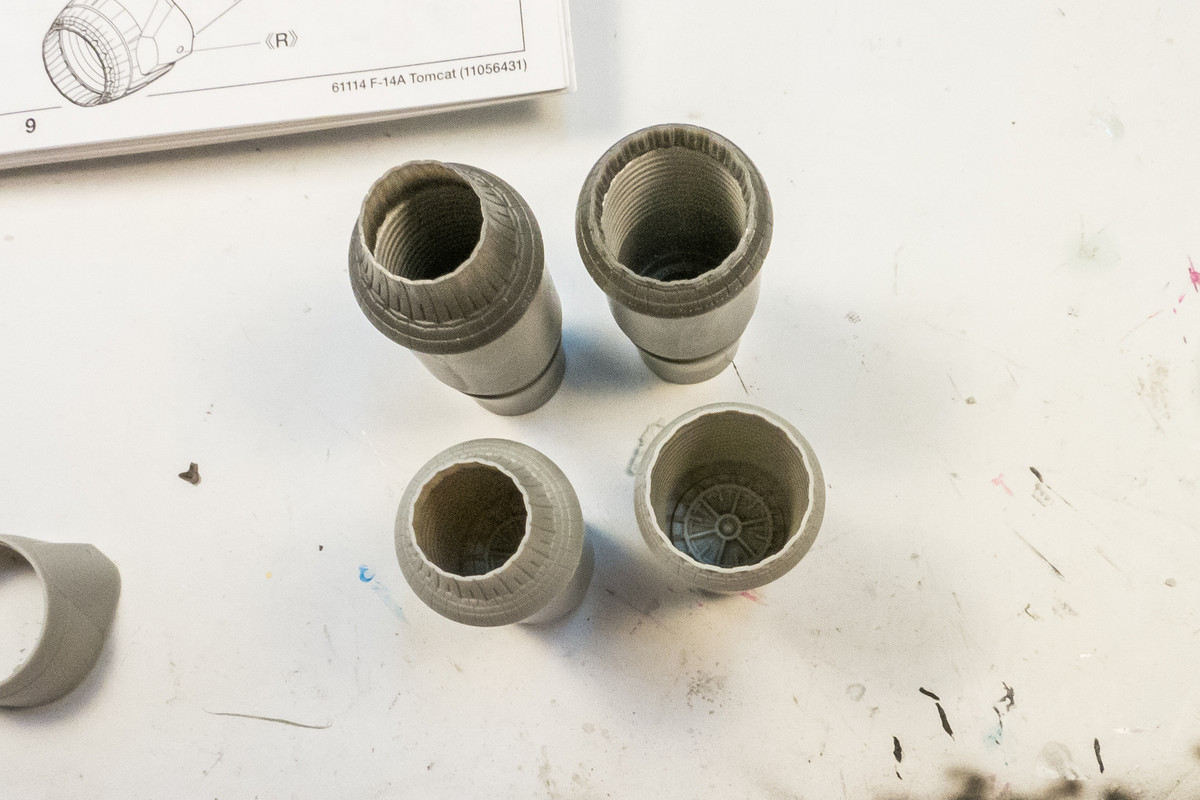
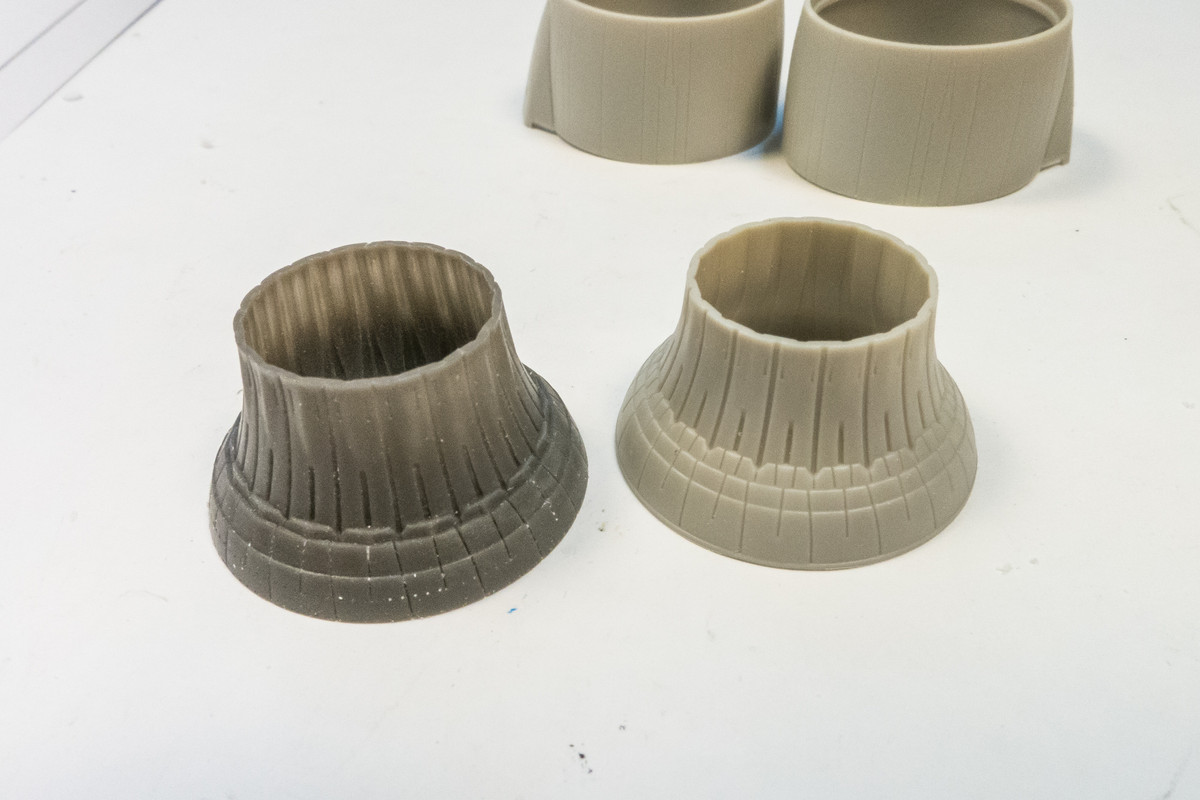
The way that the resin exhausts are designed, you are supposed to glue the nozzles to the ends of the tubes and then slide the exhaust assembly into the rear fuselage opening. The tubes are supposed to have a definite orientation based on the delicate afterburner framework inside so rotating the tubes to get a better fit would throw off that orientation. But then again, you're probably not going to be able to tell unless you shine a flashlight in there and compare to the Eduard instructions so.... I guess that is an option. One way or another, I'll figure something out.
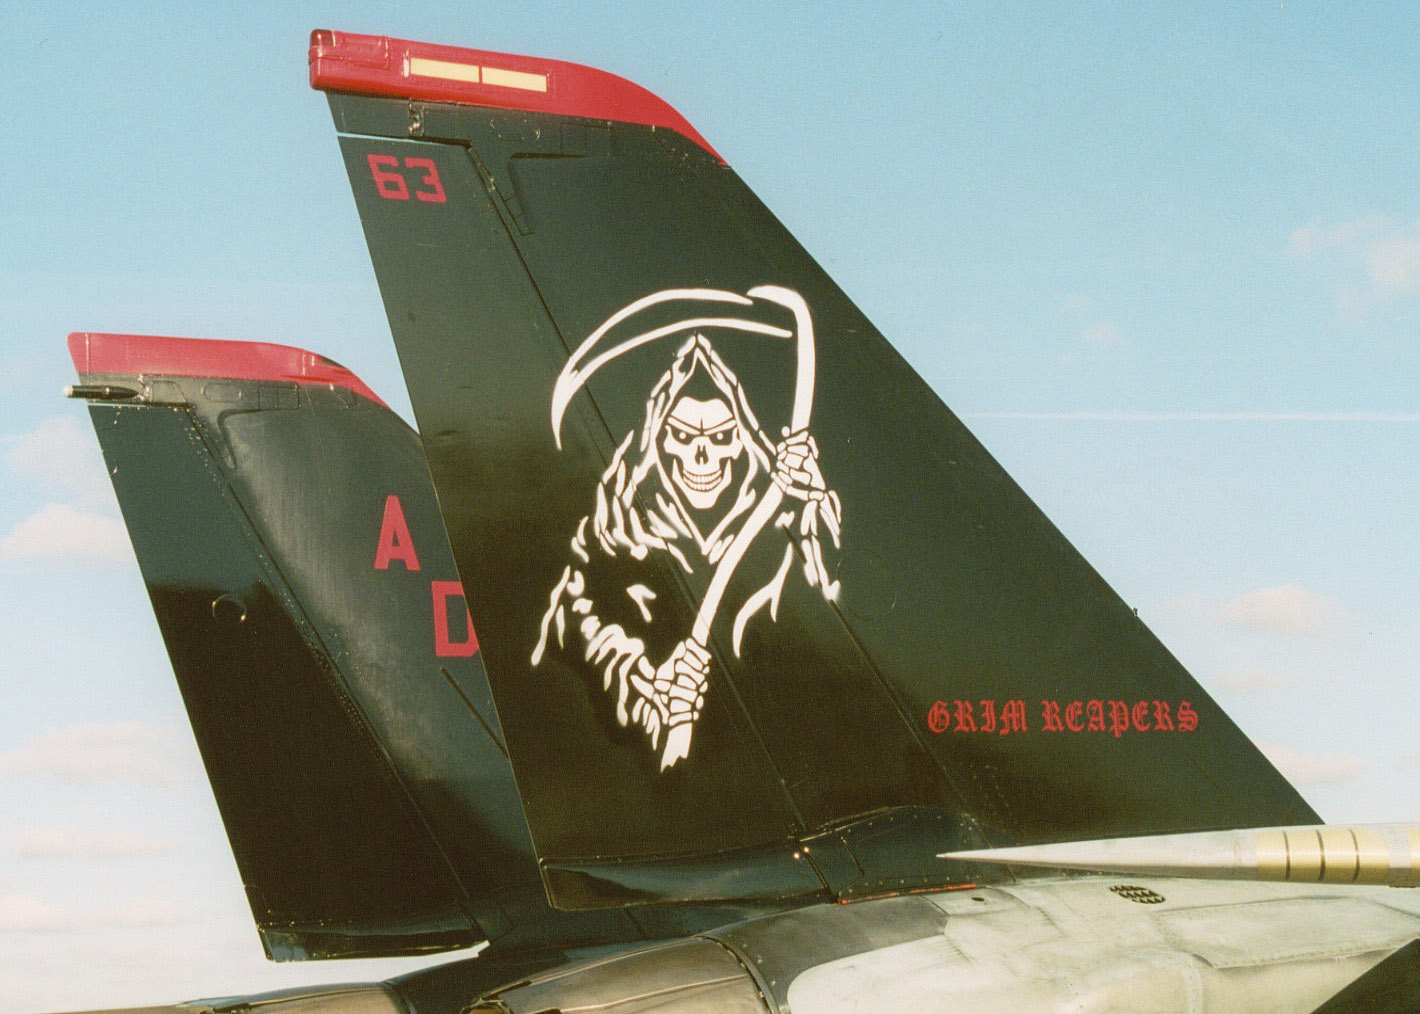
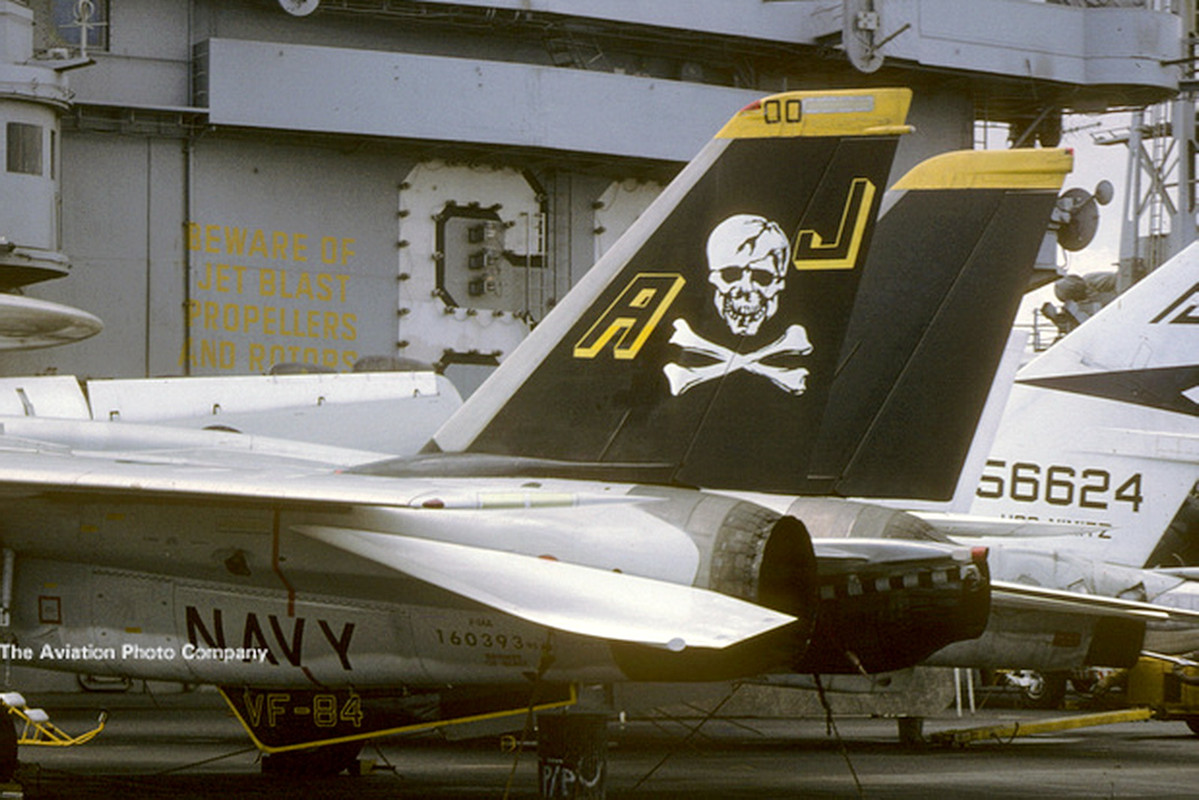
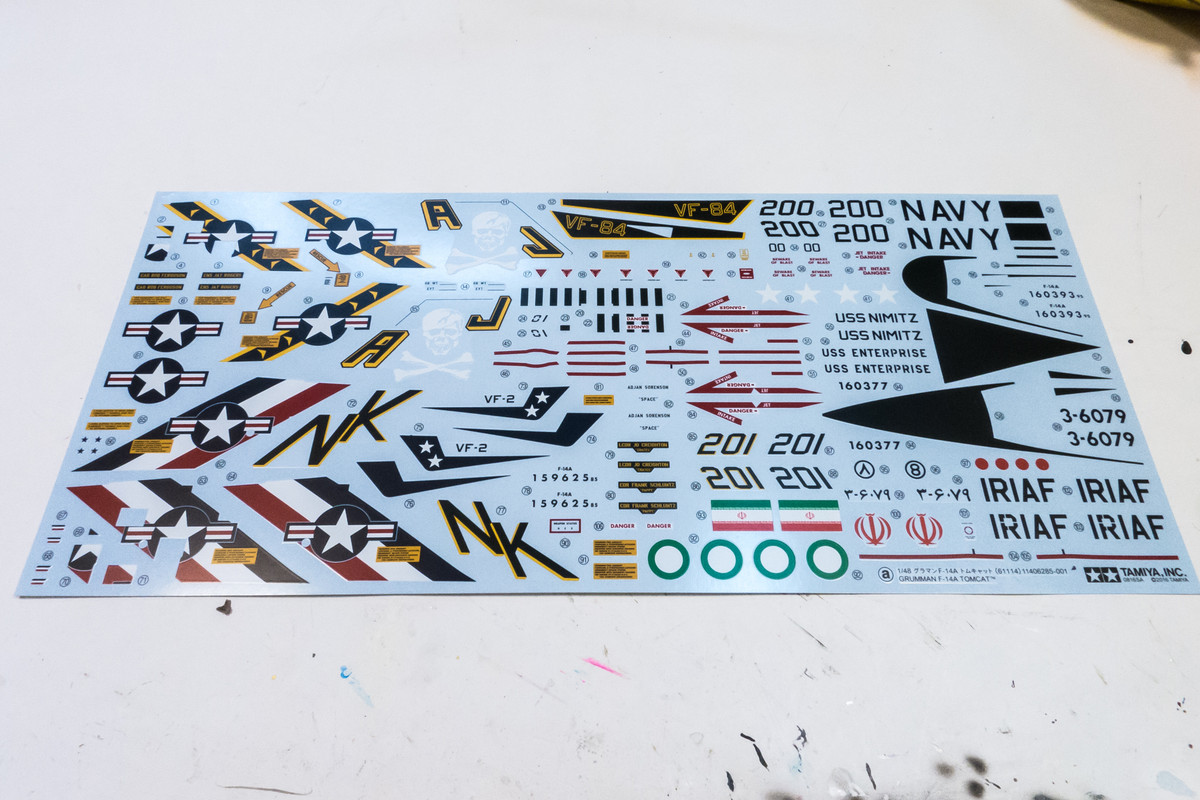
Still avoiding the main landing gear wells for now, I jumped over to the markings. I have three sets of decals to work with. The kit decals, I've been told, are accurate for the VF-84 bird that I am building. But I have some concerns over the thickness of the Tamiya decals based on my experience with the 1/32 F4U-1A kit that I built a while ago.
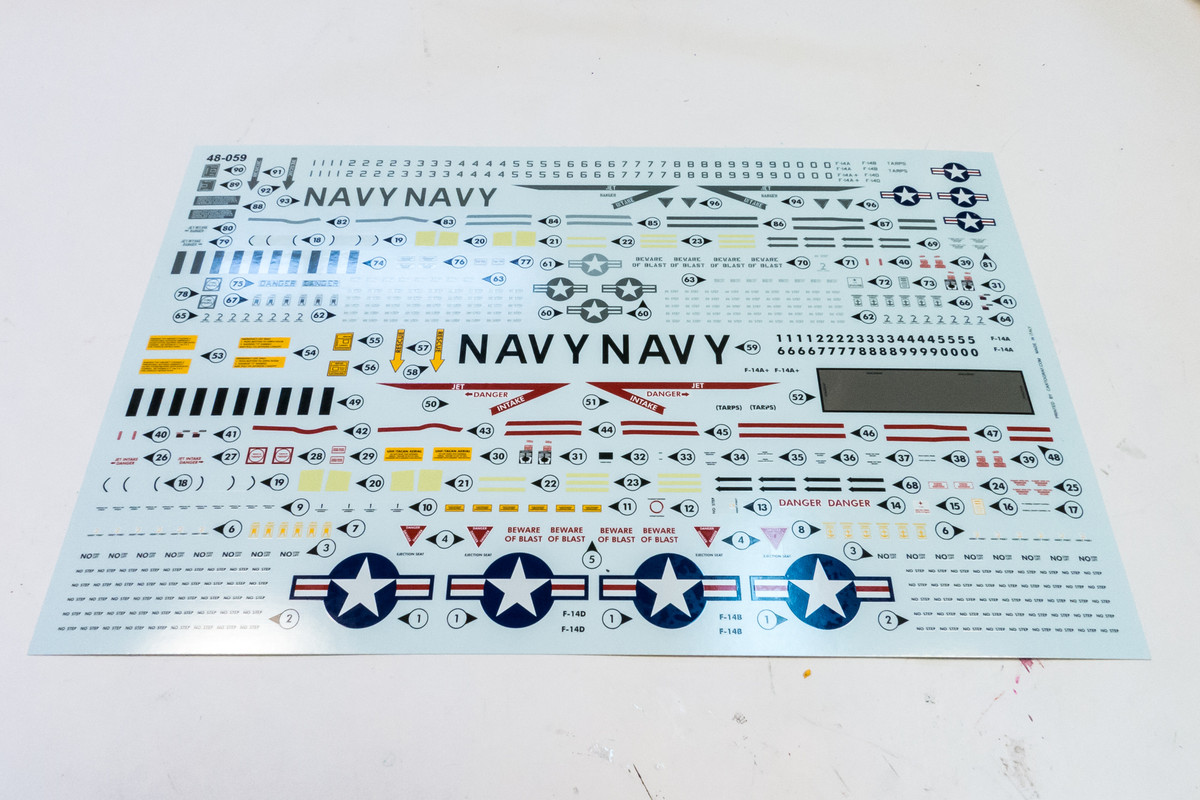
So, for a back-up, I picked up a set of Hungarian Aero Decals for circa 1980's VF-84 Jolly Roger unit. Based on what I have read, these should be thinner than the Tamiya decals but I have not verified that.
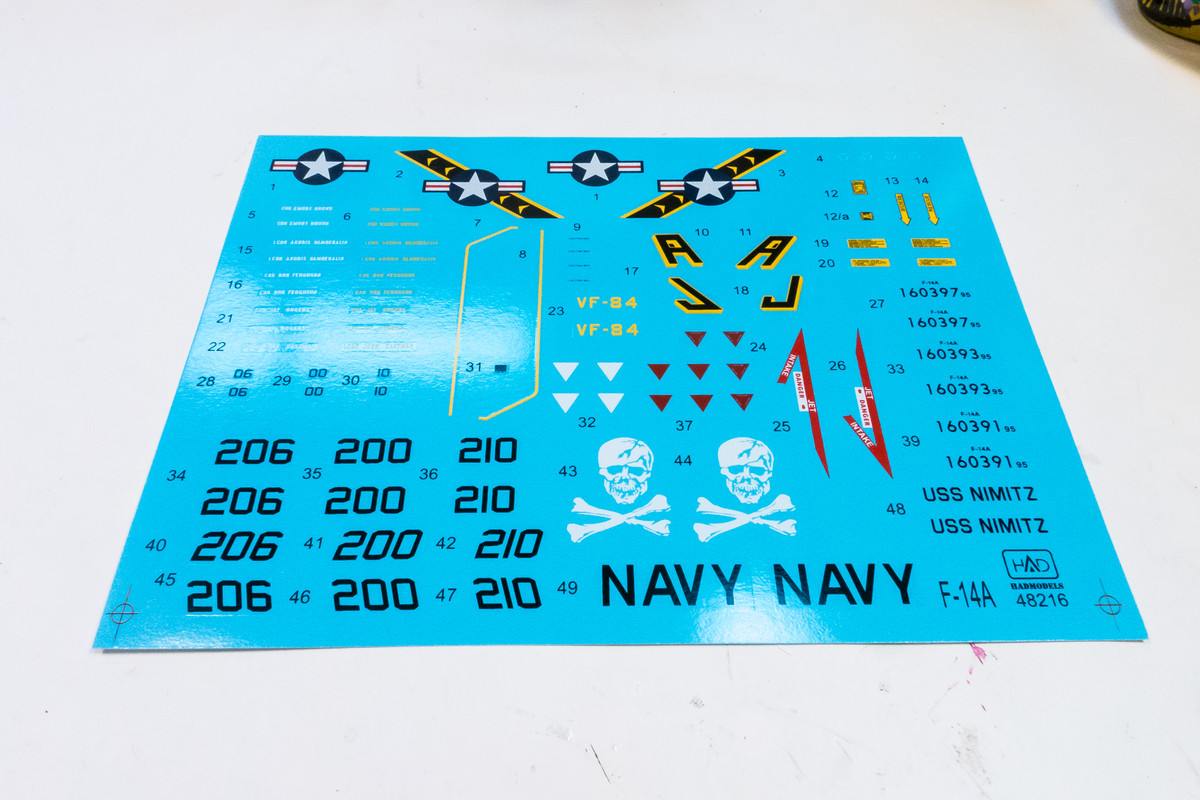
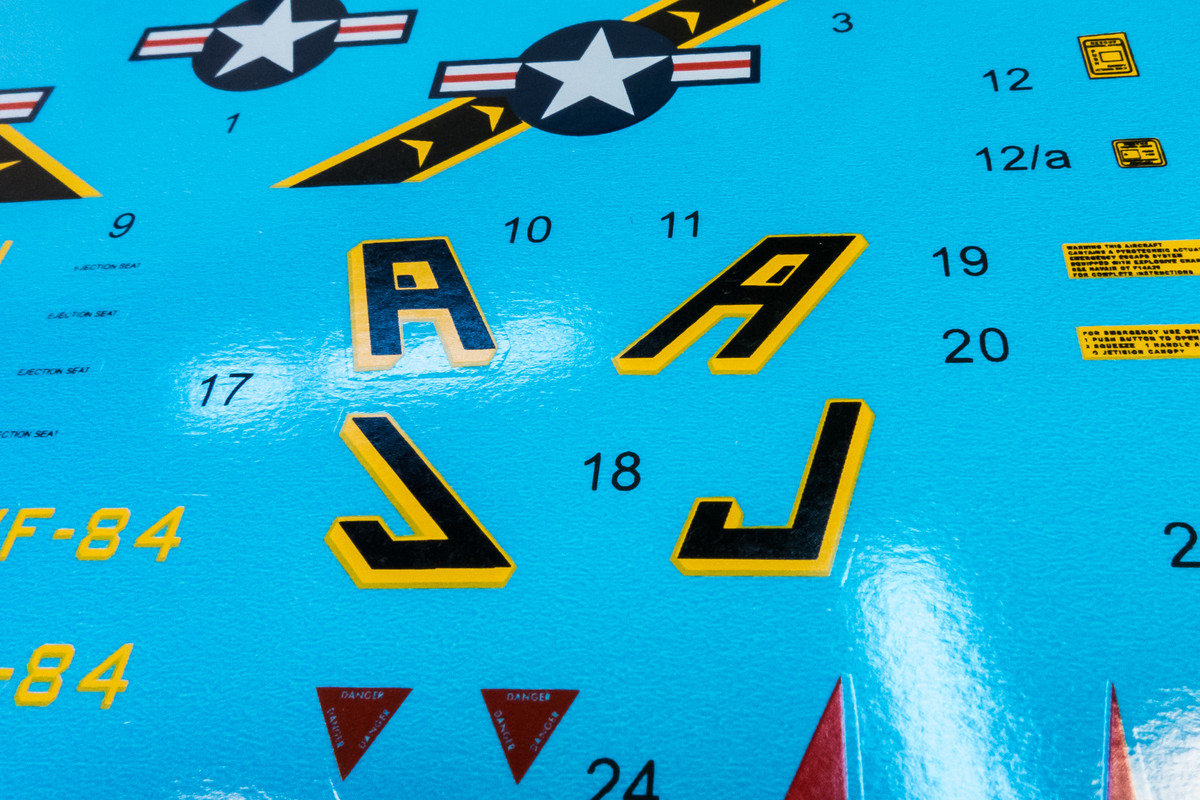
I have some concern over what appears to be a registration issue with these decals. You can make out the two shades of yellow around the border of the AJ letters and the VF-84.
Lastly, I also picked up a set of data stencils for the F-14A from Furball Aero Designs. Positive reviews on the internet but again, I haven't verified the quality first-hand.
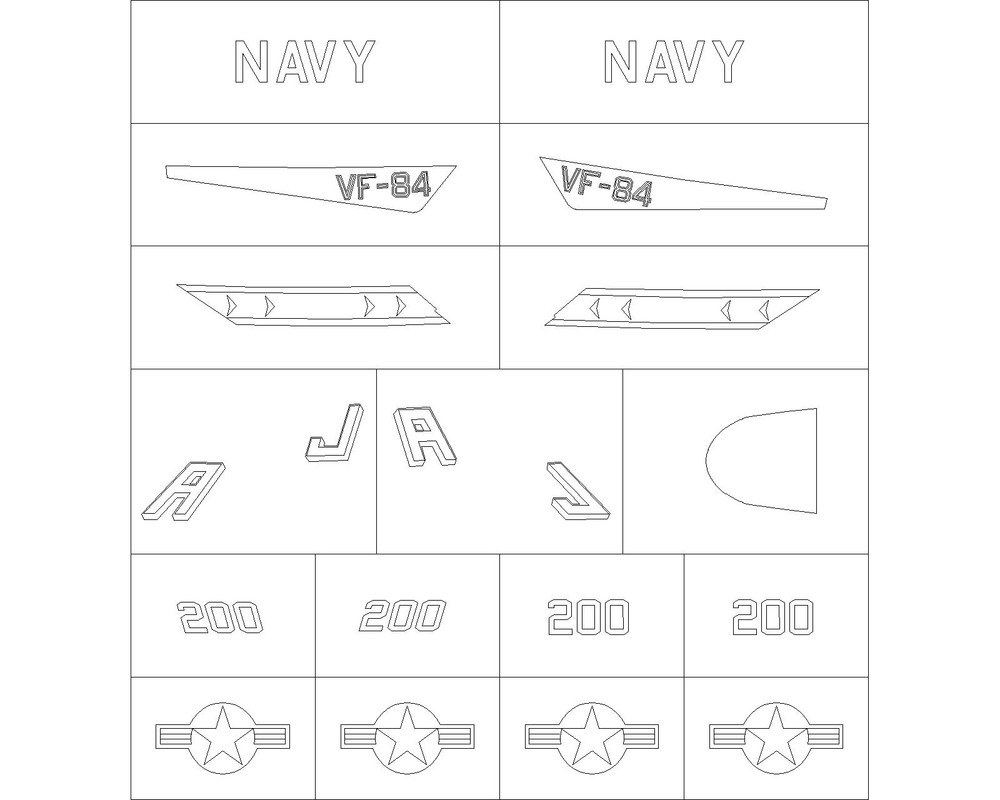
I also have the ability to cut my own masks. This has worked well on my 1/32 scale builds but I wasn't sure if the smaller markings of this 1/48 scale jet would be do-able with masks. One way to find out... I scanned the Tamiya decal sheet and imported it into AutoCAD. I traced the larger markings and produced a test sheet of masks.
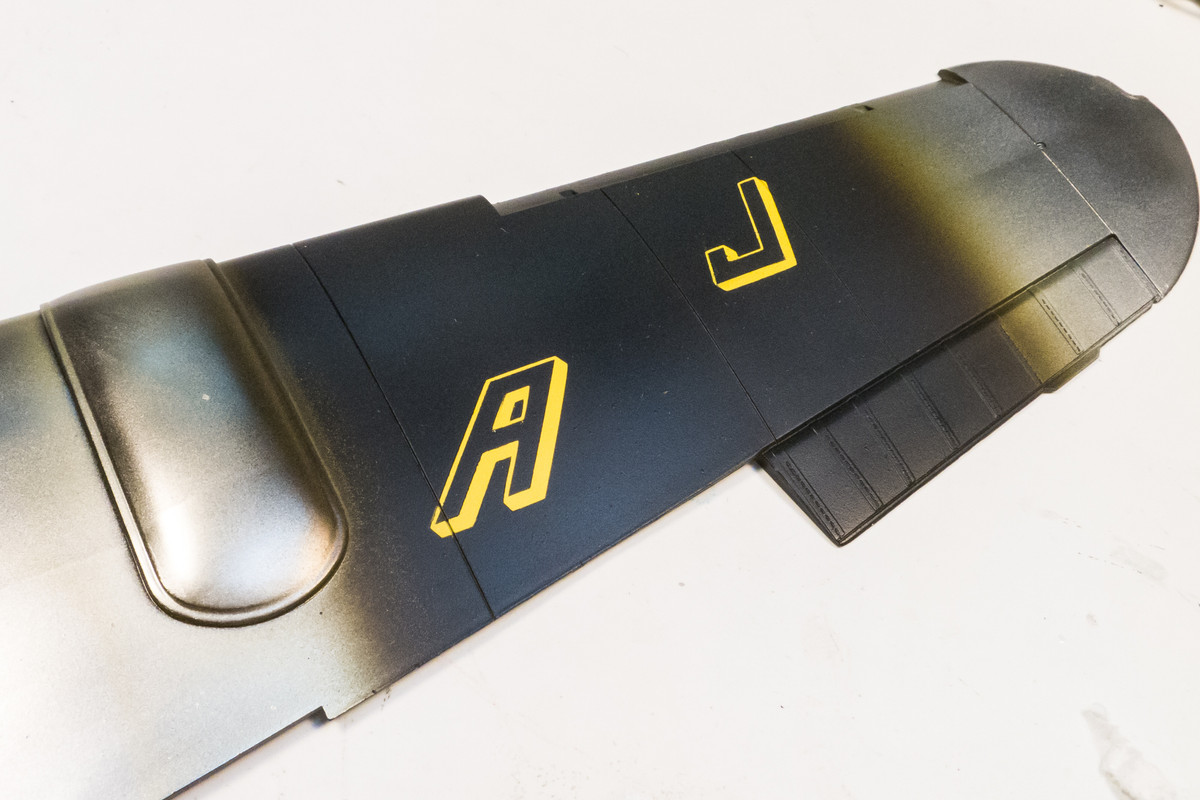
I did a quick and dirty test paint with the masks on the more problematic markings. This test was quite sloppy as I rushed between paint colors... normally, I would give each color coat more ample time to dry prior to application of the next color. Based on these tests, masked markings are an option with a couple of caveats. For one, I cannot get as fine a border for the yellow AJ markings as found on the decals. This is probably the limit for how fine a line I can produce with paint.
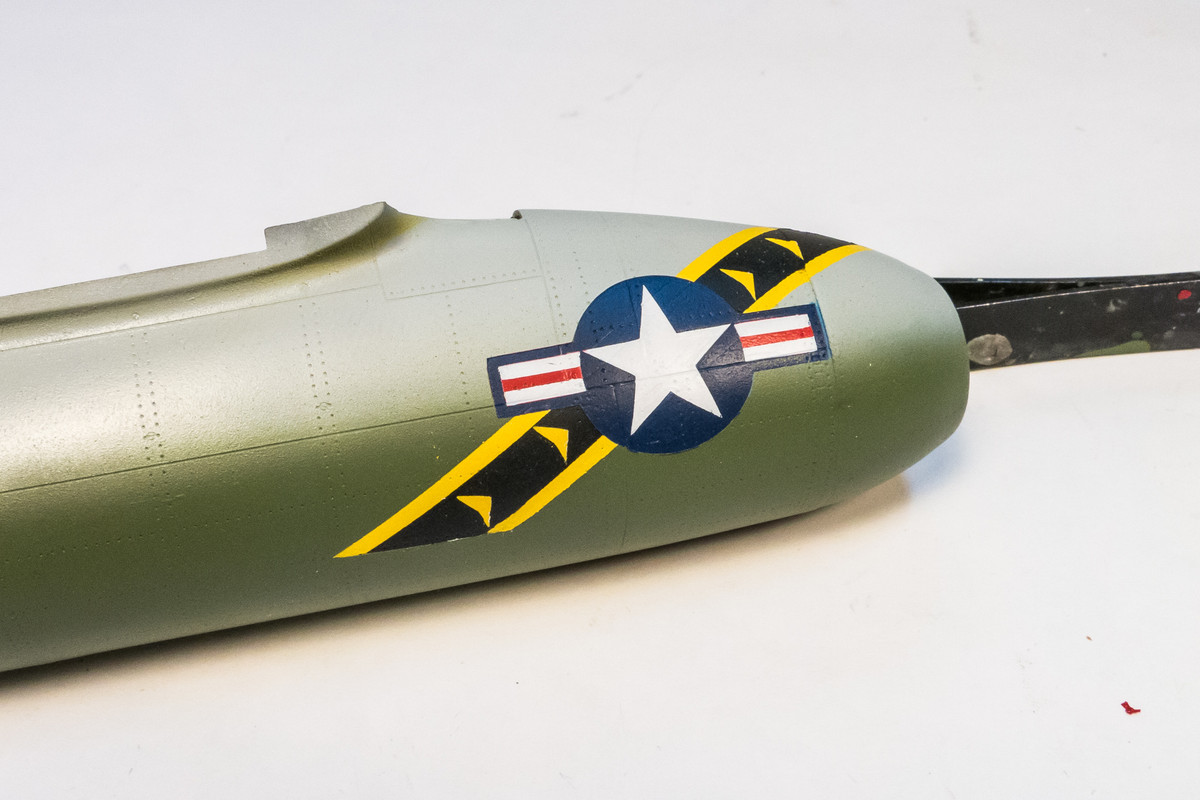
Secondly, the multi-color markings start stacking up paint layers and the advantage over a good set of decals starts to decrease.
I will probably use a combination of the Hungarian Aero and Furball Aero decals with some masks, avoiding the use of the kit decals whenever possible.