Re: Tamiya 1/32 Spitfire XIVe Conversion
Posted: Fri Sep 15, 2023 10:59 pm
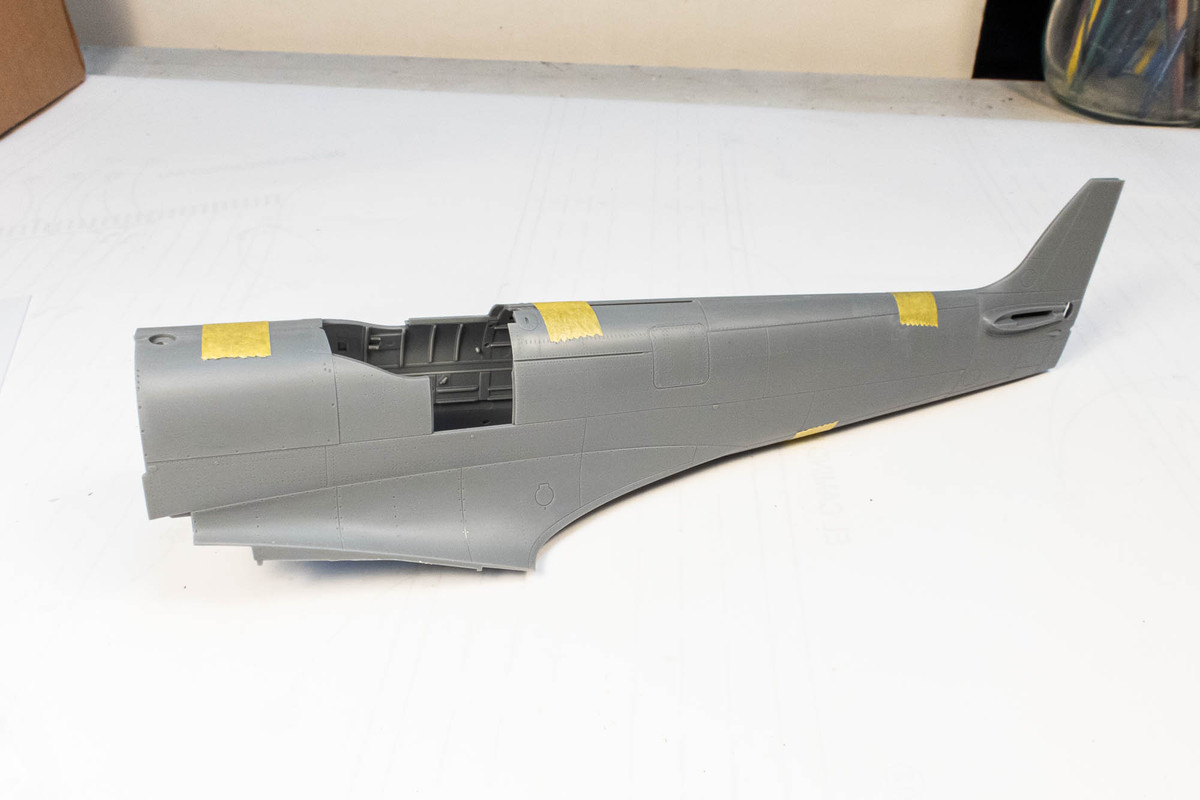
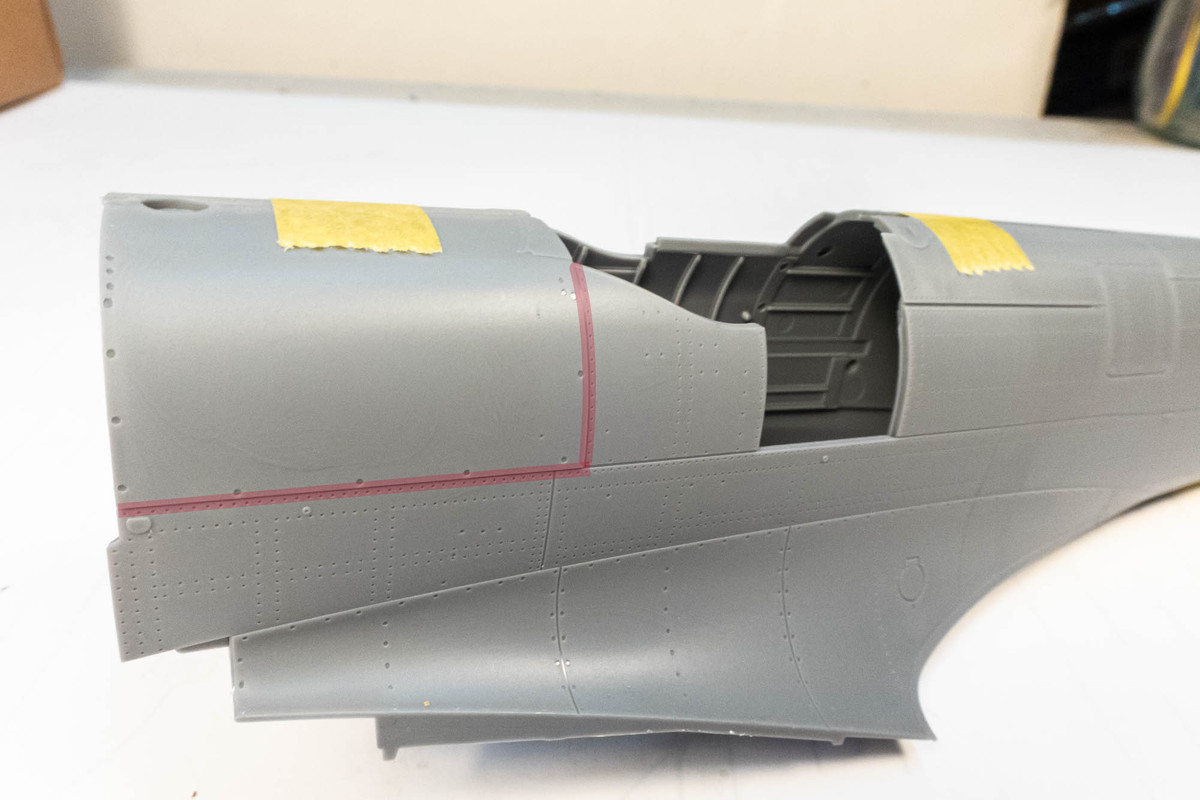
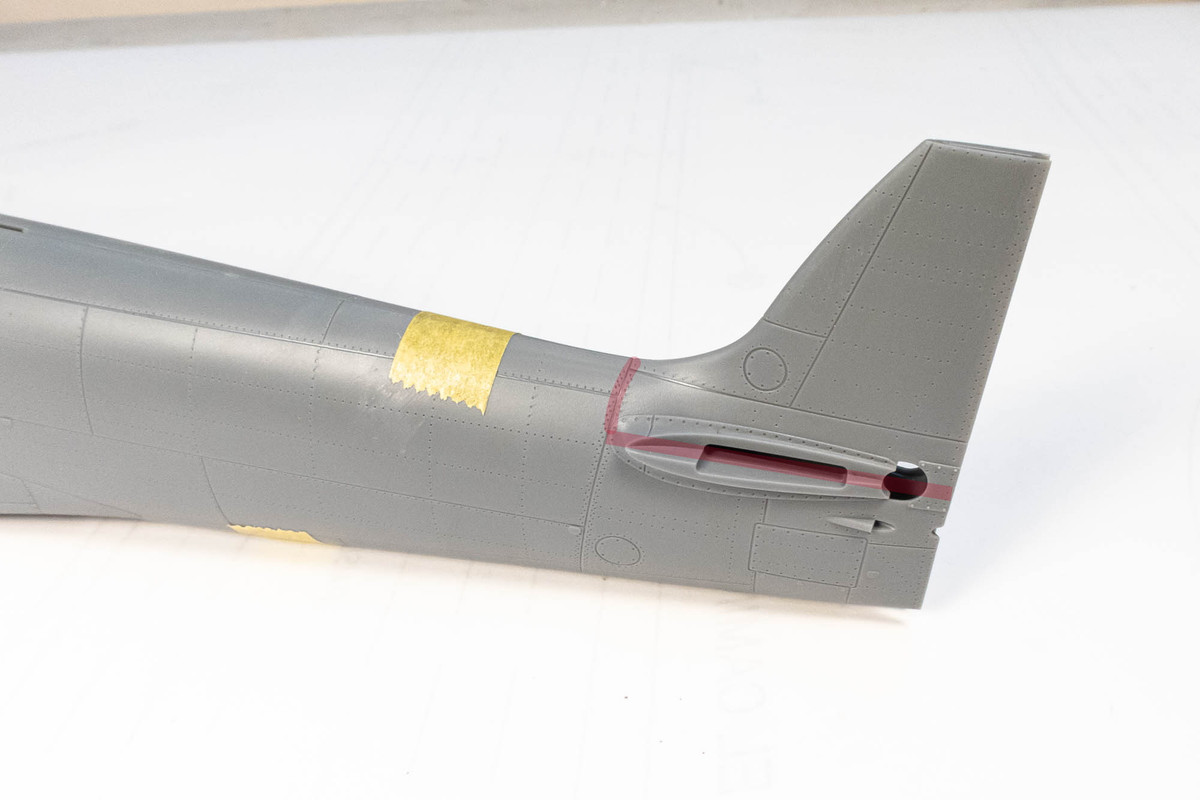
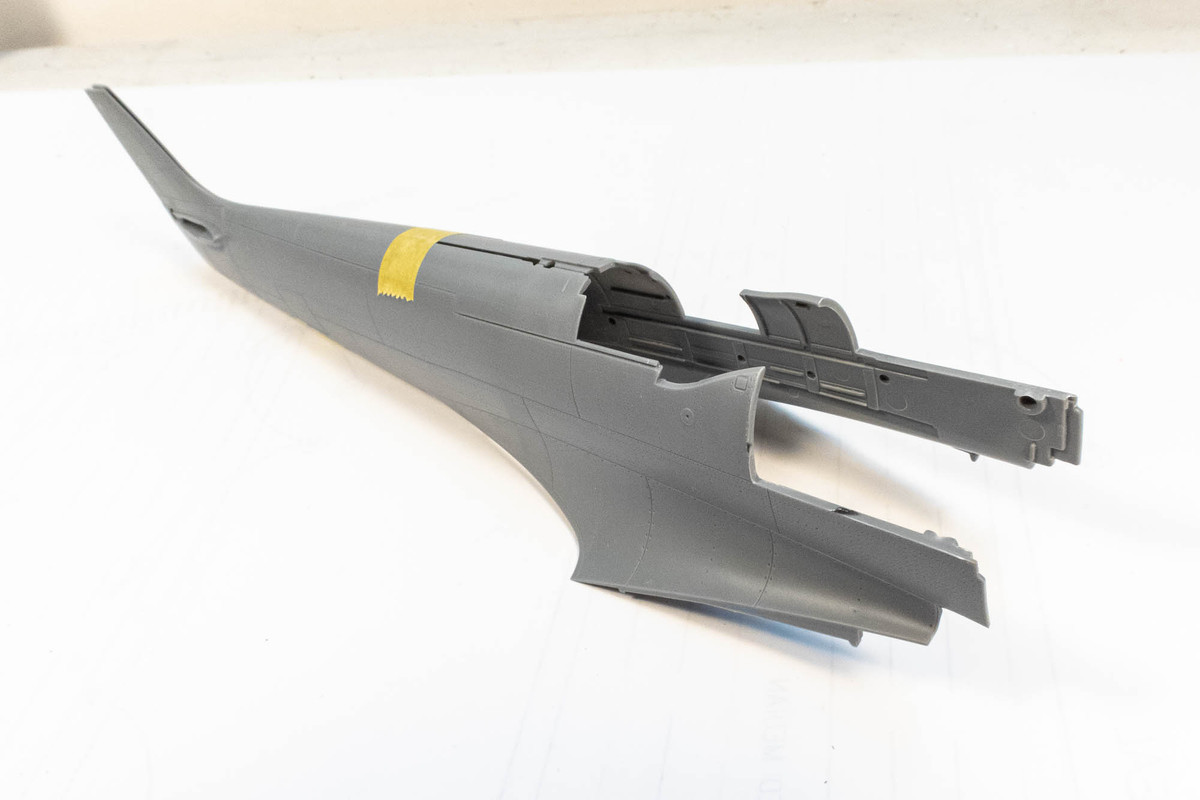
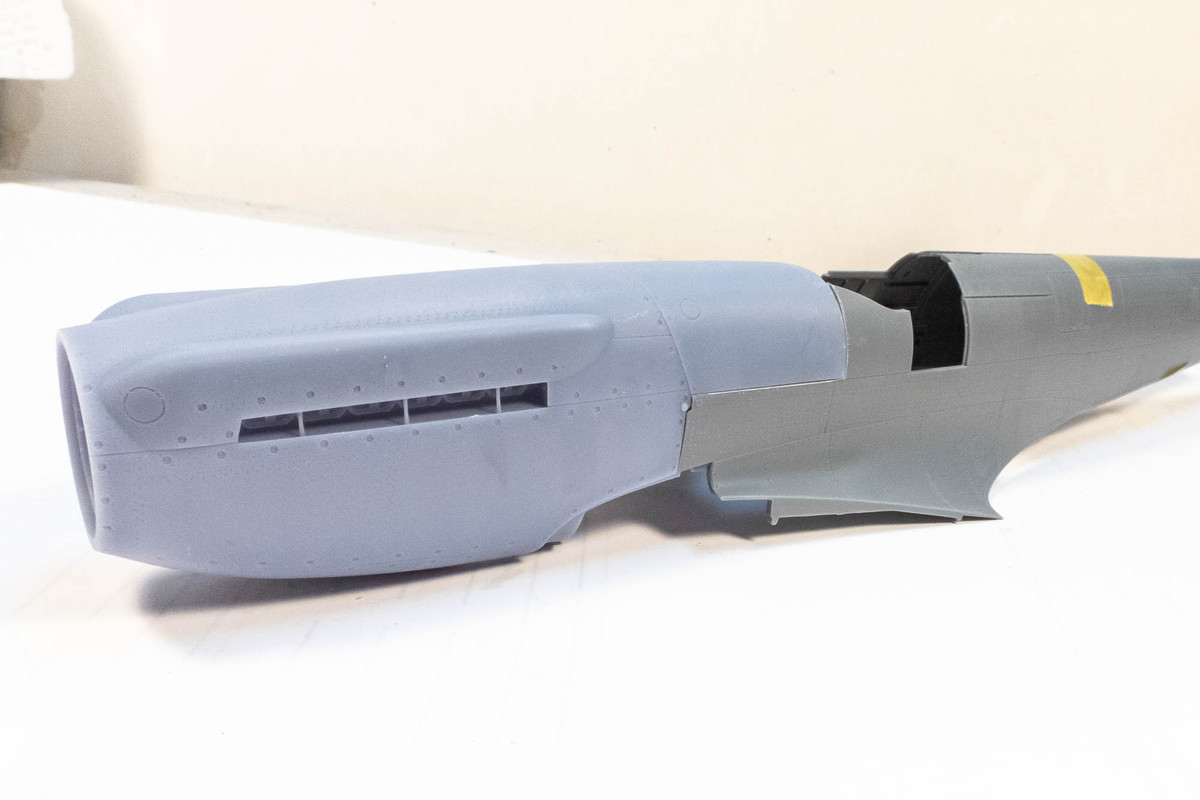
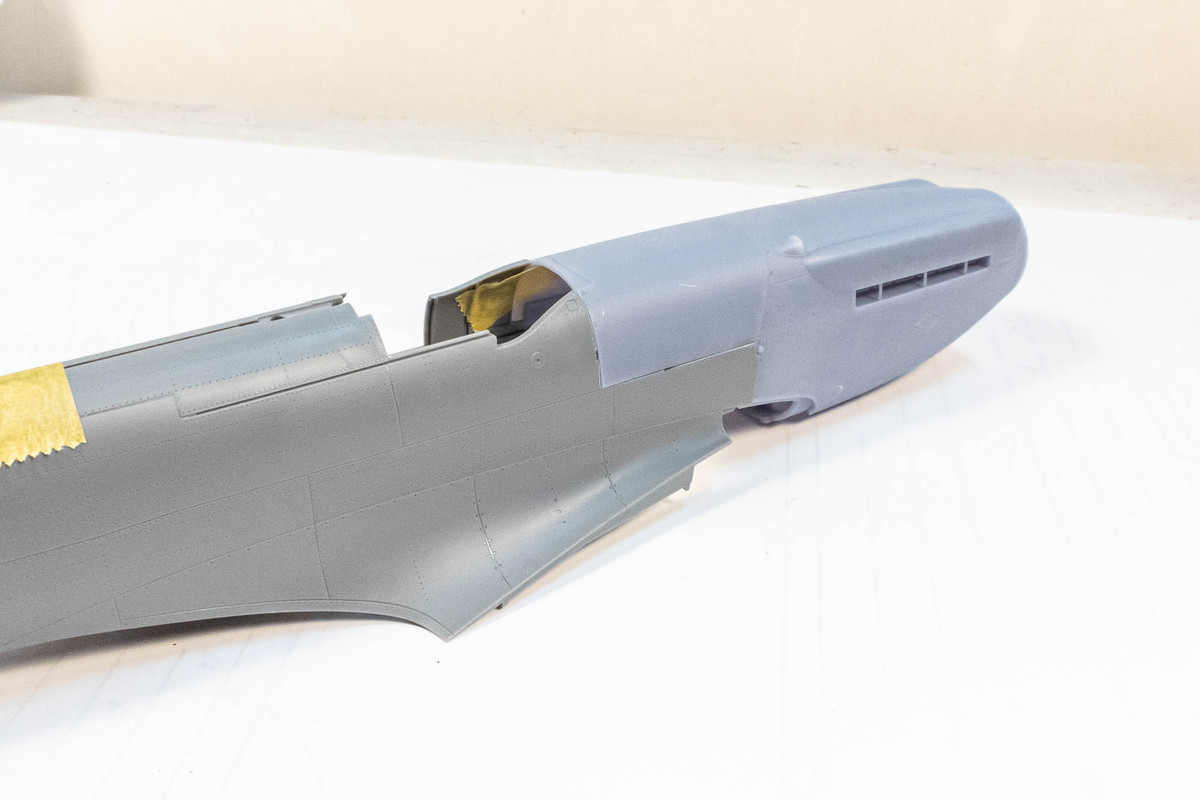
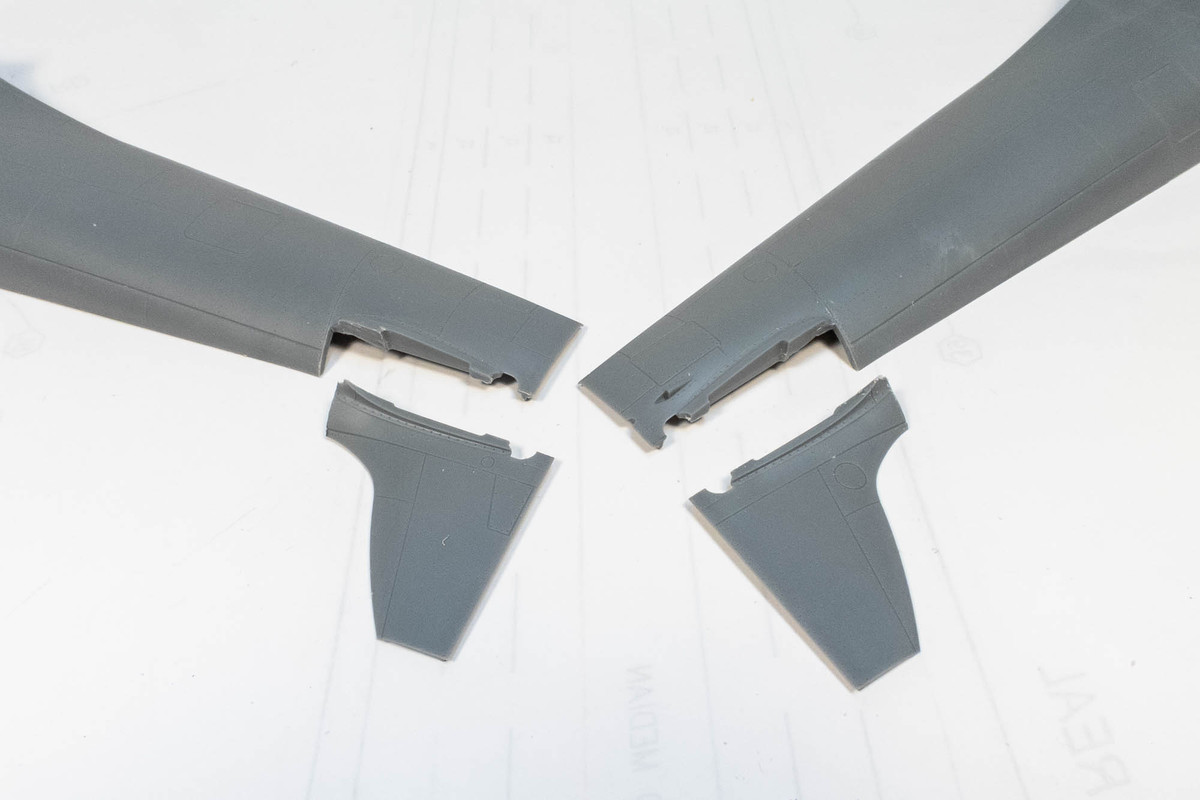
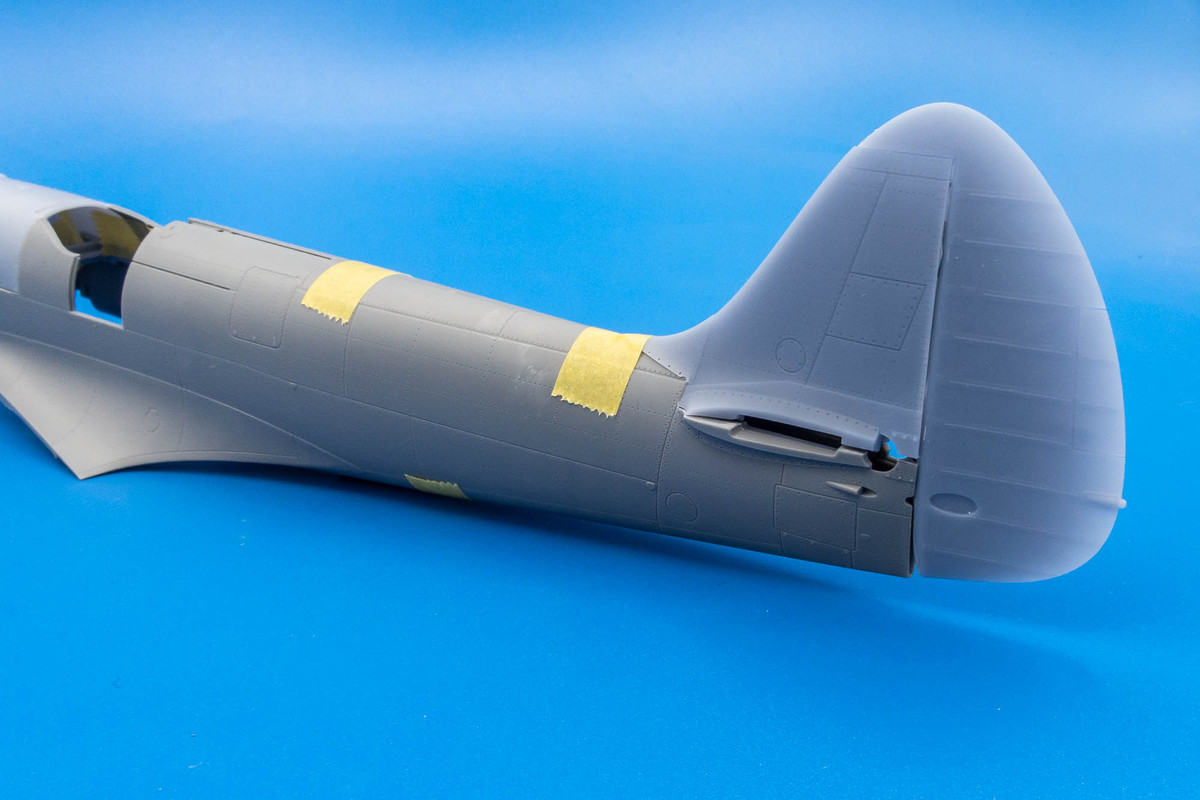
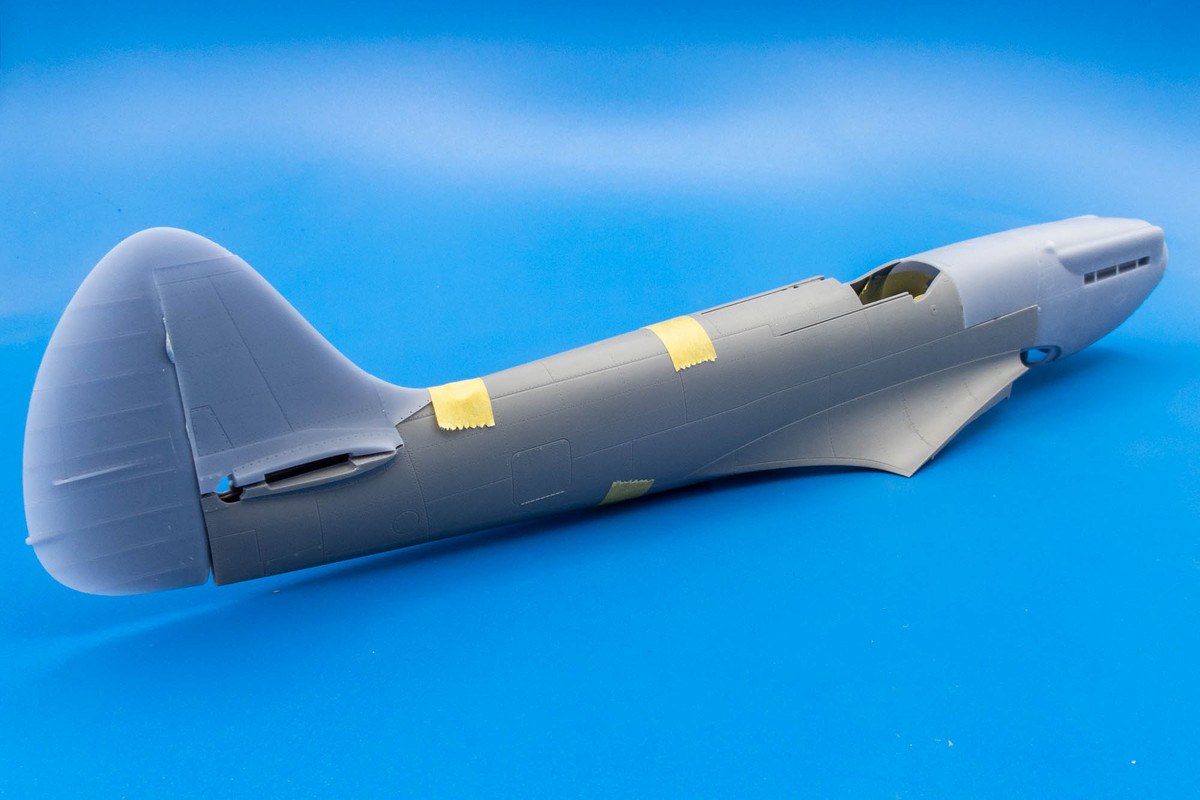
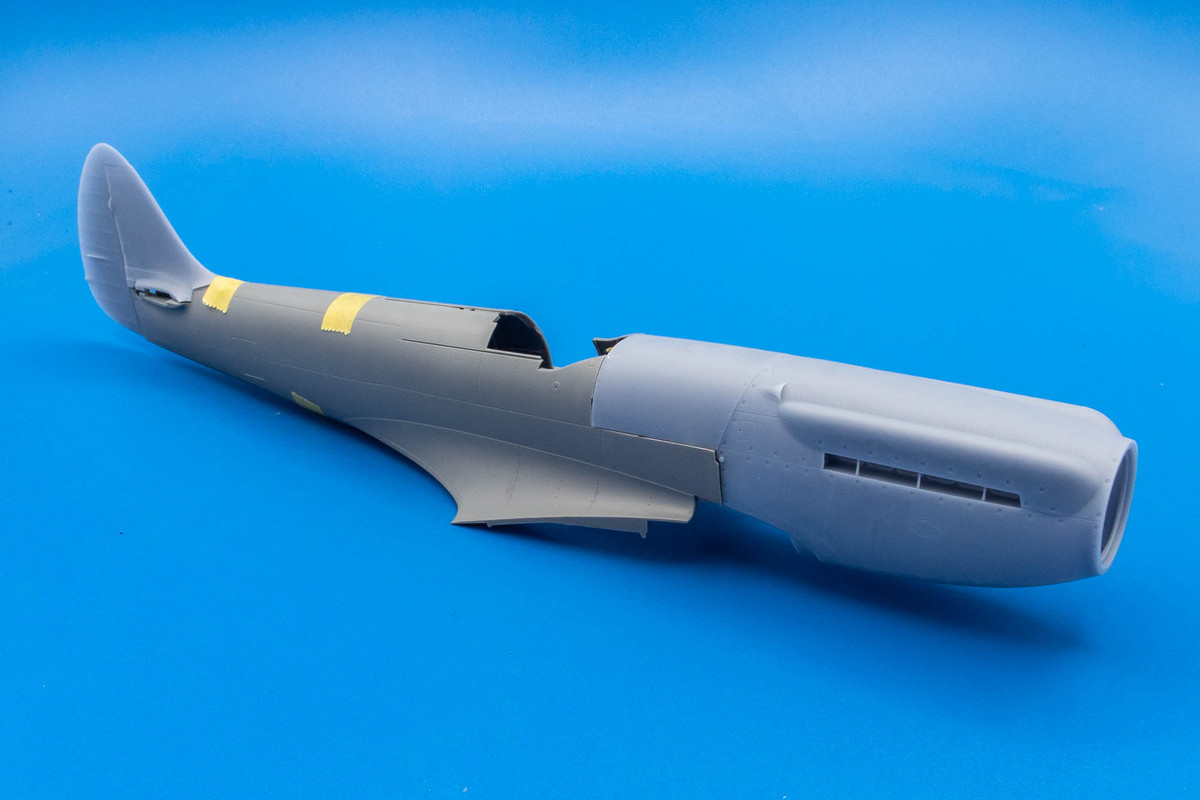
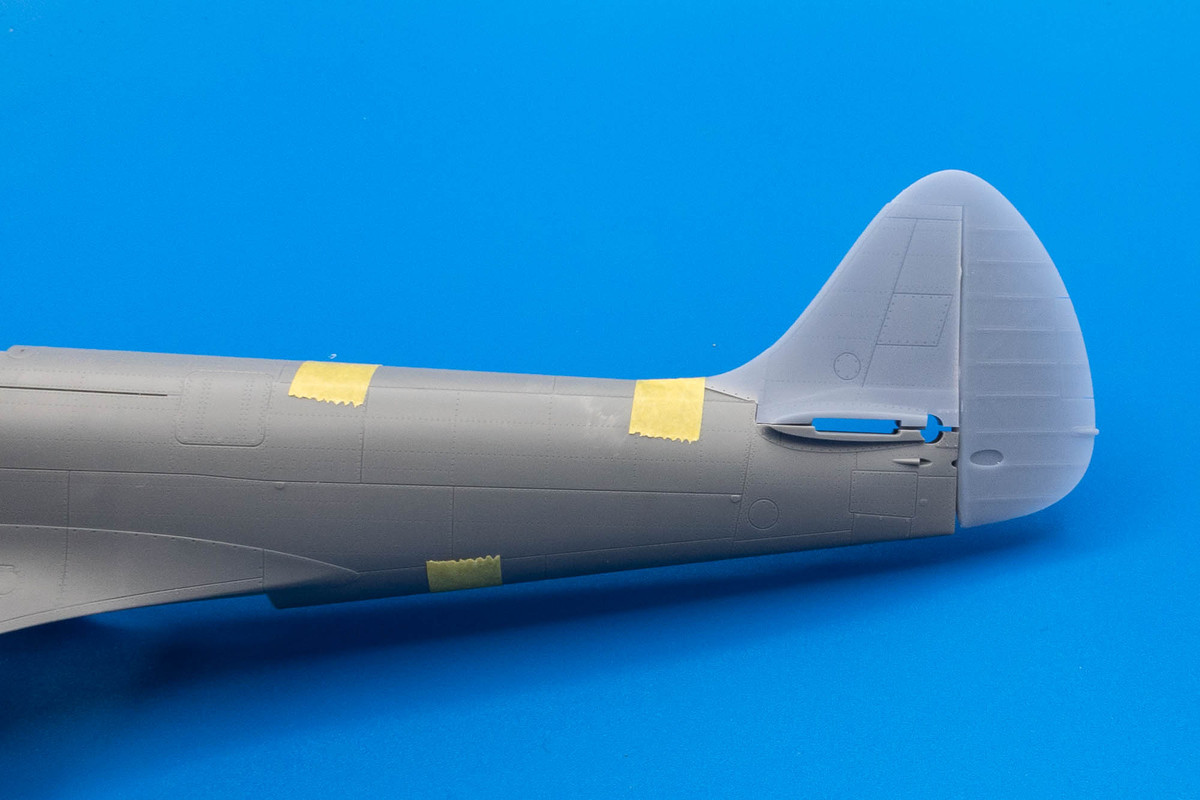
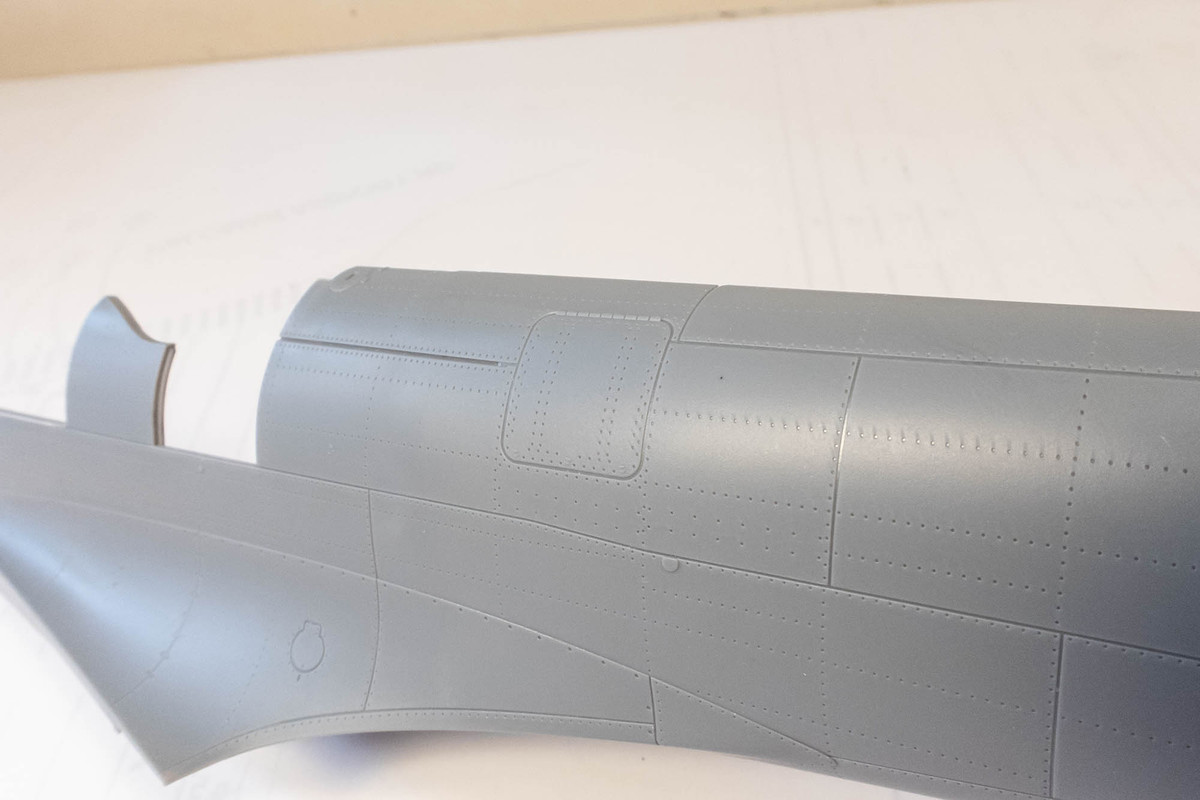
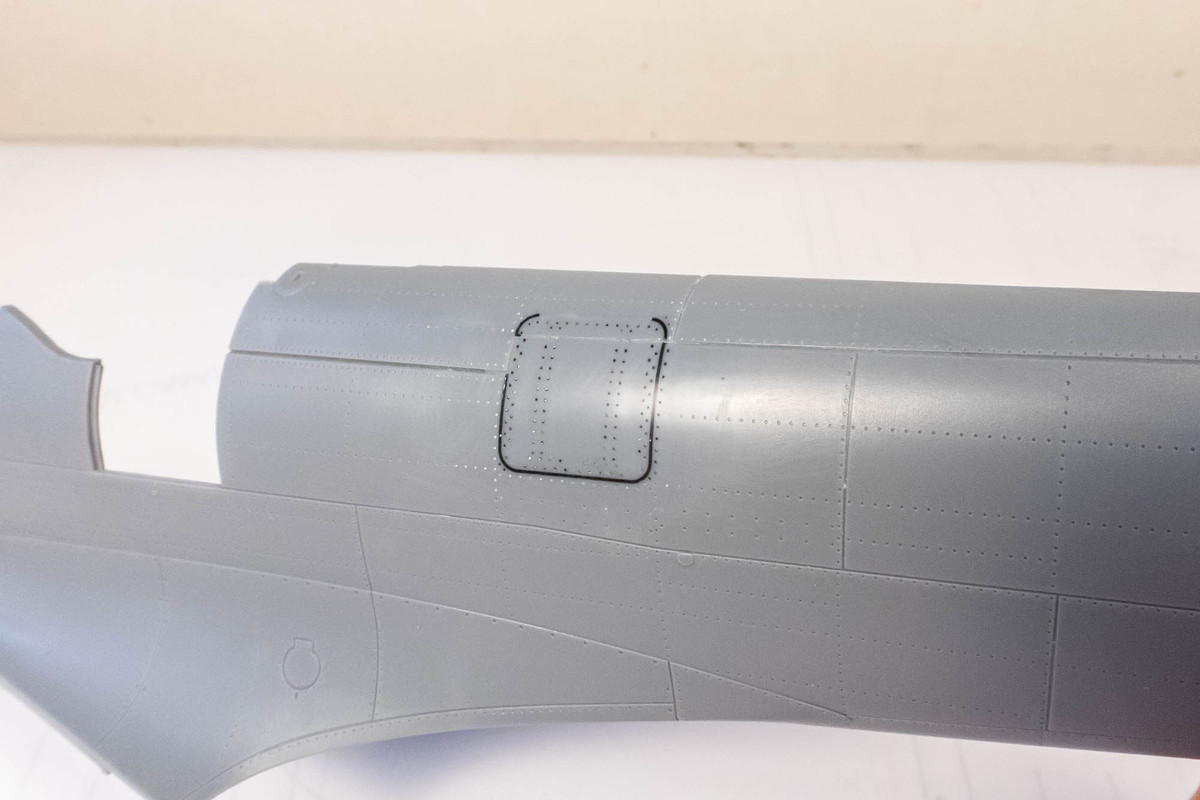
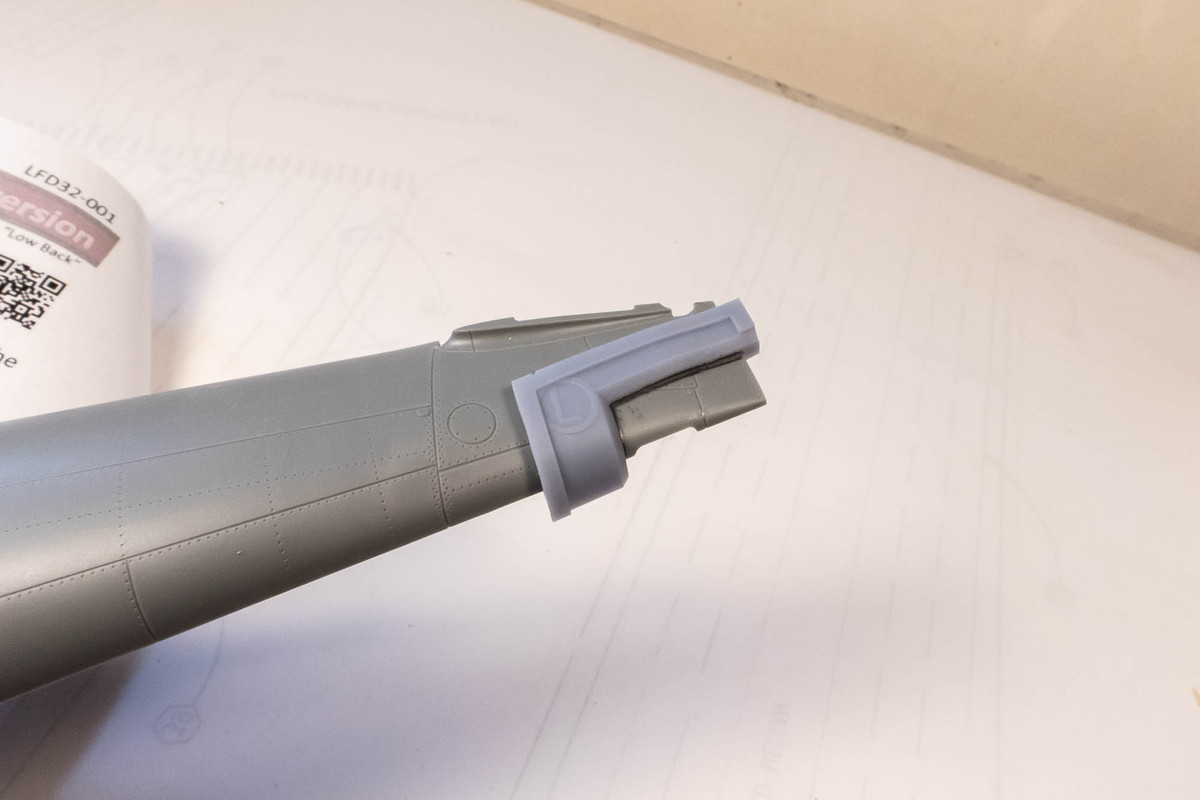
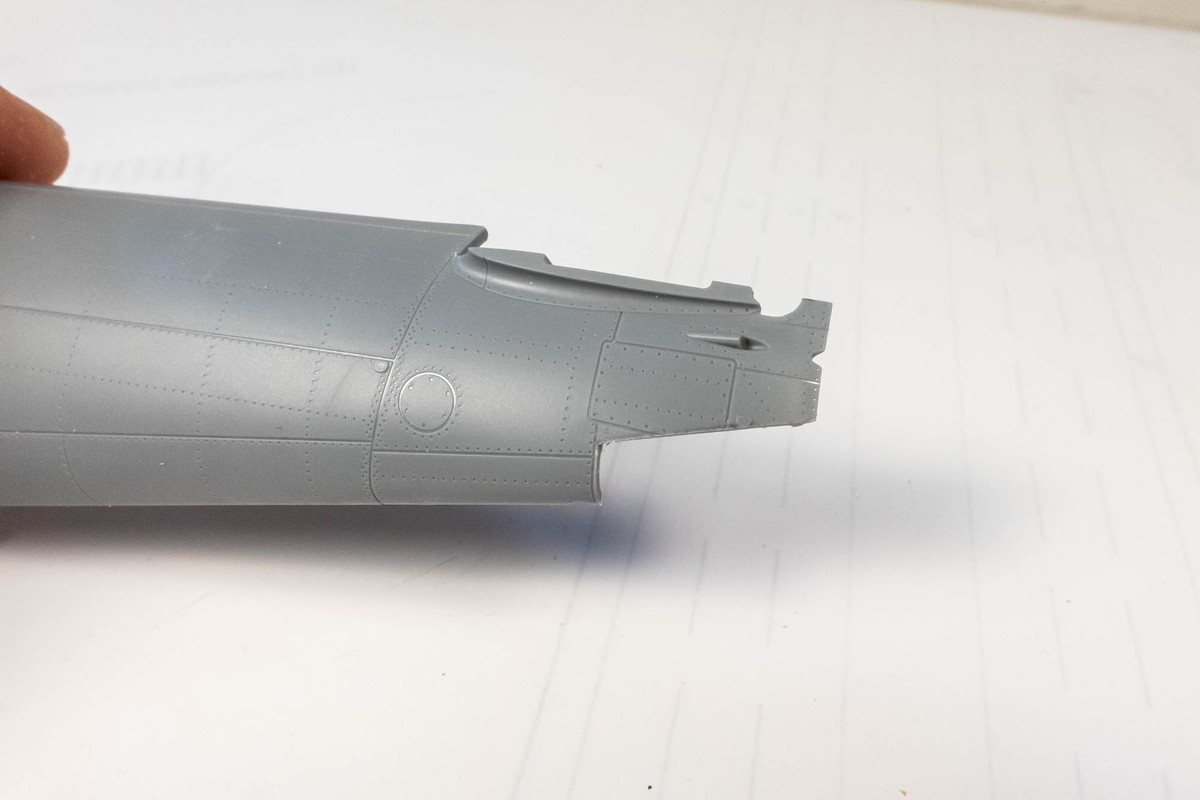
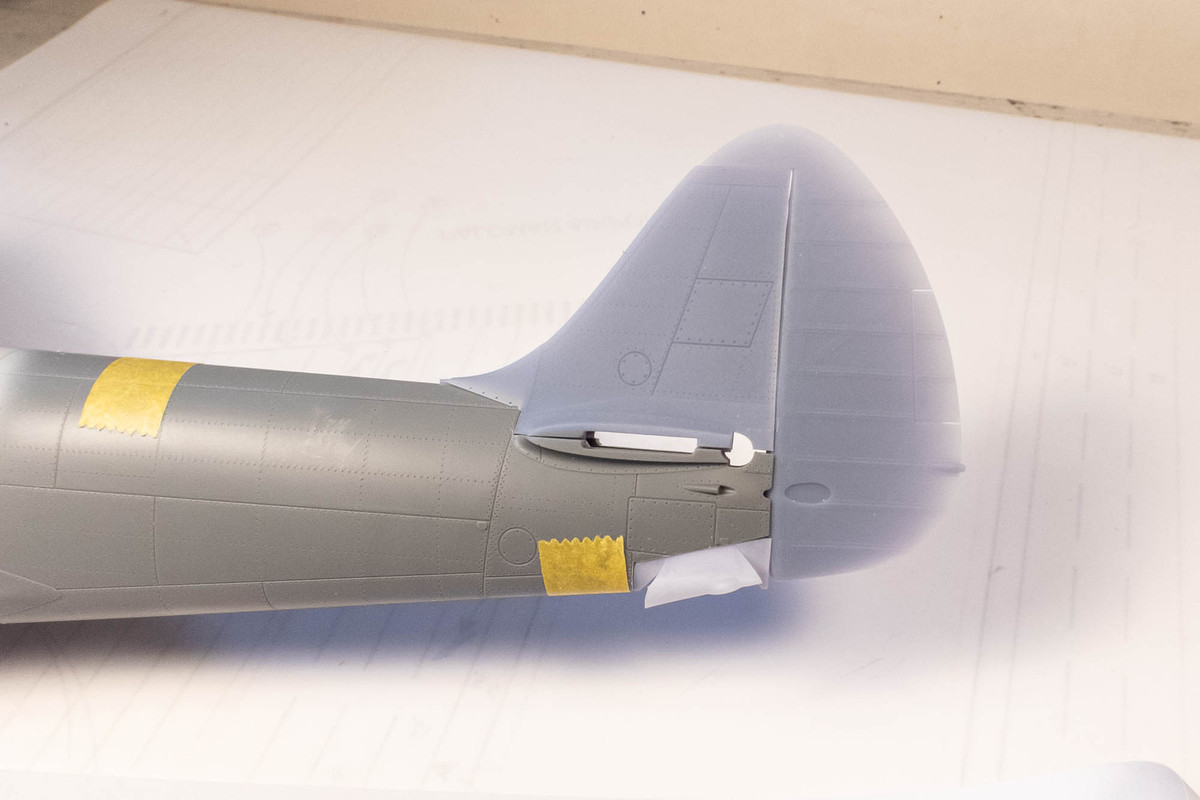
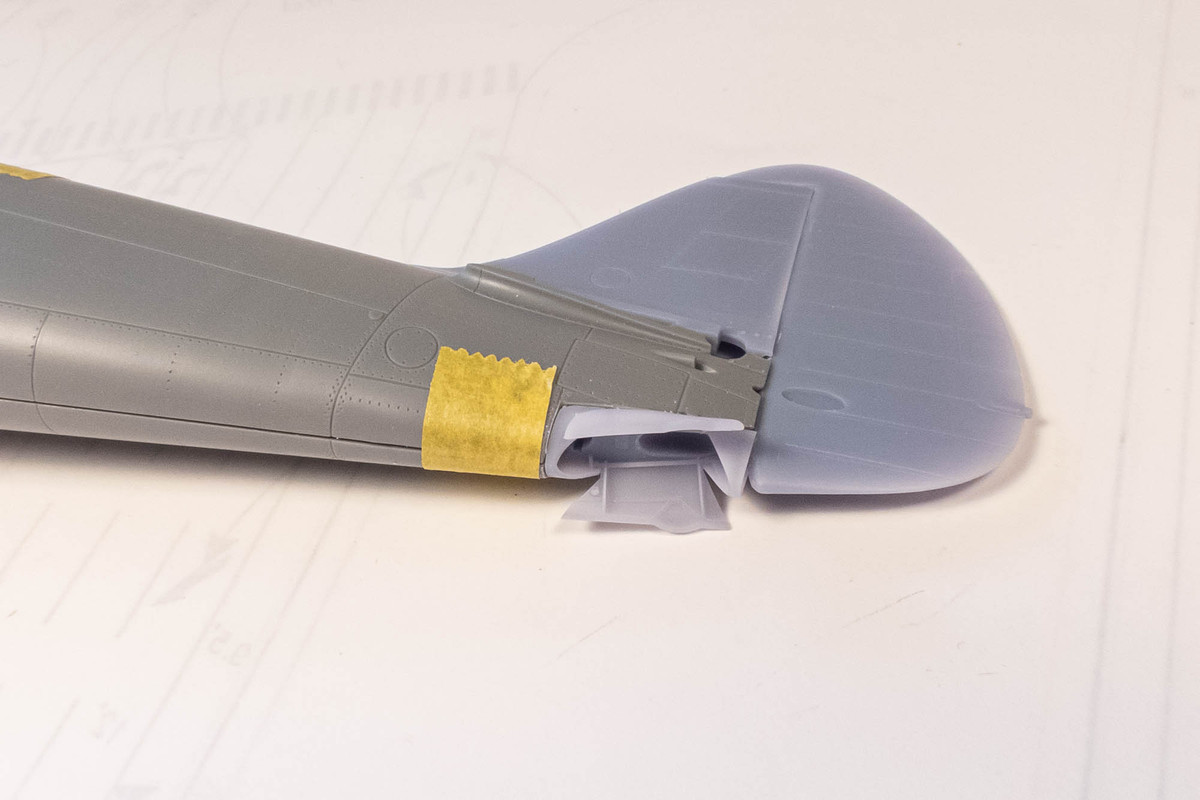
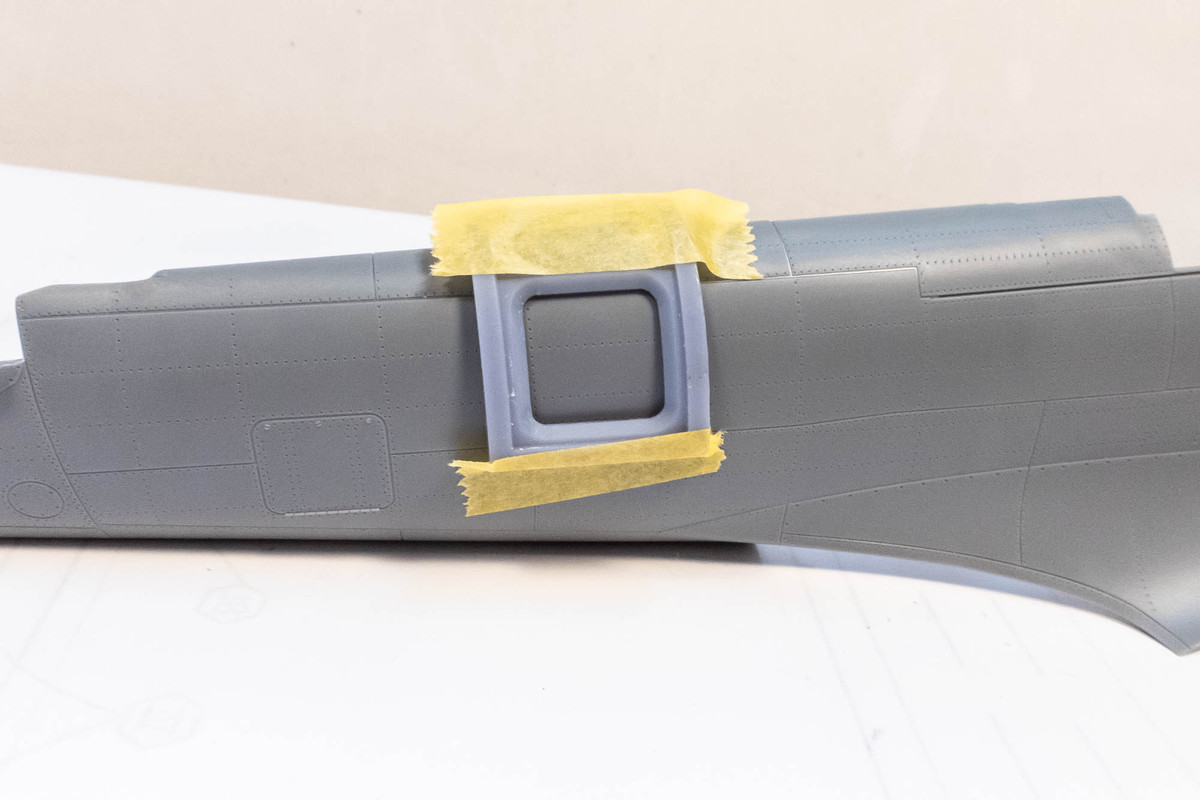
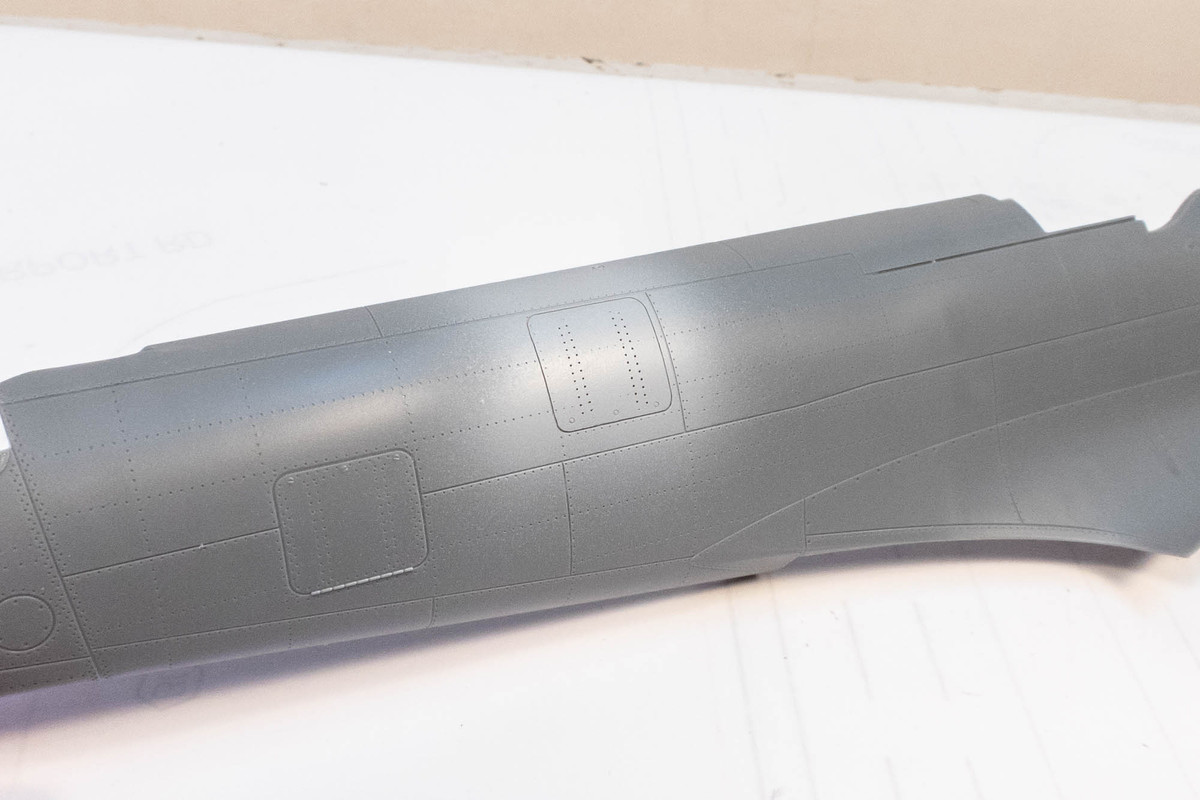
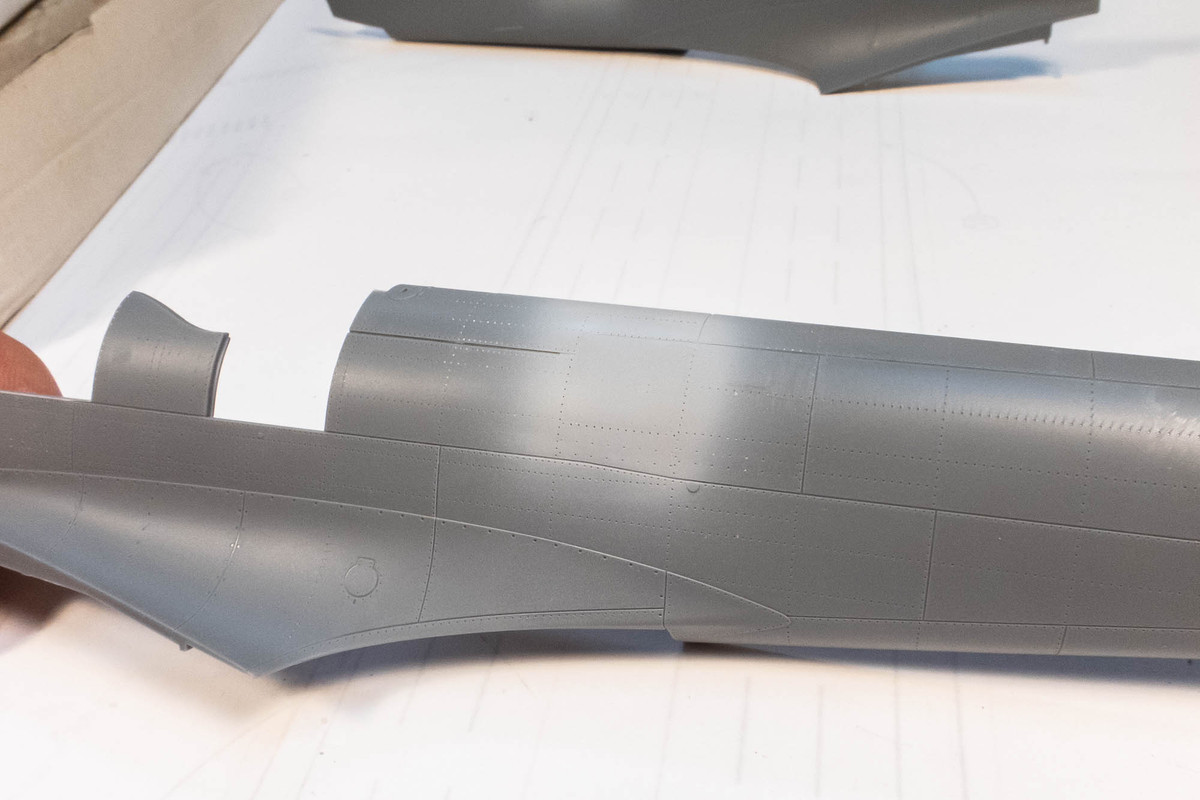
Nice of Tamiya to include that part. No such part on my Academy kit, although there is an oval shaped panel line on the fuselage underside where that item would likely go. I wonder how commonly that device was fitted to Spitfires?