And now for our tour of the Motor Pool at Maddog Manufacturing. A considerable amount of progress has been made here.
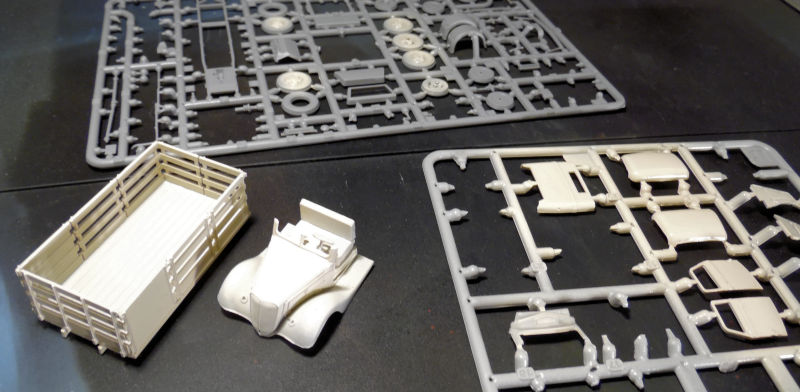
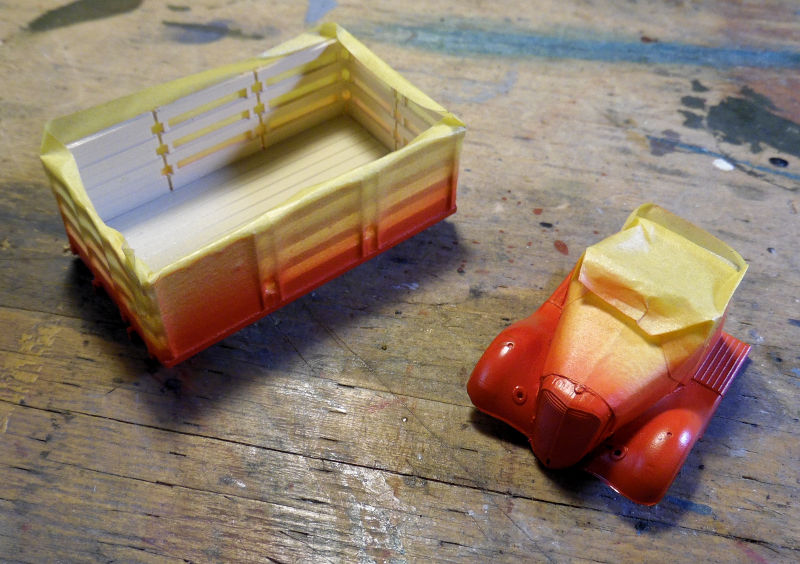
Let's start here with the civilian Ford Stakebed truck, which has been painted with the cream on the cab and truck bed:
Later the red trim was added after everything was masked off:
That is where we left this right now. Moving on to the next bay we have another Shelf Queen, started about six years ago. Finally found all the missing parts and got all the rest of the main parts installed:
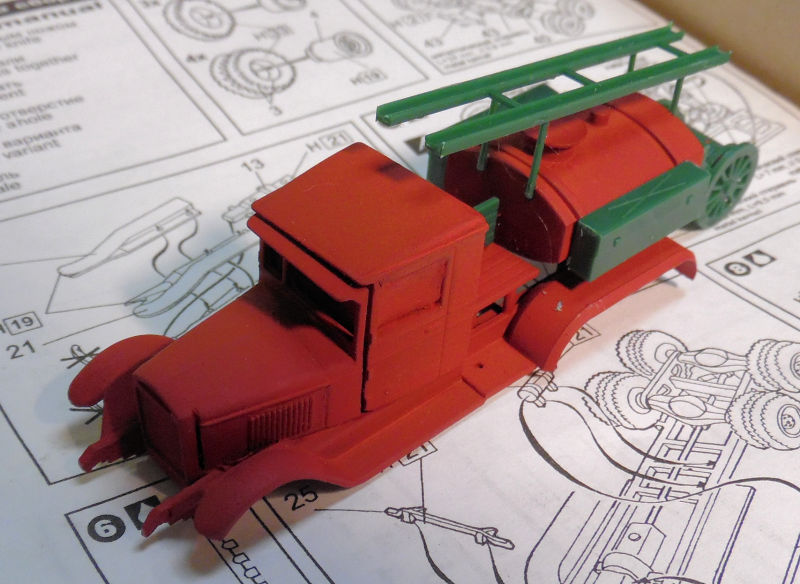
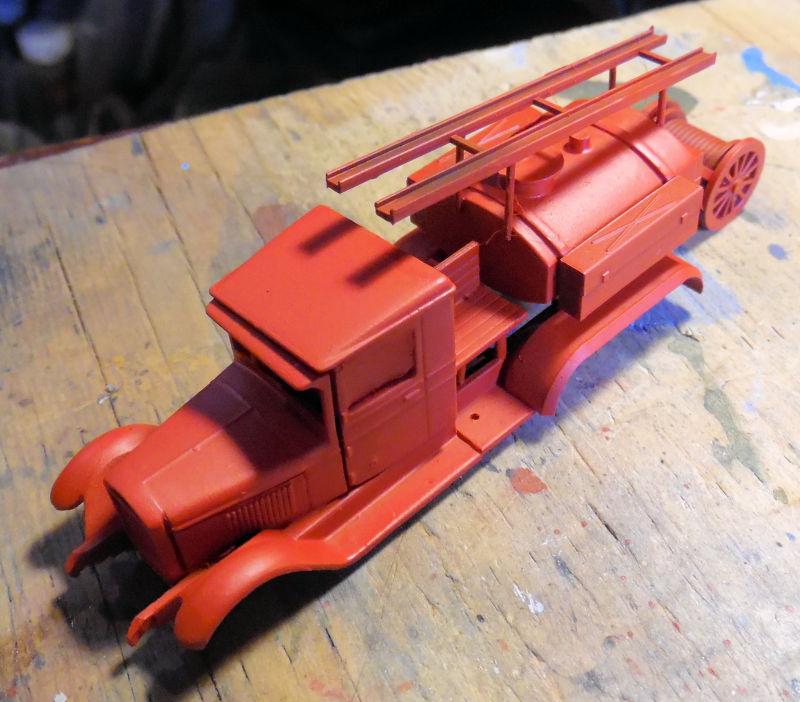
Later this truck also got a coat of red, making this almost ready to be declared finished:
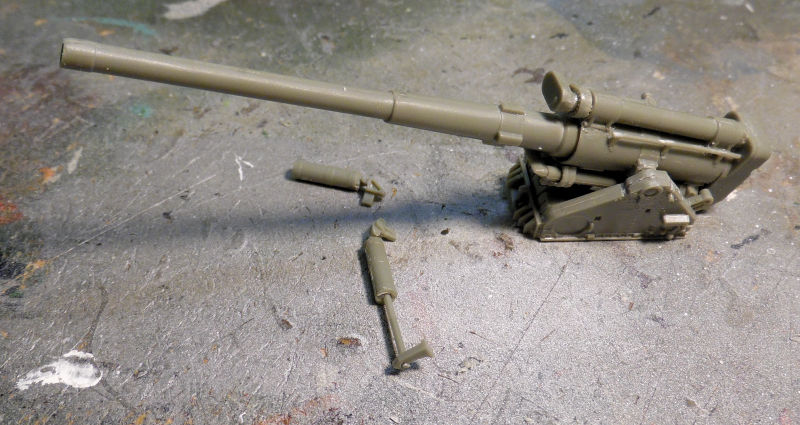
Moving to the next bay we find the Russian tracked 280mm gun. The main gun has been glued to the carriage and almost all the final details have been added. Some parts and sub assemblies have gone missing, but we're going to continue to work on this until all is found:

Later the photo etch was added, bringing this closer to being done:

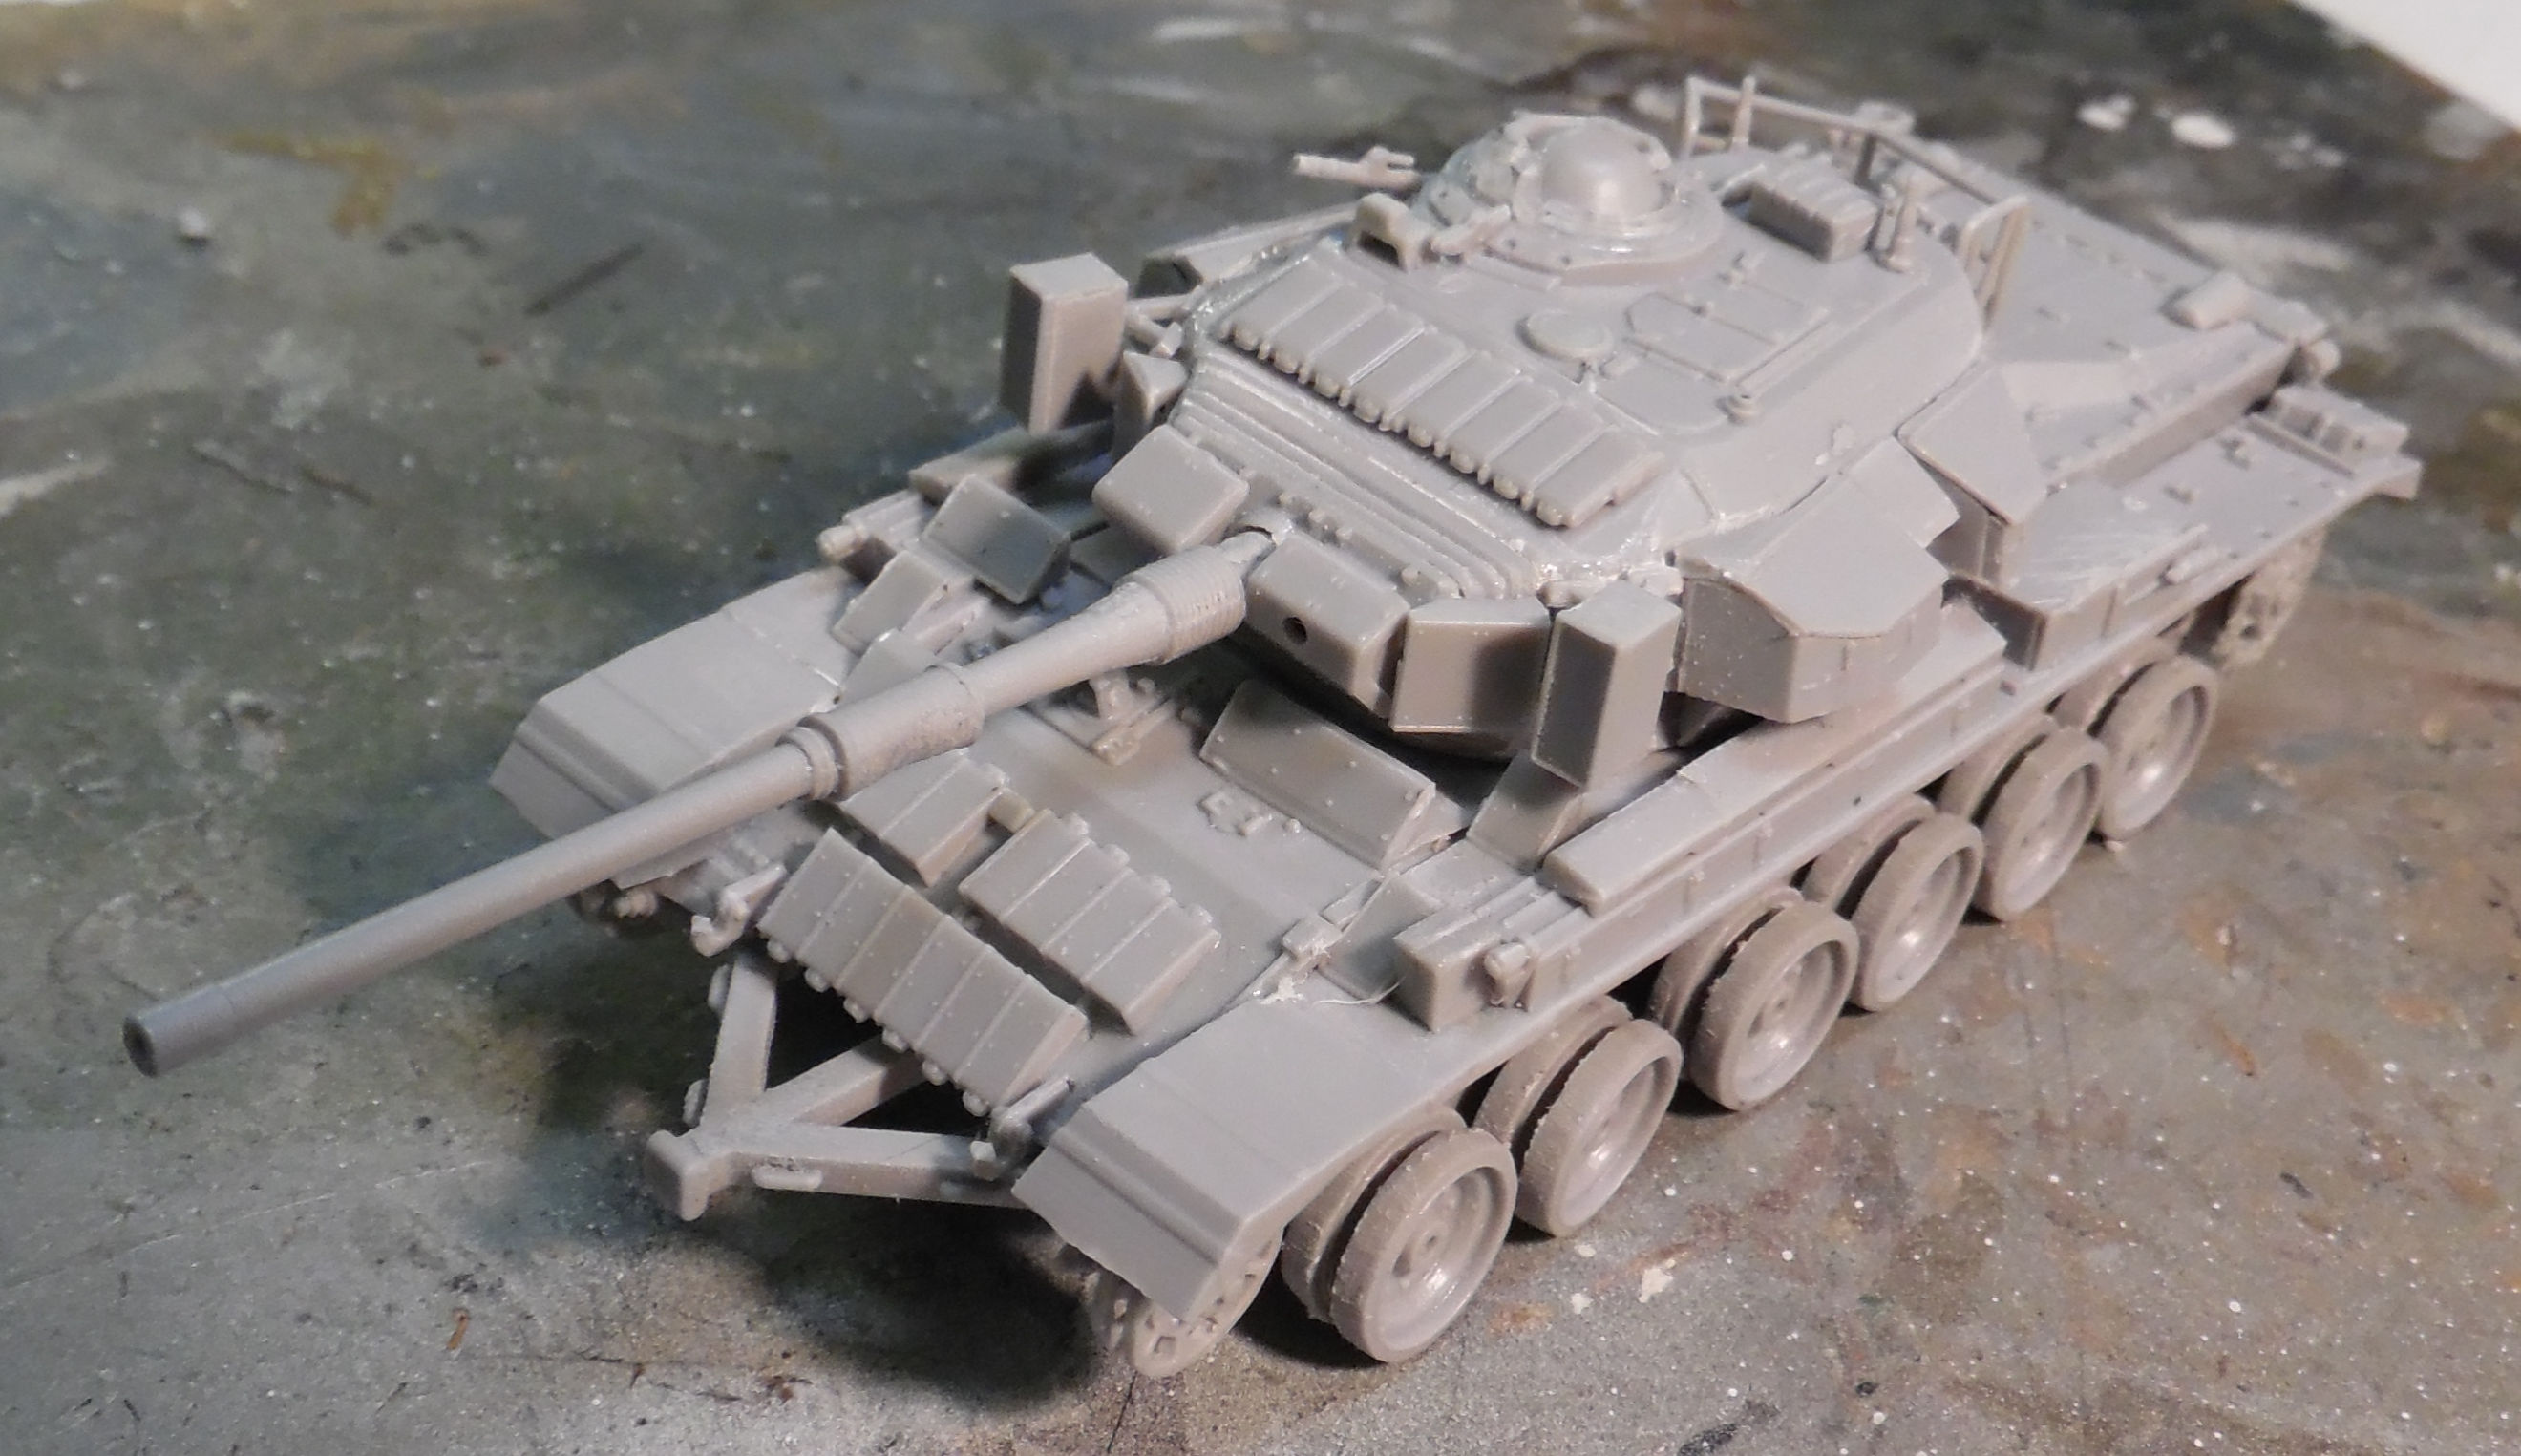
Next to this is the Russian tracked 152mm gun. This was started later, but we now have it catching up to the 280mm gun. First we installed the main gun in the trunnions, and made the hydraulics that raise and lower the gun:
We added more details to the main carriage, cemented down the gun and also finished off most of the details on the trunnions, bringing this to the photo etch stage:
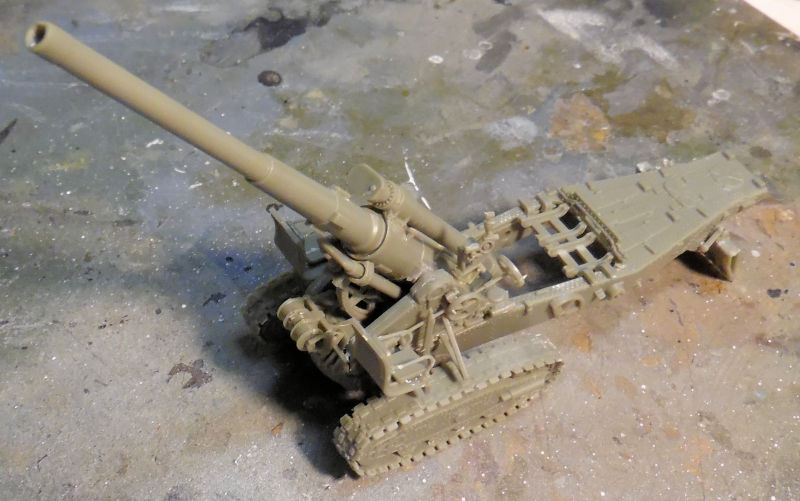
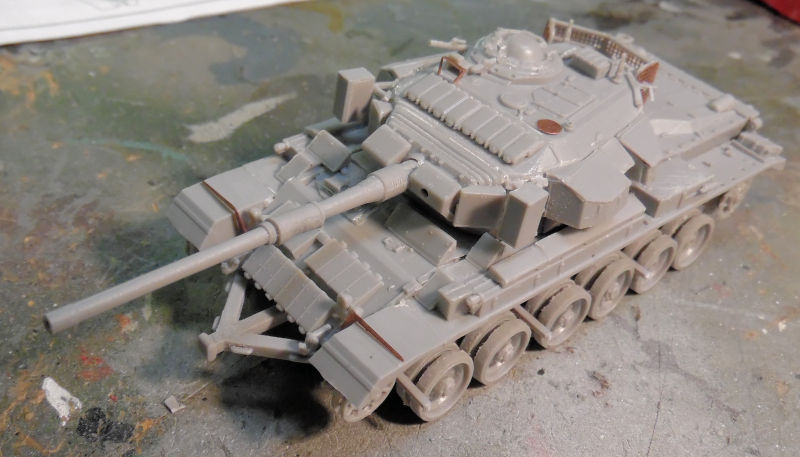
Photo etch and some final details added next and this was ready for paint:
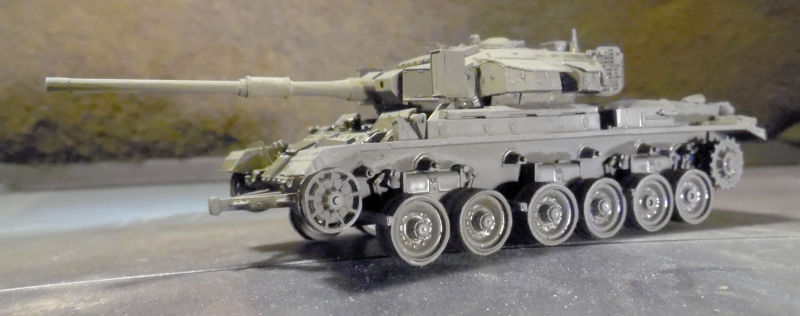
After everything had sufficiently dried, we shot a base of Russian Green on this. It shows much lighter in this pic than it does in real life:
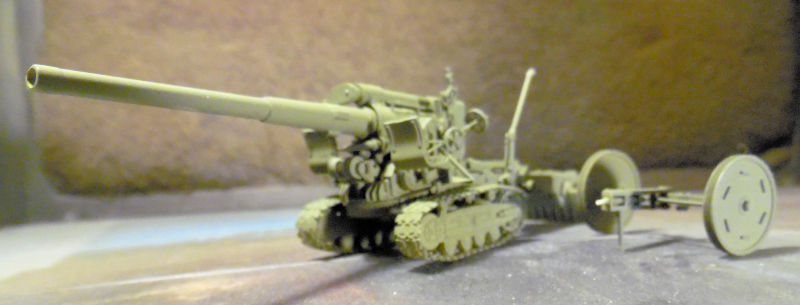
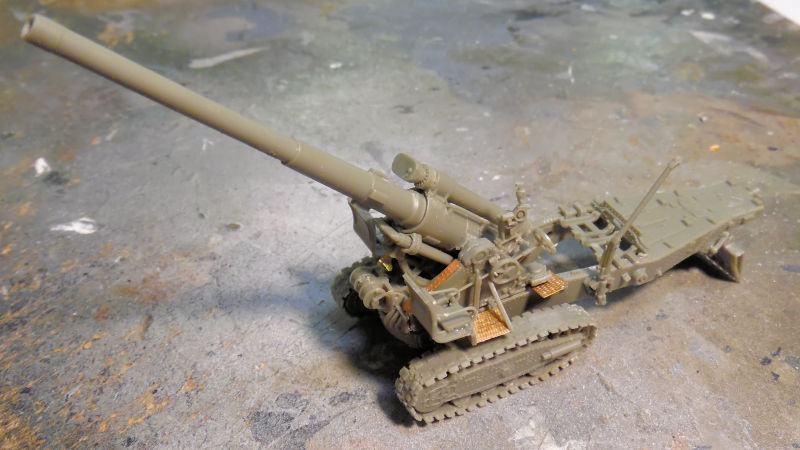
The same had been shot on the 280mm gun but I apparently forgot to take pics of that.
Moving on, we found another Shelf Queen, this one only two years old. It's the Modelcollect SCUD D TEL that needed some more green paint on additional parts that had been added after it was painted:
'
I was going to camouflage this, but I don't want to hassle with re-masking all the windows again. We might hand brush the pattern on it, I'm still trying to decide. Meanwhile, this is ready for further progress....
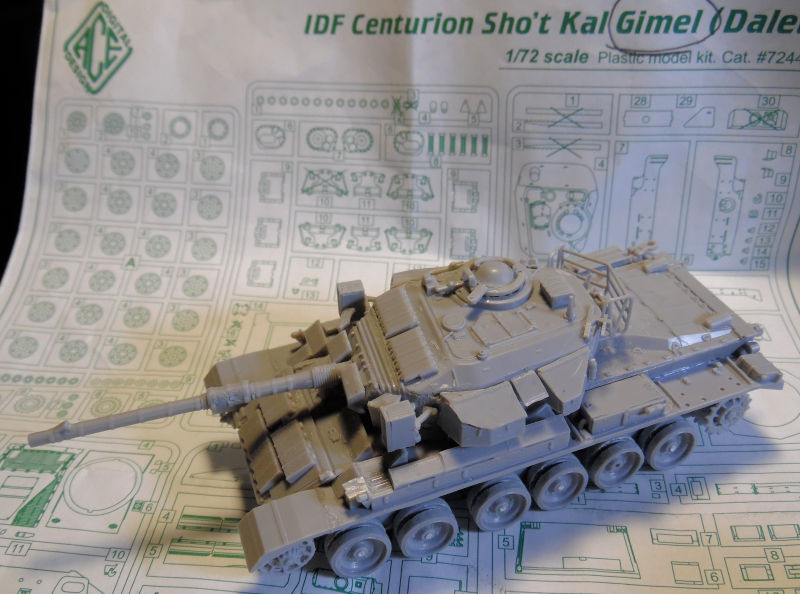
In the next bay, we have the two Israeli Centurions. This first one, the Sho't Kal Gimmel; got all the detail parts on the main hull and we started on some of the details on the turret:

Later we finished all the details on the turret. Here it is all set and ready for photo etch:
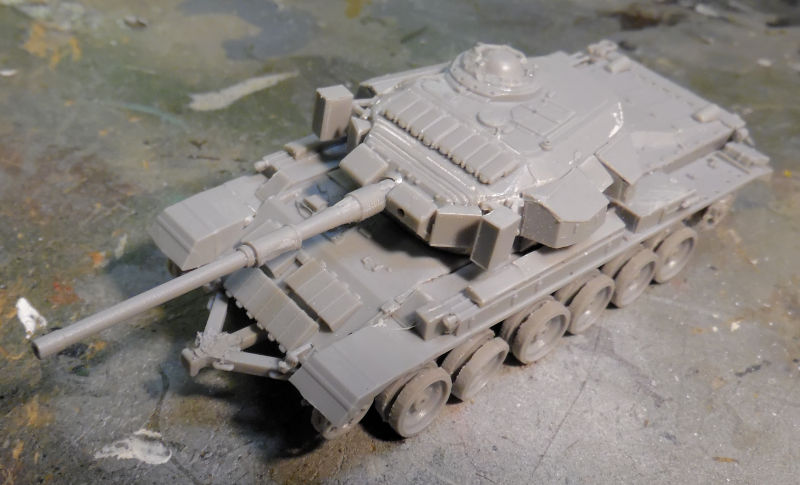
Interestingly enough; the photo etch sheet for this kit is missing. So, we continued to work on the Centurion Sho't Kal Dalet. Again, most of the turret and all of the hull details were added, just as with the Gimmel:
Later the turret was done completely:
That thing on the front of this tank is a battering ram. Some Dalets had them so I added this to mine to help differentiate between them.
We had the photo etch for this one so almost all the photo etch was added to this:
Once everything was dry, we shot a base of Green Drab on this tank. It is still wet in this picture:

After this completely dried, we applied a light coat of Israeli Sand Grey over the top, modulating the color for added ascetics. It is real hard to see in this picture, but I assure you it is there:
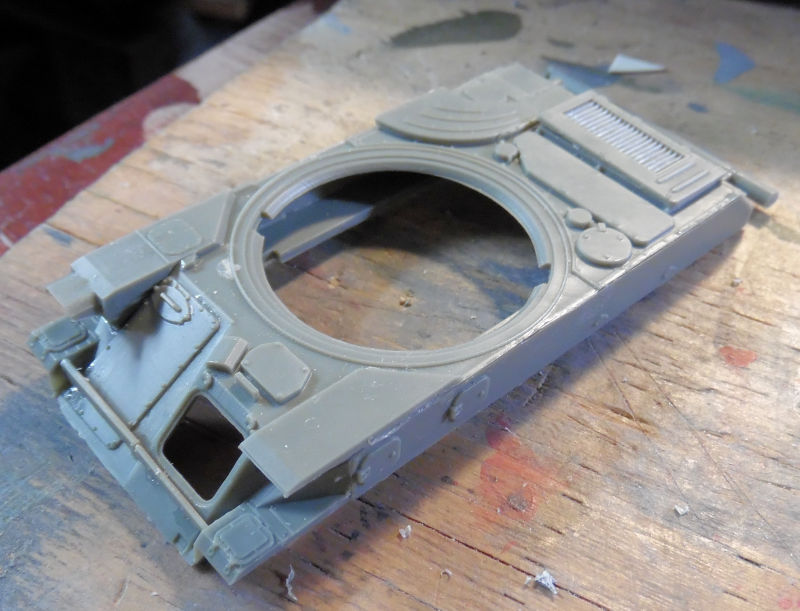
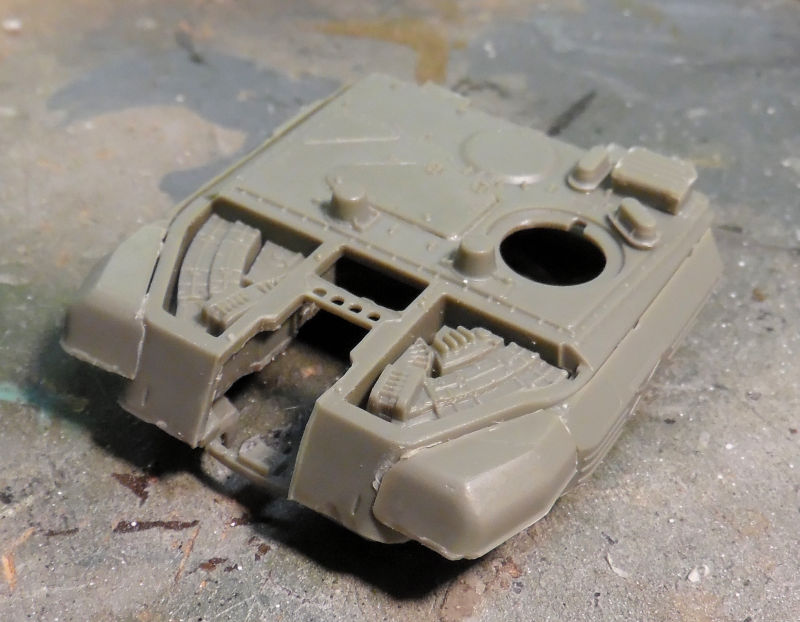
That is where we stopped on these, next up is the most difficult Armory ZSU-23-4 Shilka. First, we did the simple part; adding almost all the detail parts to the upper hull:
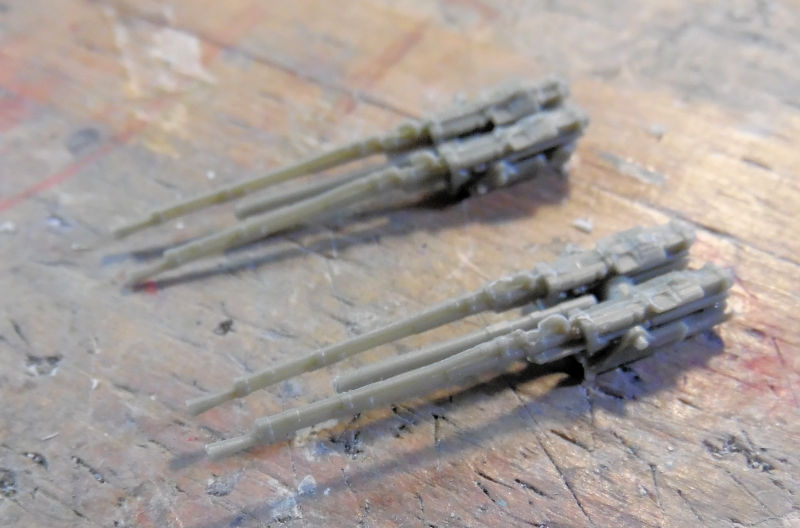
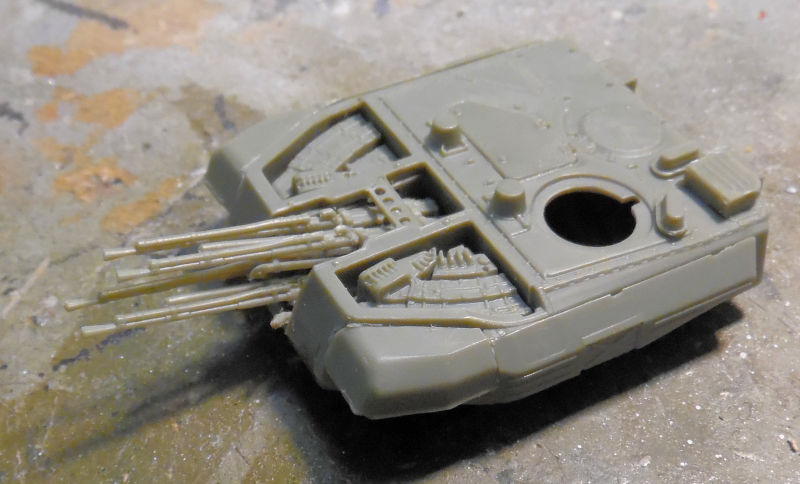
Then we built the quad guns. They were built on two carriages, two each per carriage:
Now, adding these to the turret was a nightmare. There were three parts that you needed to glue together that were so delicate that if you looked at them wrong, they broke....and they were the mounting plates for these guns! So, after three and a half hours of finagling and fighting with this, we finally had this done:
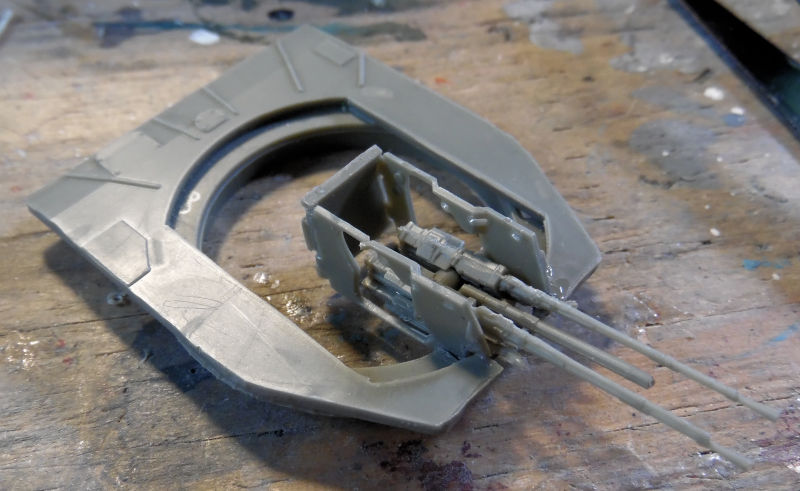
Note the one gun wasn't straight. We fixed that but when we went to add the second set of guns; we ended up with this:
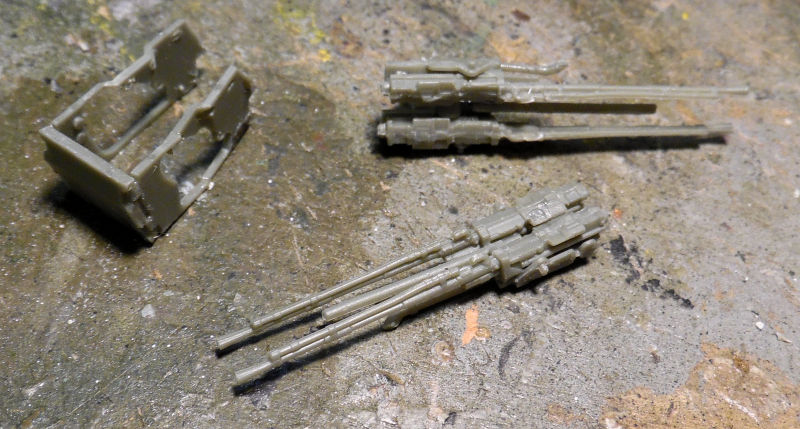
Yep! Everything fell apart, blowing away three and a half hours of work. While I fought to recover from that frustration, we finished off most of the details on the turret:
I figured it would be easier for us if these were added before the guns went on reducing the risk they break.
After about another hour and a half of work on the guns, we finally managed to get them installed.....and more importantly, looking correct!
Here's a final shot of the upper and lower hulls together (yes the lower hull is under there!) and the turret mounted on the top:
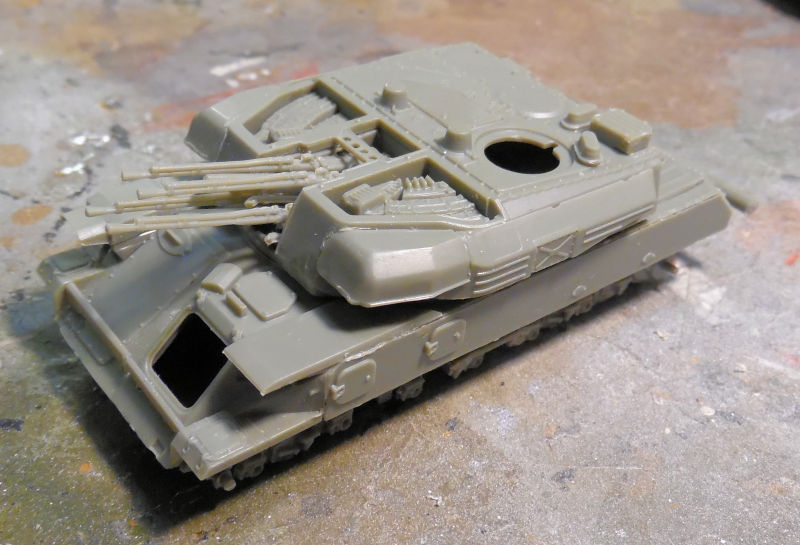
That was as far as I wanted to go with that one! It says cooling hoses are supposed to be added and shows a diagram, but after fighting this so hard; those will not be added.
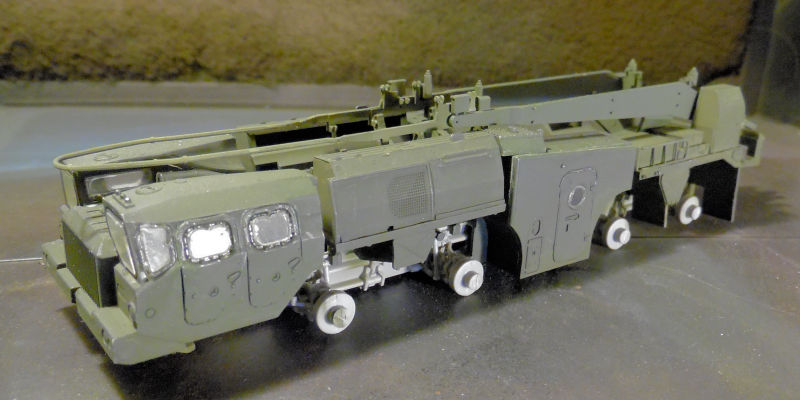
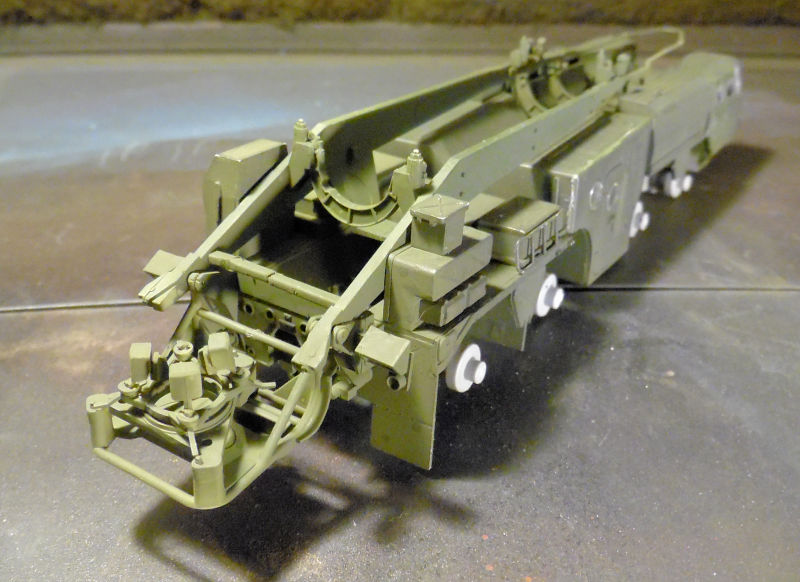
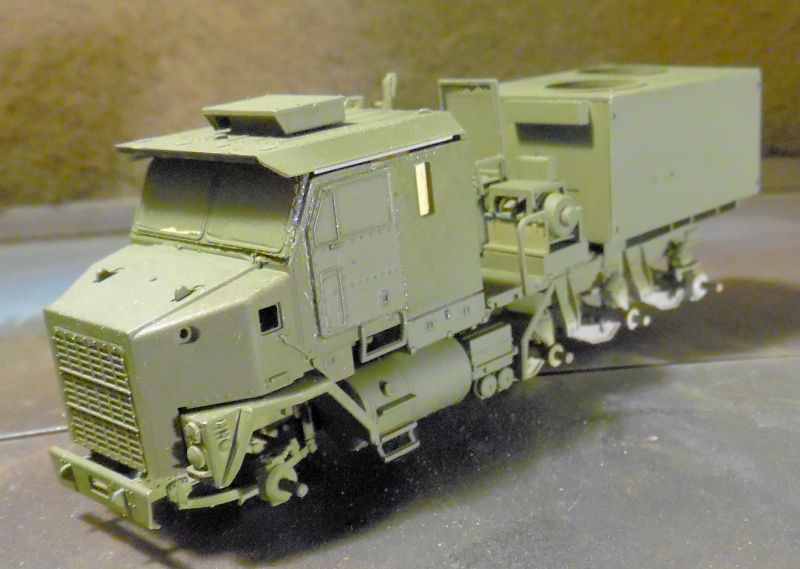
Finally in this last bay we have the M1070 gun truck. First off, the last details were assembled and everything was cemented down to the chassis:
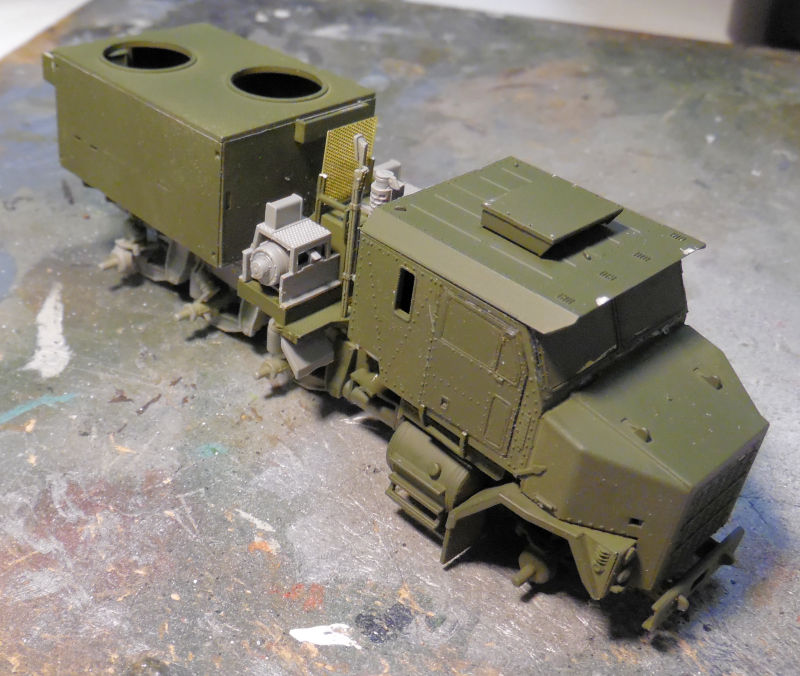
Next another full shot of green was added:
Afterward, we freehanded a camouflage pattern on this, and sprayed the gun box a rusted metal color:
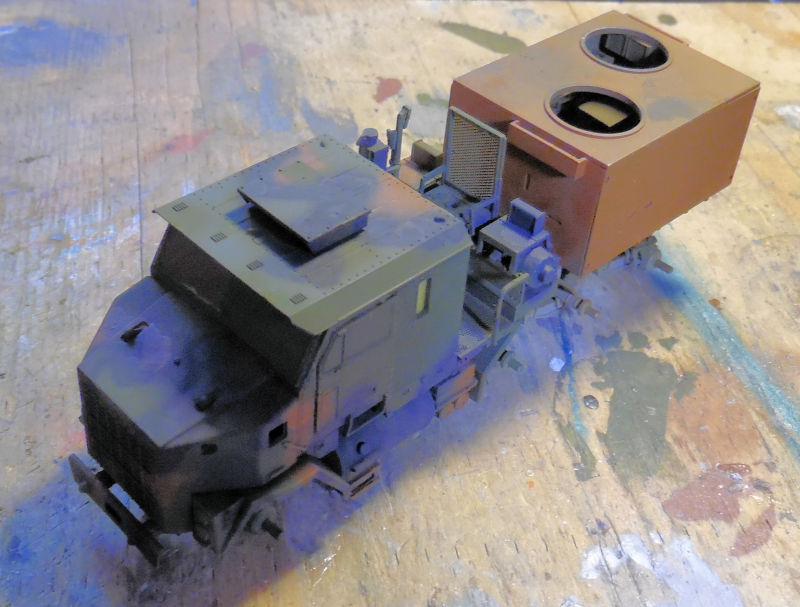
We're gonna be clear coating this for decals soon, and then finish off the final details.
And that is the extended tour of Maddog Manufacturing Motor Pool. Thank you all for stopping in and remember that comments are welcome.