Hasegawa 1/700 Scale DDH Izumo Review Build
Posted: Sat Sep 08, 2018 1:01 pm
Here is my review of the Hasegawa 1/722 scale DDH Izumo Full Hull Special Kit:
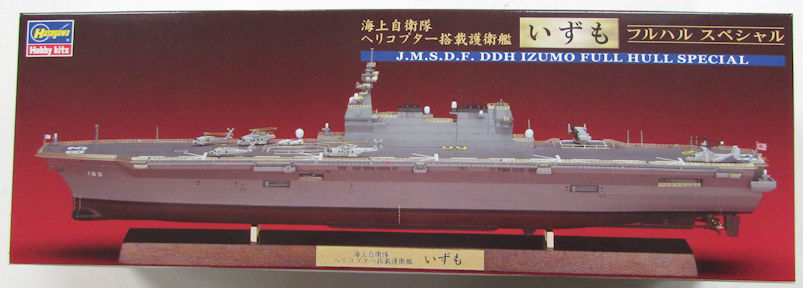
The Izumo is one of the newest ships in the Japanese Maritime Self Defense Force, being commissioned in 2015. She carries a full compliment of helicopters and will be carrying the Opsrey if they haven't already added them to the air wing. With her fully updated electronics and systems, she is able to provide extensive anti-submarine coverage for the fleet. She is also fully capable of providing considerable support to any disaster relief efforts with her helicopters and medical suits on board.
Now on to the kit.
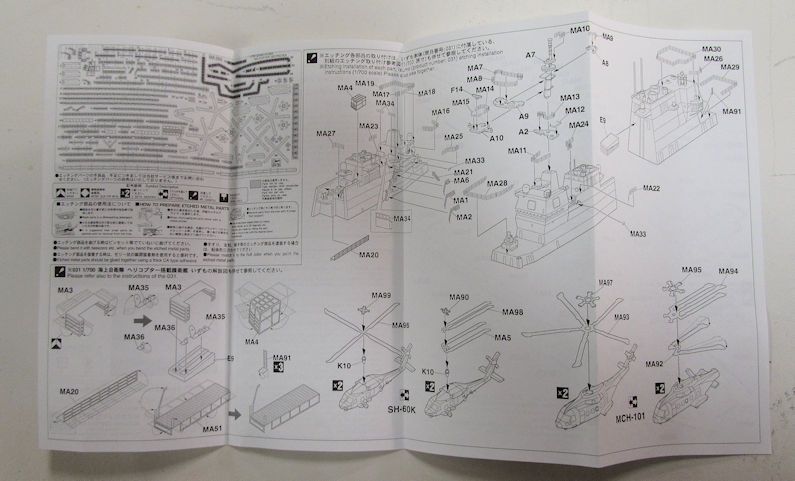
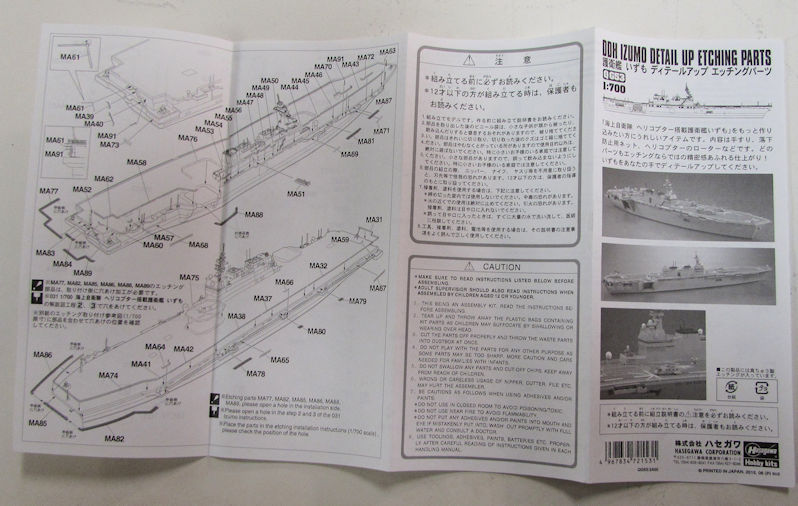
First up, the large instruction sheet:
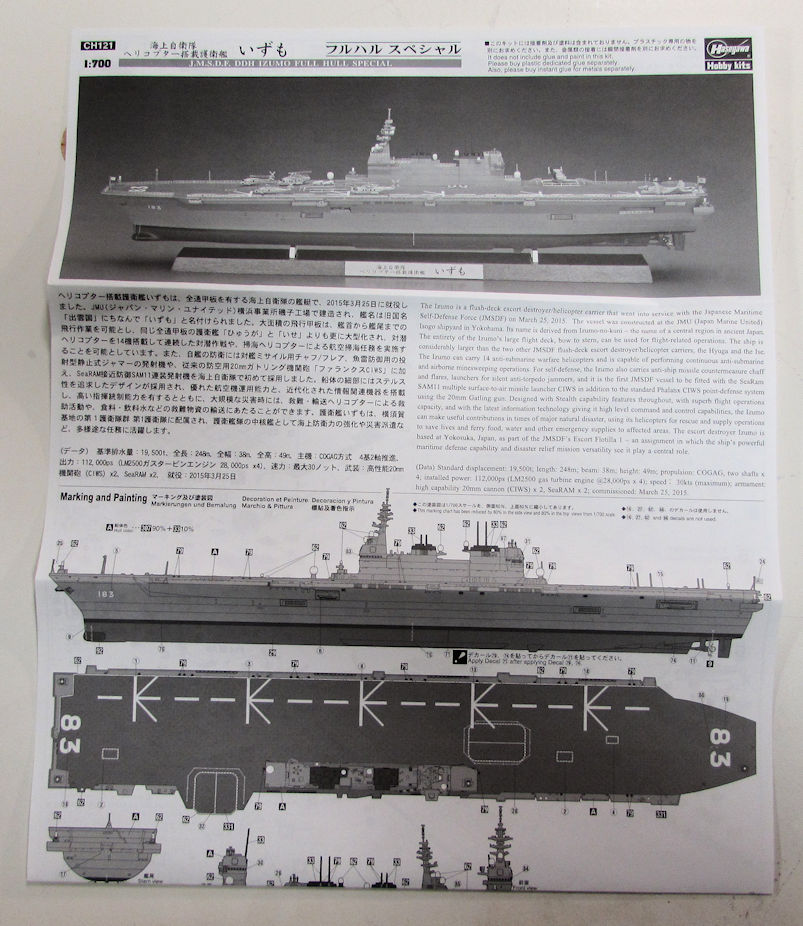

This is well laid out with good drawings and considerable information printed in English as well as Japanese. Hasegawa includes a parts map at the end of the sheet as well. A couple of drawbacks for me is the size of this instruction sheet makes it fairly unwieldy. With the fold at the top instead of the side like a booklet, this becomes challenging to consult at times. I have had to repeatedly fold and re-fold this sheet.
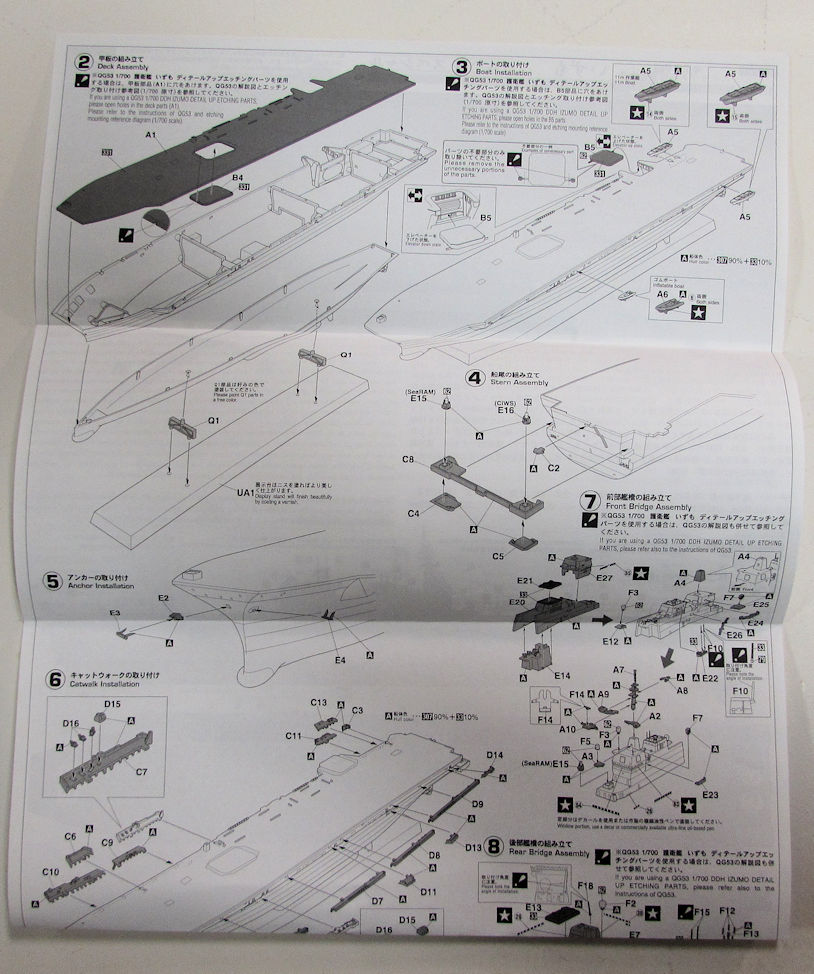
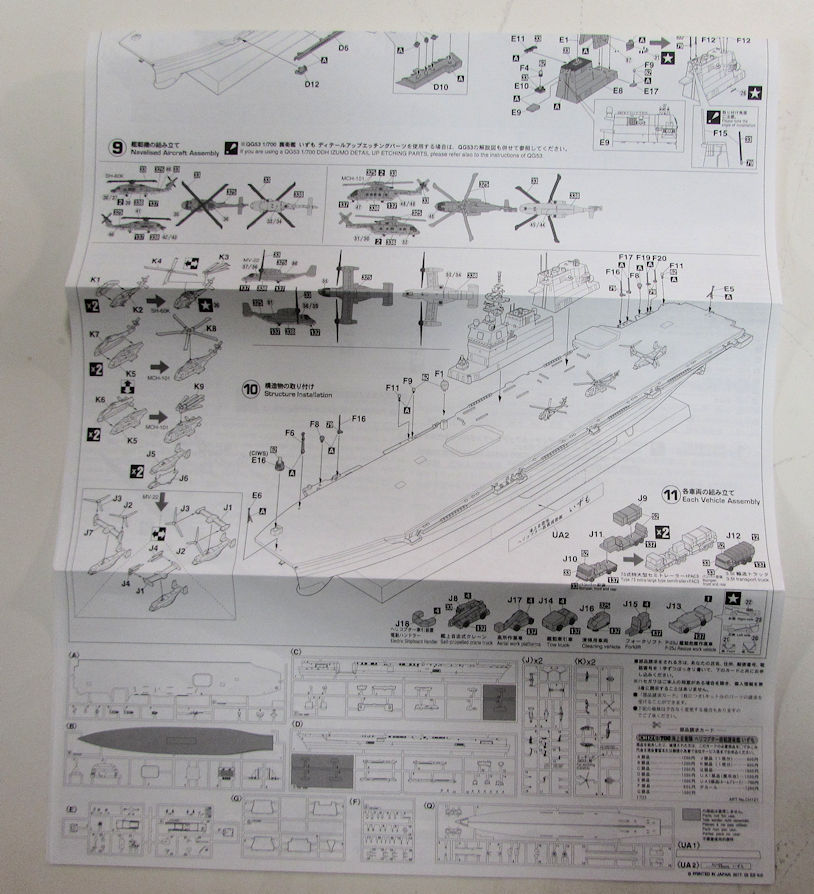
The instructions are supplemented with an additional sheet just for the application of the extensive photo-etch parts which are included in this set:
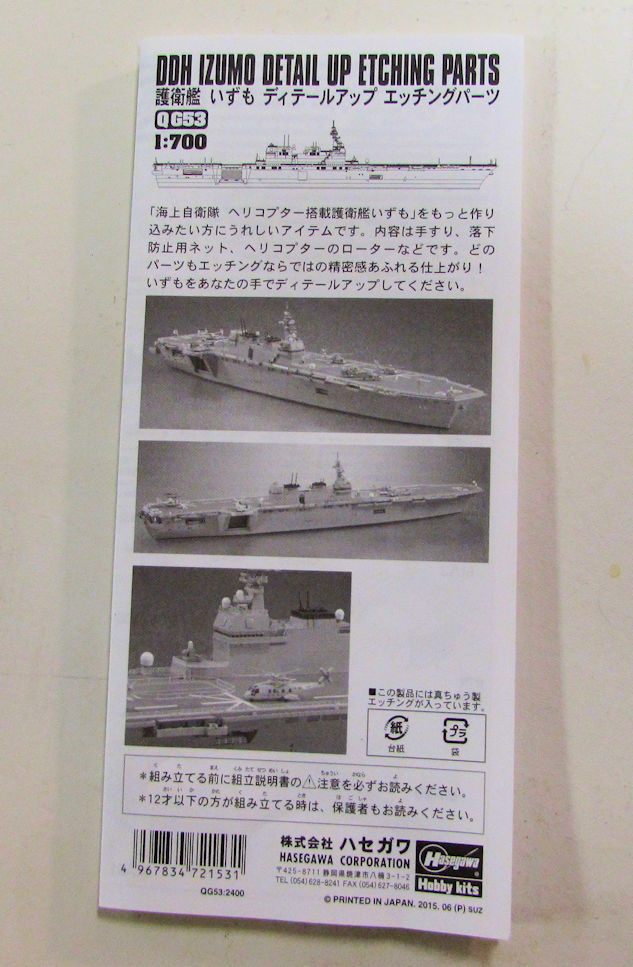
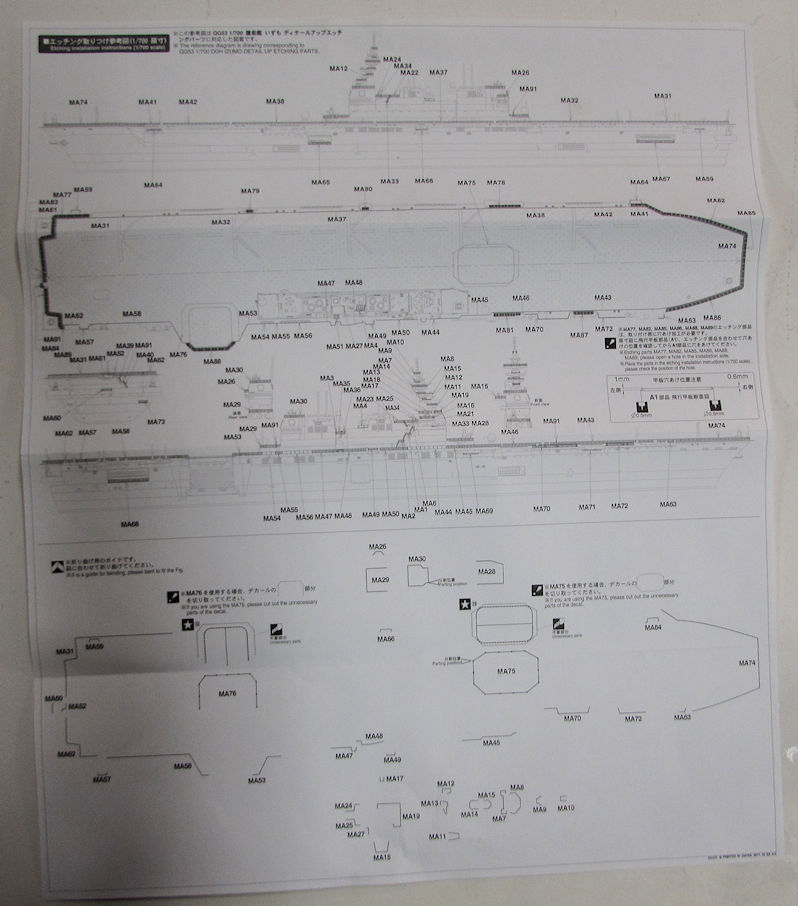
This supplemental sheet is very concise and straightforward, showing in great detail where the photo-etch parts are supposed to go. Hasegawa also gives excellent tips and advice in both English and Japanese to assist. This is also an unwieldy set though; I'm surmising that the instructions were made larger to better show the intense detail of all the parts in order to help facilitate ease of assembly for the modeler.
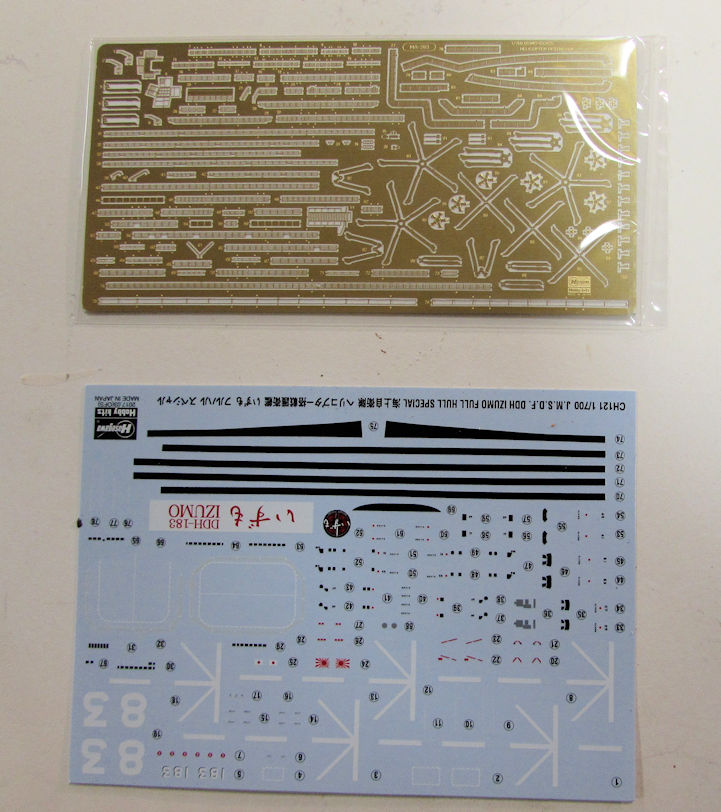
Speaking of the extensive photo=etch set, here is a shot of it with the kit decals; which are also very comprehensive:
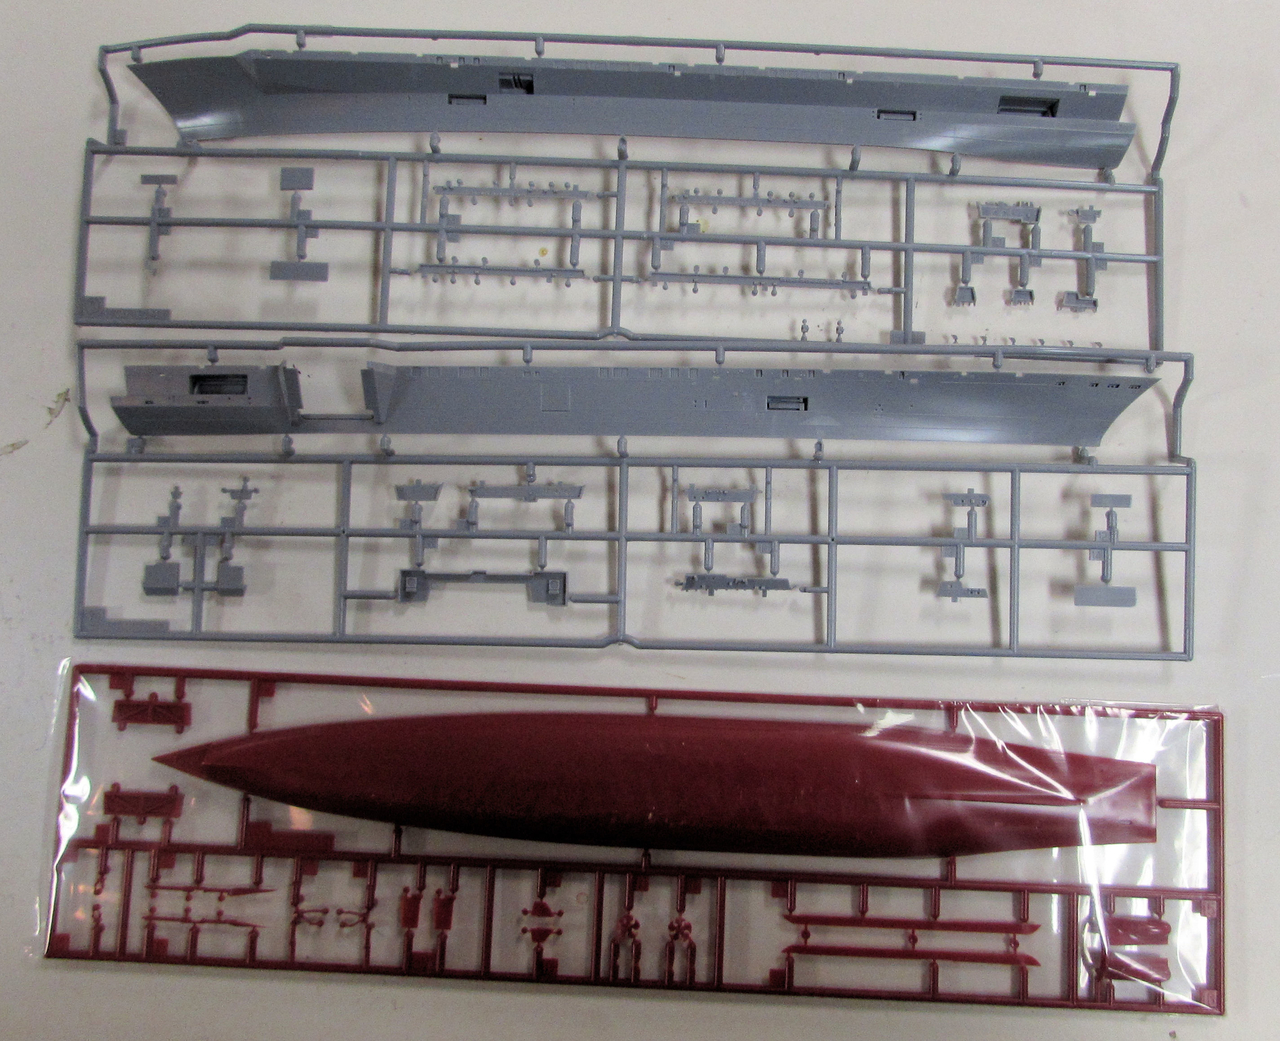
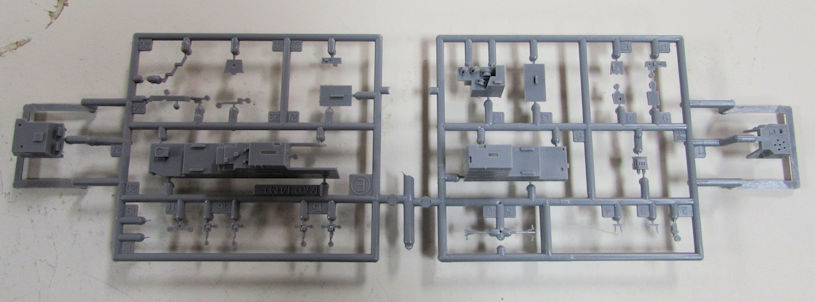
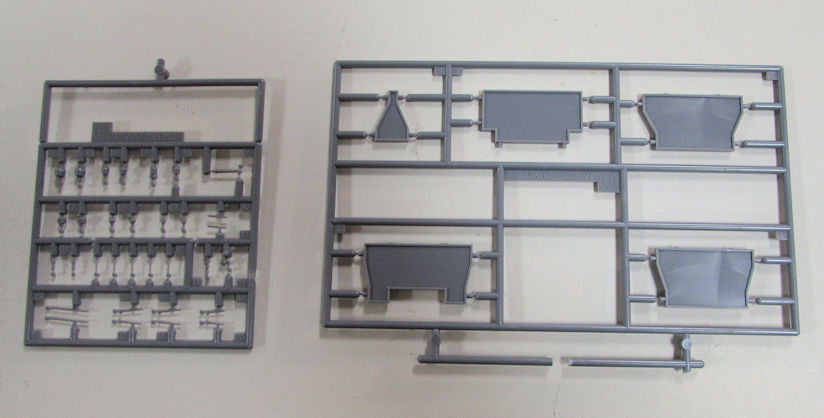
Moving on to the kit itself, the sprues are exceptionally well molded with no flash to speak of. On a very few parts there is some soft edges that need some minor cleanup, but overall, there is no additional cleanup pr prep needed for these parts. I left this pic big to show the incredible detail added to these parts:
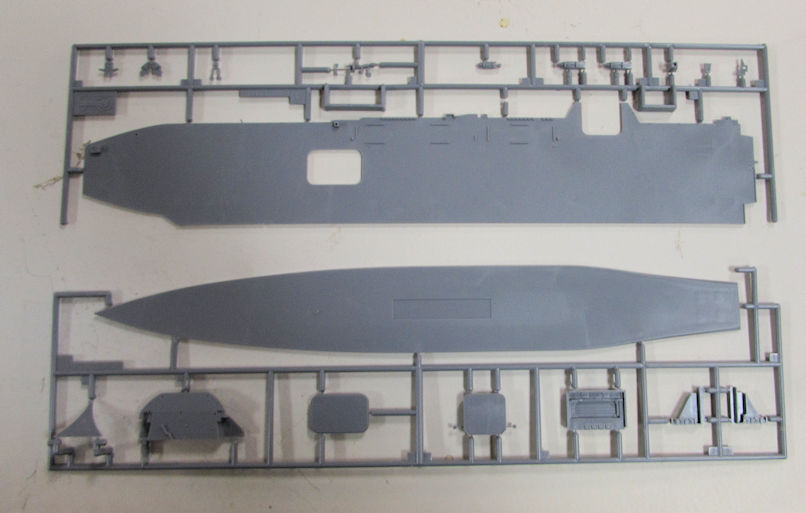
Here you see the internal bulkheads that give this kit strength and support to maintain the shape of the hull and ease the assembly process:
This kit includes a wooden base plate and beautifully etched brass name plate with which to display your model when finished:
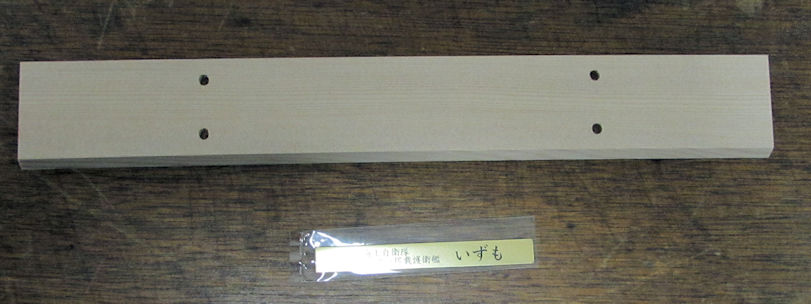
The wood base is unfinished, I recommend lightly sanding it and staining it an appropriate color to enhance the display of your model. Adding a varnish to seal it would also add a more professional appearance to the base.
These are examples of the air wing and deck vehicles that are included with this model. As a personal aside, I'm hoping to pick up a set of 1/700 scale F-35's to add to this model since the JMSDF is evaluating them for use in this class of ships.
Moving on now, here is the start of the assembly for this model.
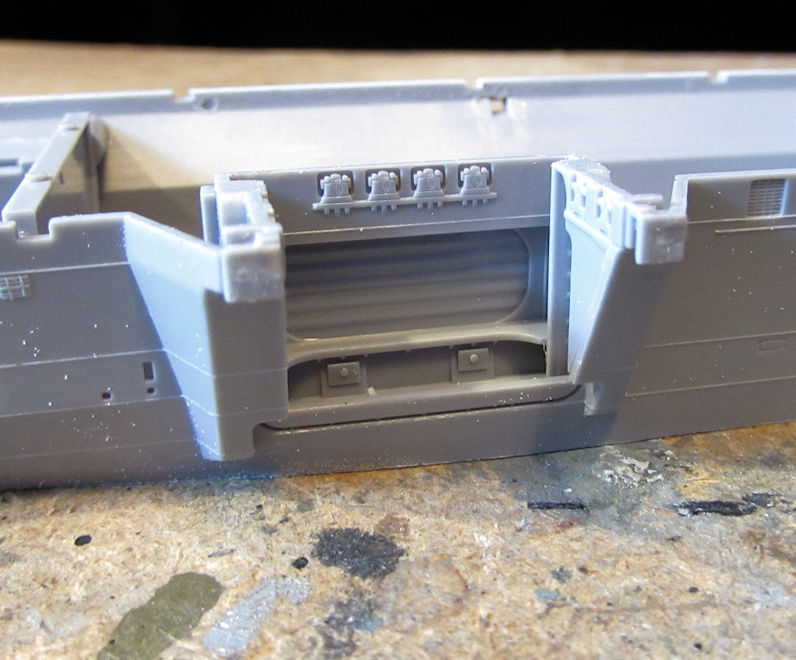
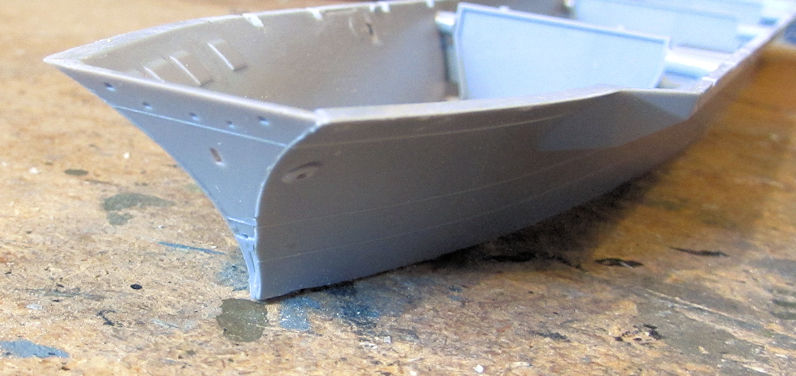
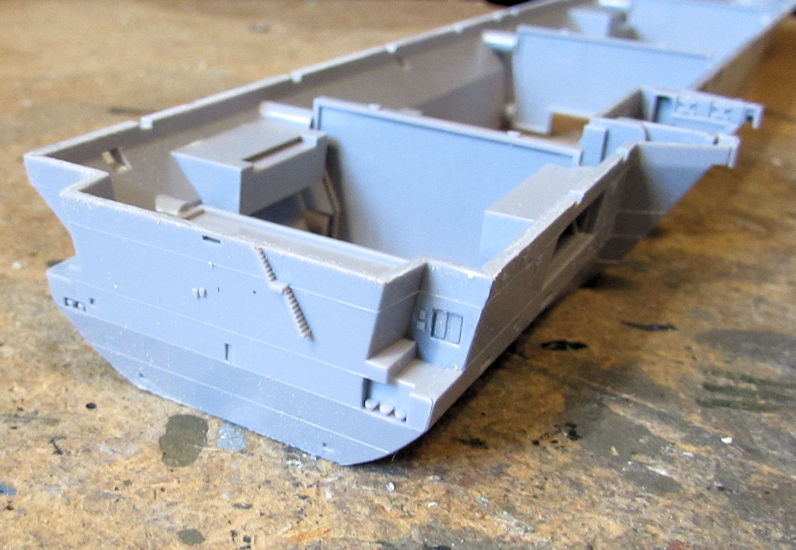
The first part of the assembly involved building the hull. This kit gives you some strong bulkhead pieces (as seen above) to keep the hull in the proper shape and give it strength. They are also designed to keep the flight deck straight and prevent bowing. I also added the bow plate, the stern, and the side hanger deck elevator and door to make this hull complete:
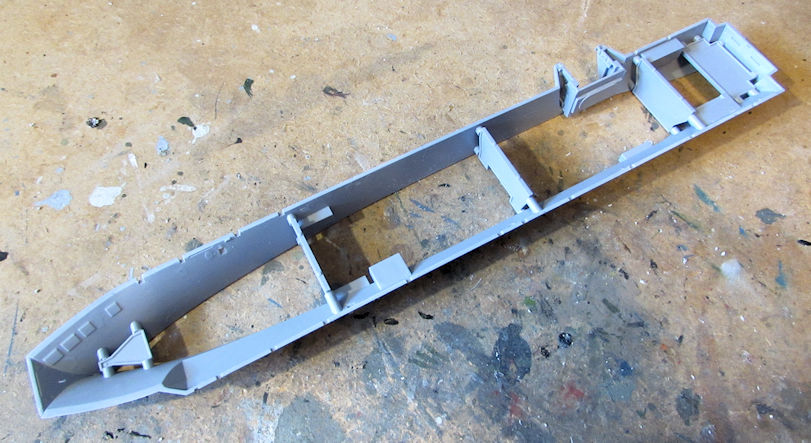
The fit of this kit is exquisite! No seams at all; everything seemed to just 'snap' into place. A few extremely minor ridges occurred but that is easily fixed with a few swipes of the sanding stick:
This is one remarkably well engineered kit with incredible detail.
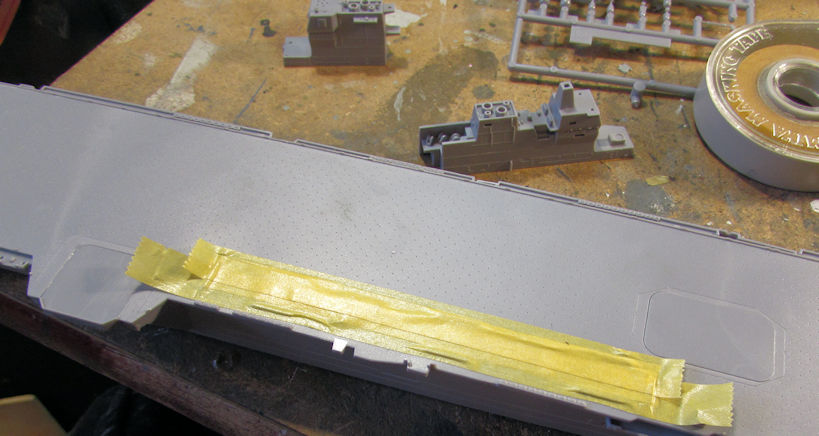
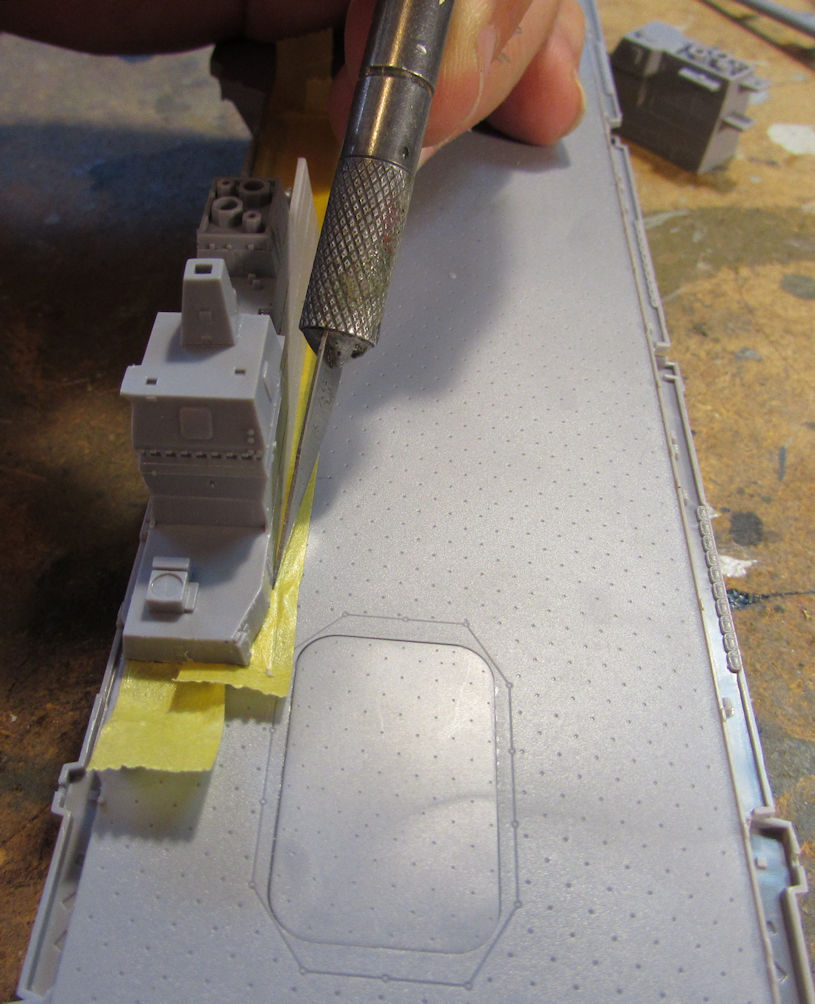
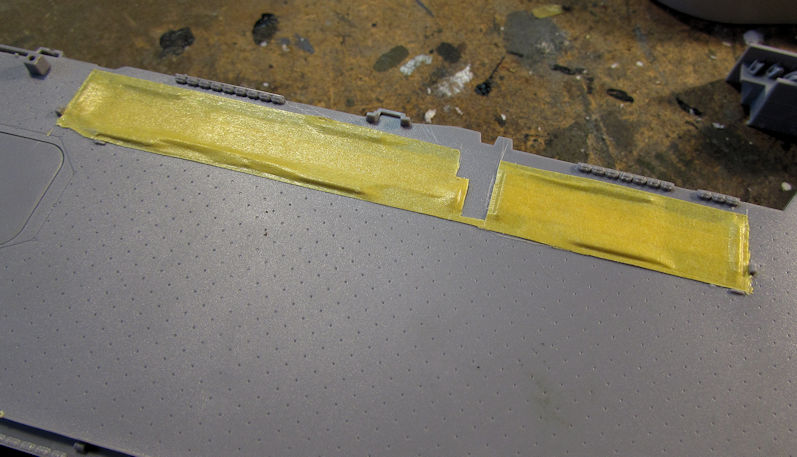
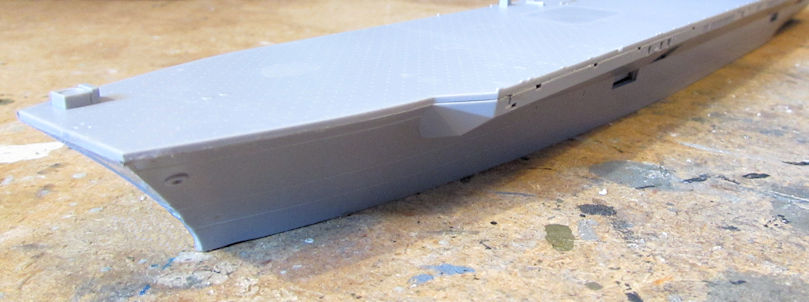
Following this, I added the flight deck to the hull. On the tops of the support bulkheads, there are nubs that need to remain; do not sand them off. They correspond with holes on the underside of the flight deck which keeps this piece perfectly lined up with the hull. I glued this in place and it had no seams or fit issues whatsoever:
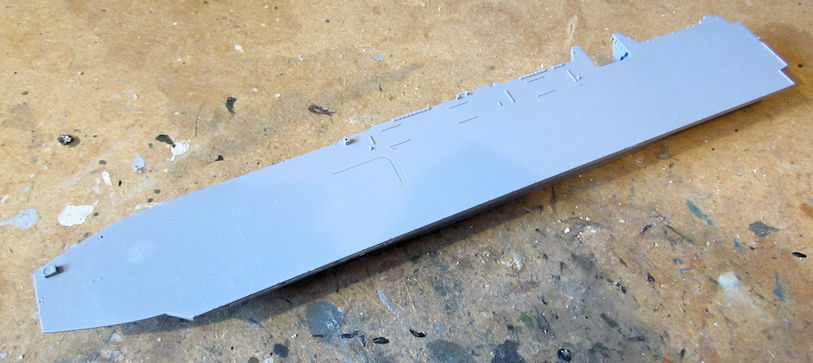
You can see here the excellent fit; I left a small bead of glue there to sand down later to eliminate any seam this might have. I didn't even need to clamp this at all:
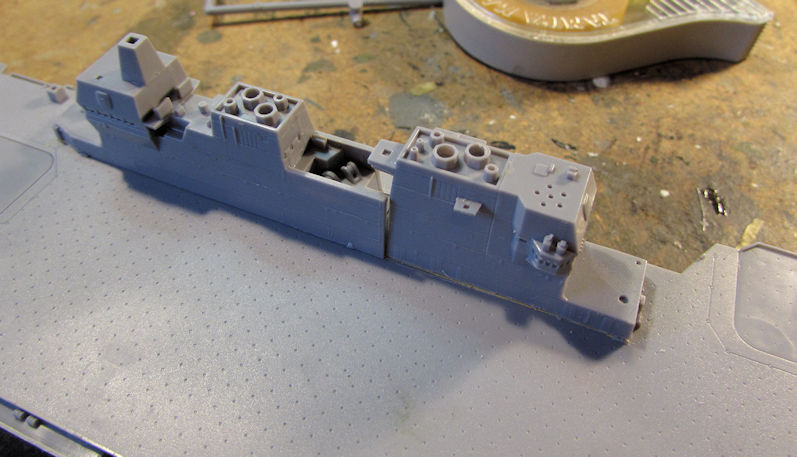
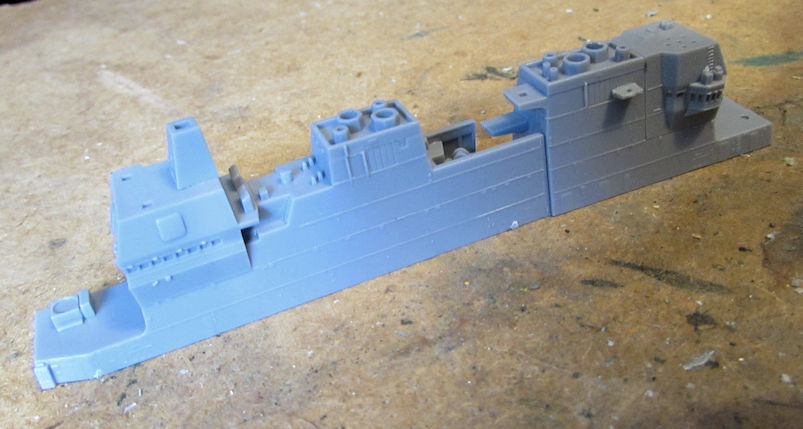
Next up, I started the island superstructure. It has two sections that need to be assembled. Here are the two of them assembled and lined up. Again, exquisite fit with no issues to speak of:
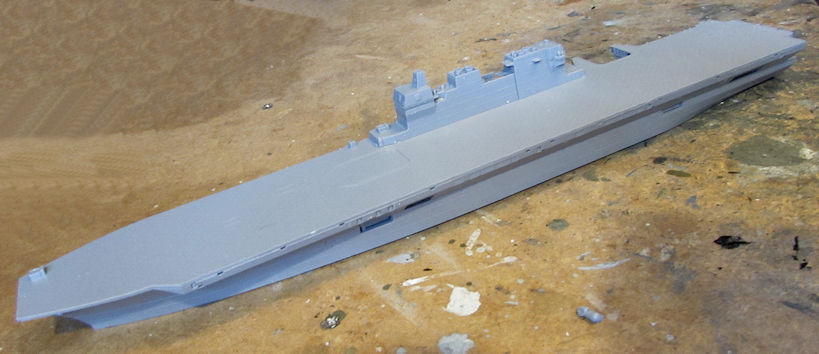
Here she is with the island dry-fit to the deck. This was after about a half hours' work assembling this:
This is a much bigger ship than I imagined, considerably larger than their Osumi class of LST/through-deck destroyers. Just to show you, I shot a pic of the Izumo next to the hull of the Japanese fleet oiler to show you the massive size of this ship:

Fairly soon I'll be adding the detail parts and then painting this before adding the photo-etch parts. This is something I will find challenging as I have never applied this much photo-etch to a ship before. I do hope I can do this model justice. That being said, I will still assemble this with warts and all to show the modeler what he can expect when building this model.
And that completes this week's update so far. Today is Hobby Day so I'll be getting more done later on. Until then, thanks for looking in, comments are welcome.
The Izumo is one of the newest ships in the Japanese Maritime Self Defense Force, being commissioned in 2015. She carries a full compliment of helicopters and will be carrying the Opsrey if they haven't already added them to the air wing. With her fully updated electronics and systems, she is able to provide extensive anti-submarine coverage for the fleet. She is also fully capable of providing considerable support to any disaster relief efforts with her helicopters and medical suits on board.
Now on to the kit.
First up, the large instruction sheet:
This is well laid out with good drawings and considerable information printed in English as well as Japanese. Hasegawa includes a parts map at the end of the sheet as well. A couple of drawbacks for me is the size of this instruction sheet makes it fairly unwieldy. With the fold at the top instead of the side like a booklet, this becomes challenging to consult at times. I have had to repeatedly fold and re-fold this sheet.
The instructions are supplemented with an additional sheet just for the application of the extensive photo-etch parts which are included in this set:
This supplemental sheet is very concise and straightforward, showing in great detail where the photo-etch parts are supposed to go. Hasegawa also gives excellent tips and advice in both English and Japanese to assist. This is also an unwieldy set though; I'm surmising that the instructions were made larger to better show the intense detail of all the parts in order to help facilitate ease of assembly for the modeler.
Speaking of the extensive photo=etch set, here is a shot of it with the kit decals; which are also very comprehensive:
Moving on to the kit itself, the sprues are exceptionally well molded with no flash to speak of. On a very few parts there is some soft edges that need some minor cleanup, but overall, there is no additional cleanup pr prep needed for these parts. I left this pic big to show the incredible detail added to these parts:
Here you see the internal bulkheads that give this kit strength and support to maintain the shape of the hull and ease the assembly process:
This kit includes a wooden base plate and beautifully etched brass name plate with which to display your model when finished:
The wood base is unfinished, I recommend lightly sanding it and staining it an appropriate color to enhance the display of your model. Adding a varnish to seal it would also add a more professional appearance to the base.
These are examples of the air wing and deck vehicles that are included with this model. As a personal aside, I'm hoping to pick up a set of 1/700 scale F-35's to add to this model since the JMSDF is evaluating them for use in this class of ships.
Moving on now, here is the start of the assembly for this model.
The first part of the assembly involved building the hull. This kit gives you some strong bulkhead pieces (as seen above) to keep the hull in the proper shape and give it strength. They are also designed to keep the flight deck straight and prevent bowing. I also added the bow plate, the stern, and the side hanger deck elevator and door to make this hull complete:
The fit of this kit is exquisite! No seams at all; everything seemed to just 'snap' into place. A few extremely minor ridges occurred but that is easily fixed with a few swipes of the sanding stick:
This is one remarkably well engineered kit with incredible detail.
Following this, I added the flight deck to the hull. On the tops of the support bulkheads, there are nubs that need to remain; do not sand them off. They correspond with holes on the underside of the flight deck which keeps this piece perfectly lined up with the hull. I glued this in place and it had no seams or fit issues whatsoever:
You can see here the excellent fit; I left a small bead of glue there to sand down later to eliminate any seam this might have. I didn't even need to clamp this at all:
Next up, I started the island superstructure. It has two sections that need to be assembled. Here are the two of them assembled and lined up. Again, exquisite fit with no issues to speak of:
Here she is with the island dry-fit to the deck. This was after about a half hours' work assembling this:
This is a much bigger ship than I imagined, considerably larger than their Osumi class of LST/through-deck destroyers. Just to show you, I shot a pic of the Izumo next to the hull of the Japanese fleet oiler to show you the massive size of this ship:
Fairly soon I'll be adding the detail parts and then painting this before adding the photo-etch parts. This is something I will find challenging as I have never applied this much photo-etch to a ship before. I do hope I can do this model justice. That being said, I will still assemble this with warts and all to show the modeler what he can expect when building this model.
And that completes this week's update so far. Today is Hobby Day so I'll be getting more done later on. Until then, thanks for looking in, comments are welcome.