1/32 Special Hobby Hawker Tempest Mk V
-
Duke Maddog

- Elite Member
- Posts: 7091
- Joined: Tue Jun 03, 2014 11:22 am
- Location: Rowland Heights, CA
Re: 1/32 Special Hobby Hawker Tempest Mk V
Wow, I could swear I'm looking at a real one being built! Way to go John!
The Duke
Virtuoso of Miniatures
"Do you know what the chain of command is? It's the chain I get and beat you with 'till you understand who's in ruttin' command!"
-Jayne Cobb, Firefly Episode 2 "The Train Job"
We are modelers - the same in spirit, in hunger to insanely buy newly released kits, hustlers in hiding our stash from our better halves and experts in using garbage as replacements for after-market parts.

Re: 1/32 Special Hobby Hawker Tempest Mk V
Excellent work John!
Stuart Templeton 'I may not be good but I'm slow...'
My blog: https://stuartsscalemodels.blogspot.com/
My blog: https://stuartsscalemodels.blogspot.com/

Re: 1/32 Special Hobby Hawker Tempest Mk V
Thanks guys! Feel a little more "comfortable" with the sizes on this one!
Here is the seat after painting but prior to the addition of the seat harnesses.
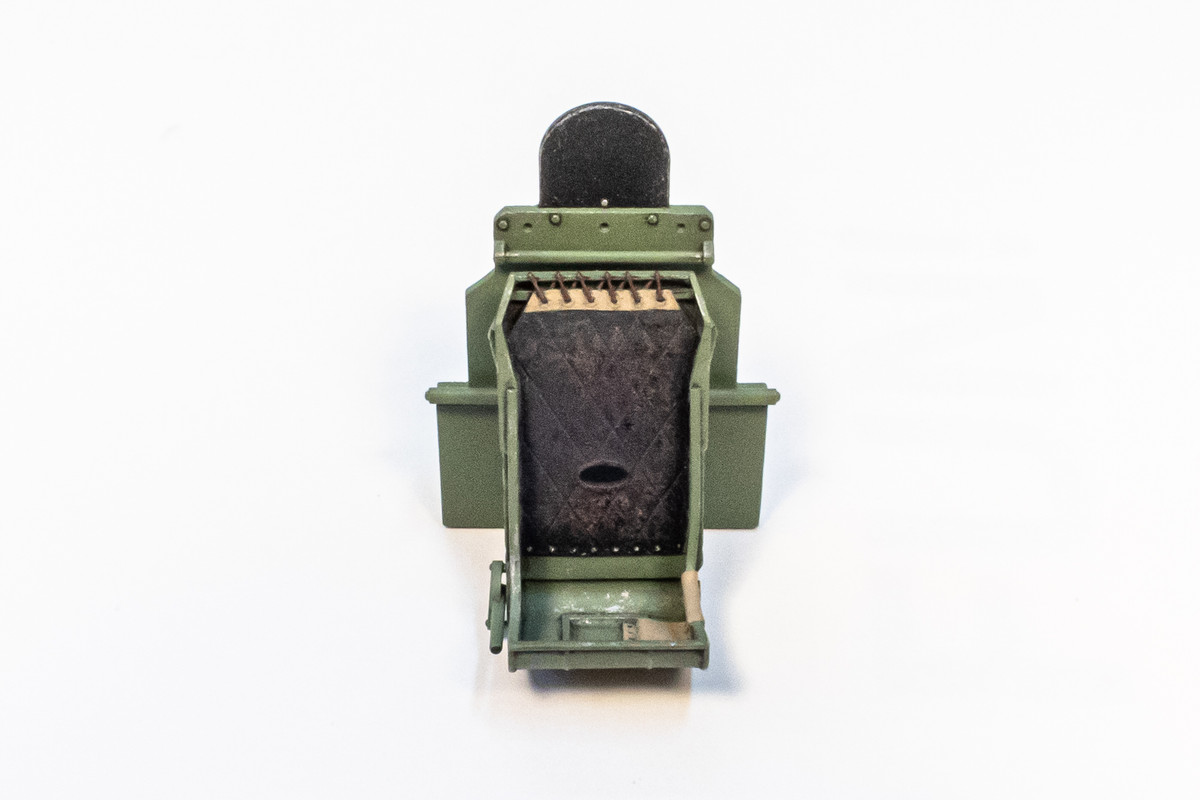
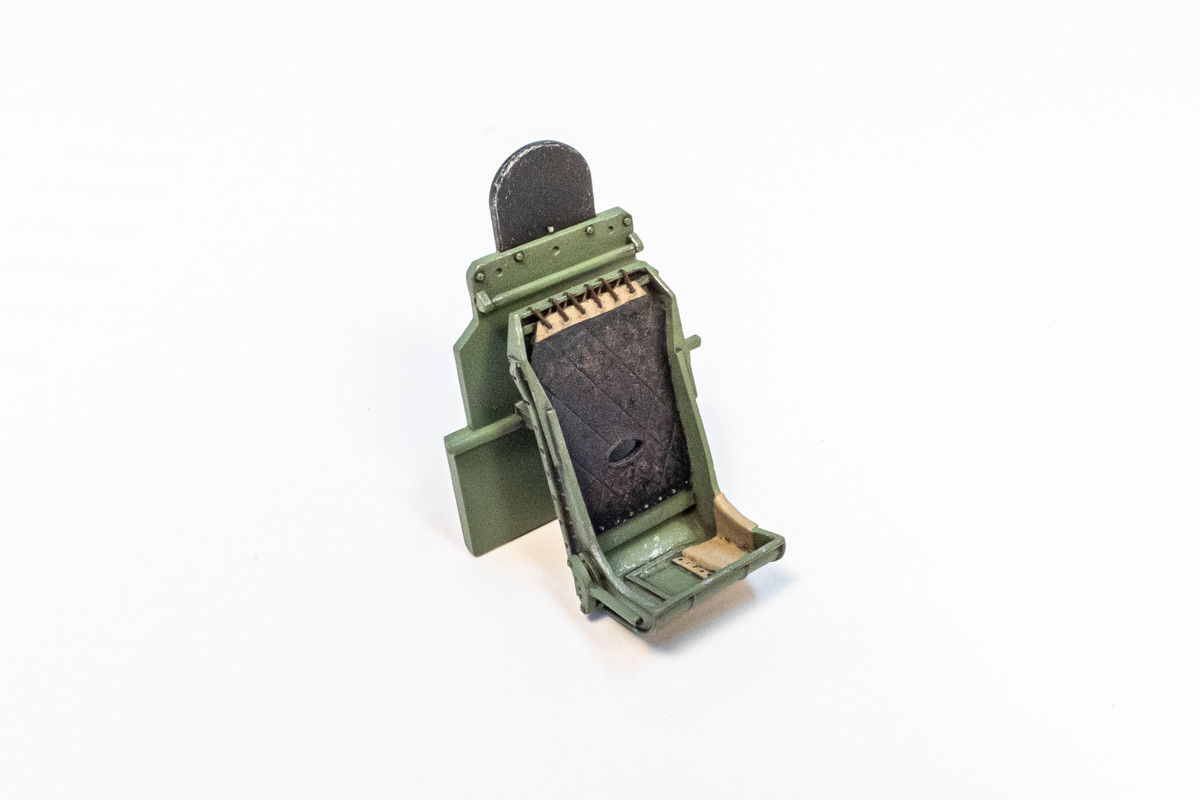
The seat is resin and there are still some small bits and pieces to add to this assembly besides the harnesses.
Here is the seat after painting but prior to the addition of the seat harnesses.
The seat is resin and there are still some small bits and pieces to add to this assembly besides the harnesses.
John aka JKim
-----------<><

-----------<><
Re: 1/32 Special Hobby Hawker Tempest Mk V
Since most of the cockpit components have been painted, I started to piece together the tubular cockpit frame. I started by gluing together the bottom and sides.
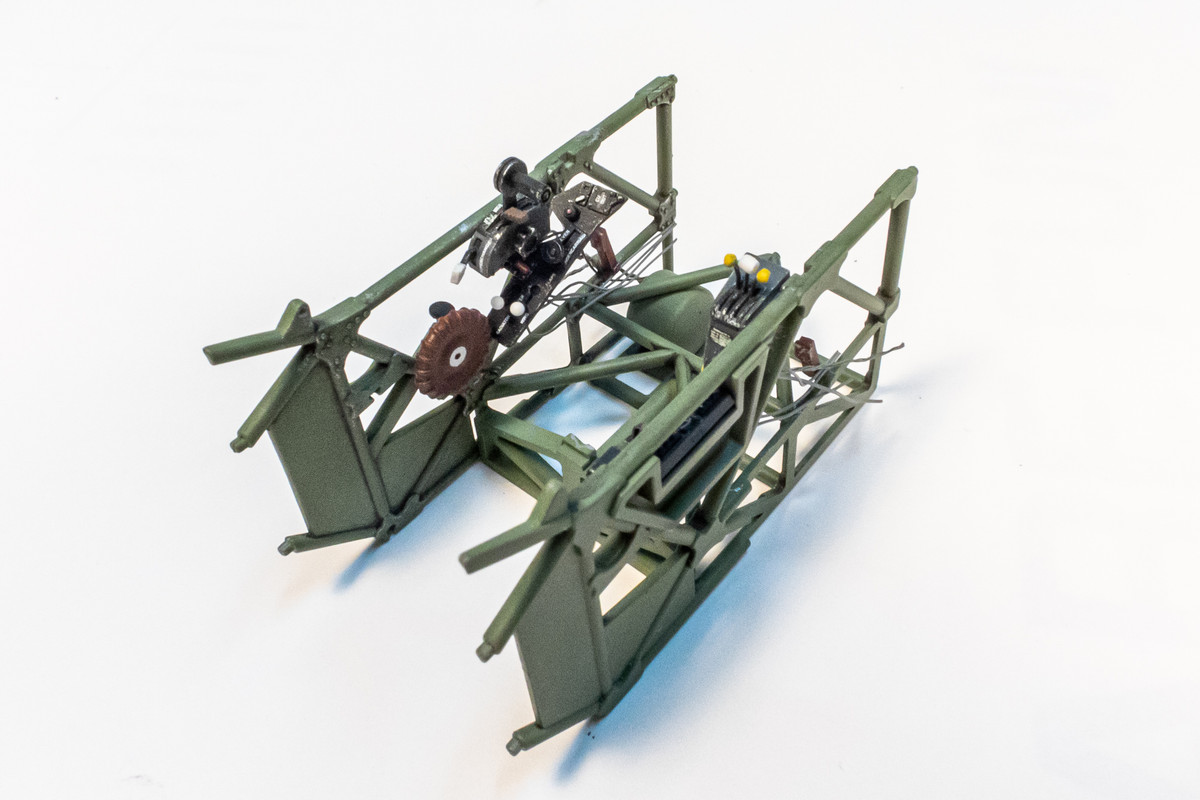
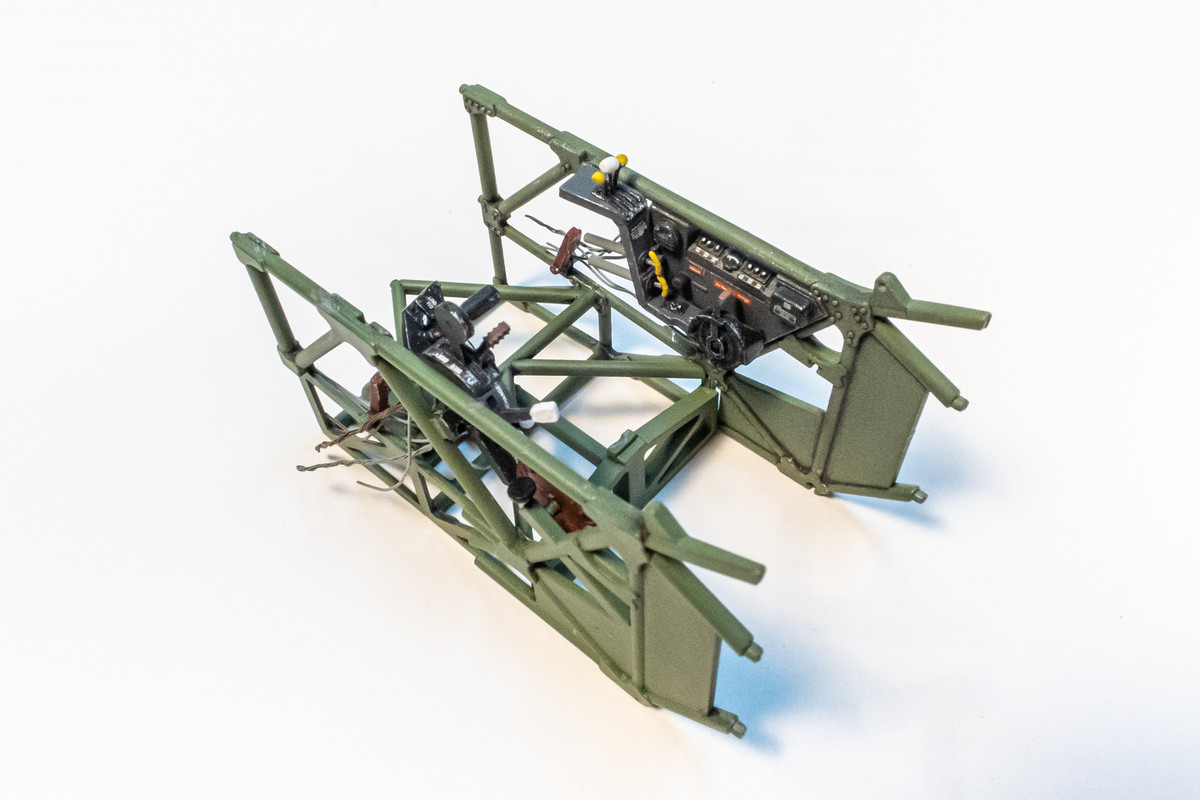
The front bulkhead, which had the footrest assembly glued into it first, was slid into place and secured with glue. The instrument panel is not glued in yet but held temporarily by Blue Tack.
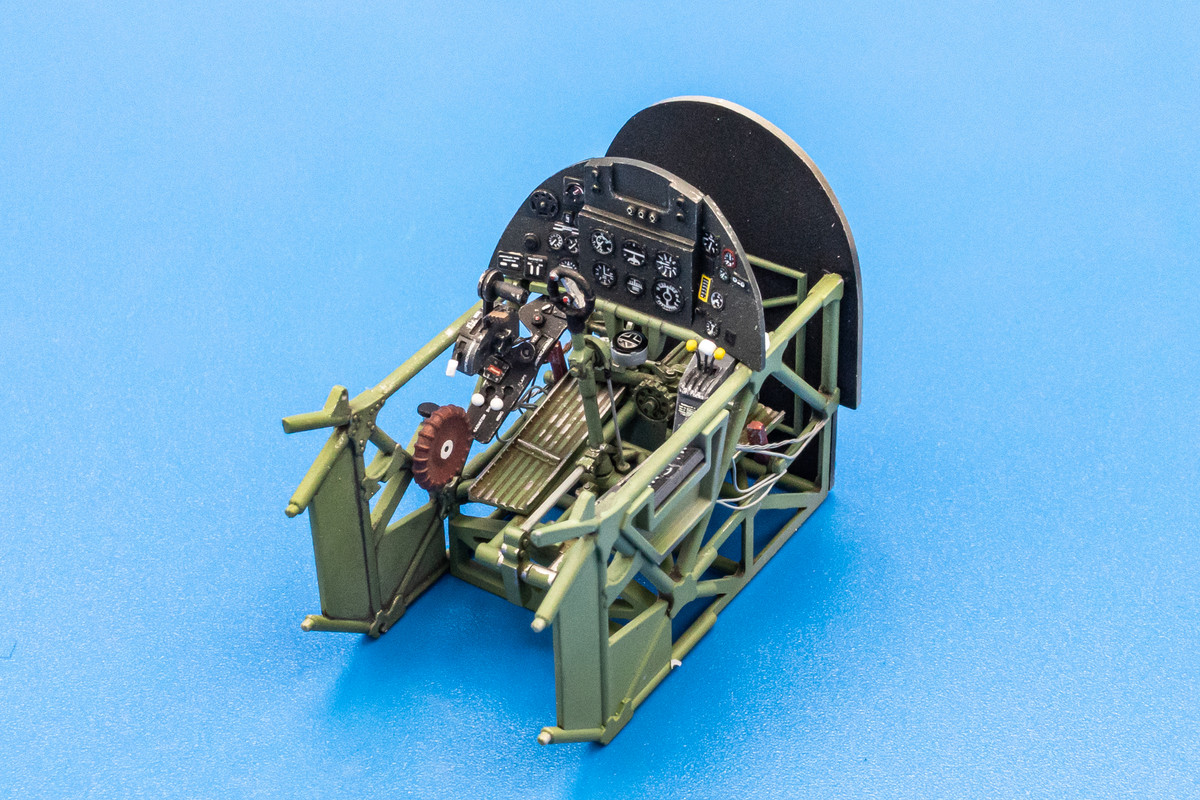
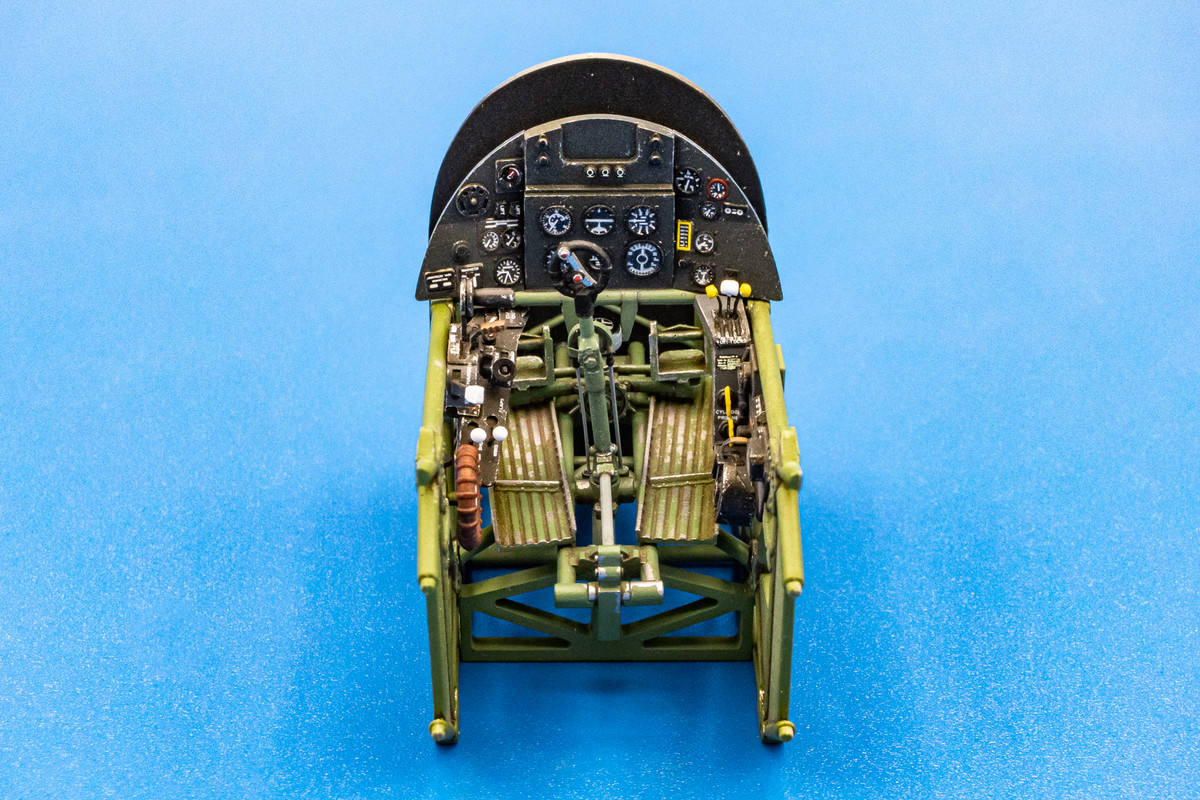
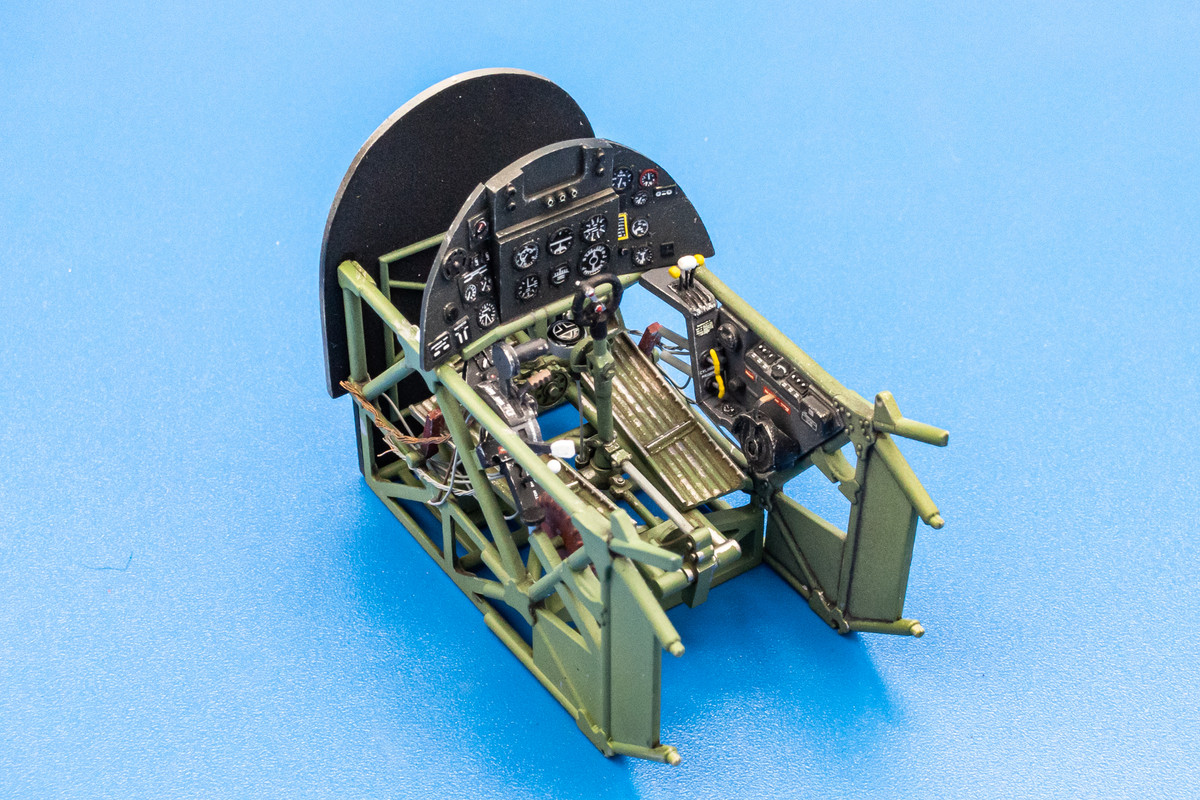
Fit was surprisingly very good and I didn't have any trouble getting all of the pins into the correct holes.

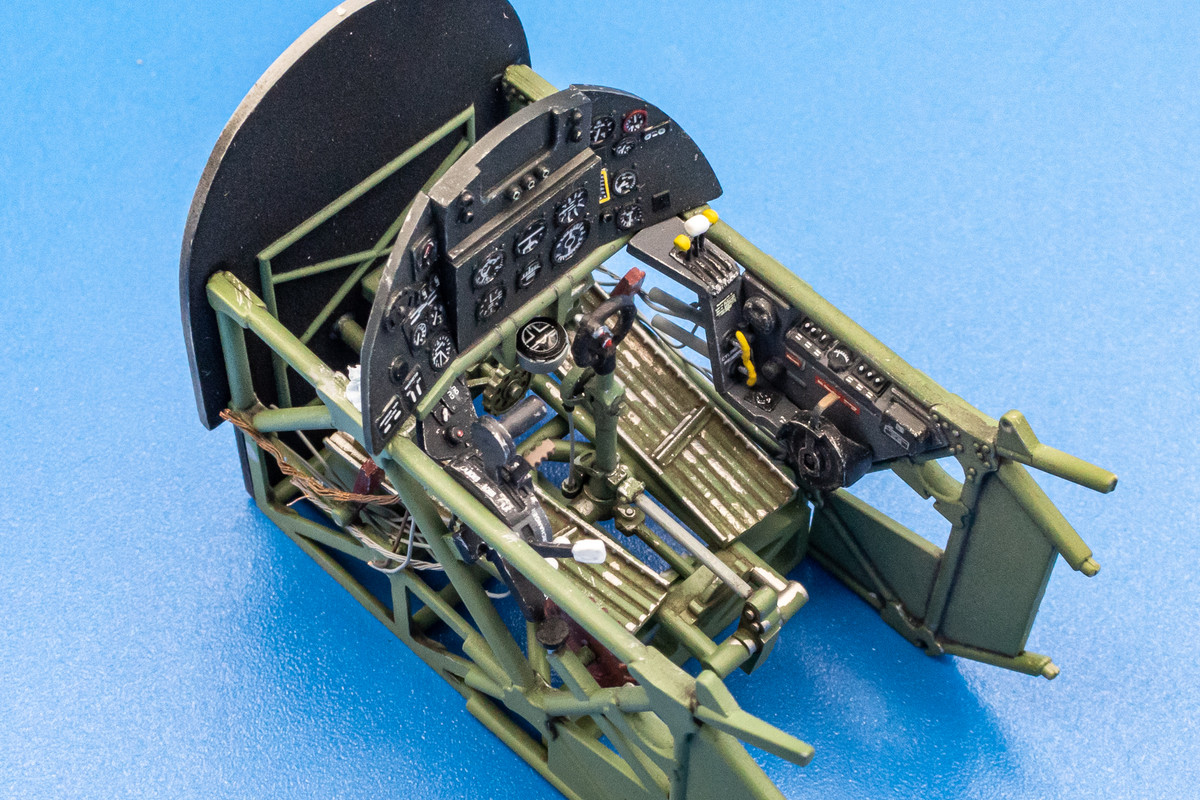
Next, I'll be finishing up the seat and then sliding the rear bulkhead onto the cockpit frame.
The front bulkhead, which had the footrest assembly glued into it first, was slid into place and secured with glue. The instrument panel is not glued in yet but held temporarily by Blue Tack.
Fit was surprisingly very good and I didn't have any trouble getting all of the pins into the correct holes.
Next, I'll be finishing up the seat and then sliding the rear bulkhead onto the cockpit frame.
John aka JKim
-----------<><
-----------<><
-
tempestjohnny

- Elite Member
- Posts: 3347
- Joined: Sat Oct 15, 2016 4:51 am
- Location: Naples. FL

Re: 1/32 Special Hobby Hawker Tempest Mk V
That's a heck of a lot of detail in that pit. I really like how you did the leather on the seat
March as one, Don't look back
Odin's sons... Attack!
Unleash hell! Do not repent! Warfare grants us no lament
Let your weapons slash and tear This is no place for fear
Hold the lines! Move as one! In unity our victory's won
Our shields will form a mighty wall
United we shall never fall
Odin's sons... Attack!
Unleash hell! Do not repent! Warfare grants us no lament
Let your weapons slash and tear This is no place for fear
Hold the lines! Move as one! In unity our victory's won
Our shields will form a mighty wall
United we shall never fall


Re: 1/32 Special Hobby Hawker Tempest Mk V
I know it is a "large scale", but....I see it, I know you did it. Yet, I cannot begin to understand how. You are a true artist!
To make each build less crappy than the last one. Or, put another way, "Better than the last one, not as good as the next one!"..
-
Medicman71

- Elite Member
- Posts: 9729
- Joined: Mon Apr 07, 2014 9:32 am
- Location: Houston, Tx
Re: 1/32 Special Hobby Hawker Tempest Mk V
Damn that cockpit looks awesome!
Mike
Sponsored by Boeing, Lockheed Martin, Northrop Grumman, Saab, BAE, and Dassault
Sponsored by Boeing, Lockheed Martin, Northrop Grumman, Saab, BAE, and Dassault
Re: 1/32 Special Hobby Hawker Tempest Mk V
Thanks Johnny! It feels good to be working at this scale again. It feels luxurious.tempestjohnny wrote:Just
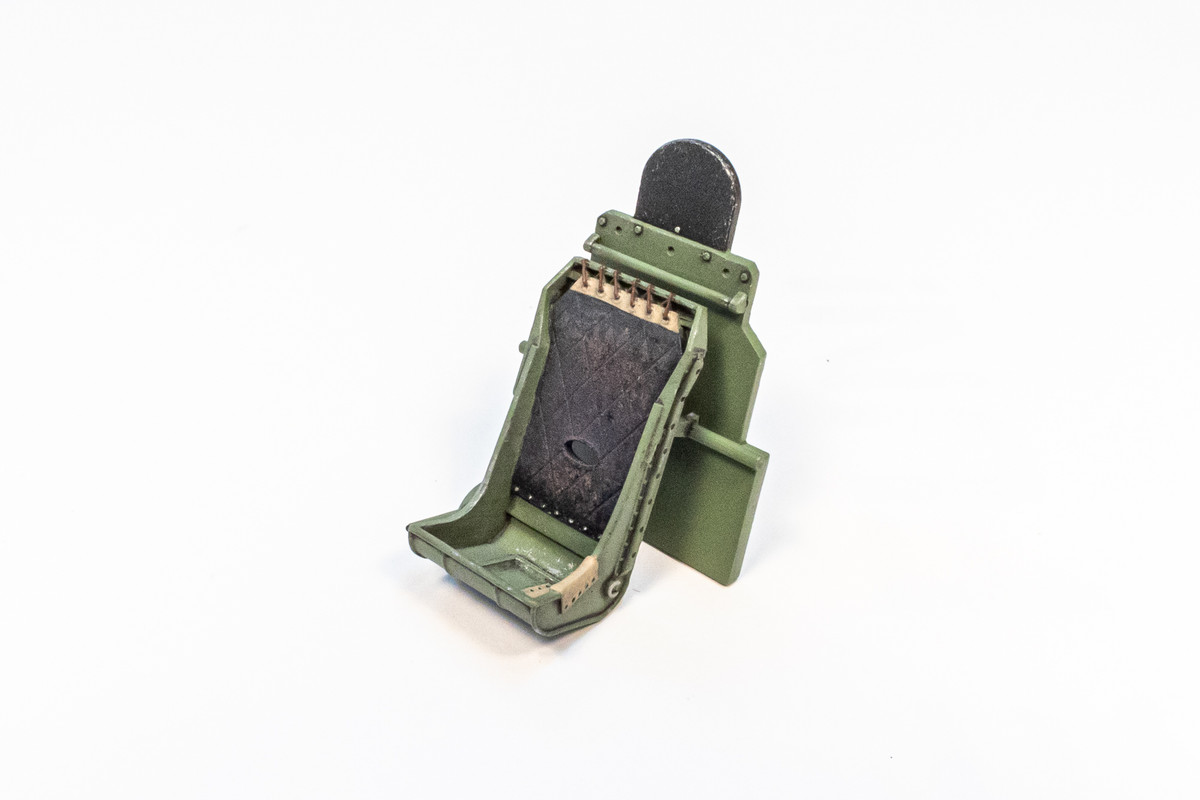
Thanks Clint! For the seat backrest, I painted it gloss black and then randomly dry brushed some brown to simulate wear. I wanted to go a step further and dry brushed a lighter tan but that was a bit overdone. So I ended up dry brushing some black to dial it back down. This type of weathering is more effective if you use at least 3 colors (base color + lighter shade 1 + lighter shade 2). I sealed it with a flat coat and then ran a black pastel wash into the grooves, which further stained the backrest.Floki wrote:That's a heck of a lot of detail in that pit. I really like how you did the leather on the seat
Thanks John!keavdog wrote:Fantastic John!
Thanks Lyle! The Special Hobby kit is already highly detailed. You can gauge the level of detail that a manufacturer has thrown into the cockpit area by looking at the decal sheet. Did they include instrument panel gauges? How about stencil data for the instruments? Are the decals actually legible? Special Hobby checks all of those boxes. The majority of the impact of this cockpit is careful painting of the kit parts.LyleW wrote:I know it is a "large scale", but....I see it, I know you did it. Yet, I cannot begin to understand how. You are a true artist!
Thank you! The cockpit will look more complete once the seat goes in. But... I'm thinking about doing something to the HGW seatbelts that have been included in the kit.Medicman71 wrote:Damn that cockpit looks awesome!
John aka JKim
-----------<><
-----------<><