Eduard 1/48 Hawker Tempest II
-
BlackSheep214

- Elite Member
- Posts: 10500
- Joined: Sun Apr 06, 2014 8:47 pm
Re: Eduard 1/48 Hawker Tempest II
Incredible work. 

“Who controls the skies, controls the fate of this Earth”
Author unknown- 352nd Fighter Group, Blue-Nosed Bastards of Bodney
“Send one plane it’s a sortie; send two planes it’s a flight; send four planes it’s a test of airpower. - Richard Kohn
Author unknown- 352nd Fighter Group, Blue-Nosed Bastards of Bodney
“Send one plane it’s a sortie; send two planes it’s a flight; send four planes it’s a test of airpower. - Richard Kohn

Re: Eduard 1/48 Hawker Tempest II
Thanks for the comments, guys!
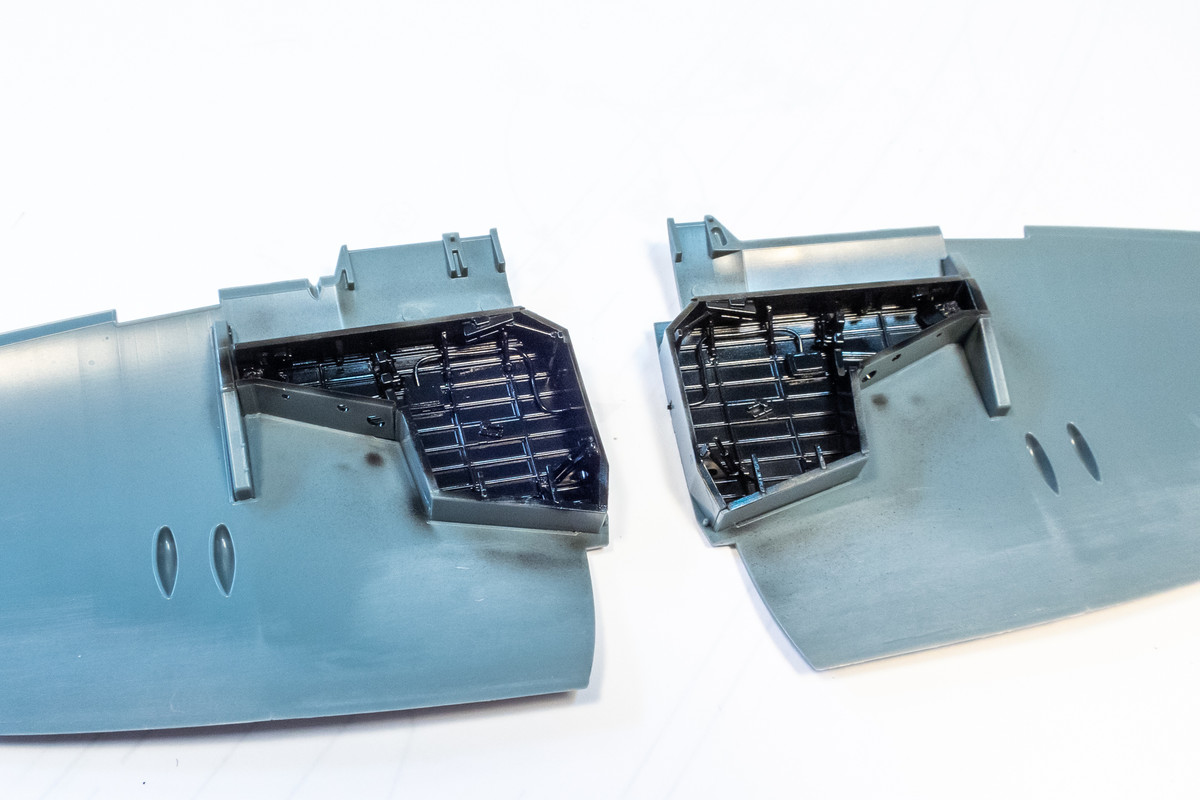
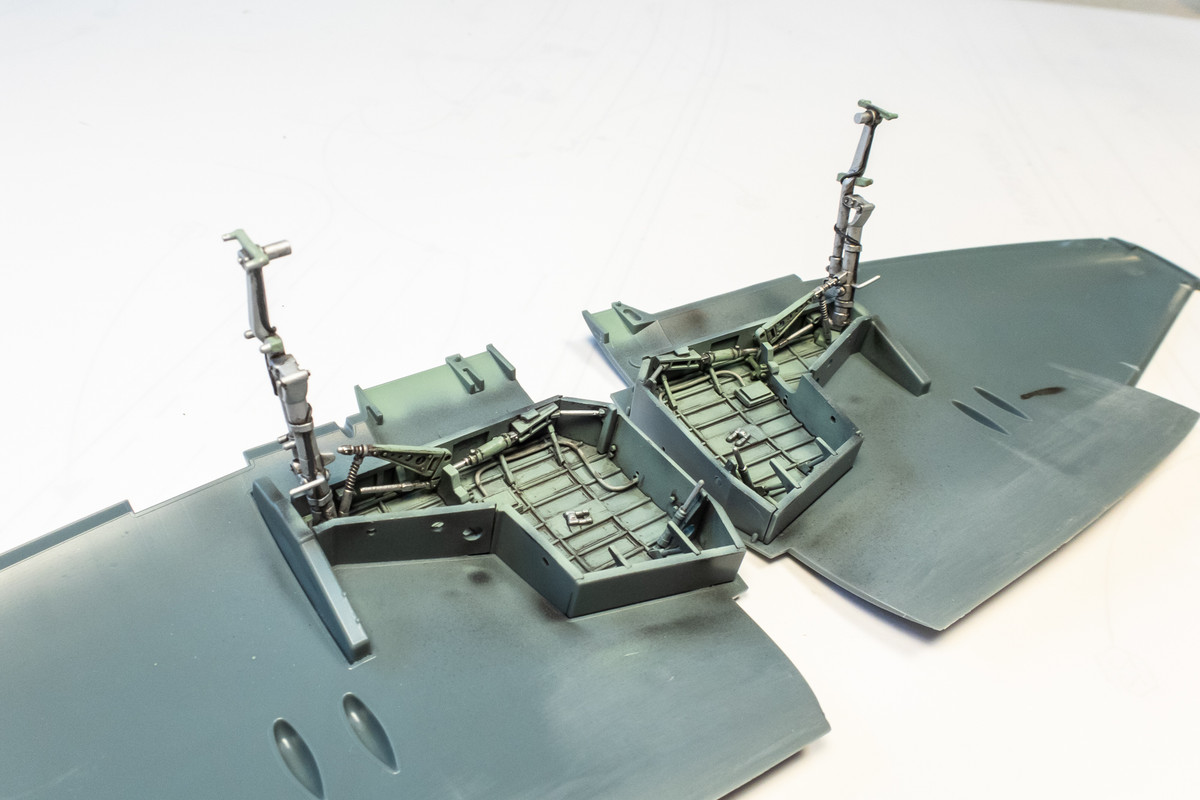
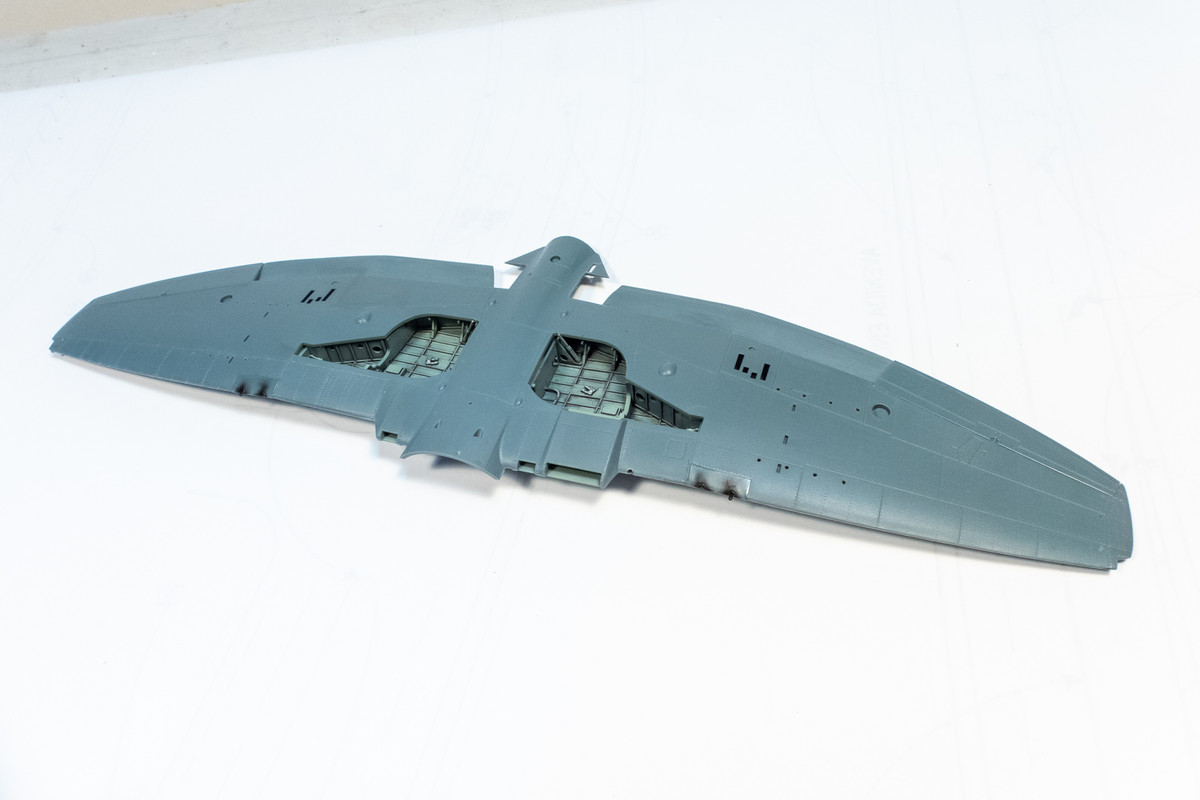
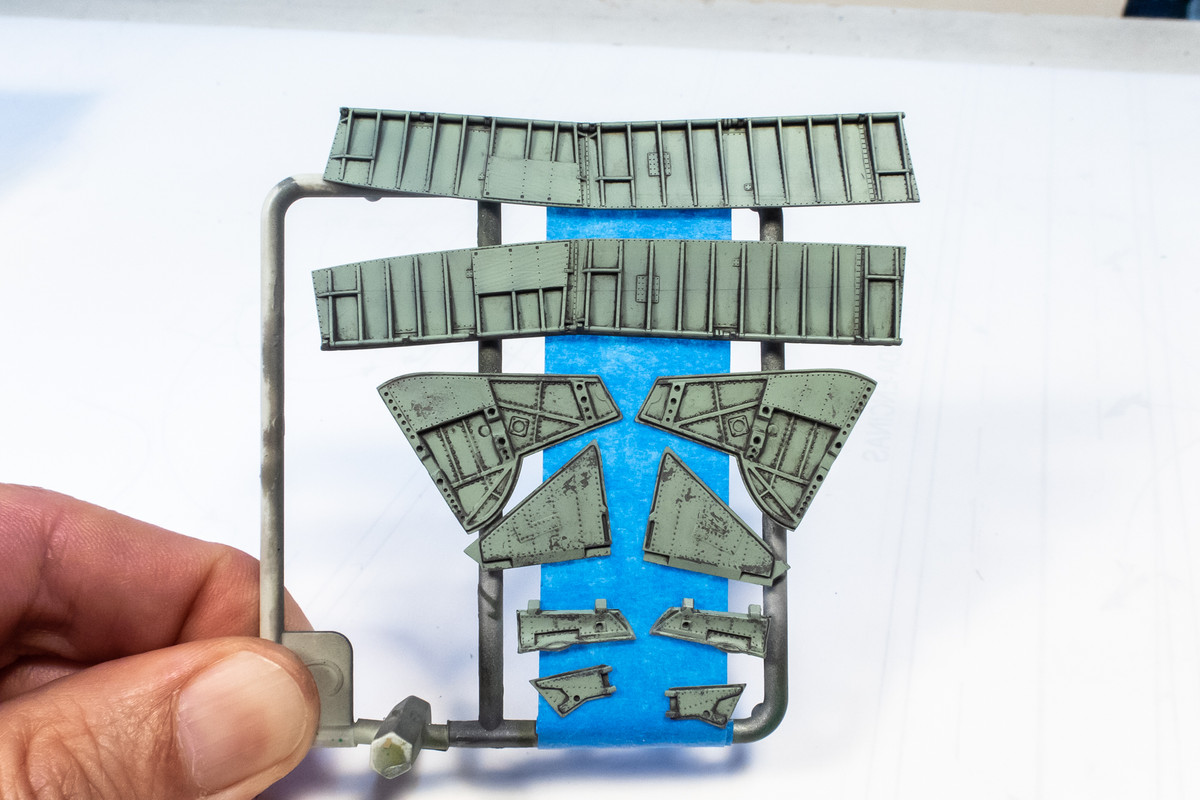
I've put together the wheel wells. All of the walls are separate parts but thankfully, they fit very well. Very similar to the Special Hobby 1/32 Tempest kit. The only thing I've elected to add here is a single wiring run and a small junction box that was cut from thin sheet styrene using my Portrait cutter.
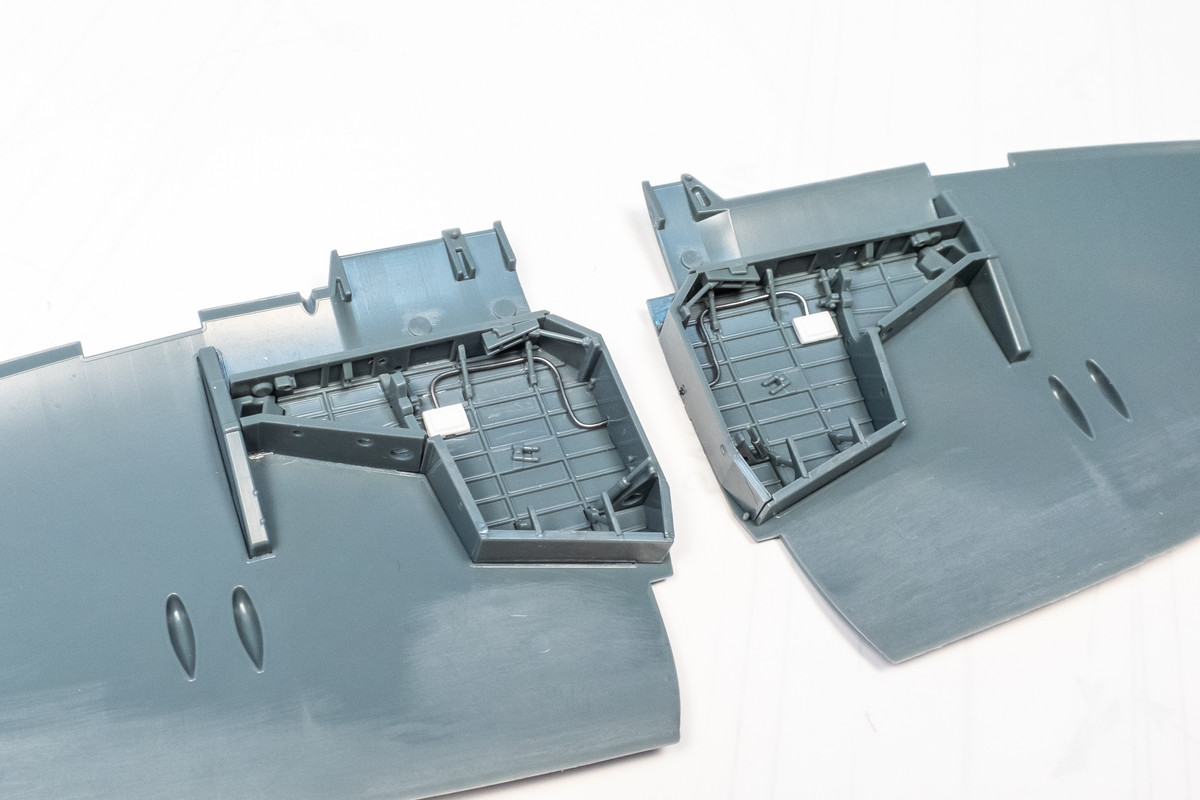
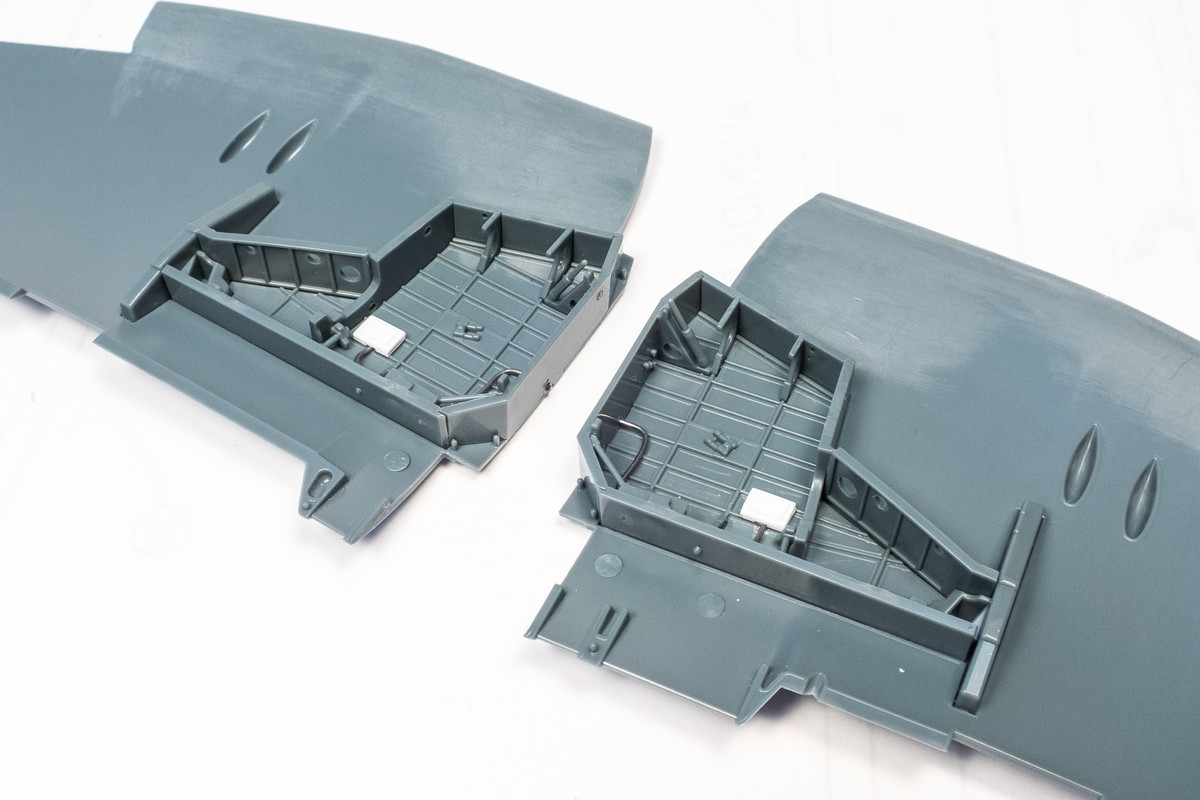
I've put together the wheel wells. All of the walls are separate parts but thankfully, they fit very well. Very similar to the Special Hobby 1/32 Tempest kit. The only thing I've elected to add here is a single wiring run and a small junction box that was cut from thin sheet styrene using my Portrait cutter.
John aka JKim
-----------<><

-----------<><
Re: Eduard 1/48 Hawker Tempest II
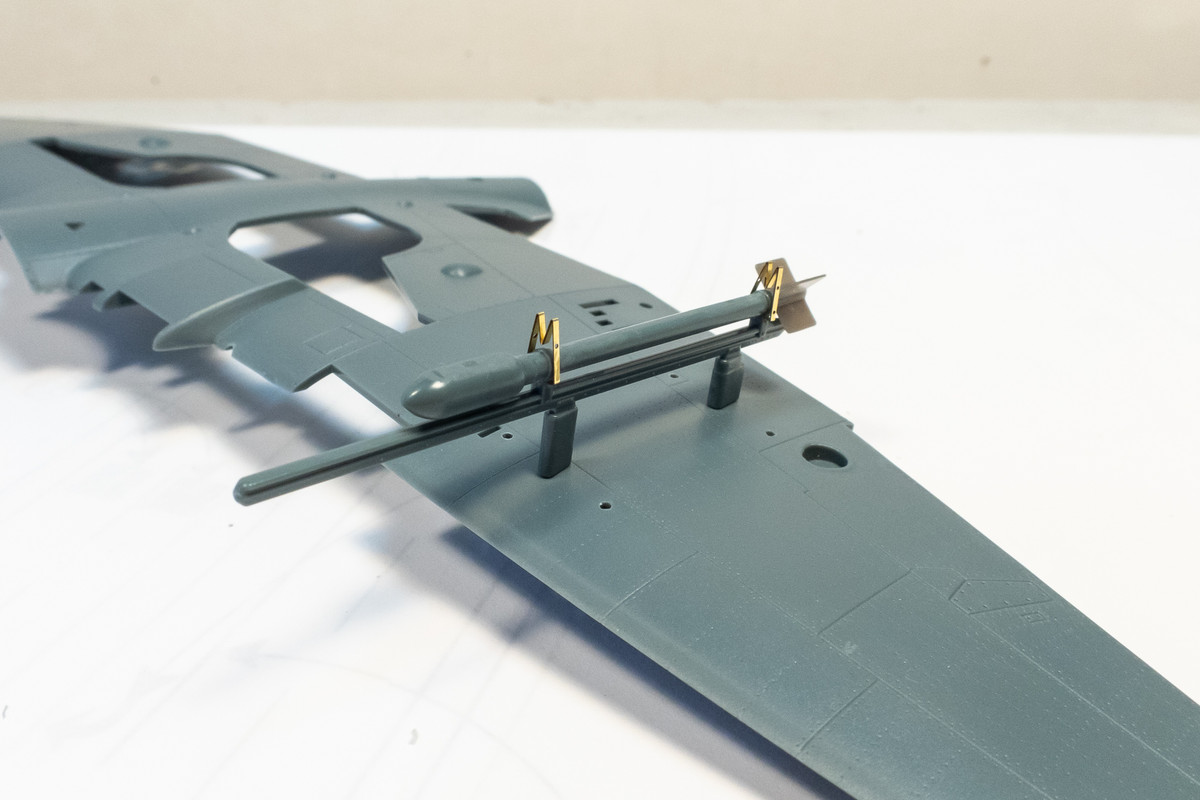
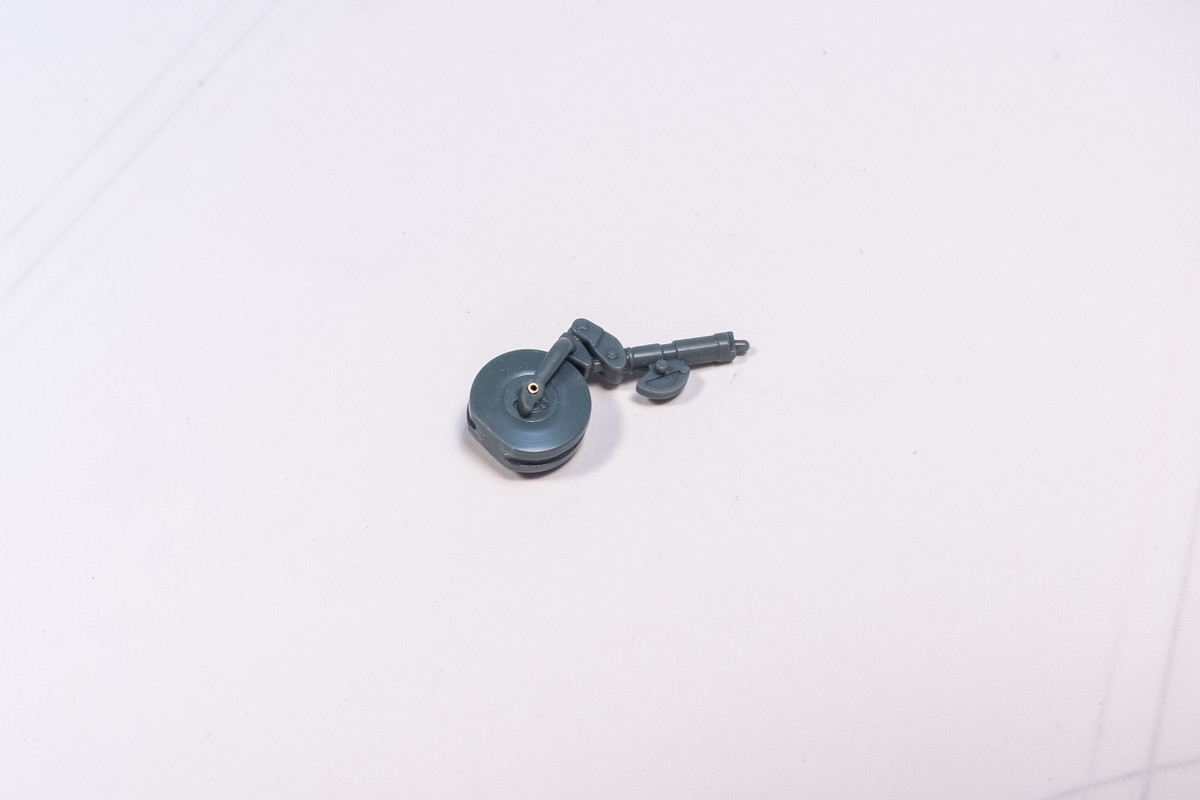
Here's a rough mock-up of how I'm going to do the rockets. The kit plastic parts plus the Eduard brass braces and resin tail fin.
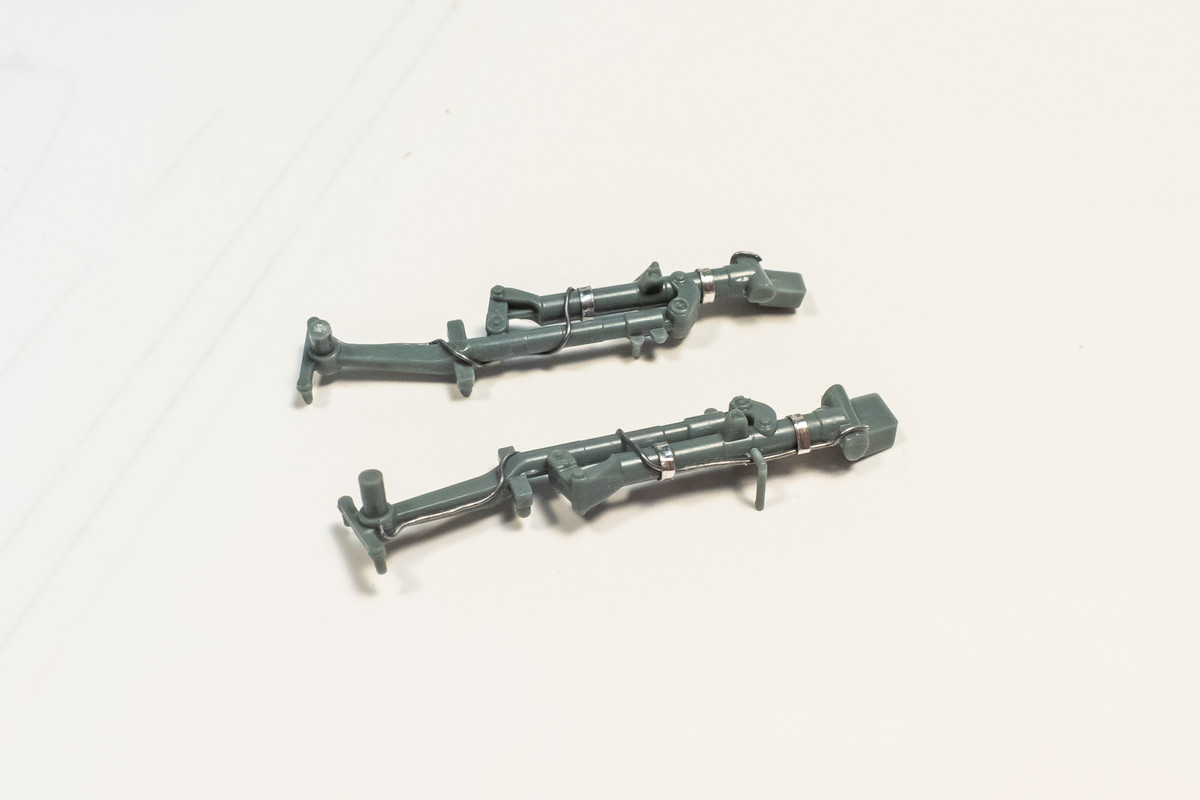
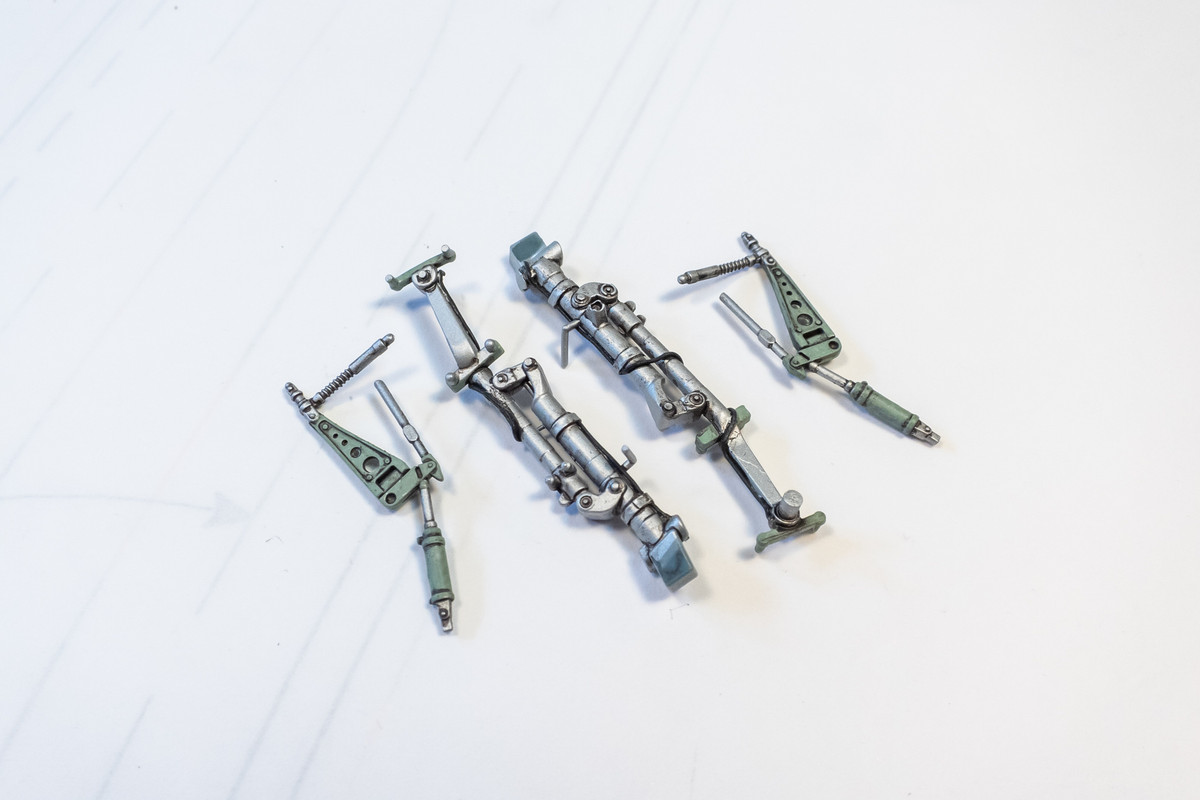
I've dressed up the landing gear legs a little bit by adding the brake lines (lead wire) and straps (thin strips of aluminum tape).

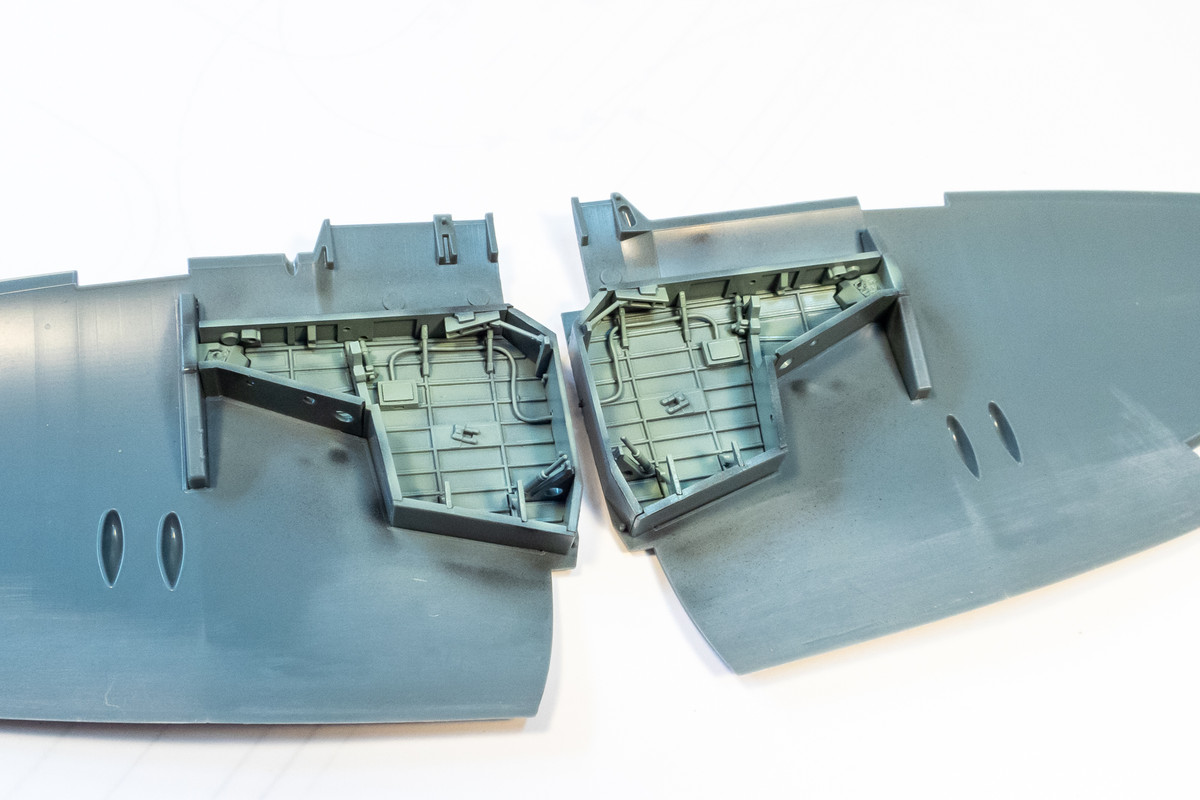
Due to the amount of detail within the wheel wells, I've decided not to do any hairspray chipping. The wells are given a base coat of black and then the interior green color.
I've dressed up the landing gear legs a little bit by adding the brake lines (lead wire) and straps (thin strips of aluminum tape).
Due to the amount of detail within the wheel wells, I've decided not to do any hairspray chipping. The wells are given a base coat of black and then the interior green color.
John aka JKim
-----------<><
-----------<><
Re: Eduard 1/48 Hawker Tempest II
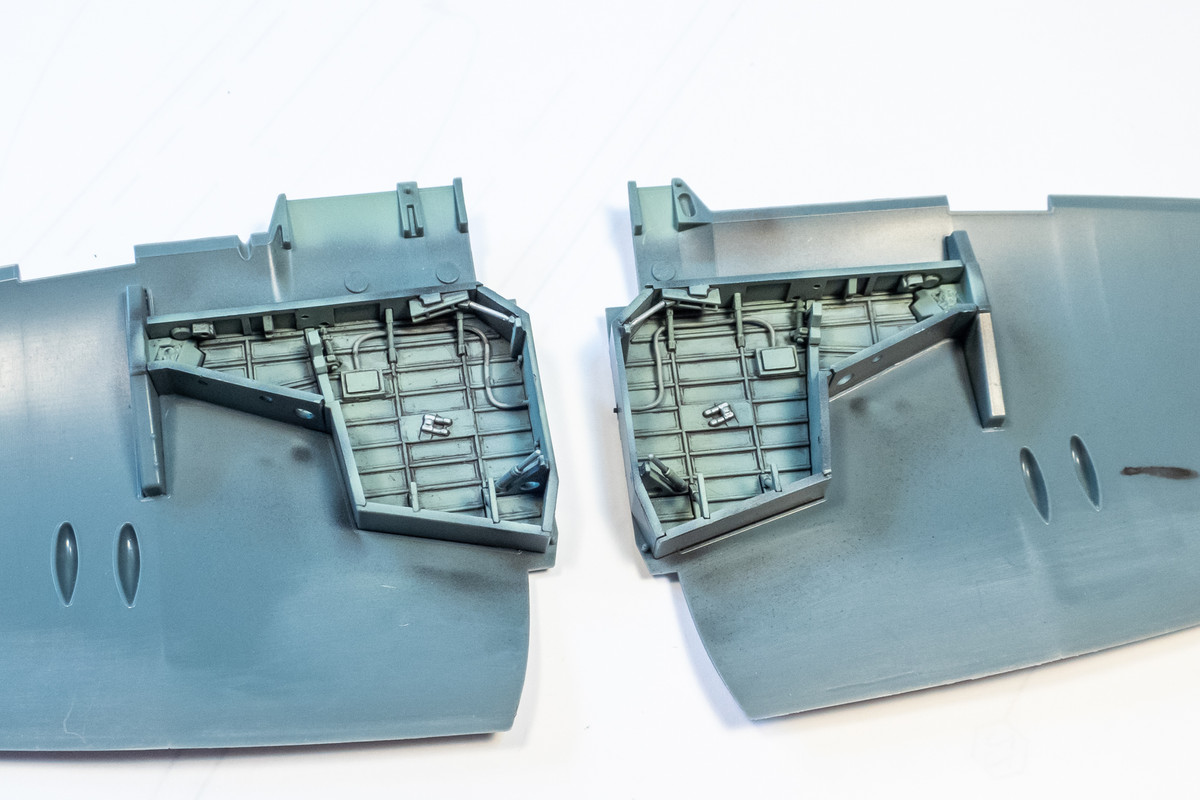
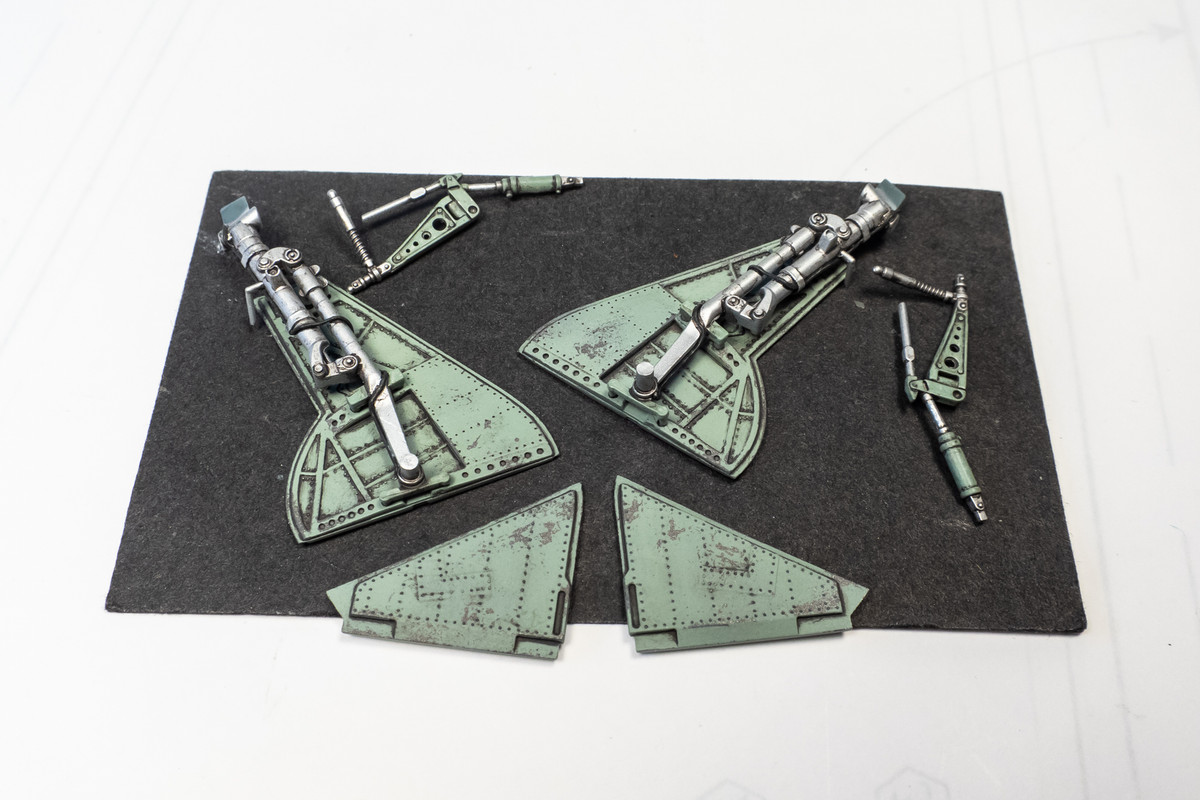
Wheel wells painted and given a pastel wash.
The landing gear components have been painted too.
Posing them together.
The landing gear components have been painted too.
Posing them together.
John aka JKim
-----------<><
-----------<><
-
BlackSheep214
- Elite Member
- Posts: 10500
- Joined: Sun Apr 06, 2014 8:47 pm
Re: Eduard 1/48 Hawker Tempest II
“Who controls the skies, controls the fate of this Earth”
Author unknown- 352nd Fighter Group, Blue-Nosed Bastards of Bodney
“Send one plane it’s a sortie; send two planes it’s a flight; send four planes it’s a test of airpower. - Richard Kohn
Author unknown- 352nd Fighter Group, Blue-Nosed Bastards of Bodney
“Send one plane it’s a sortie; send two planes it’s a flight; send four planes it’s a test of airpower. - Richard Kohn
-
Stikpusher

- Moderator
- Posts: 18959
- Joined: Sat Apr 05, 2014 8:37 pm
- Location: Ceti Alpha 5
Re: Eduard 1/48 Hawker Tempest II
First class work there John!
"Surely I have made my meaning plain? I intend to avenge myself upon you, Admiral. I have deprived your ship of power, and when I swing 'round, I intend to deprive you of your life."
FLSM
FLSM
Re: Eduard 1/48 Hawker Tempest II
Thanks of the comments!
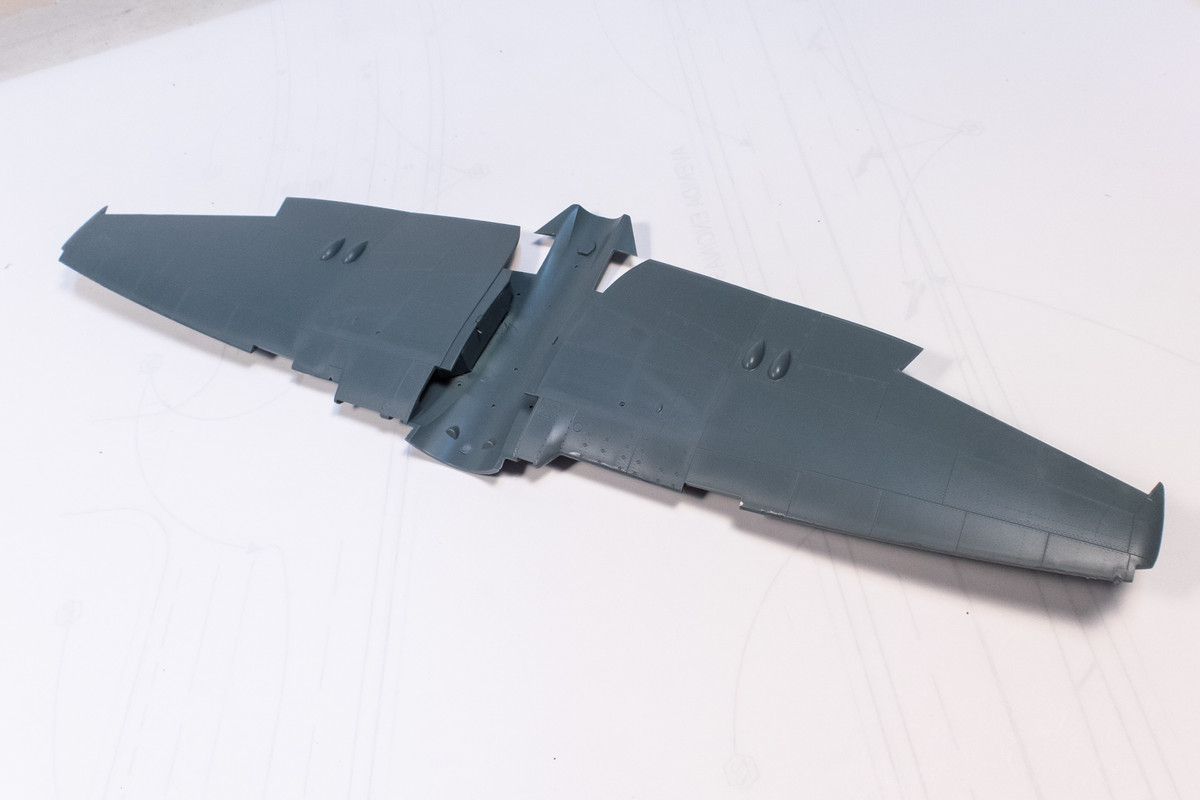
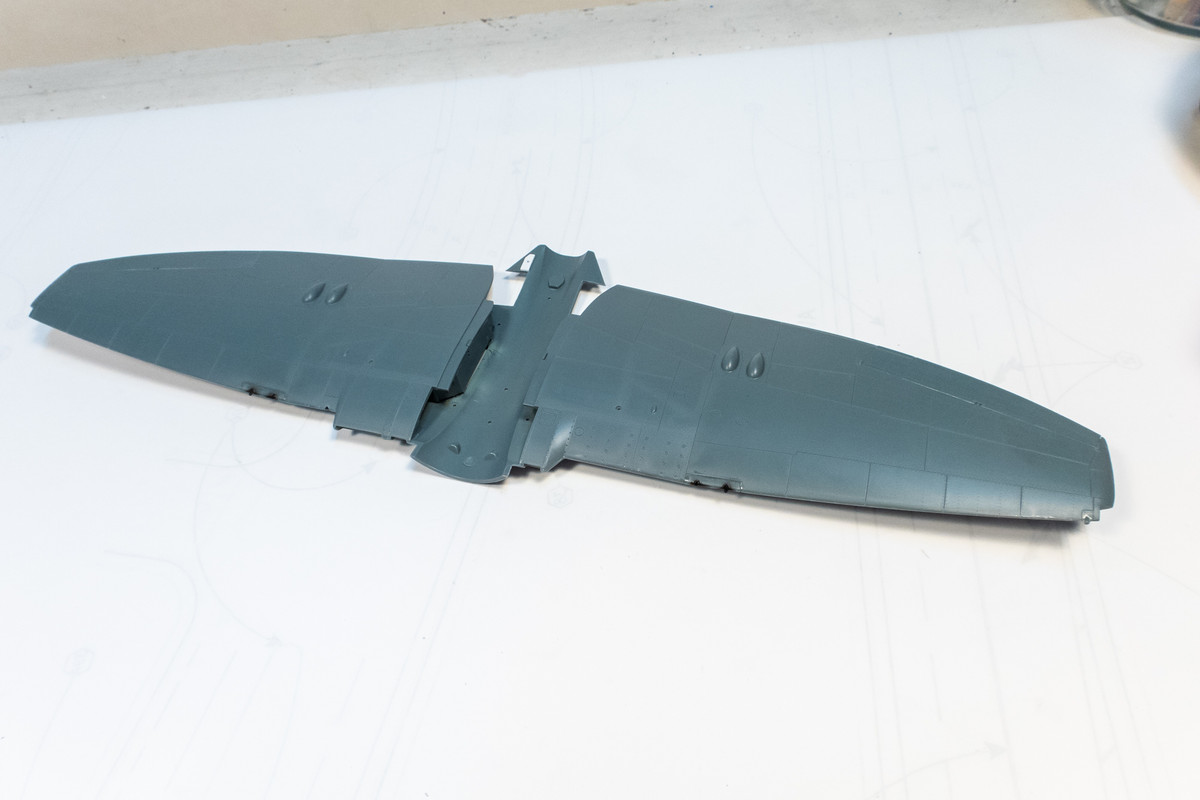
The wing tops have been glued on to the wing bottom. Like everywhere else, the fit was very good.

The Eduard instructions clearly show the little gun barrel tips being inserted into the leading edge inserts FROM BEHIND, but it is not physically possible to do so without some major plastic removal.
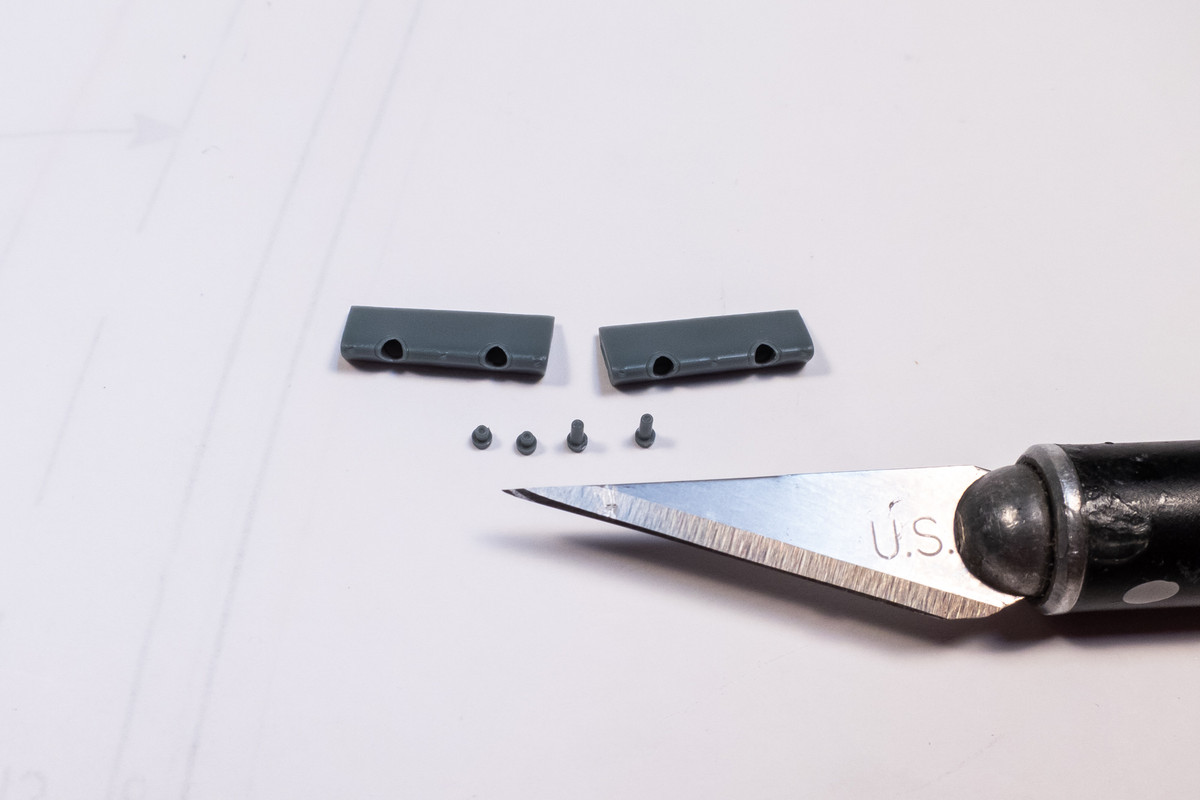
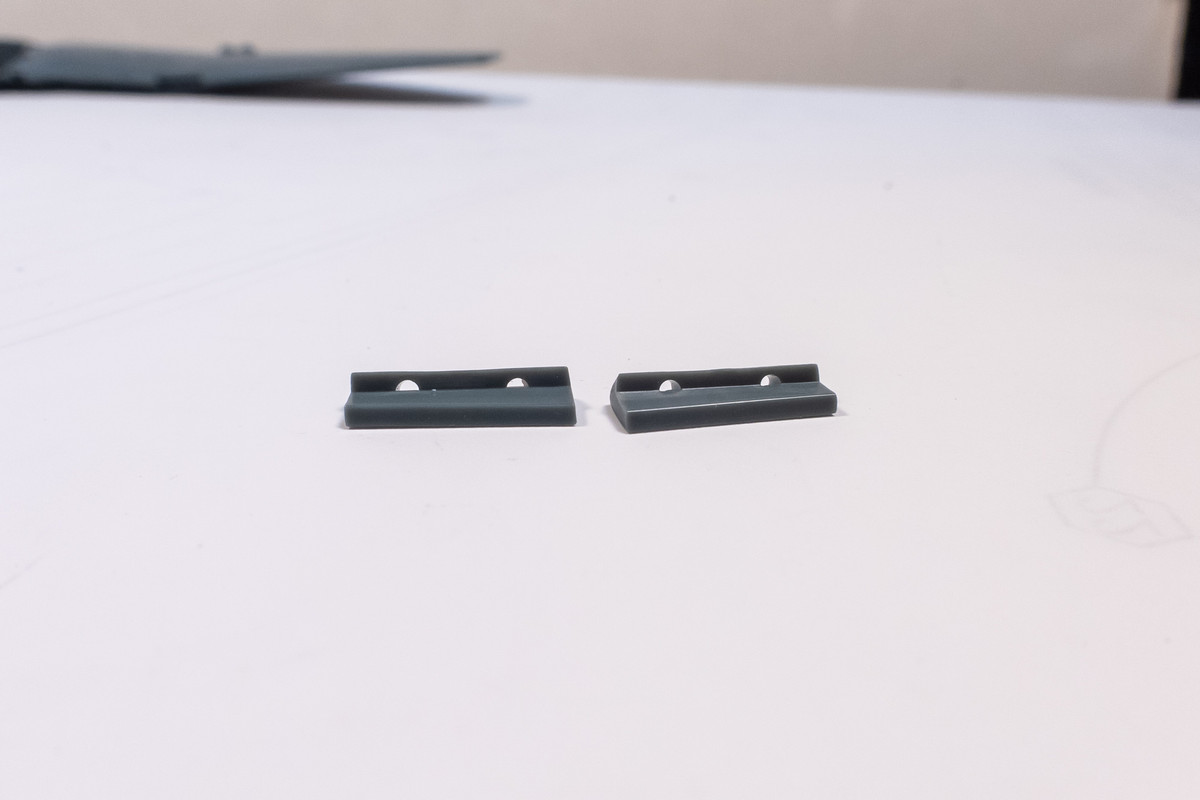
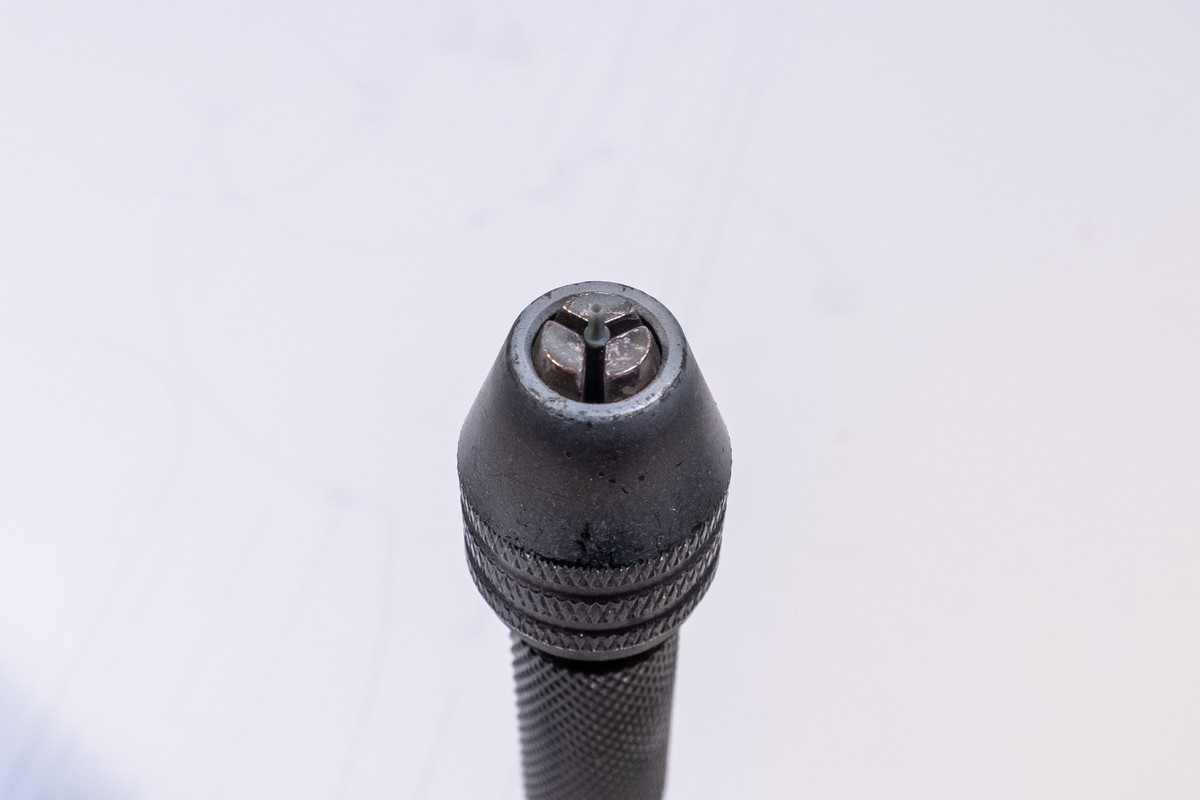
A quick test showed that placing them from the FRONT is the correct way. The dimpled ends of the barrels were drilled out. A spare pin vise is handy for holding small parts.
After the tips are drilled out the barrels are glued into the leading edge inserts.

A quick modification before I glue the wings on to the fuselage. The boarding ladder recess is cut out.
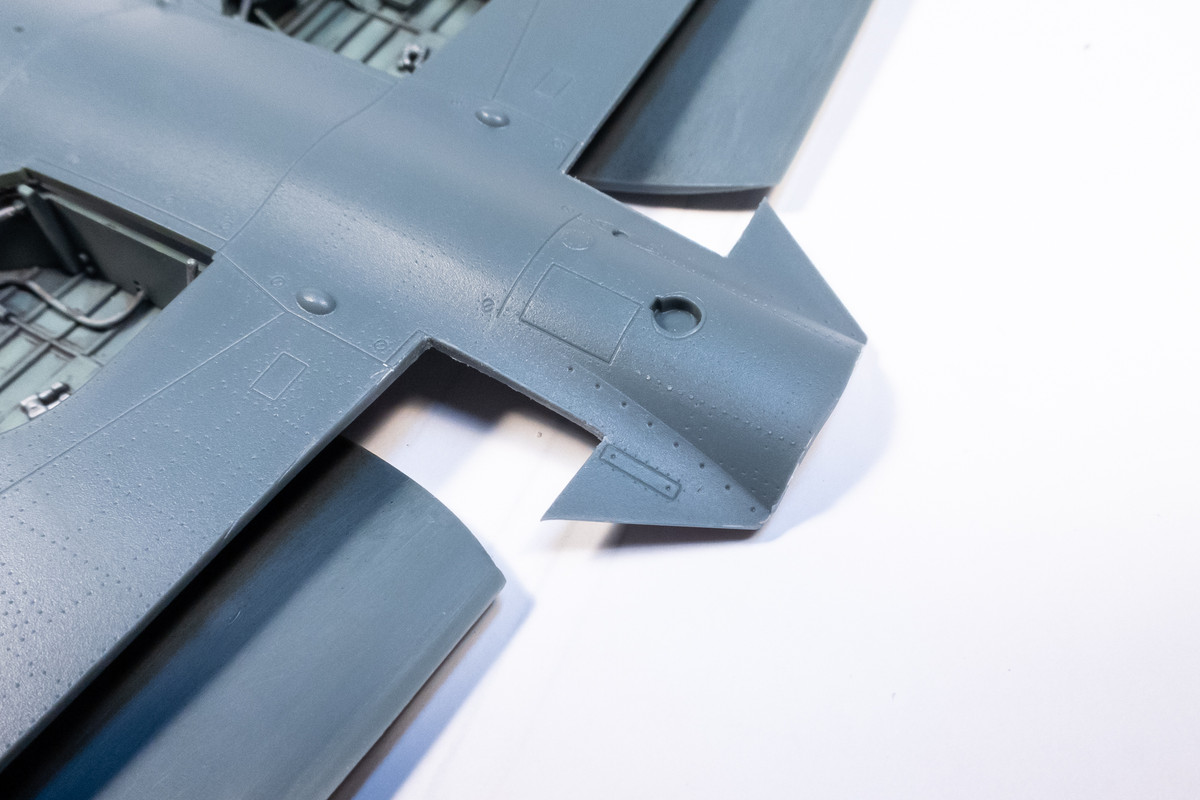
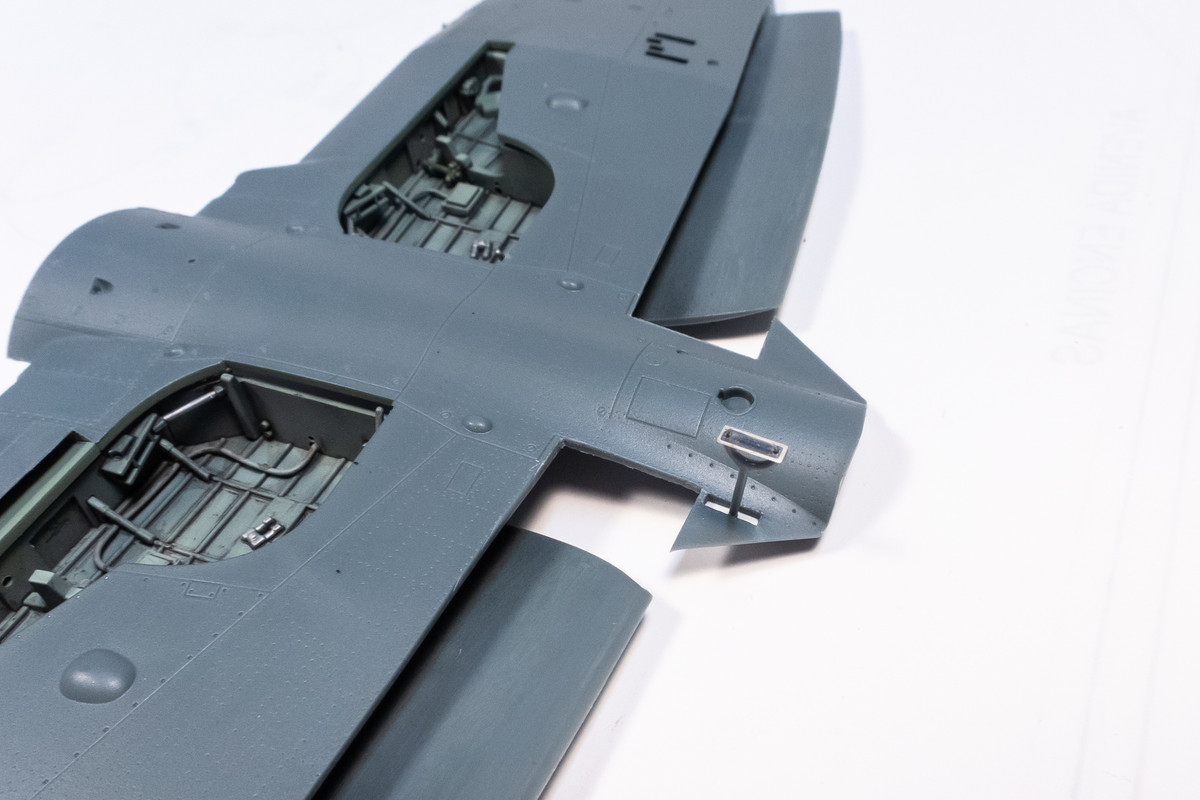
A small section of brass tubing is used to serve as an axle for the tail wheel.
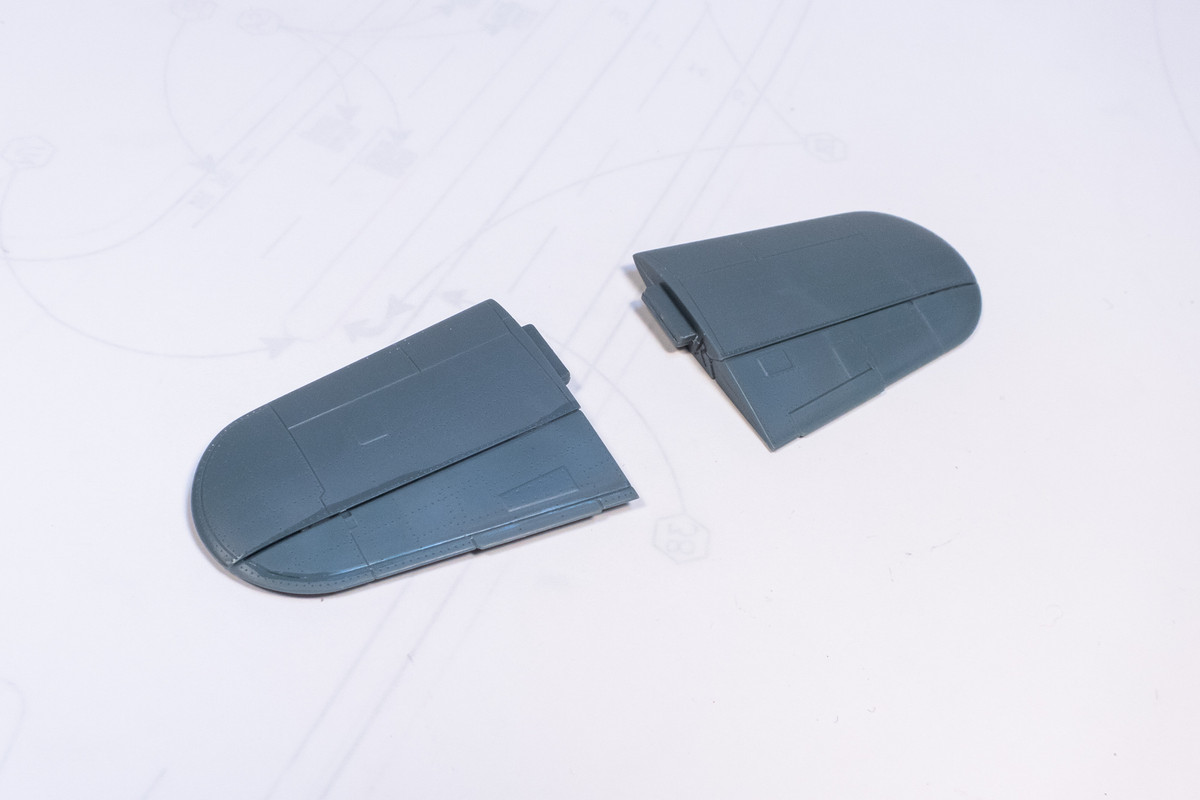
The horizontal stabilizers have been glued together.
The wing tops have been glued on to the wing bottom. Like everywhere else, the fit was very good.
The Eduard instructions clearly show the little gun barrel tips being inserted into the leading edge inserts FROM BEHIND, but it is not physically possible to do so without some major plastic removal.
A quick test showed that placing them from the FRONT is the correct way. The dimpled ends of the barrels were drilled out. A spare pin vise is handy for holding small parts.
After the tips are drilled out the barrels are glued into the leading edge inserts.
A quick modification before I glue the wings on to the fuselage. The boarding ladder recess is cut out.
A small section of brass tubing is used to serve as an axle for the tail wheel.
The horizontal stabilizers have been glued together.
John aka JKim
-----------<><
-----------<><

Re: Eduard 1/48 Hawker Tempest II
Just outstanding work, John.
To make each build less crappy than the last one. Or, put another way, "Better than the last one, not as good as the next one!"..
Re: Eduard 1/48 Hawker Tempest II
Thank you so much Lyle!
I've glued the gun inserts and the ailerons onto the wings.
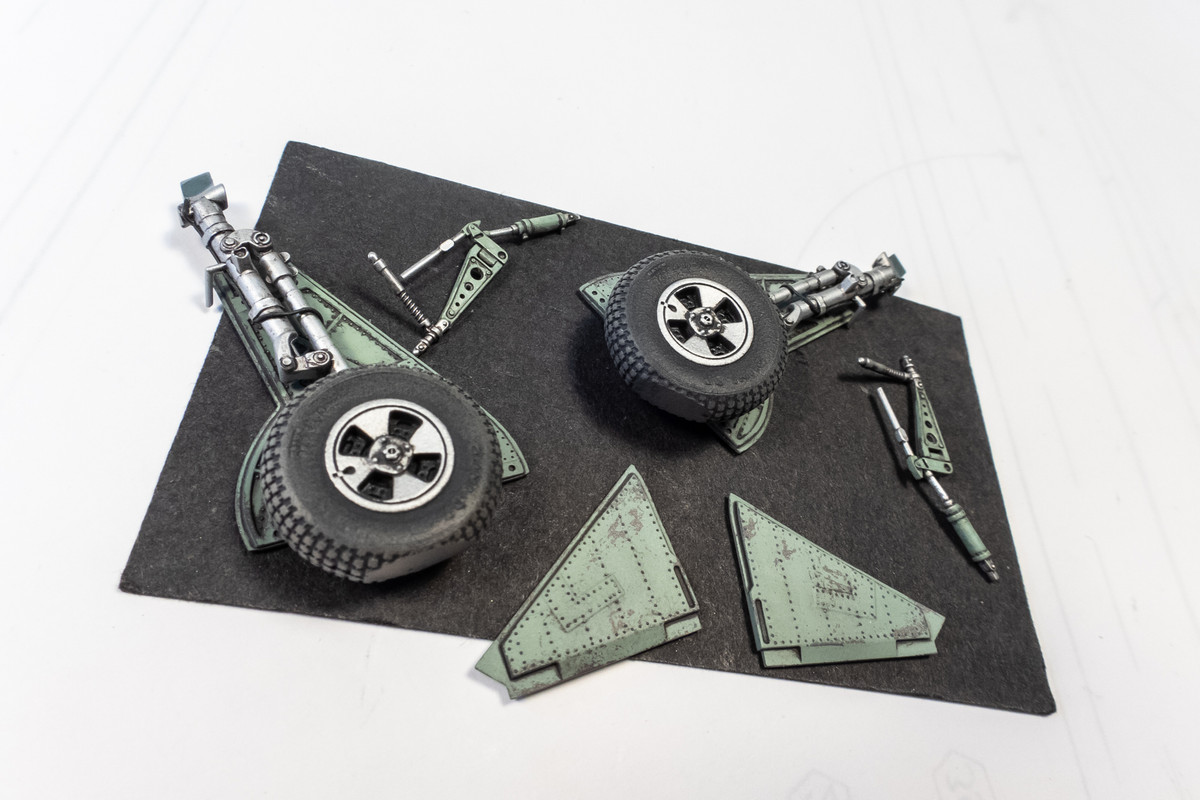
The interior sides of the resin flaps and landing gear covers have been painted and weathered.
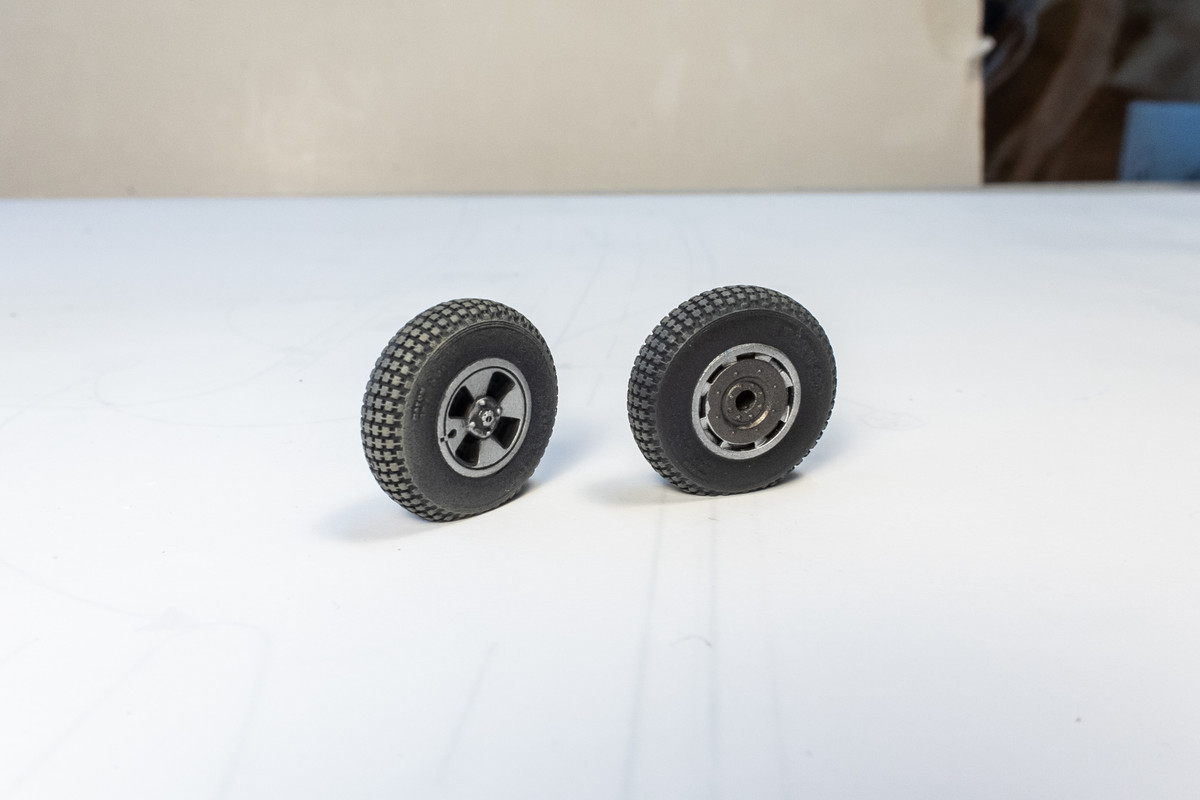
The Barracuda resin wheels are painted.
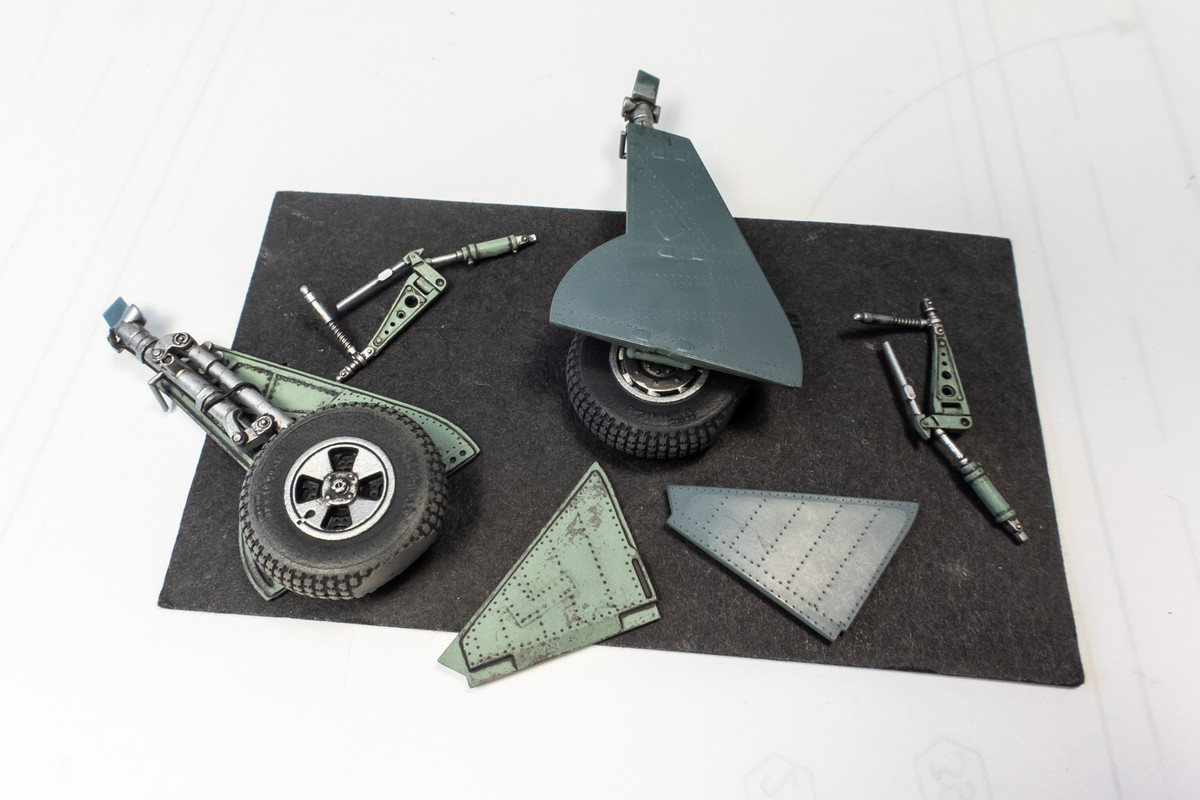
Posing the painted landing gear components together.
The exterior sides of the flaps and covers will be painted later.
I've glued the gun inserts and the ailerons onto the wings.
The interior sides of the resin flaps and landing gear covers have been painted and weathered.
The Barracuda resin wheels are painted.
Posing the painted landing gear components together.
The exterior sides of the flaps and covers will be painted later.
John aka JKim
-----------<><
-----------<><
Re: Eduard 1/48 Hawker Tempest II
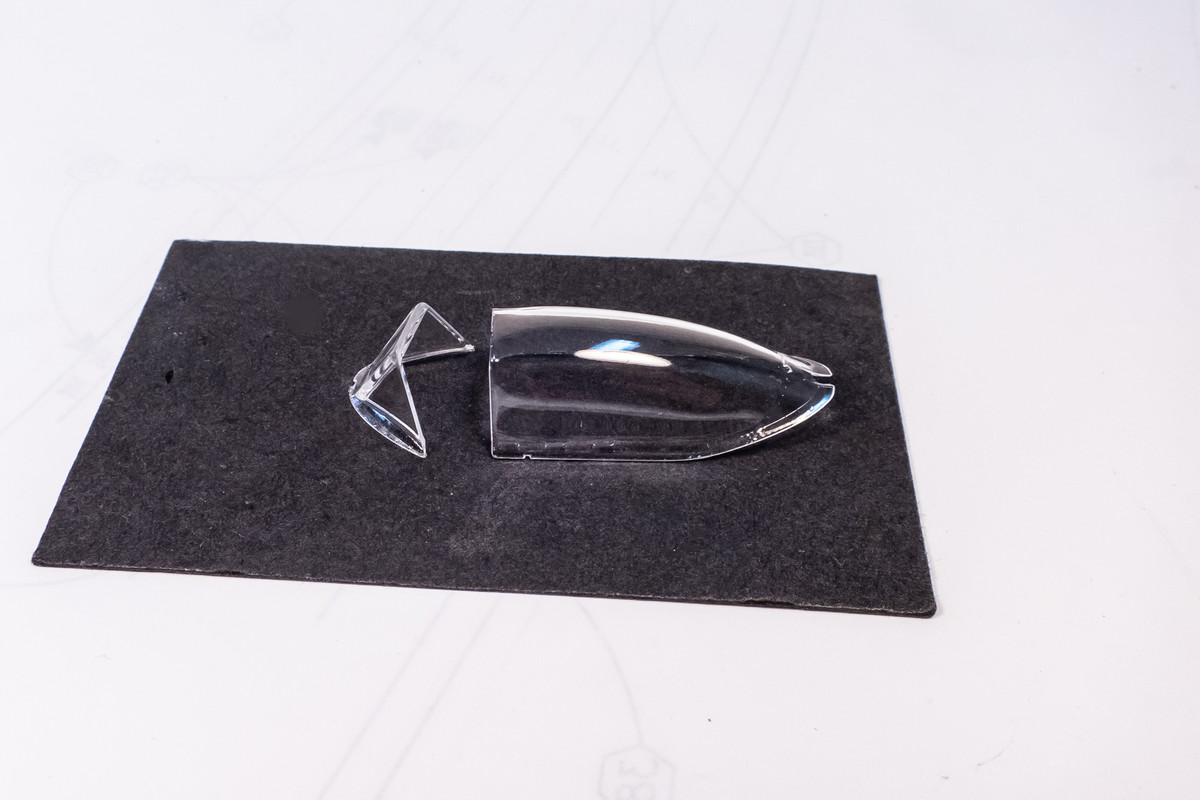
Canopy parts have been dipped in Future.
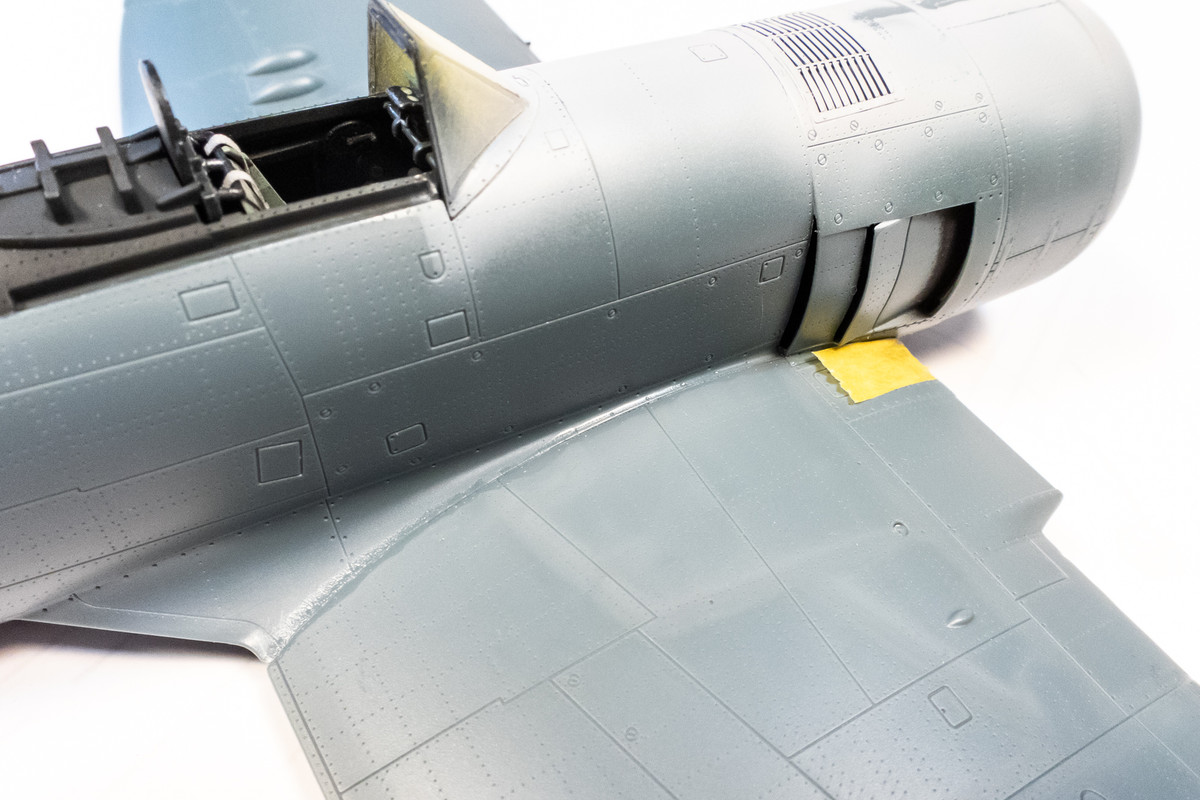
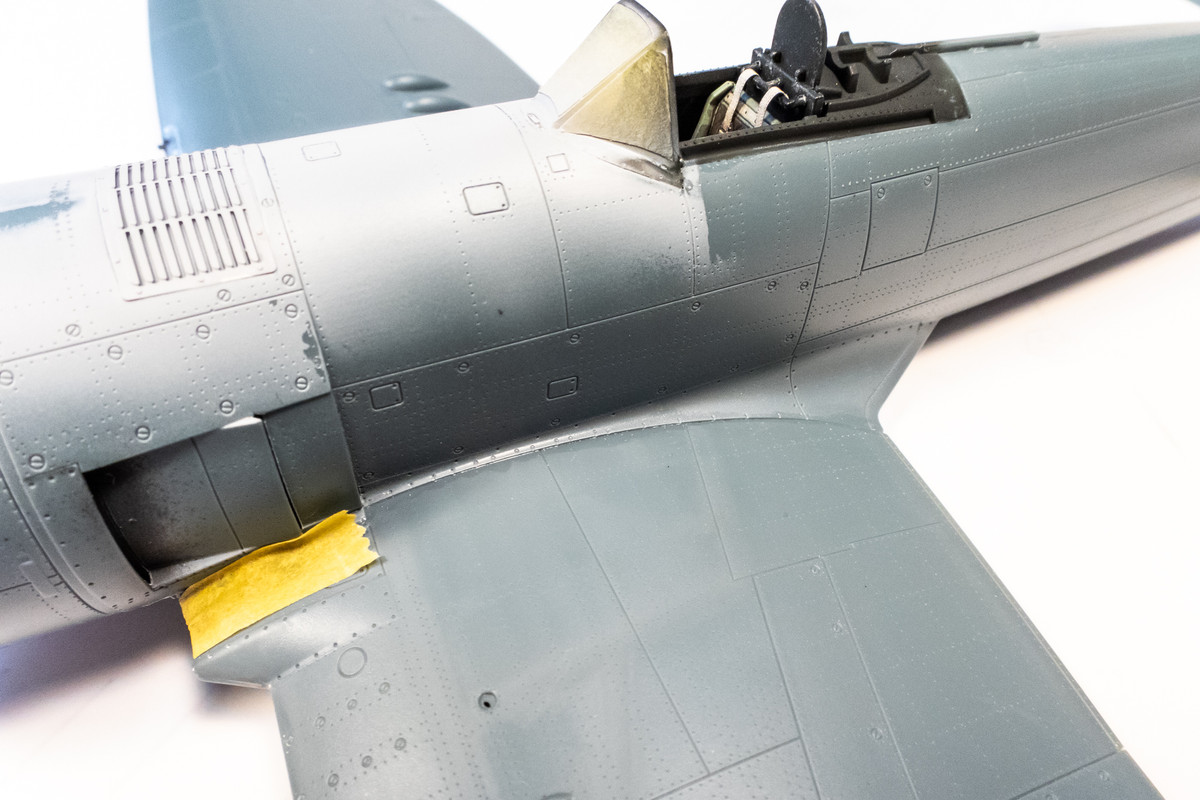
Wings are glued onto the fuselage. Fit is pretty good except for the rear bottom joint, which will need attention.
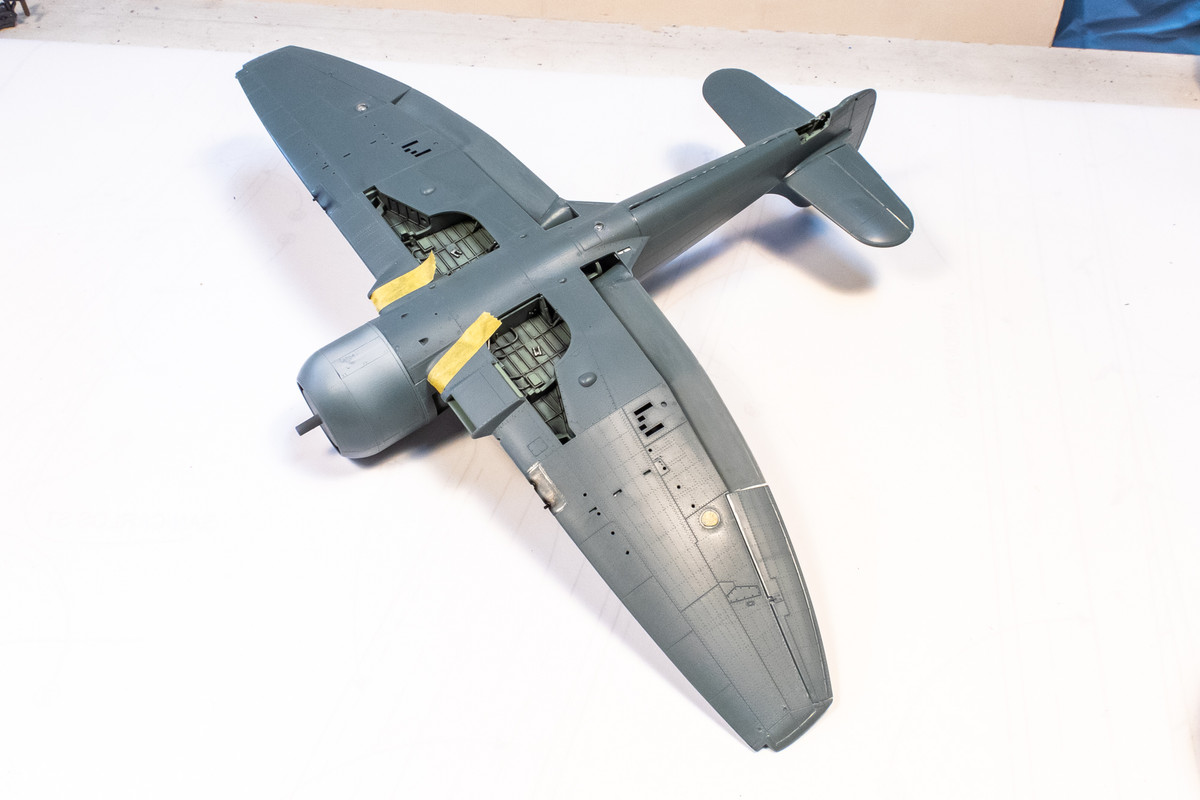
But the fit along the wing roots is good.
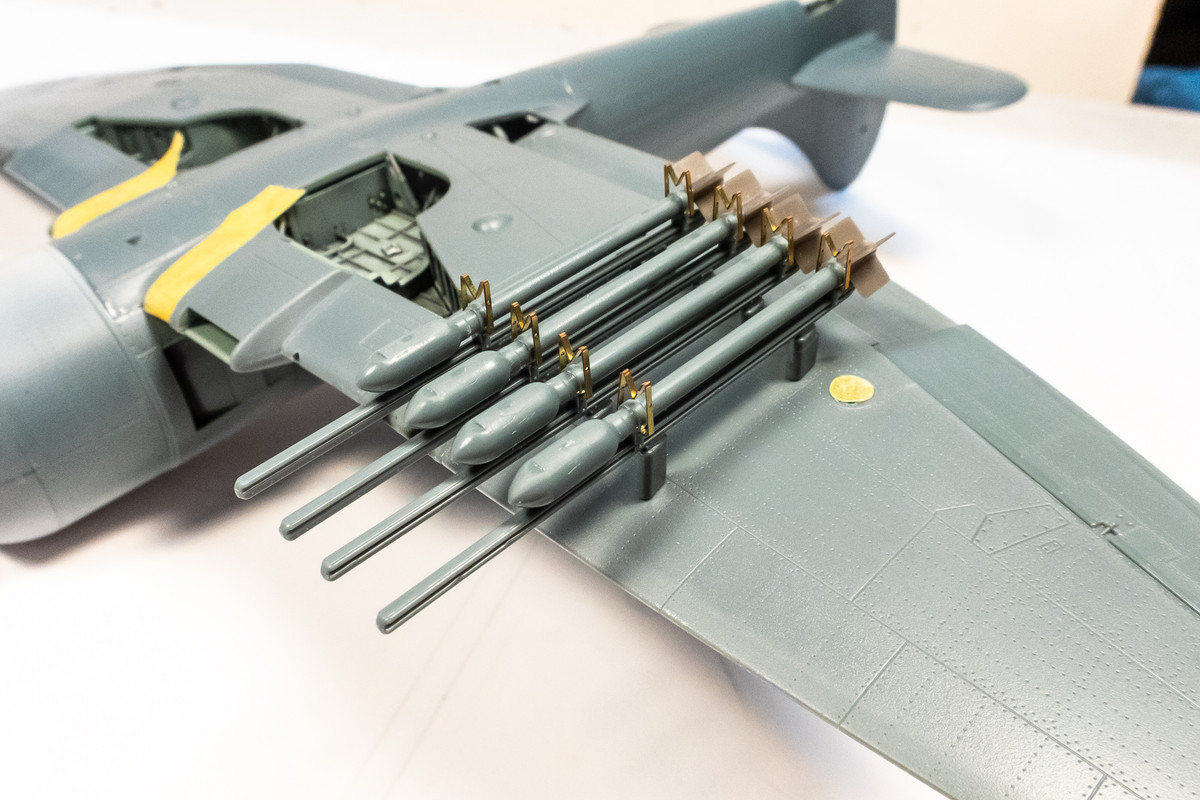
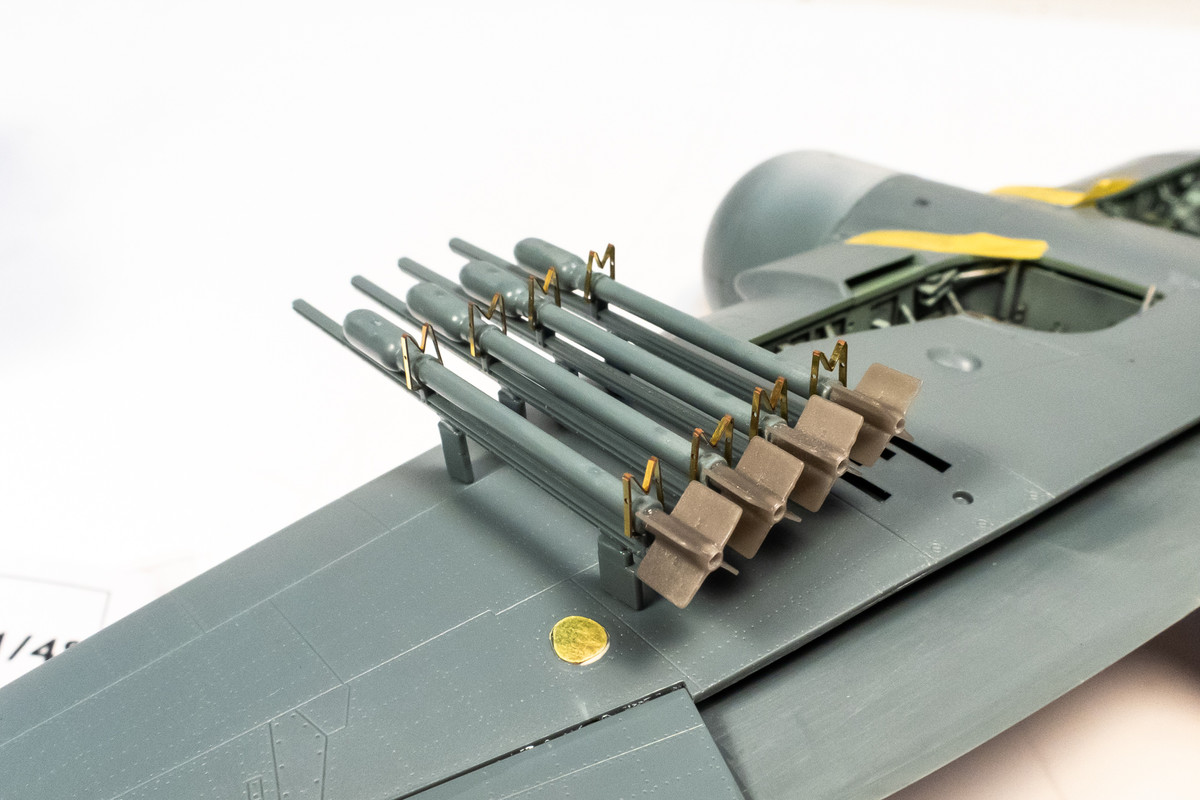
The kit rockets upgraded with PE clips and resin fins from the Eduard set.
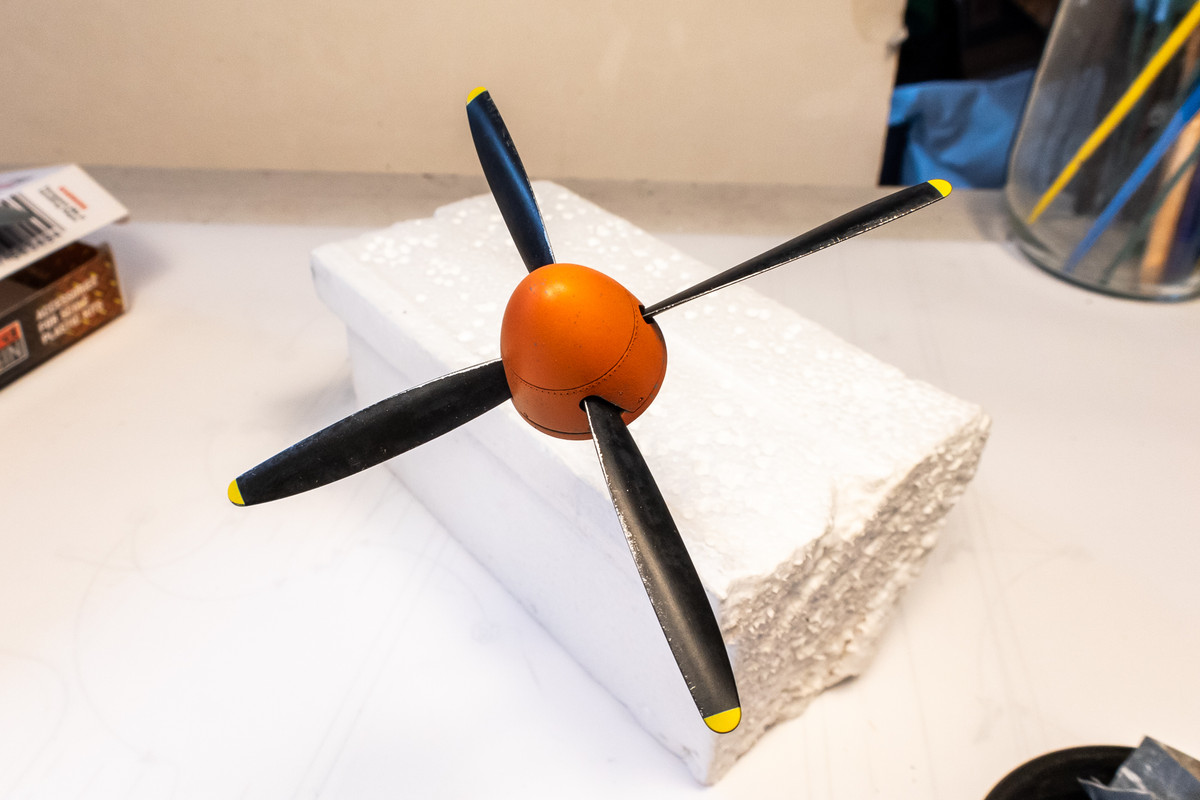
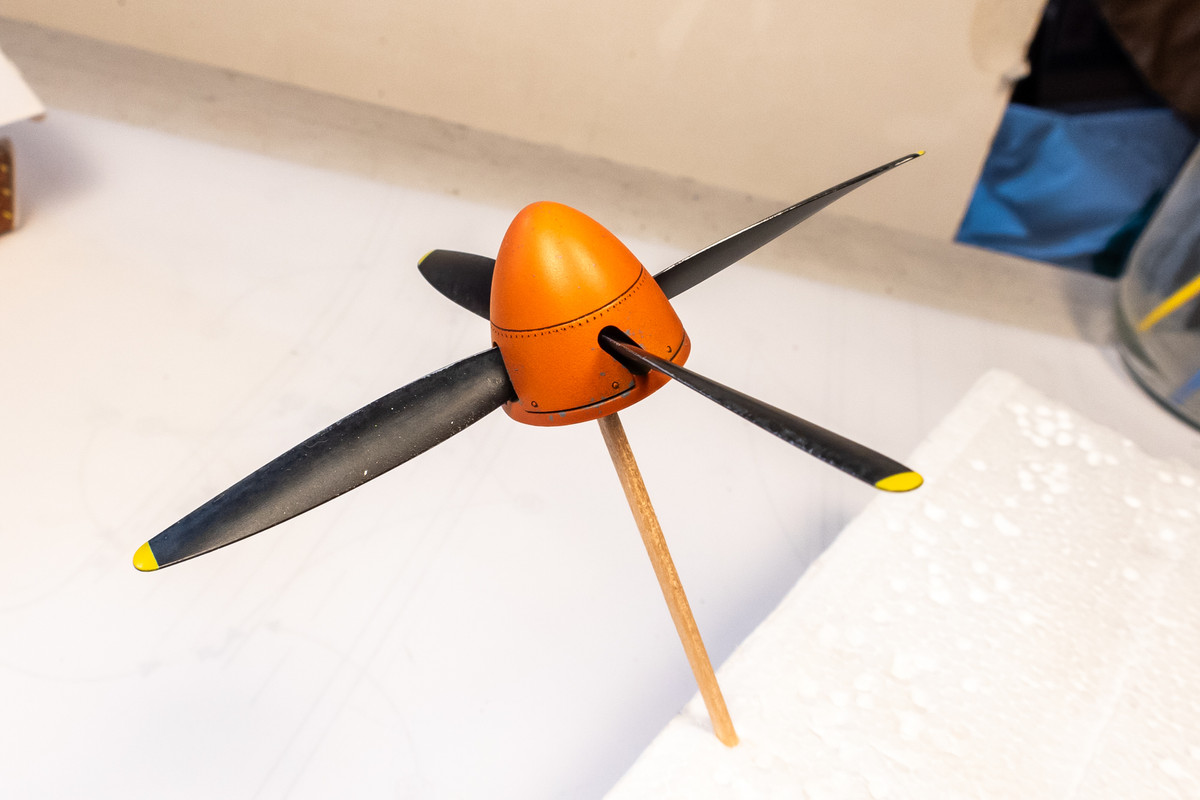
The prop blades and spinner have been painted. Very light hairspray chipping along the leading edges and some salt weathering on the blad surfaces.
Wings are glued onto the fuselage. Fit is pretty good except for the rear bottom joint, which will need attention.
But the fit along the wing roots is good.
The kit rockets upgraded with PE clips and resin fins from the Eduard set.
The prop blades and spinner have been painted. Very light hairspray chipping along the leading edges and some salt weathering on the blad surfaces.
John aka JKim
-----------<><
-----------<><