Thanks Clint!
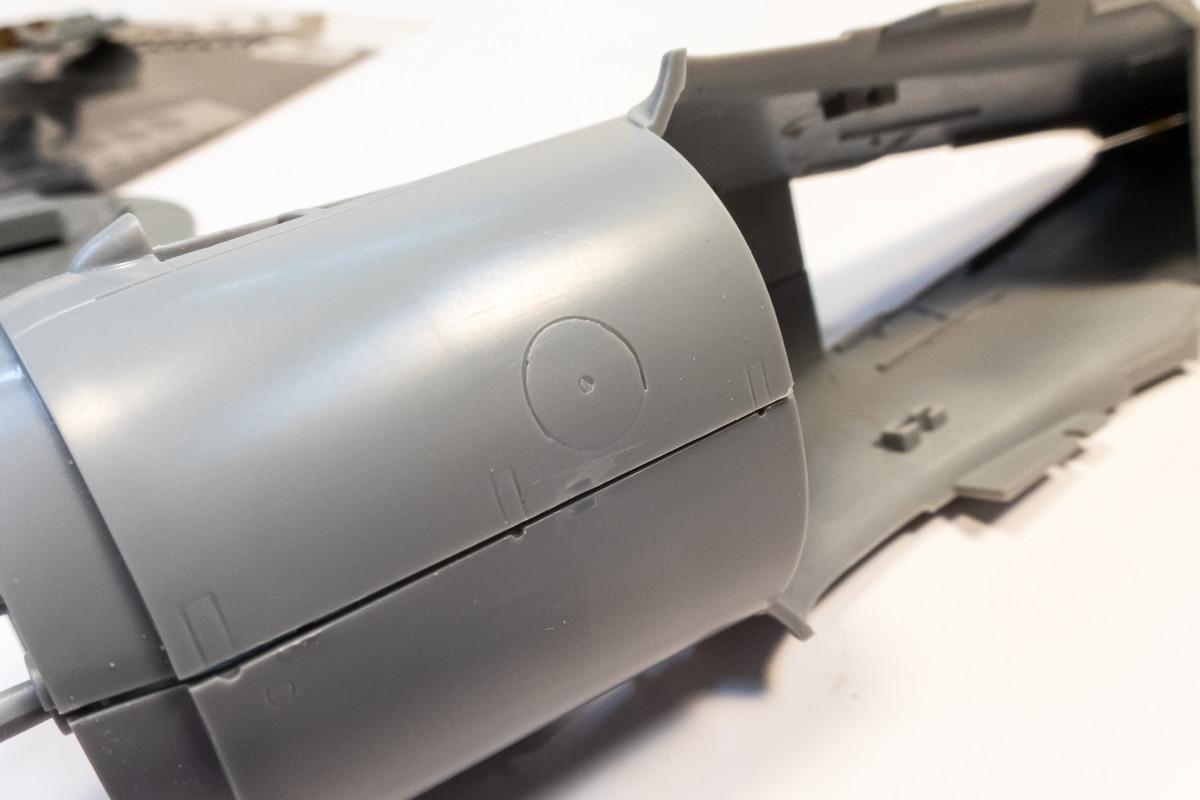
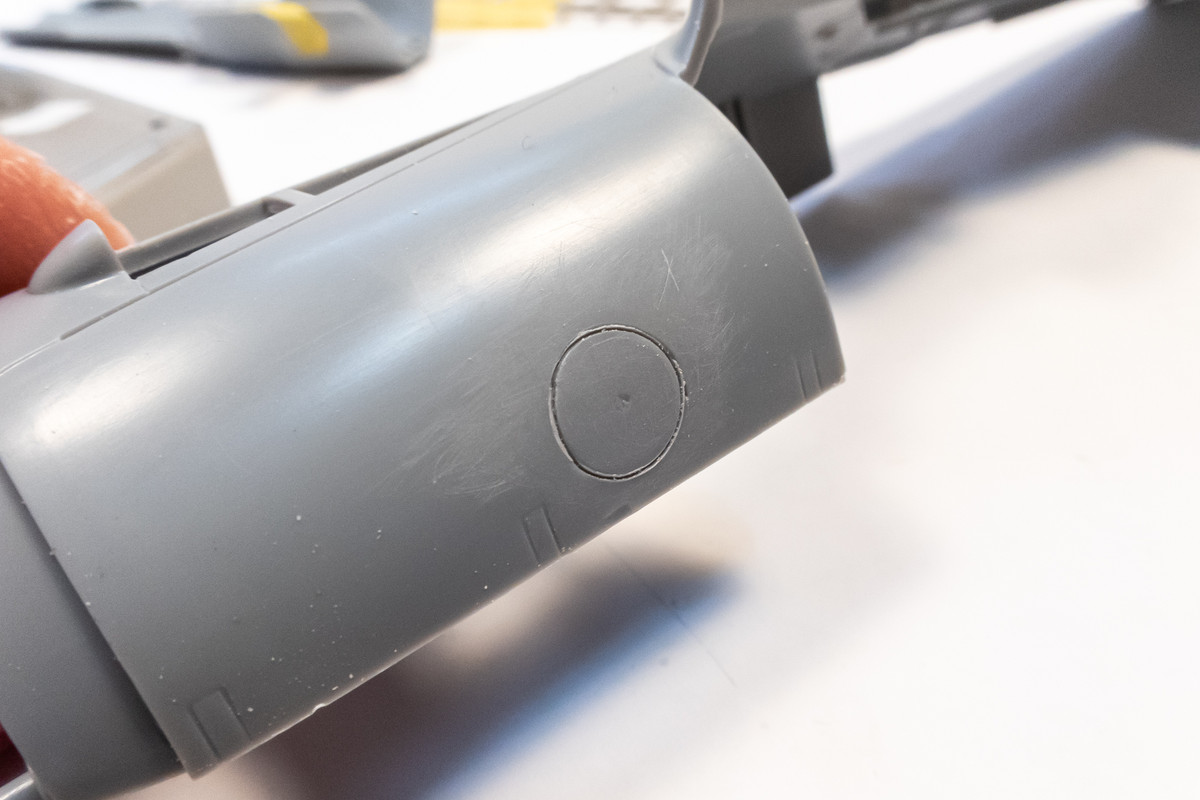
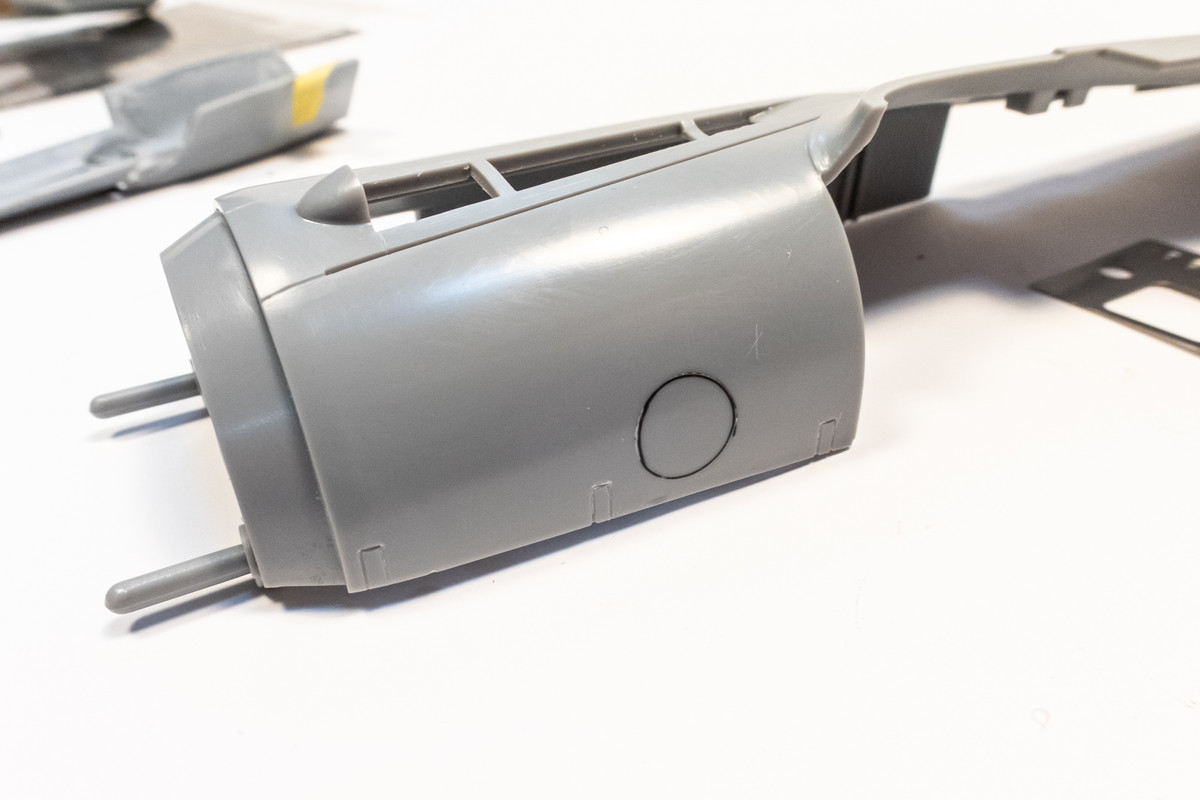
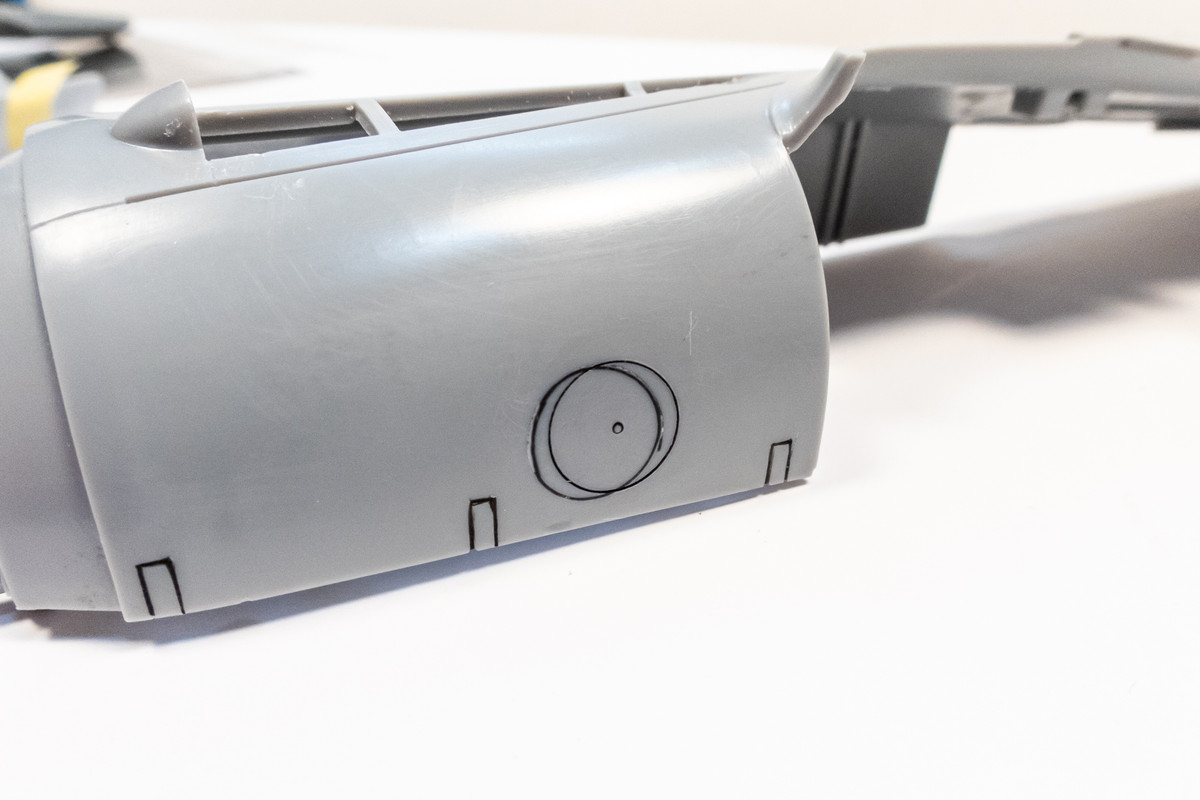
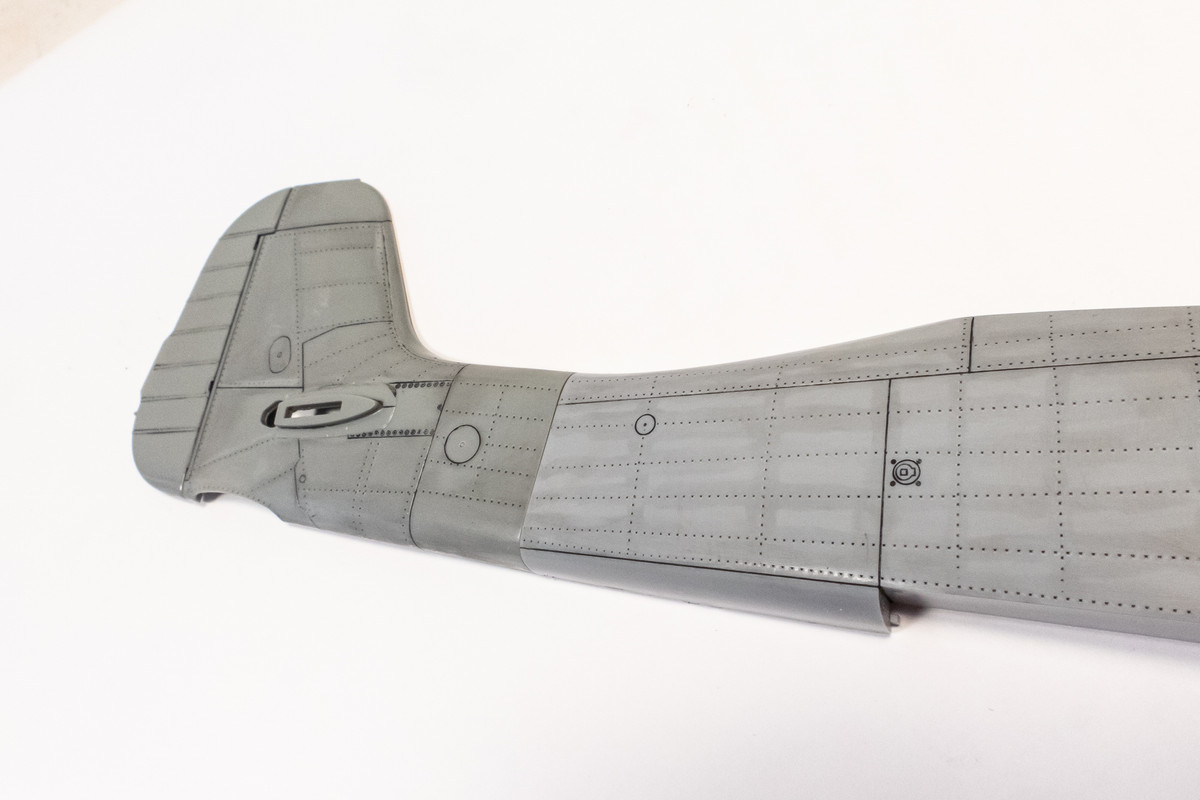
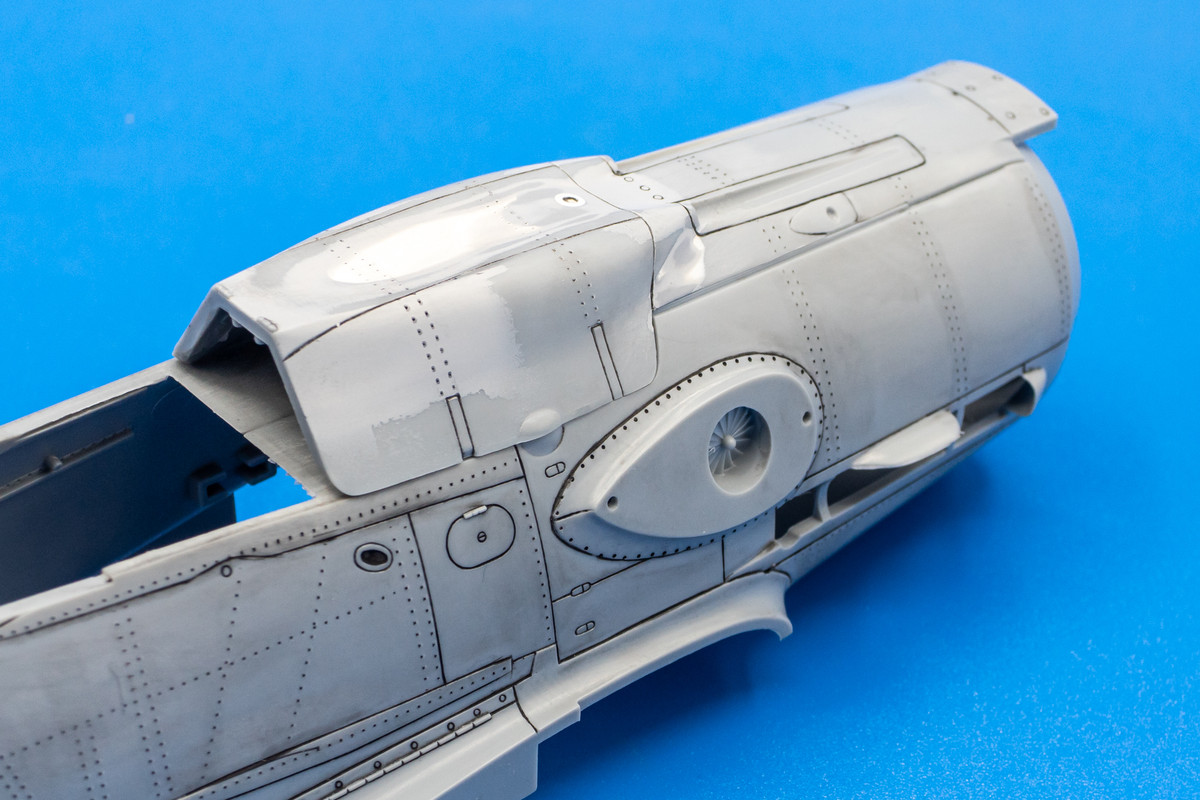
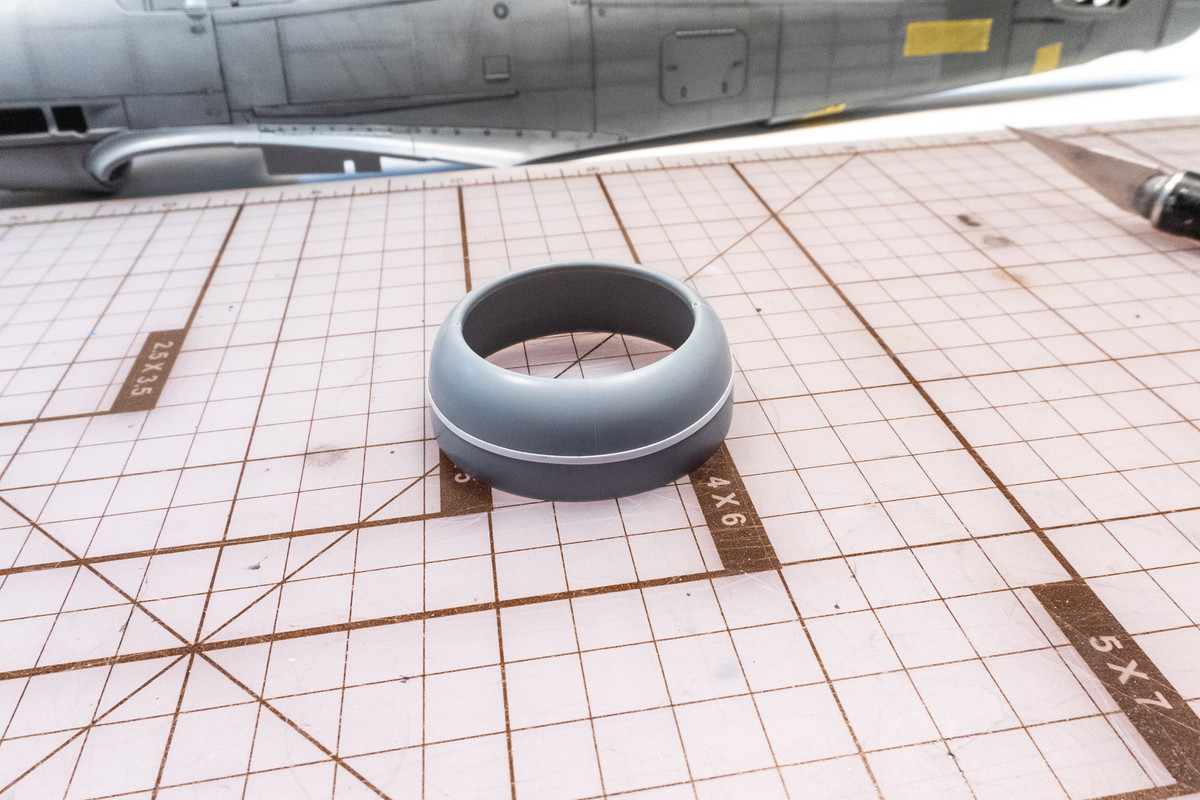
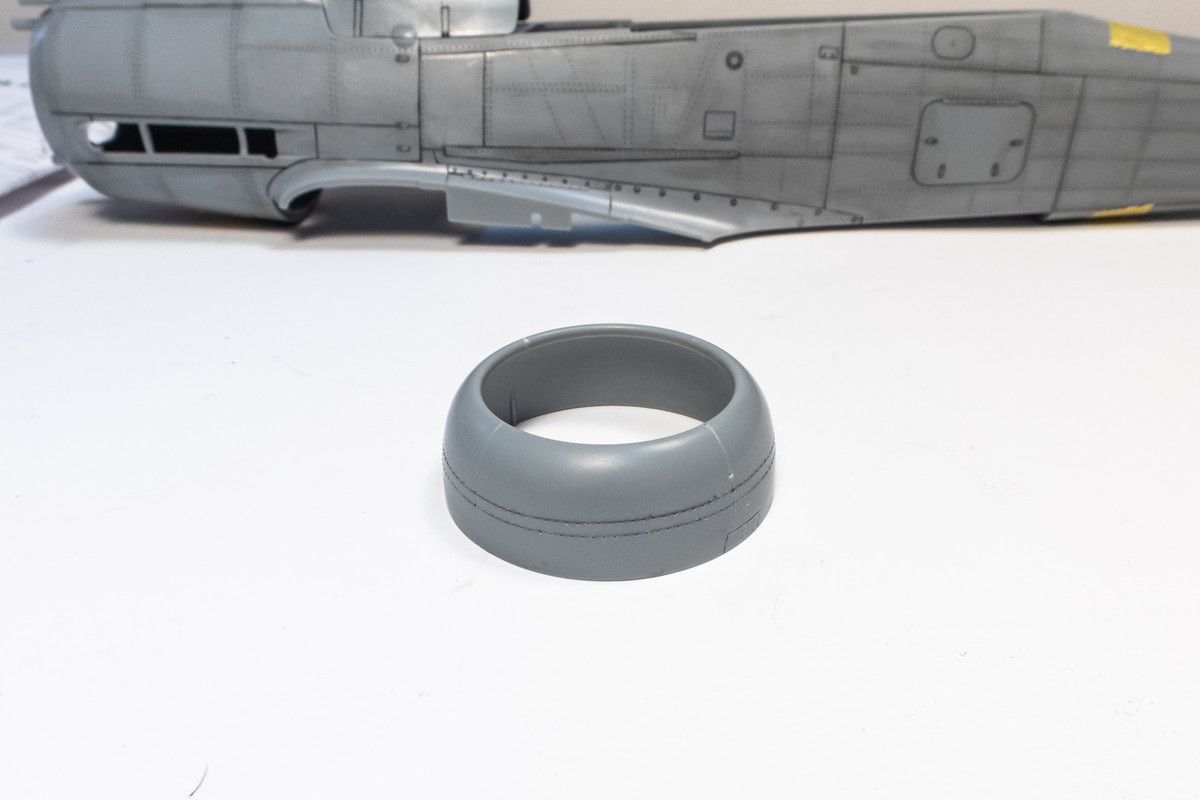
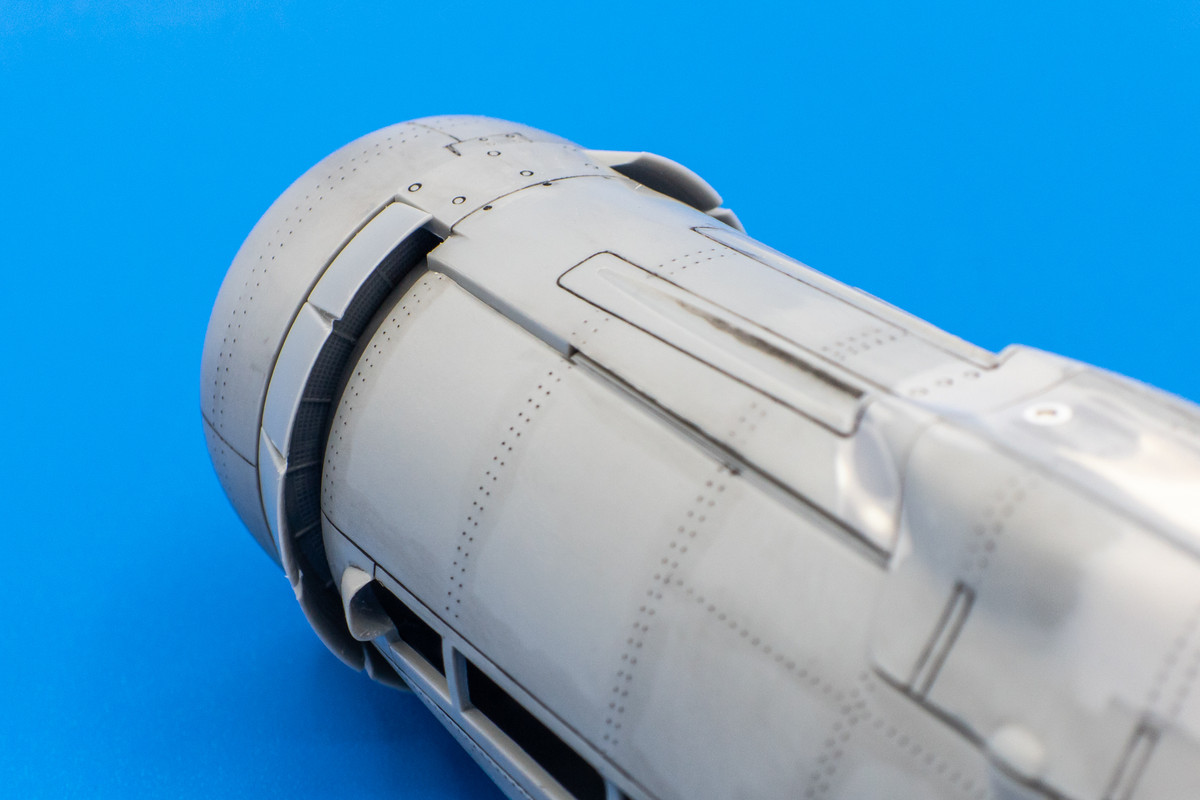
One of the trickier items to apply rivets to is the circular radiator cowling. I'm happy with the re-shaping and the panel lines have been re-established and it's ready to be riveted. I use a thin strip of white Tamiya plastic tape to help draw my guidelines on the cowling.
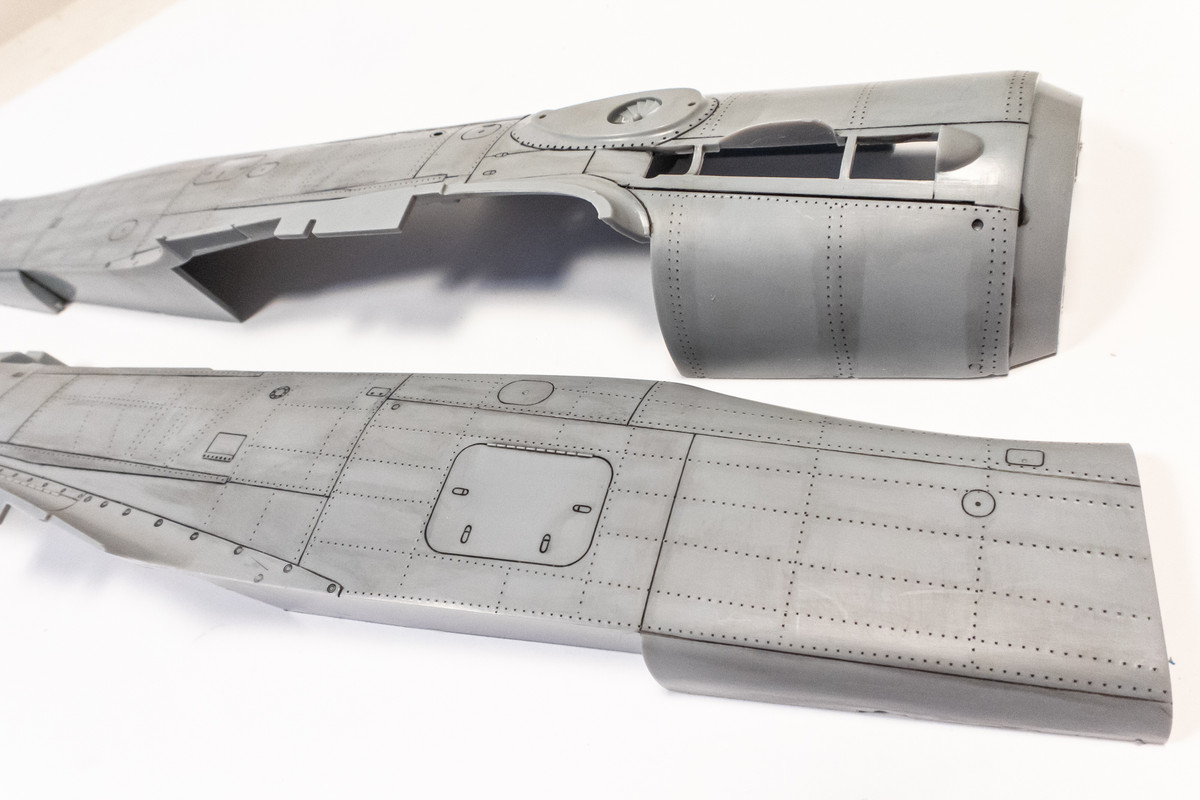
The riveting is done carefully and slowly, dividing each run of the riveter into quarter circles.
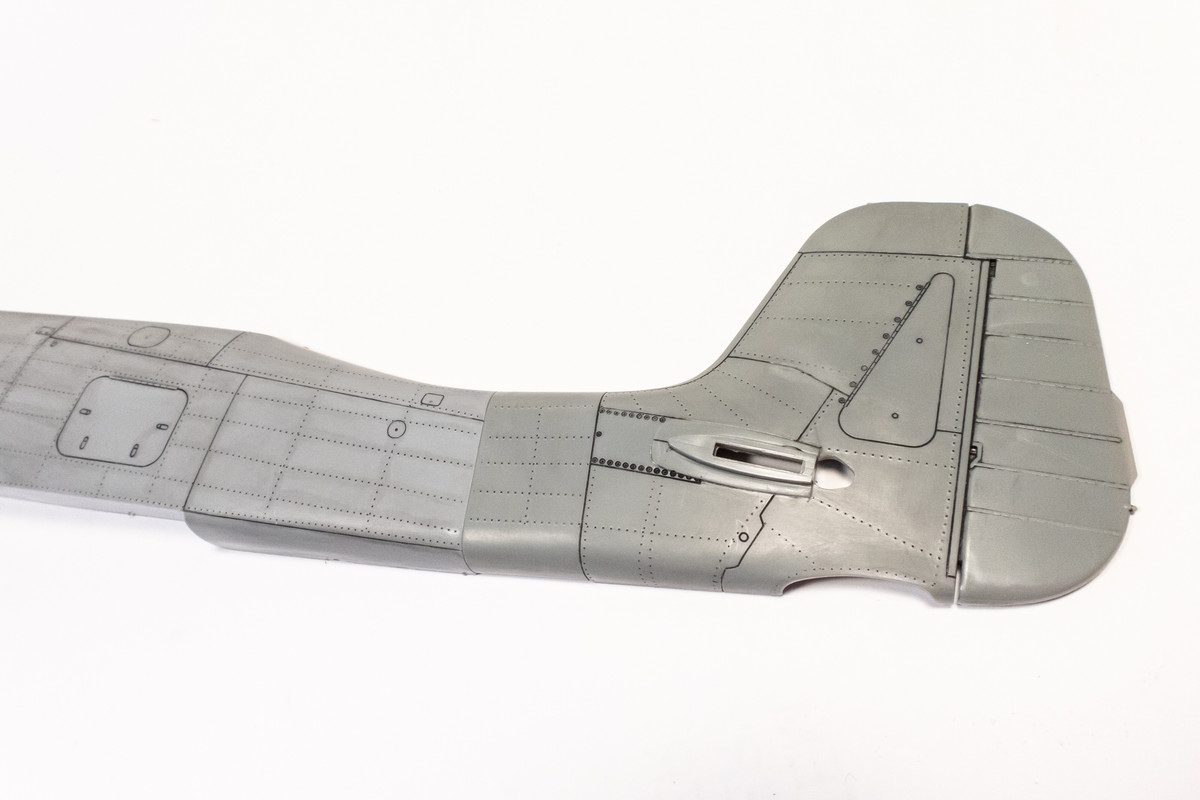
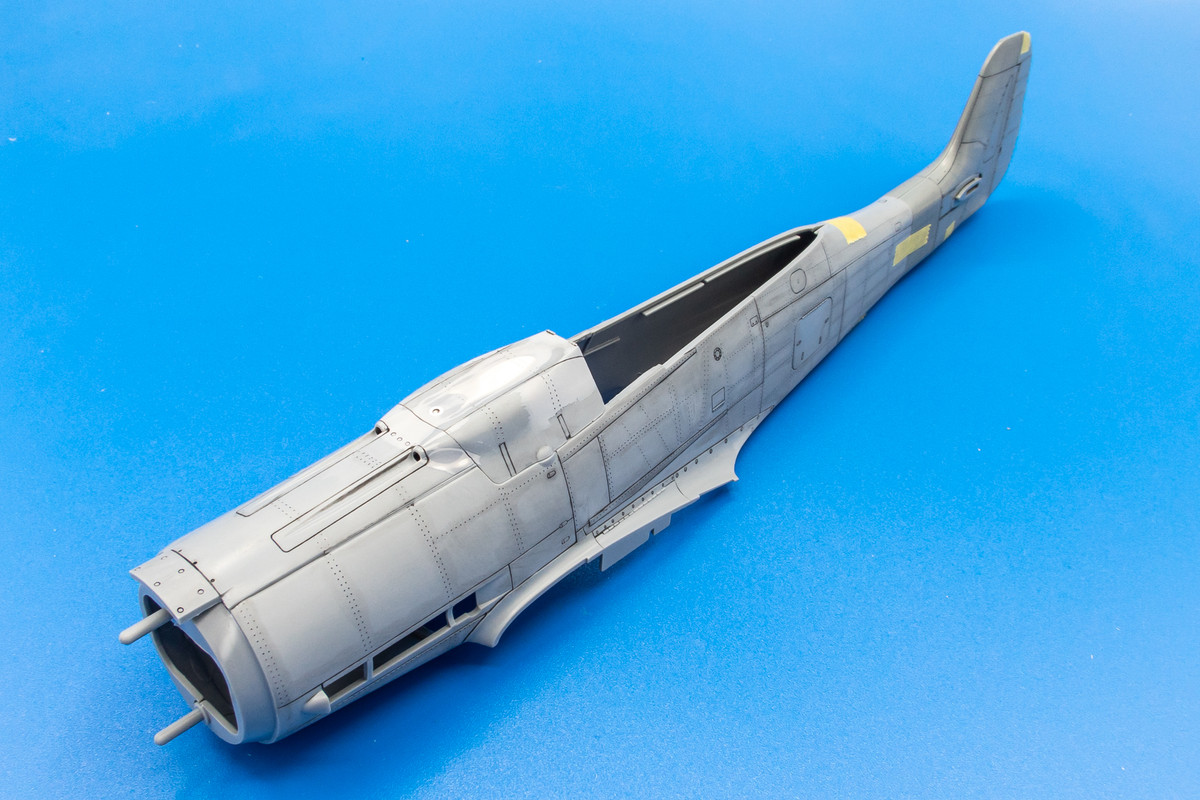
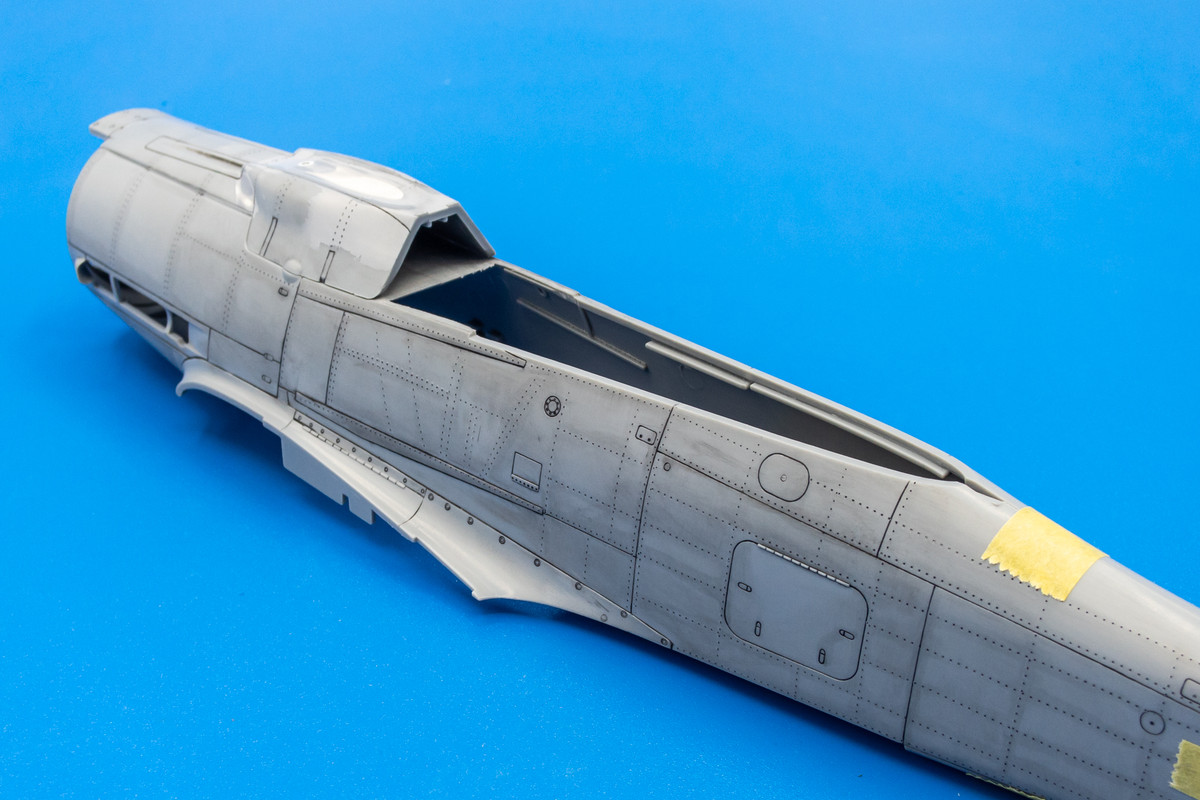
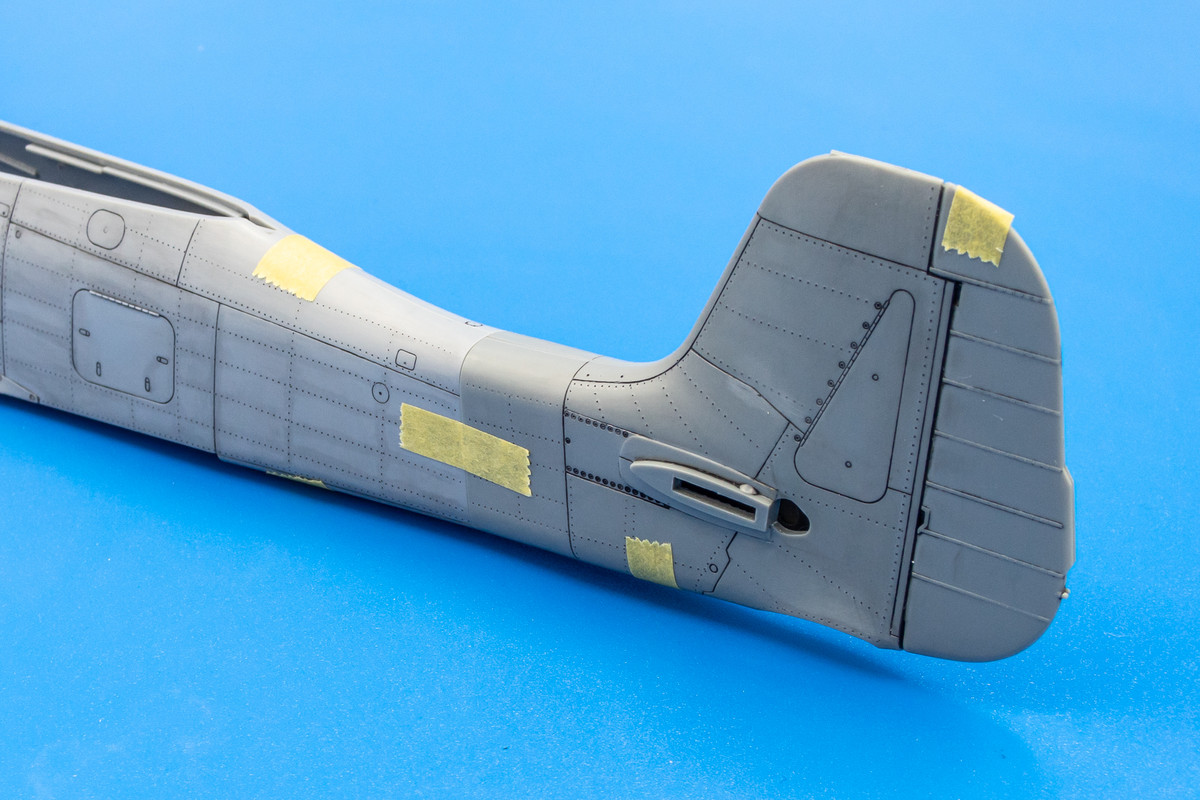
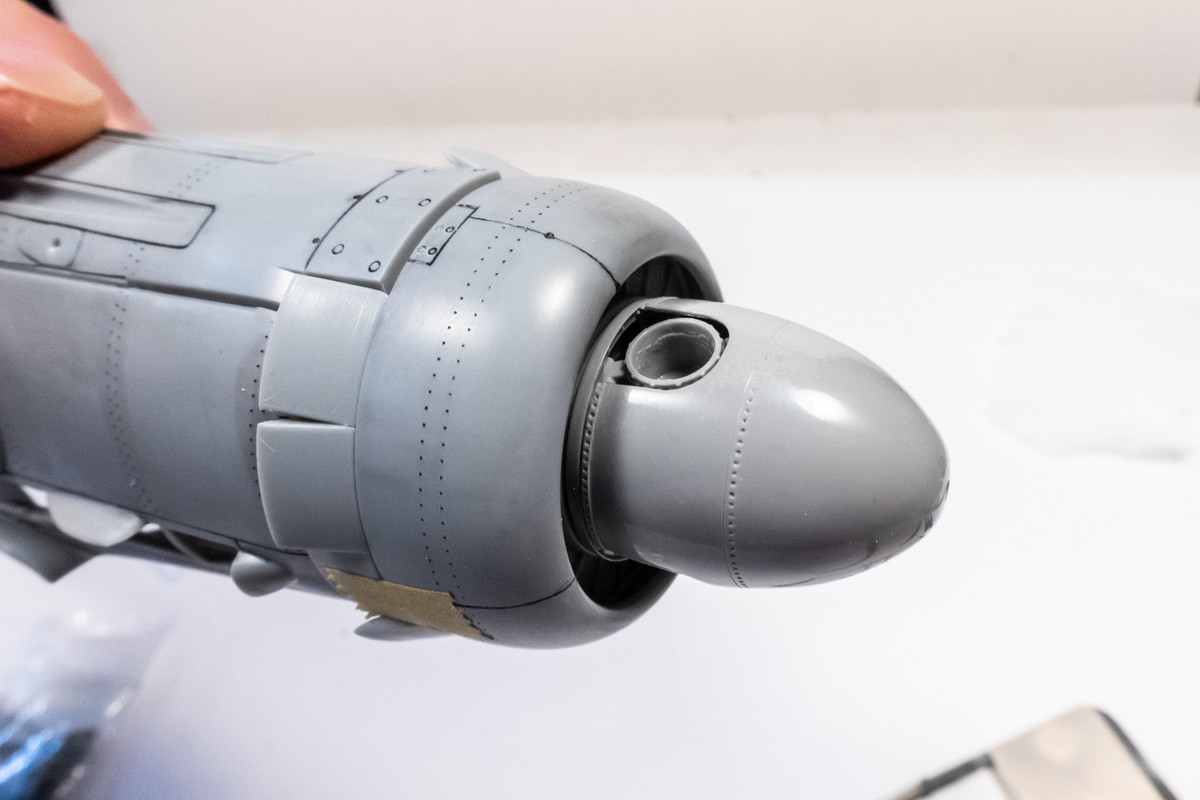
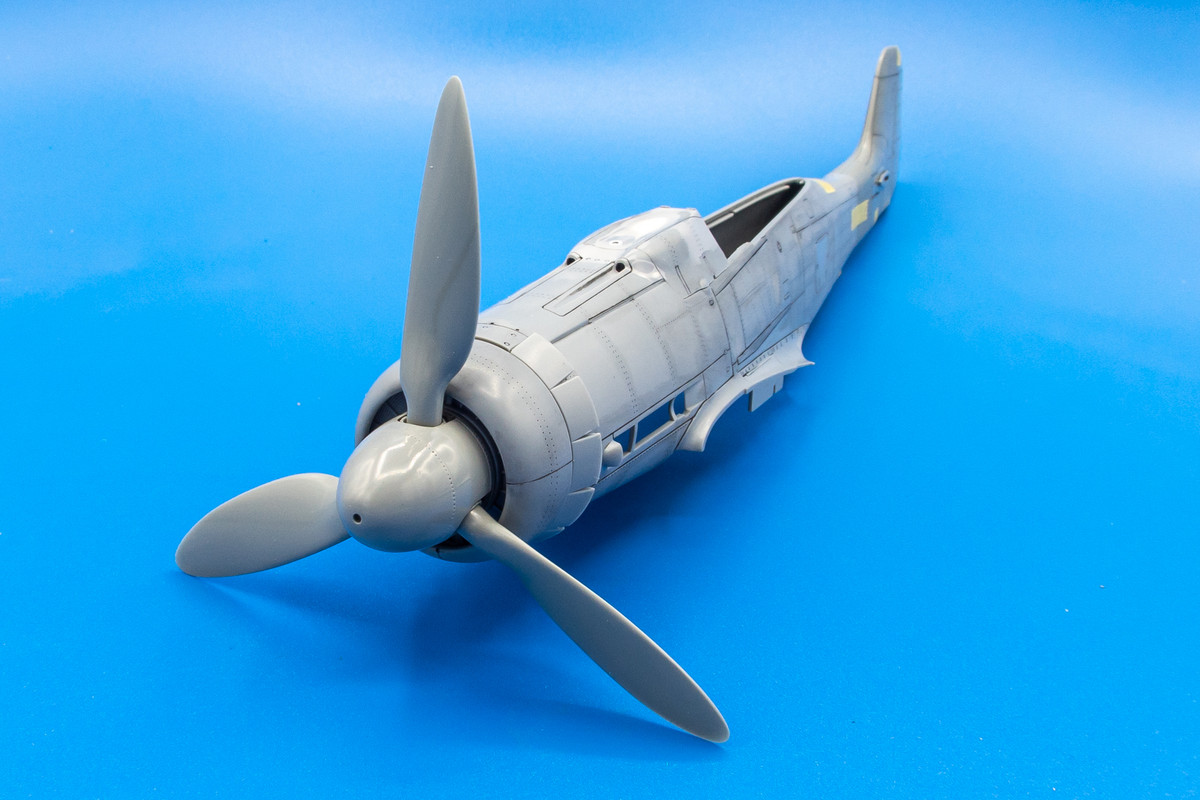
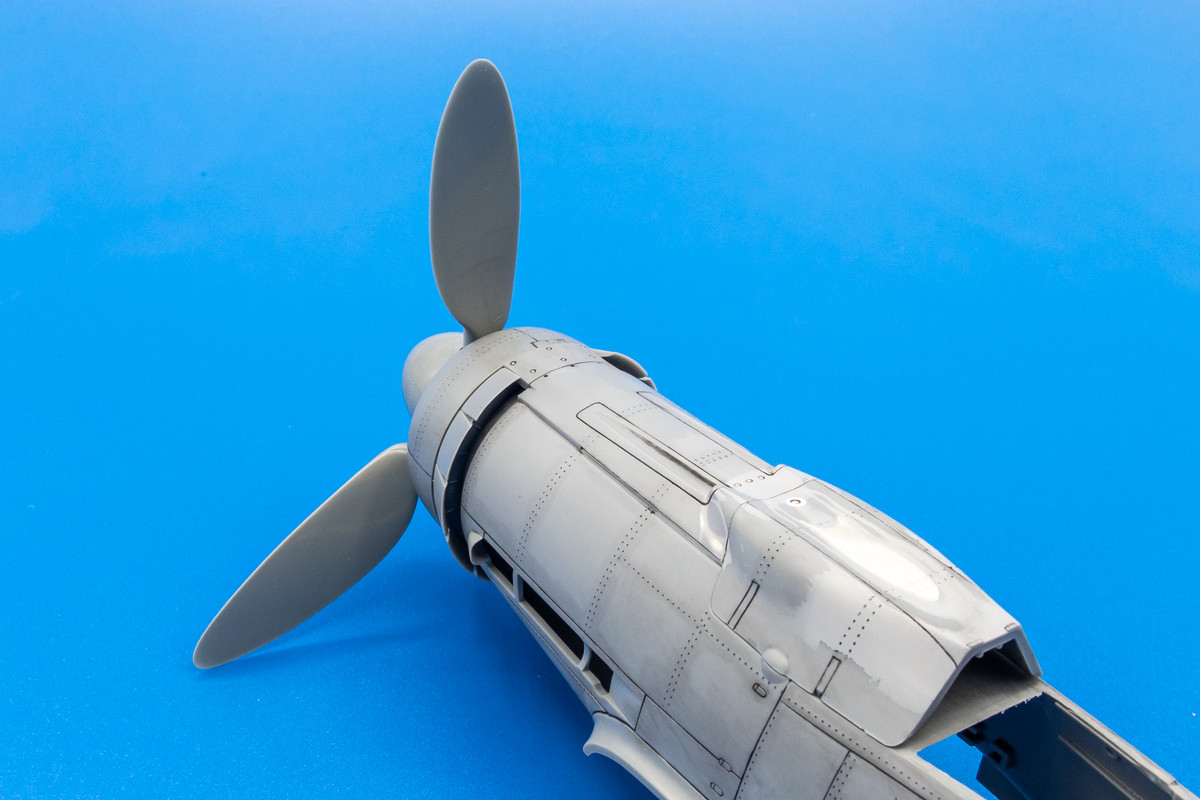
Here is the riveted radiator cowling added to the rest of the riveted body.
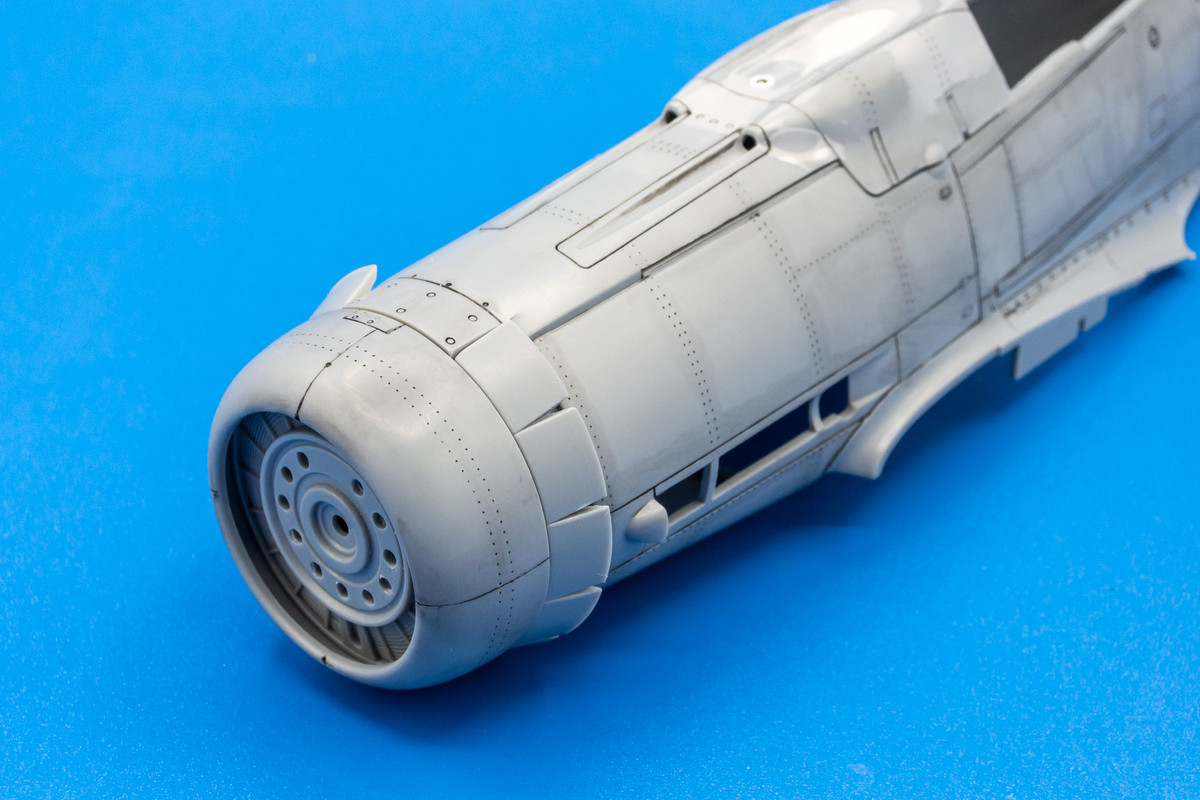
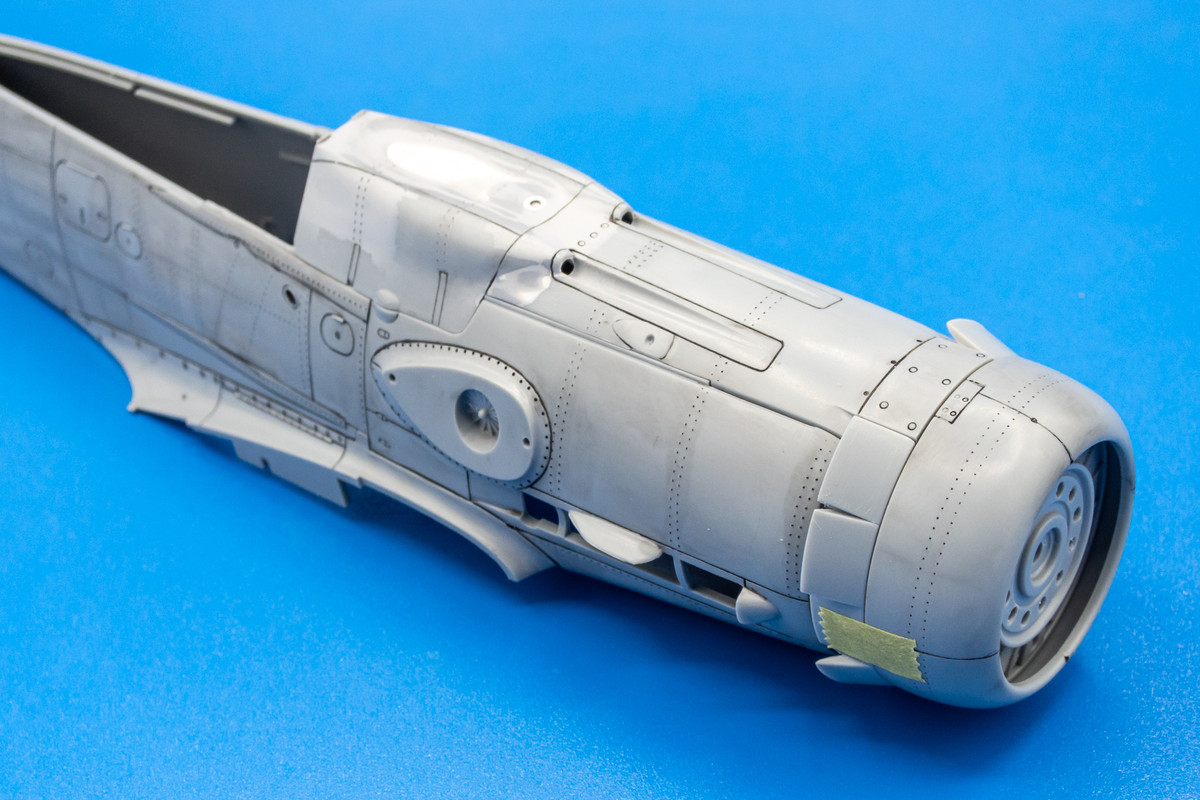
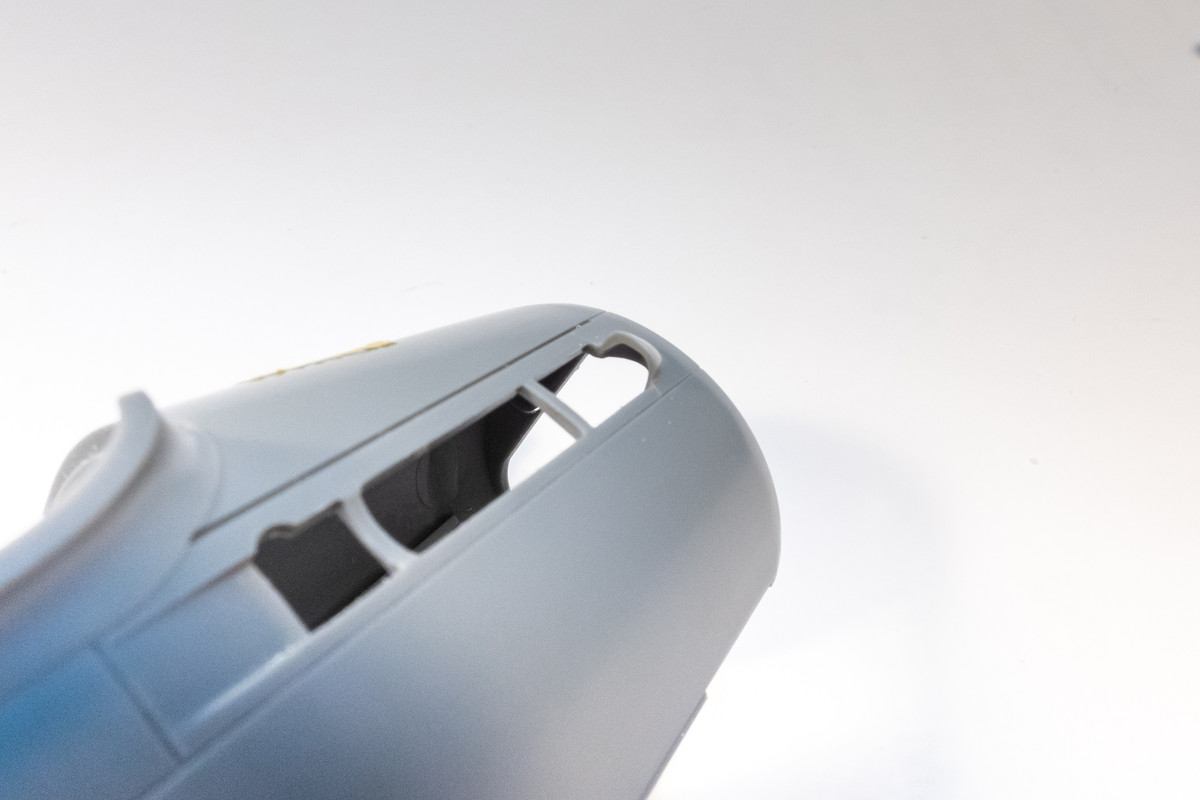
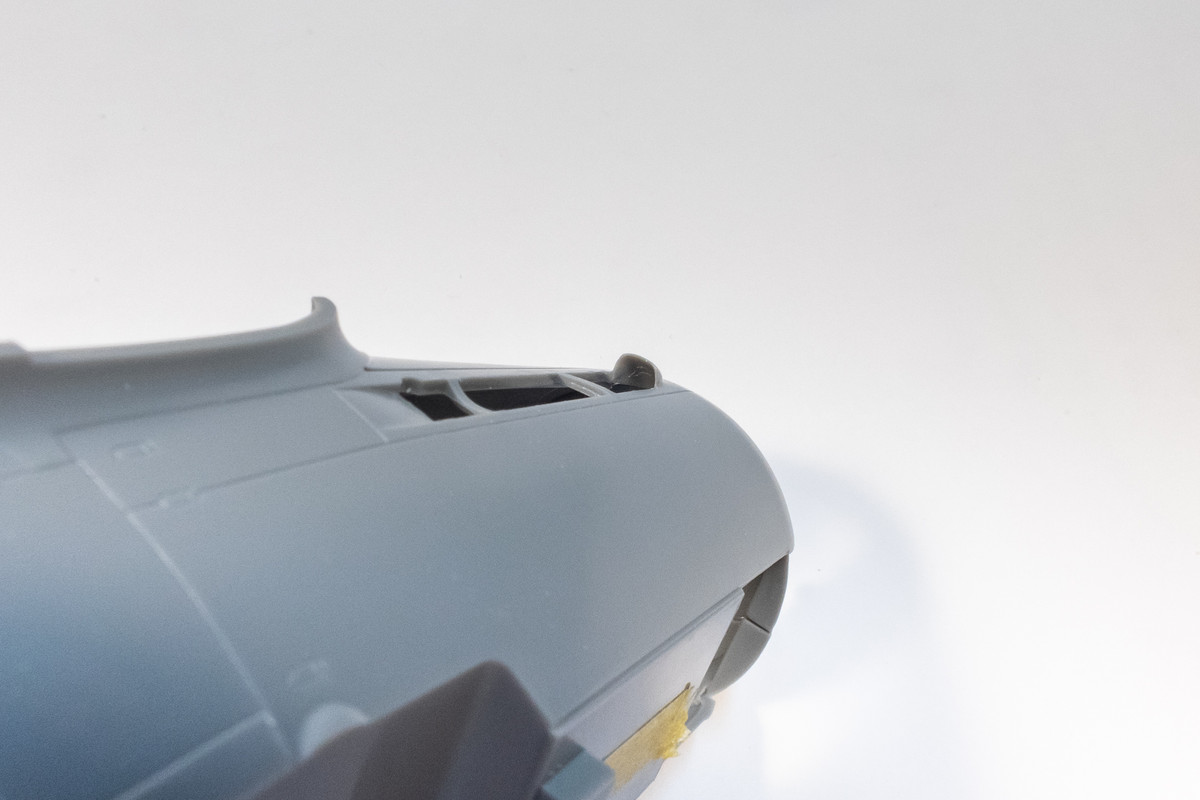
Note the thinned cowl flaps as well as the edge of the small shroud in front of the exhausts.
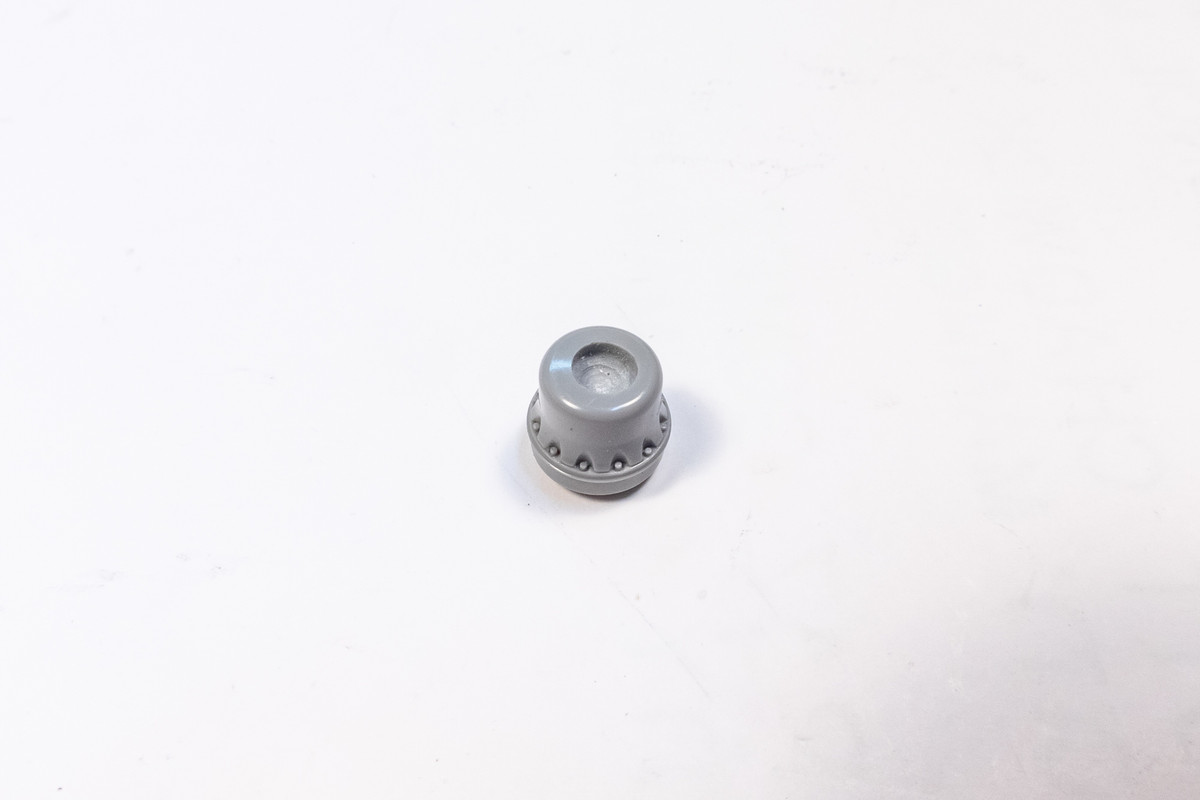
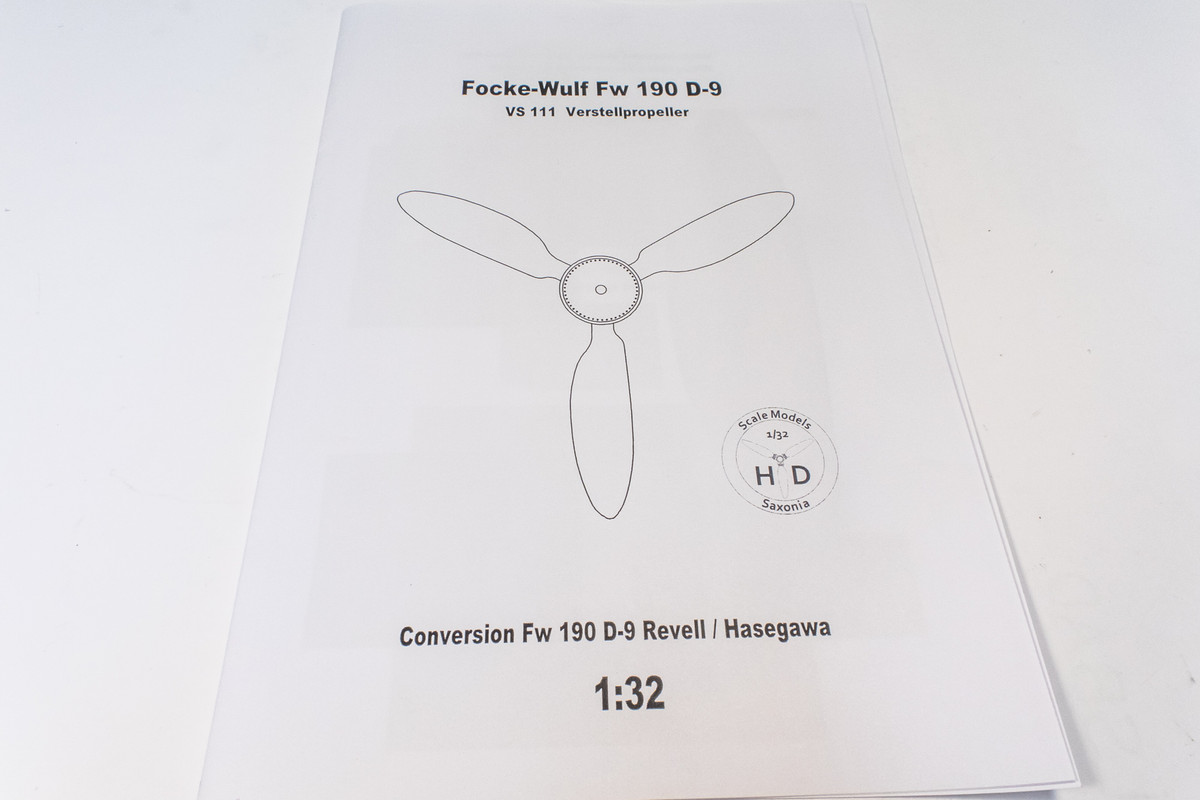
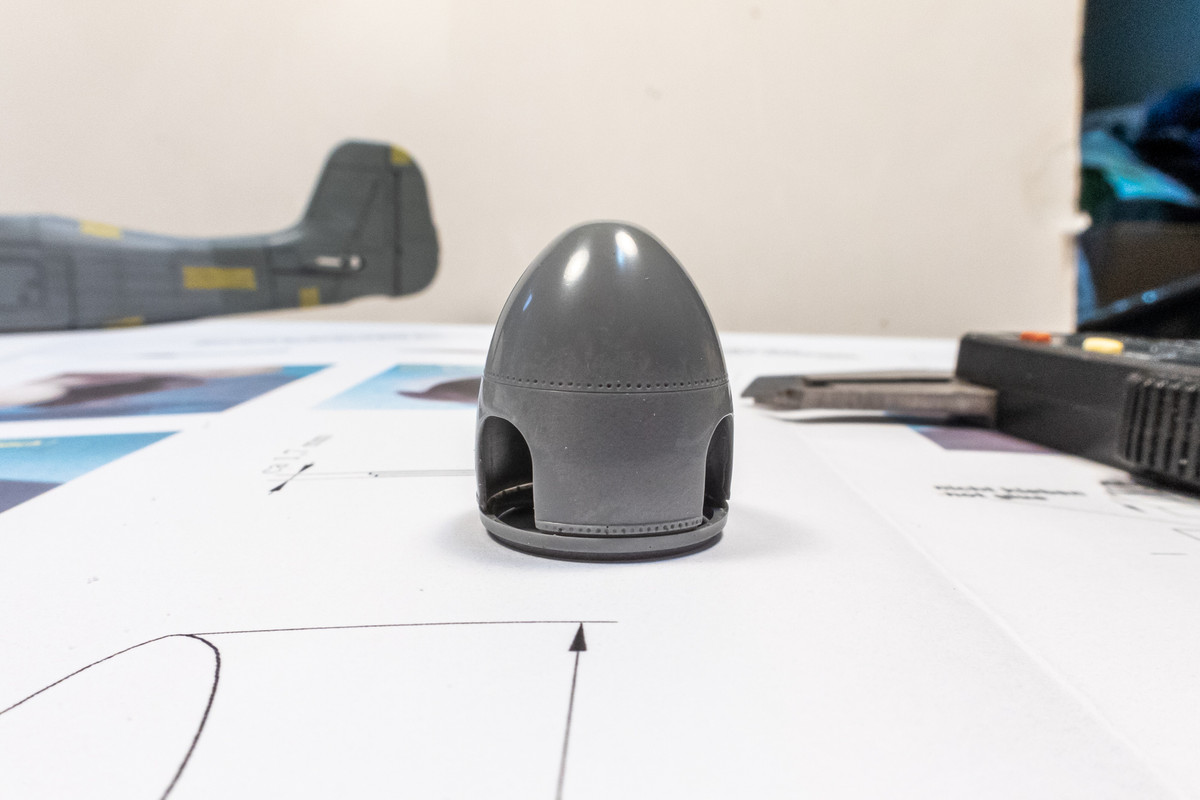
An aftermarket item that is on the DEFINITELY YES list that I forgot to mention is Henri Daehne's beautiful resin VS111 prop.
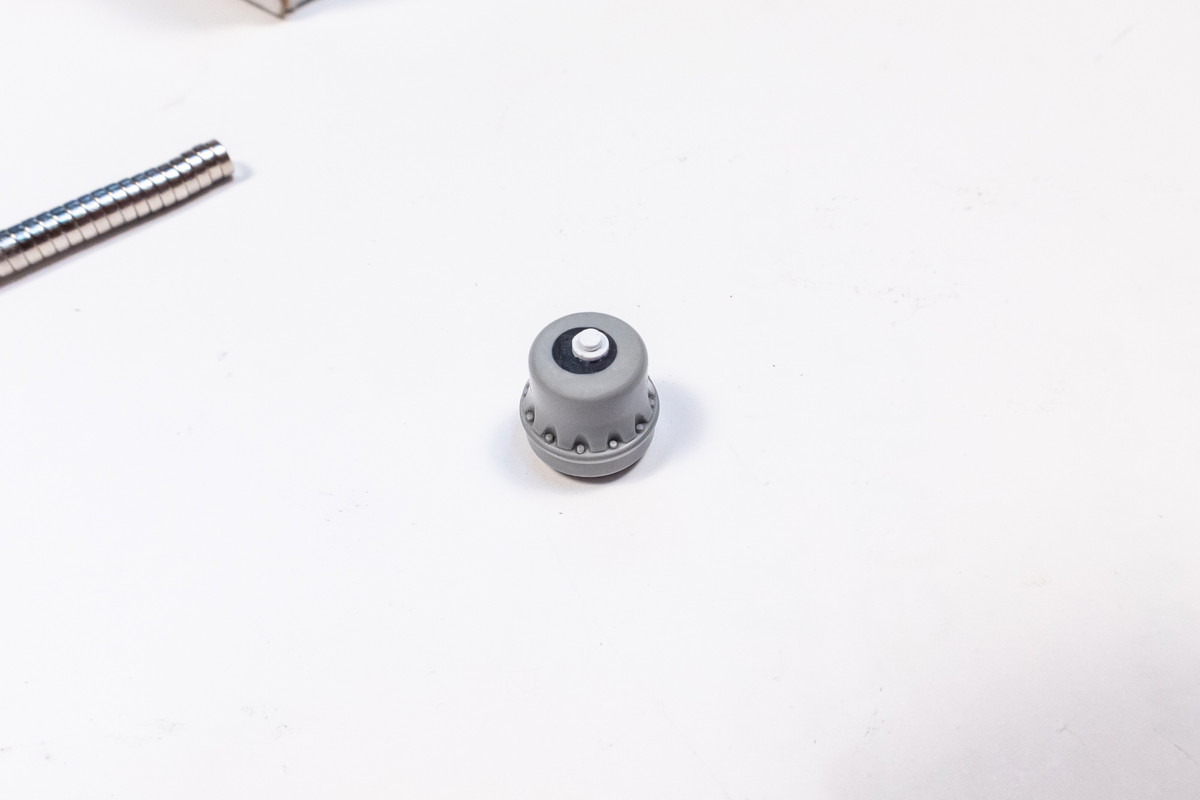
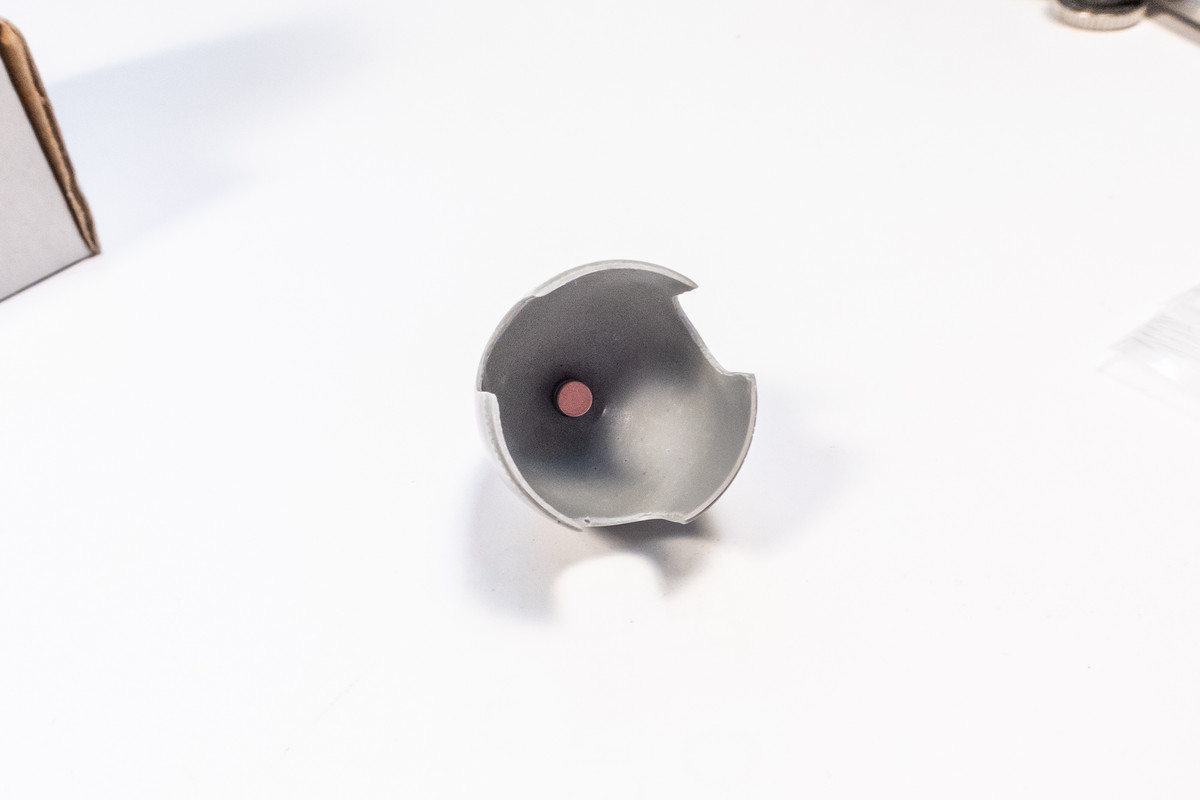
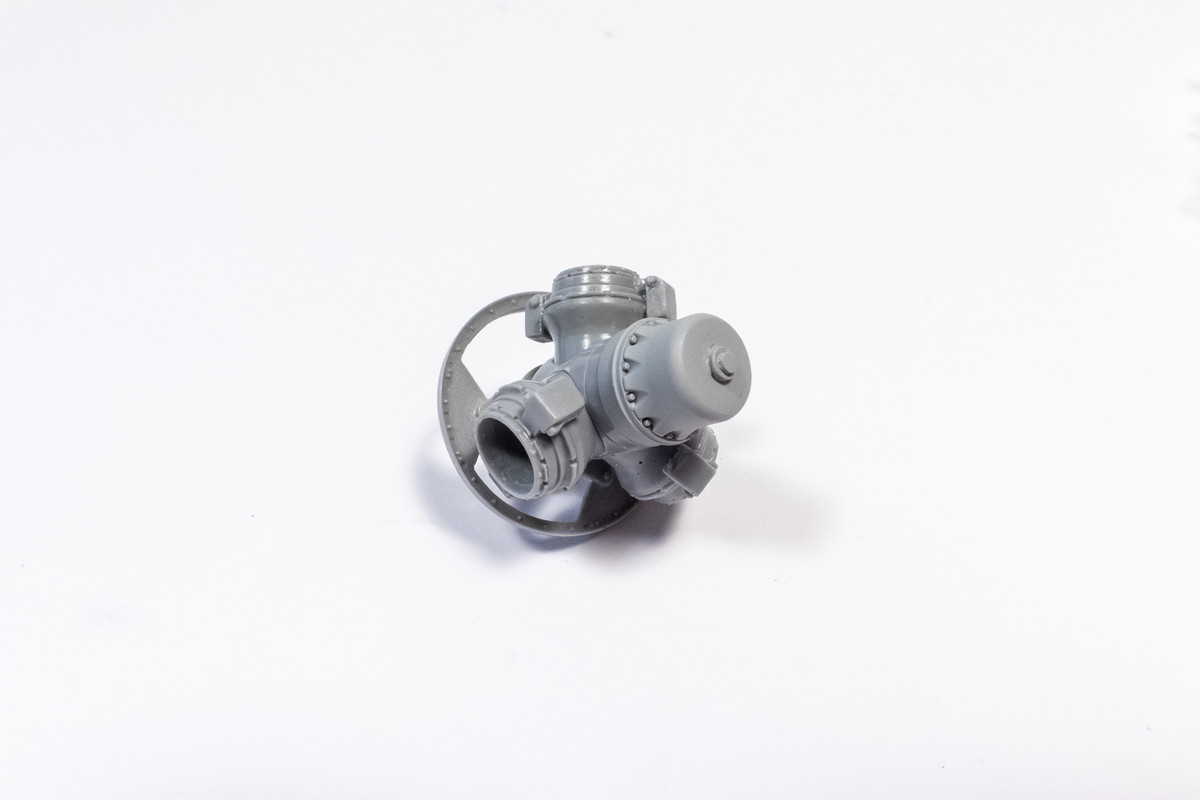
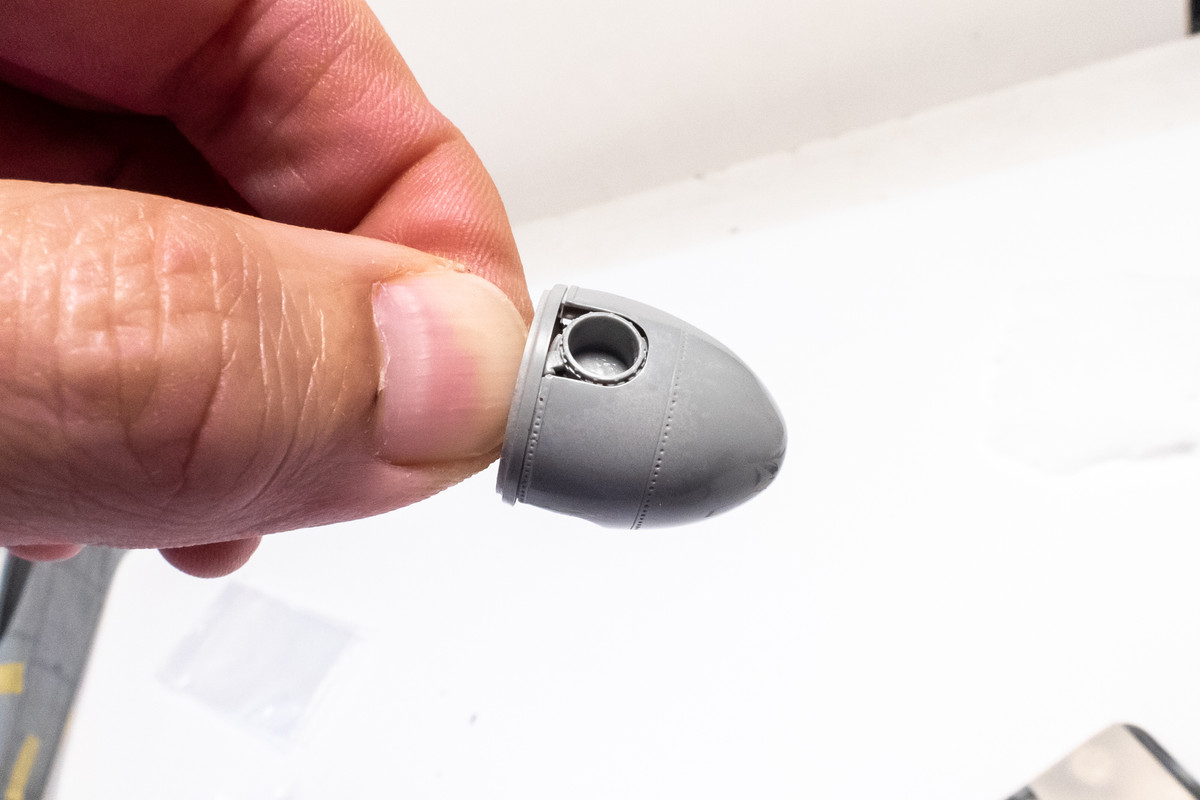
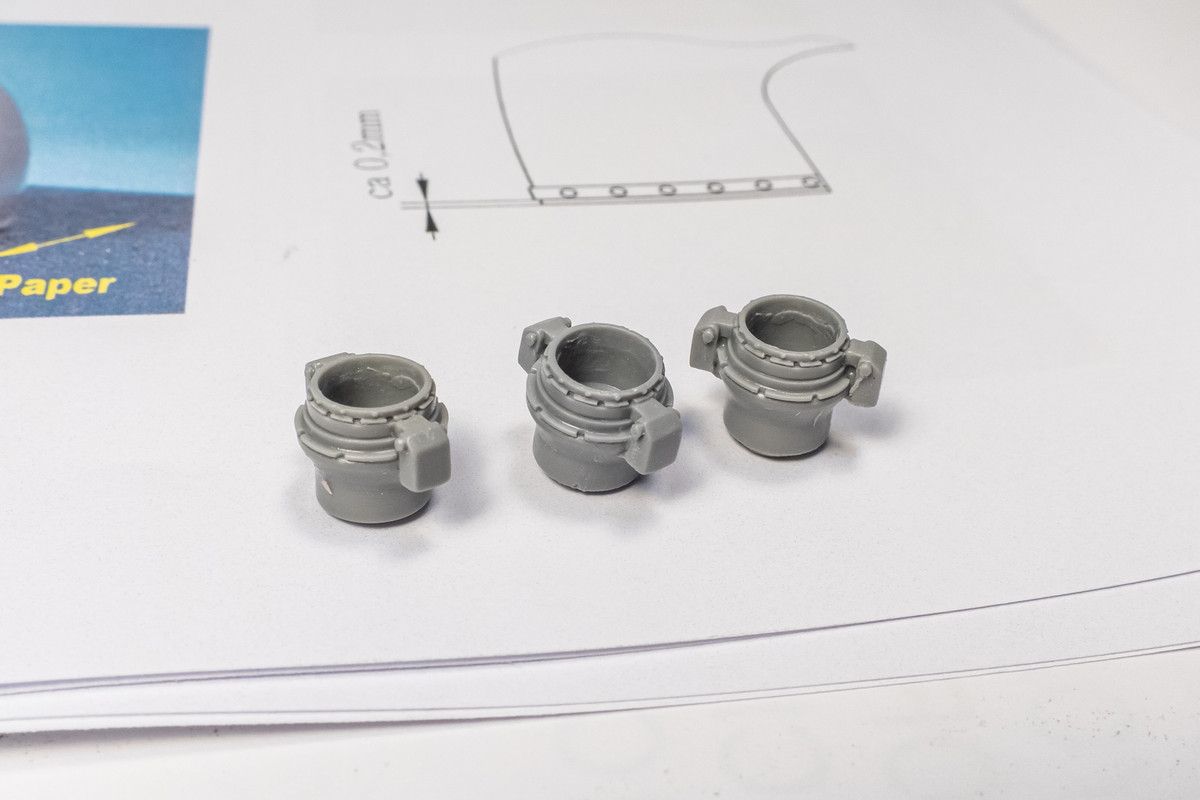
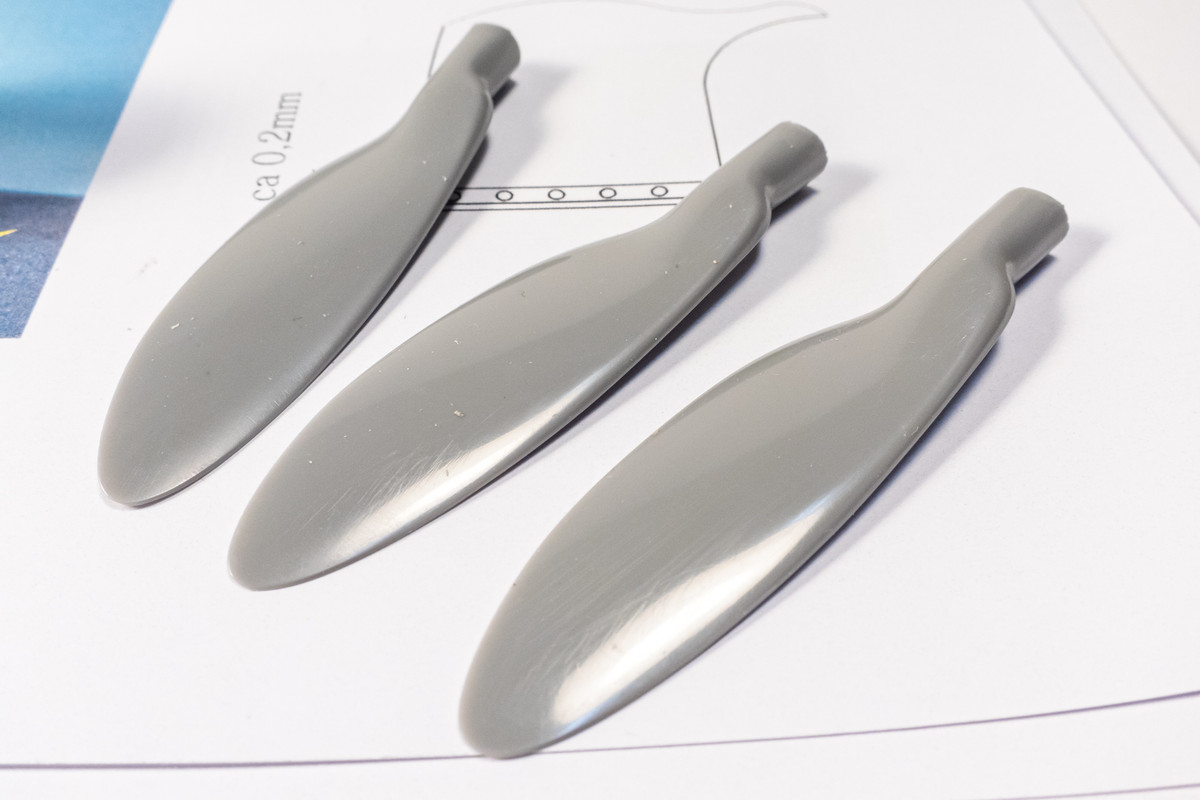
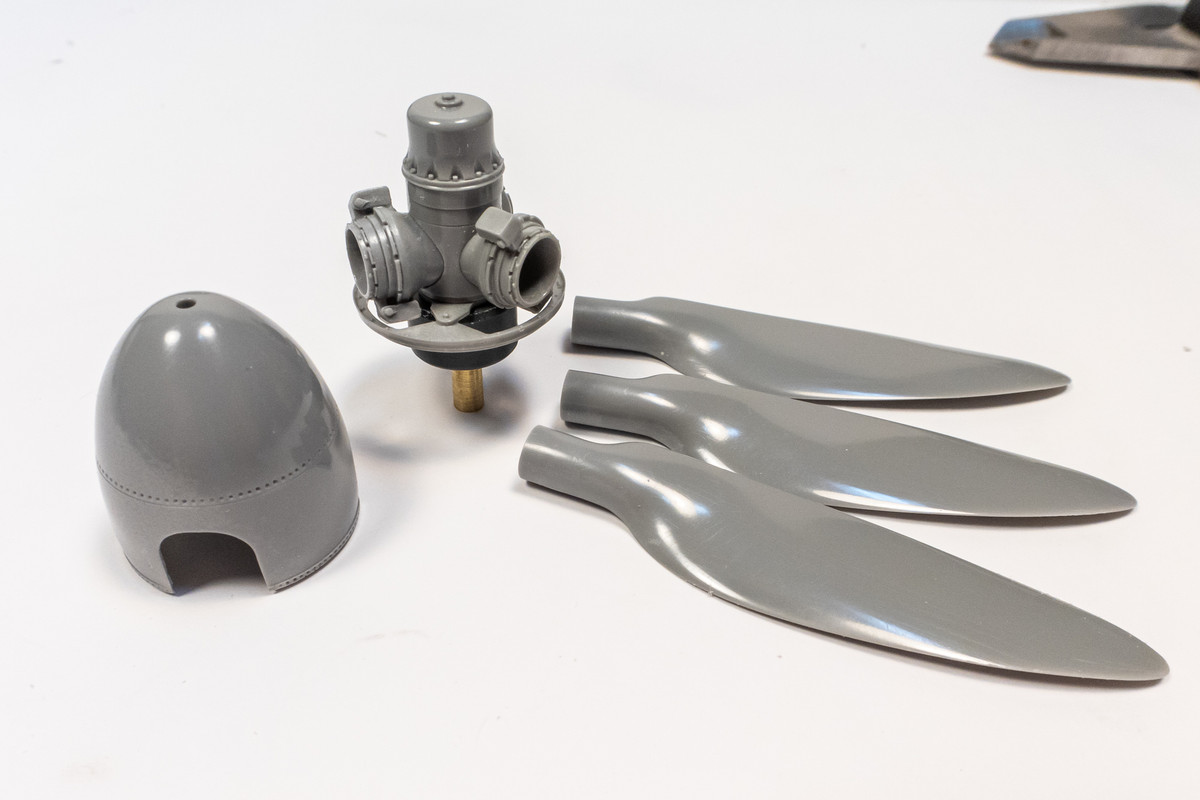
Henri's work is the most impressive resin that I've seen so far. The prop assembly includes the spinner, backplate, prop blades, hub assembly and mounting hardware. All of the resin components are cast in dark grey. Some parts like the spinner and backplate have papery excess resin that needs to be trimmed away but are otherwise immaculate.
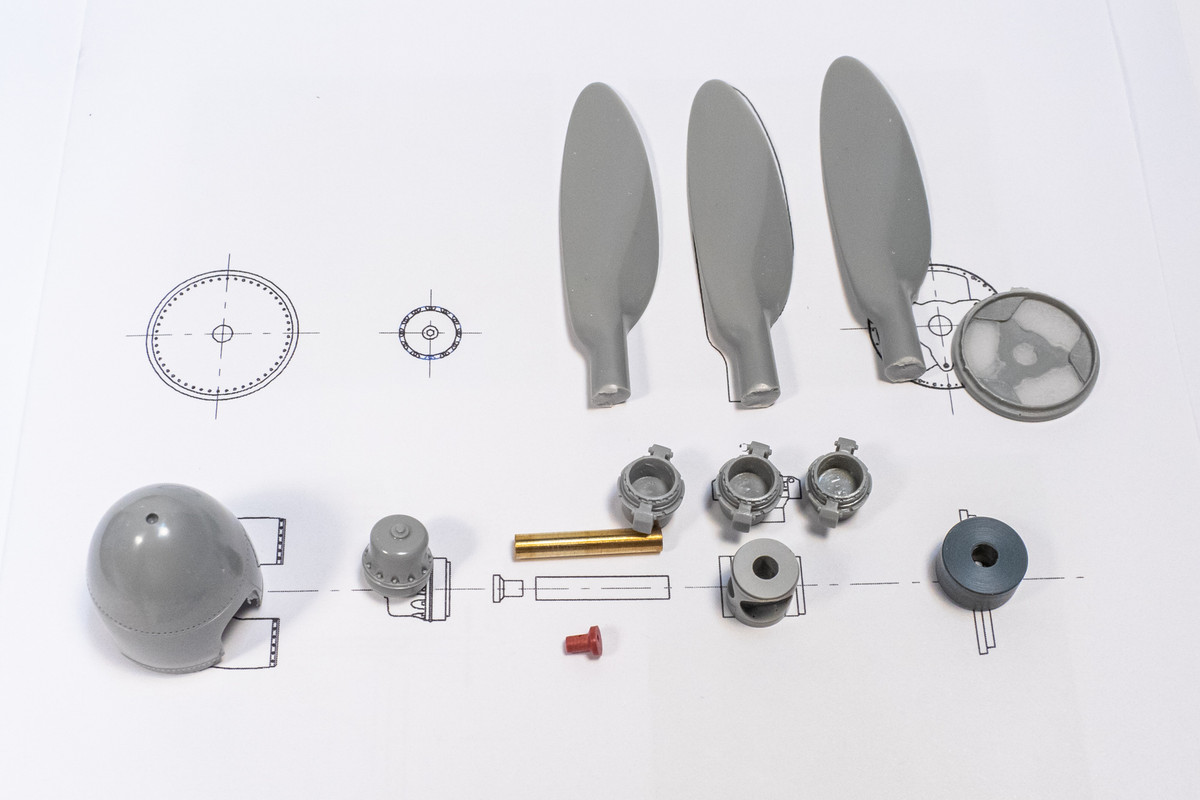
The detail on the hub mounts is most impressive.
I'm not familiar with the resin casting process and I wonder how Henri produces such impeccable surface quality in his castings. He must do some post-casting sanding and polishing, no?
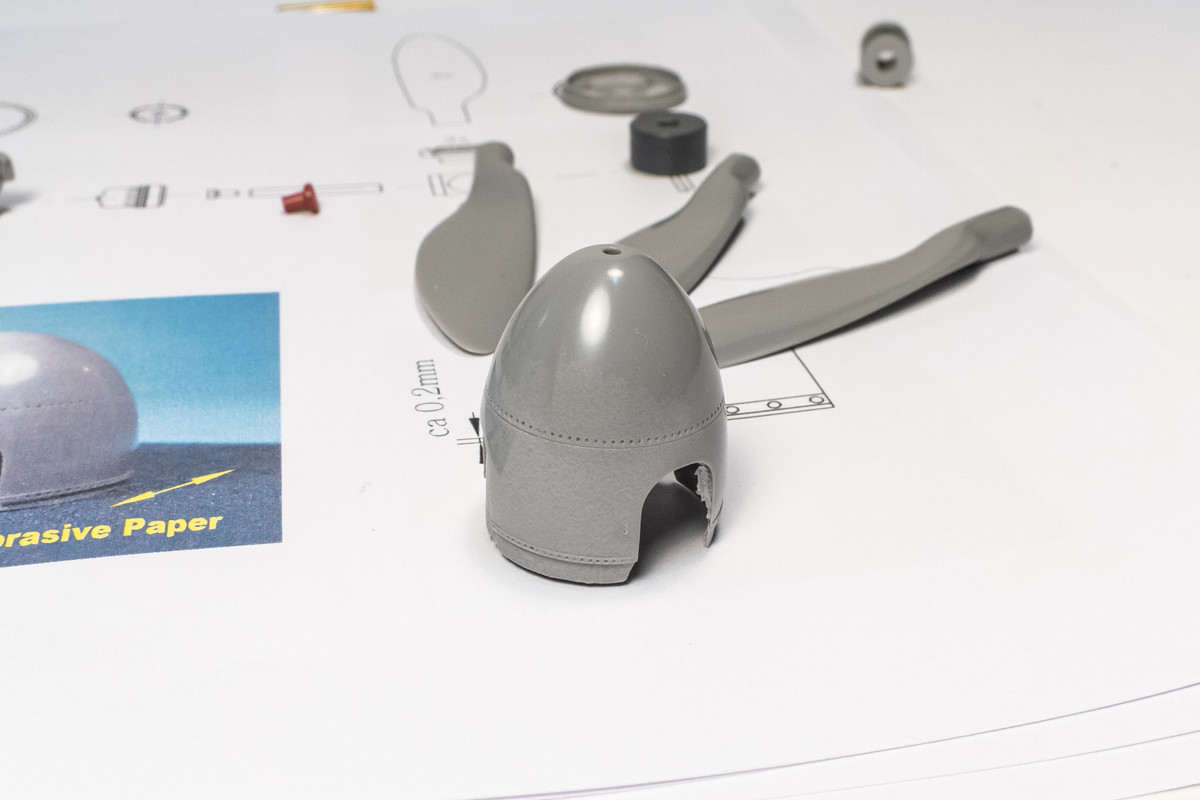
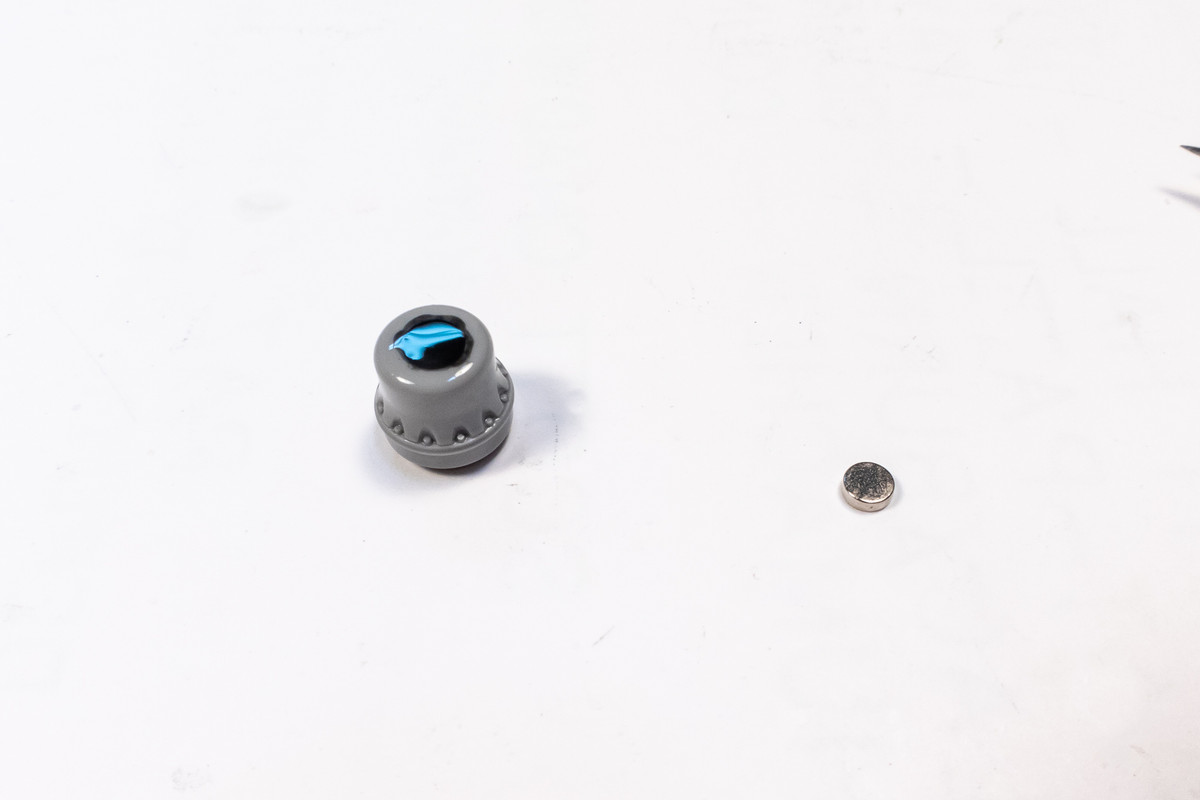
All resin parts come pre-cut from their casting blocks but still need grinding/sanding to get to their final shapes. This is very straightforward using the well detailed instructions and a micrometer.
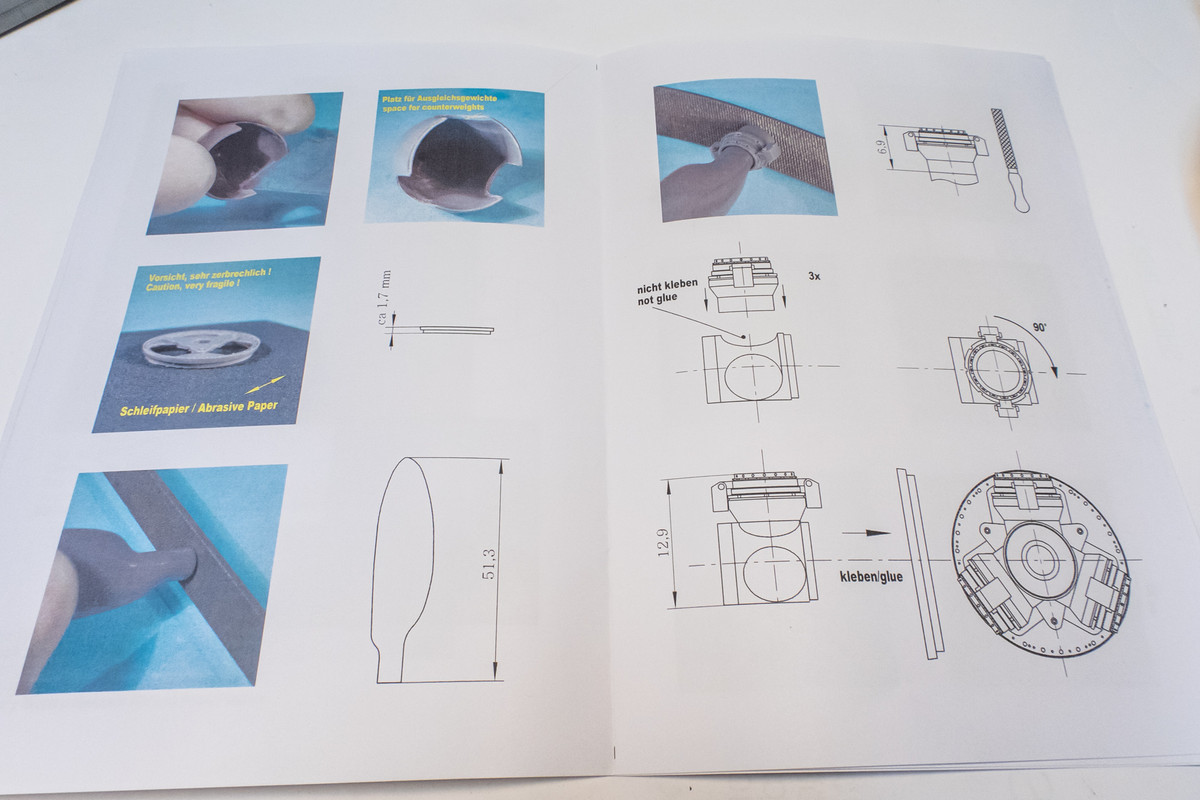
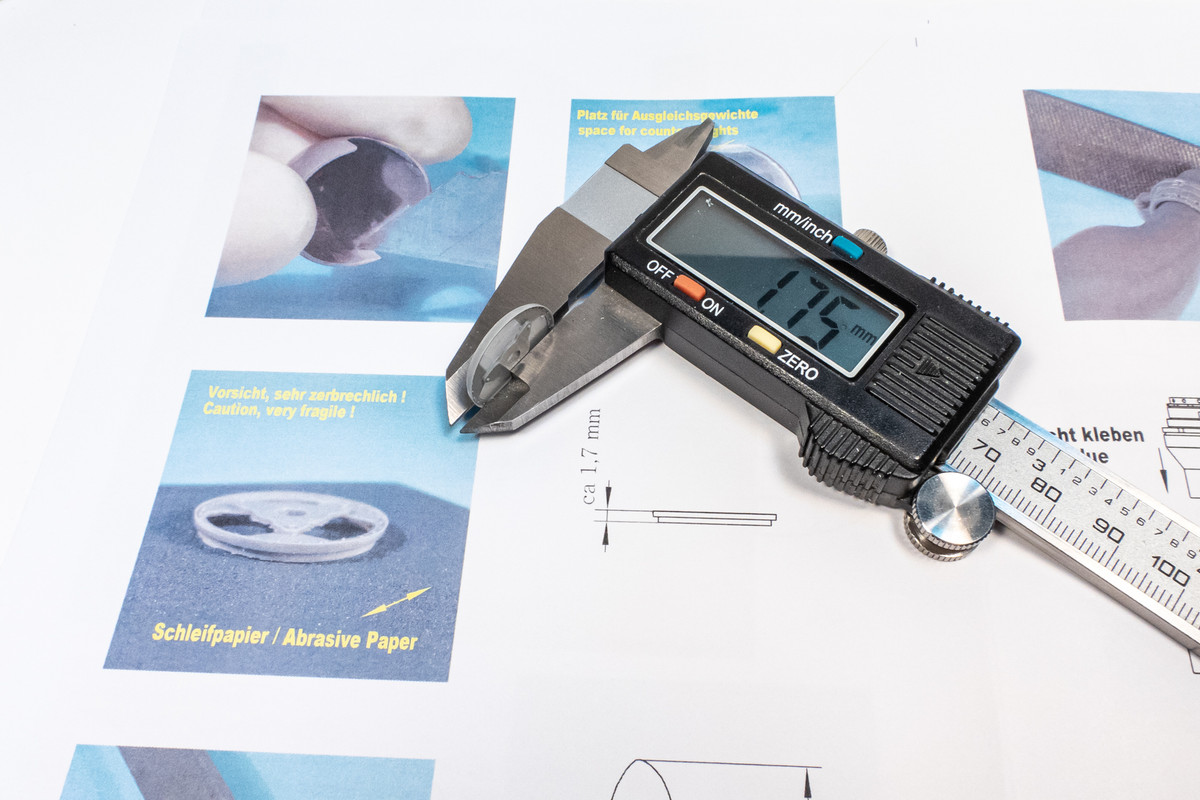
The parts are carefully sanded down to their final measurements.
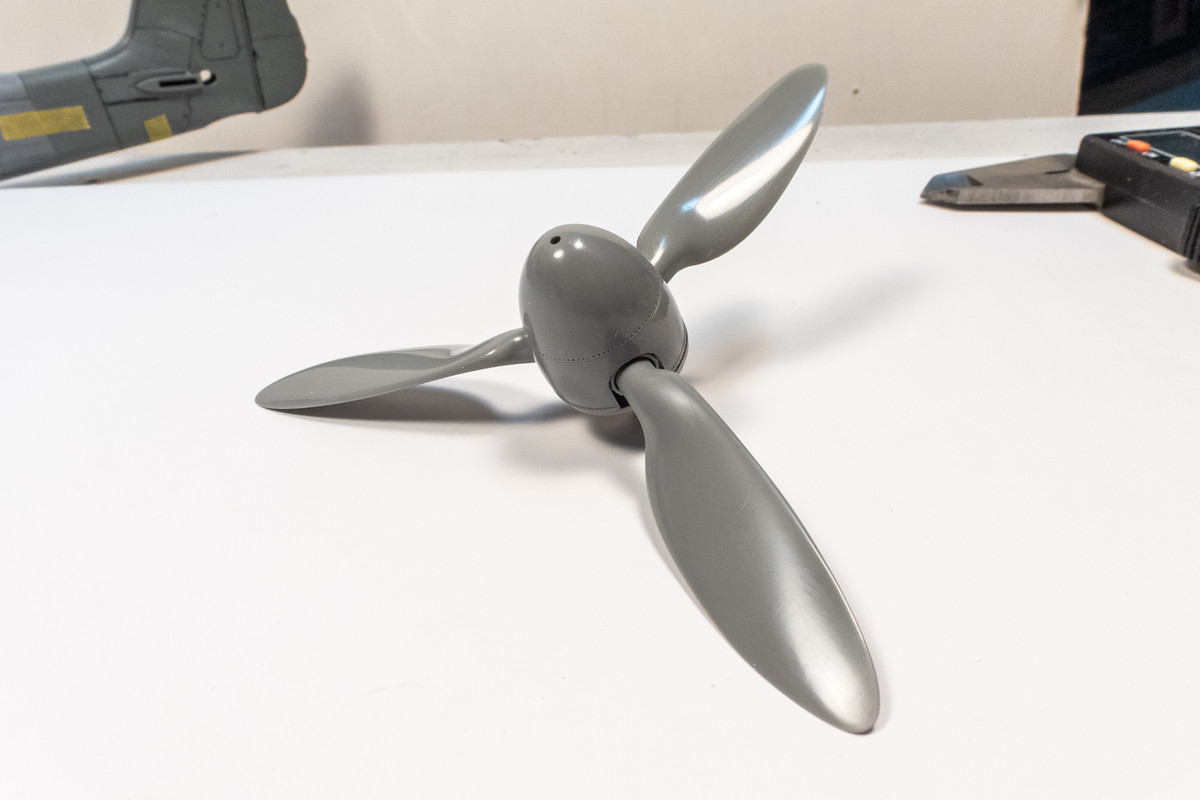
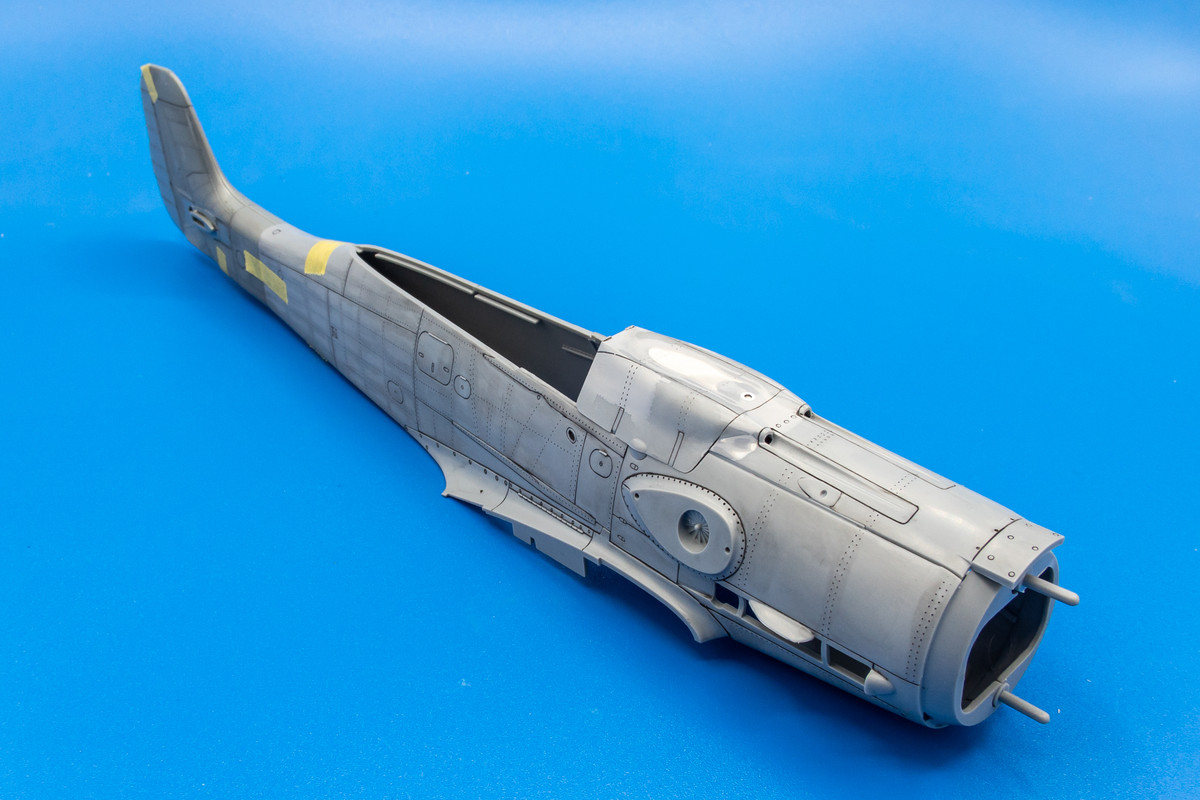
Here is a sneak peak at the HD resin VS111 mounted onto the riveted body. Very sexy.
Next, I'm going to share a neat little modification to the HD prop that I think you'll get a kick out of.