I've just finished the Fw 190D-13 and am going to start a new project instead of jumping back onto the Special Hobby Tempest V build. I'll get to that one eventually but I thought it would be good to mix it up a little bit and try something different. I'm going to a smaller scale and trying my hand at a "modern" jet...
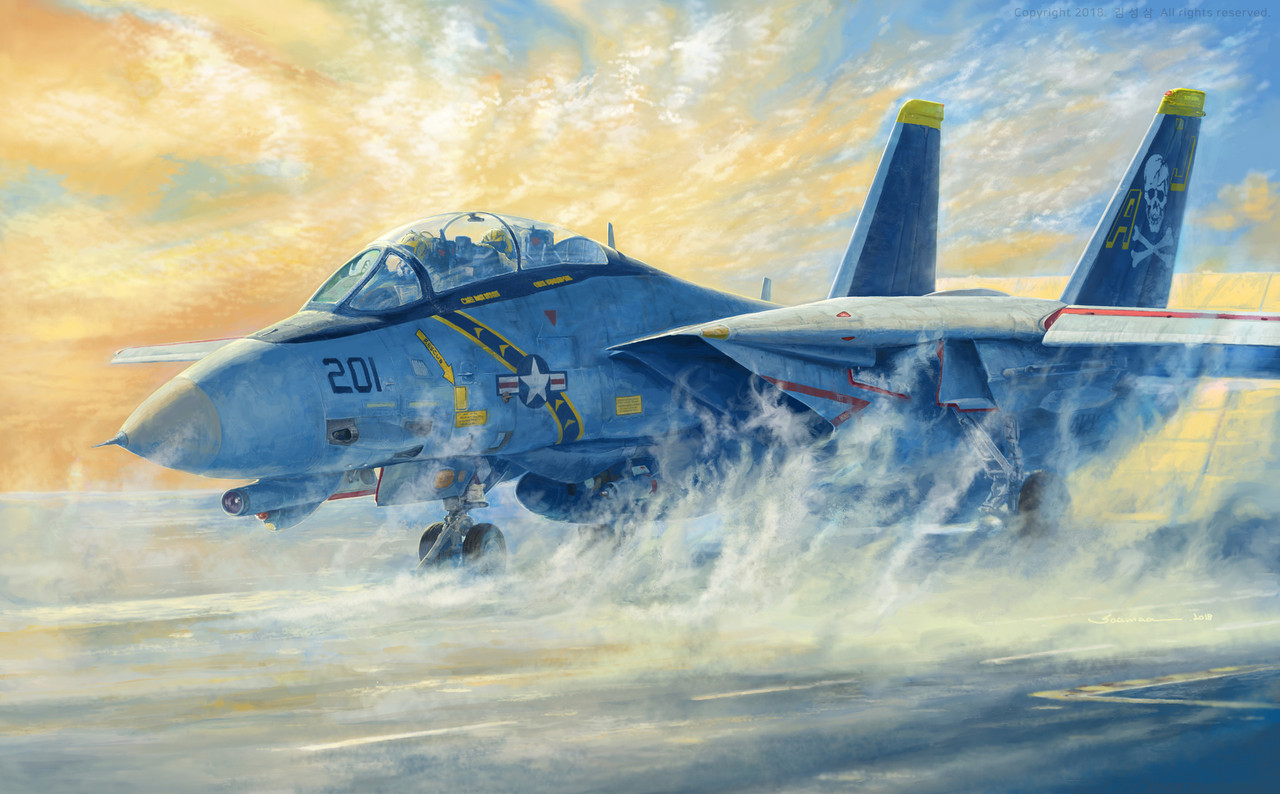
I put "modern" in parentheses since the Tomcat is officially out of service. I think it is a cool looking aircraft and I have found memories of building a 1/72 version in Wolfpack markings when I was younger. Here is the kit I'll be building now...
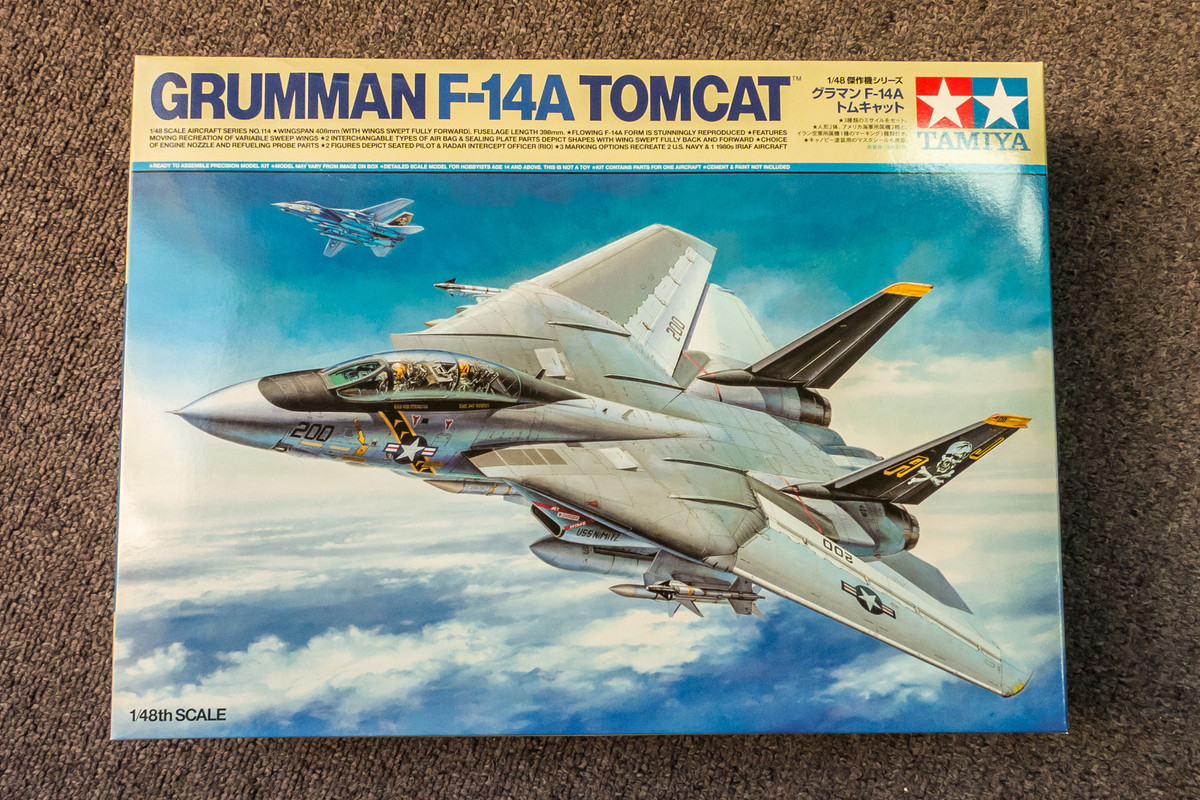
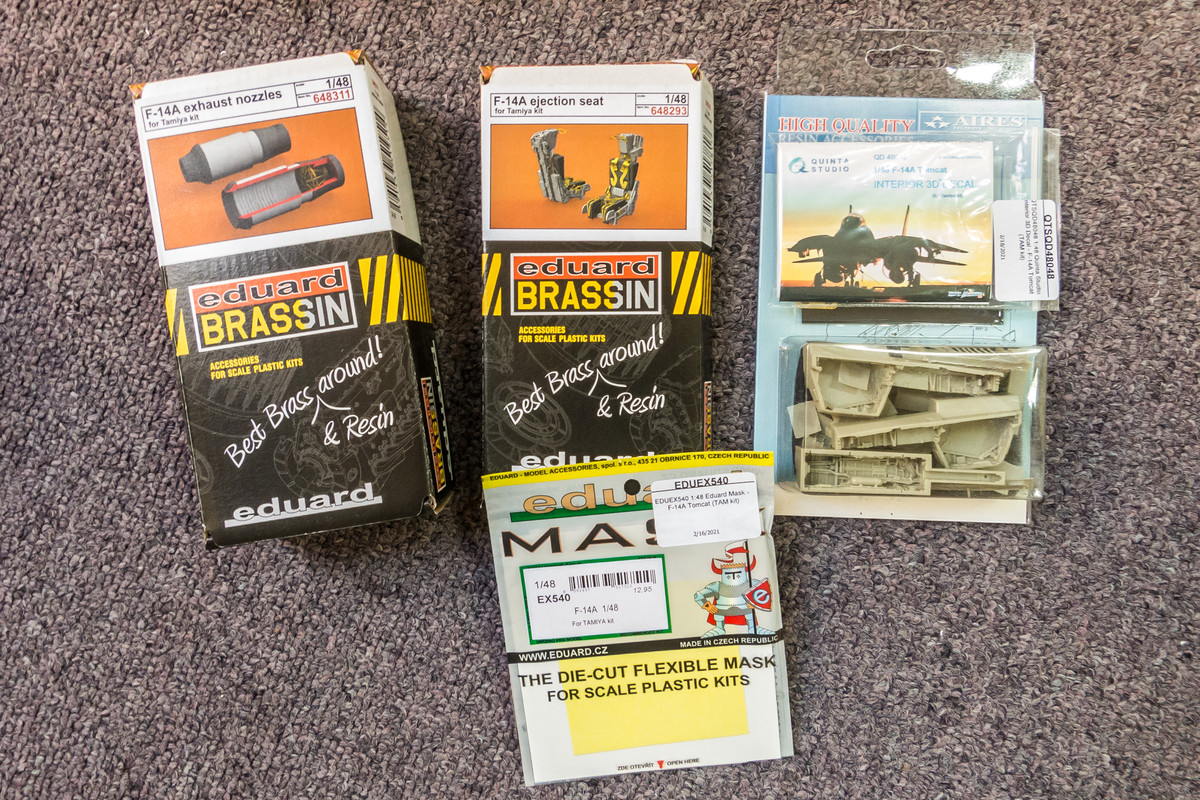
It's one of the latest from Tamiya and since this release has been covered extensively online, I'm not going to do a sprue tour and just jump straight into the build. There's going to a few aftermarket additions but compared to my normal WW2 builds, it will be closer to OOB than not. The Aires wheel well set is for the Hasegawa kit and I'm not planning on trying to shoehorn it into place but rather try to use it as a reference in sprucing up the kit wheel wells, if necessary.
I don't know much about jets and don't have much in the way of references so I picked up this one...
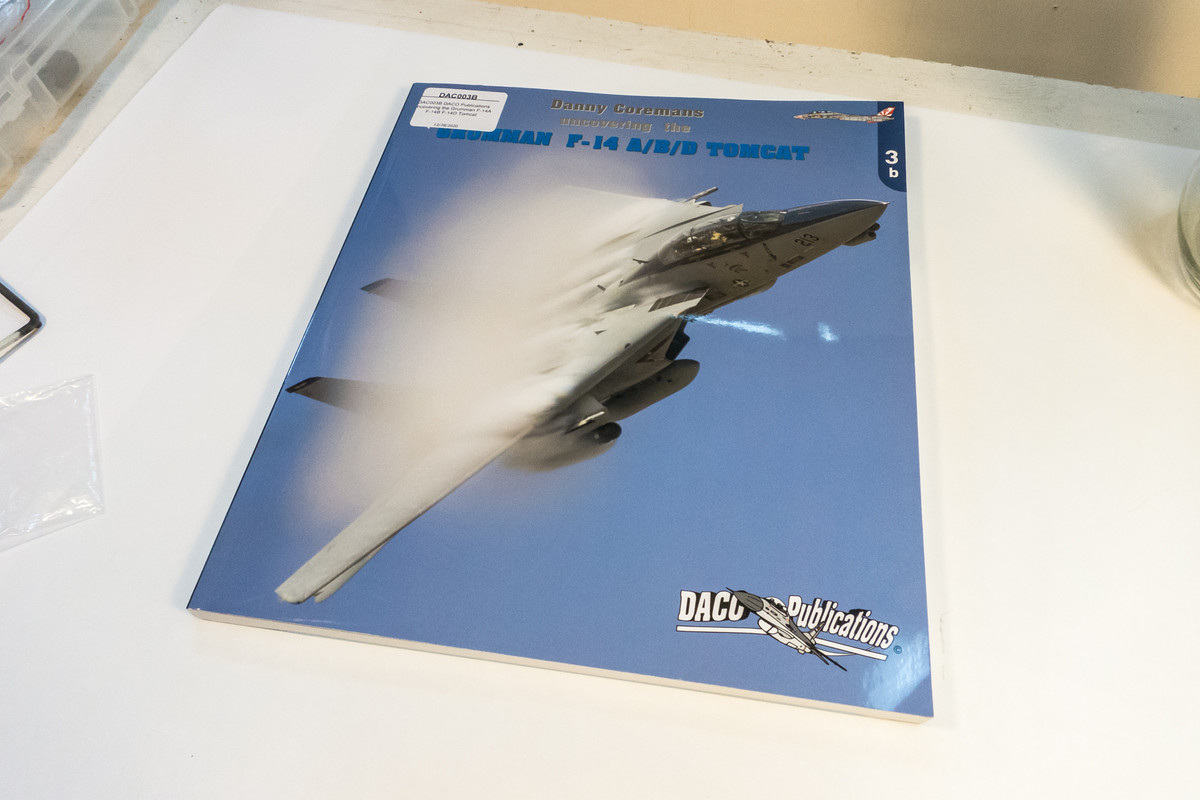
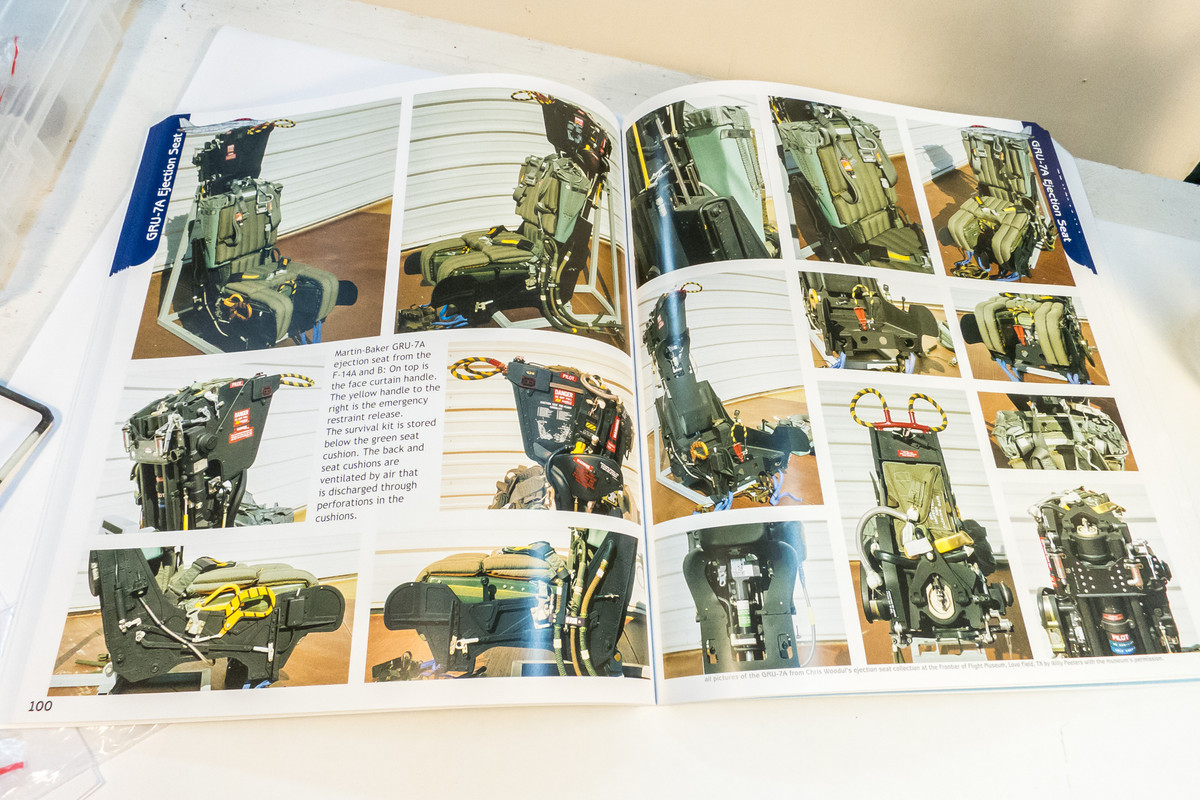
It's essentially a photo book chock full of close-up details, which is ideal for us model builders.
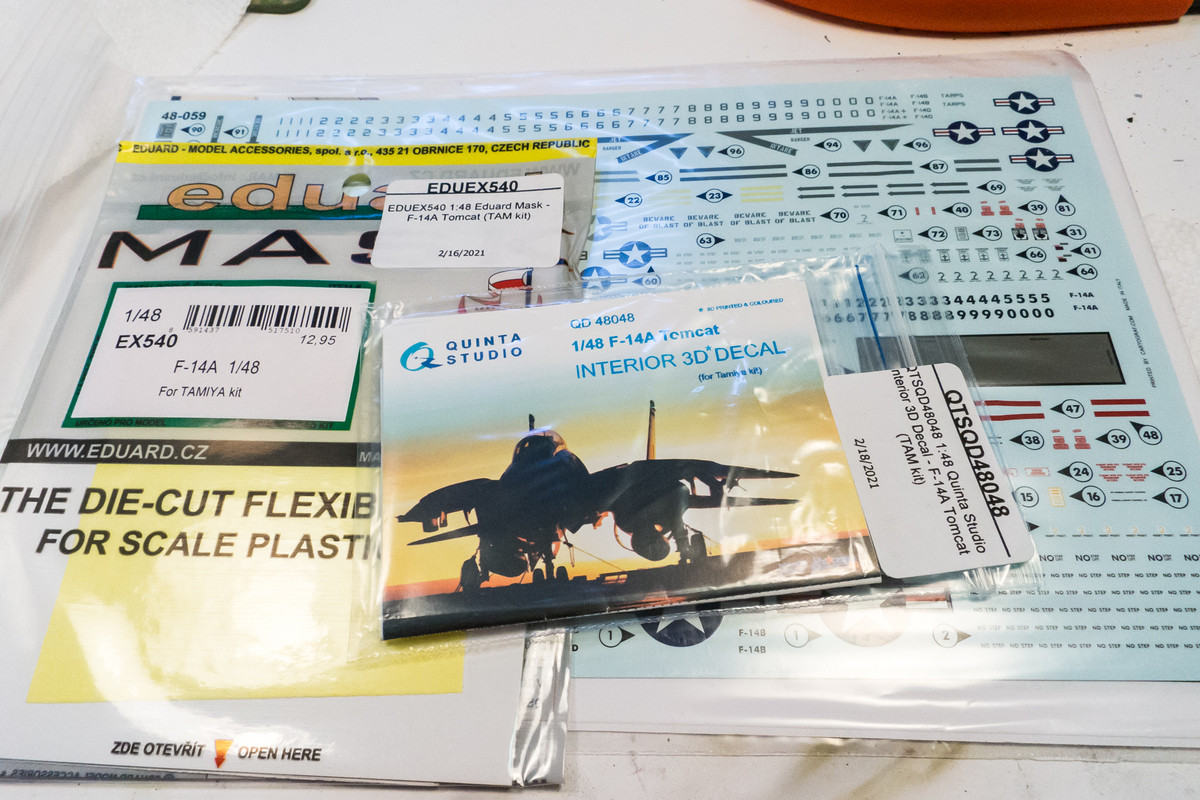
And yes, I'll be doing the VF-84 Jolly Rogers scheme. I know that it's probably been done to death but I have a particular nostalgia for the high vis F-14 markings from the 80's. The kit has decals for this scheme but being a bit leery of the thickness of Tamiya's decals, I'm looking for some aftermarket decals.
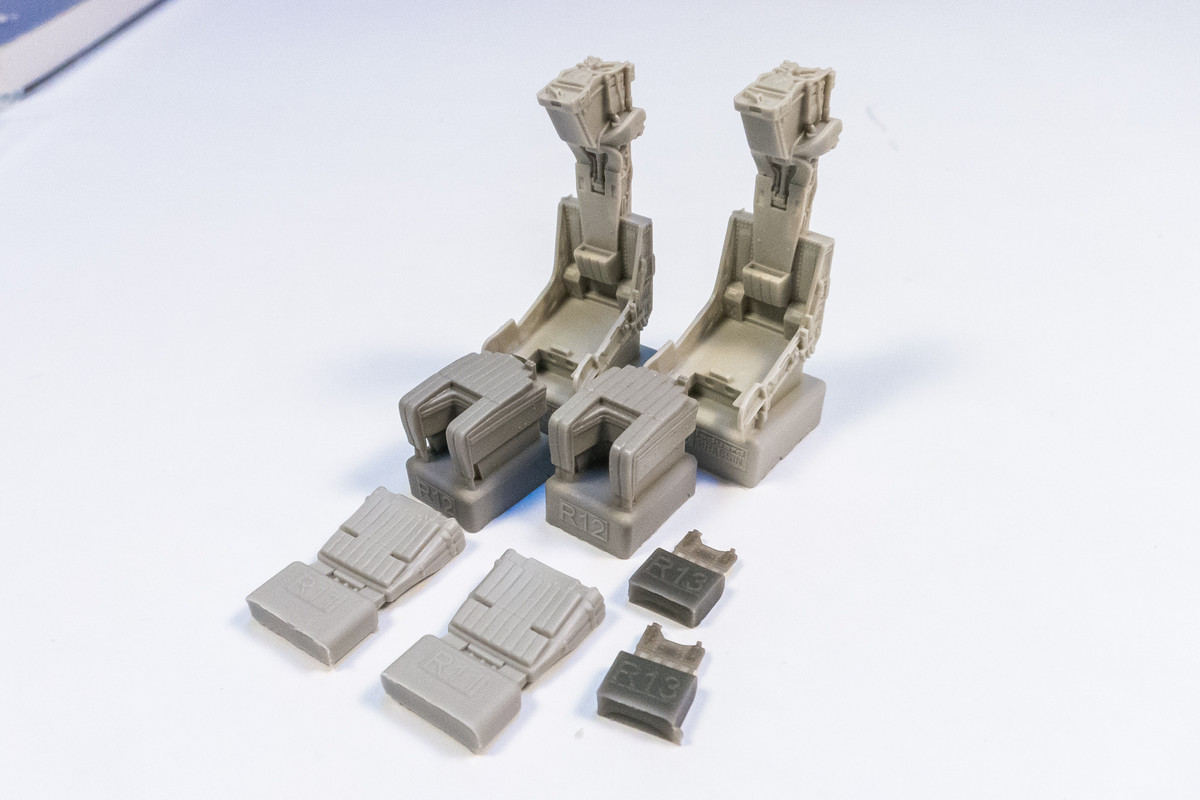
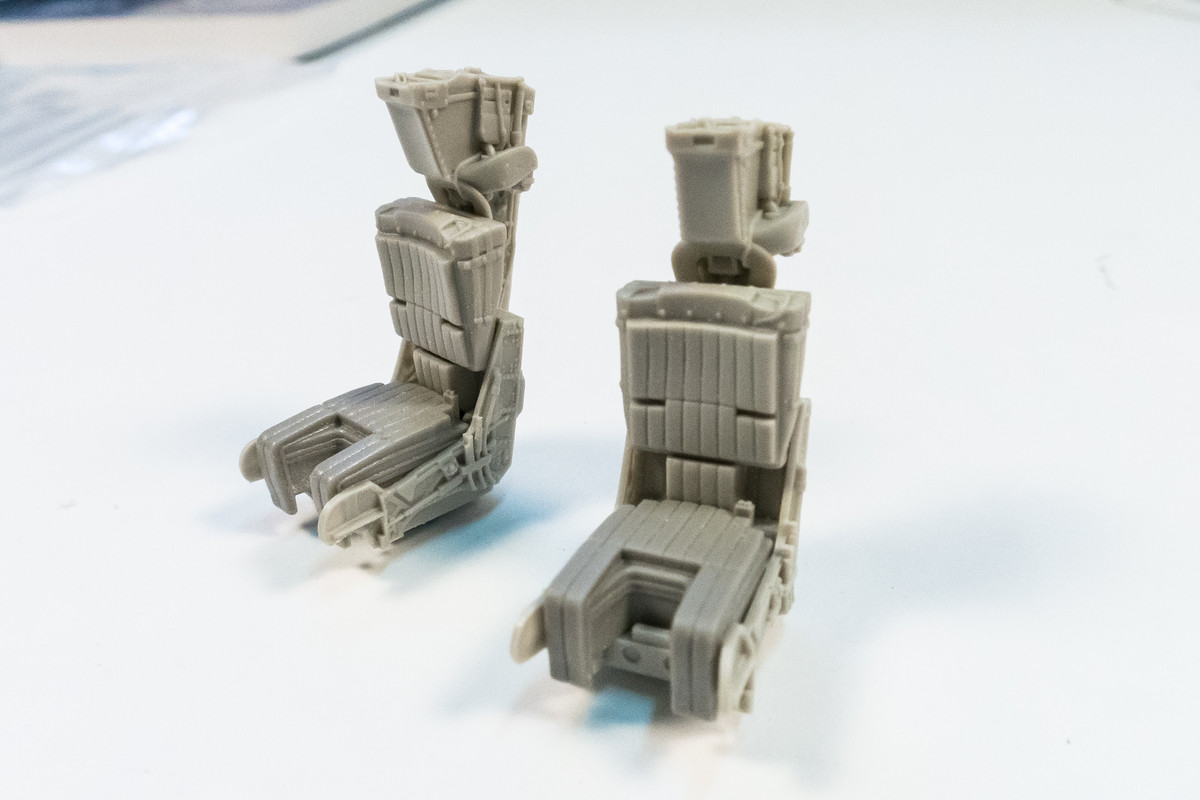
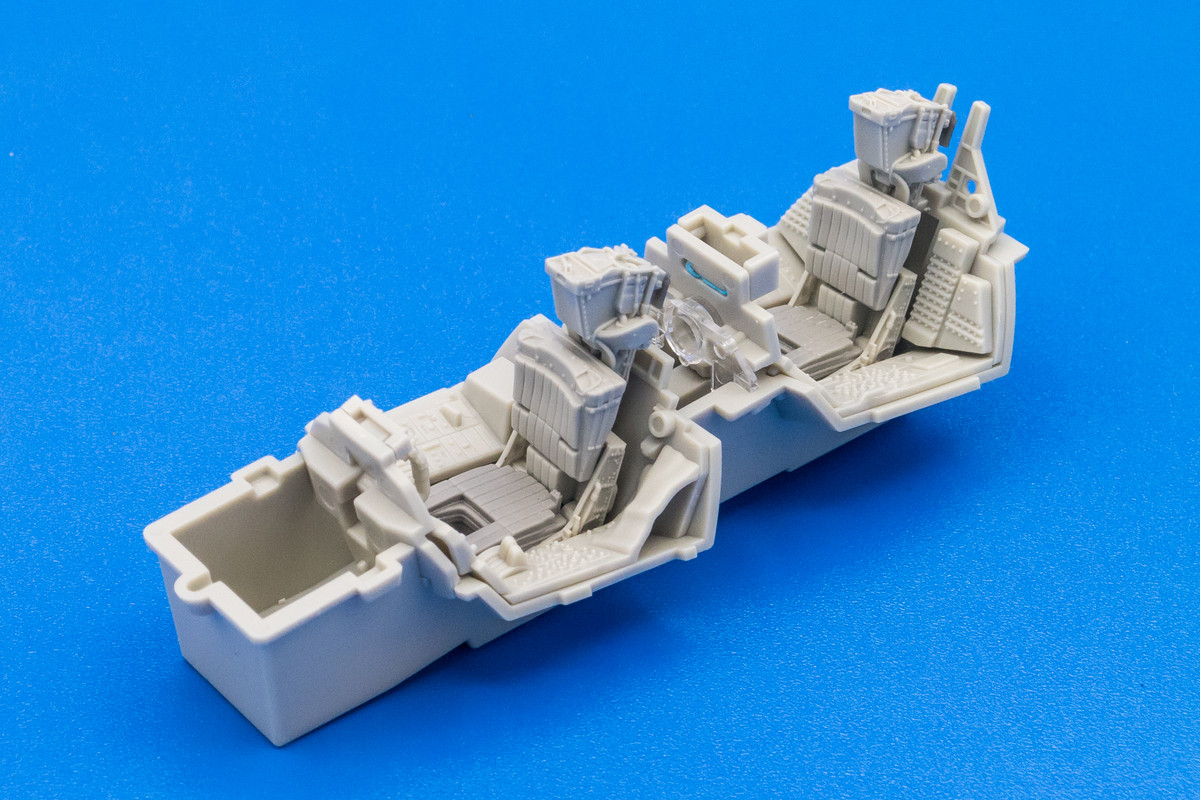
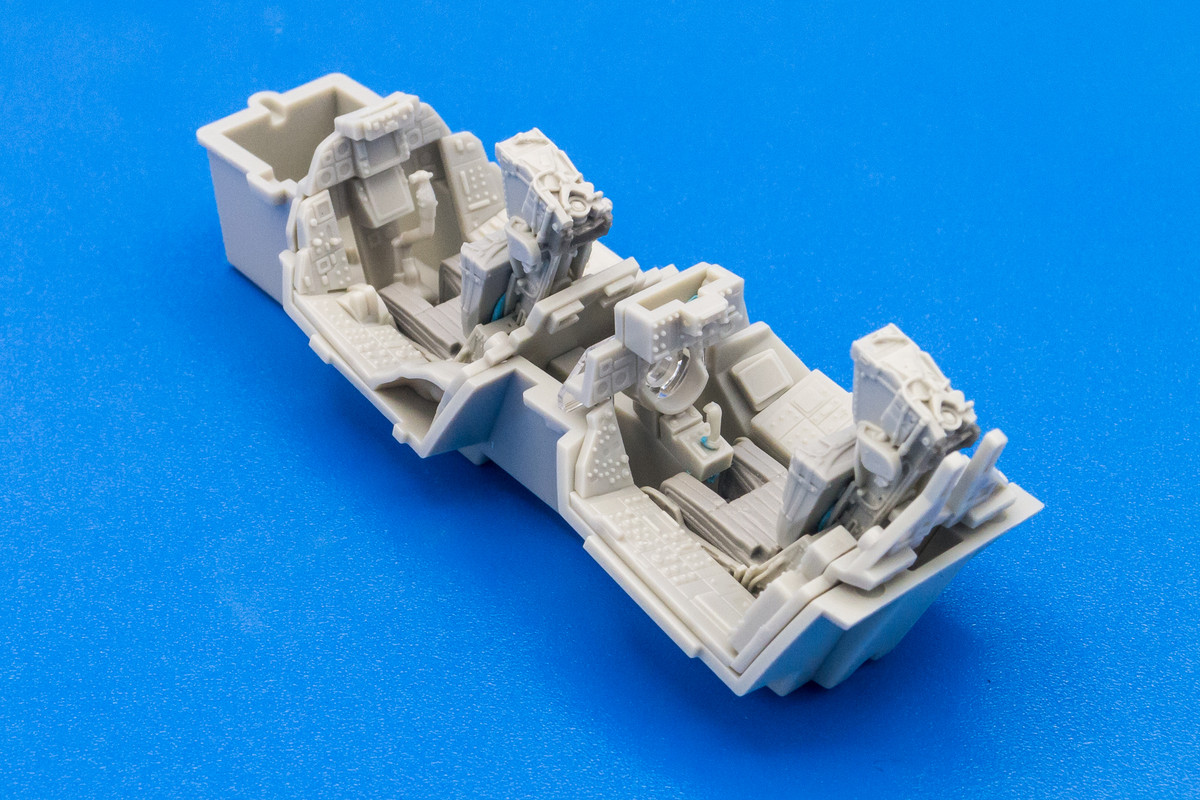
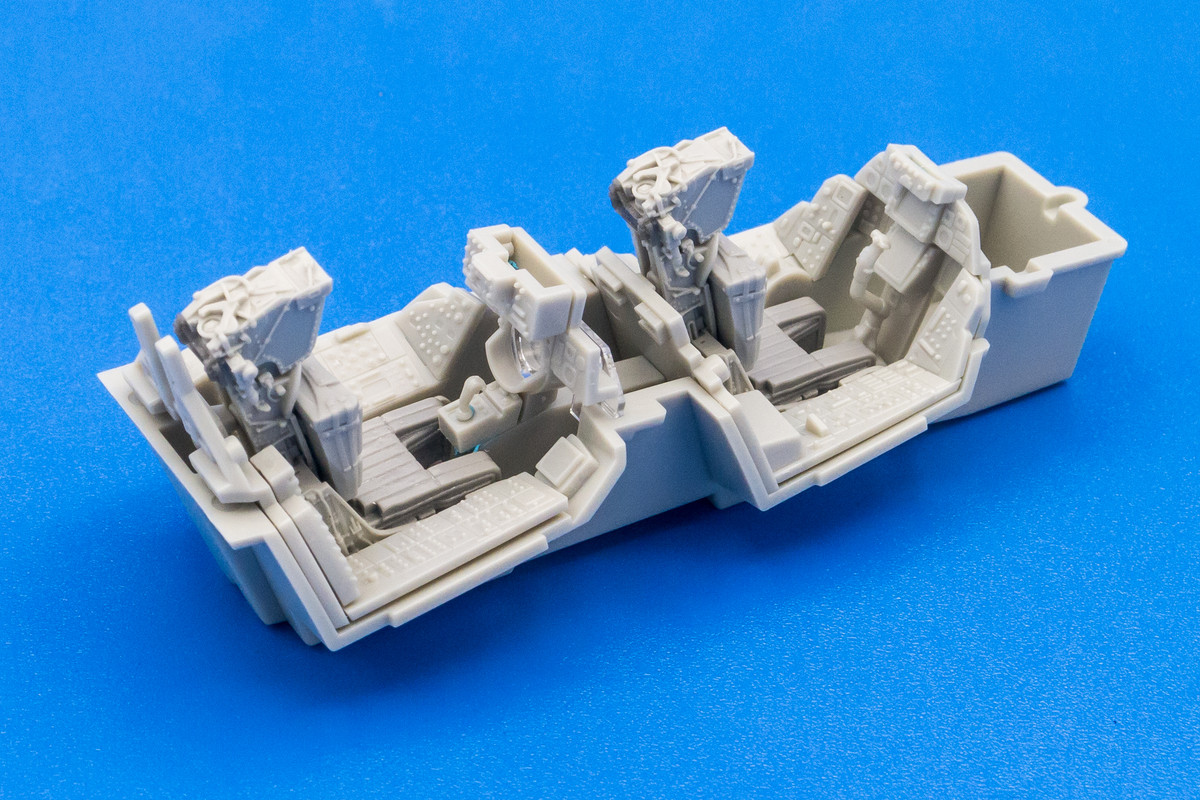
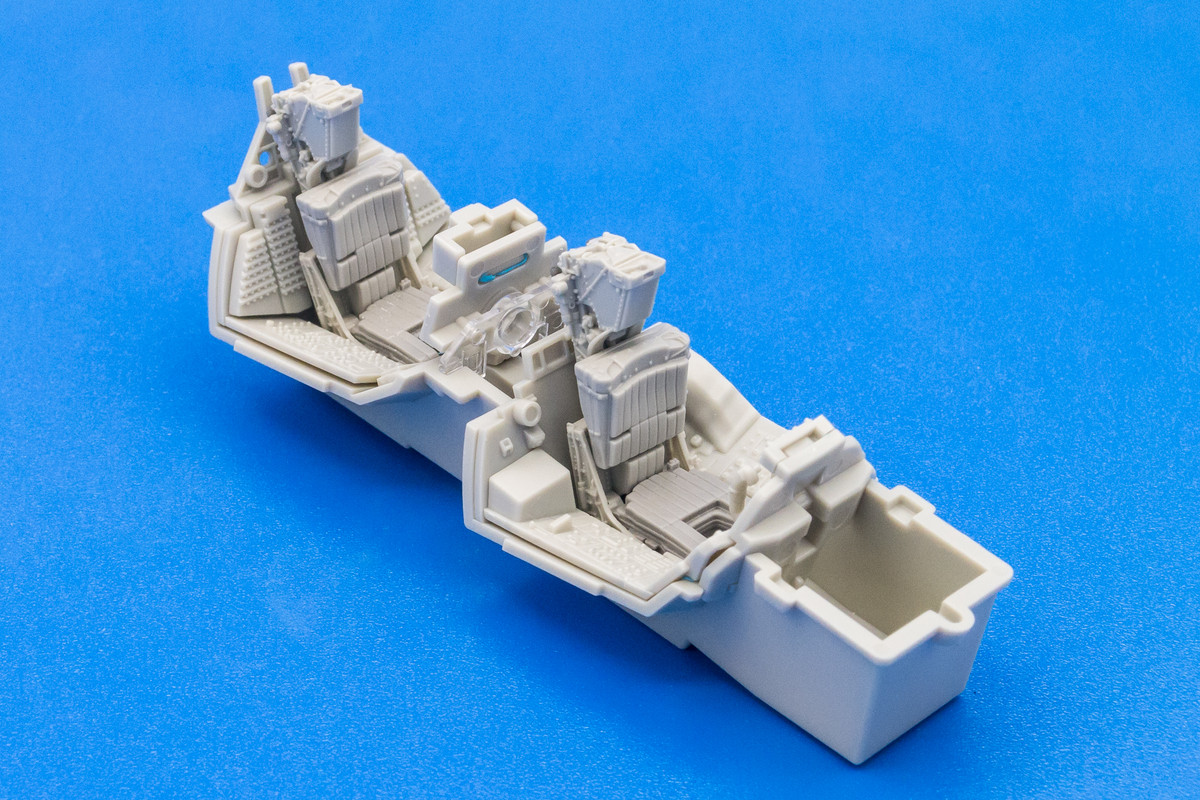
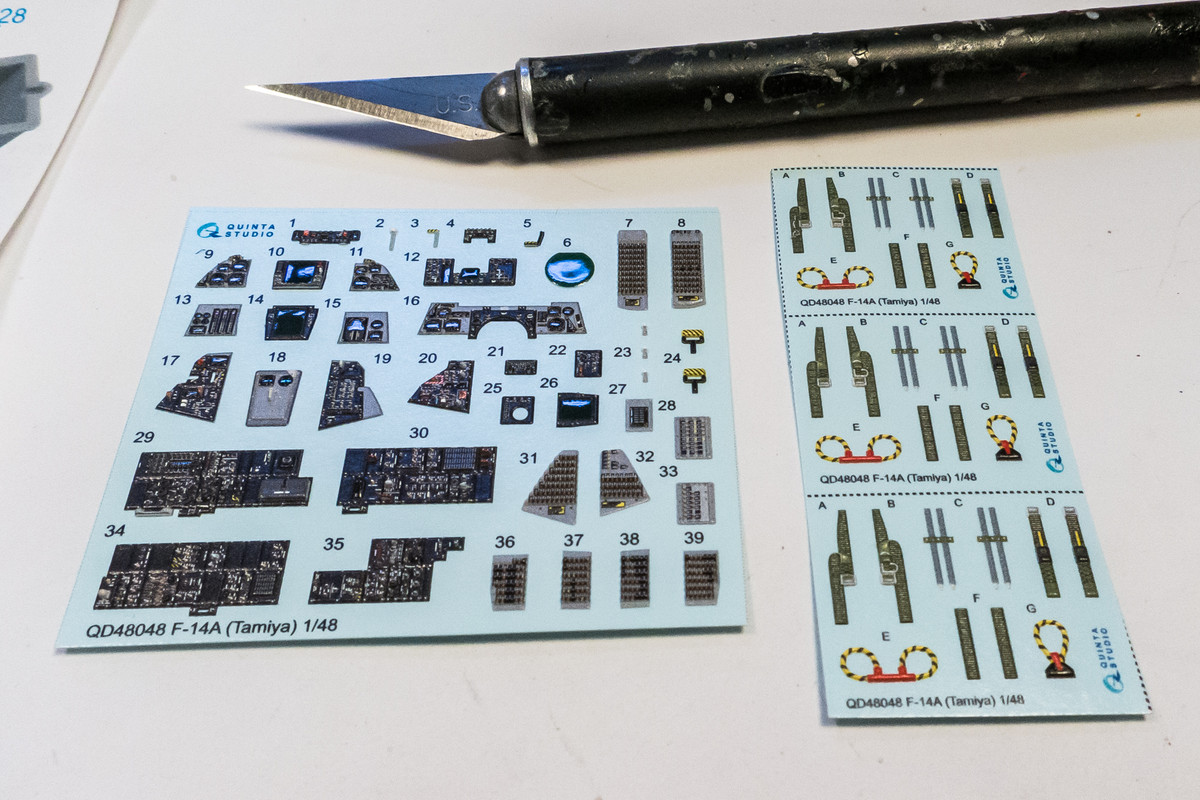
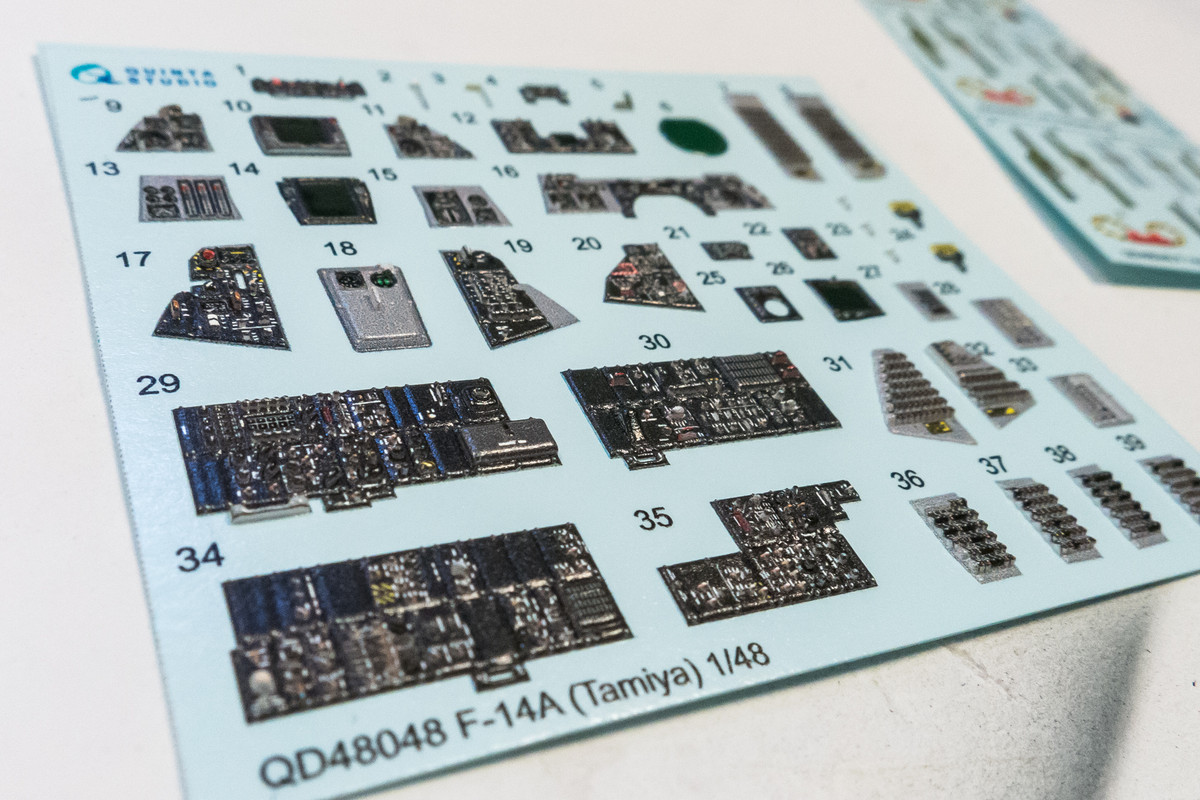
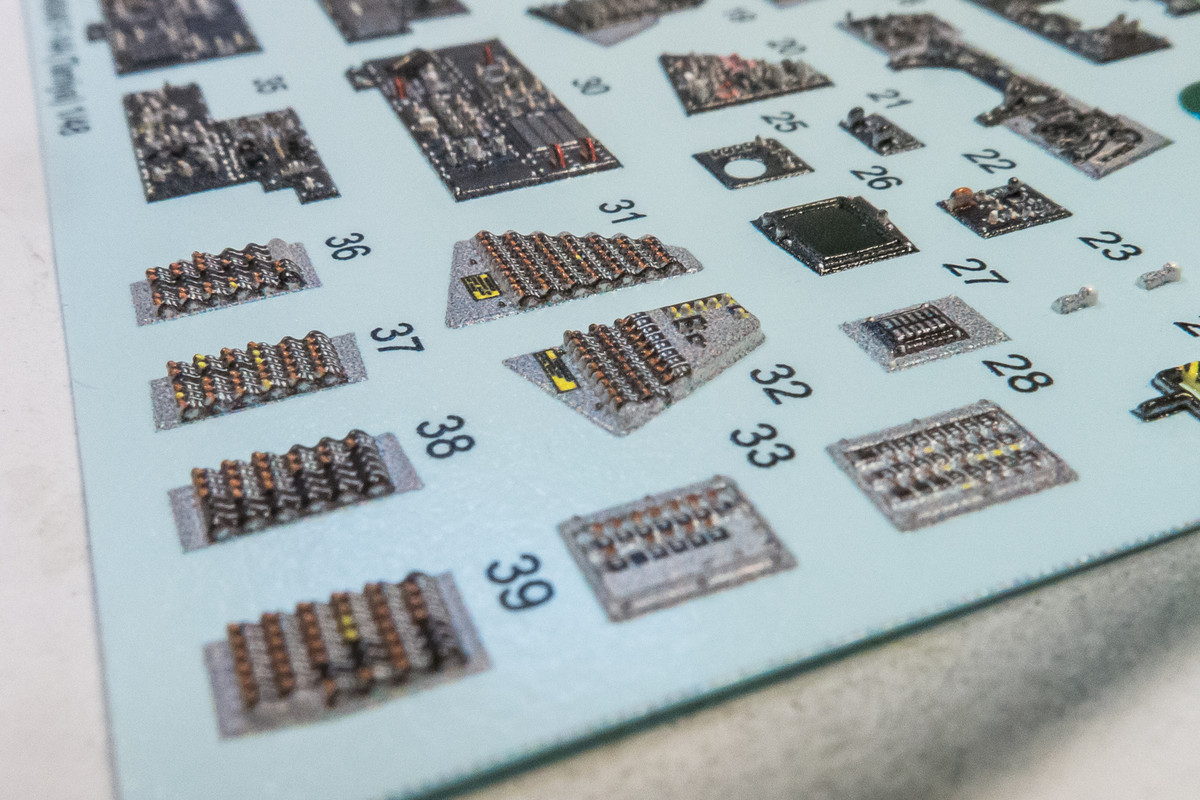
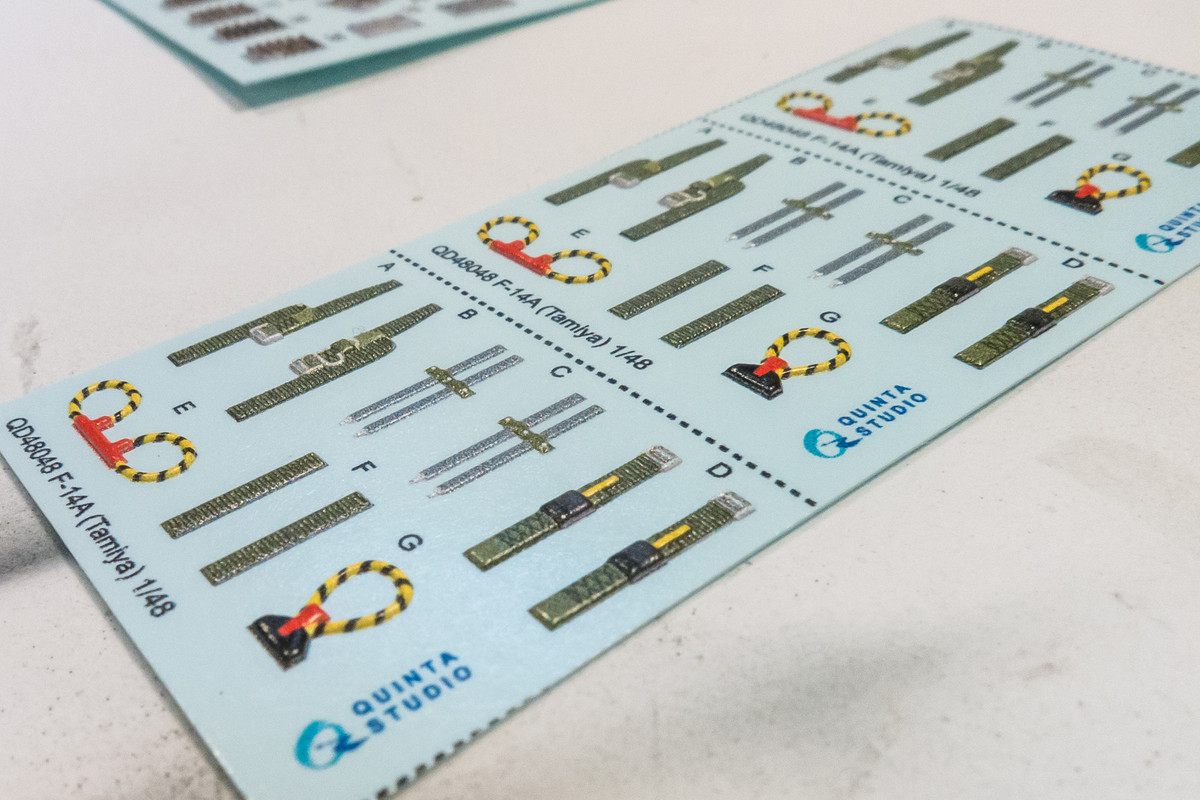
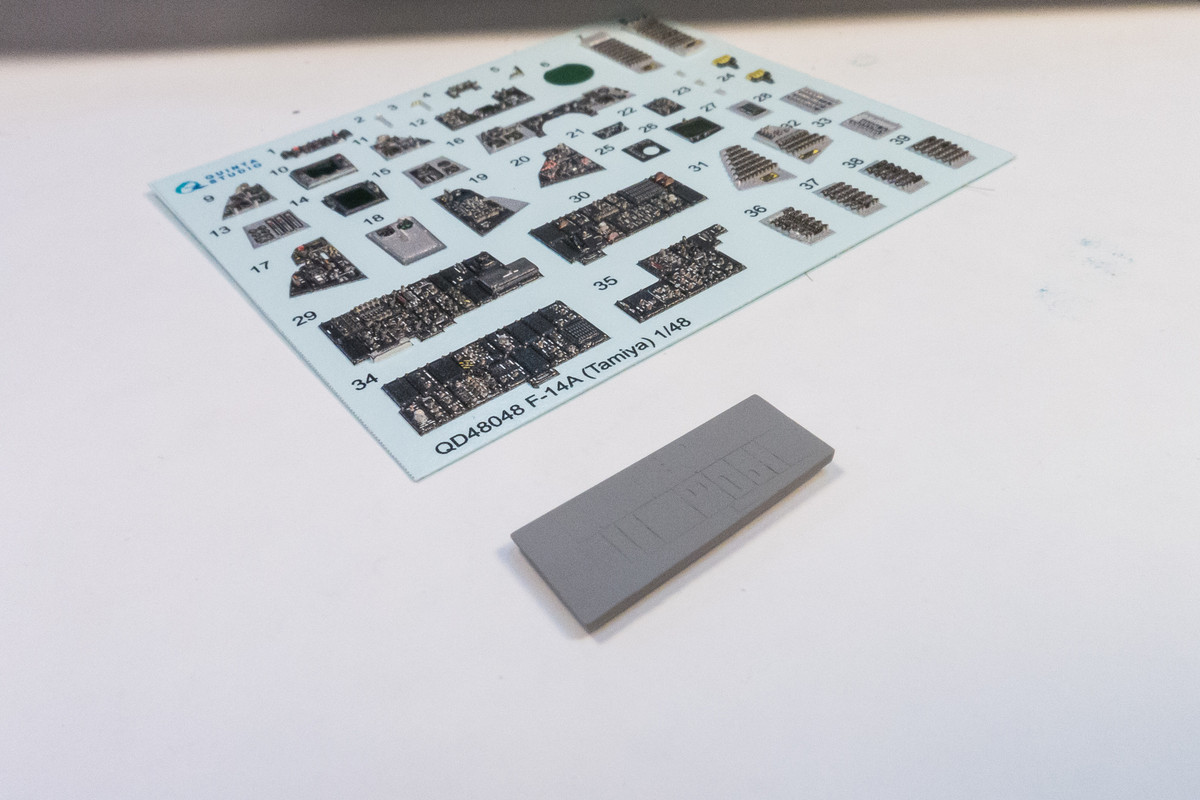
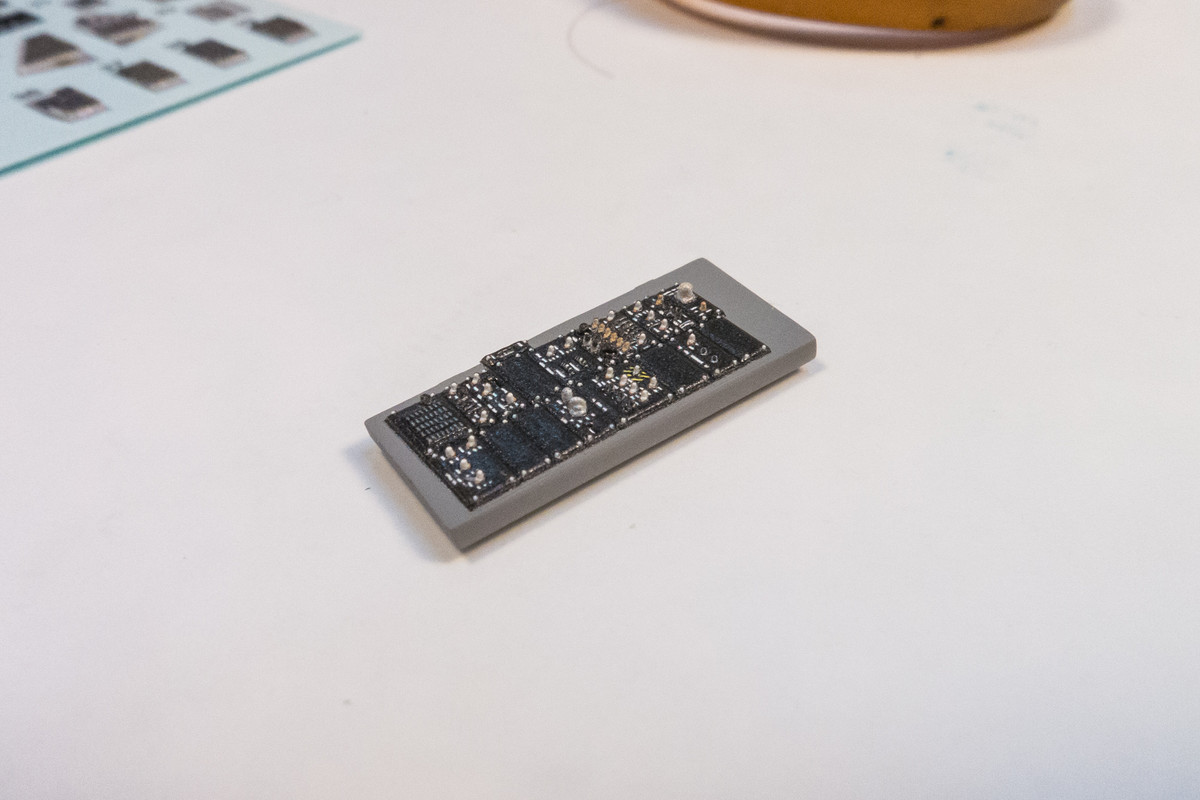
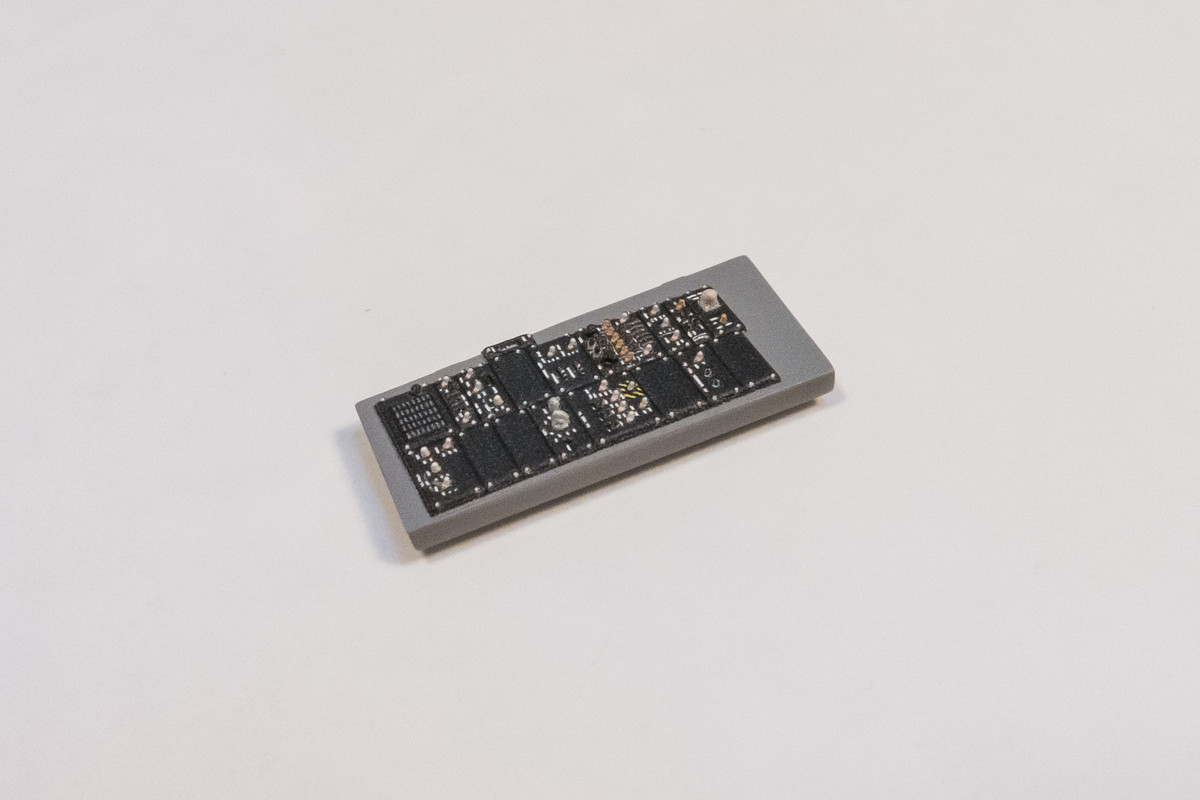
First step will be taking a look at the cockpit.
1/48 Tamiya F-14A Jolly Rogers
John aka JKim
-----------<><
-----------<><
Re: 1/48 Tamiya F-14A Jolly Rogers
Based on what I've seen online, I think the kit ejection seats, while decent, could be upgraded pretty easily with resin. Let's take a look at the Eduard Brassin Martin-Baker GRU-7 ejection seats. The seat cushions are cast as separate pieces. Overall, the detail is nice and crisp and looks like a noticeable upgrade over the kit parts.
Eduard packs a set of stencil decals with this set.
Harnesses and other small details are provided as steel photoetch.
I'm not sure I like these harnesses but I have at least one viable alternative on hand.
It was easy separating the seat components from their casting bases. 1/48 stuff is noticeably smaller than 1/32!
At this point, I decided to dry-fit the cockpit assembly minus the side consoles to see how the Eduard resin seats fit. The detail level provided by the kit is decent but nowhere near state-of-the-art. The throttle assembly on the pilot's port console is especially disappointing.
I think the cockpit would look pretty good if everything was carefully painted. On the other hand, we have this...
John aka JKim
-----------<><
-----------<><
Re: 1/48 Tamiya F-14A Jolly Rogers
Wow you're also building a jet! The F-14 is closer to modern compared to the F-4 I'm working on lol.
This should be really fun to watch you build this!
March as one, Don't look back
Odin's sons... Attack!
Unleash hell! Do not repent! Warfare grants us no lament
Let your weapons slash and tear This is no place for fear
Hold the lines! Move as one! In unity our victory's won
Our shields will form a mighty wall
United we shall never fall
Odin's sons... Attack!
Unleash hell! Do not repent! Warfare grants us no lament
Let your weapons slash and tear This is no place for fear
Hold the lines! Move as one! In unity our victory's won
Our shields will form a mighty wall
United we shall never fall
- BlackSheep214
- Elite Member
- Posts: 10388
- Joined: Sun Apr 06, 2014 8:47 pm
Re: 1/48 Tamiya F-14A Jolly Rogers
This is gonna be fun to follow.
“Who controls the skies, controls the fate of this Earth”
Author unknown- 352nd Fighter Group, Blue-Nosed Bastards of Bodney
“Send one plane it’s a sortie; send two planes it’s a flight; send four planes it’s a test of airpower. - Richard Kohn
Author unknown- 352nd Fighter Group, Blue-Nosed Bastards of Bodney
“Send one plane it’s a sortie; send two planes it’s a flight; send four planes it’s a test of airpower. - Richard Kohn
- Stikpusher
- Moderator
- Posts: 18867
- Joined: Sat Apr 05, 2014 8:37 pm
- Location: Ceti Alpha 5
Re: 1/48 Tamiya F-14A Jolly Rogers
Very nice subject! Are those Quinta Studio cockpit decals?
"Surely I have made my meaning plain? I intend to avenge myself upon you, Admiral. I have deprived your ship of power, and when I swing 'round, I intend to deprive you of your life."
FLSM
FLSM
Re: 1/48 Tamiya F-14A Jolly Rogers
Yes, Carlos... this is the Quinta 3D Interior decal set for the Tamiya kit. I always enjoy taking a look at new products and I was very curious to see what these new 3D decals were about.
Coming in a surprisingly small package, the Quinta set includes two sheets. In addition to the instruments for both front and rear positions, Quinta includes three sets of harnesses for the GRU-7 ejection seats.
Based on the instructions, I think it is more appropriate to think of these as 3D parts that are housed on a decal sheet carrier as opposed to true "decals" since application involves gluing the parts into place like any other plastic or PE part. They are definitely not flat and feature some impressive vertical relief on the small buttons and switches. It's hard to make out in the photos but each piece is finished in an overall satin finish with instrument faces highlighted with a layer of gloss. It would be my preference for the overall finish to be more flat, which I think would cut down on the glare and help highlight the details.
The harnesses are very interesting and I don't know how useful they will be until I get them off of the backing sheet and see (a) how thick/pliable they are and (b) if they are colored on the hidden side.
John aka JKim
-----------<><
-----------<><
- Stikpusher
- Moderator
- Posts: 18867
- Joined: Sat Apr 05, 2014 8:37 pm
- Location: Ceti Alpha 5
Re: 1/48 Tamiya F-14A Jolly Rogers
Man those Quinta decals looks super impressive! I can’t wait to see how it all goes together in there.
"Surely I have made my meaning plain? I intend to avenge myself upon you, Admiral. I have deprived your ship of power, and when I swing 'round, I intend to deprive you of your life."
FLSM
FLSM
Re: 1/48 Tamiya F-14A Jolly Rogers
First time seeing these 3d printed decals. Going to do some research on them now.
March as one, Don't look back
Odin's sons... Attack!
Unleash hell! Do not repent! Warfare grants us no lament
Let your weapons slash and tear This is no place for fear
Hold the lines! Move as one! In unity our victory's won
Our shields will form a mighty wall
United we shall never fall
Odin's sons... Attack!
Unleash hell! Do not repent! Warfare grants us no lament
Let your weapons slash and tear This is no place for fear
Hold the lines! Move as one! In unity our victory's won
Our shields will form a mighty wall
United we shall never fall
Re: 1/48 Tamiya F-14A Jolly Rogers
The Quinta Studio set requires the removal of the kit parts' raised details. So before I jump into mass removal on multiple parts, I'm going to perform a test application on a single console just to get a feel for the material.
Here is the kit part that I'm going to perform the test on with the raised detail still intact.
A quick swipe of the knife removed most of the bumps and knobs. I then rubbed the piece on a piece of sandpaper taped to a flat piece of glass. I chose to leave a remnant of the raised details to help guide installation of the Quinta Studio part.
The paint was then sprayed an interior gray (Tamiya XF-19 Sky Grey) and allowed to dry. Quinta Part No. 34 is the corresponding placard to placed on this part. Like a decal, the Quinta placard was cut off the decal sheet, soaked in warm water. After it slid off, I dried it. It is flexible but much stiffer than a decal due to the material thickness. The reverse side of the placard was white.
I used PVA glue (white glue) rubbed on the Quinta part to attach it to the console. It fit perfectly. Pretty impressive I must say, with each individual knob and button sanding proud. Based on this singular application and result, this looks significantly better than any phototech without the painting/decal effort of a resin set.
The only drawback I could see from this piece is that the red color of some of the knobs is very much faded. Perhaps they could touched up with some careful brush painting. Just to test my previous observation, I sprayed this with a light satin coat (2:1 flat/gloss mixture) to remove a bit of shiny glare. Can't really see any difference in the photos but I think it looks a bit better after this treatment.
John aka JKim
-----------<><
-----------<><
- Stikpusher
- Moderator
- Posts: 18867
- Joined: Sat Apr 05, 2014 8:37 pm
- Location: Ceti Alpha 5
Re: 1/48 Tamiya F-14A Jolly Rogers
That has to be the most realistic scale depiction of a cockpit console yet.
"Surely I have made my meaning plain? I intend to avenge myself upon you, Admiral. I have deprived your ship of power, and when I swing 'round, I intend to deprive you of your life."
FLSM
FLSM