Well, despite numerous demands on my time, I still managed to get the following work done. Most of this happened at our recent limited Hobby Day; thank God we got to do that again! I had loads of time to move forward on a lot of my models. So, climb aboard the tram and lets get started! Remember to keep all hands and feet inside the tram at all times. Thank you. On with the tour....
Let's start with the aircraft line....
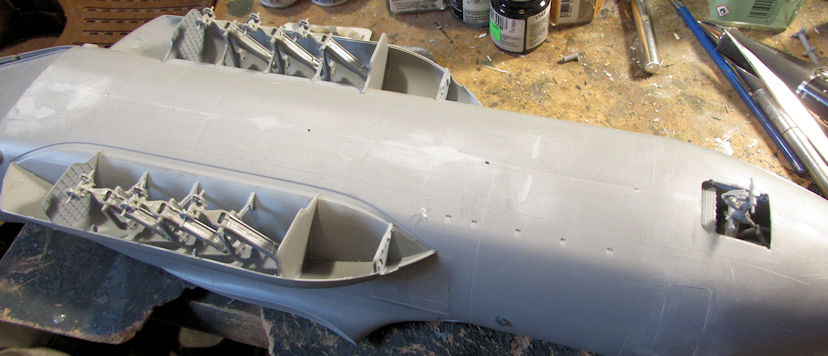
I pulled the A-400 down since I was tired of it sitting for so long. I added the landing gear inside the main landing gear sponsons and forward landing gear bay:
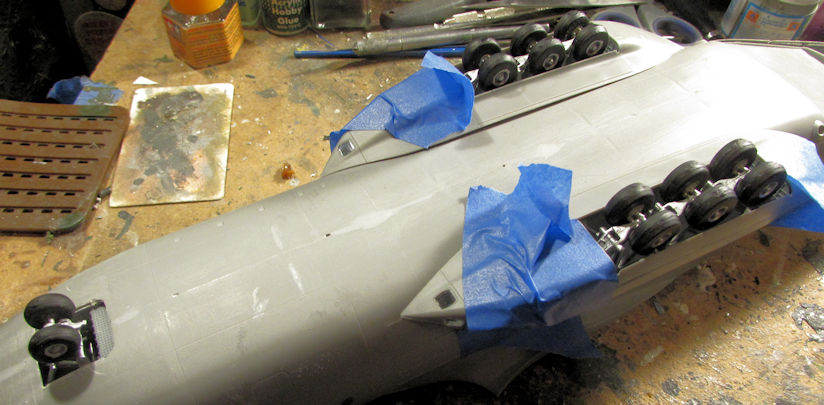
Later I added the wheels to the landing gear and the lower covers to the sponsons. I only glued the outer edges first to make them secure, hence the gaps you see on the inside. I'll come back and close those up later:
While that was drying, I also got more done on the An-124. The instructions don't tell you to, but I needed to cut out these shoulder sections to fit the indented covers that go there:
Later I got the plastic parts glued into place:
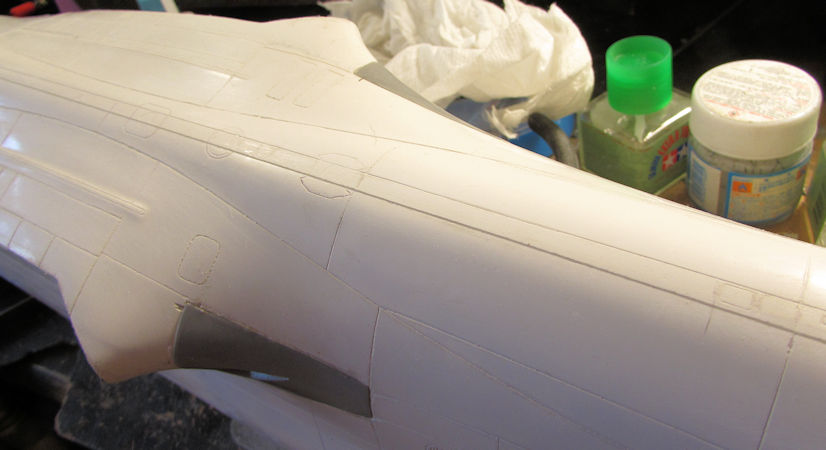
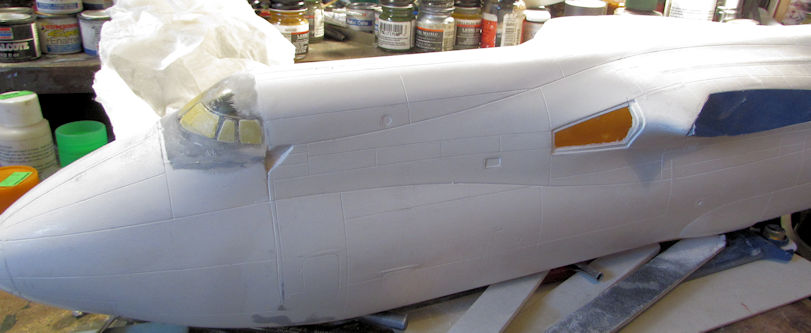
With that finally done, I was finally able to get this horse primed! Here it is after about four coats of primer and one of a gloss coat that ended up semi-gloss again:
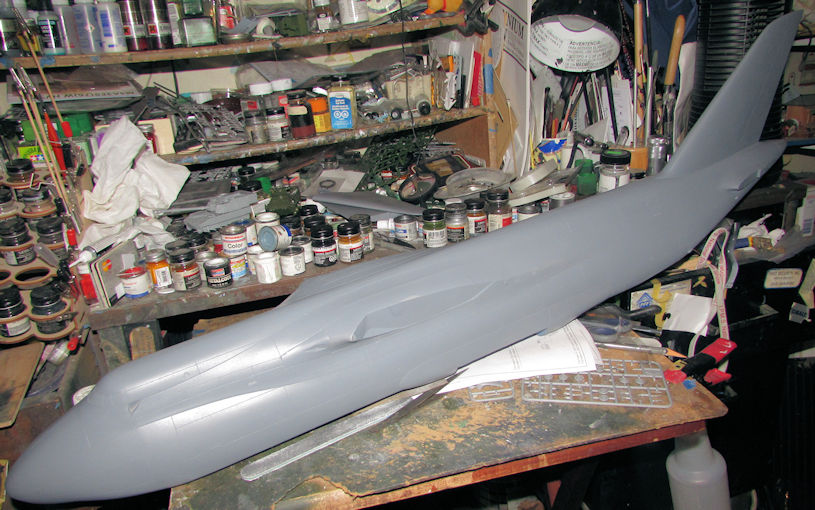
There's a few minor issues still to correct, but this is moving forward better than I hoped. I do hope that the momentum continues....
Now lets look at the armor line...
Most of this is models I advanced closer to the painting stage, but there are a few models I started too. I'll start with those first.
This first one is a German staff car I got from a friend. I'd gotten this far before I realized I hadn't shot pics of it yet! This is a car I'd built before so this one is being built with the top down:
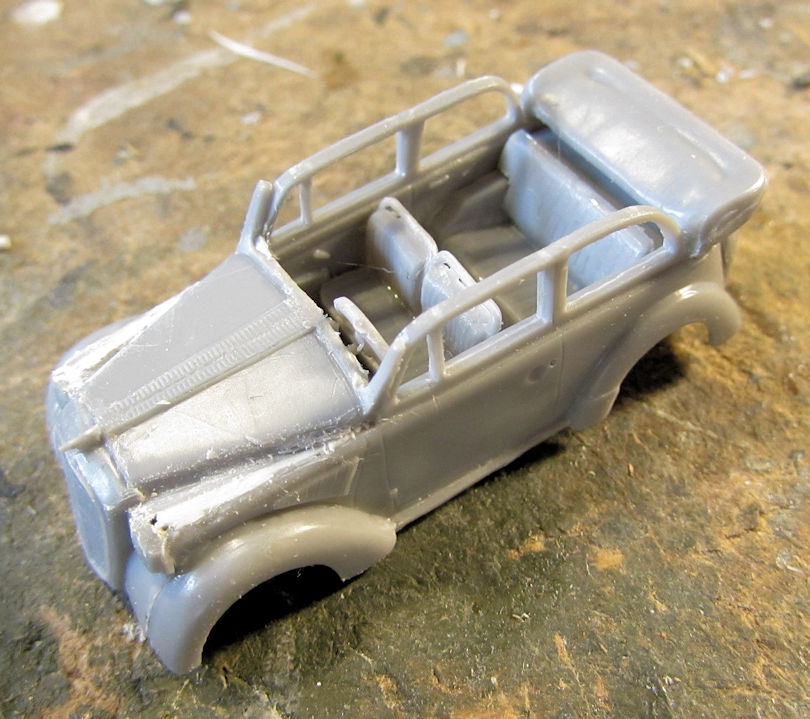
You can see where I added strip styrene on each side of the hood cover; the fit was just a bit too loose...
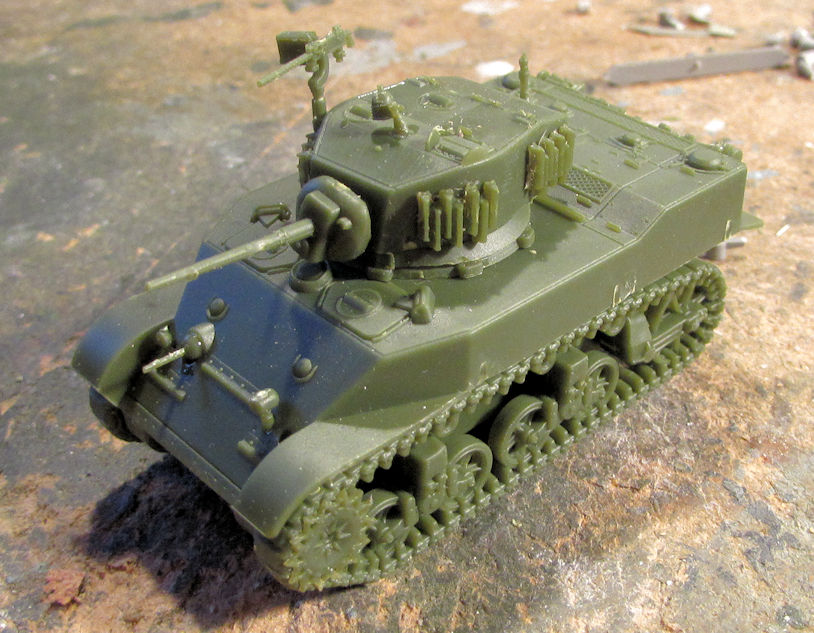
The next one I did was an S-Models M-5 Stuart. I don't have any of these in the collection so it was time to get it built. This kit has two models in it, so one will be US Army the other will be a French tank. This one is currently ready for paint:
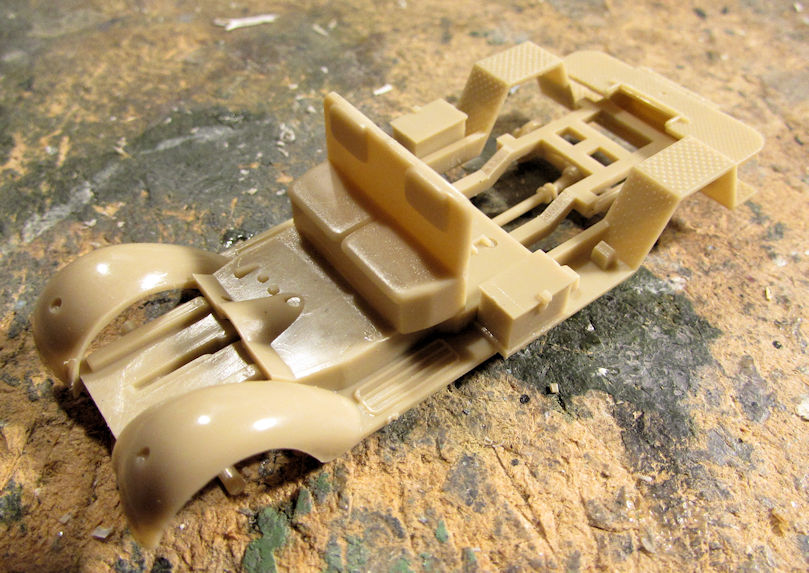
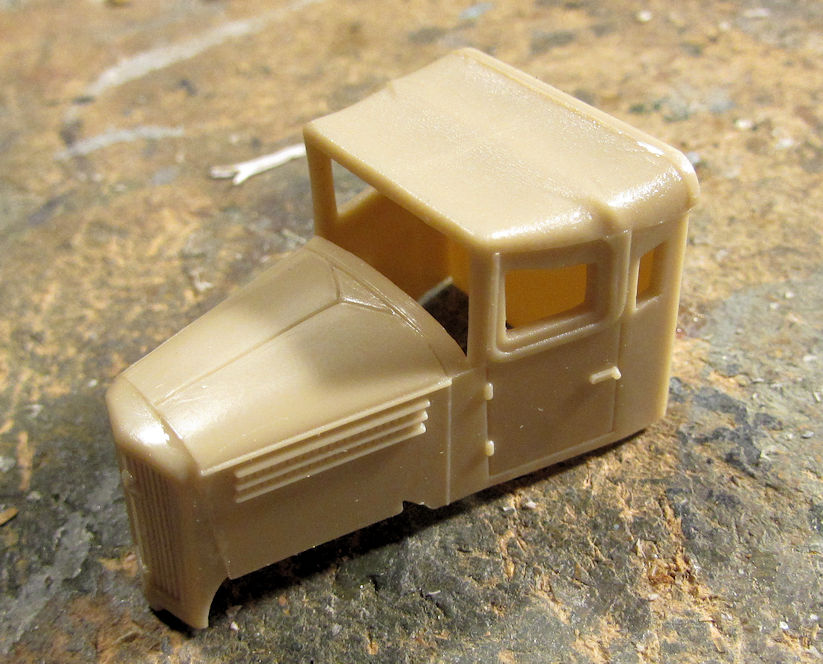
Another one I started was the Japanese fuel truck. I just felt like I wanted to do something simple and nostalgic. First was the chassis and interior:
I then built the cab:
Then the tank behind it:
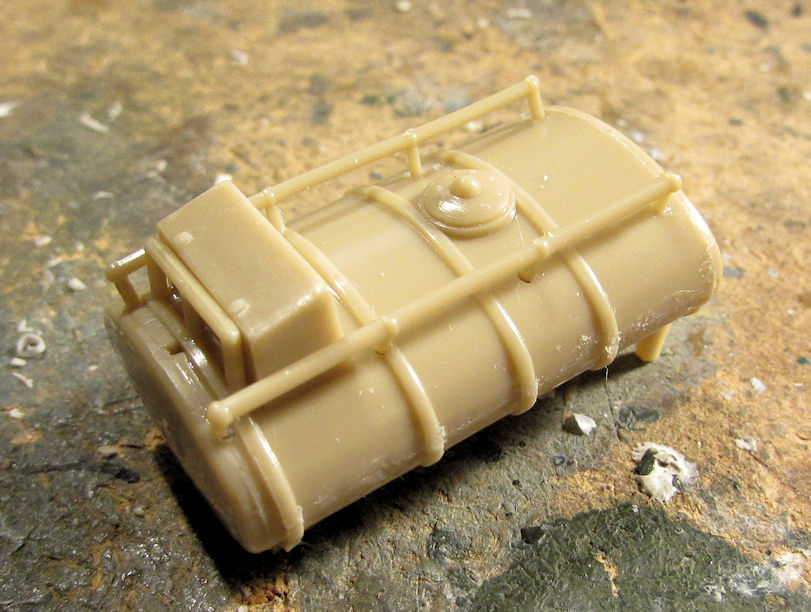
Here it is all together so far. I just have to paint the interior before I glue everything together. Then I can glue it together, add the detail parts and get it painted:

Now for the models I advanced further along.
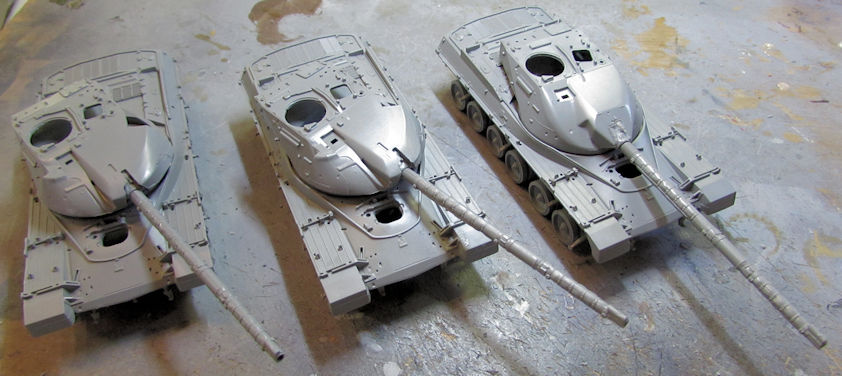
First are the three Chieftains I had started. This is the Mk.5 sporting his new wheels:
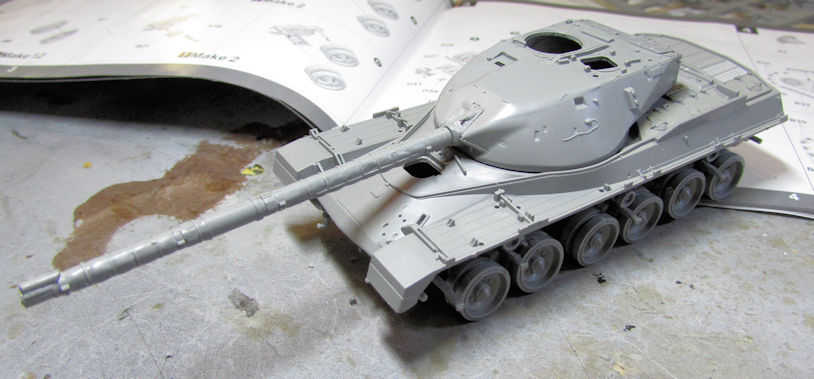
The drive sprocket and idler wheels will be used to form the track in the jig. I'm looking forward to trying that out.
Next I assembled the basic turret and added the wheels to the Mk.10:
Followed by the same assemblies on the Mk.11:

Here's all three side by side:
Next I added the wheels to the FV-432 since I had them on the Chieftains:
Moving on, I realized that the turret on my M-51 was extremely loose. I didn't know whether I was supposed to file down the turret plug to the hole in the hull; or add a plug the same size as the hole. I opted for the easier solution:
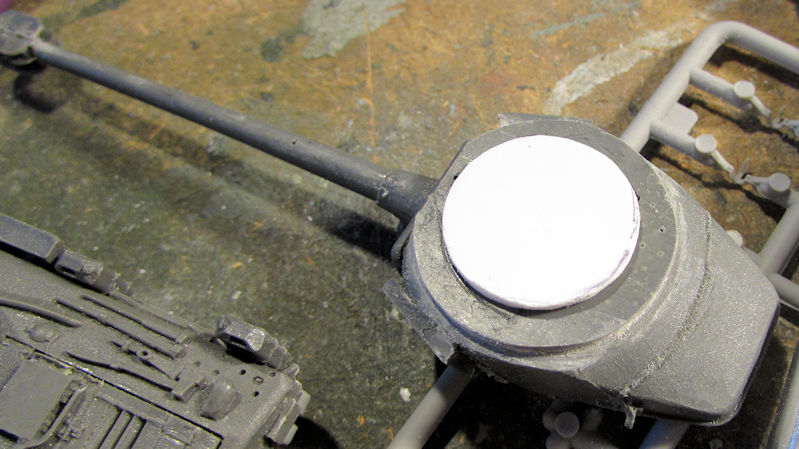
Now this sits perfectly on the hull without moving:
I don't know if the turret sits too high or not, but it is staying like it is. Trying to remove all that resin from the sides of the plug is just a bit beyond my capabilities right now.
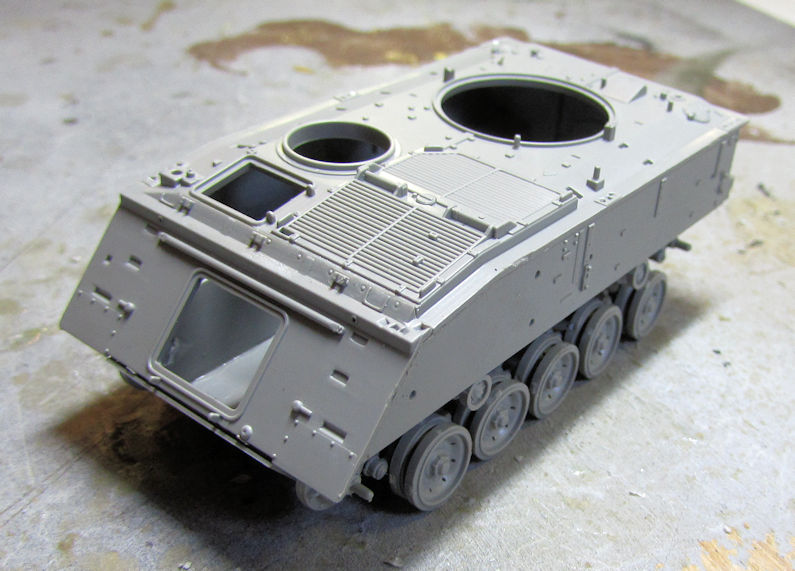
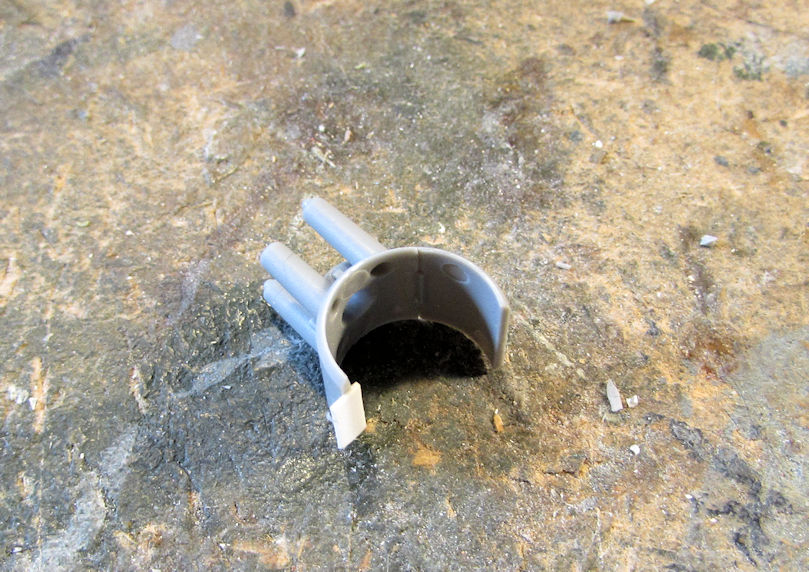
Next I finished off the cab for the D-9 Dozer, starting with the basic assembly:
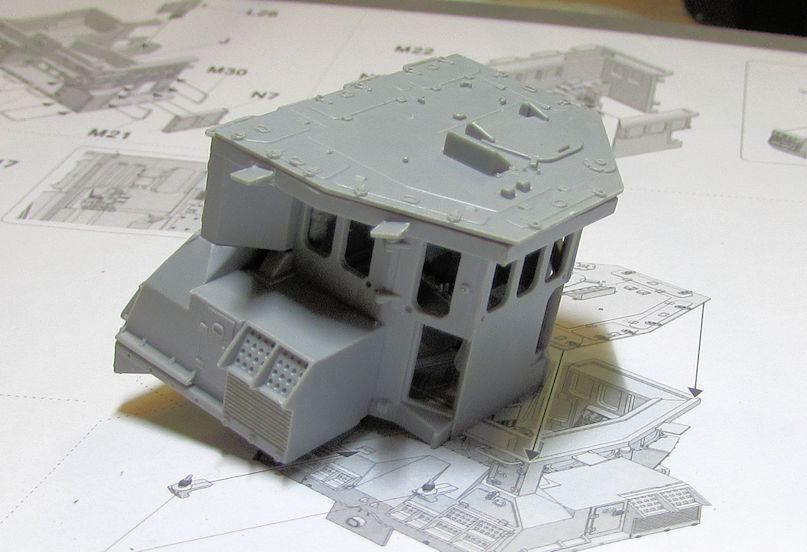
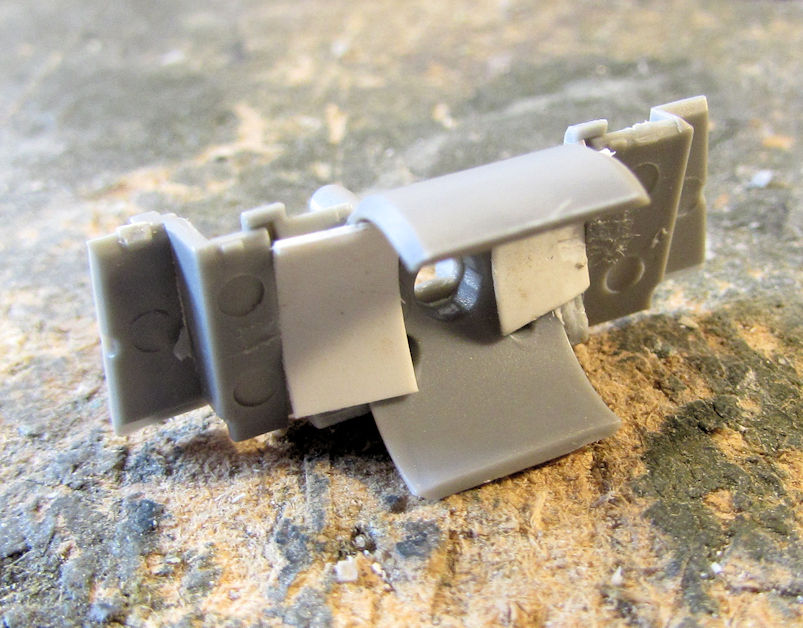
After adding some of the interior parts to this, I dry-fit that to the main hull:
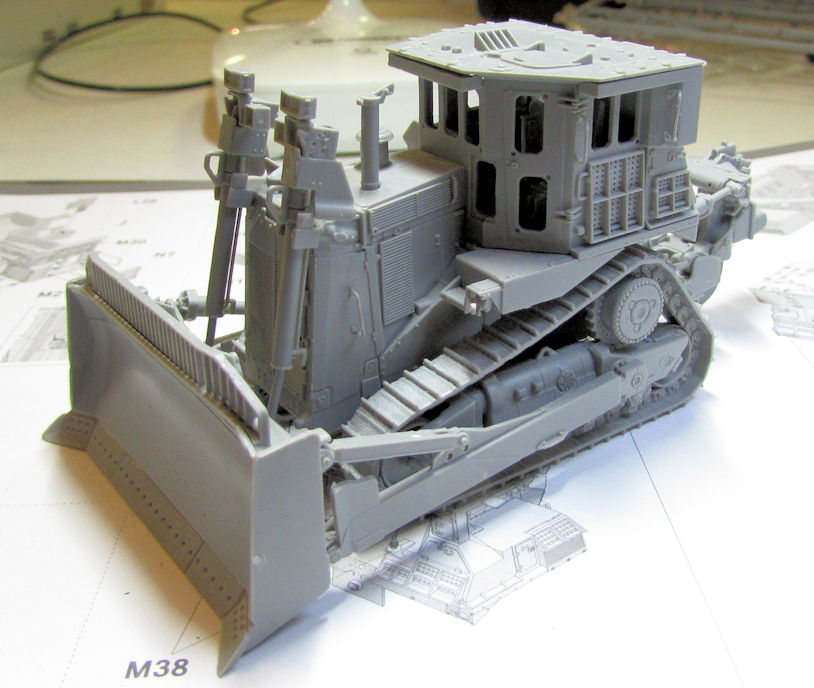
The top is just placed there for show; I left it off to better paint some of the interior details. Then I can get the exterior painted.
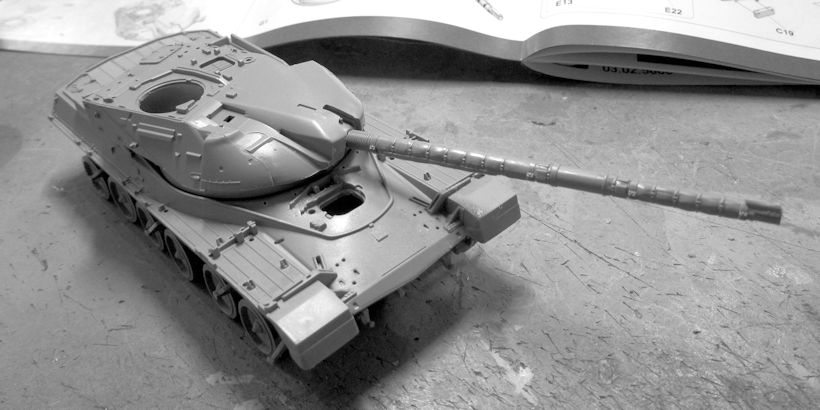
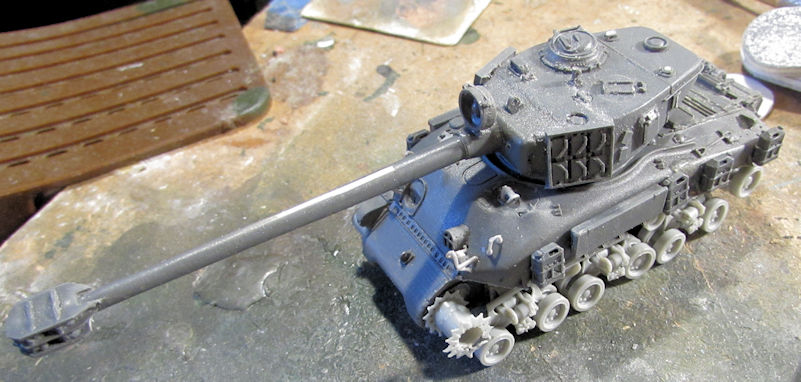
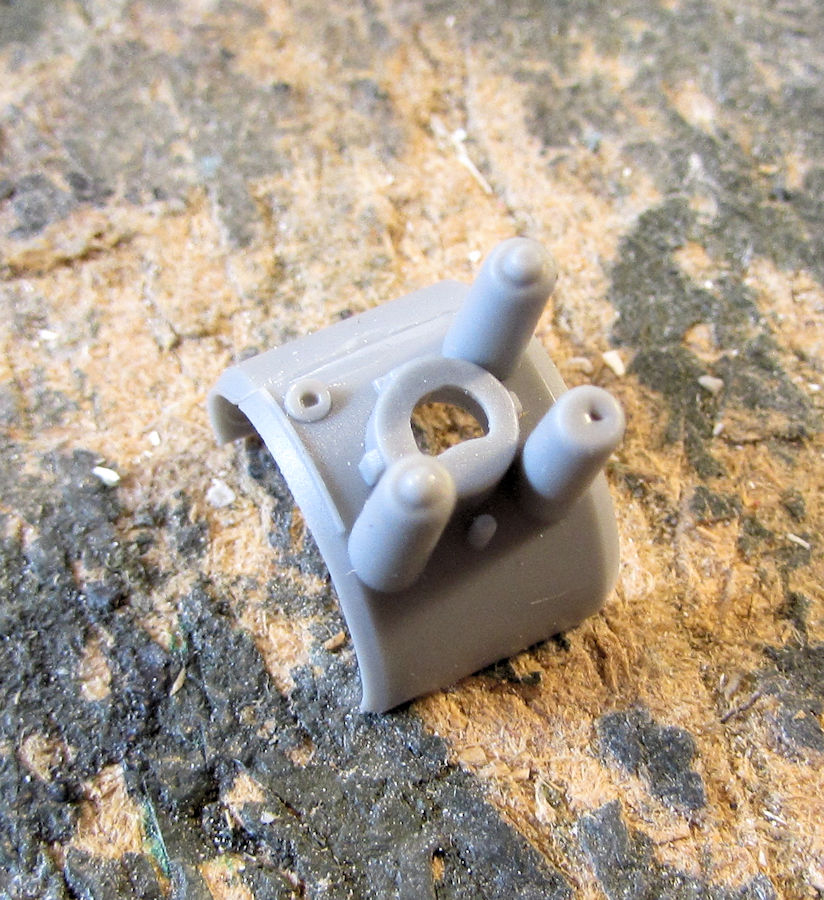
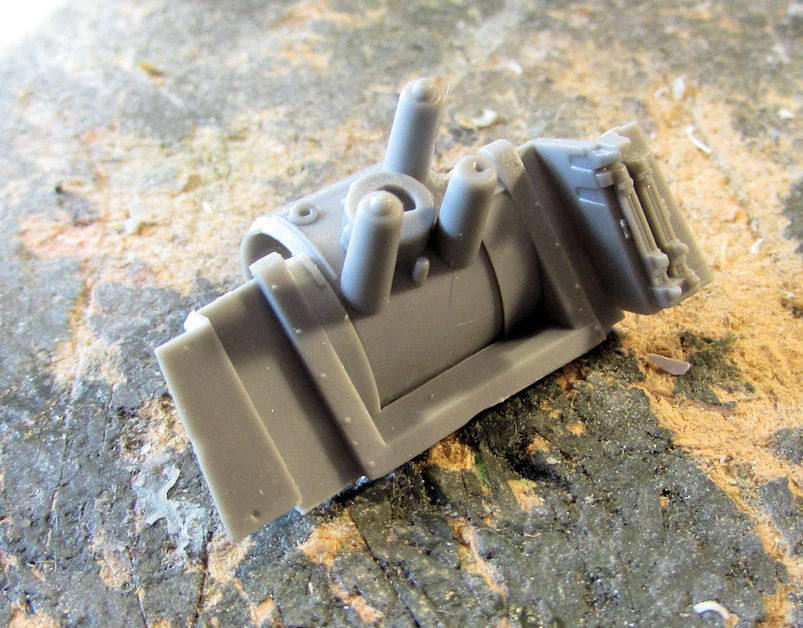
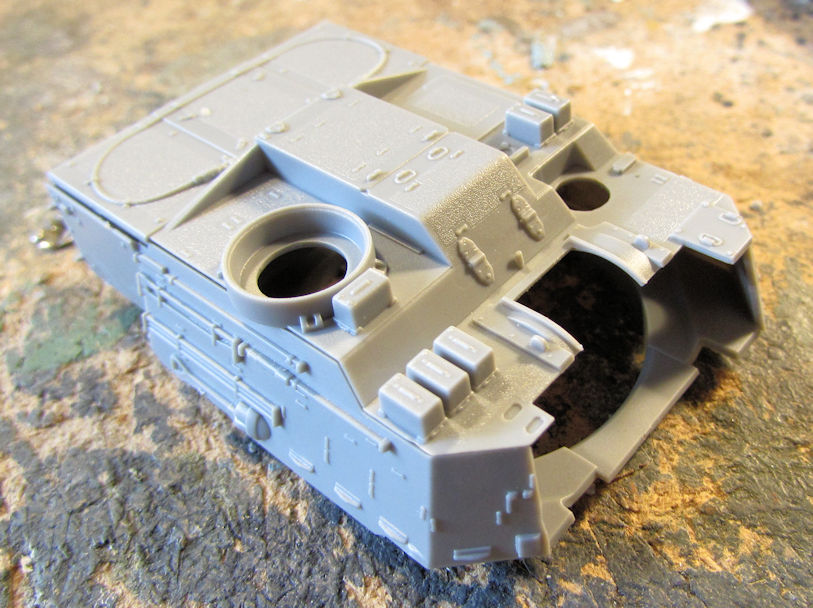
Earlier I'd found the second kit of the M-109A6 from Riich Models that I'd bought by mistake. It was a fortuitous mistake as I was able to finally assemble the main gun mantlet with the replacement part from the second kit:
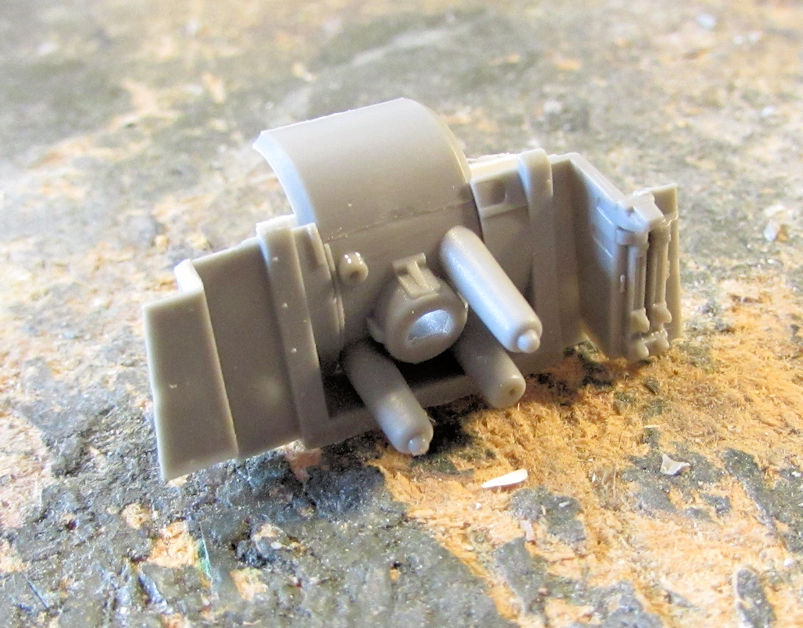
Now, I studied the instructions and realized with a little extra plastic, I could make this gun elevate. So, I added some strip styrene to either side of the inside of the turret front, leaving a gap for the sides of the gun mantlet to slide into:
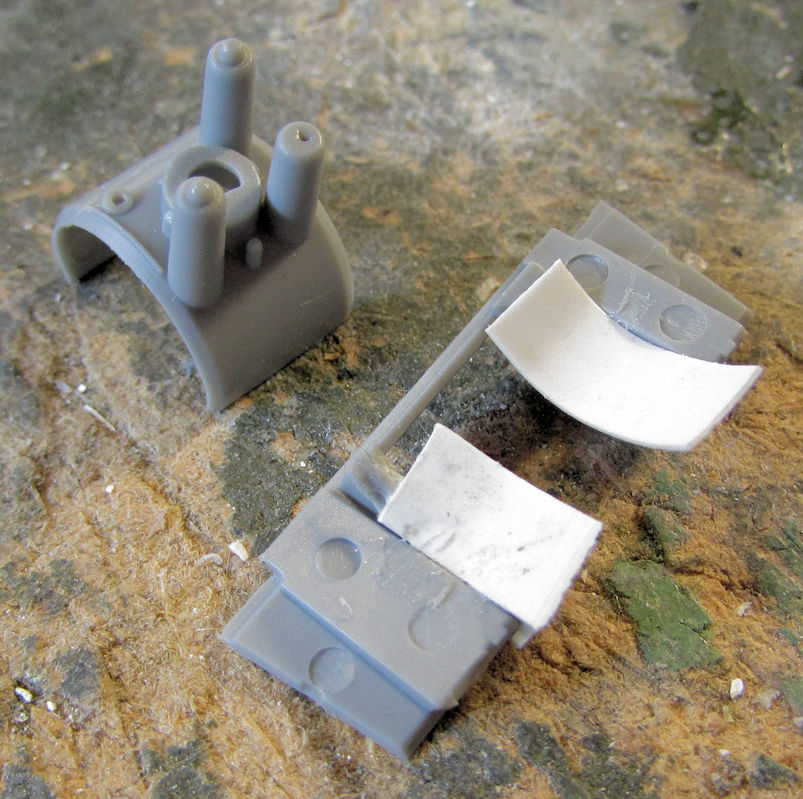
I then added a small stop to the bottom of the mantlet so it wouldn't slide out:
After a bit of trimming, it fit right in:
Here it is, up and down:
Later I assembled the rest of the turret. In this pic, I had started to glue the front and gradually I glued down the rest to insure the fit was right and complete:
I then added that big honkin' gun and checked it out. Down...:
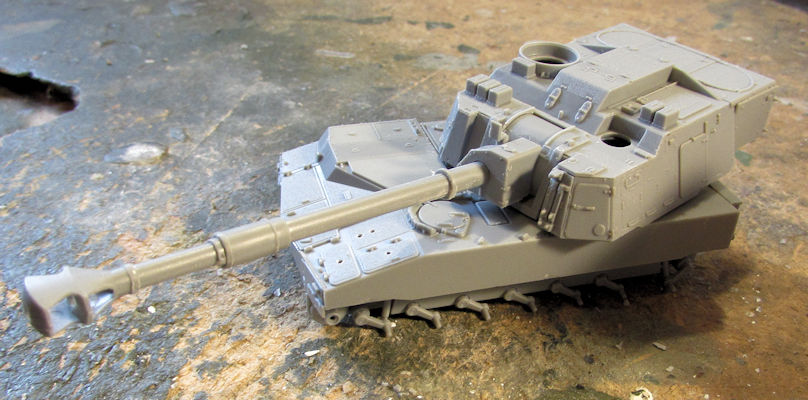
...then up:
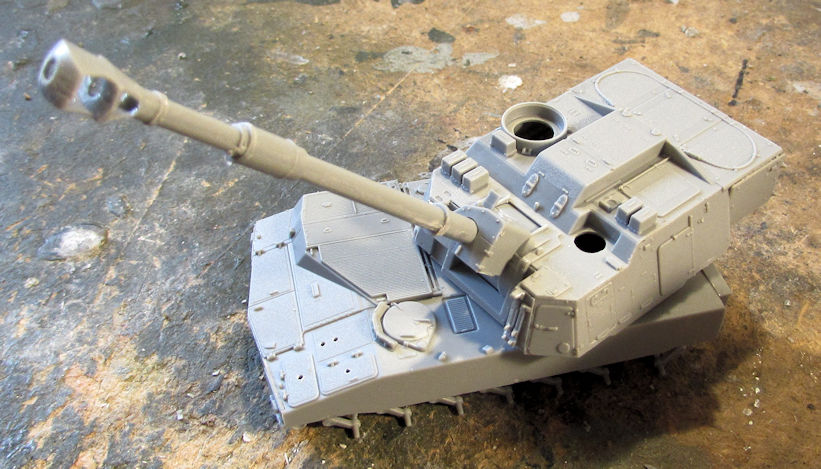
Now to do all the detail parts and possibly the tracks and then I can paint this beastie.
Well that completes this tour of the latest progress at Maddog Manufacturing. Thanks all for looking in, comments are always welcome.