mostrich's workshop
Posted: Fri Apr 10, 2020 12:00 pm
Some of you guys opened a production thread for showing your work on different projects. I really like that format, cause it's so suitable for a modeler with a short attention span like I am.
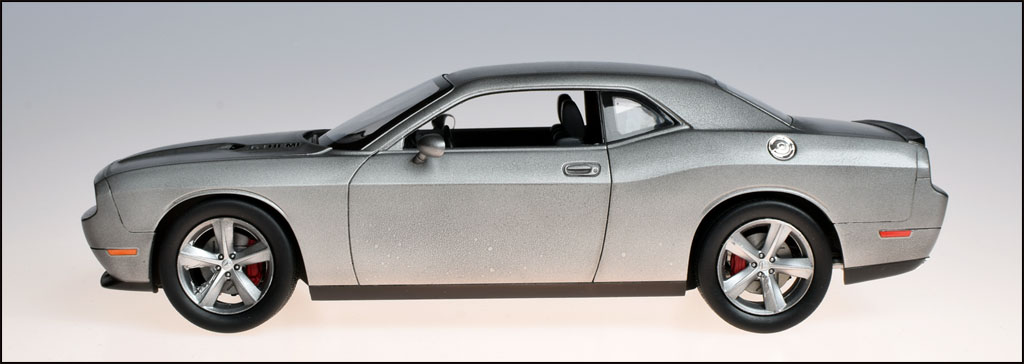
So what happend in the first quarter of 2020? Finished two models, of which one was 98% completed by New Year's Eve - Revell's Dodge Challenger SRT8. It got it's final touches during the first week.
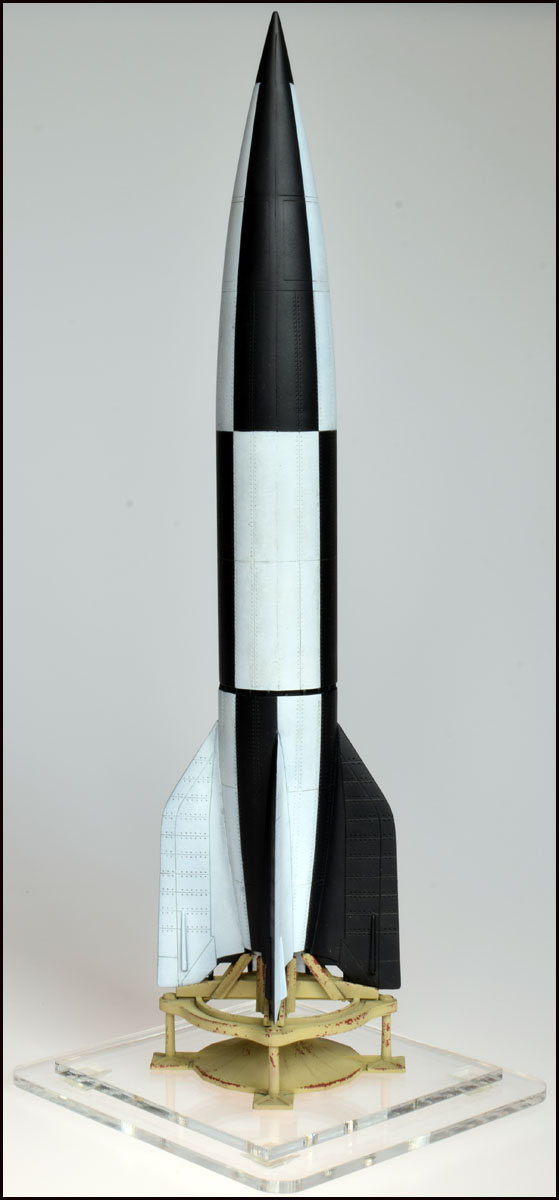
Right after that I got back on a shelfed project. The Aggregat 4 was completely assembled and primed when I left it. I dusted it and gave it the paint job and weathering it'd to wait for so long.
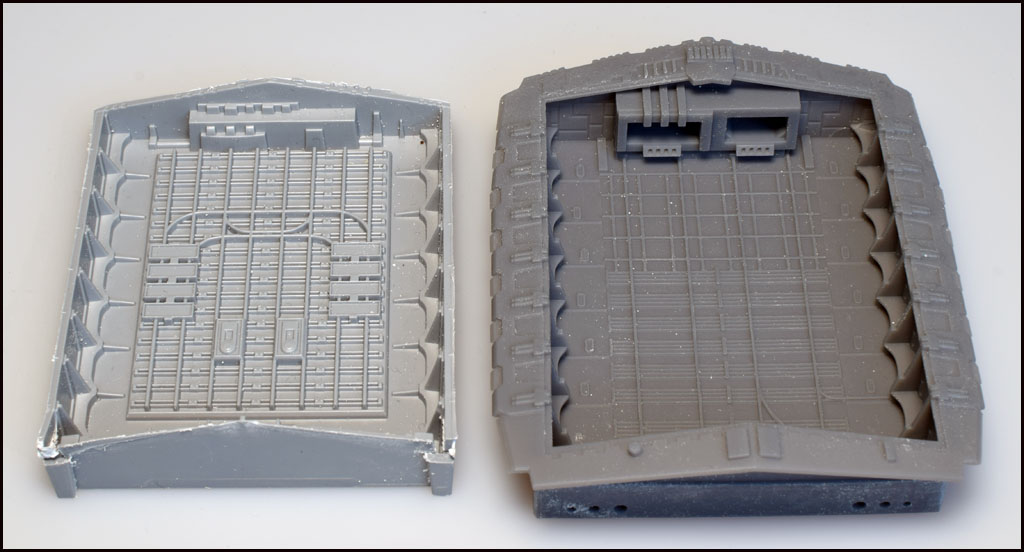
Since then I stray between different projects. A few weeks ago the gorgeous 3d printed parts by falcon3dparts for my Revell Star Destroyer. Also got me the lighting set and meters of fiber optics. On a rainy evening I cut out the kit's hangar bay to make space for the printed one.
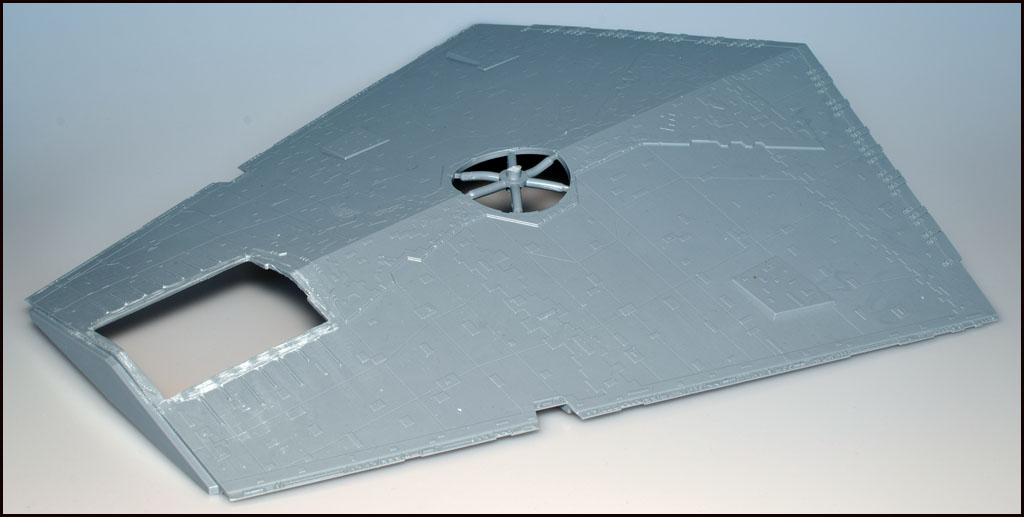
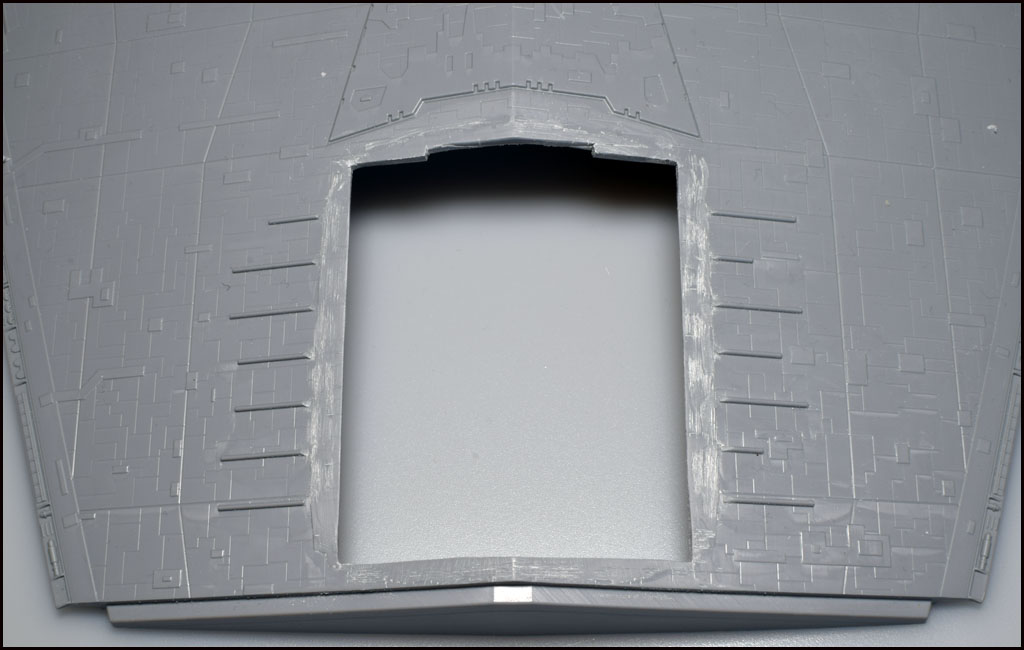
The details of the printed part are finer and also closer to the studio model. The two hangar gates are open to the back and can be illuminated. All holes for the fiber optics are prepared, too.
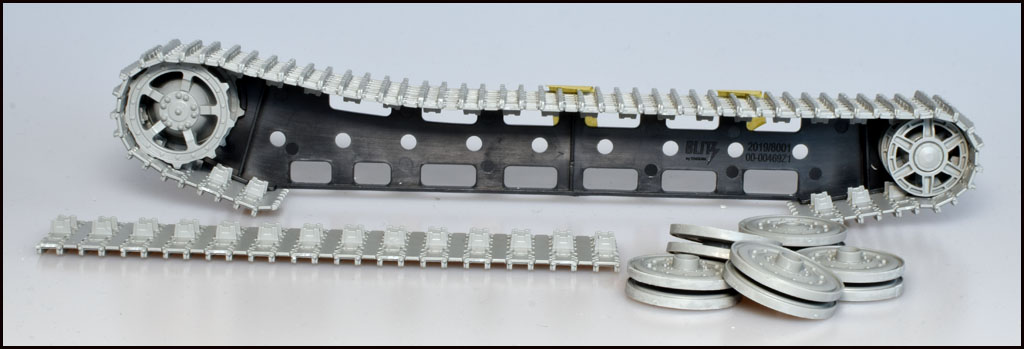
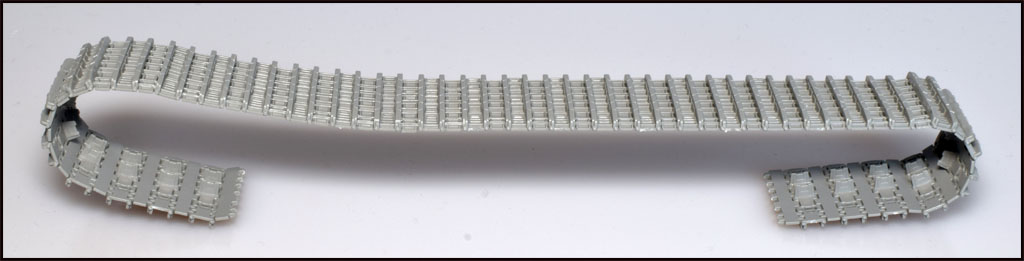
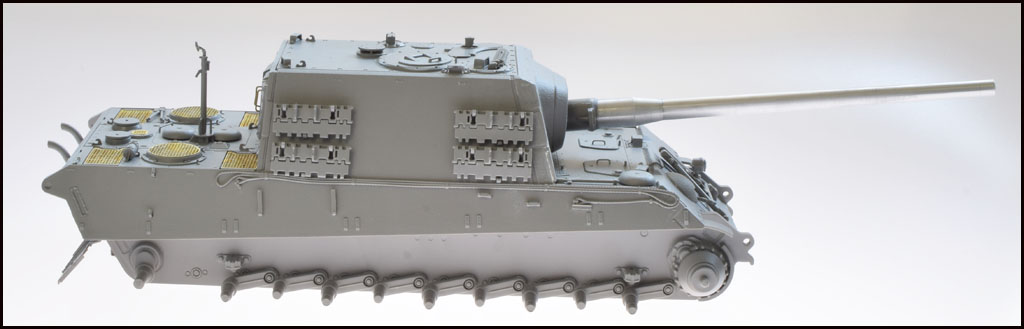
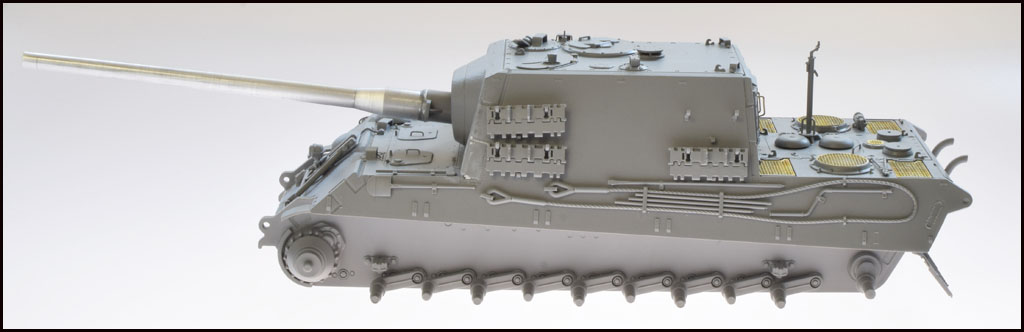
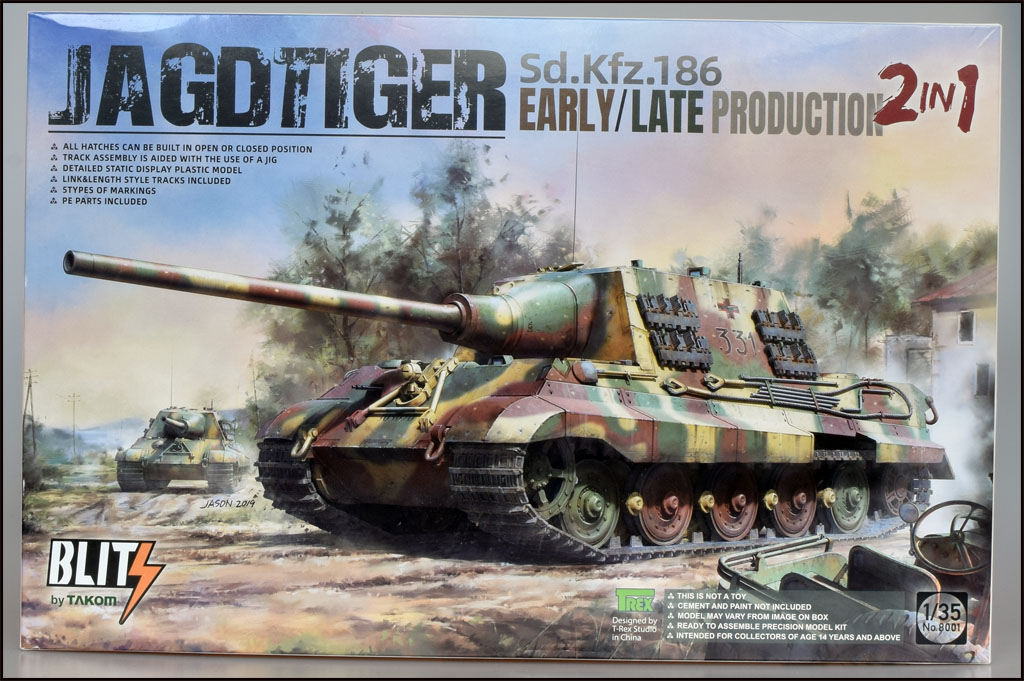
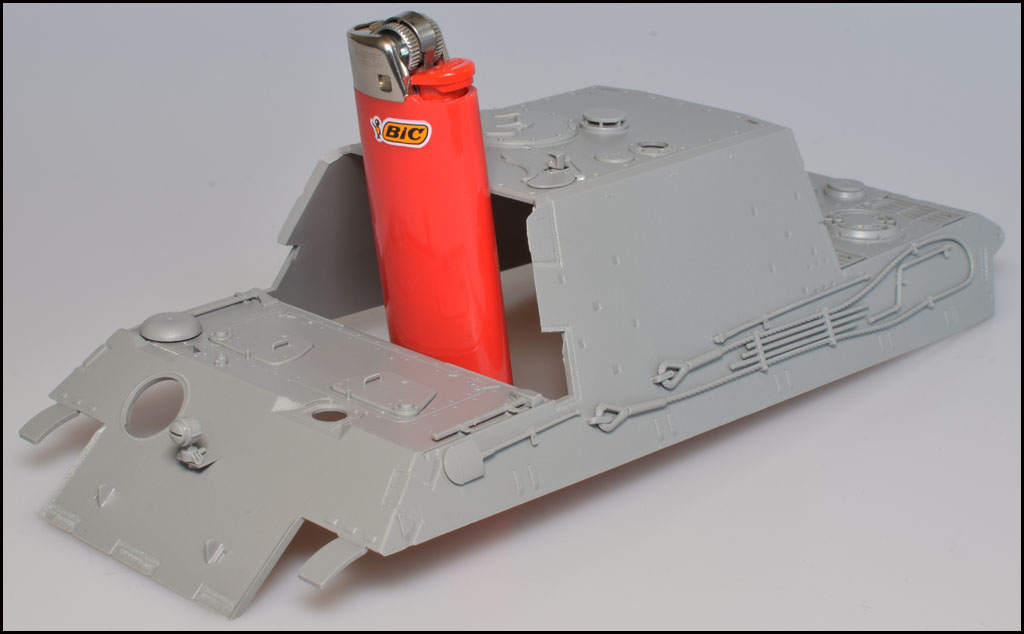
Next and running project is Takom's Jagdtiger from their Blitz line. That means it's easy to assemble and has a reasonable number of parts. I bought this kit a few months ago because one of the options in the kit depicts a vehicle that was abandoned at the end of the war in a litte town called Neustadt an der Weinstraße (Newtown at the wine street). A big part of my mothers family lives there. Knowing that Easter is near I cracked the box open and jumped right at it.
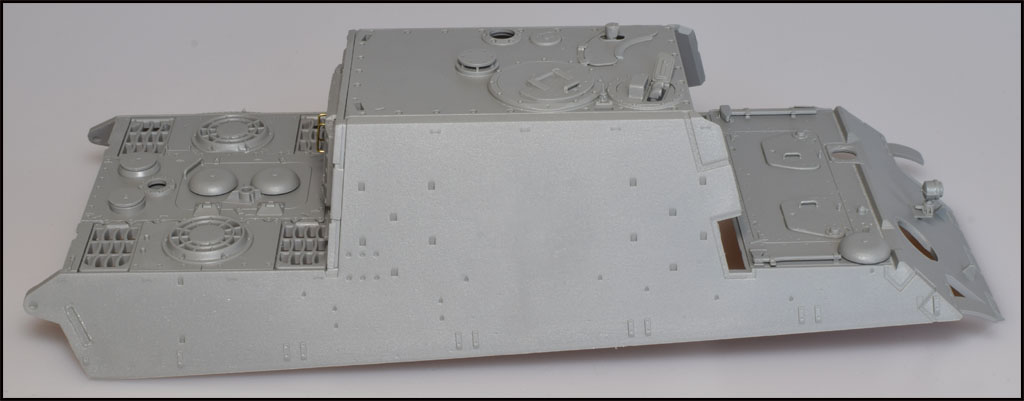
The rear doors are clever enineered and moveable. I substituted the handles with copper wire because the plastic parts had two gates per part. But in general that's not an issue with this kit.
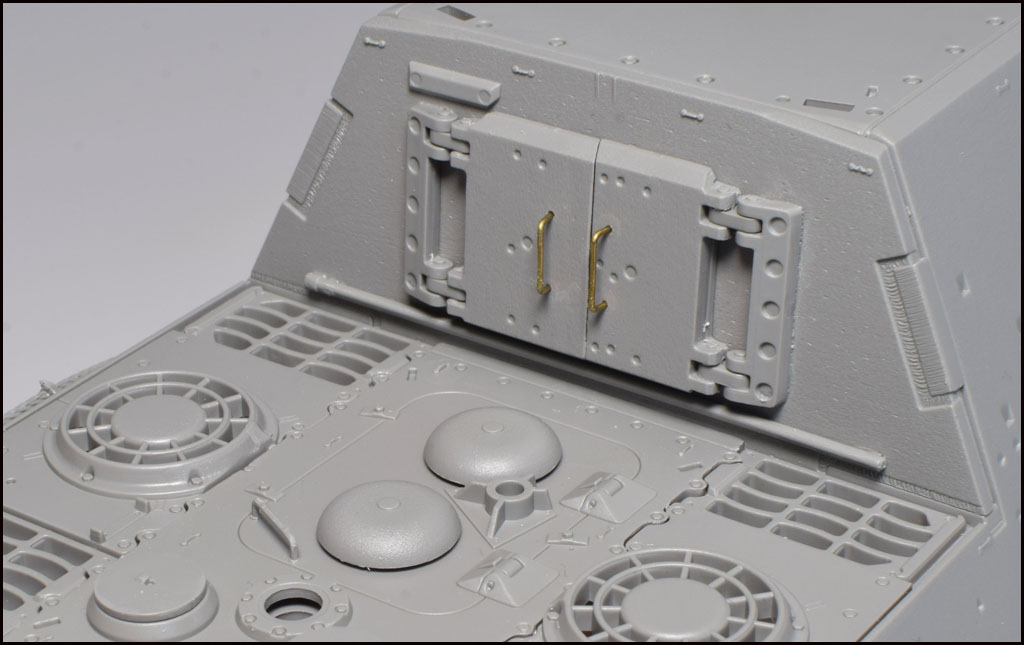
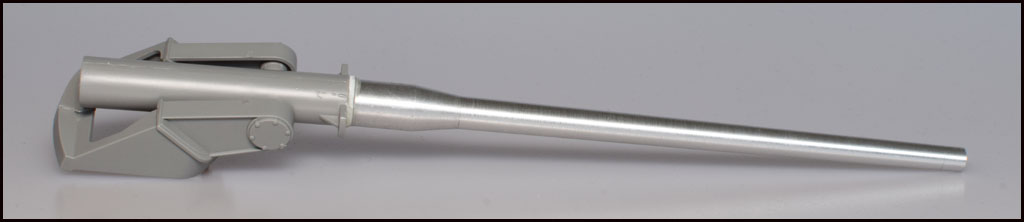
Details are good, building the jack was a fiddly task. Some parting lines on the smaller parts and ejection pin marks are a small letdown. The EPM you see in the picture is still there because hard to see later and I'm lazy.

To give you an idea of the size. With the gun attached it'll be about a foot long from exhaust to nozzle break.
Stay tuned for more random stuff.
So what happend in the first quarter of 2020? Finished two models, of which one was 98% completed by New Year's Eve - Revell's Dodge Challenger SRT8. It got it's final touches during the first week.
Right after that I got back on a shelfed project. The Aggregat 4 was completely assembled and primed when I left it. I dusted it and gave it the paint job and weathering it'd to wait for so long.
Since then I stray between different projects. A few weeks ago the gorgeous 3d printed parts by falcon3dparts for my Revell Star Destroyer. Also got me the lighting set and meters of fiber optics. On a rainy evening I cut out the kit's hangar bay to make space for the printed one.
The details of the printed part are finer and also closer to the studio model. The two hangar gates are open to the back and can be illuminated. All holes for the fiber optics are prepared, too.
Next and running project is Takom's Jagdtiger from their Blitz line. That means it's easy to assemble and has a reasonable number of parts. I bought this kit a few months ago because one of the options in the kit depicts a vehicle that was abandoned at the end of the war in a litte town called Neustadt an der Weinstraße (Newtown at the wine street). A big part of my mothers family lives there. Knowing that Easter is near I cracked the box open and jumped right at it.
The rear doors are clever enineered and moveable. I substituted the handles with copper wire because the plastic parts had two gates per part. But in general that's not an issue with this kit.
Details are good, building the jack was a fiddly task. Some parting lines on the smaller parts and ejection pin marks are a small letdown. The EPM you see in the picture is still there because hard to see later and I'm lazy.
To give you an idea of the size. With the gun attached it'll be about a foot long from exhaust to nozzle break.
Stay tuned for more random stuff.