It's been a pretty productive week for me so far so here's my latest progress on what I've been working on. Time once again to board the trams to see the latest tour...
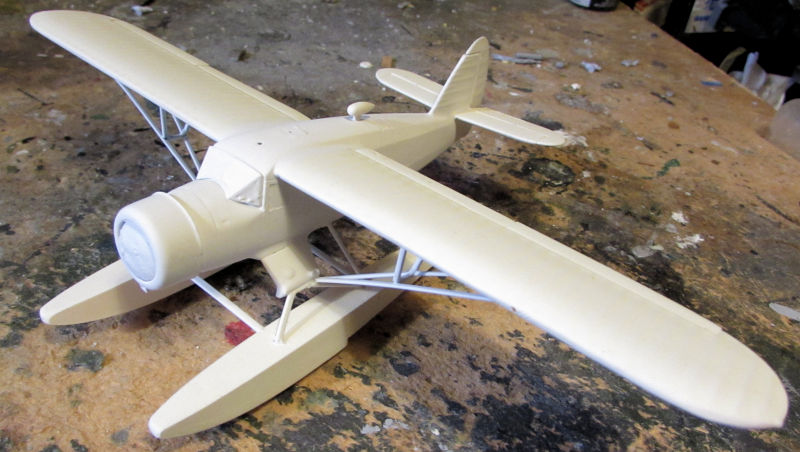
Starting in the hanger portion of my plant, here is the latest, starting with my Norseman. I got the floats back on and managed to get another coat of white over it. There's a few blemishes to take care of but this bird is almost ready for the second color:
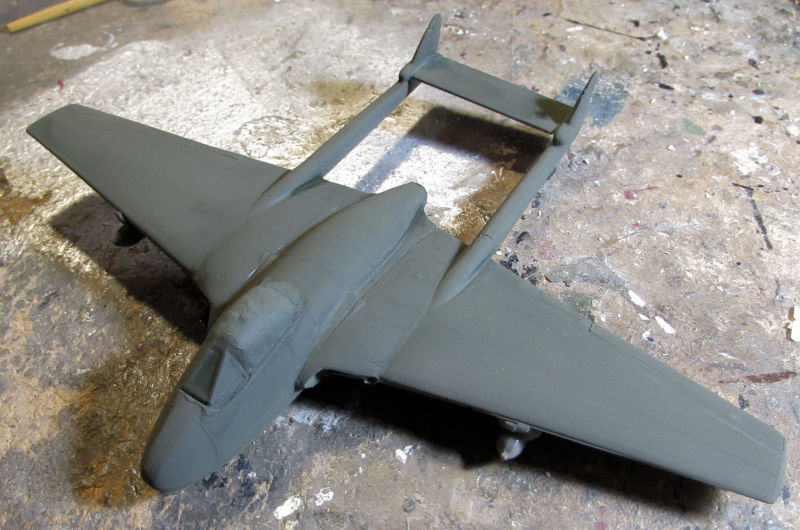
Next I felt it was time to move forward on my Swedish Vampire. I shot a green topcoat on it first:
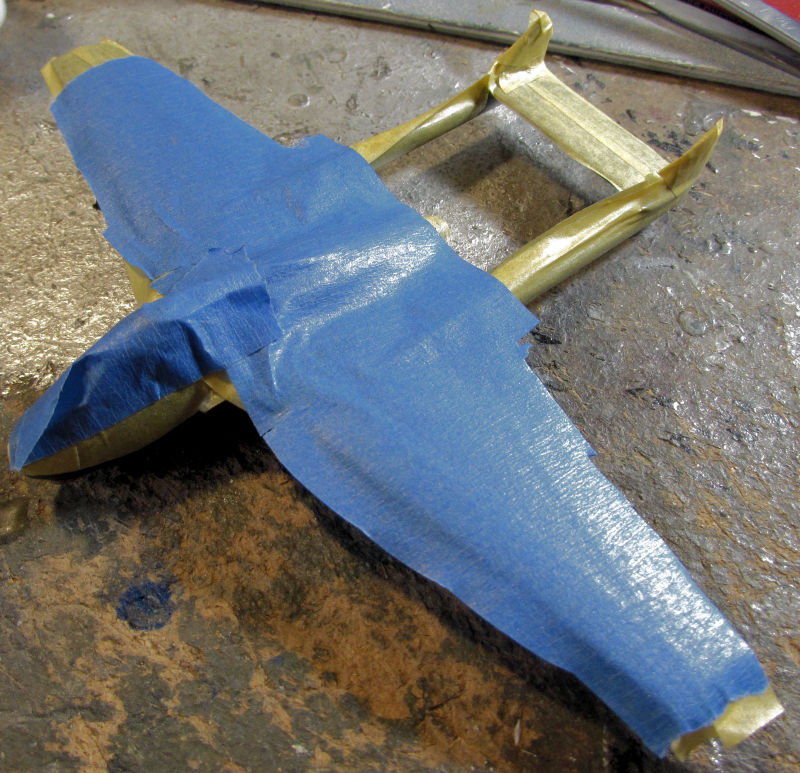
Then when that was dry, I masked off the top to make this ready for the grey underside:
That is as far as I got in this. I wanted to get more done on my Southern Cross next.
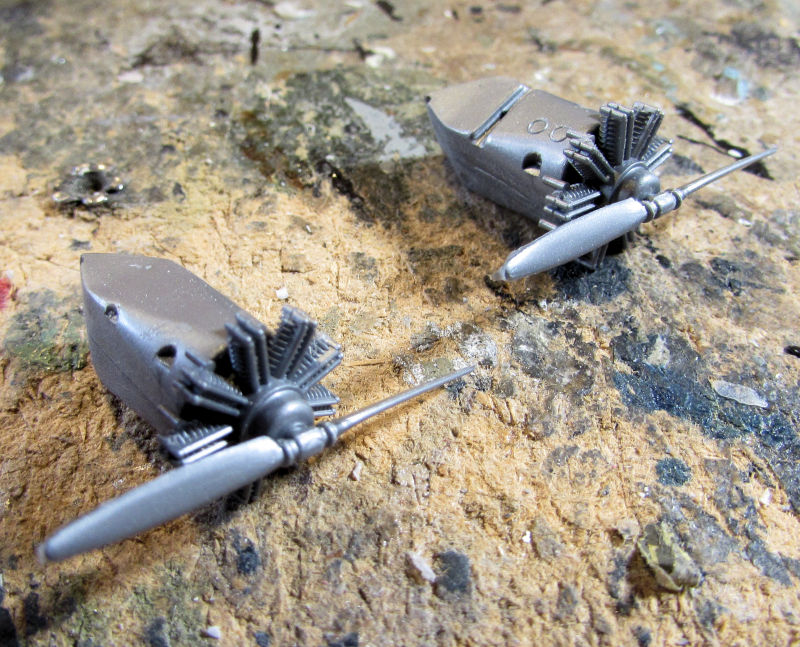
I started by building the two outboard engine pods and sanding the seams:
I then added the last of the clear parts to the fuselage and later masked them with a liquid masking agent:
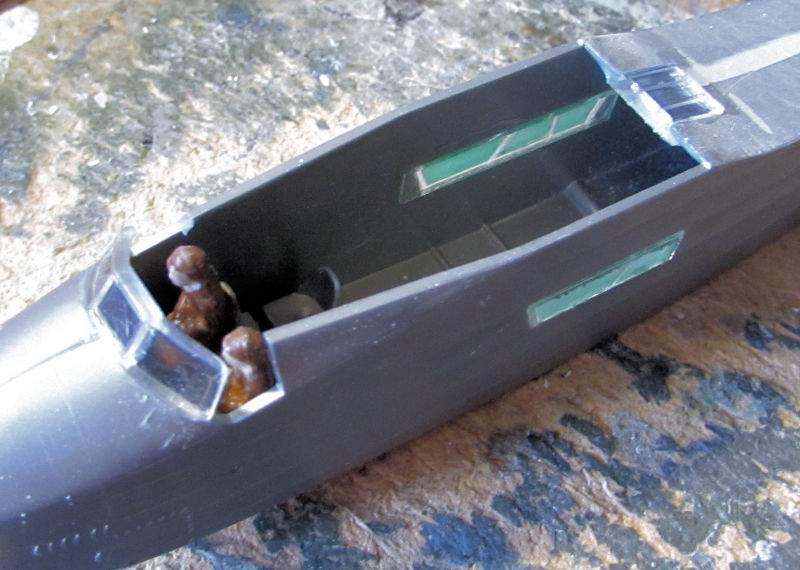
I'm guessing they had the side windows open during flight; there were no side windows included in the kit. It is a 1920's design after all.
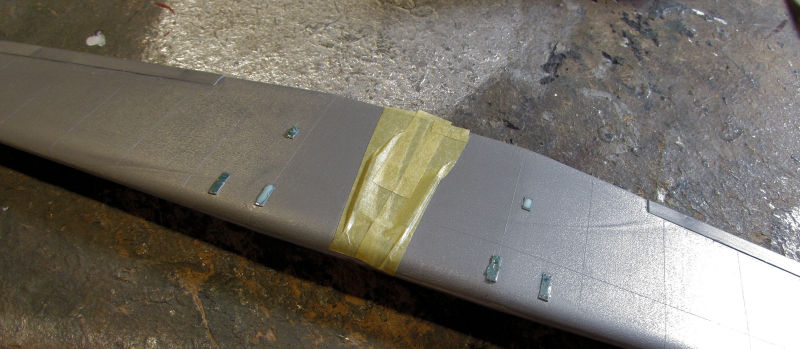
Next I masked off the underside of the wing assembly to be ready to shoot an aluminum color on the wings:
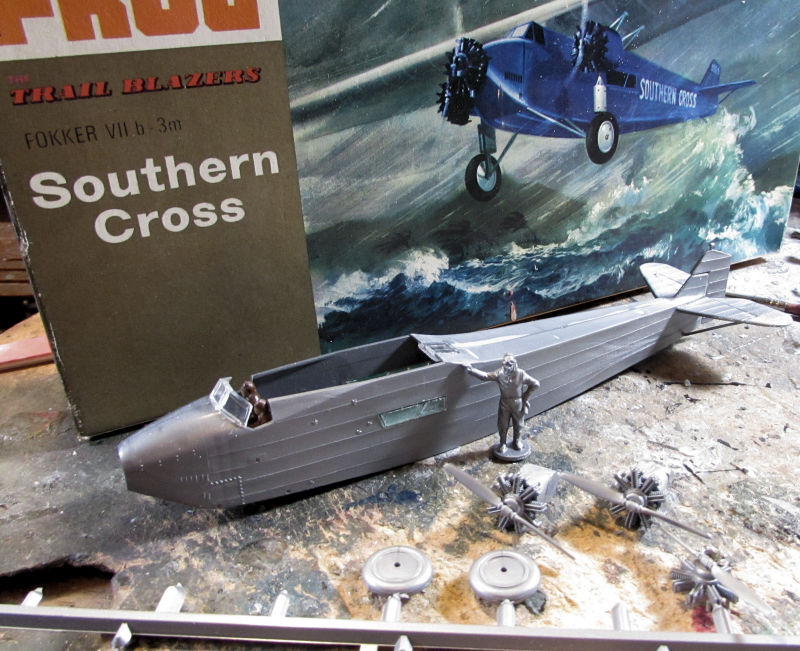
So now I finished off building the third engine and adding the tail feathers to the back of the fuselage. I saw the pilot figure inside the box and thought it would be fun to pose him with his partially built plane:
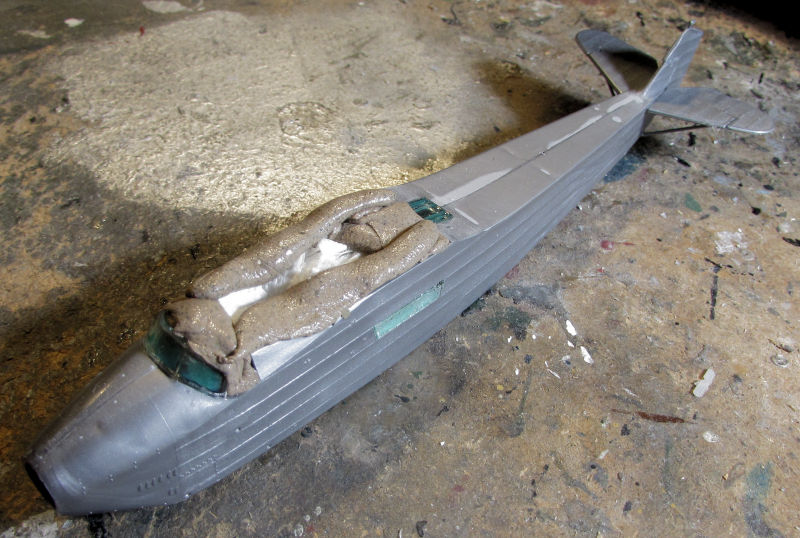
Later on I added paper towel and Silly Putty to the big cavernous opening in the fuselage to mask it off for painting:
Since the channel on one side of the engine pods needed to remain paint free so they would glue onto the main wheel struts, I decided to temporarily glue in a plastic rod about the same diameter to both hold the engine pods for painting as well as mask the channel. I then shot the blue over the fuselage and engine pods:

Yeah, you can see where one engine fell off the front of the pod. Easy fix.
Well that's everything going on in the hanger portion of my plant; let's see what's happening in the Motor Pool side...
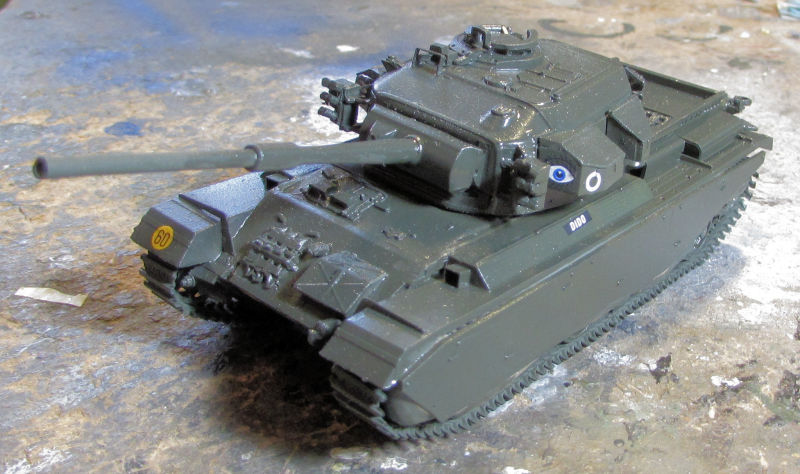
Over here in the Motor Pool, we have a couple tanks that made it to the paint stage. This first one is my British Centurion Mk.5 base painted with Humbrol Bronze Green:
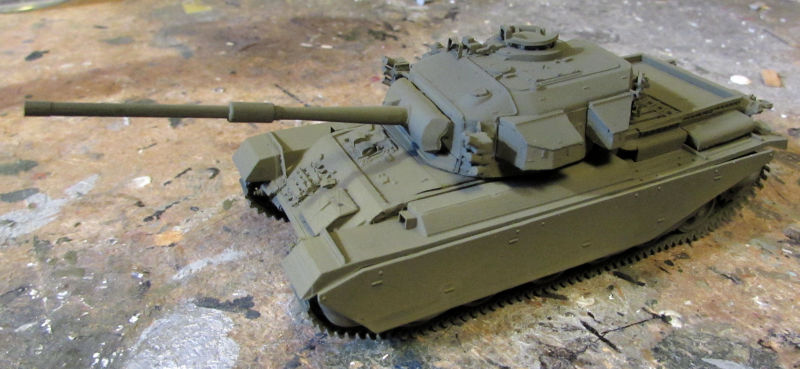
It's actually showing quite light in that pic; not sure why.
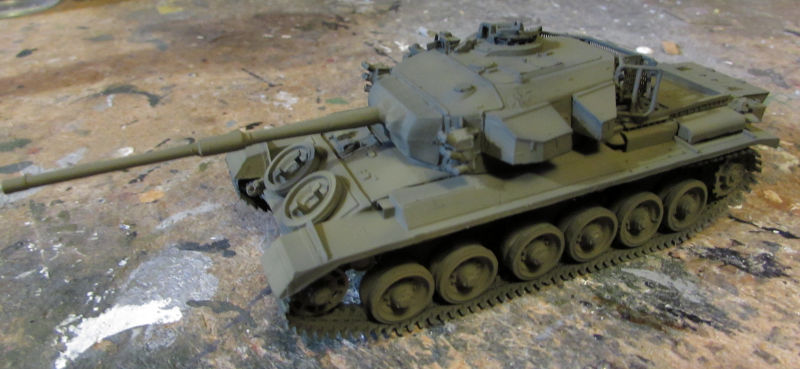
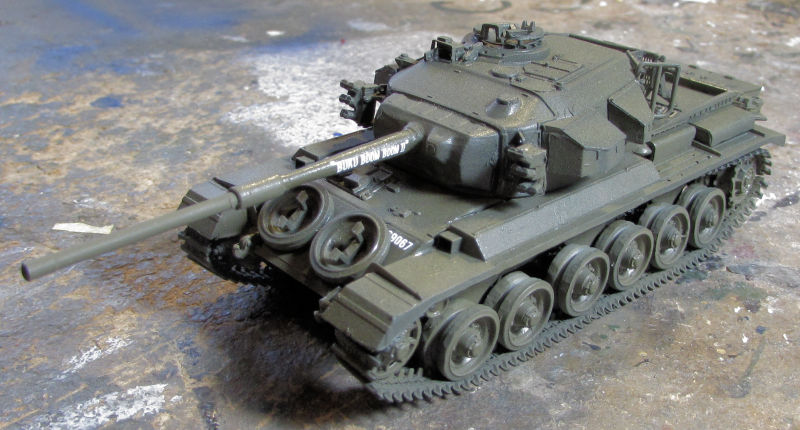
The next tank I shot was the Australian Centurion Mk. 5LR, first basing it with the Humbrol Bronze Green and modulating it with Humbrol Olive Drab:
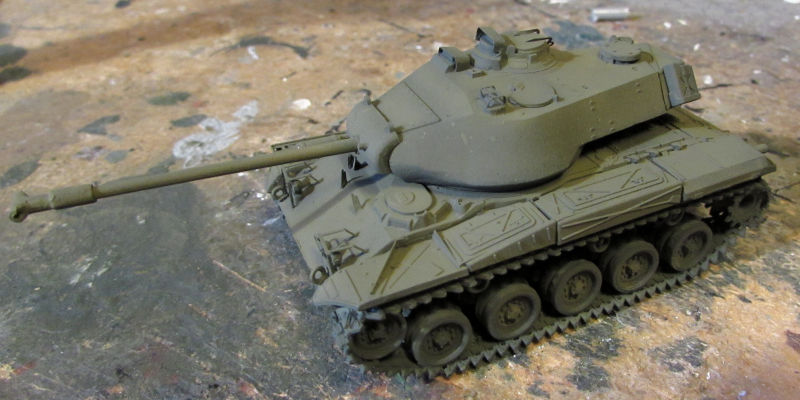
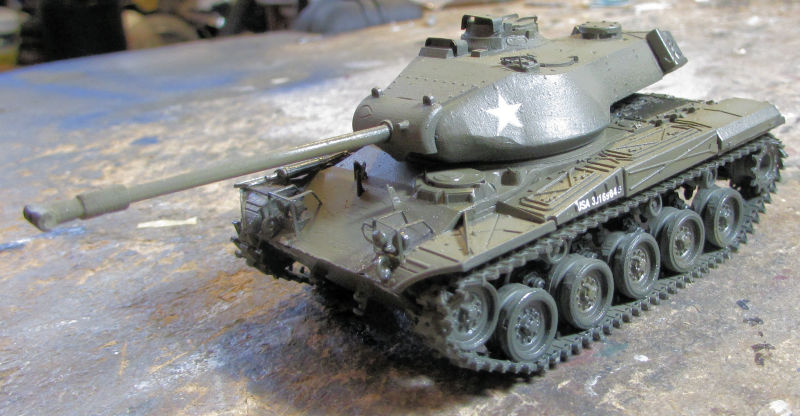
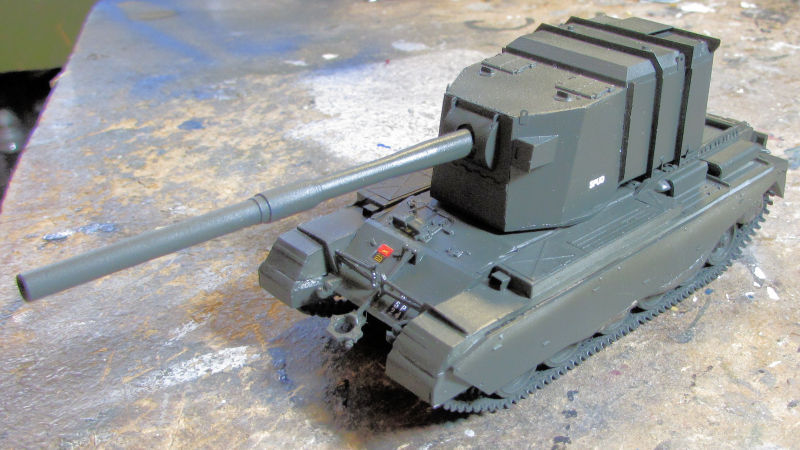
I did the same thing on my US Army M-41 Walker Bulldog:
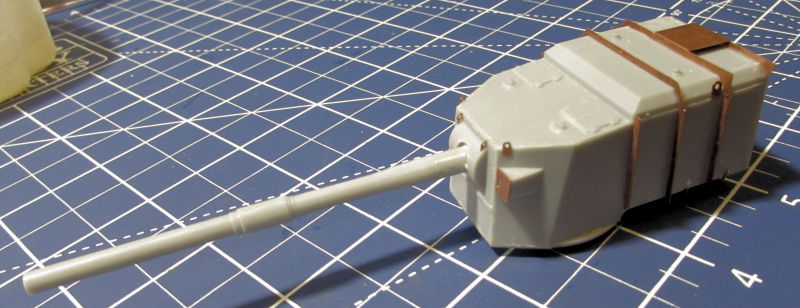
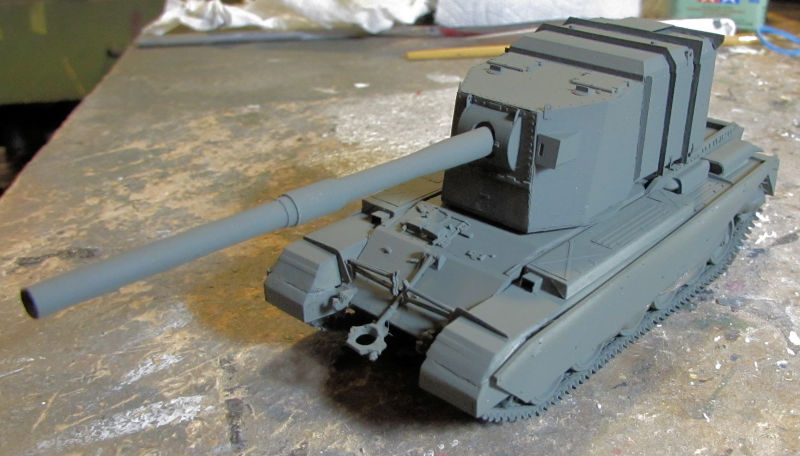
After that, I found the P/E fret for the British FV-4005 and so started adding the photo-etch to it.
First the turret:
Then the hull:

I then checked the turret for ability to turn and fixed a couple minor sticking points. This beastie is now ready for paint:

Since I was already painting everything with Humbrol Bronze Green I shot this one too:
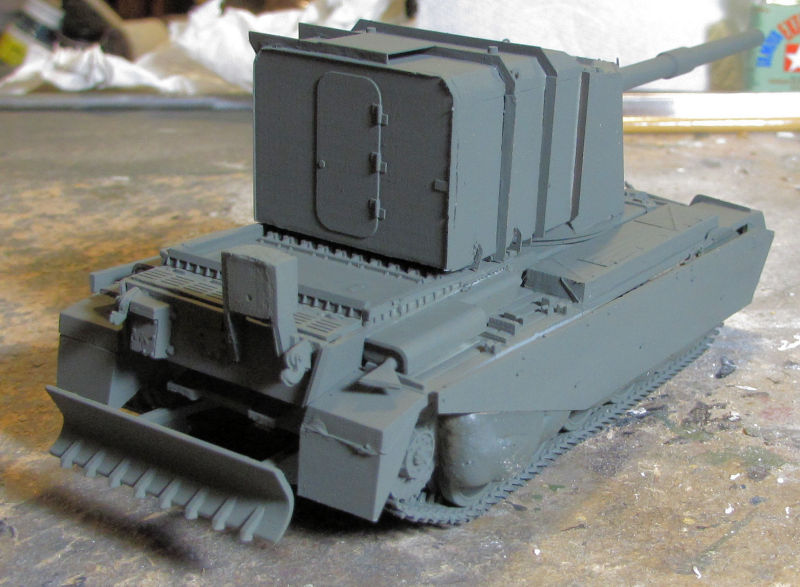
Yeah, that blob sticking out from under the skirts is the Silly Putty holding the skirts in place for painting. This does look more like the Bronze Green is supposed to look.
Afterward, I shot a gloss coat over all these and applied the decals, starting with the M-41 Walker Bulldog:
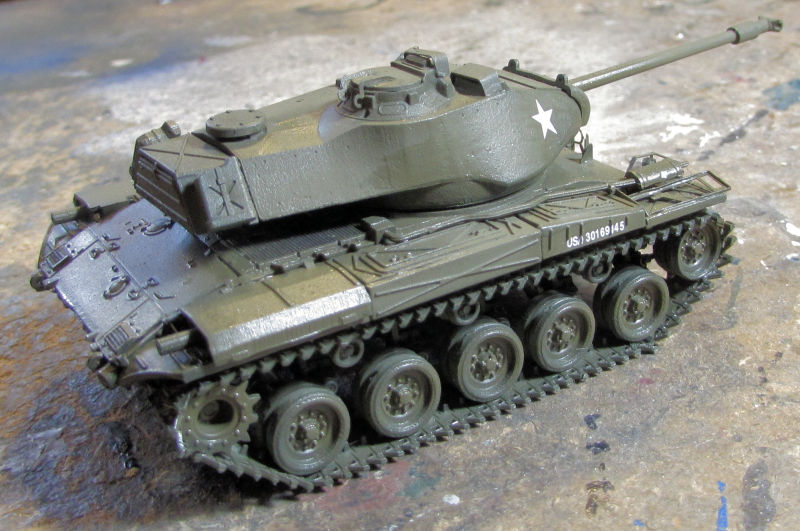
Then the Australian Centurion:

Then I did the British Centurion:
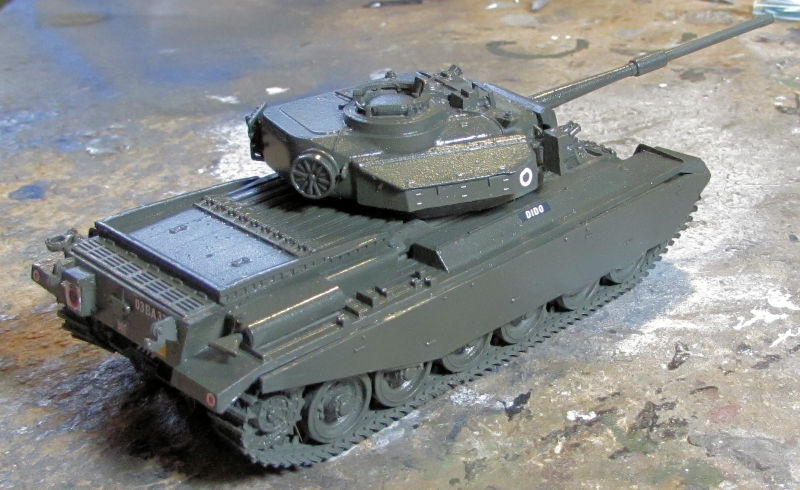
...and finally the British FV-4005:
That last one had very minimal markings. I will also lightly weather that since it didn't see much service.
As for all these tanks; all that's left is adding the tools and other detail parts; dull coating them and weathering them and they will be done. The next time you see them will be in the Finished Armor Forums.
And that ends another tour of Maddog Manufacturing; I hope you enjoyed it. Feel free to check out the gift shop and snack bar on your way out. As always, comments are always welcome.