1/32 Special Hobby Hawker Tempest Mk V
-
speedgraflex

- Moderator
- Posts: 11062
- Joined: Fri Feb 10, 2017 11:08 pm
- Contact:
Re: 1/32 Special Hobby Hawker Tempest Mk V
Wonderful! I’m going to ask for help with scratches on mine, if I may?
Make more models!
-
Stikpusher

- Moderator
- Posts: 20865
- Joined: Sat Apr 05, 2014 8:37 pm
- Location: Ceti Alpha 5
Re: 1/32 Special Hobby Hawker Tempest Mk V
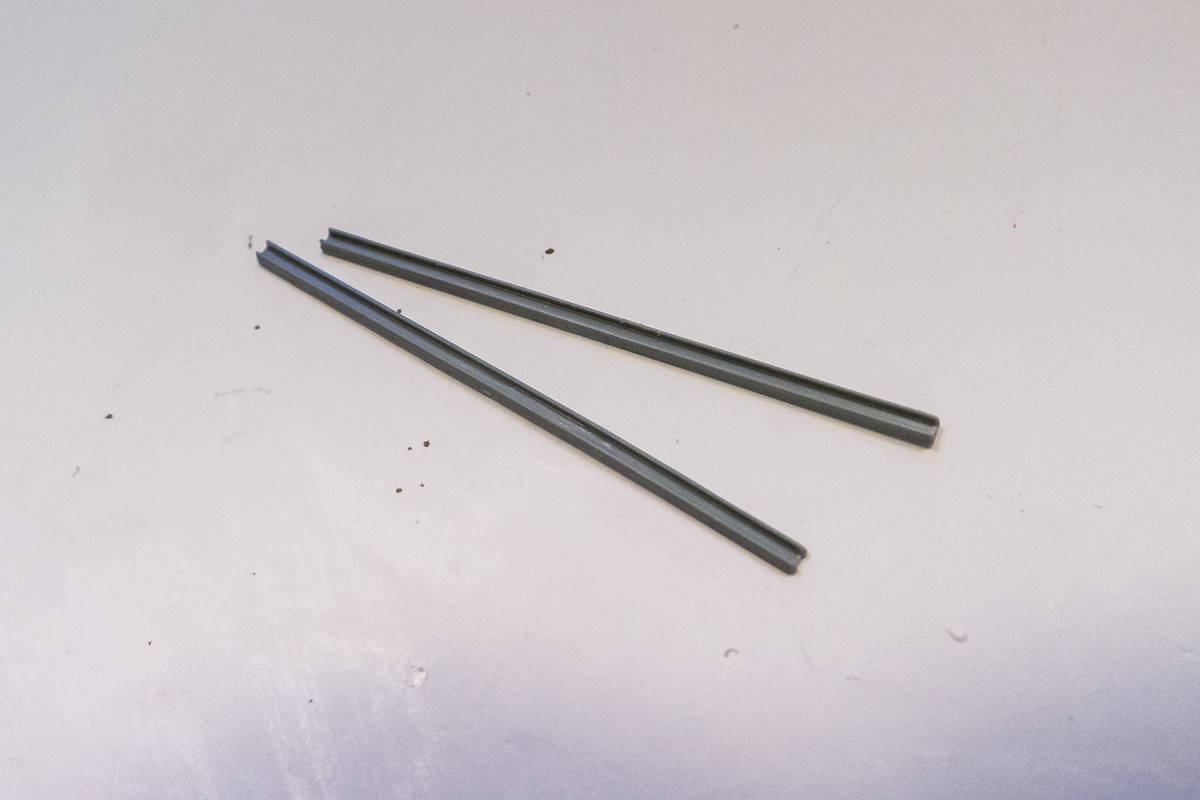
If your repair doesn’t work on the broken rail, that part looks very easy to replace with some Evergreen U channel styrene.
"Surely I have made my meaning plain? I intend to avenge myself upon you, Admiral. I have deprived your ship of power, and when I swing 'round, I intend to deprive you of your life."
FLSM
FLSM

Re: 1/32 Special Hobby Hawker Tempest Mk V
Of course! Although you probably have more Tempest references than I! FYI, there is another gentlemen over at LSP that is currently building the PCM Tempest kit so that might be worth checking out. One of the comments referred to the following online reference...speedgraflex wrote:Wonderful! I’m going to ask for help with scratches on mine, if I may?
https://www.hawkertempest.se/index.php/ ... alkarounds
I was thinking that I could bend some brass sheeting but the U-channel sounds much easier. I'll keep that in mind if the repair doesn't work. I'm amazed at how strong the glue bond on the kit plastic is using Tamiya Extra Thin... it really seems to weld the plastic together.Stikpusher wrote:If your repair doesn’t work on the broken rail, that part looks very easy to replace with some Evergreen U channel styrene.
John aka JKim
-----------<><

-----------<><
-
speedgraflex
- Moderator
- Posts: 11062
- Joined: Fri Feb 10, 2017 11:08 pm
- Contact:
Re: 1/32 Special Hobby Hawker Tempest Mk V
I’m thinking I could loan you the Valiant Wings book or take relevant photos. I’m not sure if you need the reference as much as I do, actually!
Make more models!
Re: 1/32 Special Hobby Hawker Tempest Mk V
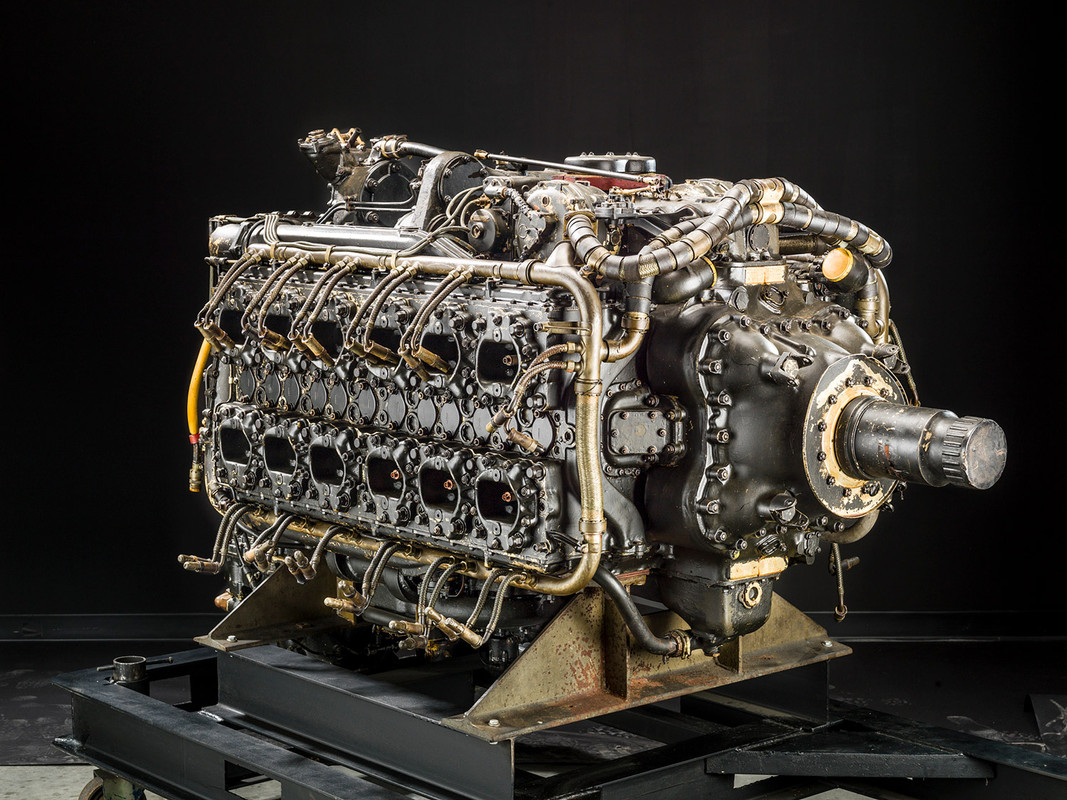
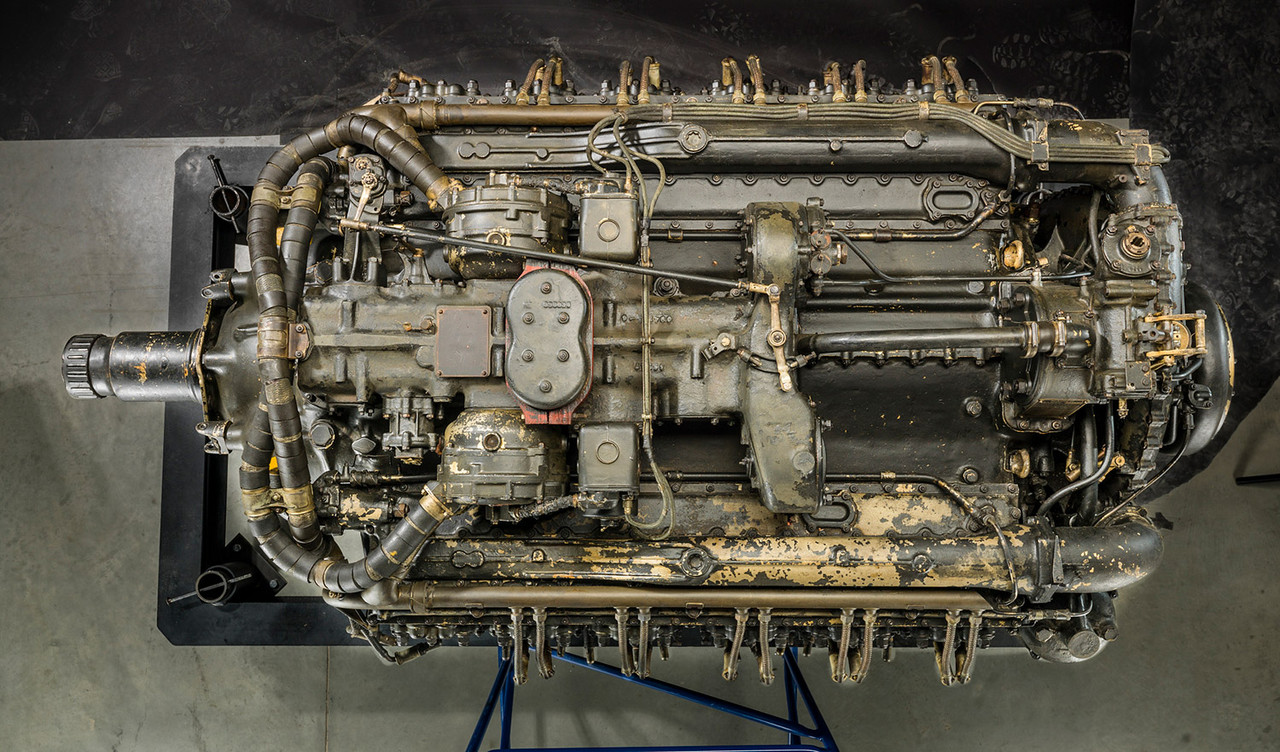
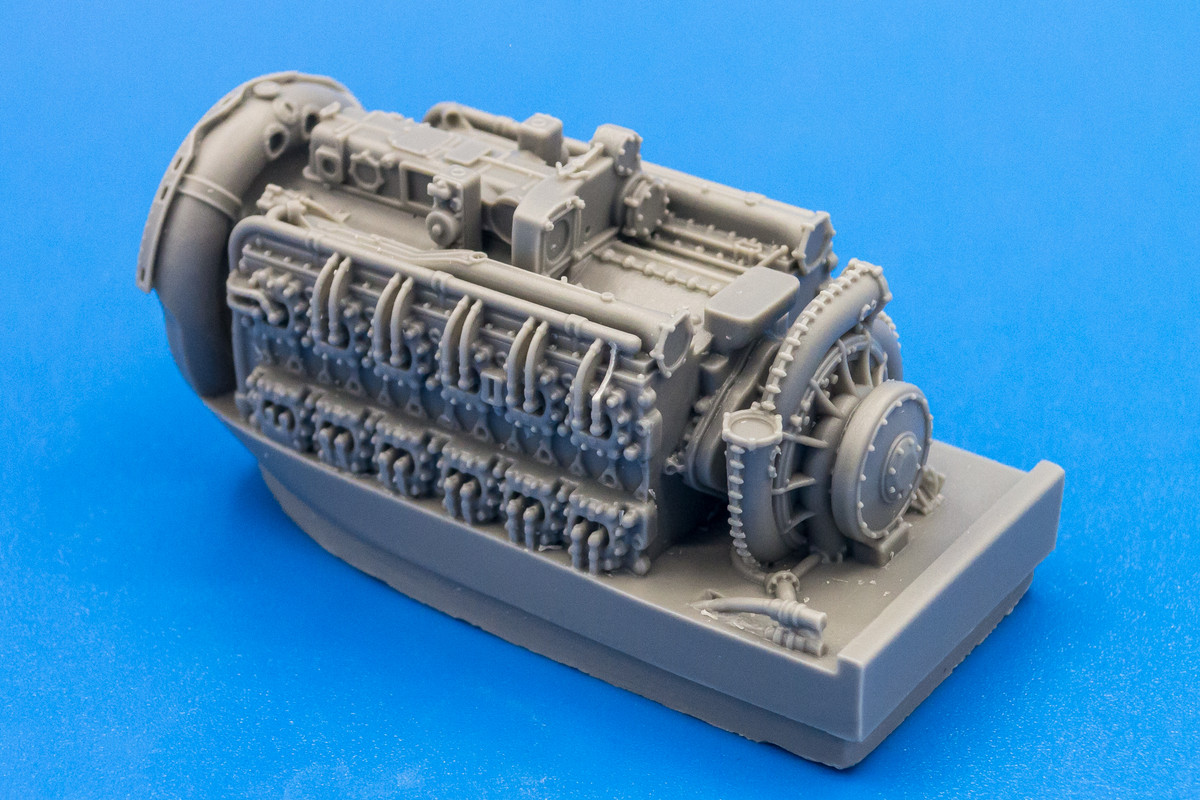
Thanks Bruce! Since the Special Hobby kit looks to be fairly complete, I don't think I'll need the book. I found some pretty nice pics of the engine...
John aka JKim
-----------<><
-----------<><
-
jeaton01

- Elite Member
- Posts: 2374
- Joined: Thu Apr 23, 2020 9:20 am
- Location: Northern California
- Contact:
Re: 1/32 Special Hobby Hawker Tempest Mk V
Whenever I see the Sabre I wonder how they ever expected such a complex thing to work.
-
speedgraflex
- Moderator
- Posts: 11062
- Joined: Fri Feb 10, 2017 11:08 pm
- Contact:
Re: 1/32 Special Hobby Hawker Tempest Mk V
Make more models!
-
mustang1989

- Moderator
- Posts: 4988
- Joined: Tue Mar 18, 2014 8:35 pm
Re: 1/32 Special Hobby Hawker Tempest Mk V
Dude....If you pull that off....I'm gonna throw in the flippin' towel.jkim wrote:Thanks Bruce! Since the Special Hobby kit looks to be fairly complete, I don't think I'll need the book. I found some pretty nice pics of the engine...speedgraflex wrote:I’m thinking I could loan you the Valiant Wings book or take relevant photos. I’m not sure if you need the reference as much as I do, actually!
Riveting work looks great btw.
Re: 1/32 Special Hobby Hawker Tempest Mk V
Cute video, Bruce! Very nice build too... much better than the talking face videos that a lot of modelers do.

Inching along here on this build. My two daughters are on visit so I've been trying to spend as much free time with them.
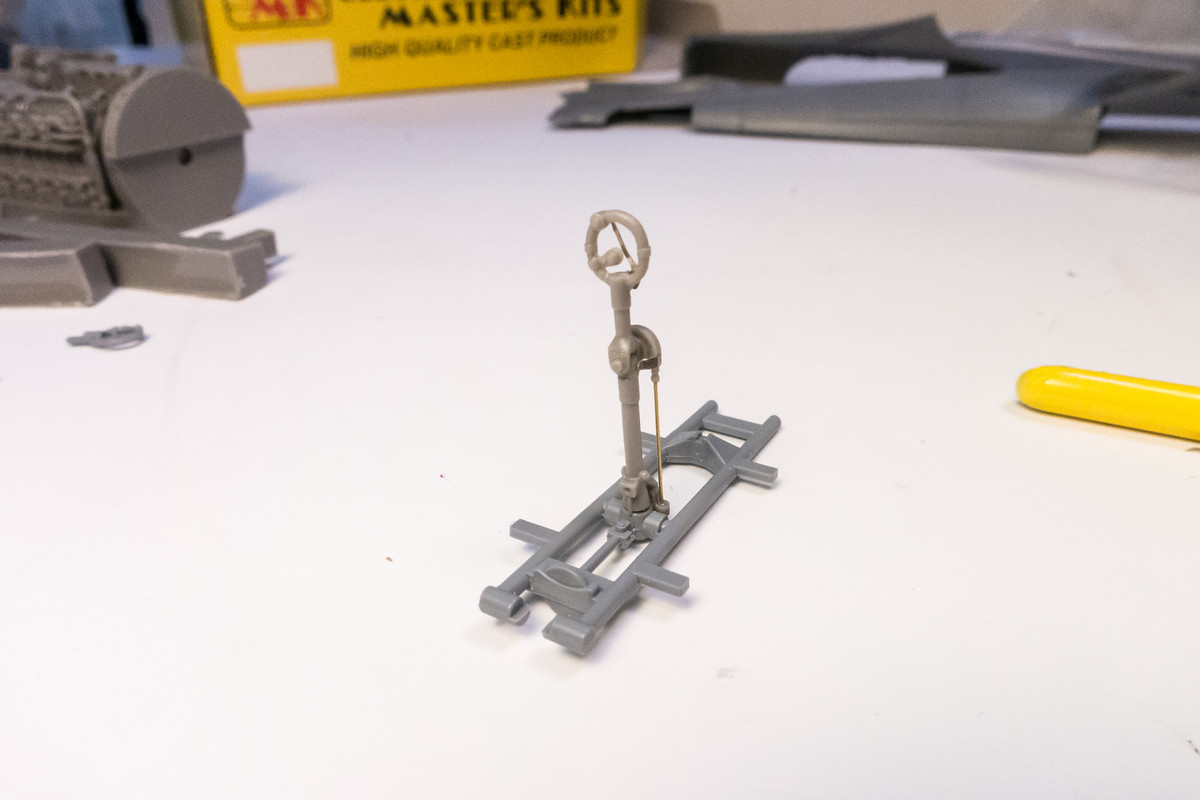
Like I said, the Special Hobby plastic, which is a bit on the soft side, takes REALLY well to Tamiya Extra Thin cement. Hard to tell which is the repaired rail (bottom) and the unbroken one. Strong bond too. I think these will actually facilitate the sliding of the canopy open and closed so they will have to be glued in very securely.
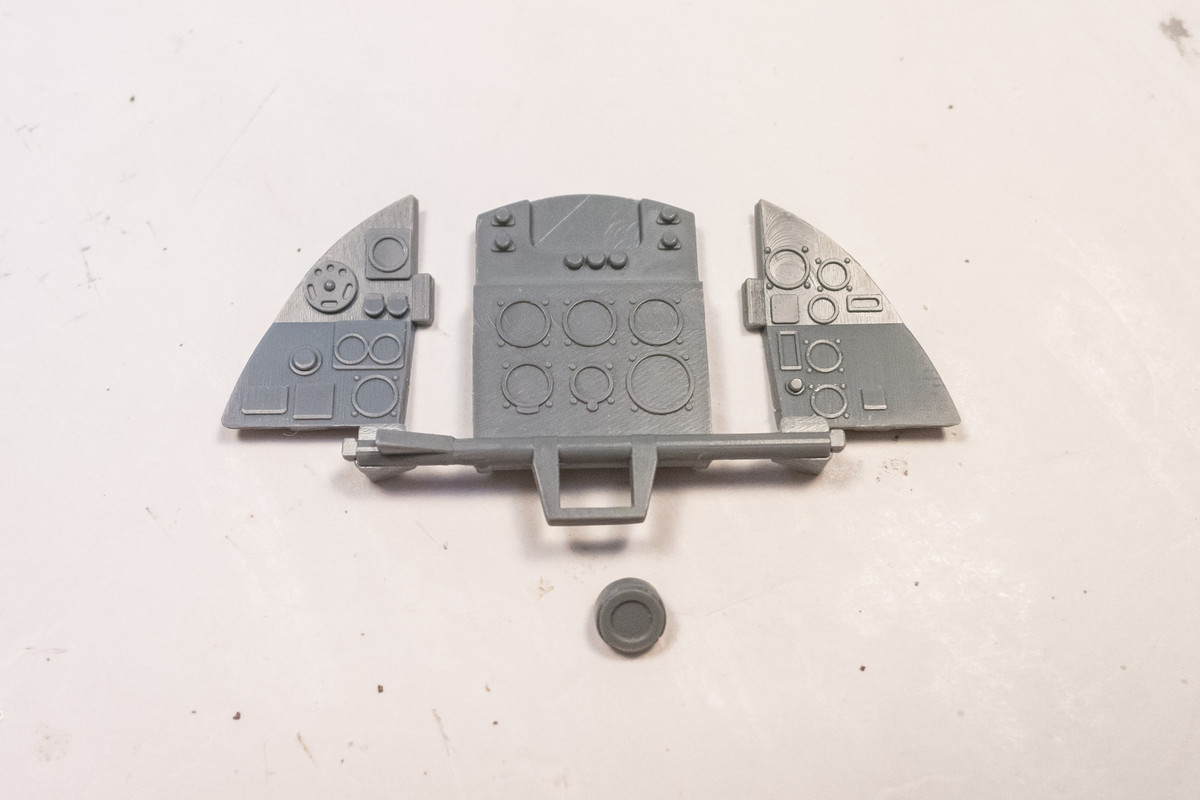
The instrument panel is crisply molded but the detail is a bit simplistic. The bar on the left of the instrument panel middle section was broken too and repaired with the magic welding glue. I don't have my RAF paints yet so I've had to hold off on any painting.
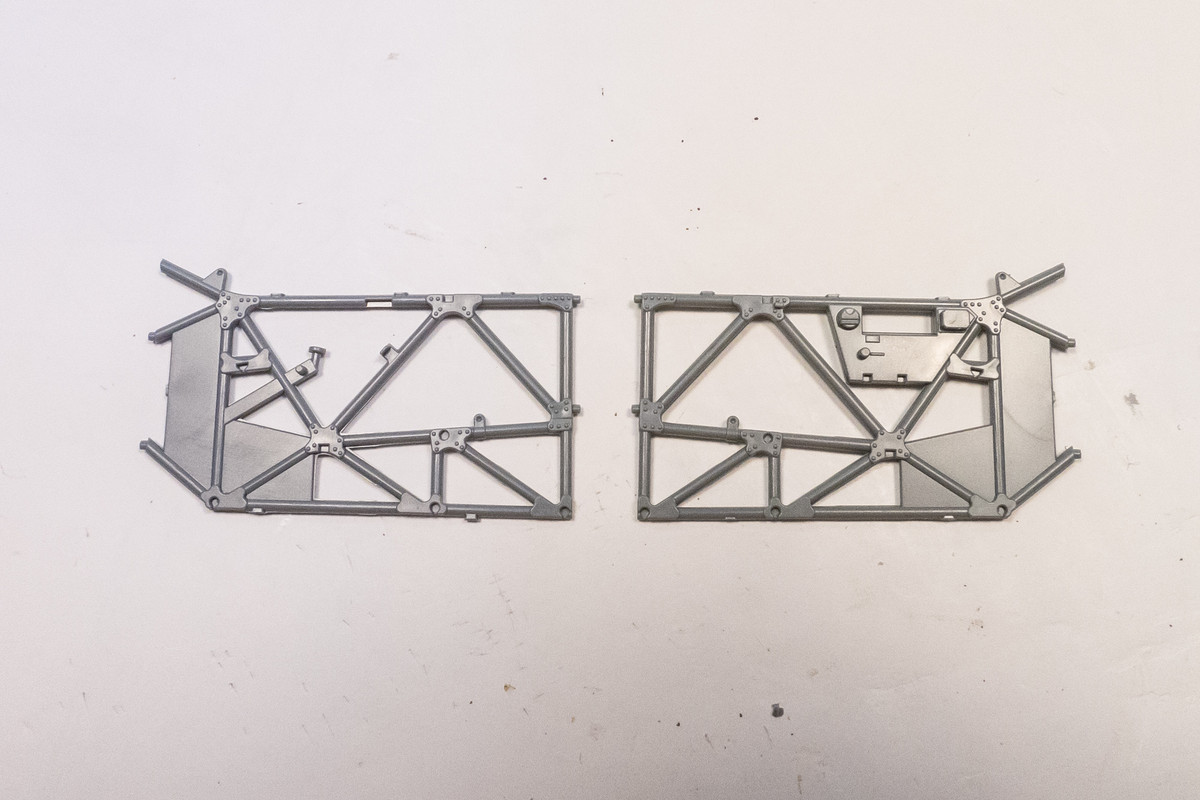
Which works out because the cockpit parts need a ton of clean up. Here are the right and left tubular cockpit frames.
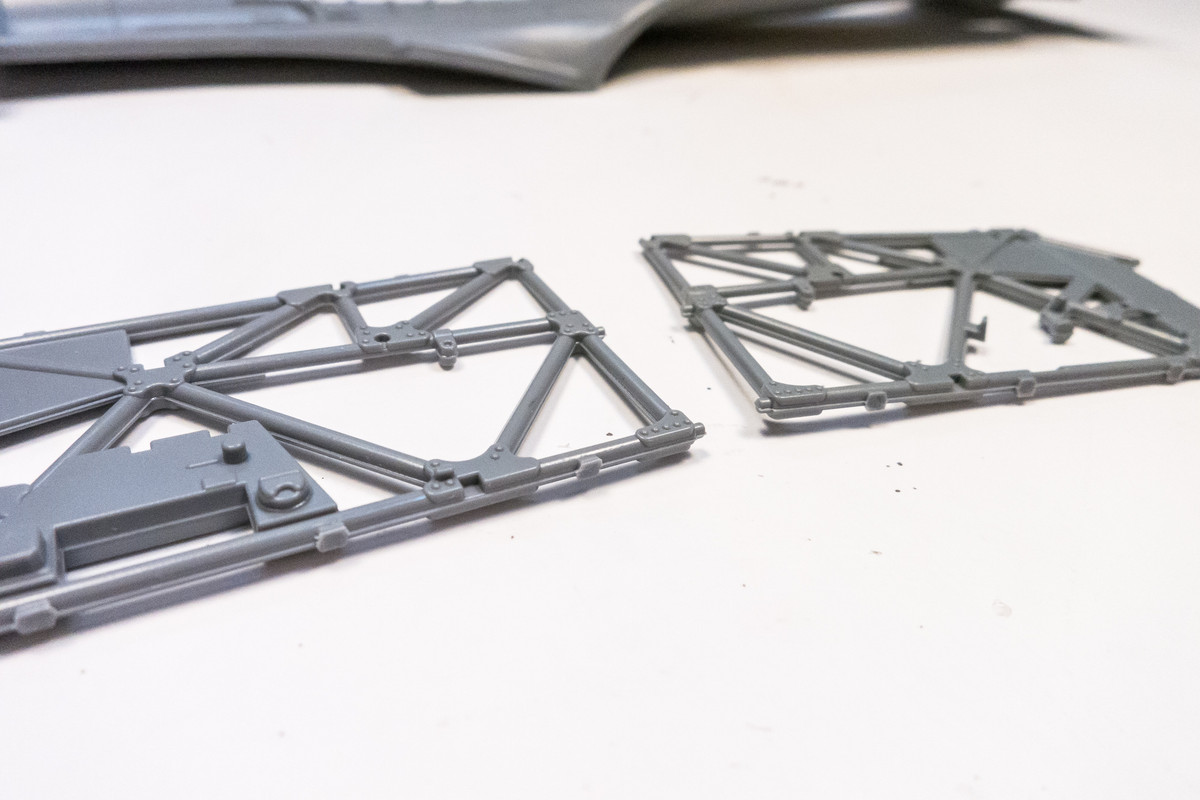
Another view reveals the very defined molding ridges along every surface. And giant sprue gates, which are a pain to trim when they are on curved surface.
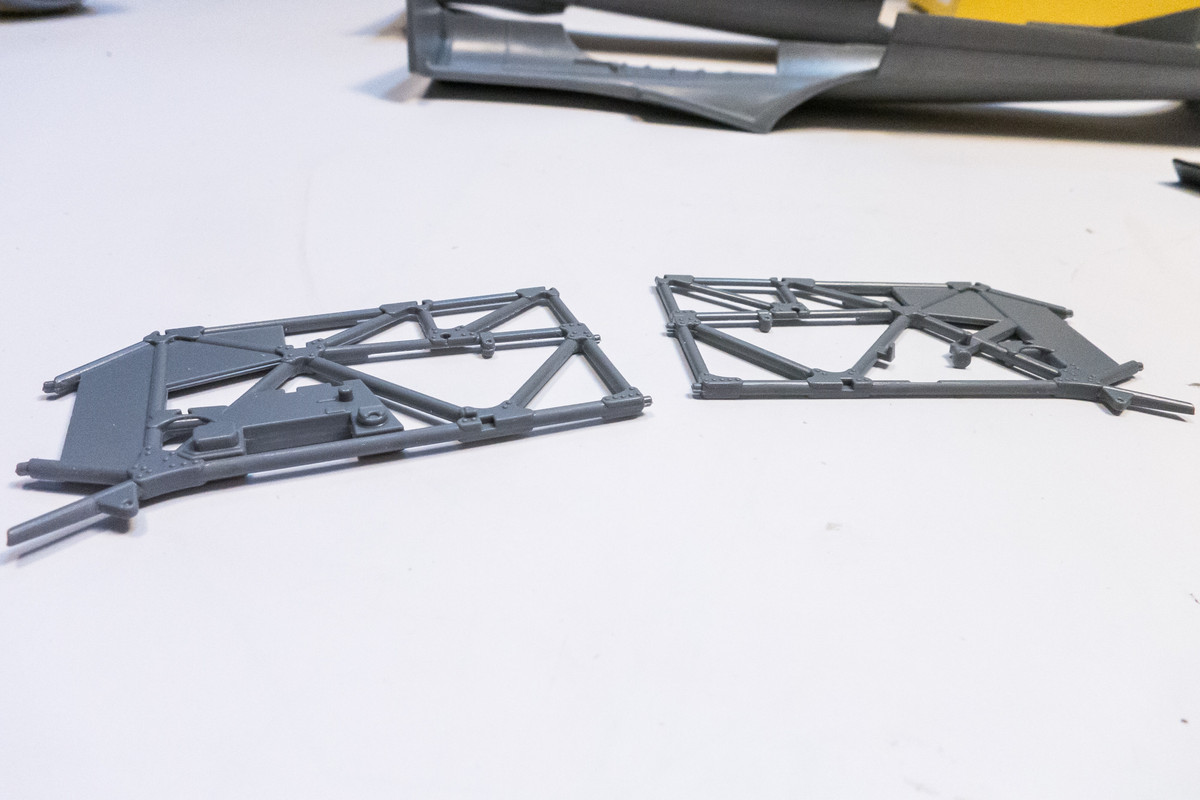
Clean up was slow and tedious, first scraping an x-acto blade along the molding ridges and then finishing off the upper surfaces with sandpaper. The lower surfaces were just treated with the knife since they will be hidden from view looking down into the cockpit.
Resin clean up can also be similarly tedious. The flash on the inside of the spade grip is quite thick and cannot simply be snapped out. It requires very careful cutting.
The scary thing is that MOST of it is already there in resin!mustang1989 wrote:Dude....If you pull that off....I'm gonna throw in the flippin' towel.
Riveting work looks great btw.
Inching along here on this build. My two daughters are on visit so I've been trying to spend as much free time with them.
Like I said, the Special Hobby plastic, which is a bit on the soft side, takes REALLY well to Tamiya Extra Thin cement. Hard to tell which is the repaired rail (bottom) and the unbroken one. Strong bond too. I think these will actually facilitate the sliding of the canopy open and closed so they will have to be glued in very securely.
The instrument panel is crisply molded but the detail is a bit simplistic. The bar on the left of the instrument panel middle section was broken too and repaired with the magic welding glue. I don't have my RAF paints yet so I've had to hold off on any painting.
Which works out because the cockpit parts need a ton of clean up. Here are the right and left tubular cockpit frames.
Another view reveals the very defined molding ridges along every surface. And giant sprue gates, which are a pain to trim when they are on curved surface.
Clean up was slow and tedious, first scraping an x-acto blade along the molding ridges and then finishing off the upper surfaces with sandpaper. The lower surfaces were just treated with the knife since they will be hidden from view looking down into the cockpit.
Resin clean up can also be similarly tedious. The flash on the inside of the spade grip is quite thick and cannot simply be snapped out. It requires very careful cutting.
John aka JKim
-----------<><
-----------<><
Re: 1/32 Special Hobby Hawker Tempest Mk V
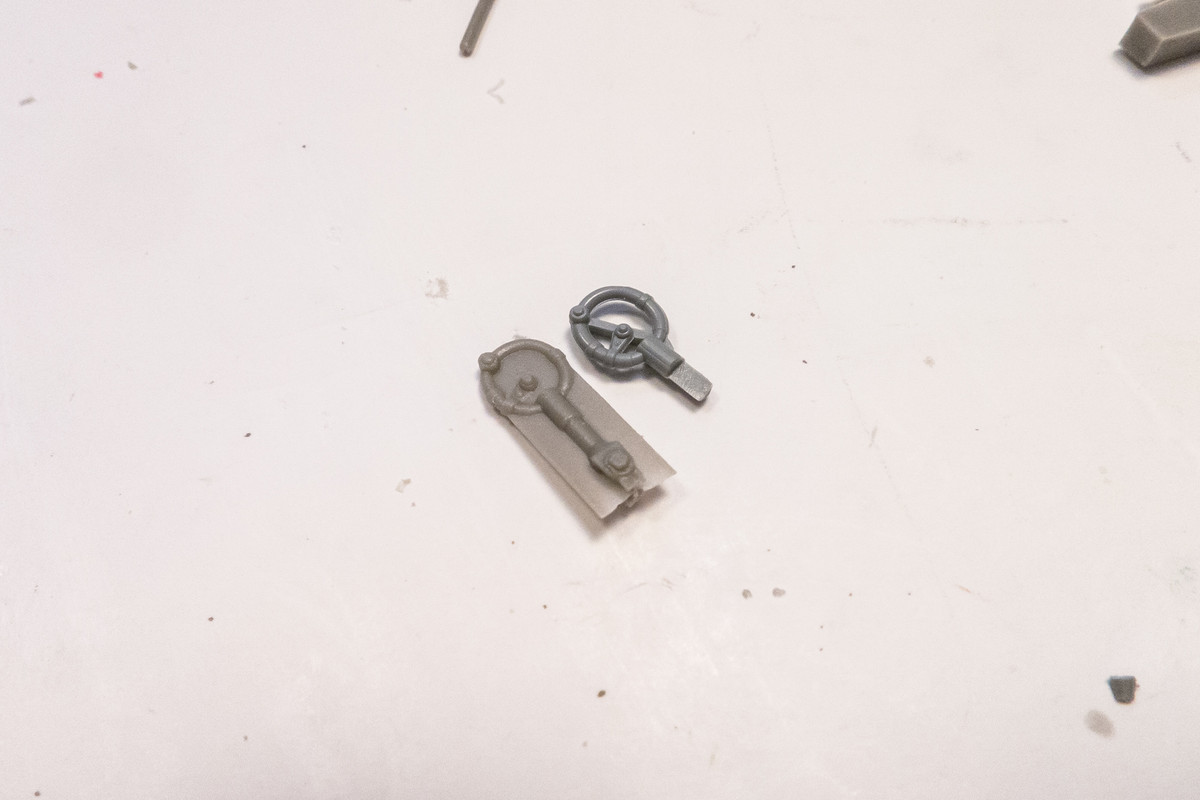
I managed to cut the excess resin from the interior of the grip without a mishap. But one of the four very delicate mounts for the control rods was broken. I had no choice but to cut off the bottom two mounts and replace them with simple holes at the base.
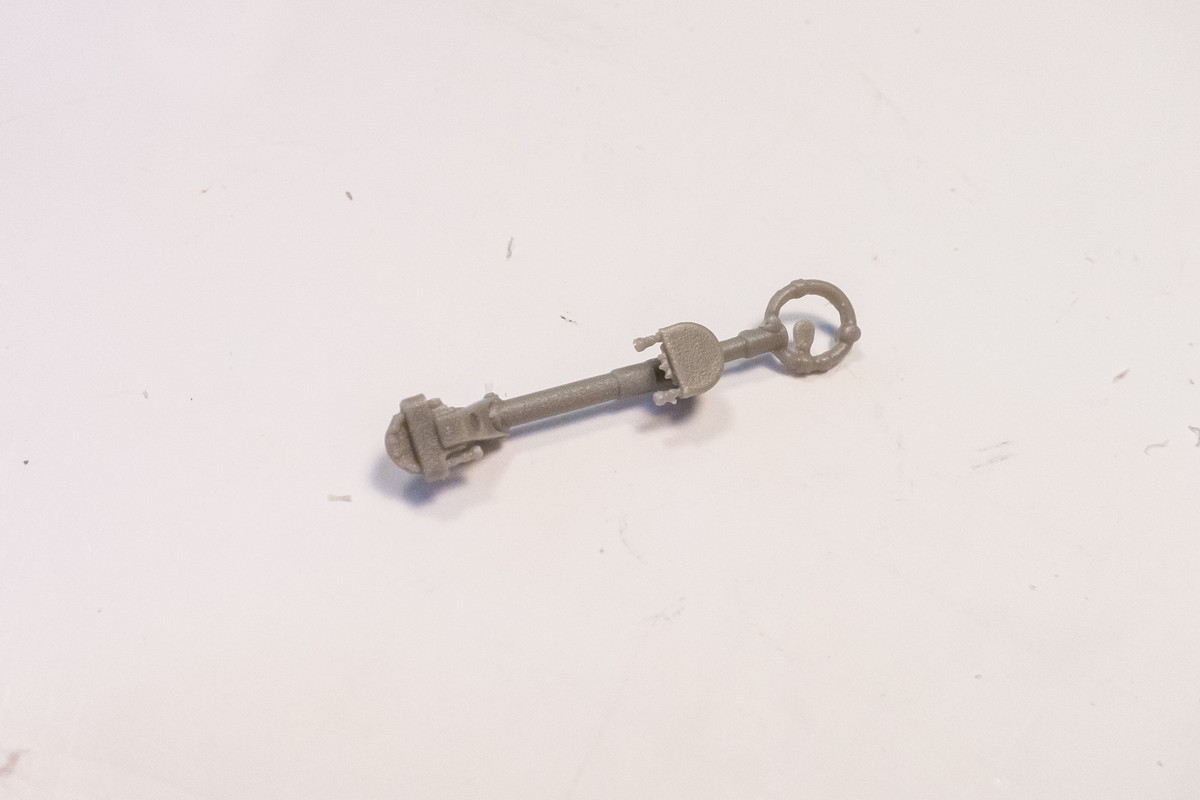
Here is the completed control stick. I used 0.3mm brass tubing for the control rods. There were also a few small PE bits added to stick.
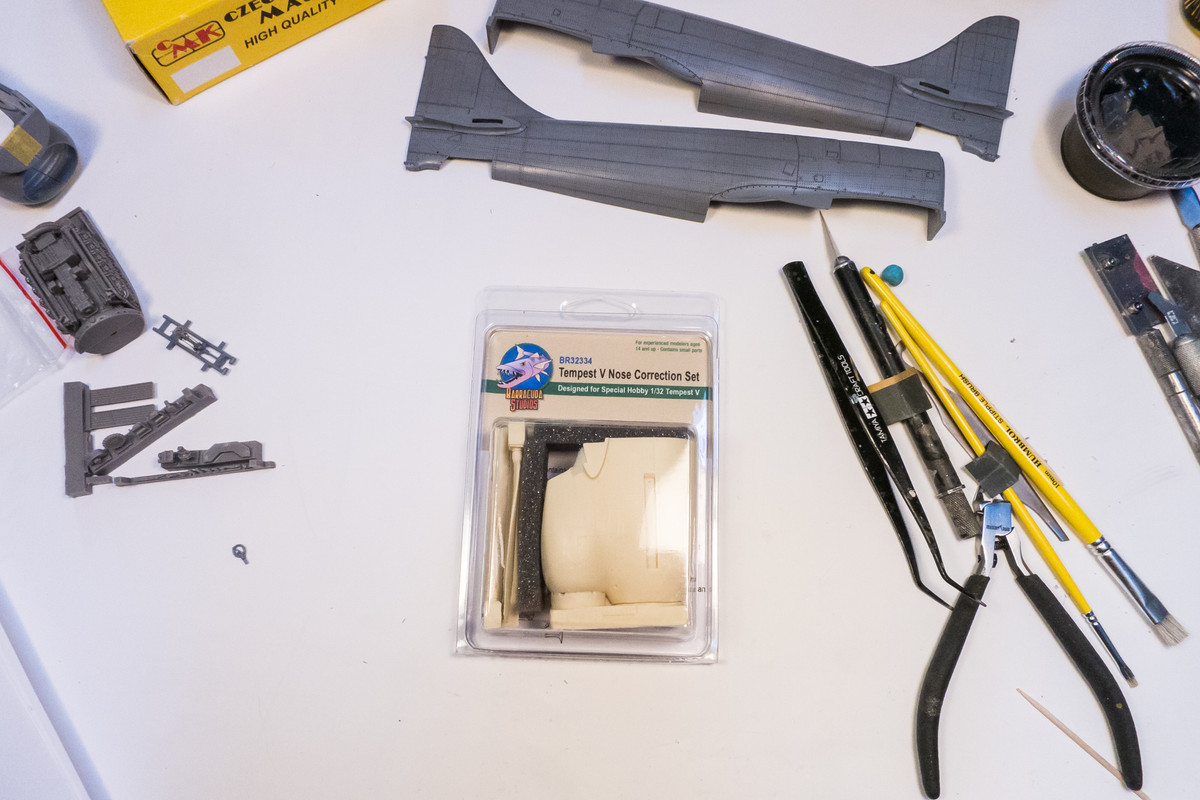
Look what came in the mail!
Here is the completed control stick. I used 0.3mm brass tubing for the control rods. There were also a few small PE bits added to stick.
Look what came in the mail!
John aka JKim
-----------<><
-----------<><