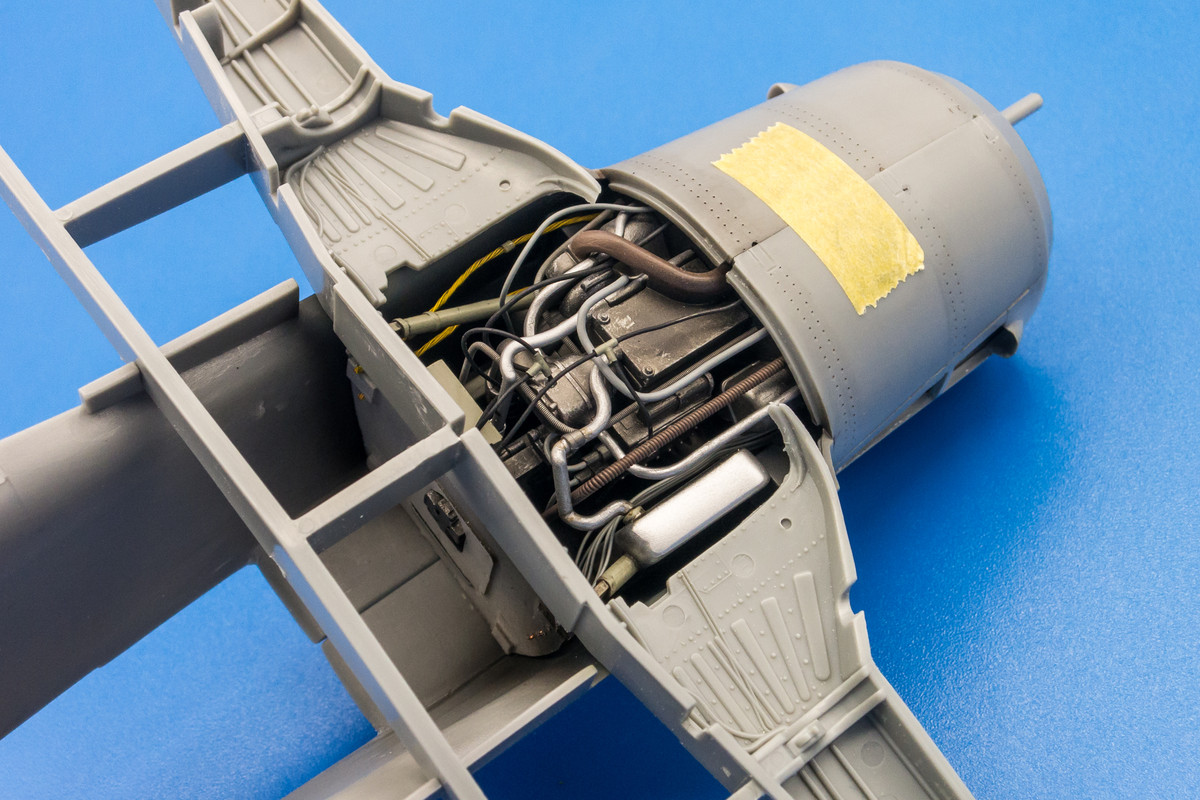
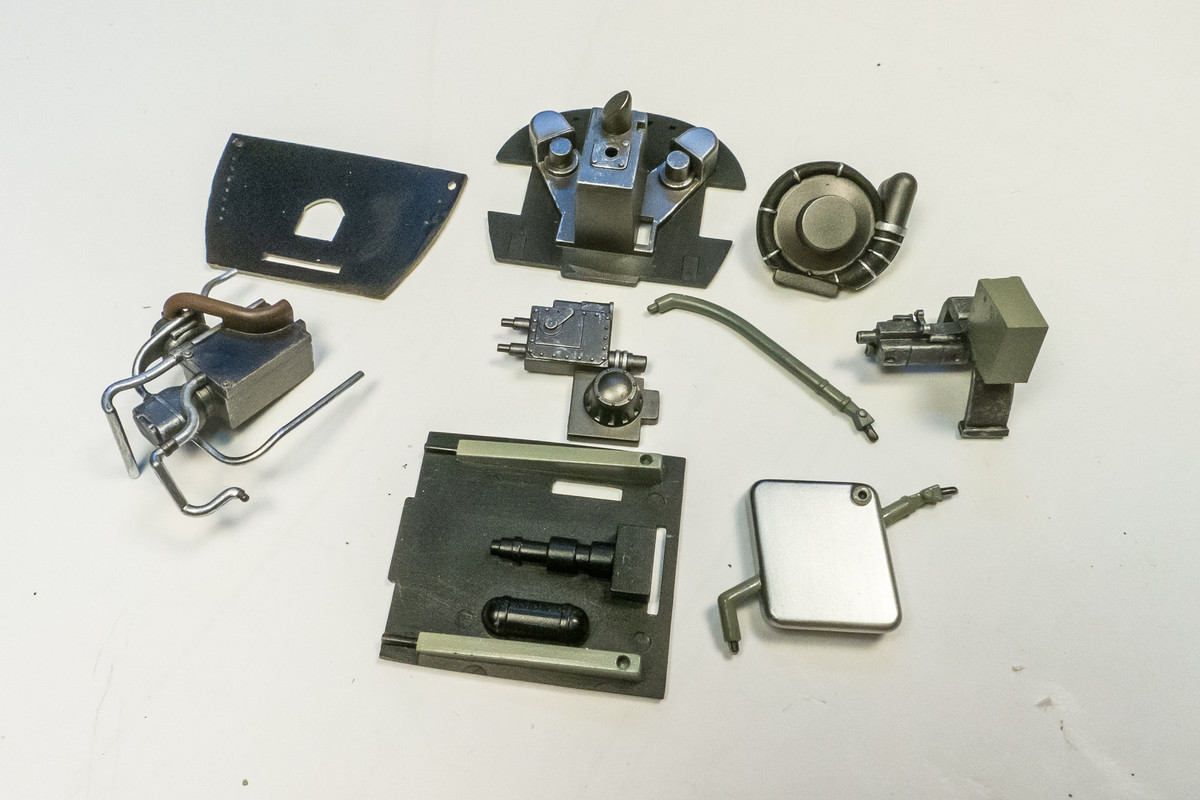
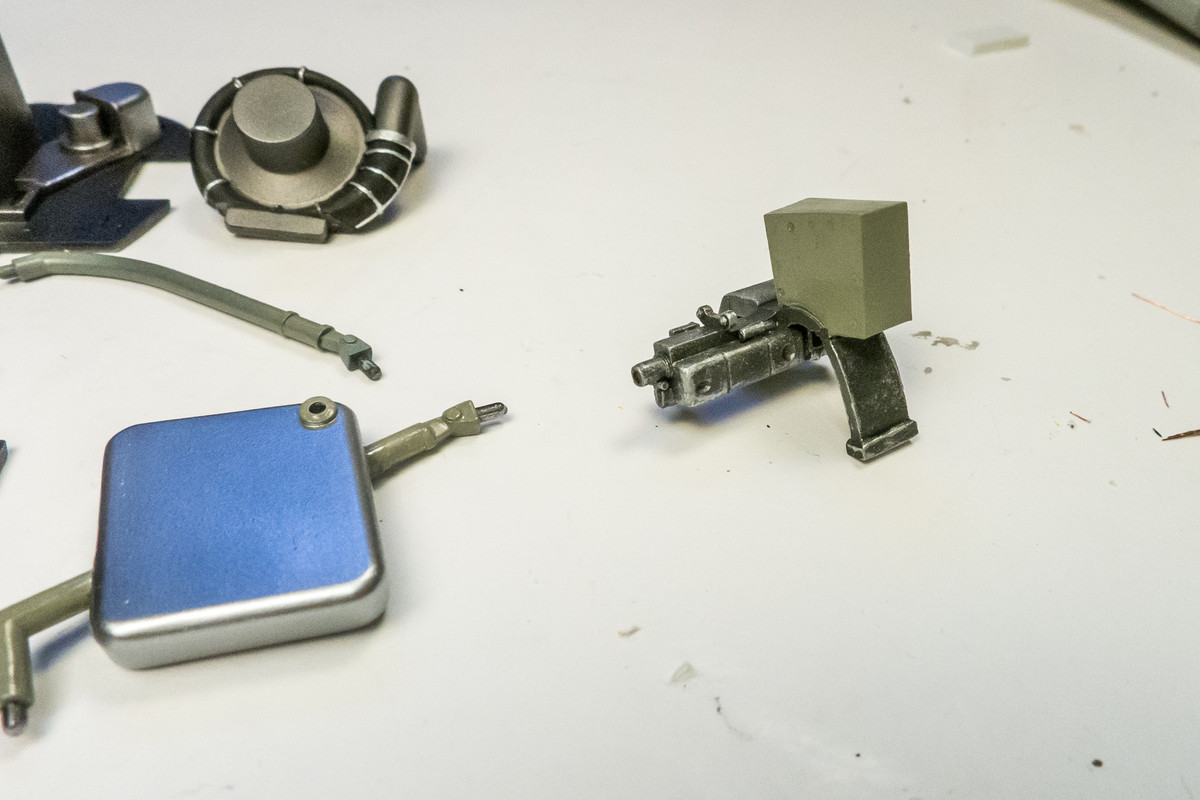
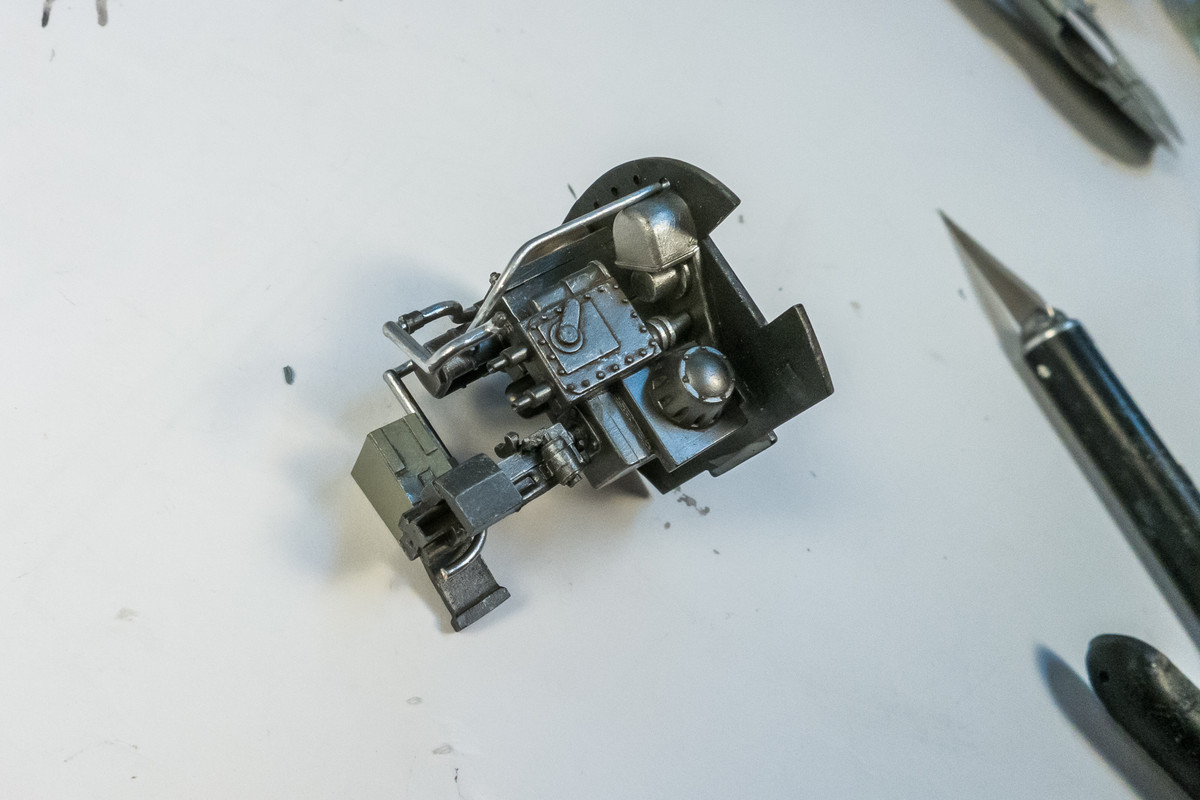
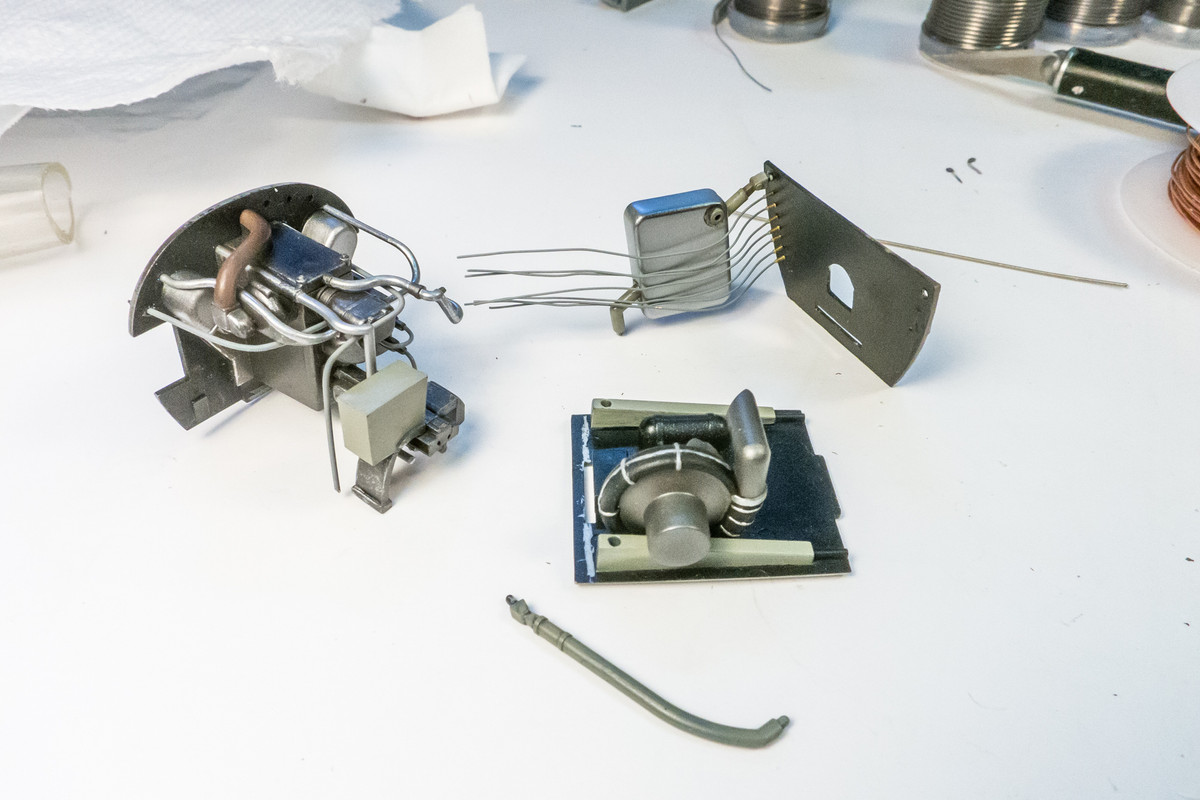
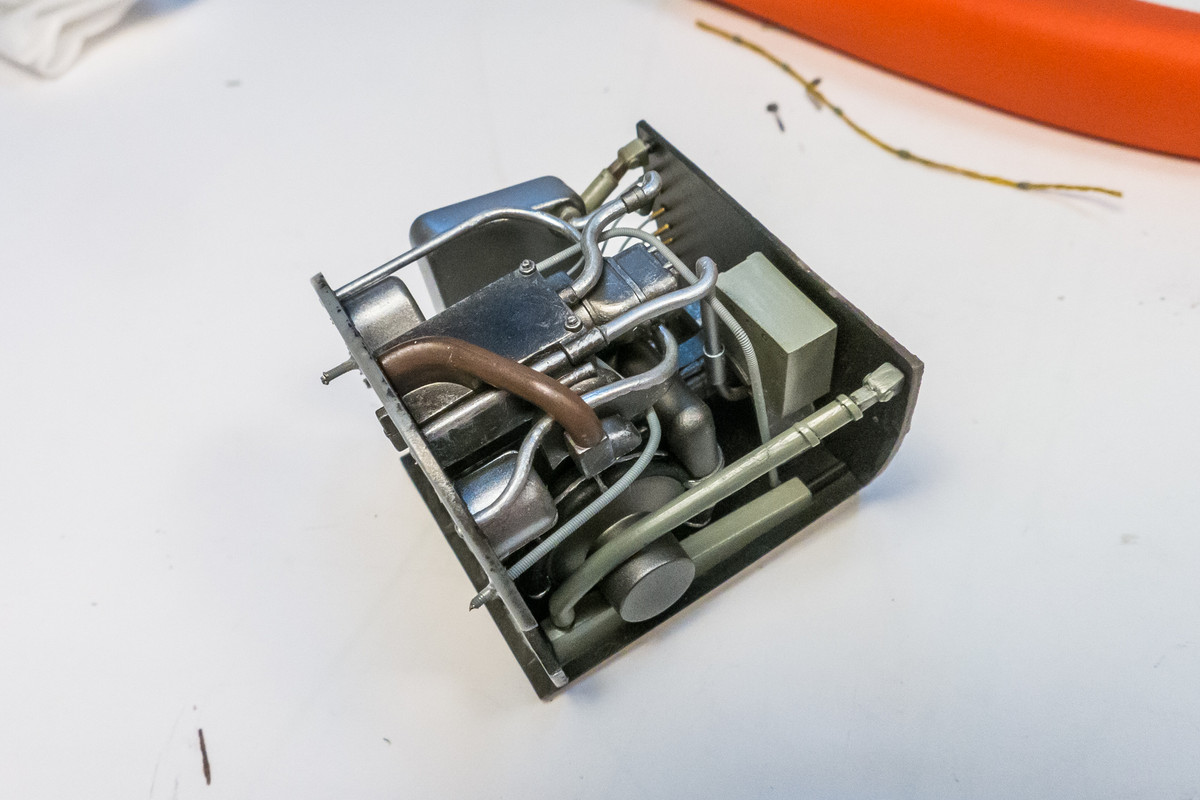
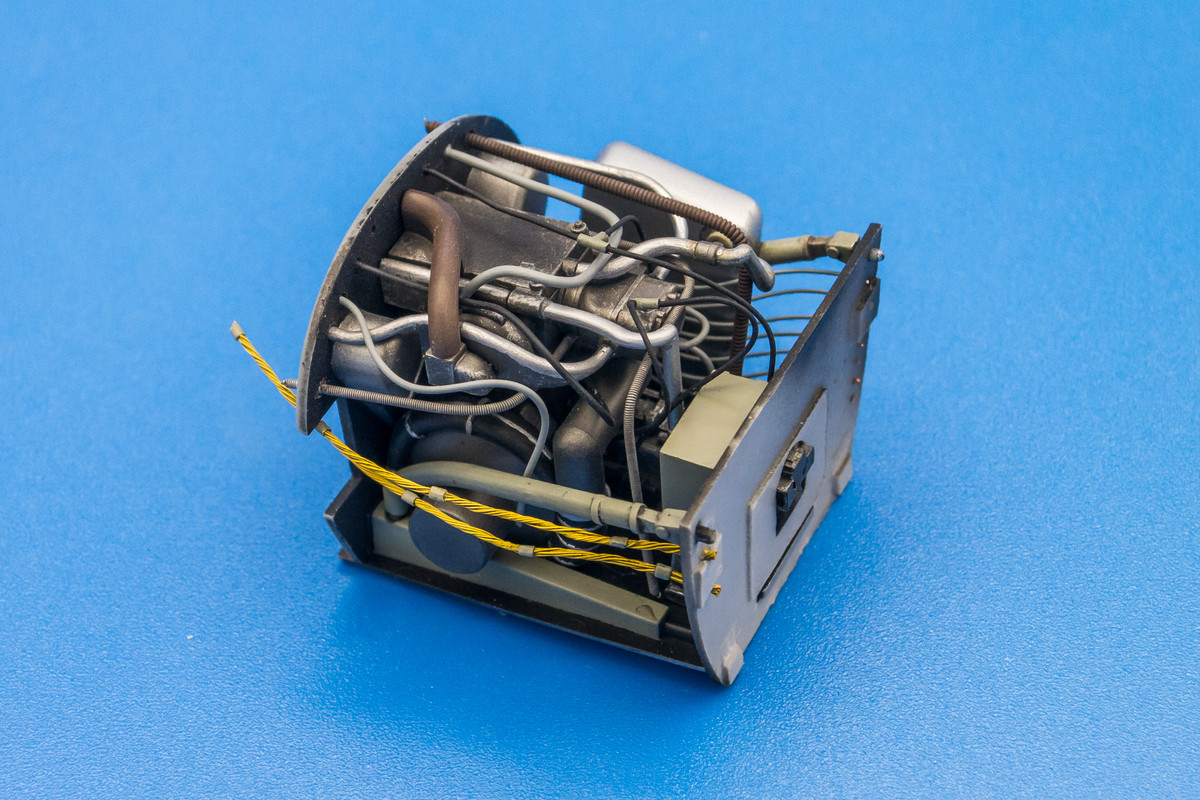
Work on the engine continues. Since real photos of this area are limited, I am using lots of artistic license to fill this empty space with appropriate, if not accurate, complexity. I just want it to look passably busy. On one hand, it's pretty easy work since the engine space is represented by a small finite box with bulkheads on either side to pass wires between. But since most of it is fictional, it's difficult to visualize what I should do. Just gotta dive in...
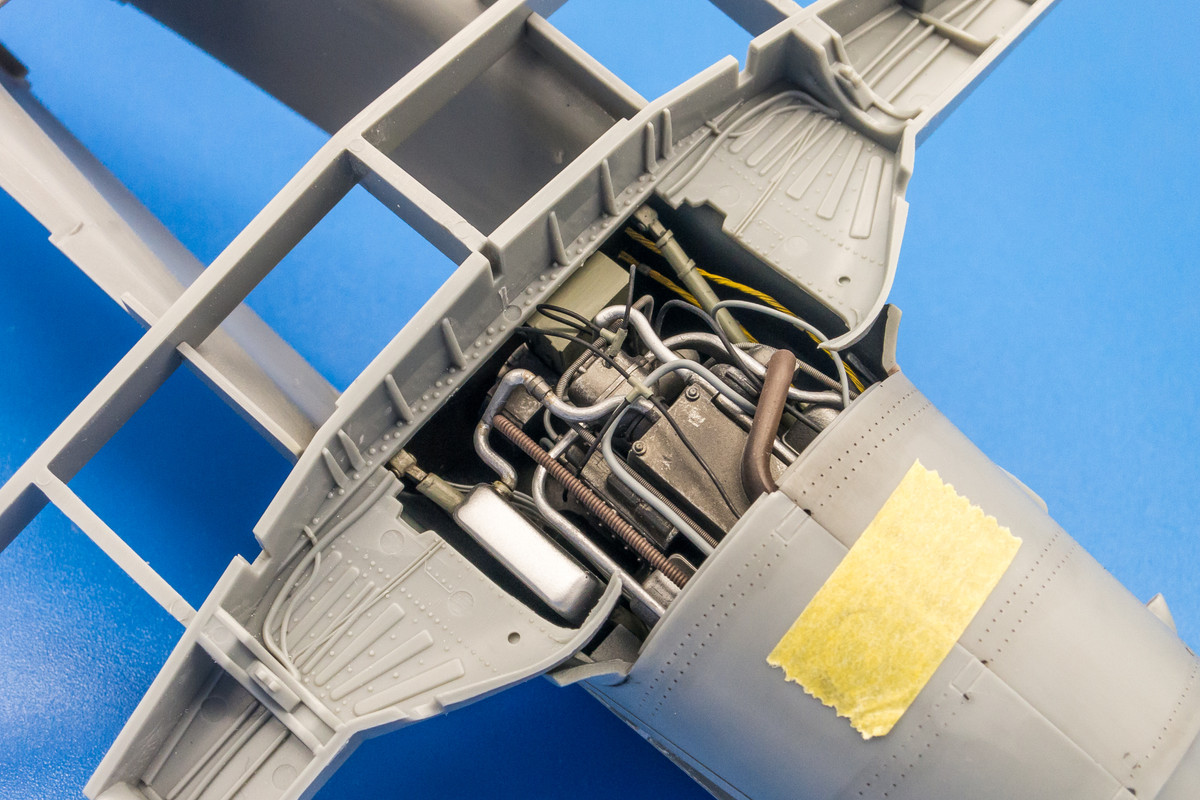
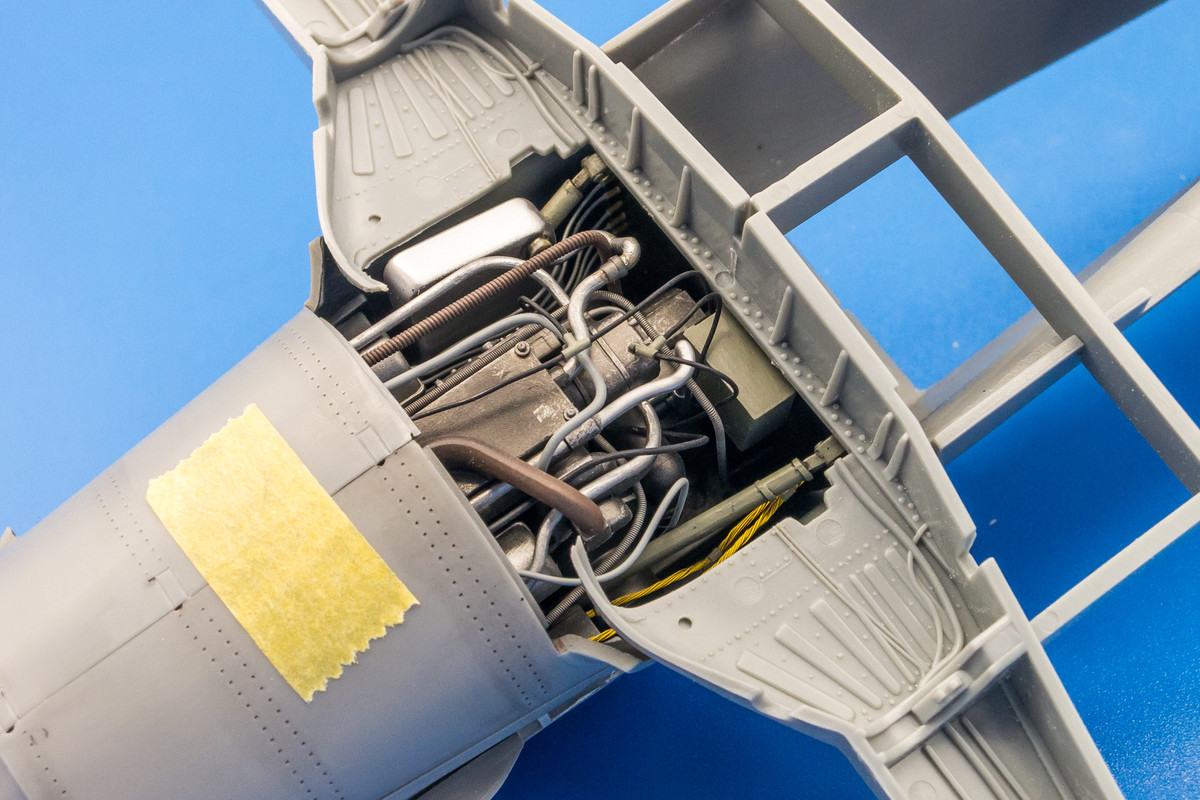
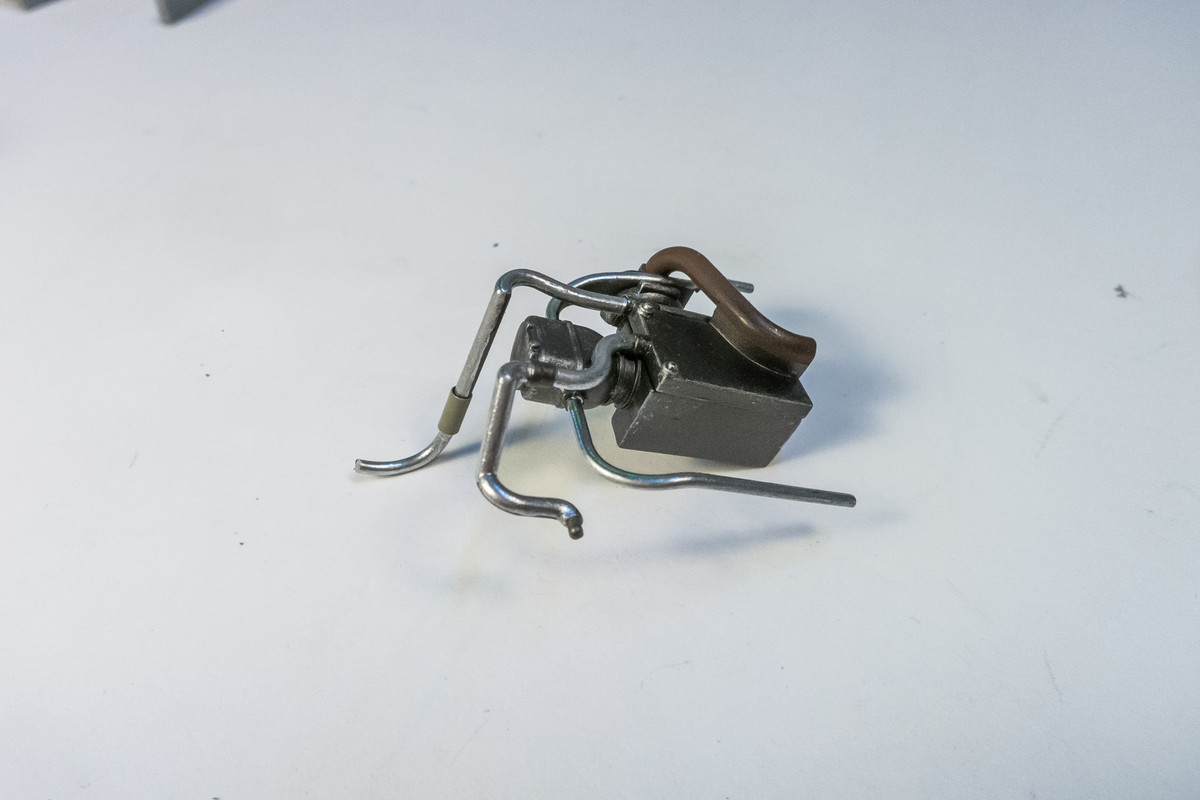
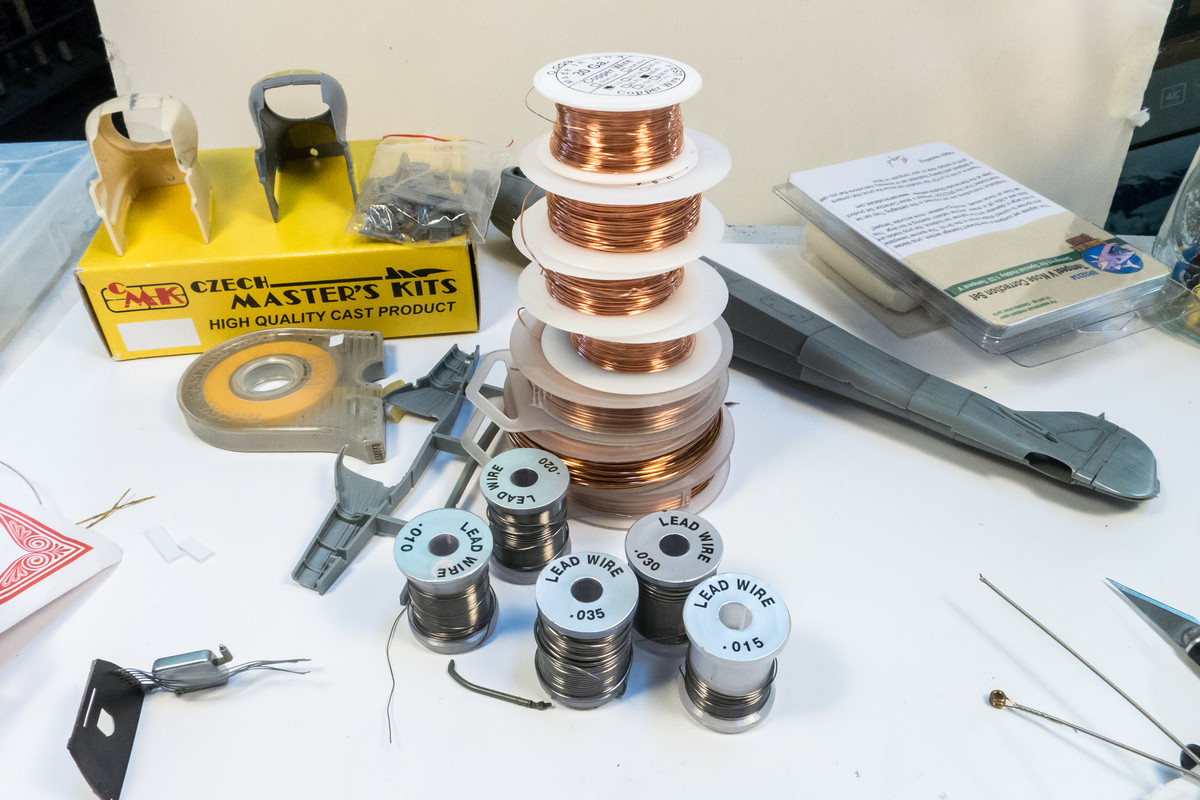
Random holes have been drilled into the front and rear bulkheads to accept the wiring. I am using either copper or lead wire in various gauges as well as some metal guitar string, to mimic the mass of hydraulic lines found at the rear of the Jumo 213 engine. The wiring is added as the "box" of the engine compartment is put together.
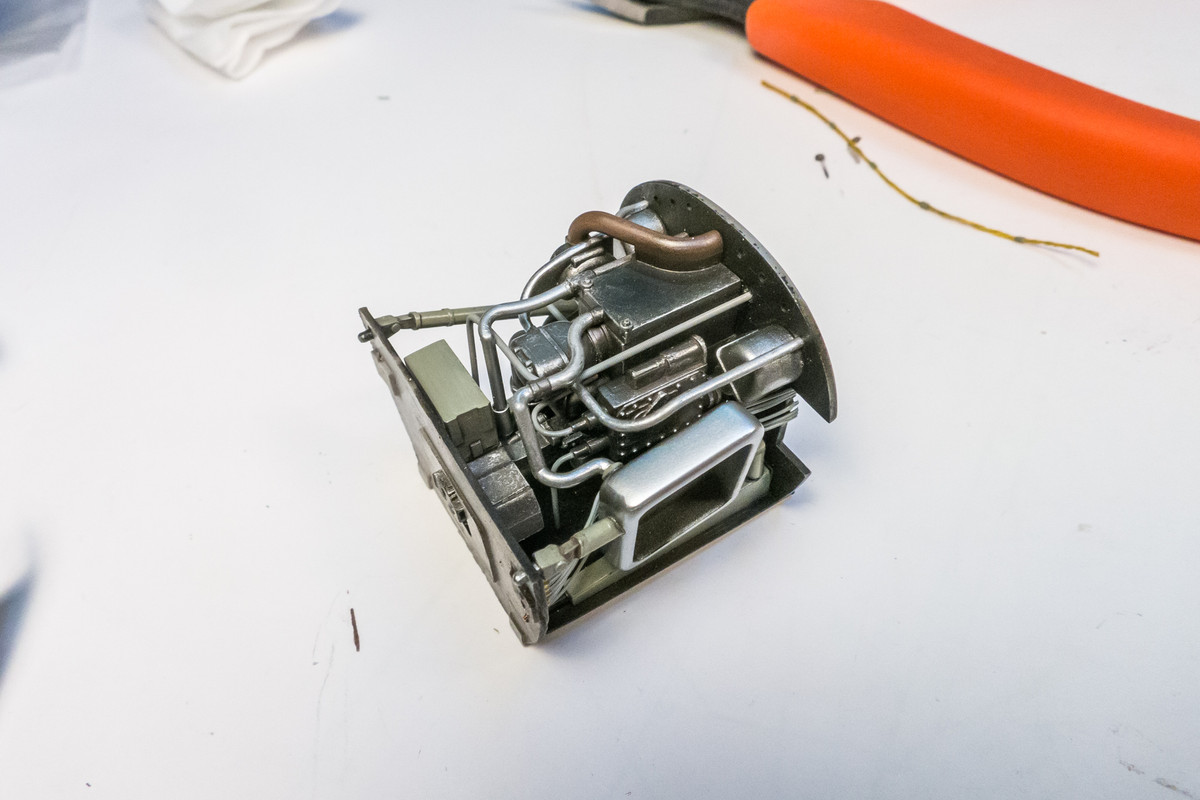
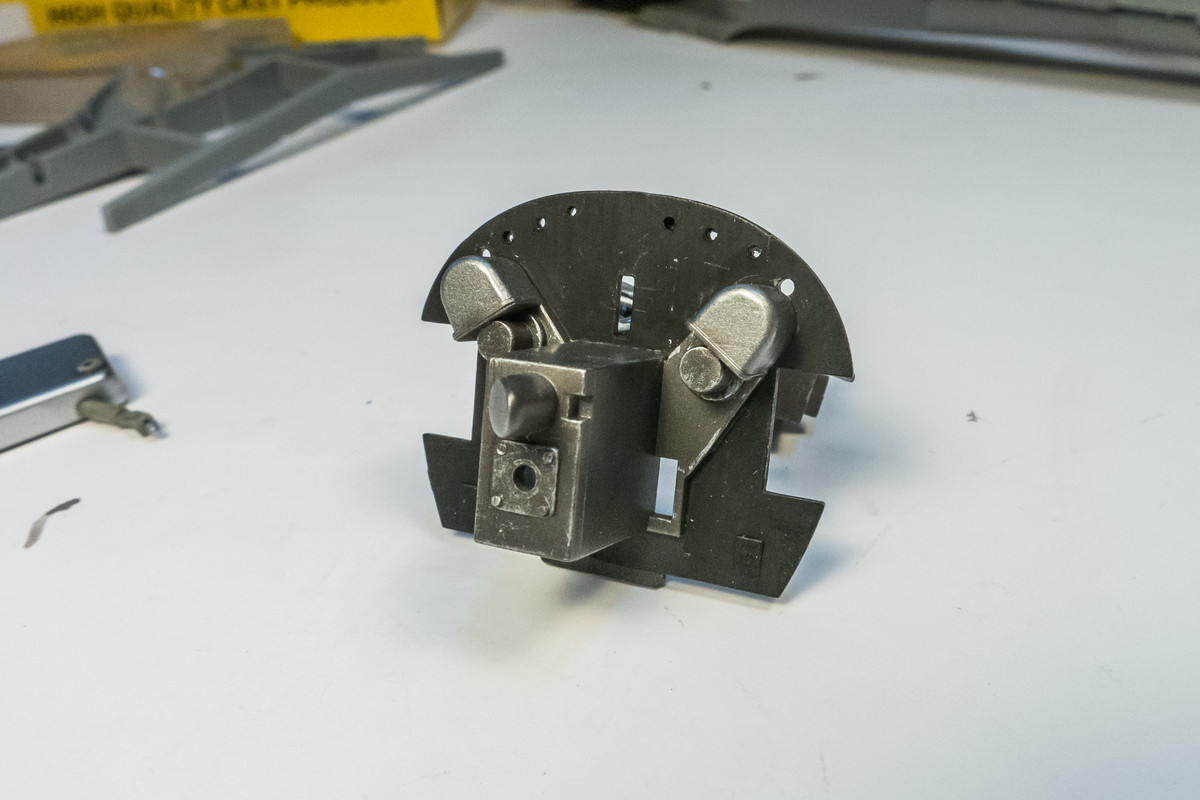
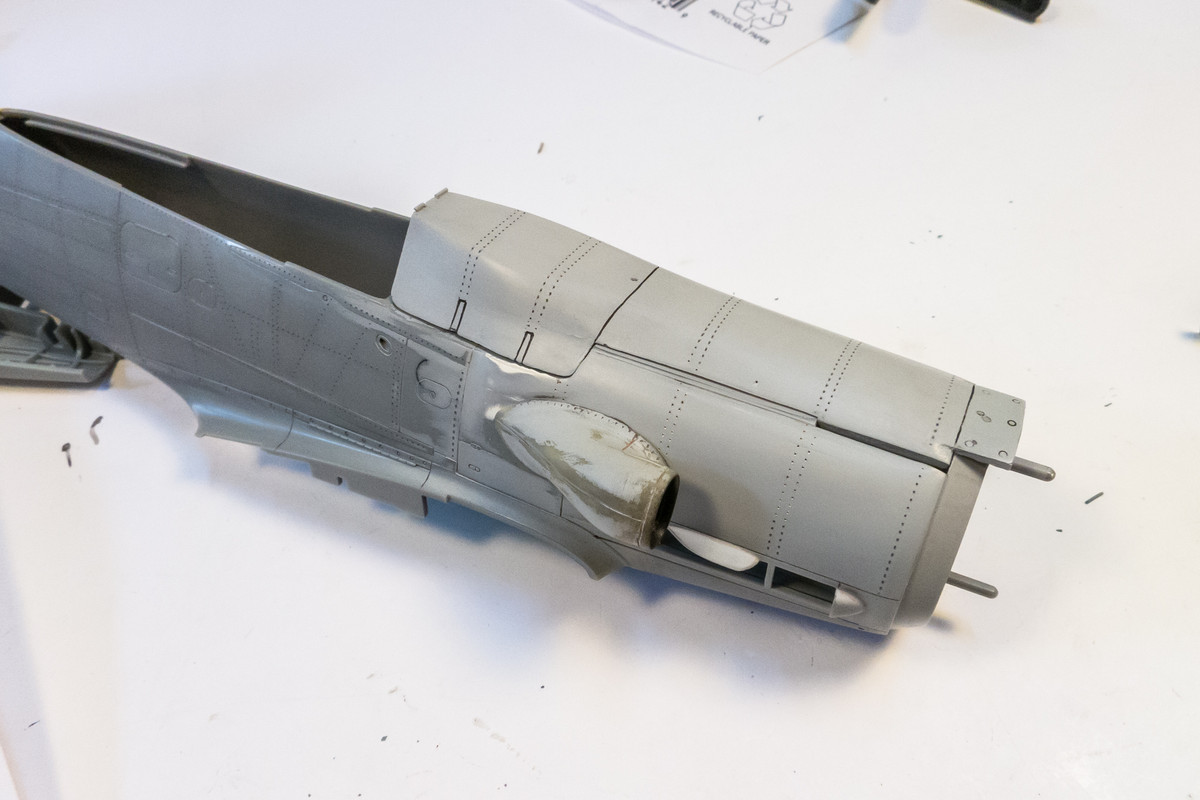
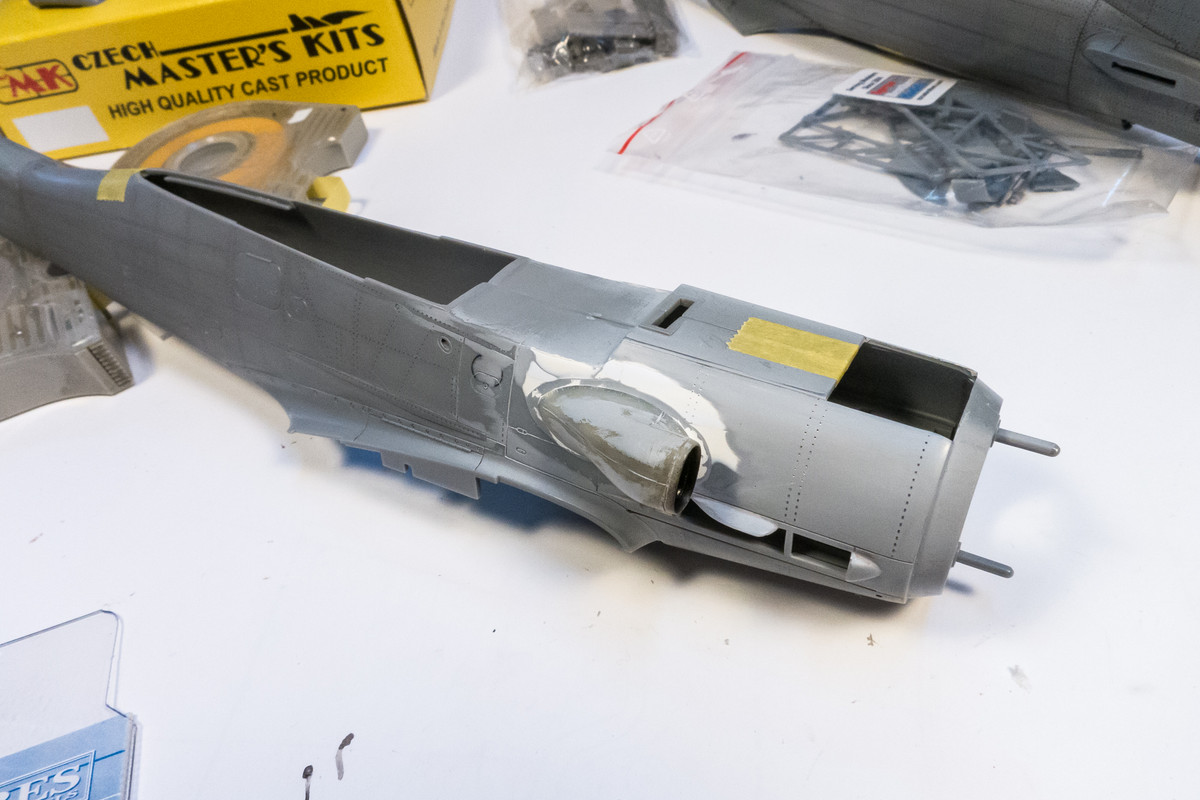
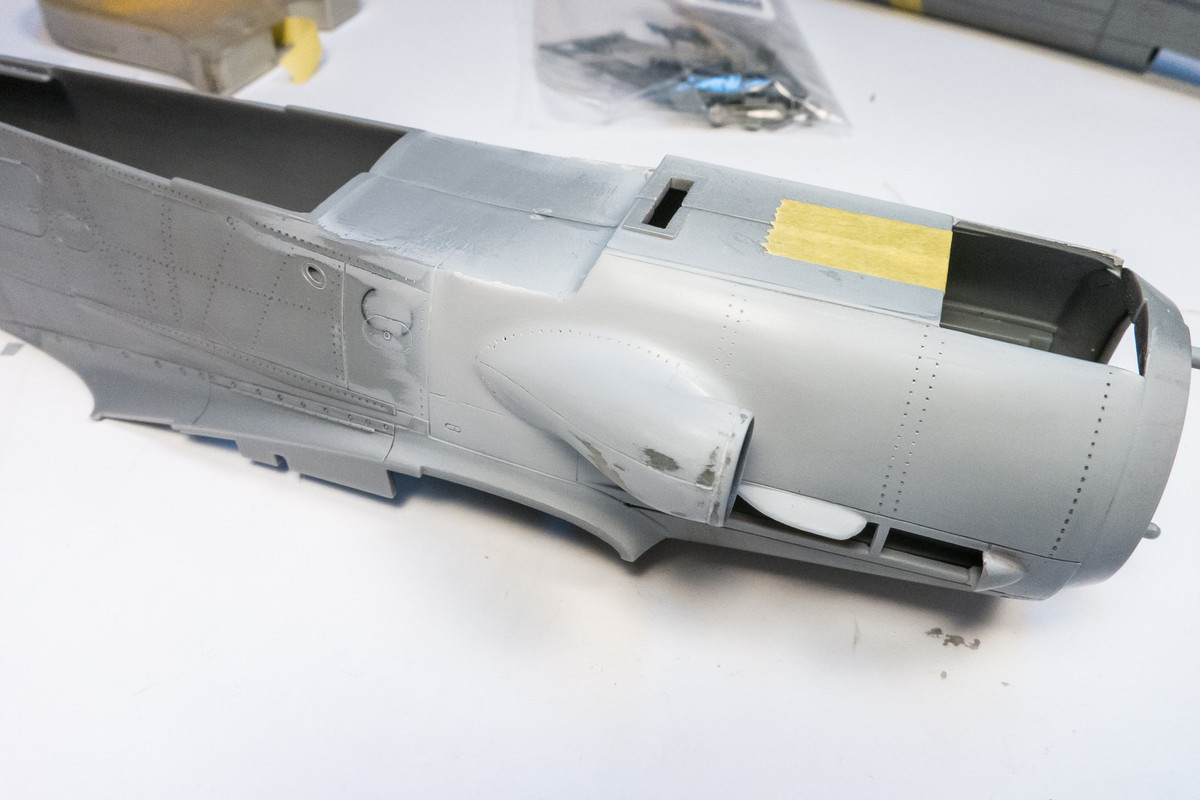
At intermediate stages, I place the engine assembly within the fuselage to check my progress.
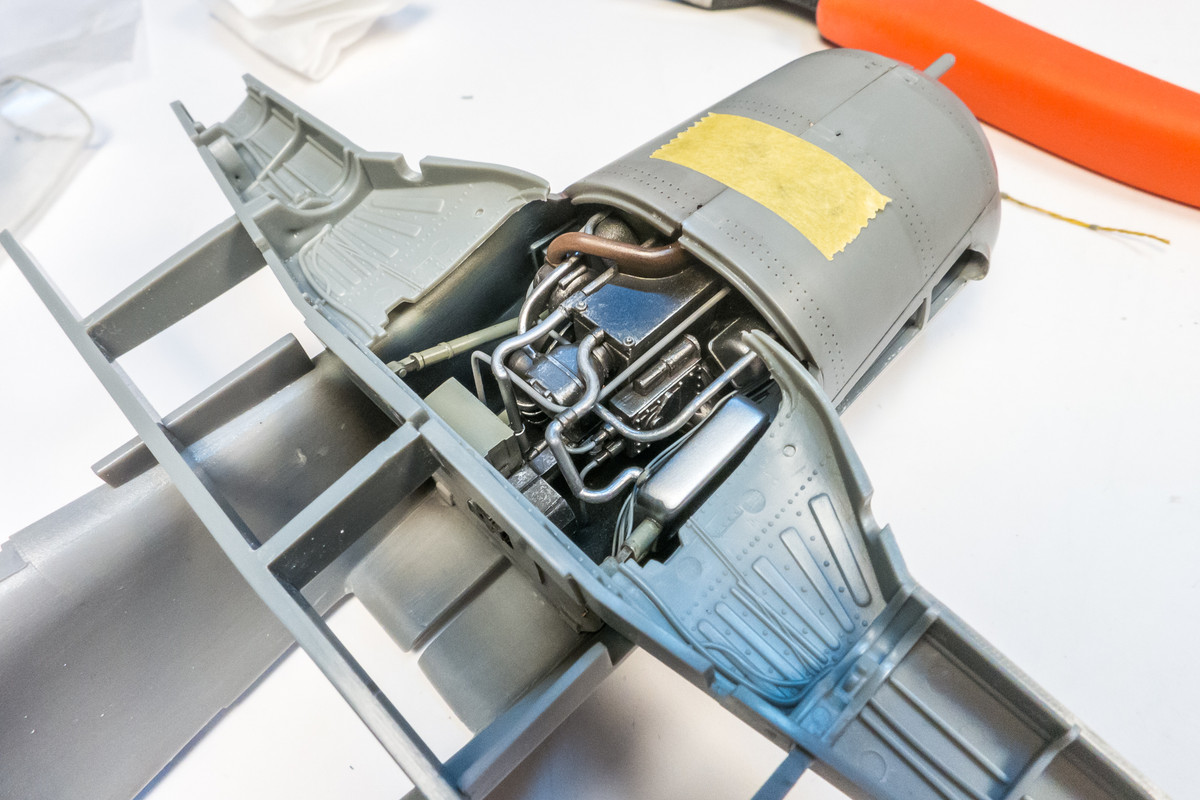
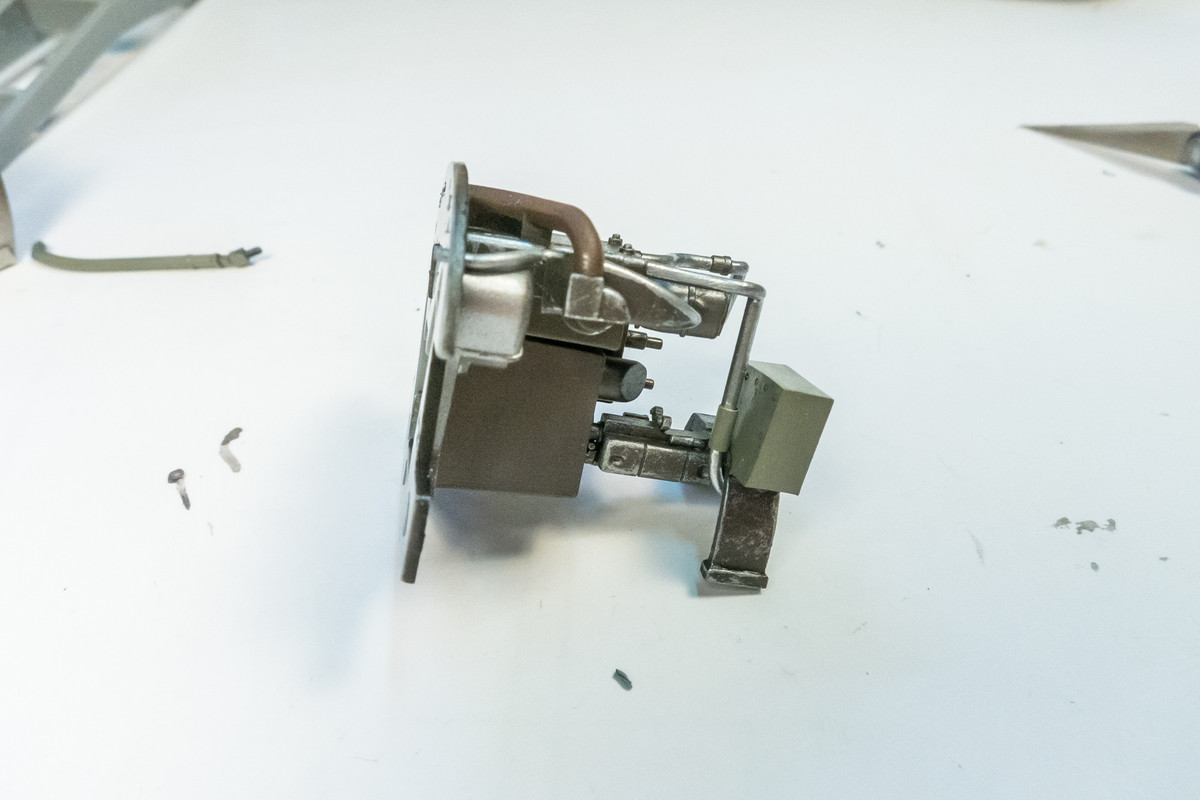
After a few hours, the engine box is complete.
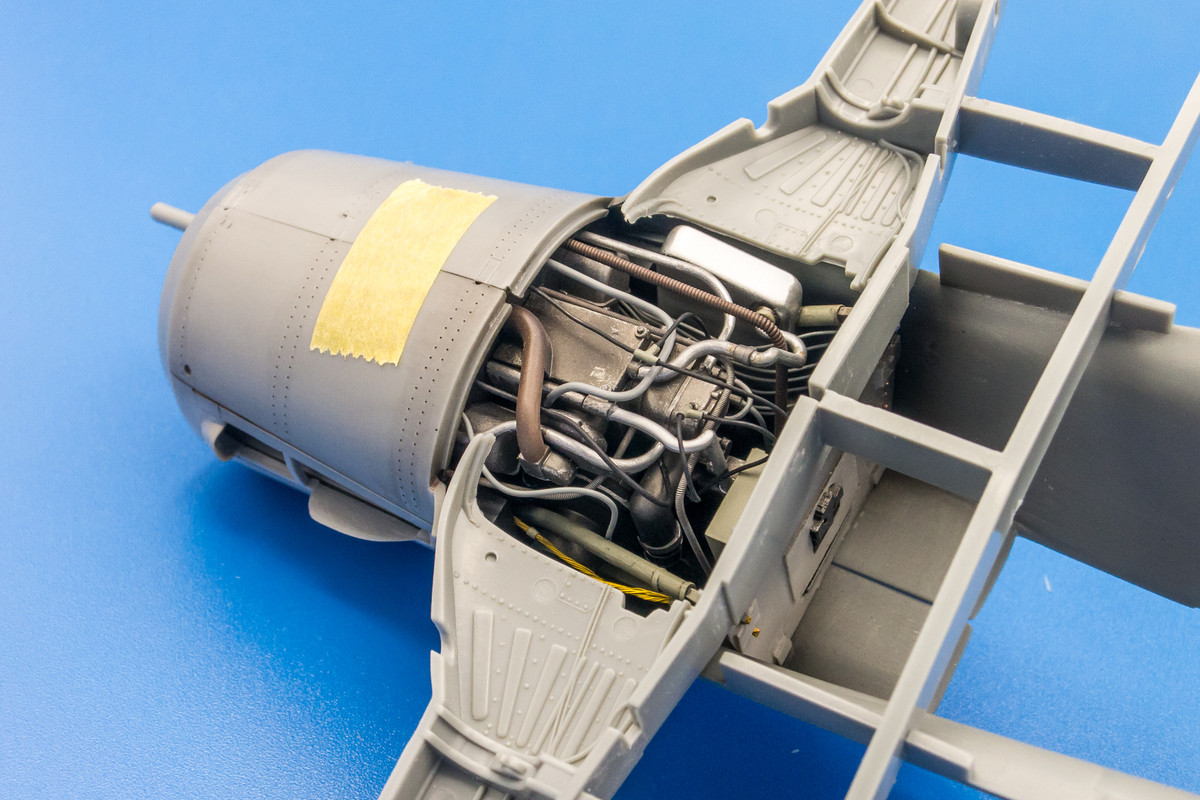
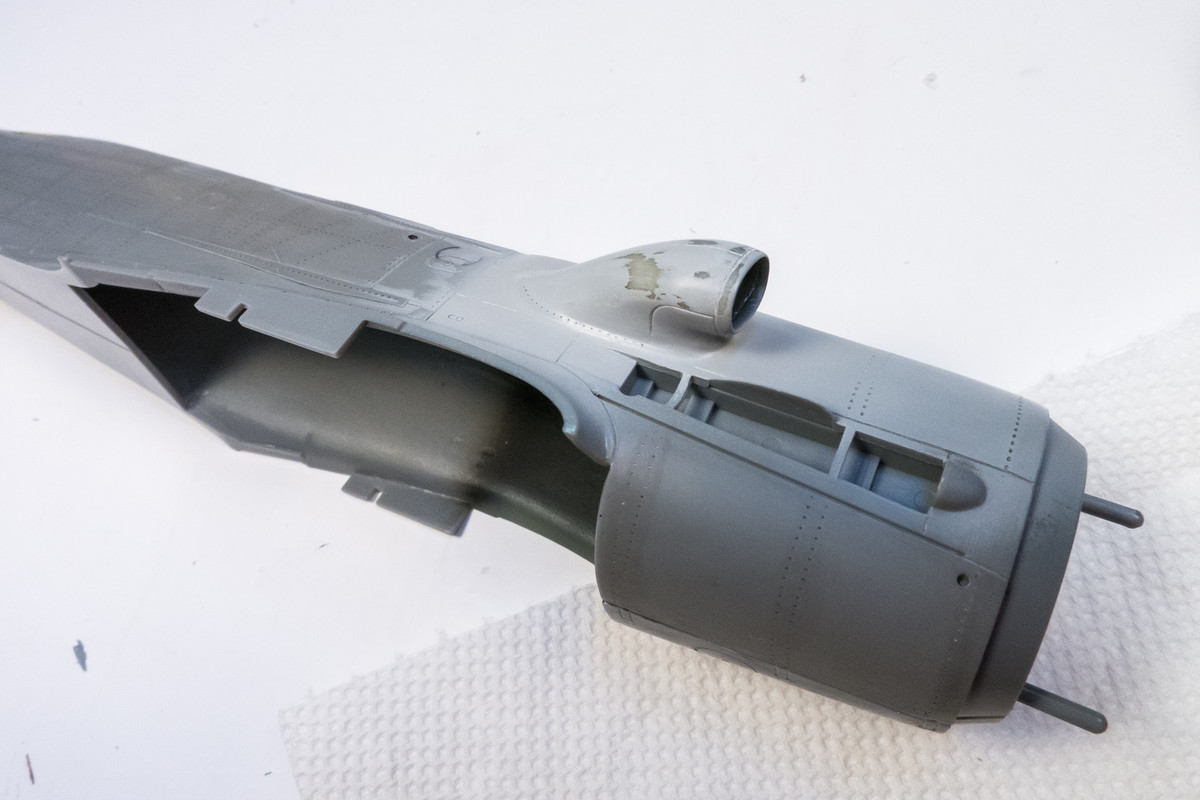
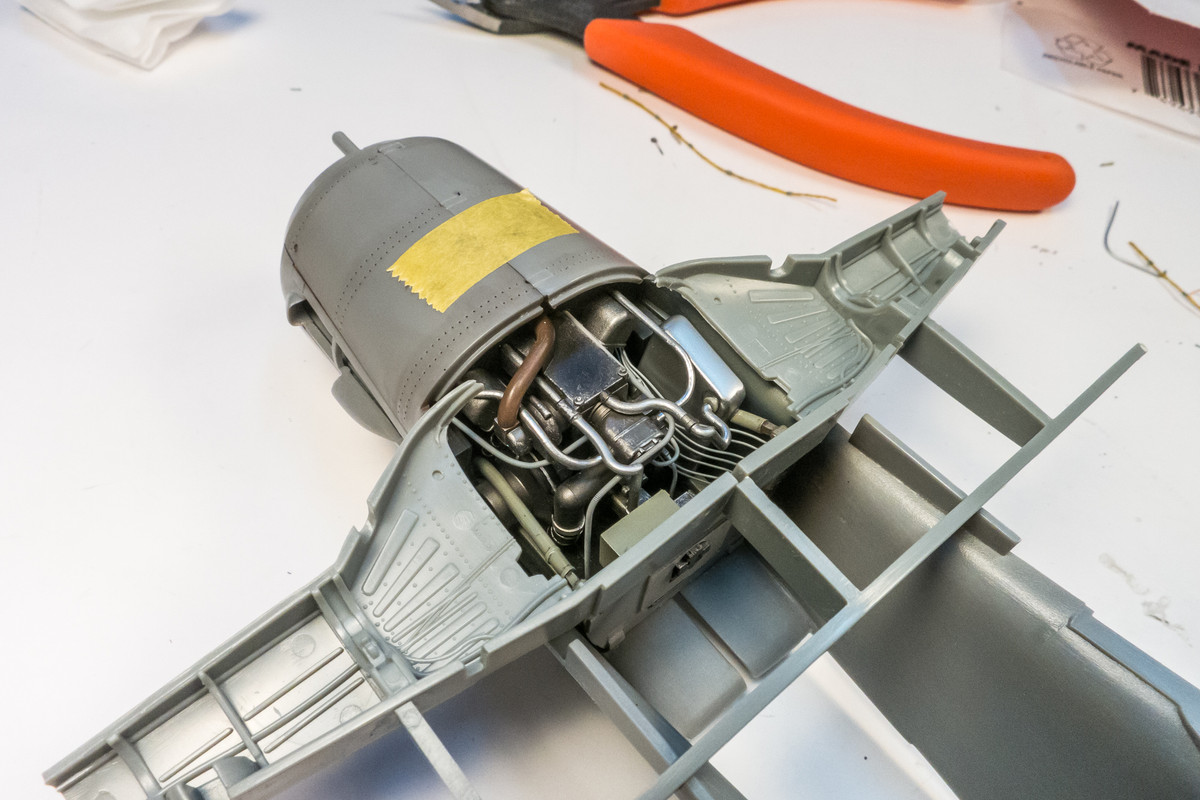
The complete engine box is posed with the kit wheel well. If you recall, I also have the Aires resin wheel well set, which I was planning to use but now I could go either way. The final view into the kit wheel well will be restricted by the wing bottom but this lets us enjoy the completion of this step in the context of its placement within the fuselage.