Thanks guys!
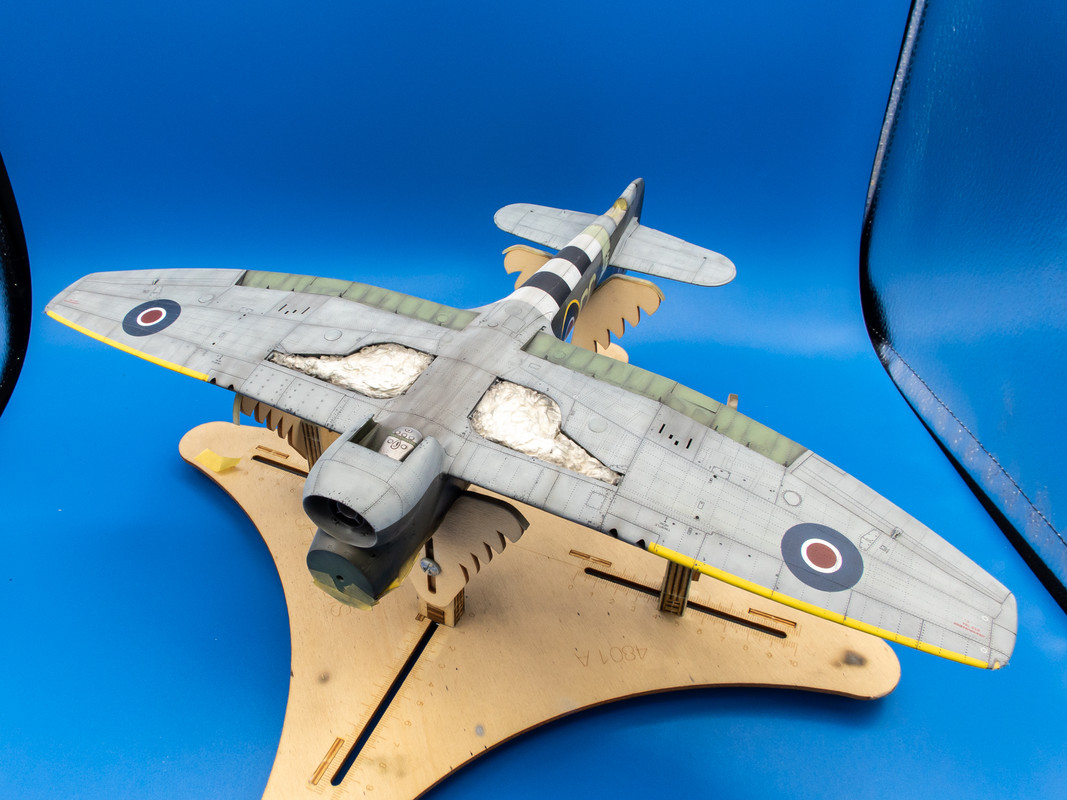
I did some salt weathering on top. An interesting technique that's hard (for me) to get right. The idea is to use salt crystals as a mask to create either paint chipping or spotty weather stains. I find it easiest to work with a flat finish so the salt weathering is usually the last painted effect that I will perform. Water is spread over the surface of the model and rock salt crystals are sprinkled on.

Once it is dry, a very watered down contrasting color is misted over the model. In this case I used Tamiya Buff. After the buff is dry, I use a spray bottle of water and a clean cloth to remove the salt crystals and hopefully leave random spot stains. I want a very subtle effect but in this case, it is hardly noticeable. Which is better than overdoing it.
I let the model sit for a couple of days. I had some other things to take care of but also wanted to give some time for any pesky residual pockets of salt to dry up and flare as white frost.
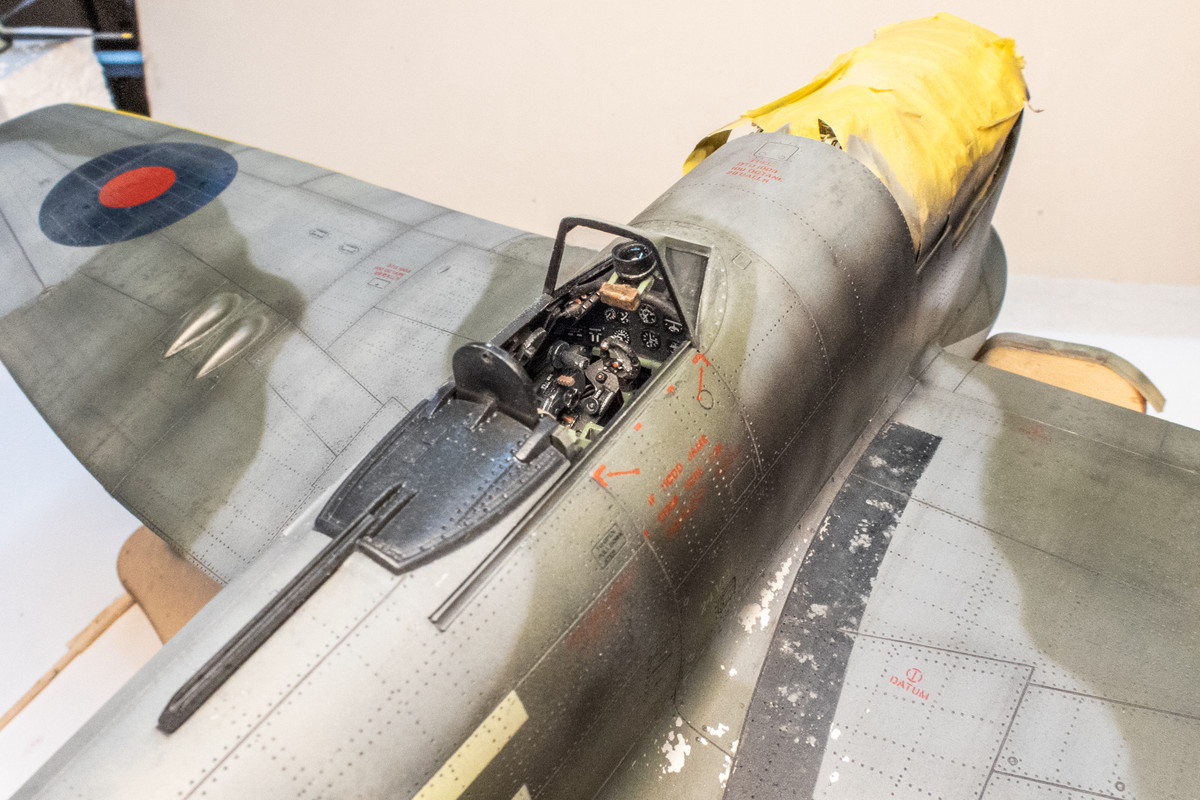
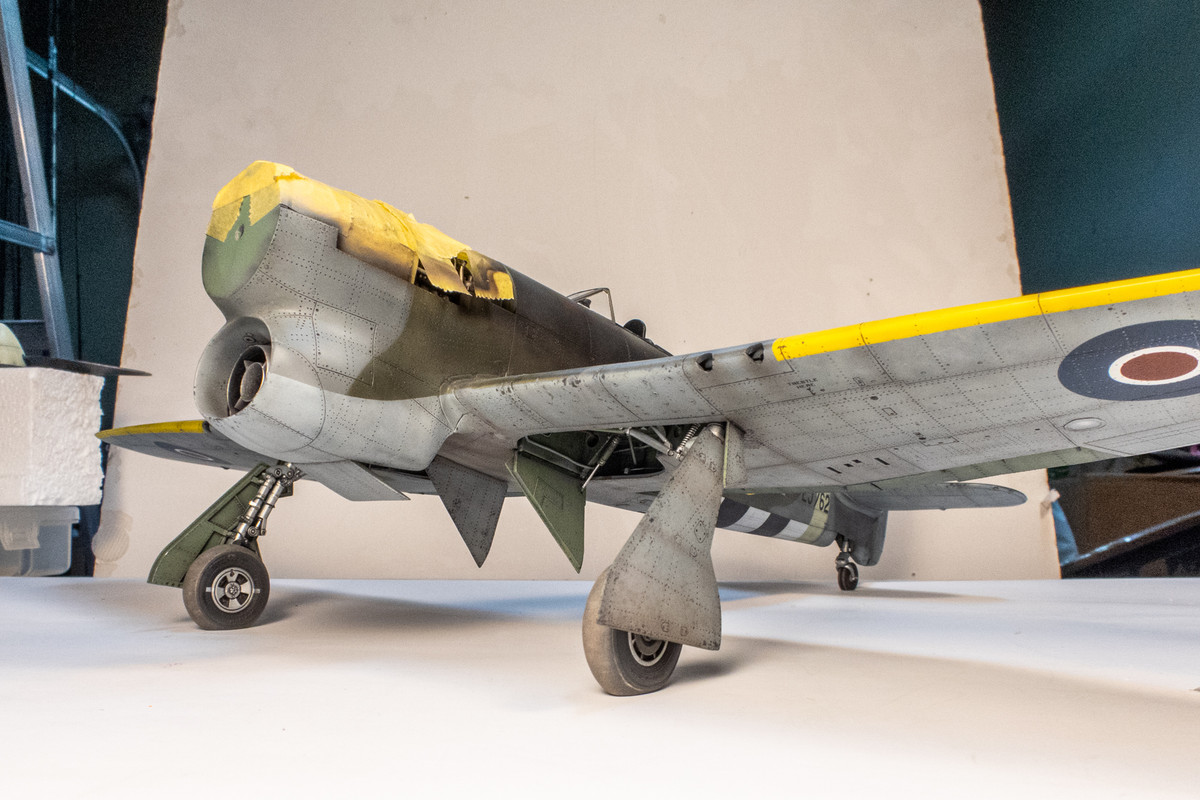
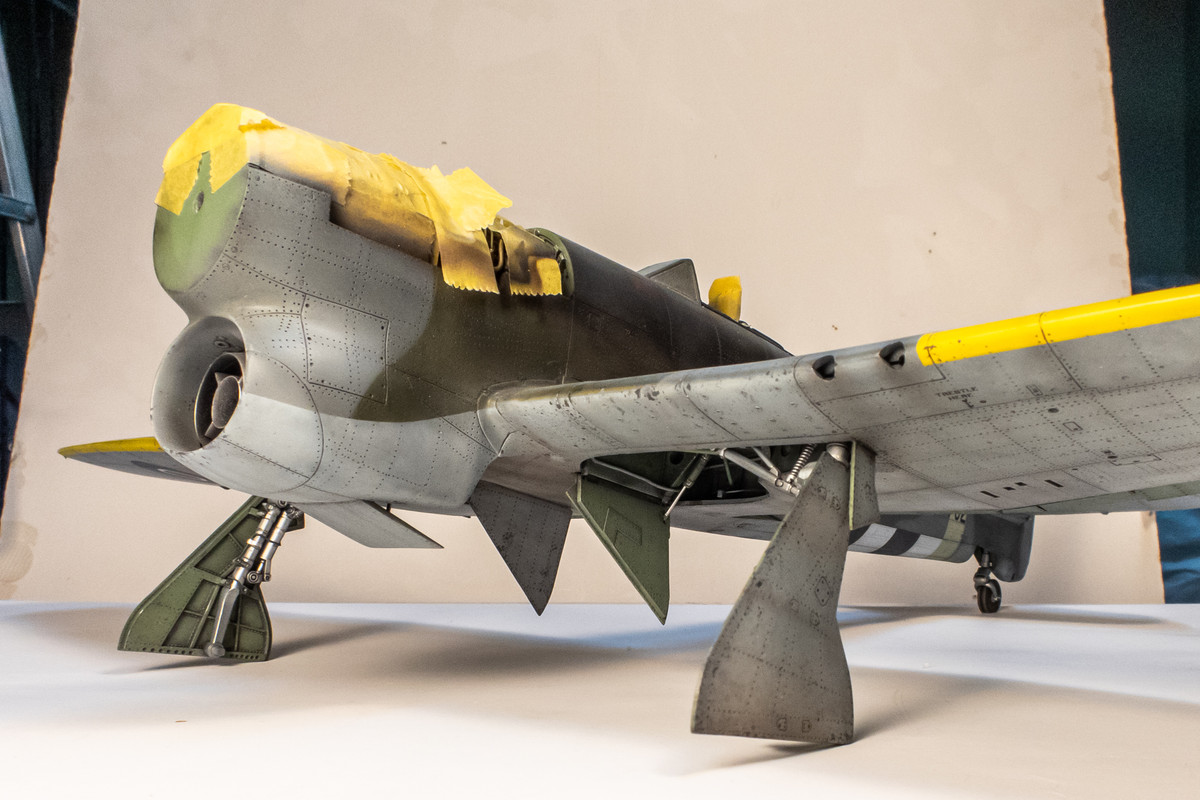
I spattered some dark brown pastel wash on the bottom and wiped it off, leaving another layer of dirt on the bottom. Considering the weathering on the bottom complete, I removed some of the masking and started to install the landing gear legs.
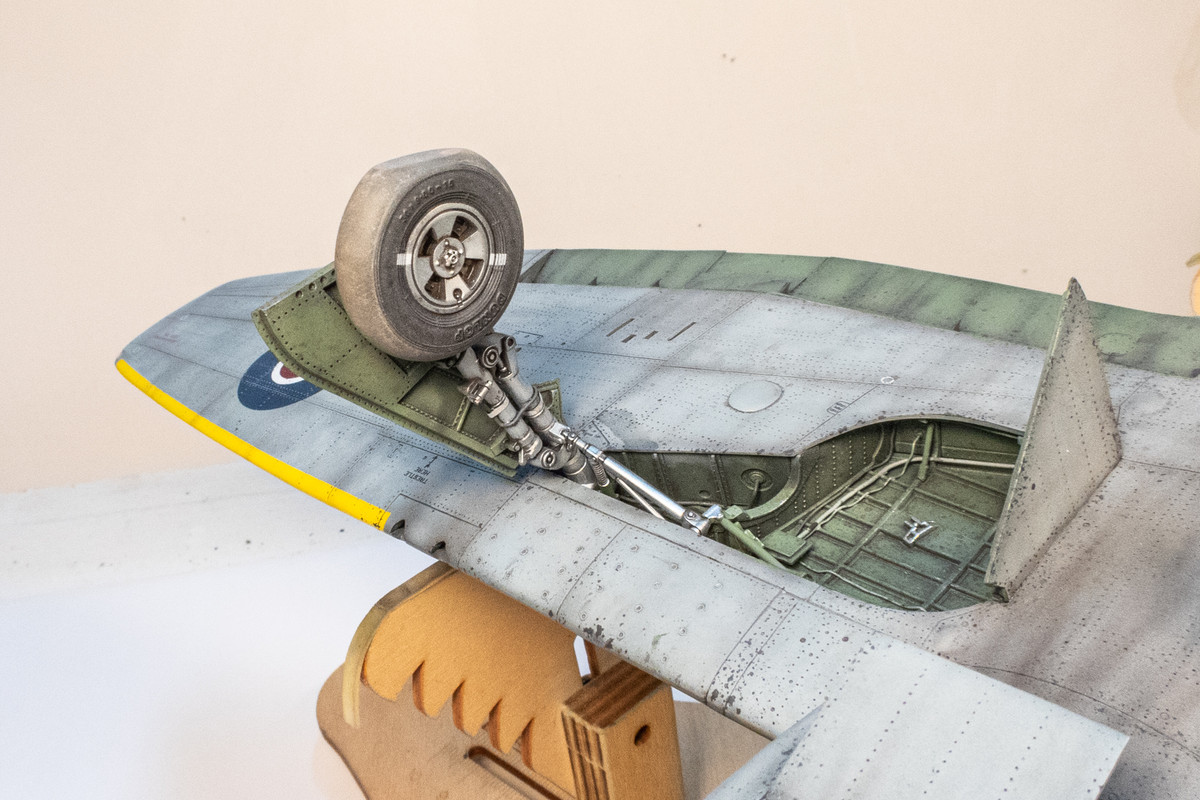
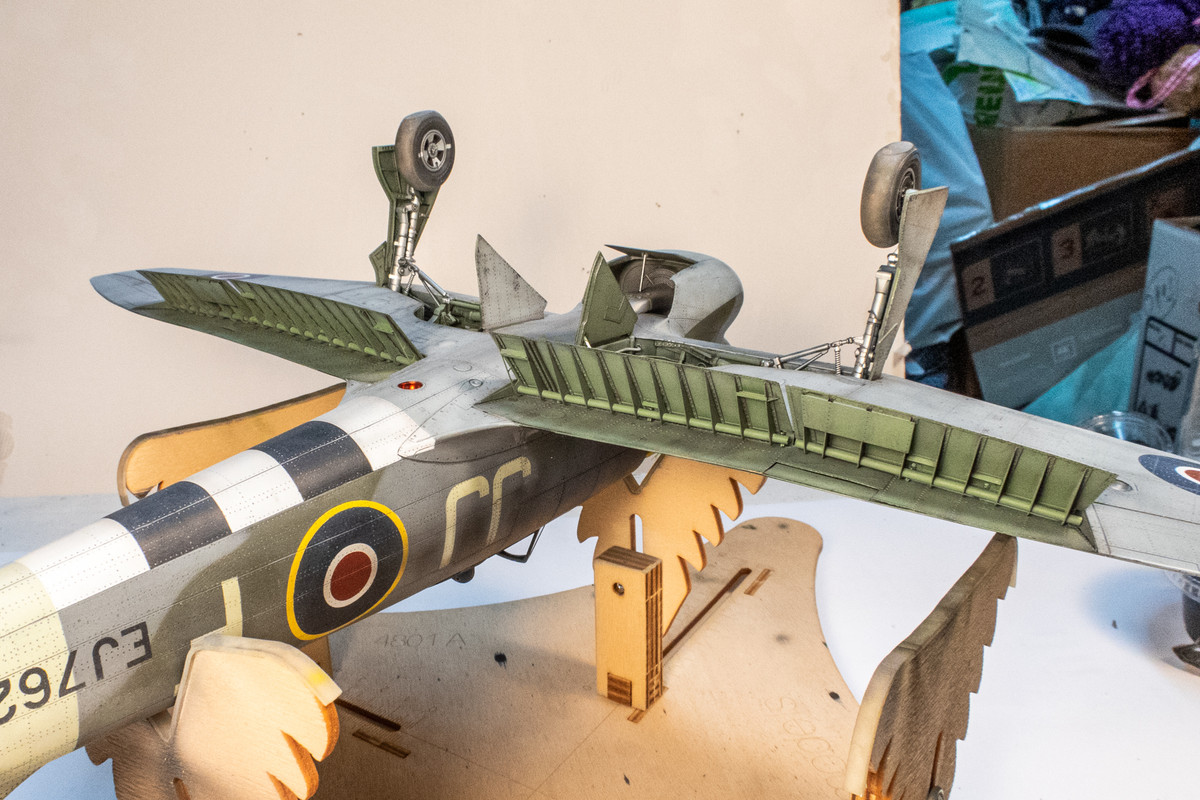
Checking the forward rake of the landing gear legs. As a rough visual reference, I want the bottom edge of the landing gear legs to be parallel to the alignment of the exhaust pipes on the fuselage.
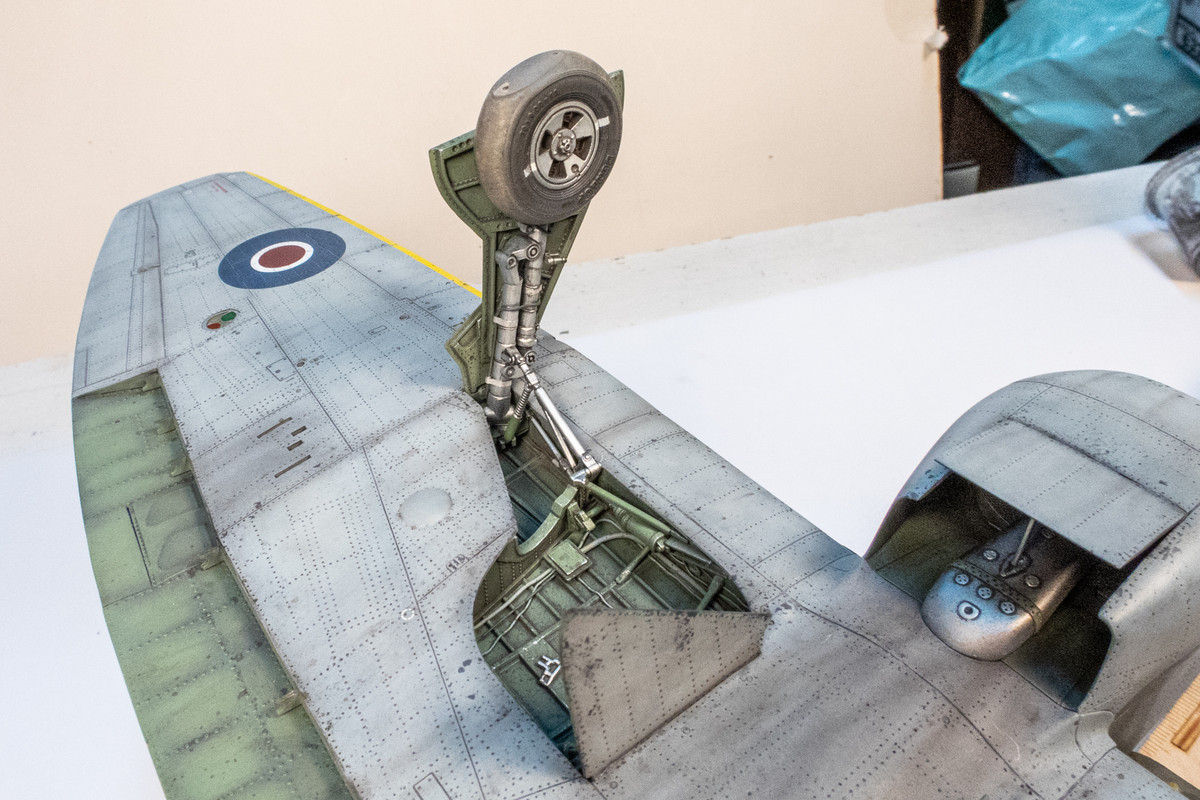
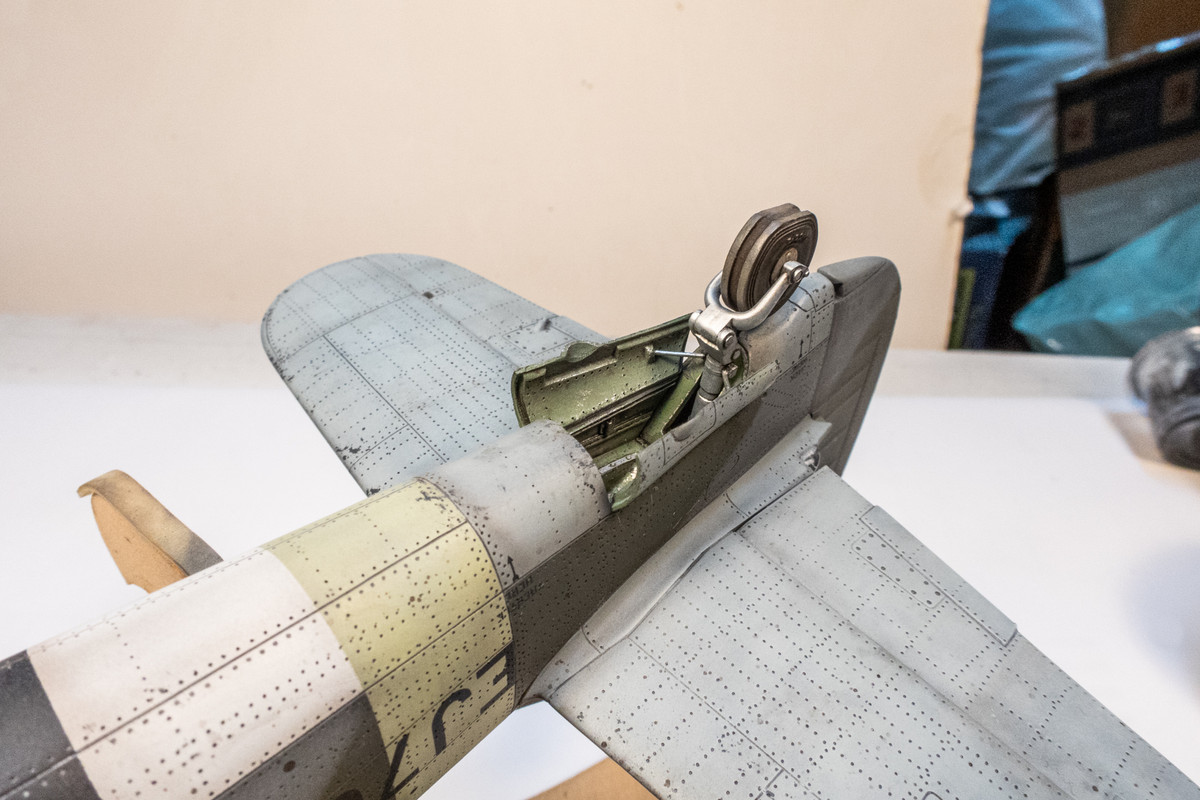
After I'm satisfied with the position of the landing gear legs, I glued into place all of the auxiliary struts and landing gear doors. The radiator exit flap was also attached at this time.
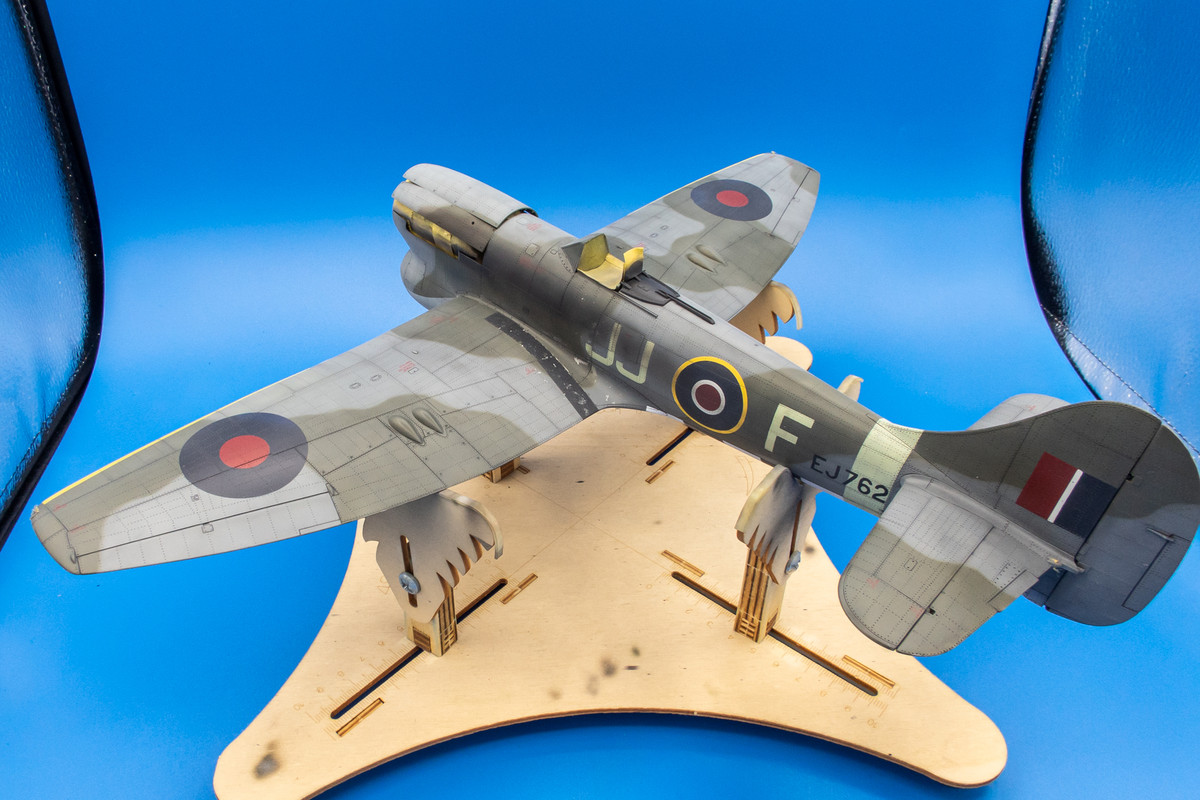
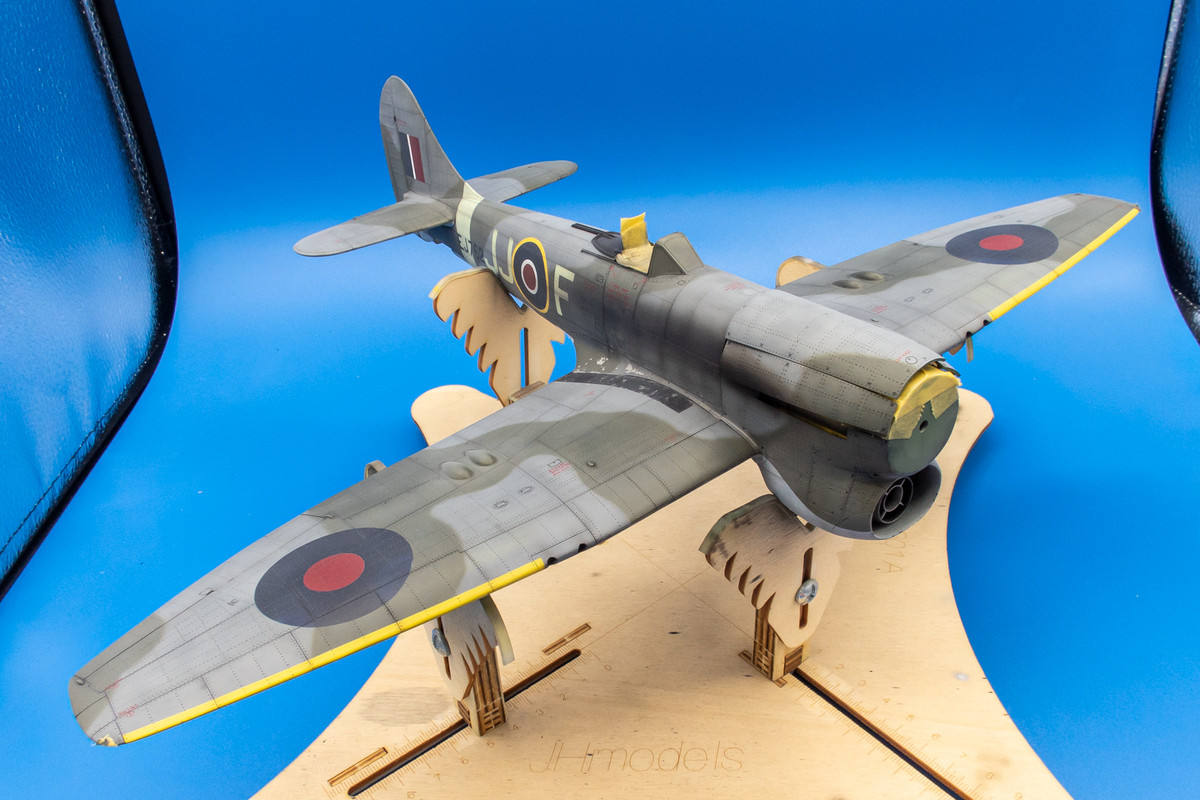
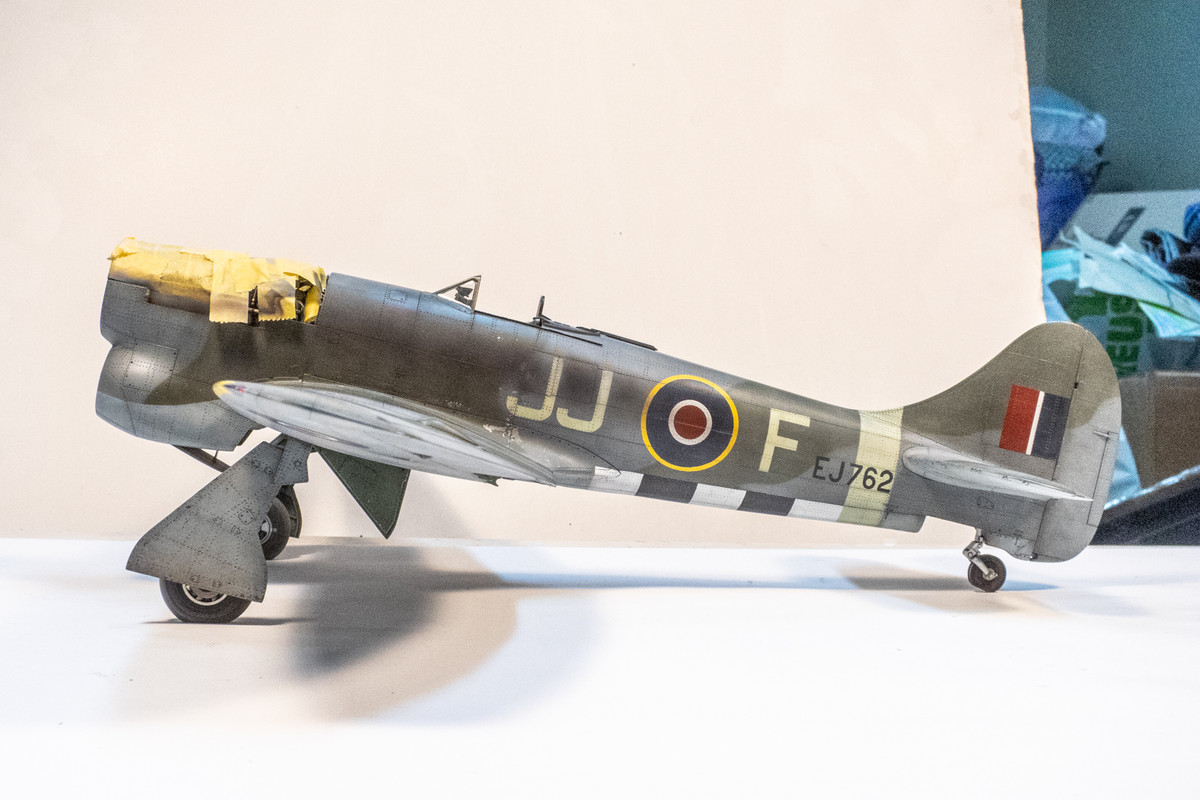
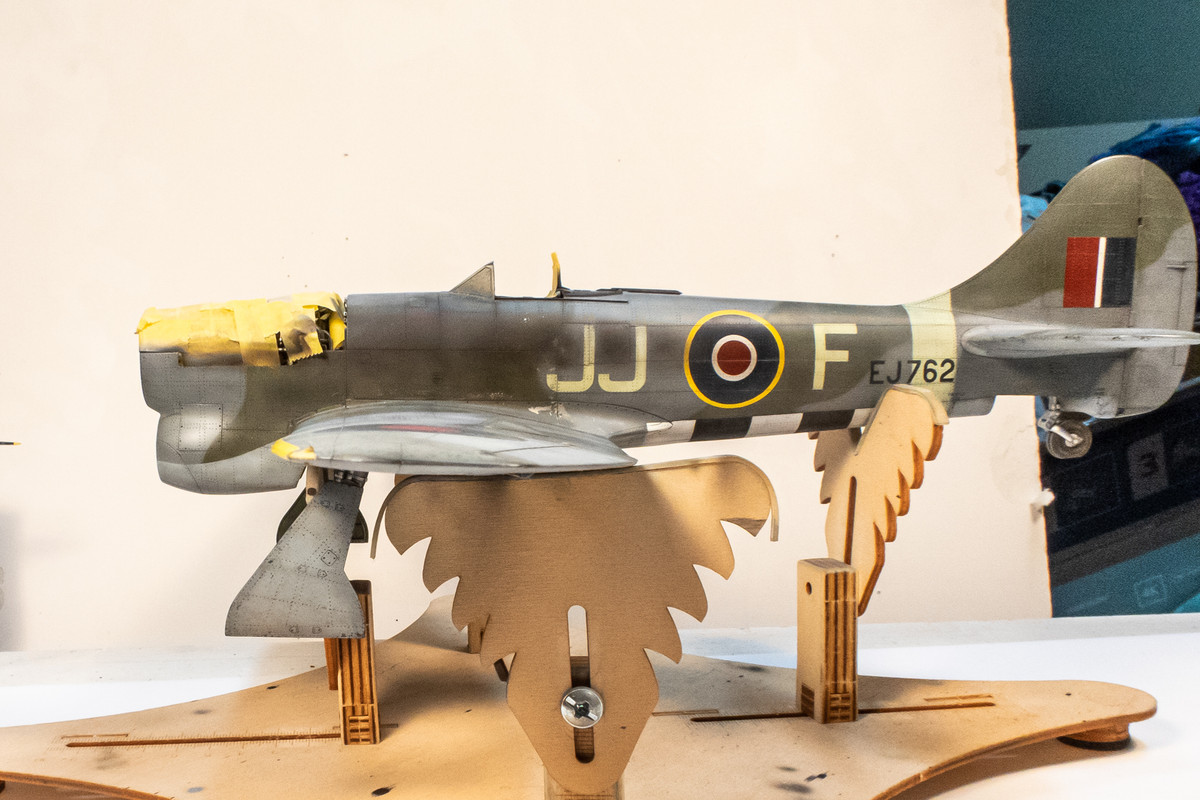
The landing gear legs have been attached with Tamiya Extra Thin cement so I am want to let the glue cure completely before attaching the wheels but here's a sneak peak at the Tempest on her own legs.
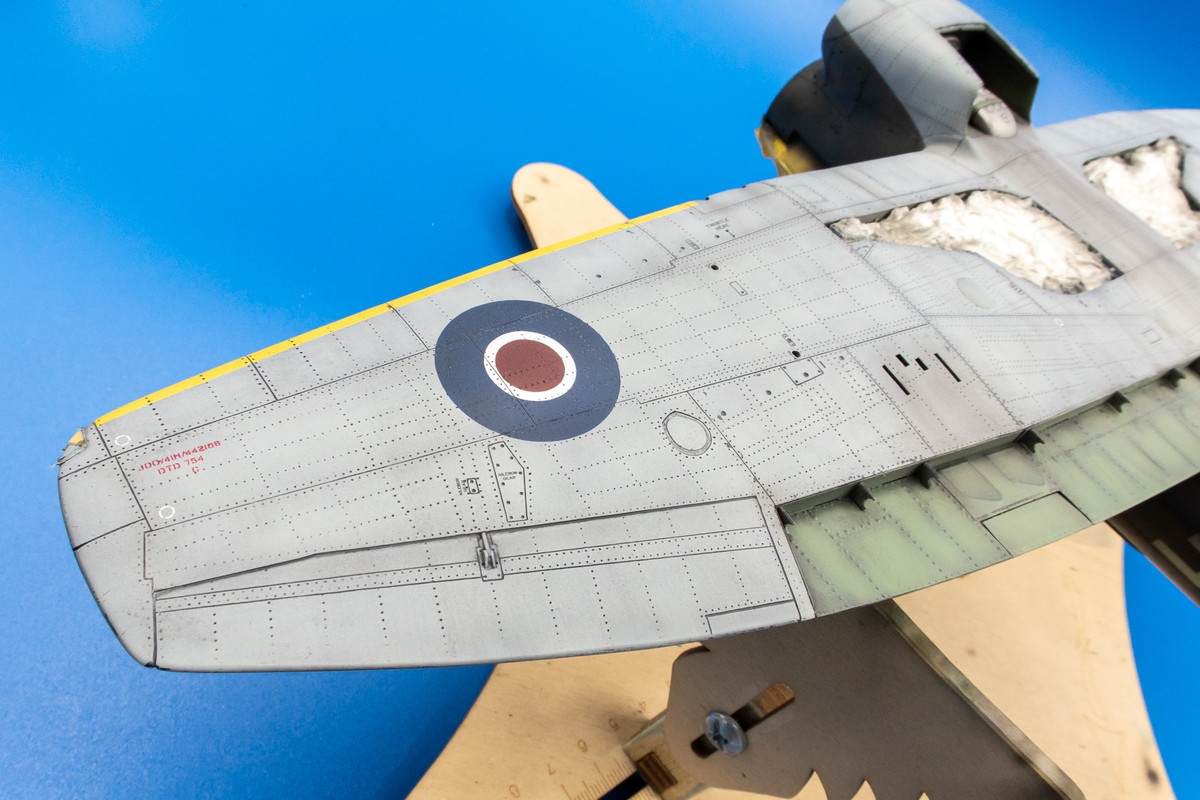
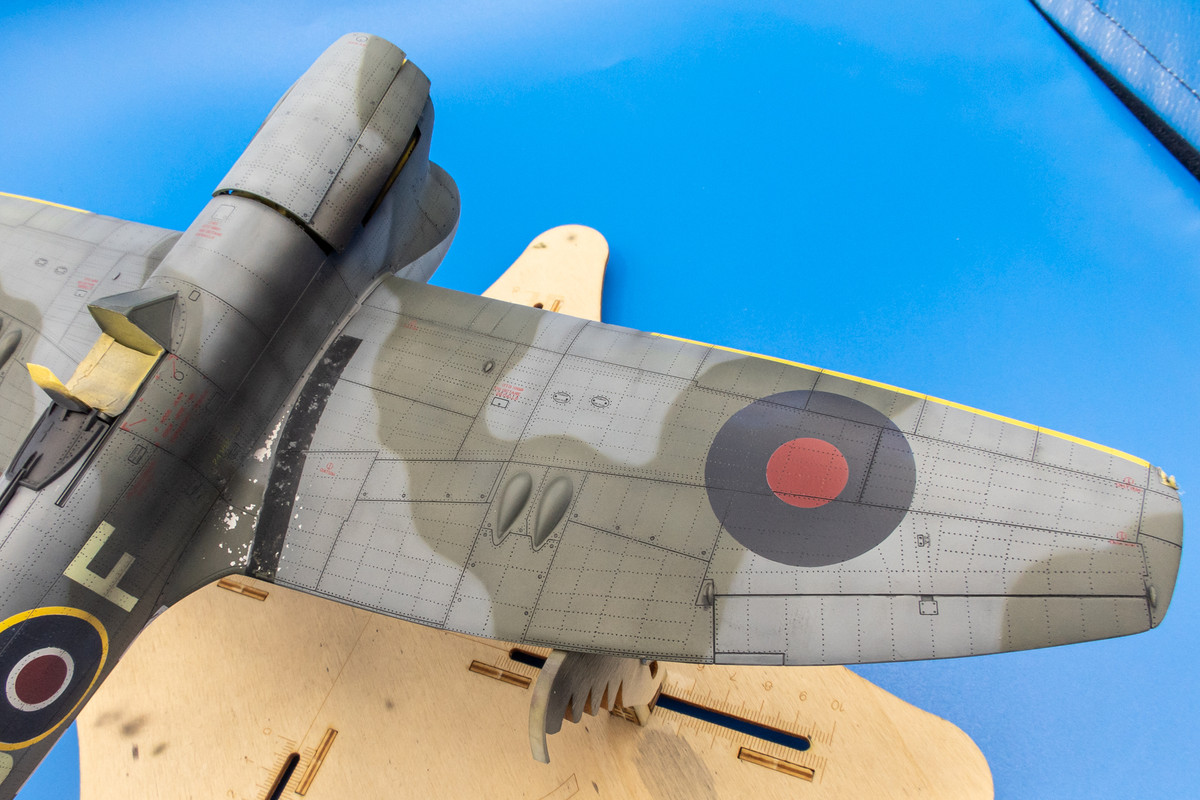
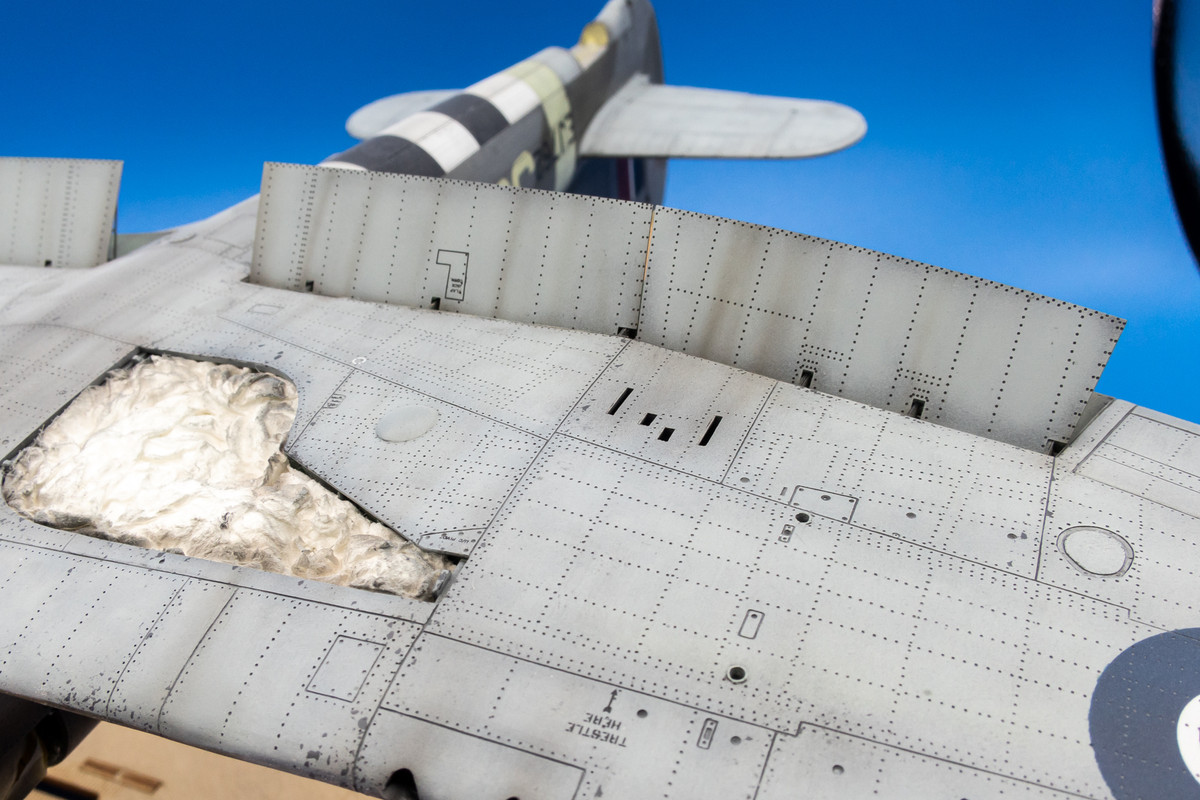
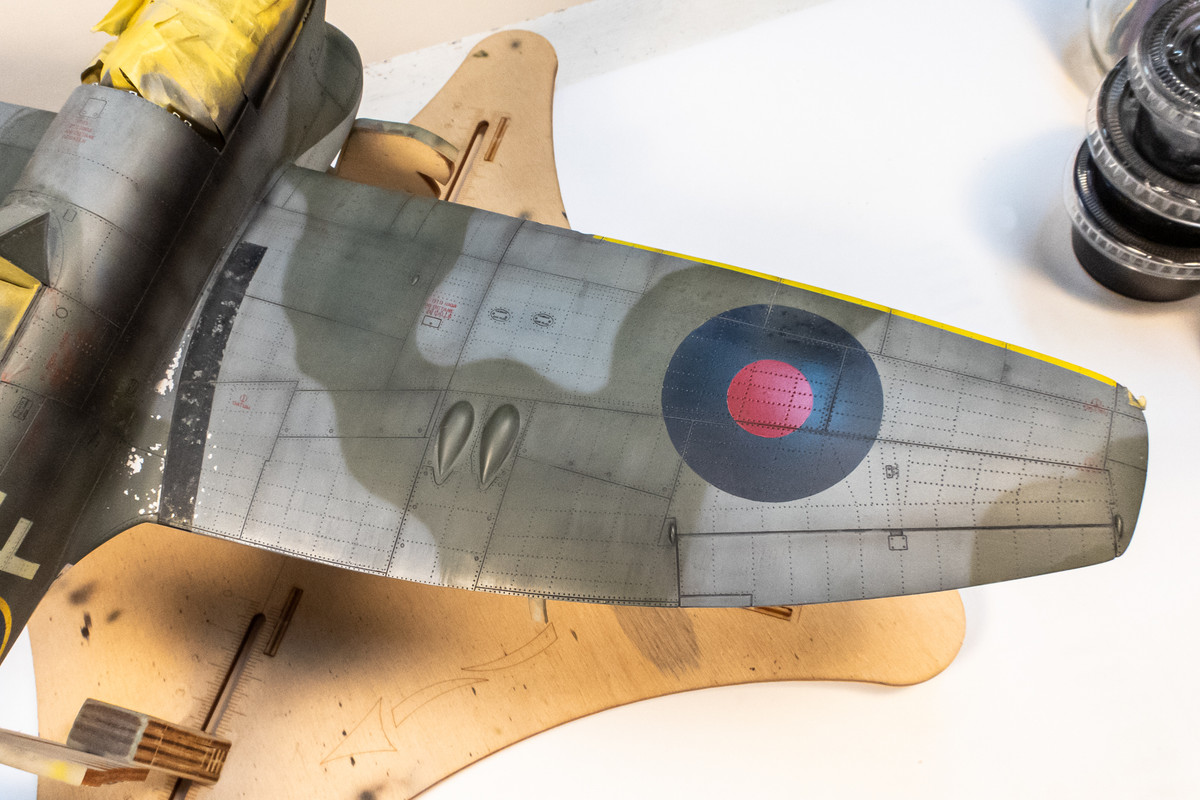
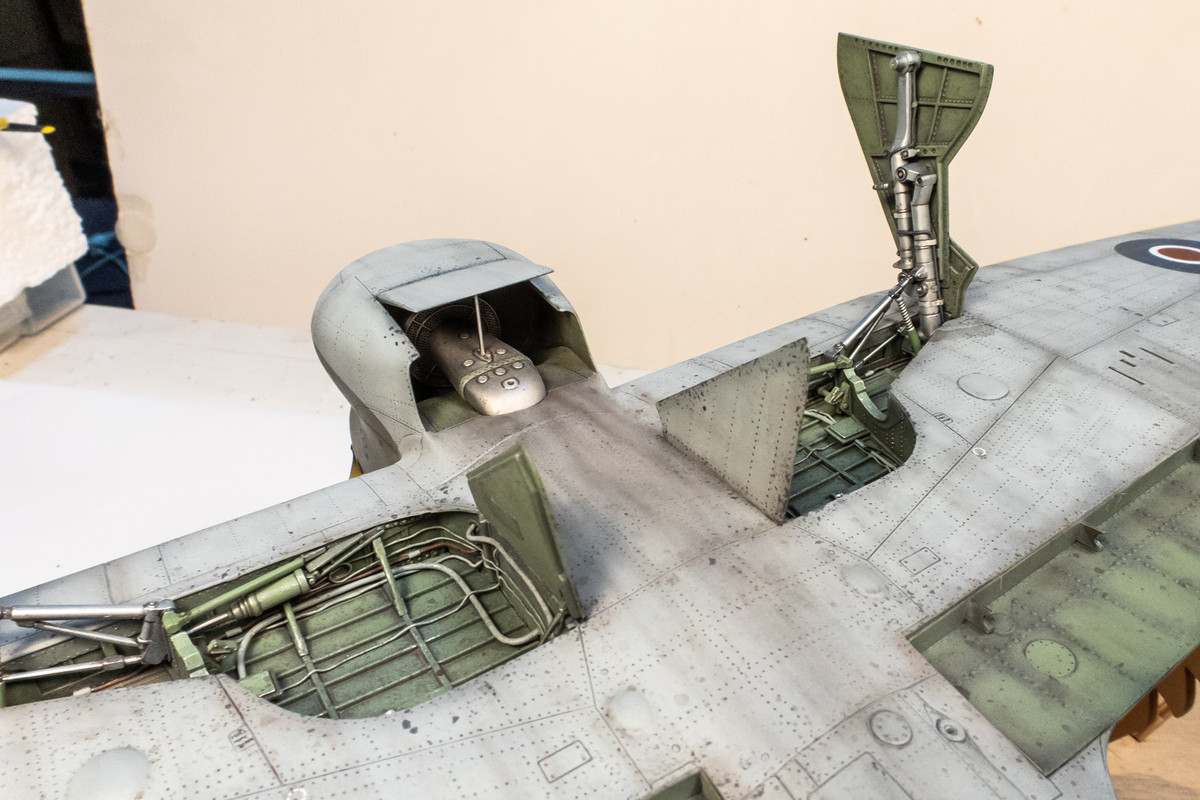
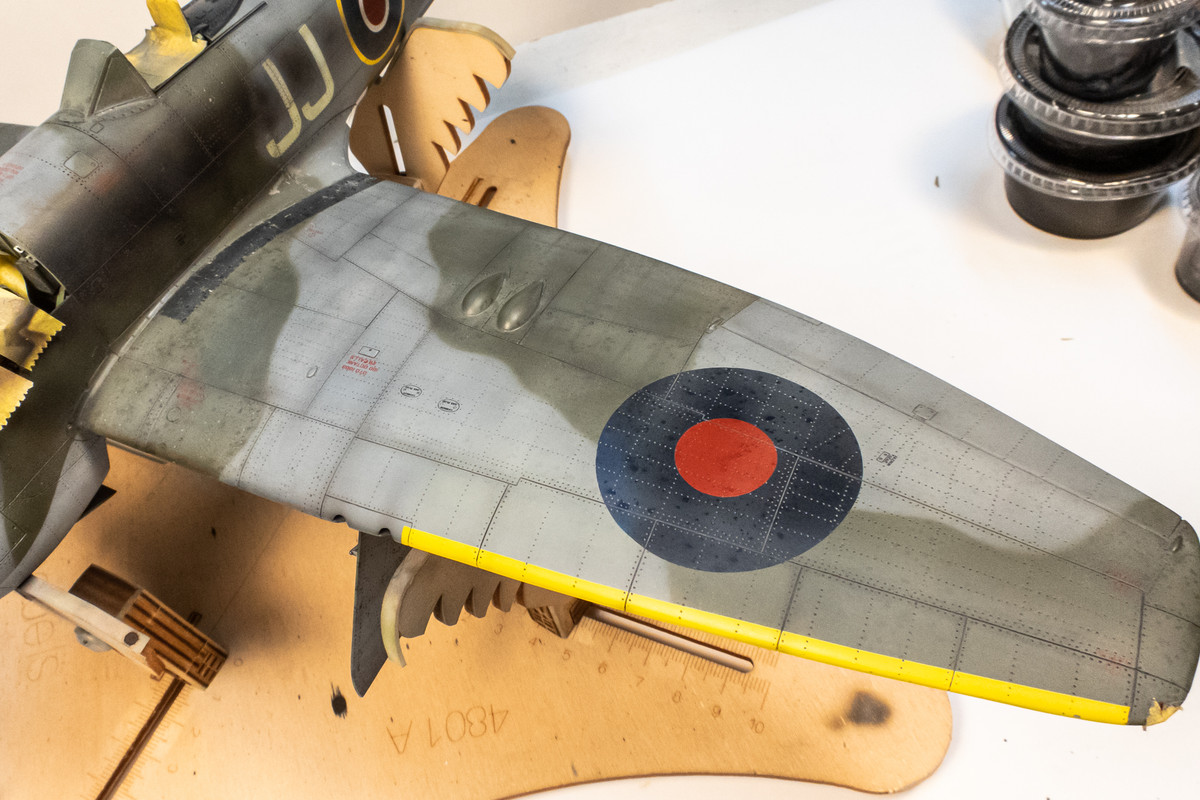
Here's a view of the port wing that shows the salt weathering effects a little better.
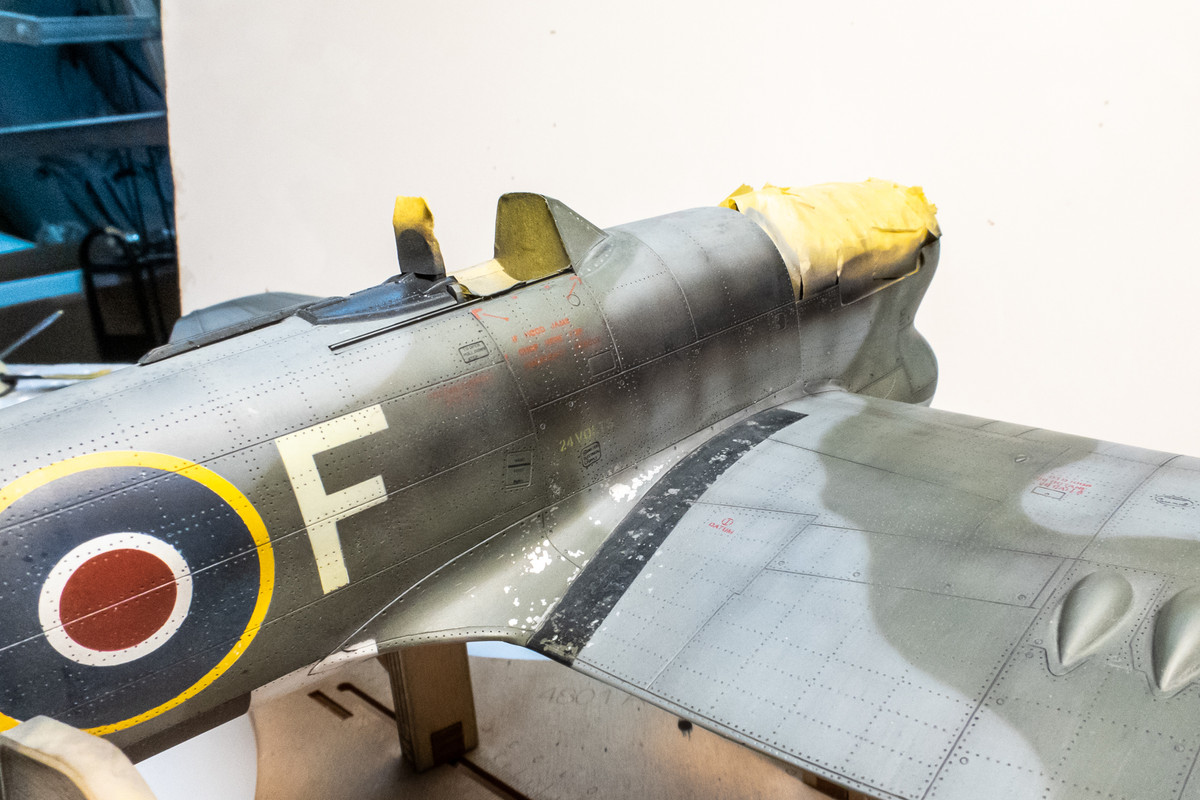
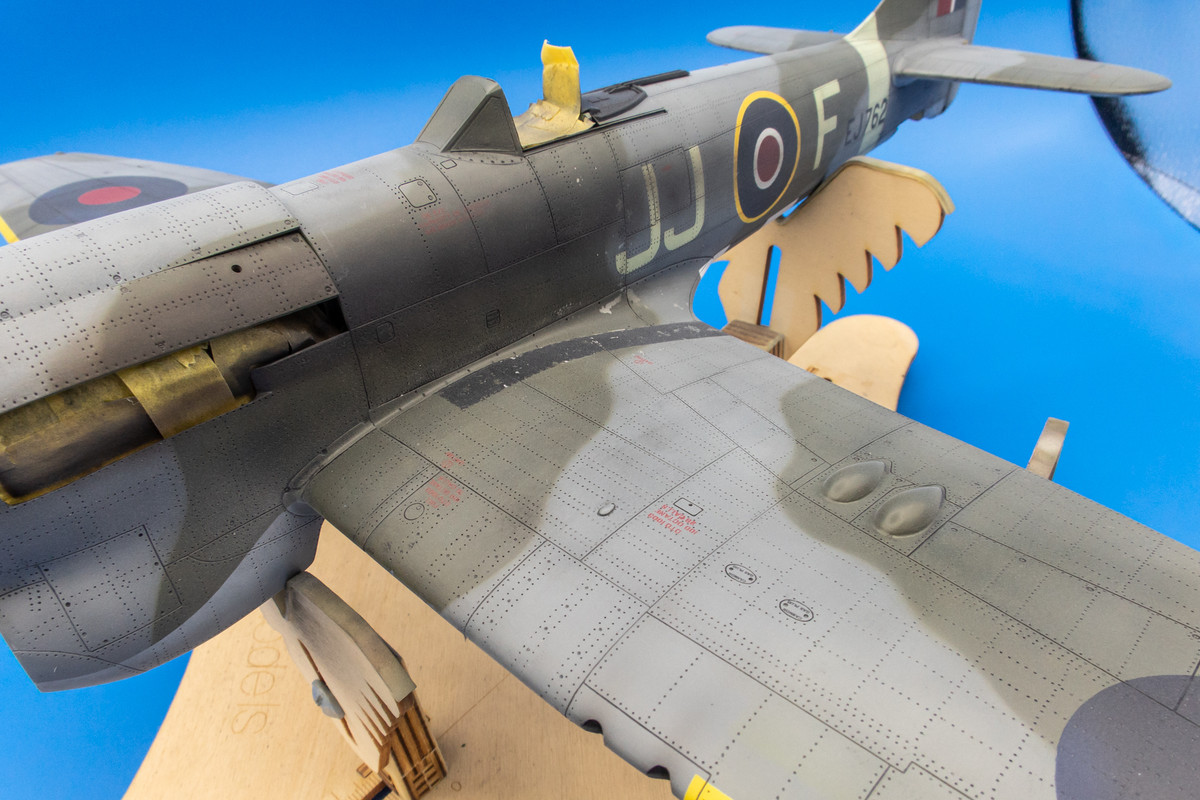
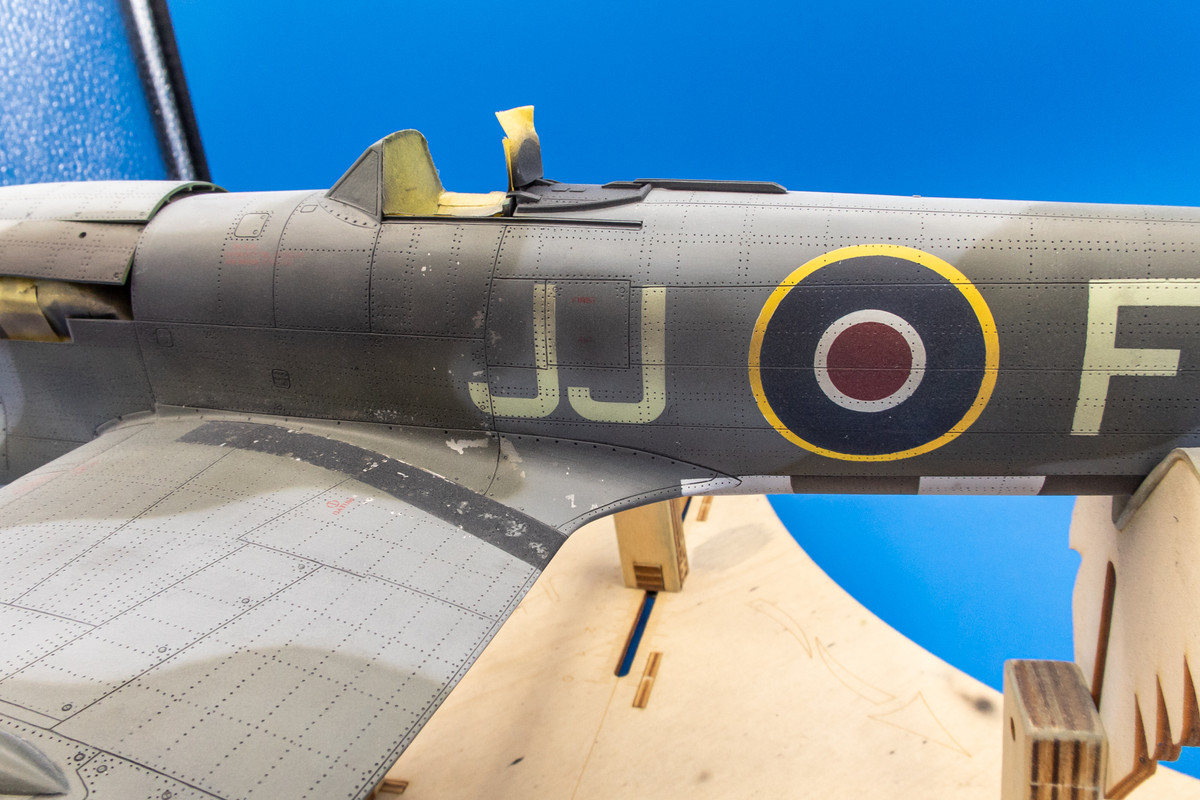
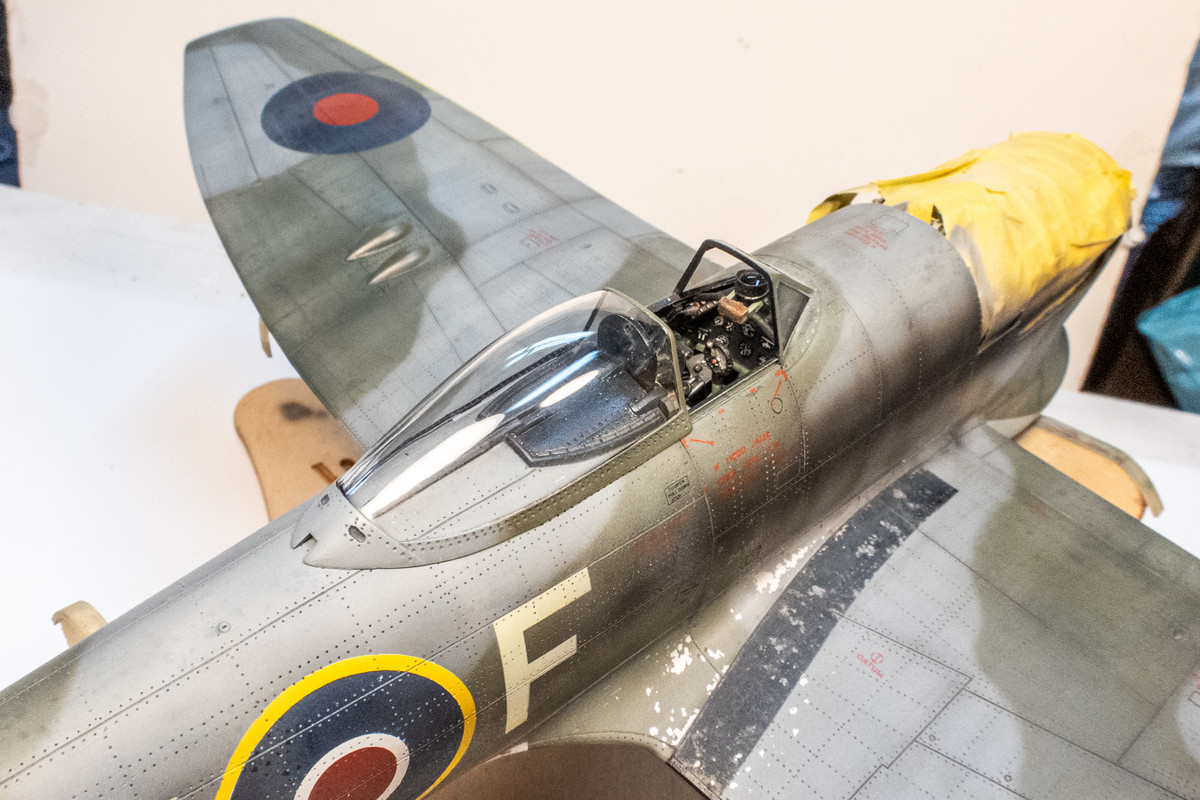
I've worked a little bit more on the exhaust stains. Looking at the archive photo of this aircraft, I am guessing that the JJ+F codes were scrubbed clean of the exhaust stains and although I couldn't replicate the exact effect, I tried to show something similar on the port side.

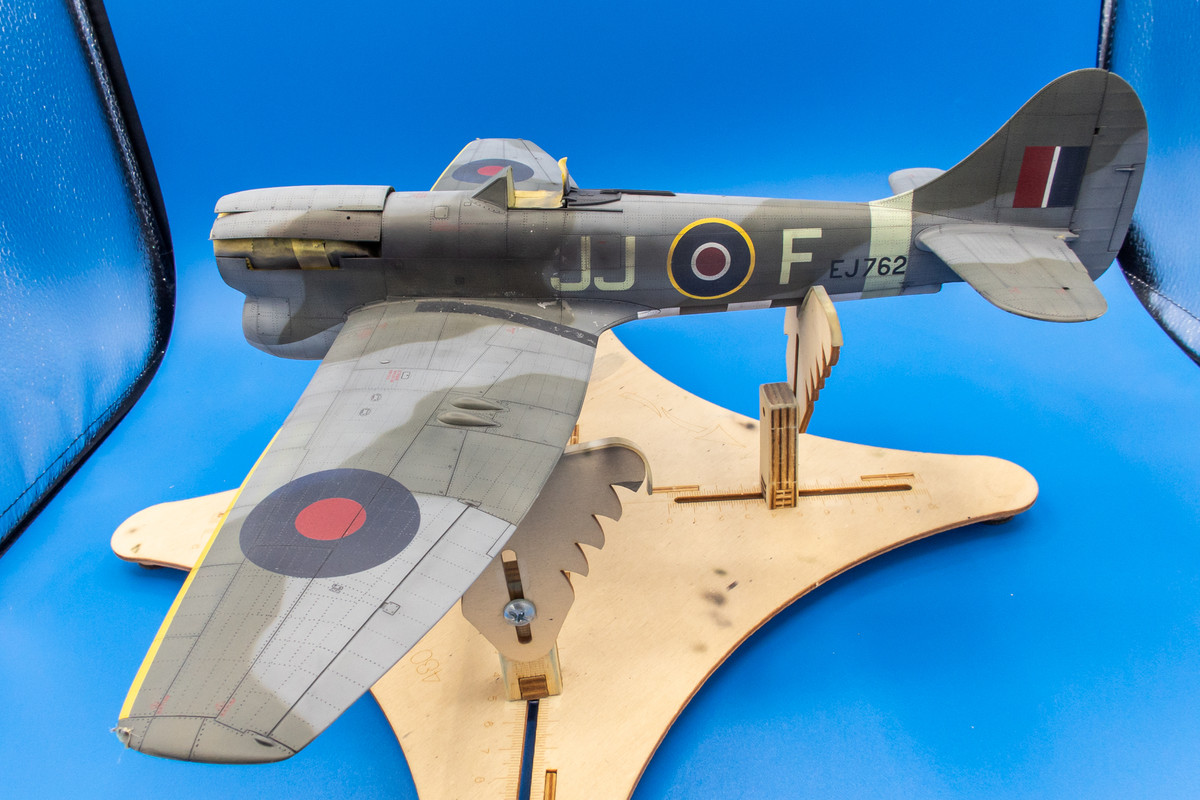
A similar but less severe effect was attempted on the starboard side.