Stikpusher's GAABSA Builds -2nd Completed
-
speedgraflex

- Moderator
- Posts: 11358
- Joined: Fri Feb 10, 2017 11:08 pm
- Contact:
-
speedgraflex
- Moderator
- Posts: 11358
- Joined: Fri Feb 10, 2017 11:08 pm
- Contact:
Re: Stikpusher's GAABSA Builds
Good evening, Carlos! I hope all goes well. We had some rain today, so that complicated things a bit for everyone in Southern California, but man it was a beautiful afternoon/evening after the clouds cleared! All the best.
Make more models!
-
Stikpusher

- Moderator
- Posts: 21199
- Joined: Sat Apr 05, 2014 8:37 pm
- Location: Ceti Alpha 5
Re: Stikpusher's GAABSA Builds
Yeah it was an interesting evening... rain then sun, then rain again... but yes, a clear chilly night sky afterwards. And a fairly busy shift at work. But better than being stuck inside...
"Surely I have made my meaning plain? I intend to avenge myself upon you, Admiral. I have deprived your ship of power, and when I swing 'round, I intend to deprive you of your life."
FLSM
FLSM
-
Stikpusher
- Moderator
- Posts: 21199
- Joined: Sat Apr 05, 2014 8:37 pm
- Location: Ceti Alpha 5
Re: Stikpusher's GAABSA Builds
Lots of progress in the past couple of days on my Quad .50. Yesterday I airbrushed on a top coat of Humbrol Satin as I wanted the OD to have a slight sheen, but I was not happy with the result. It ended up a bit too shiny/reflective.
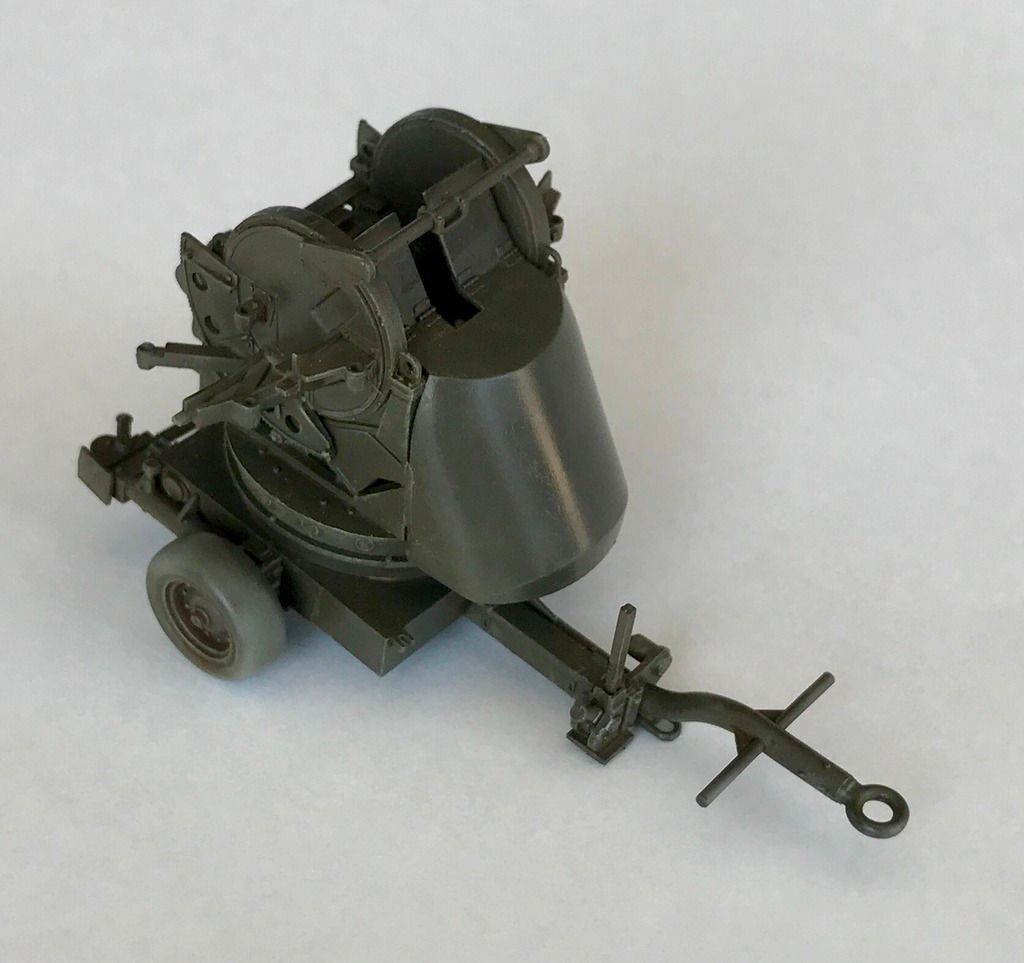
So today I airbrushed on a coat of Humbrol Flat
Much better now...

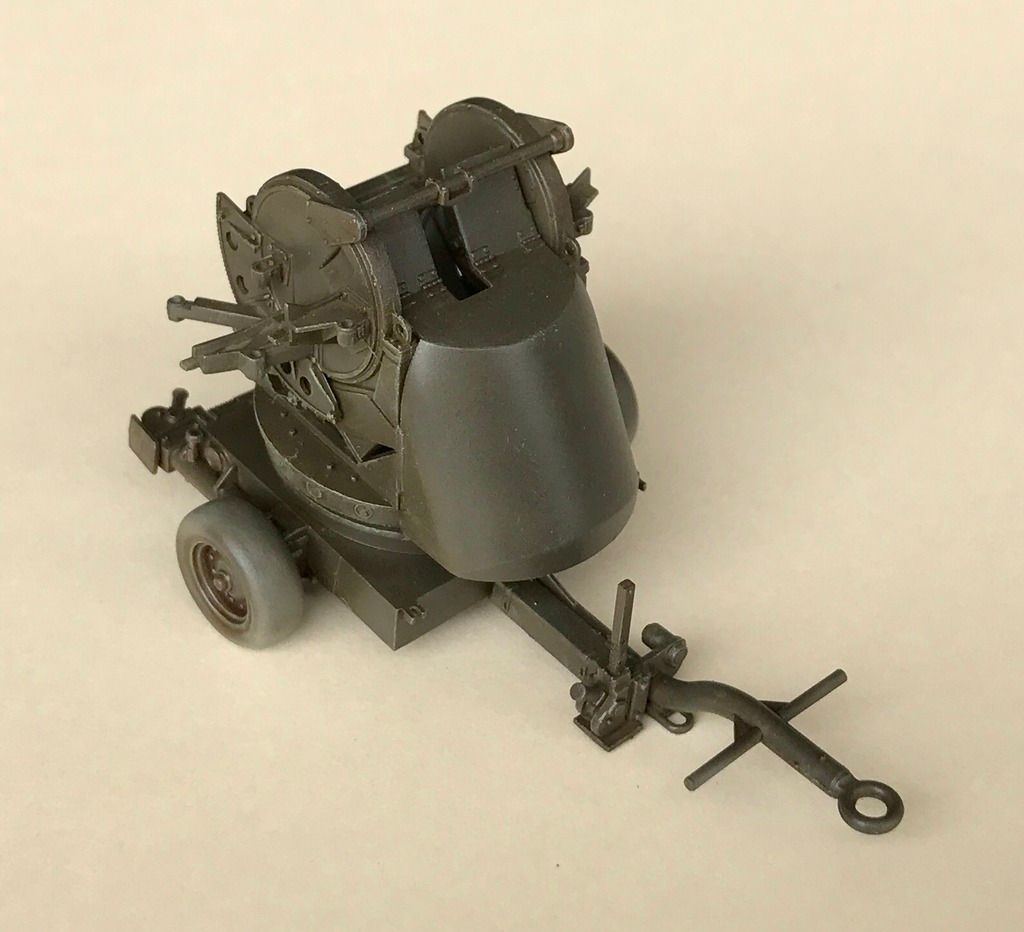
Then I did more some painting- the tires and a metallic background for the reflectors and tail lights
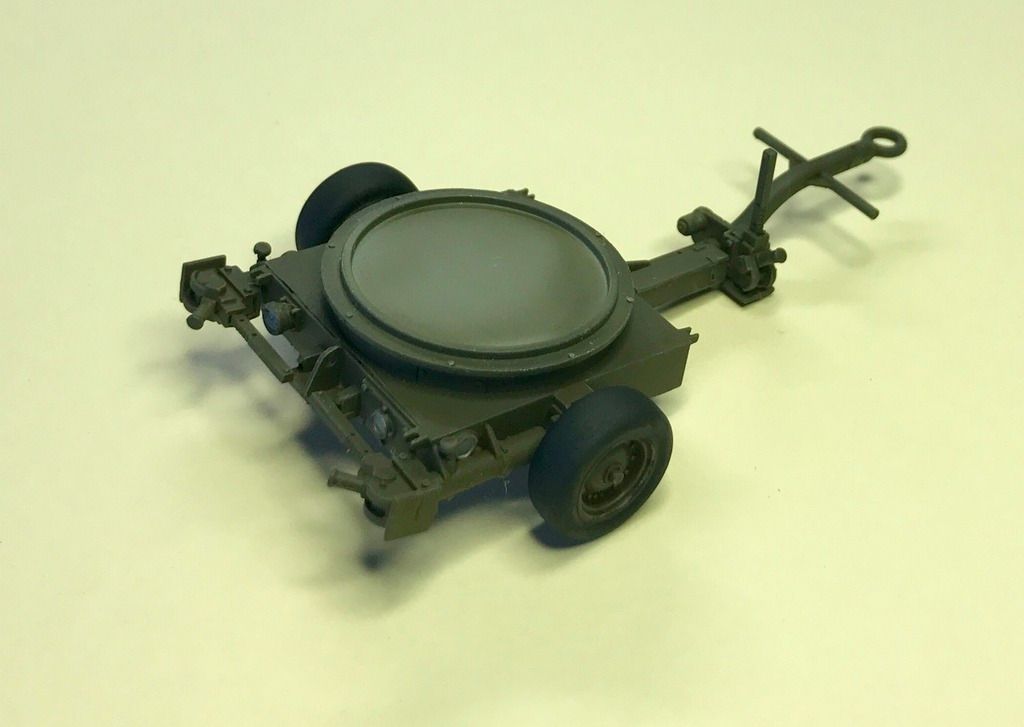
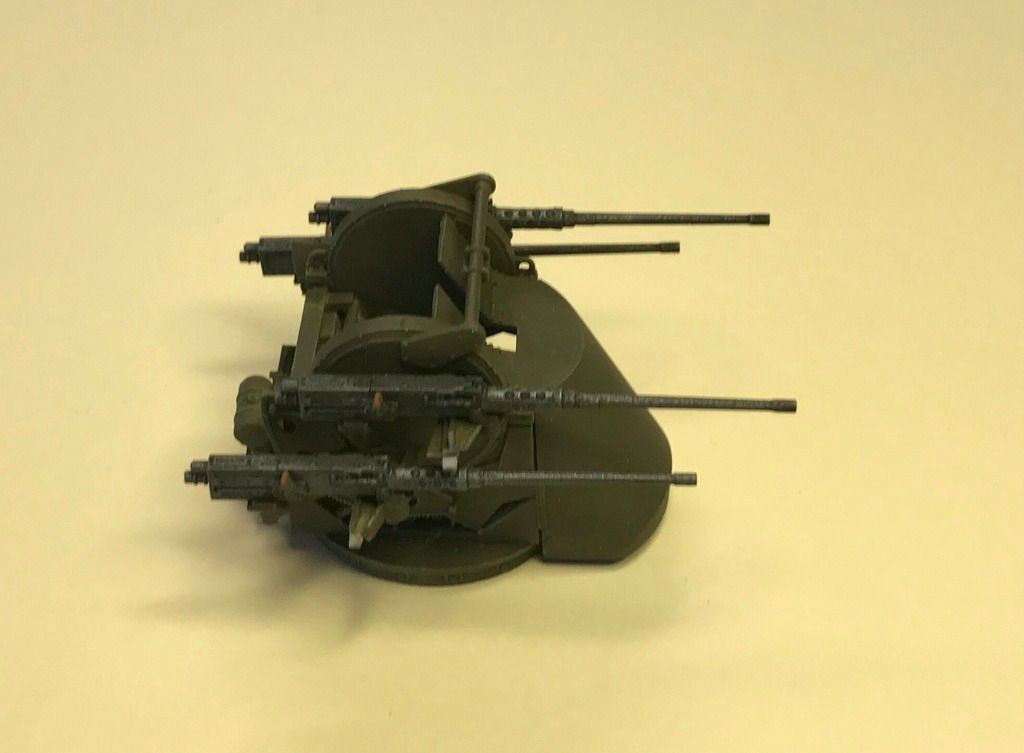
And then I glued the .50s onto the turret
Now all I have left is to add the ammo cans and paint the reflectors & tail lights...
So today I airbrushed on a coat of Humbrol Flat
Much better now...
Then I did more some painting- the tires and a metallic background for the reflectors and tail lights
And then I glued the .50s onto the turret
Now all I have left is to add the ammo cans and paint the reflectors & tail lights...
"Surely I have made my meaning plain? I intend to avenge myself upon you, Admiral. I have deprived your ship of power, and when I swing 'round, I intend to deprive you of your life."
FLSM
FLSM
-
speedgraflex
- Moderator
- Posts: 11358
- Joined: Fri Feb 10, 2017 11:08 pm
- Contact:
Re: Stikpusher's GAABSA Builds
Your work is coming together beautifully, Carlos... All of the details are spot on and the color change really adjusted the feel of the finish in a better direction. The choice was crucial to moving forward. What are your plans for display?
Make more models!
-
Stikpusher
- Moderator
- Posts: 21199
- Joined: Sat Apr 05, 2014 8:37 pm
- Location: Ceti Alpha 5
Re: Stikpusher's GAABSA Builds
Thank you Bruce. I was originally planning to have it behind a M35 truck being towed. But I've come across info that it appears they were hauled around in the bed of the truck. So I'll be doing that. Another project to build... 
"Surely I have made my meaning plain? I intend to avenge myself upon you, Admiral. I have deprived your ship of power, and when I swing 'round, I intend to deprive you of your life."
FLSM
FLSM
-
mustang1989

- Moderator
- Posts: 5035
- Joined: Tue Mar 18, 2014 8:35 pm
Re: Stikpusher's GAABSA Builds
Good looking piece of weaponry there Carlos. Military vehicles is one of my weaknesses. One of these days I hope to try my hand at it.
-
Stikpusher
- Moderator
- Posts: 21199
- Joined: Sat Apr 05, 2014 8:37 pm
- Location: Ceti Alpha 5
Re: Stikpusher's GAABSA Builds
Thank you sir... I'm just the opposite as far as vehicles go, the civilian stuff is my weak area. Once it gets warpaint, no problem... 
"Surely I have made my meaning plain? I intend to avenge myself upon you, Admiral. I have deprived your ship of power, and when I swing 'round, I intend to deprive you of your life."
FLSM
FLSM
-
Stikpusher
- Moderator
- Posts: 21199
- Joined: Sat Apr 05, 2014 8:37 pm
- Location: Ceti Alpha 5
Re: Stikpusher's GAABSA Builds
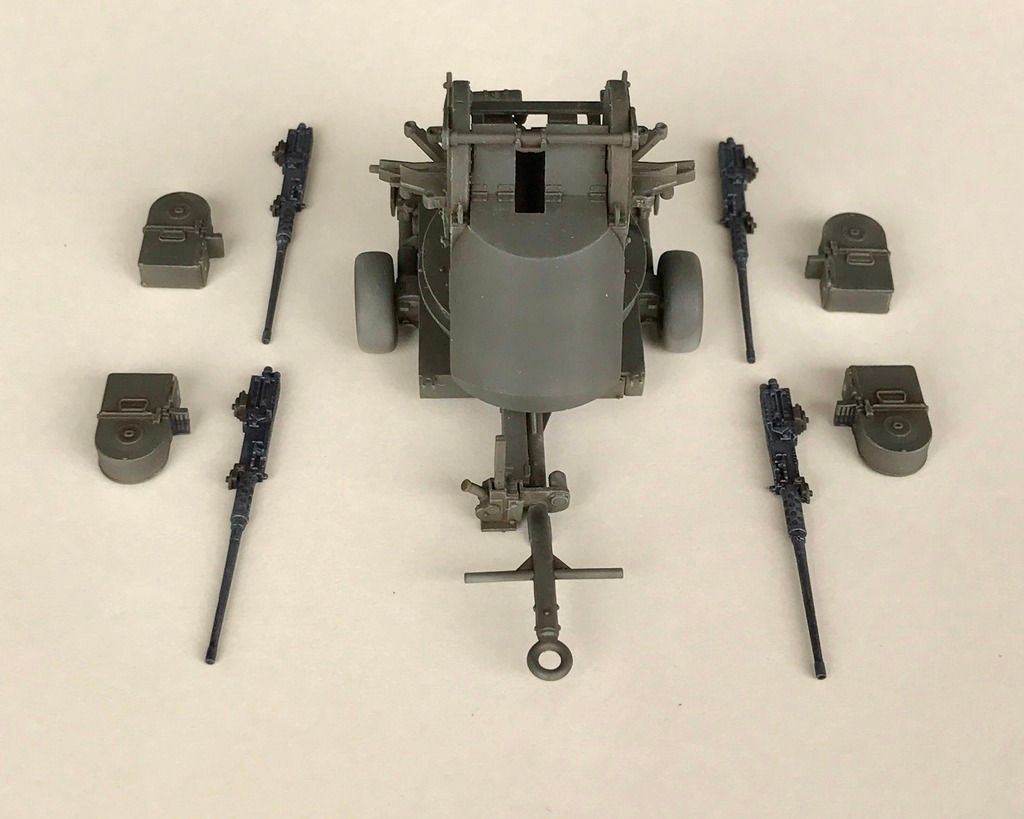
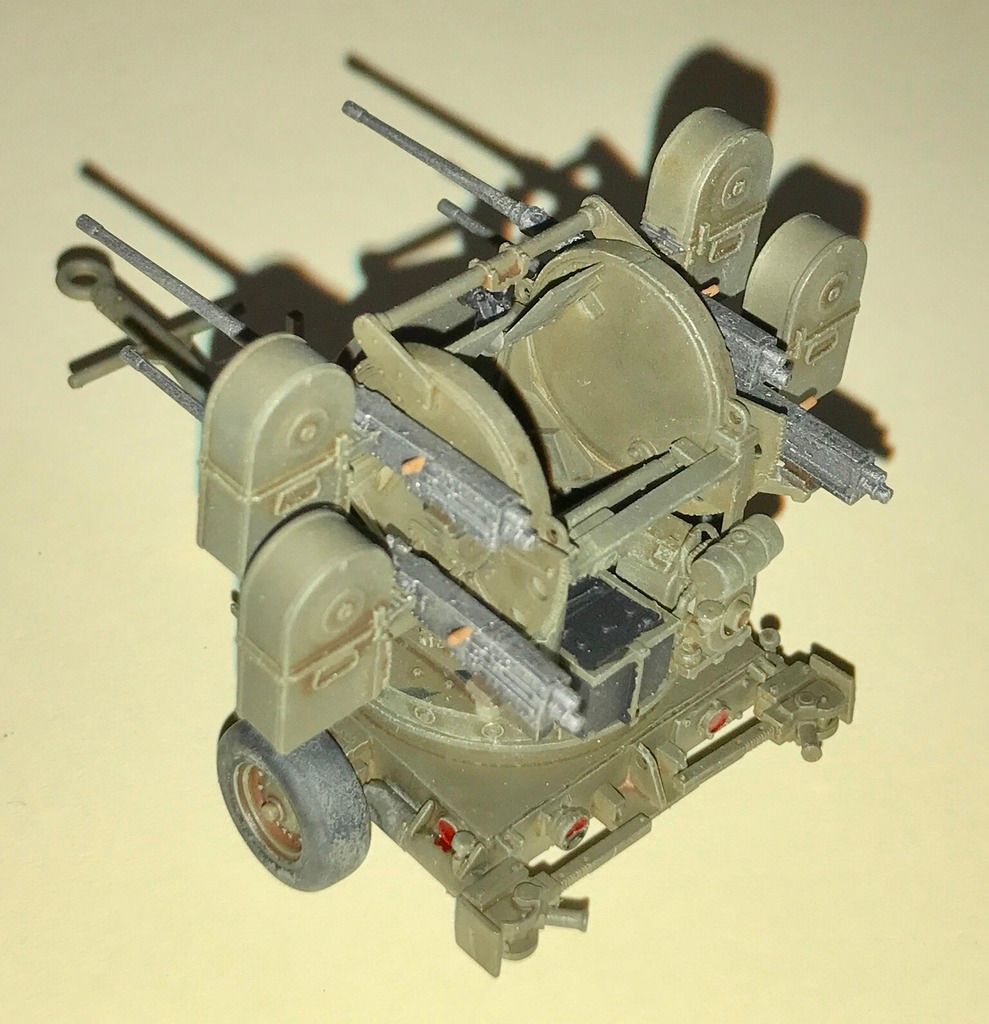
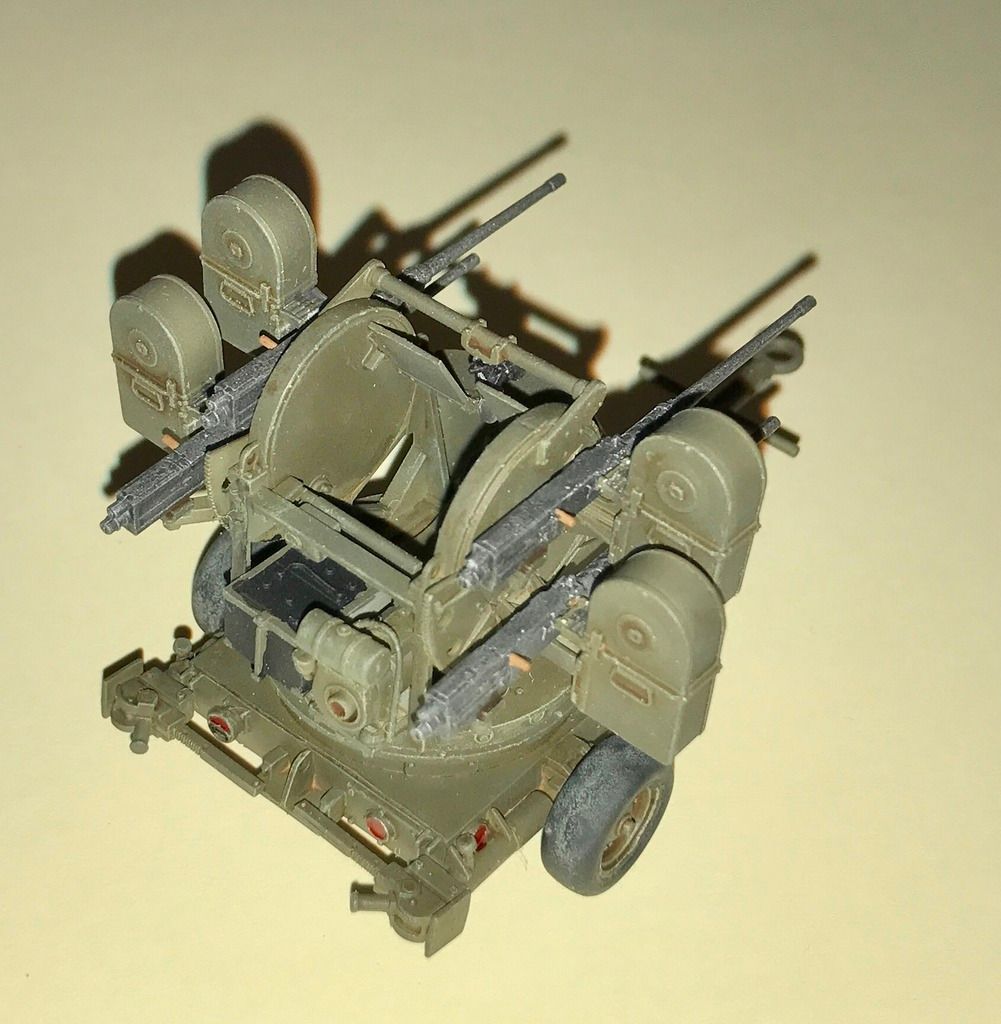
first up, if I was to fault any part of the kit instructions, which Dragon is notorious for, it would be right here, where the gun and ammo can assembly is shown....

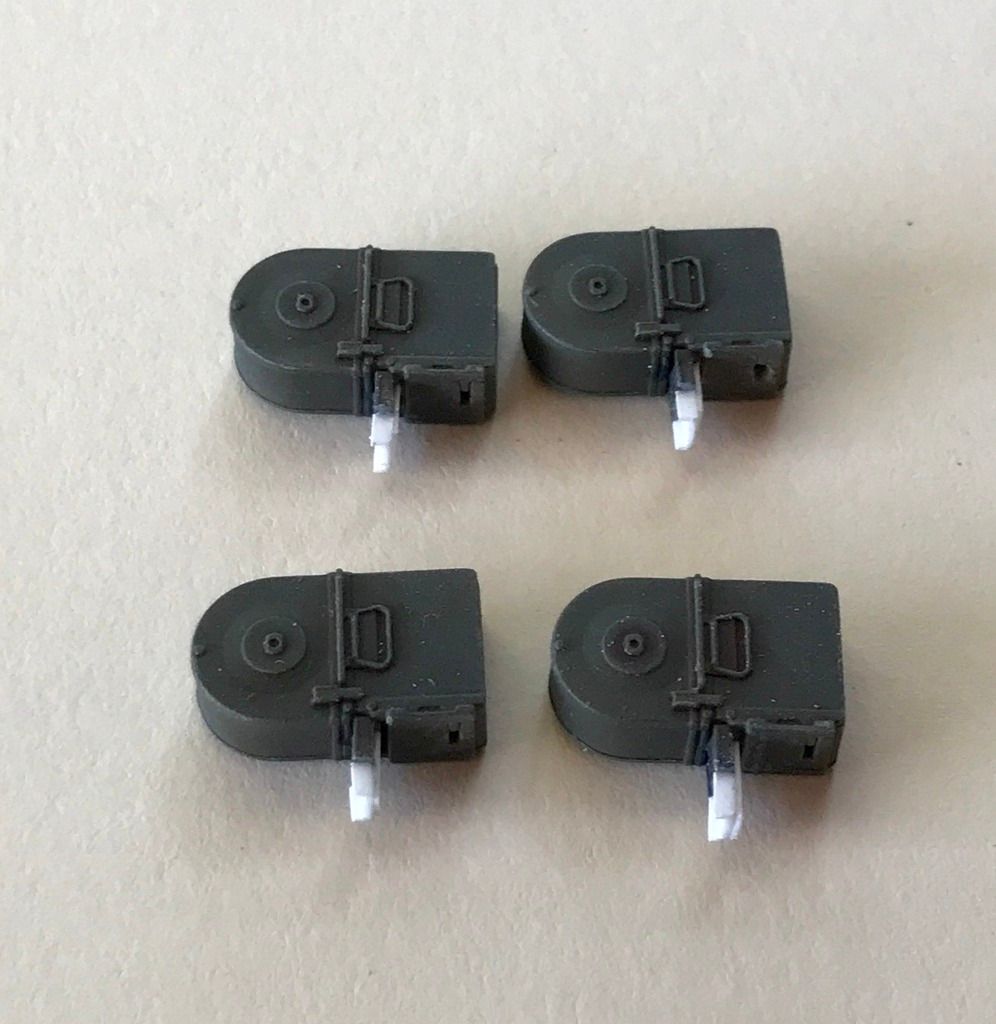
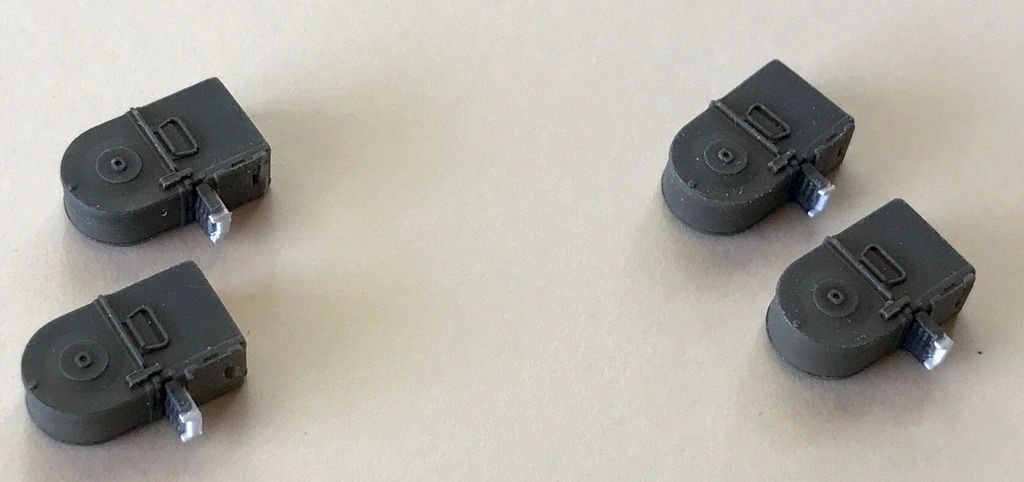
but there are couple things they do not mention... first, the little nubs that are on the end are also attached to the mounting stub for the ammo cans, but look like a natural cut off point for the excess plastic nubs (whatever those things are called). I cut off two and filed the support ends flat before I realized the fit into the slots on the ammo can.
the other thing that needs caution is the little part between the guns and the ammo cans that have the rounds molded onto them. it seems only natural to push them in as far as they will go to match the widened end right up against the ammo can.
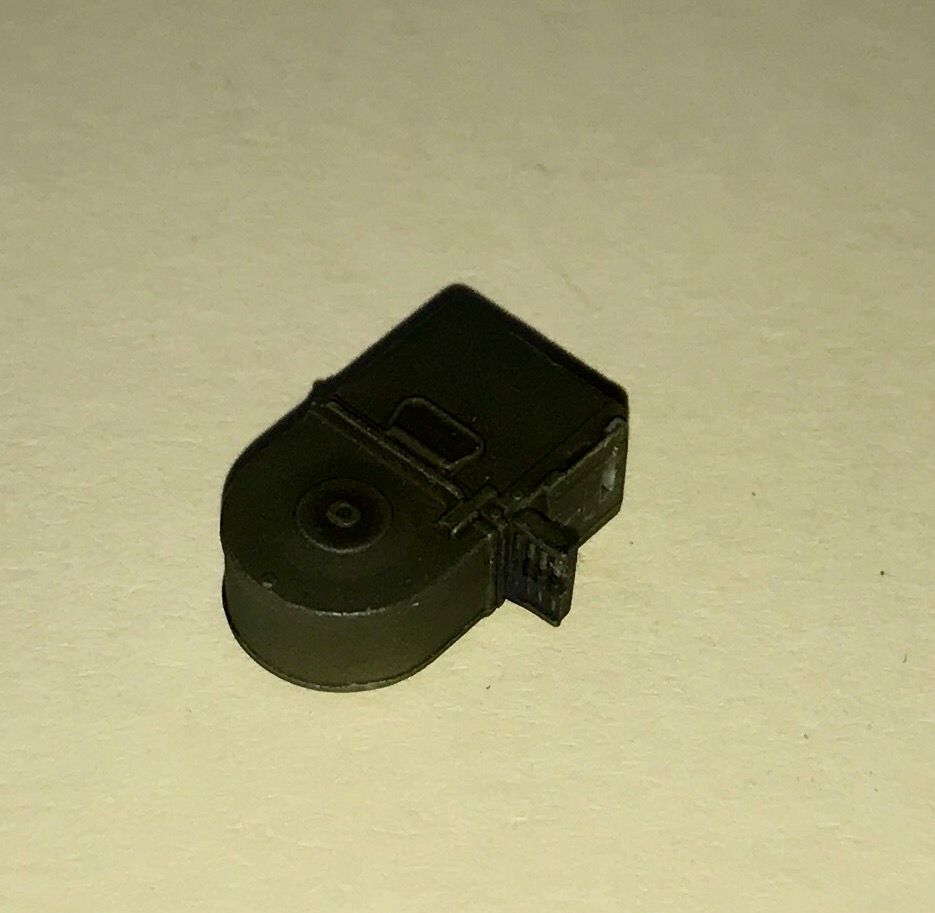
But that is a no no. Do that and you will have a gap between that part and the guns as I found out.
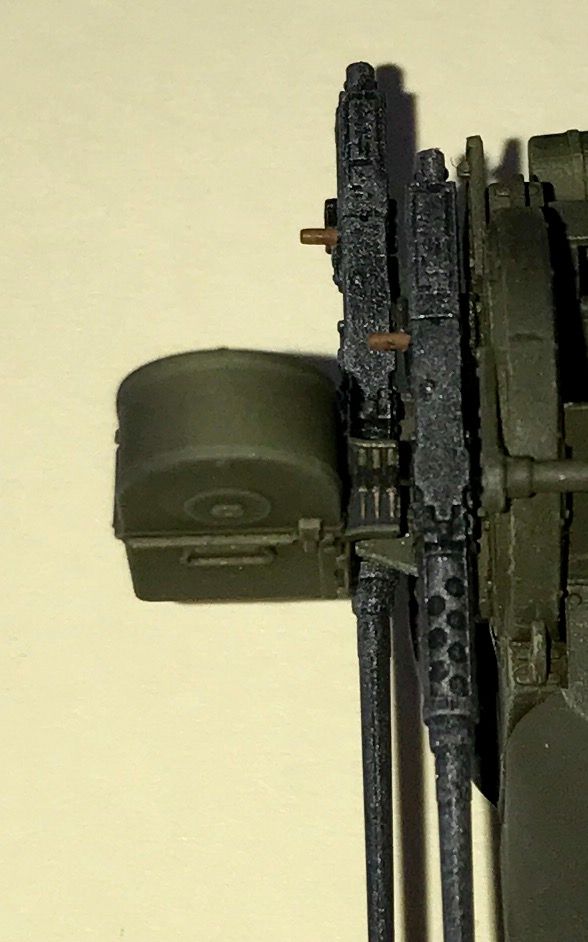
That part is best painted and left loose until you mount the guns and cans on their support arms. Live and learn... so I ended up scratching up some extensions to the ammo feed trays
trimmed to fit
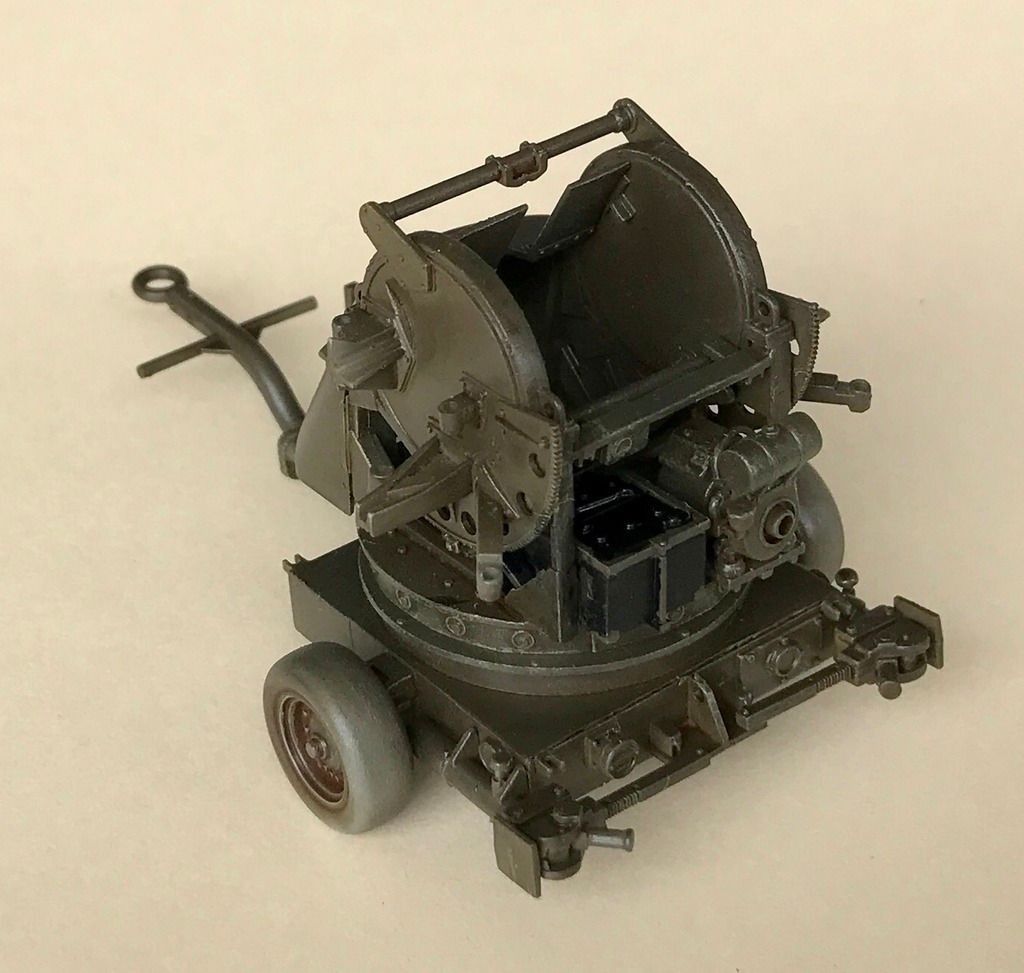
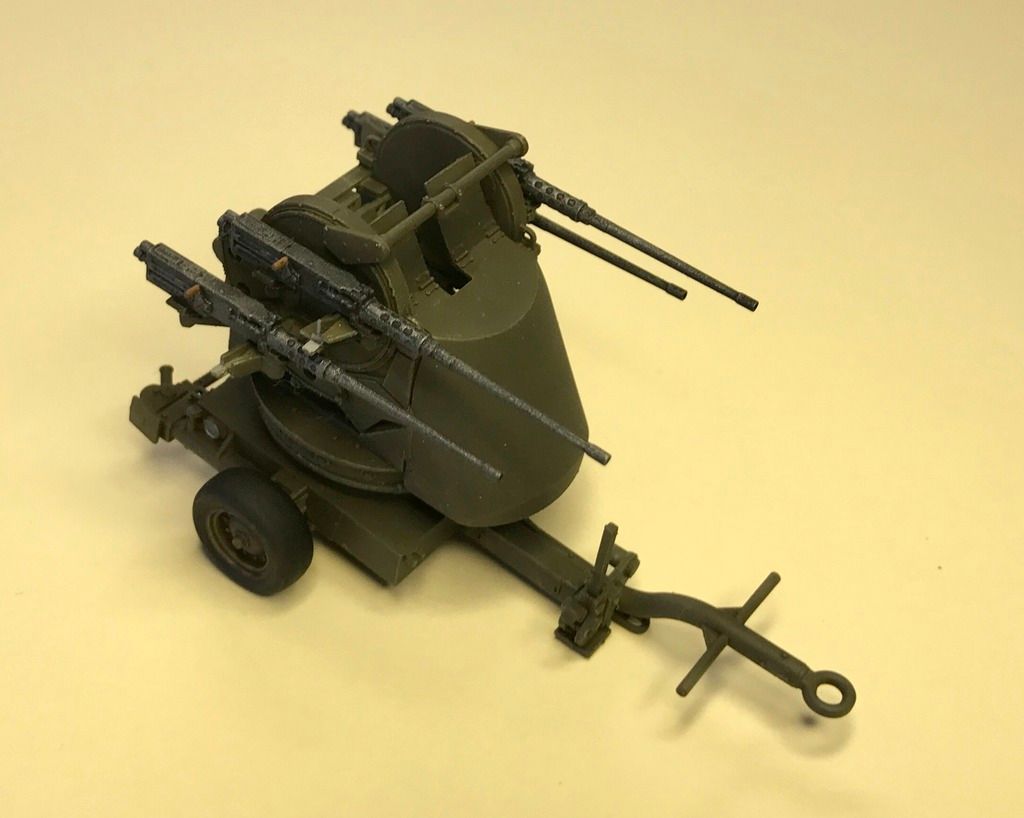
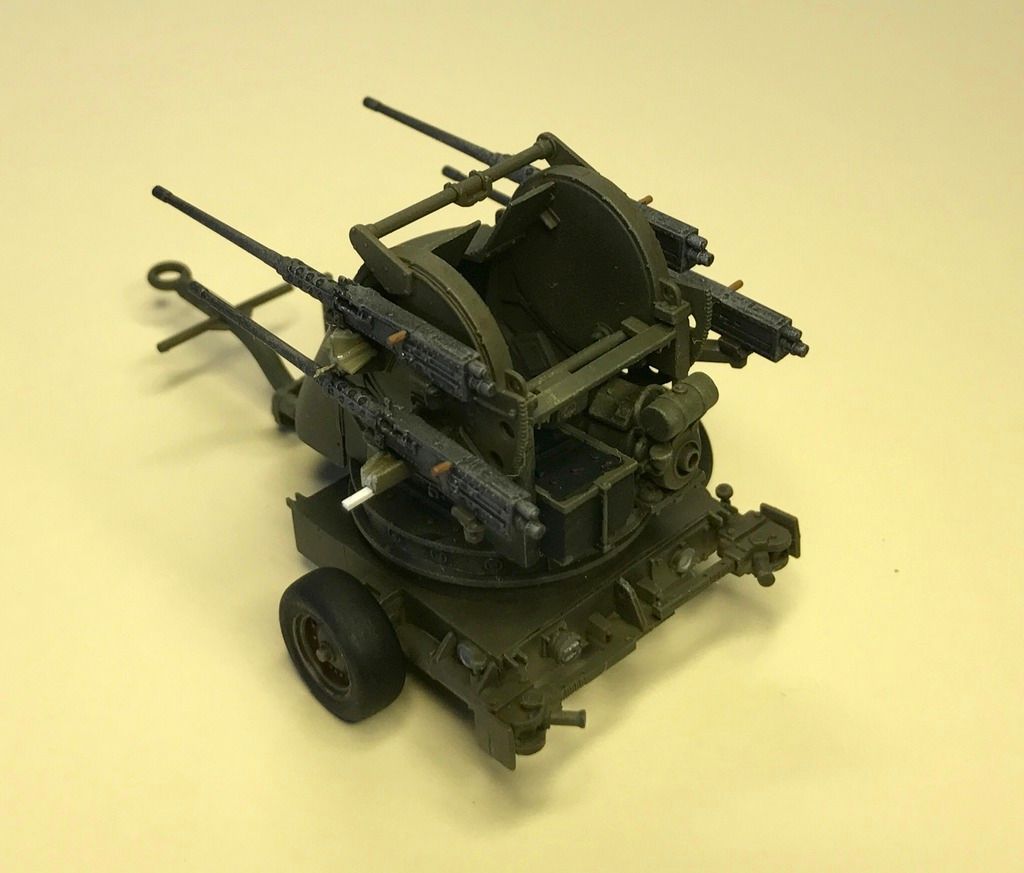
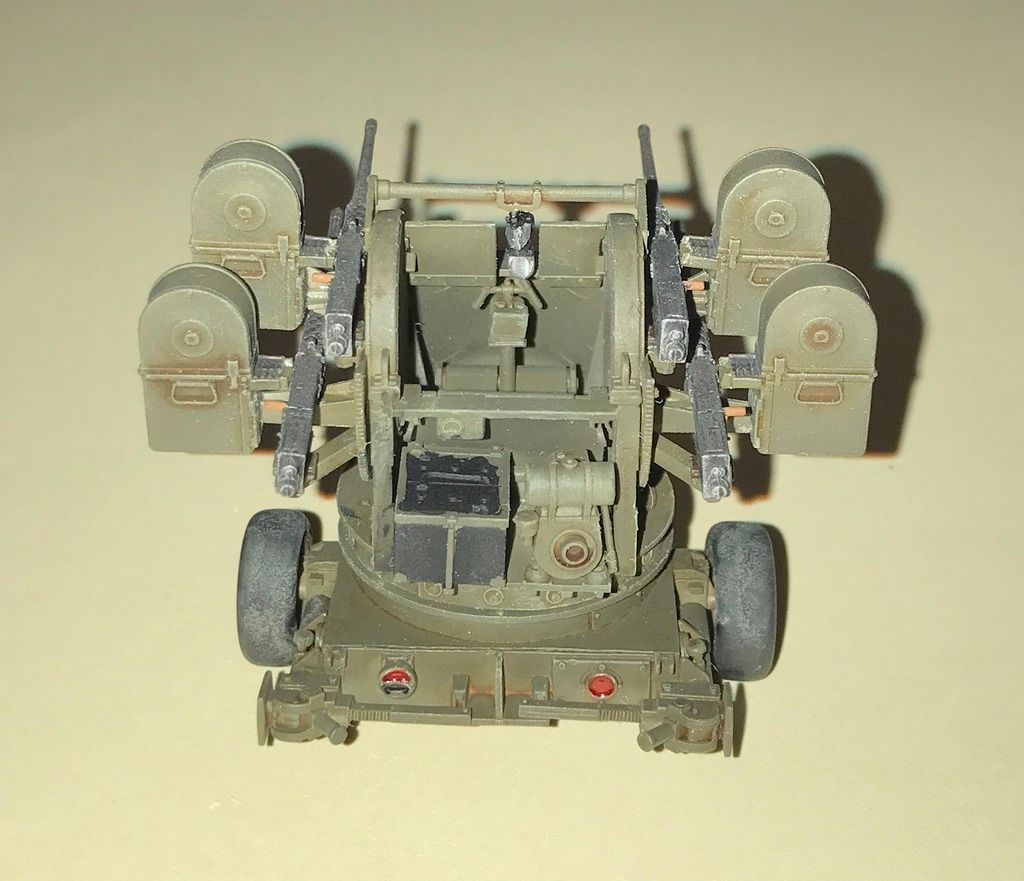
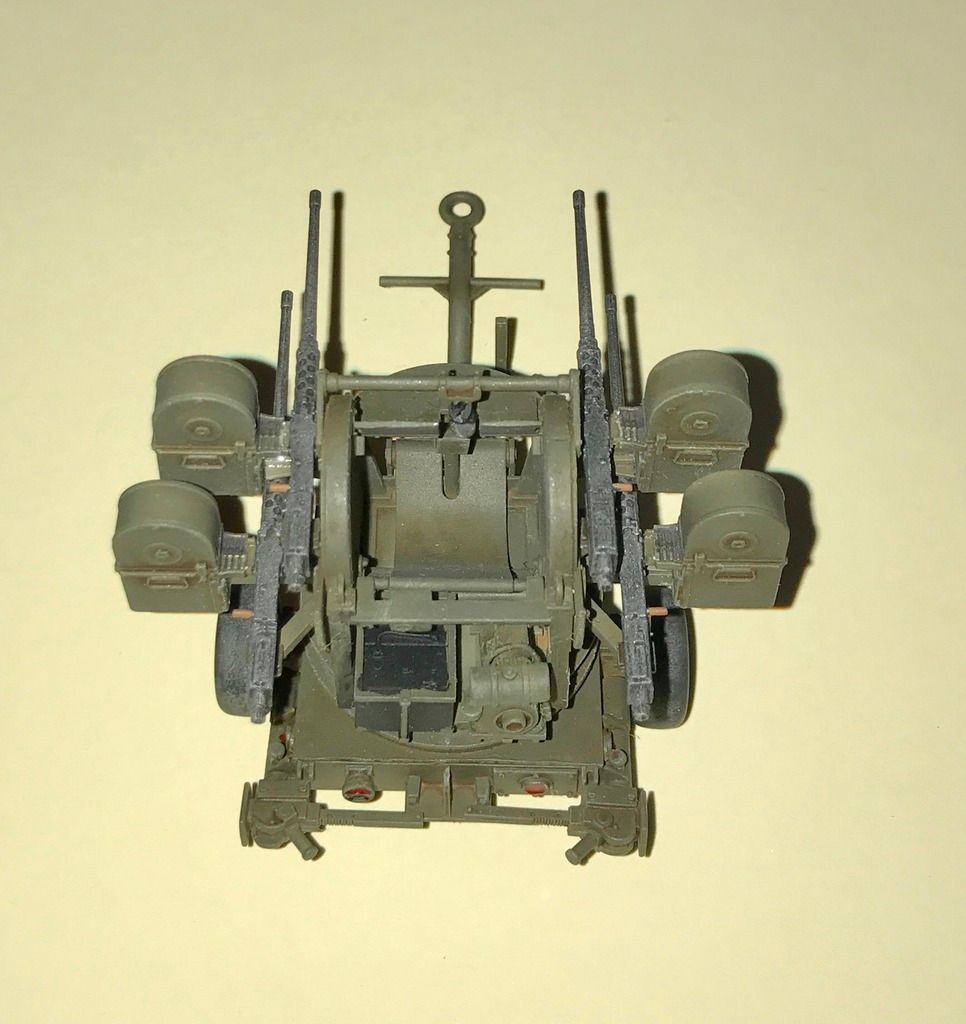
last night I painted up the gunner's sight, and today I glued that in place
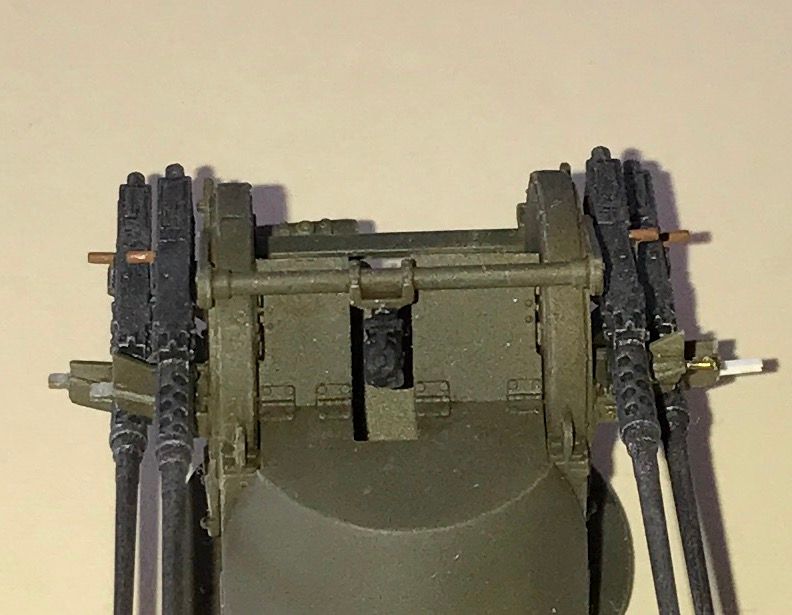
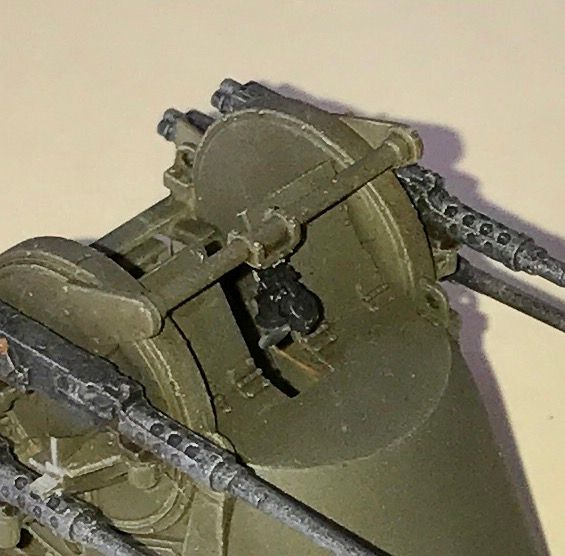
and then I painted the tail lights and reflectors

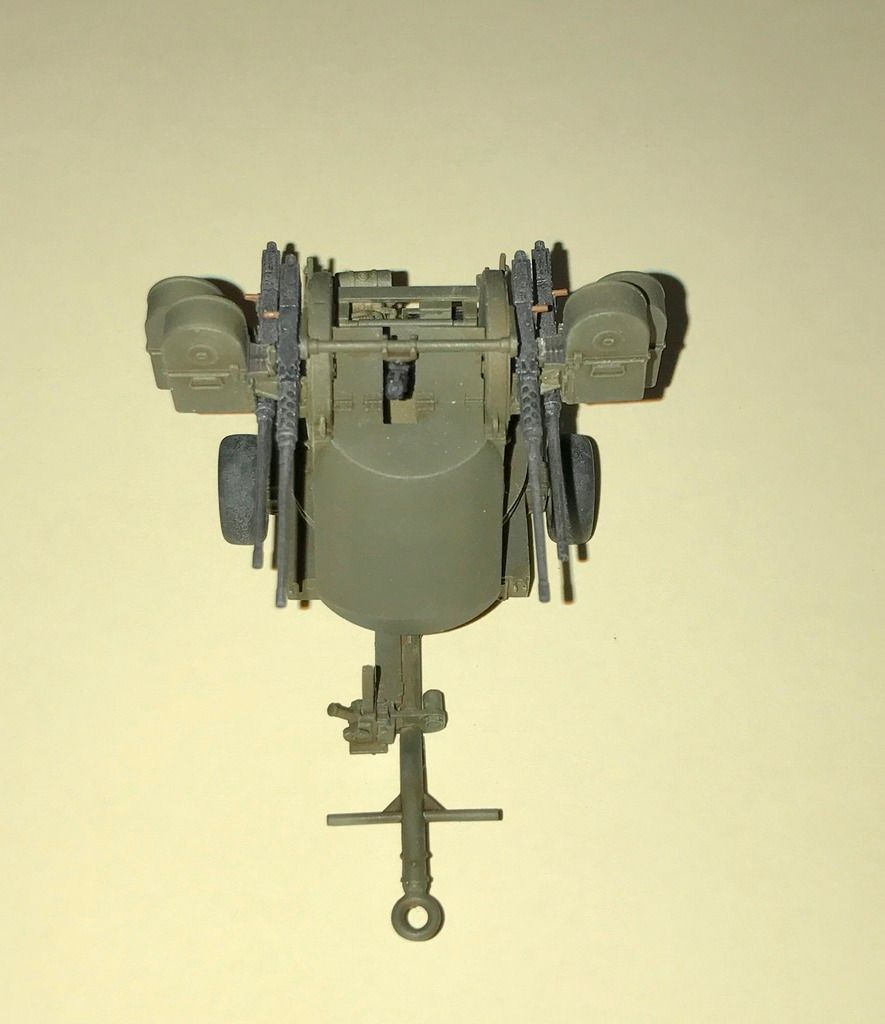
and as this is typed, the ammo cans are drying after I glued them in place a little while ago...
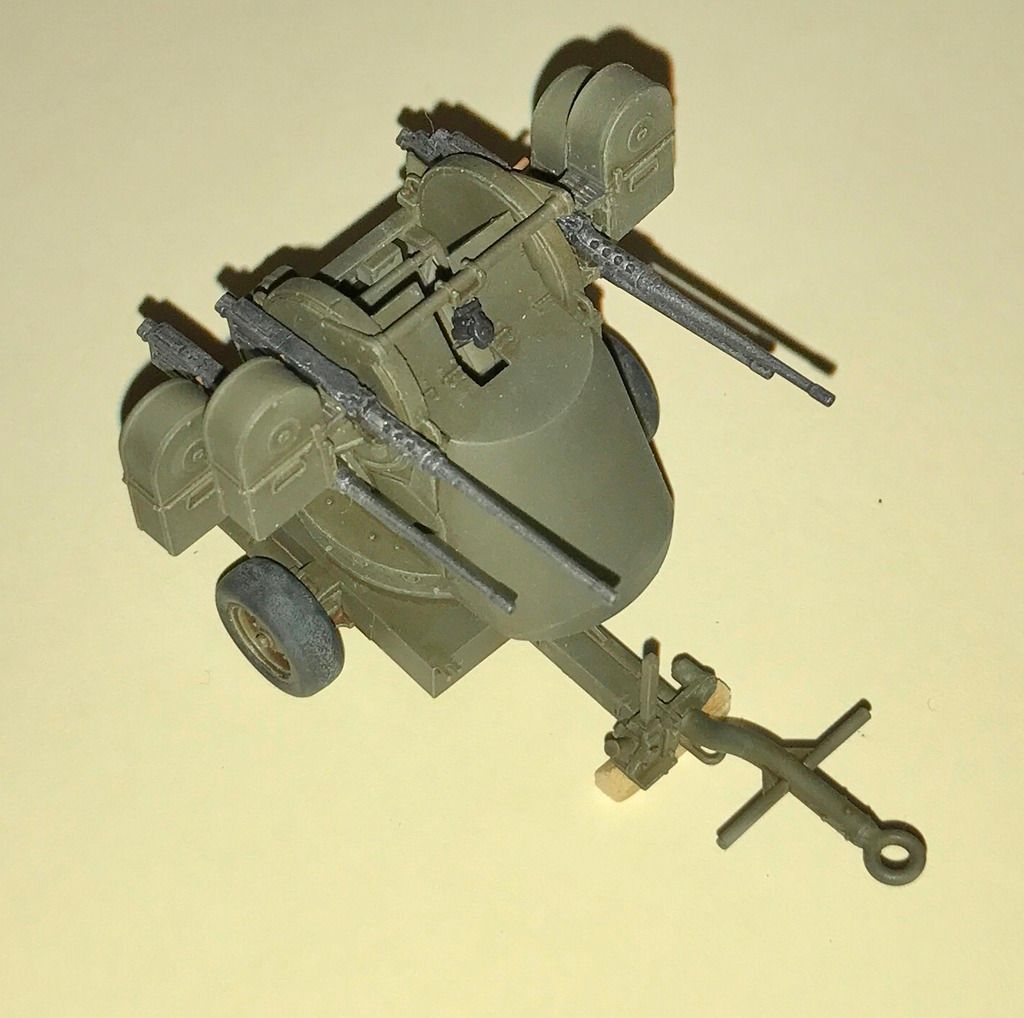
the build is now complete!
"Surely I have made my meaning plain? I intend to avenge myself upon you, Admiral. I have deprived your ship of power, and when I swing 'round, I intend to deprive you of your life."
FLSM
FLSM
-
Stikpusher
- Moderator
- Posts: 21199
- Joined: Sat Apr 05, 2014 8:37 pm
- Location: Ceti Alpha 5
Re: Stikpusher's GAABSA Builds
All done!!!

"Surely I have made my meaning plain? I intend to avenge myself upon you, Admiral. I have deprived your ship of power, and when I swing 'round, I intend to deprive you of your life."
FLSM
FLSM