Thanks guys! The prelim work for the resin is always worth doing nice and slow. So that's why I started on it first.
Thomas_M wrote:John, sorry for having given you a wrong name! I am this done after a long day at work, and I am over 50!

Man, really, I wished I could give you a hug, or a beer, whatever you prefer, for this great explanation! That is what I so much love about our hobby, and the people who come together to share some tricks!
These days I am trying to get the chrome off from parts of a 1931 Cadillac by Jo-Han. Slowly, but it works. But be assured, I did spend the reamining brain cell to store the information and inspiration you gave here!
Not at all Thomas! It happens all the time due to my screen name looking a lot like Jim. I'm appreciate your comments and wish you luck on the chrome removal. Using household cleaning solutions?
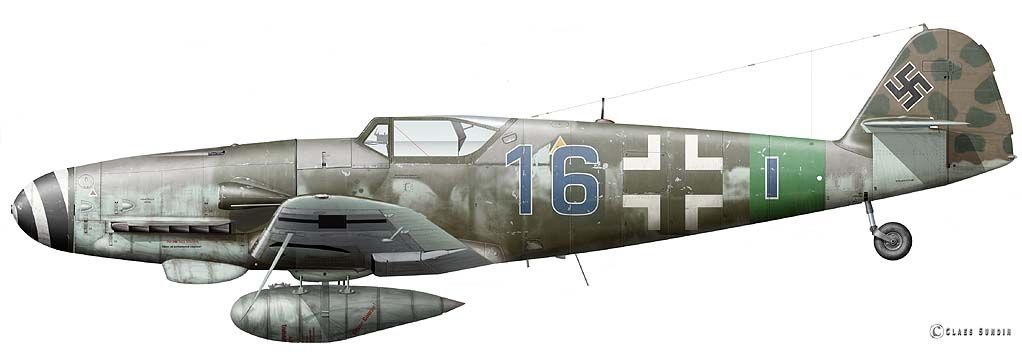
speedgraflex wrote:I have a 1/72 BF 109K4 of 12./JG27 (Blue 16 + I) unbuilt from Fine Molds and my research that I will reference here—and if I see anything that is pertinent I will add here.
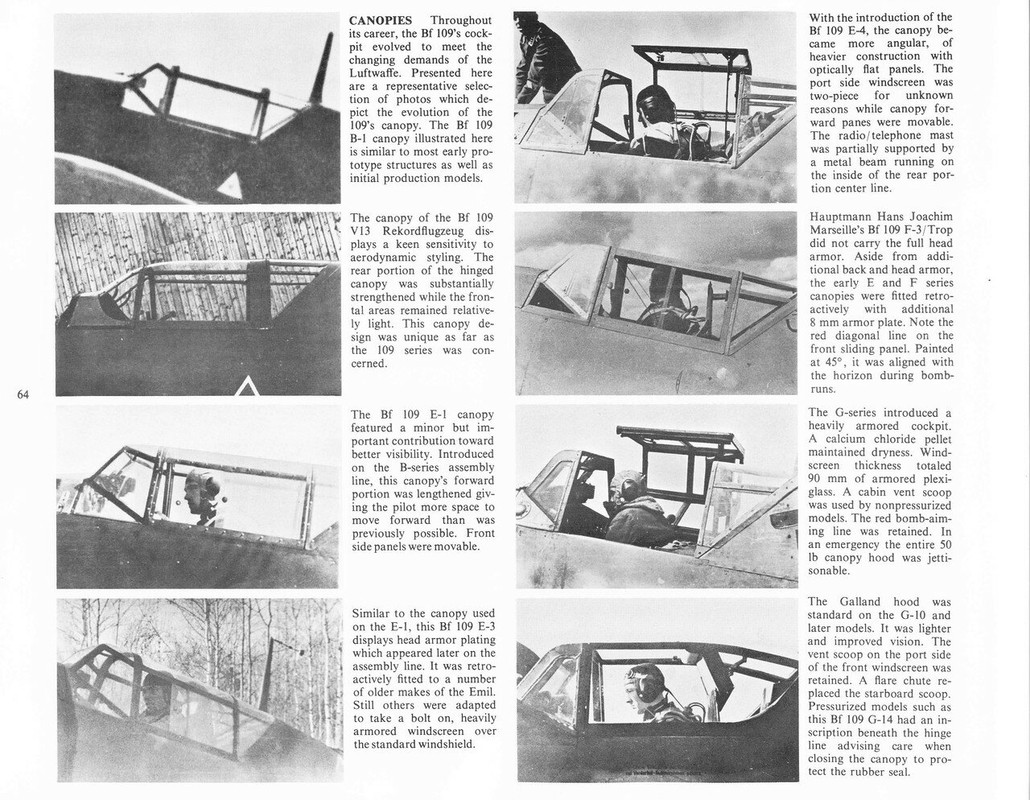
I will follow along with you. You already addressed the fuse shape issue. I think overall Hasegawa’s fuse is quite good with the exception of its canopy flatness—you already have a plan to redo this, I think—or is it a detail worth the fix itself?
The roll bar behind the pilot which attaches to the canopy mechanism looks a little too beefy to me, but that is definitely being picayune on my part. To me visually the diameter is a little over half the height of the canopy frame, as it sits in a recess to serve as the canopy opening-closing mechanism.
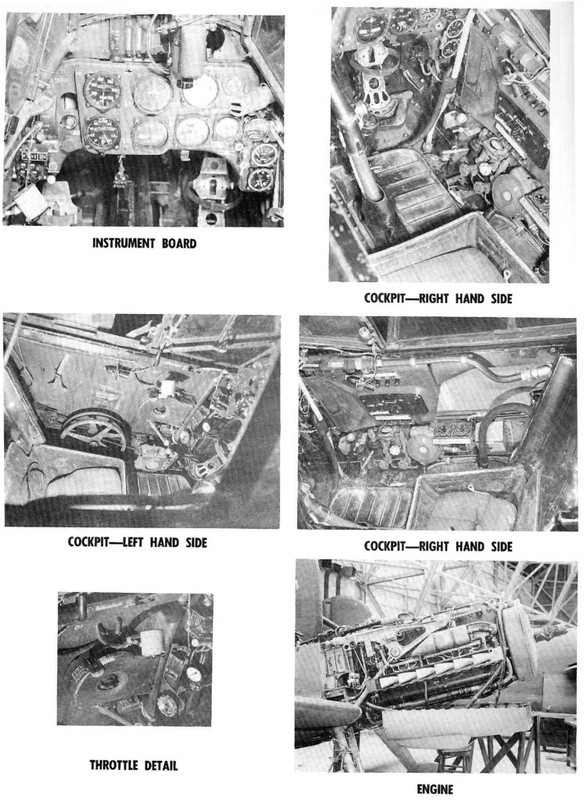
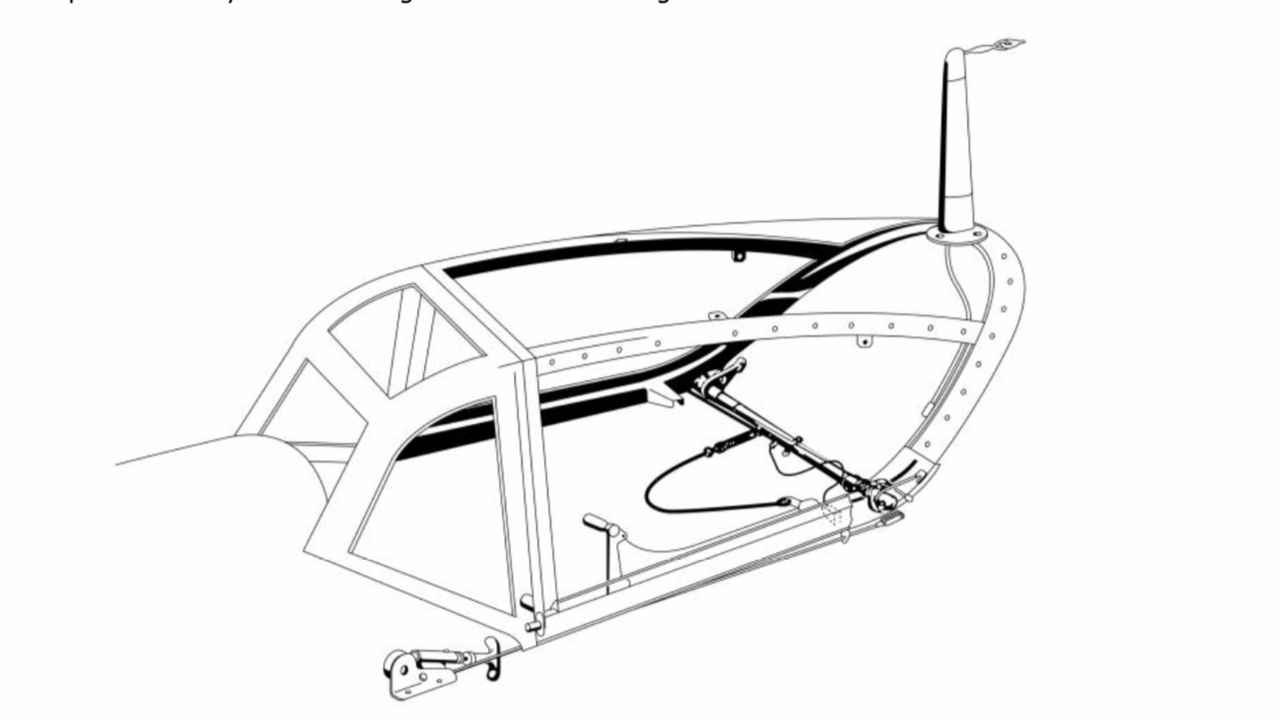
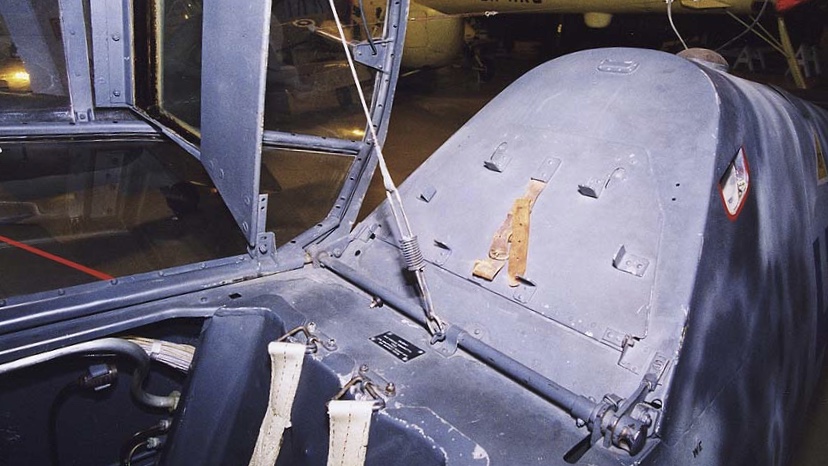 Here is a drawing that shows the mechanism and attachment points as well:
 The rest of that cockpit looks incredible! I agree with you about painting the resin to have an overall consistent starting point. I did this on Black 13 because the seat was blue plastic and the resin was dirty gray so the contrast needed to be eliminated before the color coats went down. I just hit that seat with primer to give it a better balance with the other elements.
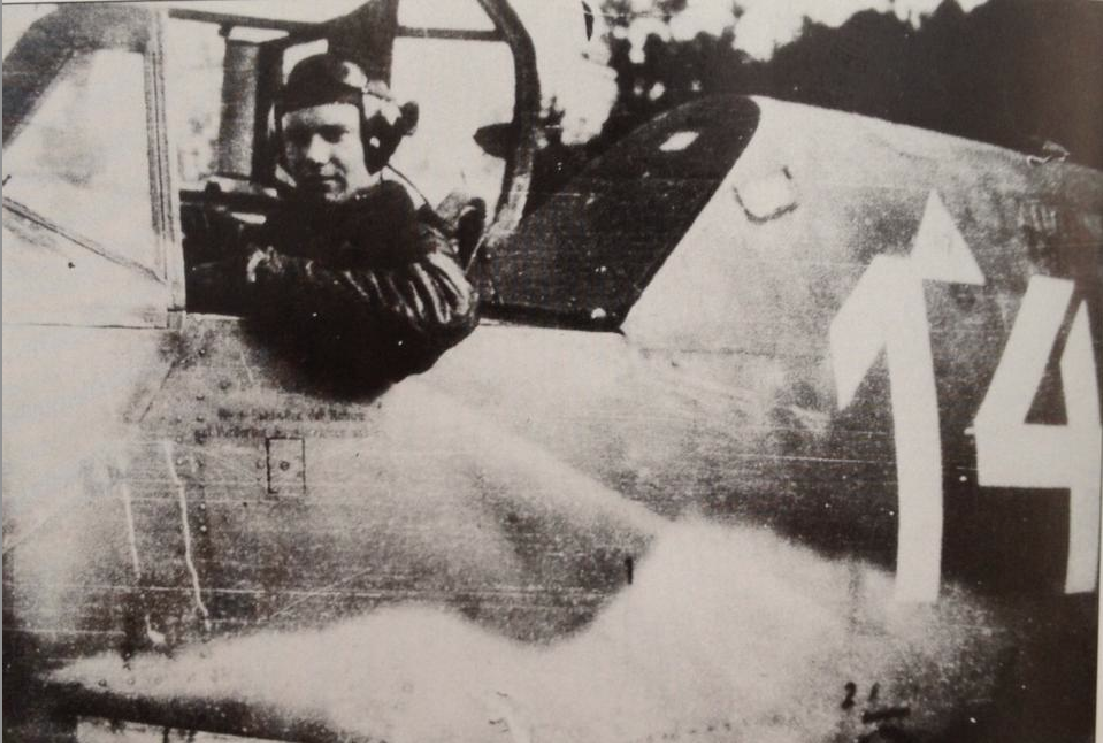
Thanks so much for the input Bruce! Blue 16 is an interesting bird and I think I have some information on it that I can share with you when the time comes. The fuselage issue can be handled a couple of ways. My ideal route is to use the RB Productions brass-framed canopy, which should have the correct profile on top. The instructions for the canopy mention the erroneous flatness of the Hasegawa fuselage and include a cross-section to help you correct it. The canopy is also meant to be movable using simple pin/hole joints but I'm skeptical on how well this will work, especially with the wire restraint system that is shown in your photos. I don't mind the bar part being a little overscale and I'm not planning on shaving it down significantly at this point.
That photo is GREAT... VERY helpful,but tell me, do you know if that is a K-4? The shape of the hatch cover behind the pilot is the exact same shape that the kit provides. However, the photos of K-4's that I've seen show a different shaped hatch. The proximity of the loop antenna and the aerial mast on top of the canopy indicates that it might not be a K-4?
Medicman71 wrote:
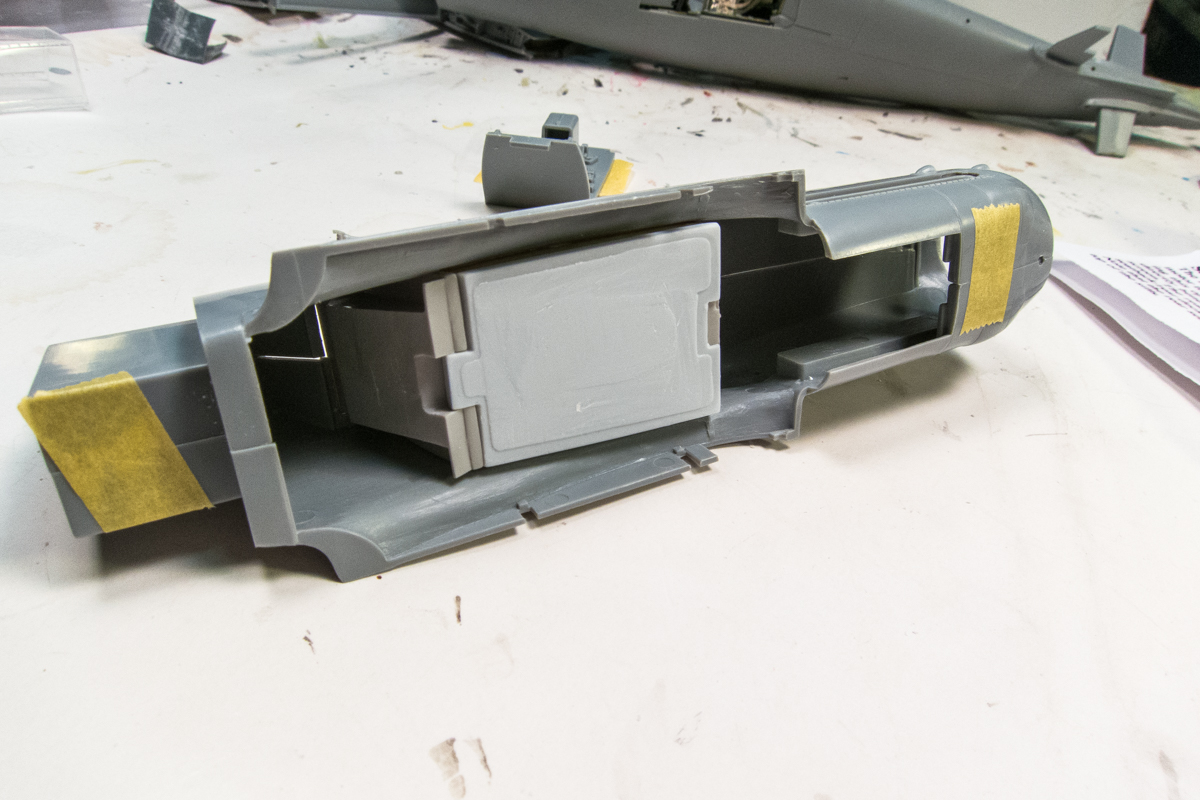
Oh look. A resin pit that actually fits. Go figure.
This is always a cause for CELEBRATION! I love when resin parts play nice. The only real challenge was getting the casting block off the wide floor piece. These shallow but wide blocks are always a pain. My saw couldn't get all the way across in one direction so I had to make four separate cuts and work toward the middle... took a long time and cramped up my fingers pretty bad.
KennyX wrote:
Gee wiz. The harness is just kinda bolted on there, isn’t it

clearly these fighters are from a time long before we Nerf’d everything!
And looking at this photo again, I can see that the bar in my photo was place upside down. It will be corrected when I install it permanently!