Page 2 of 6
Re: 1/48 Hasegawa Ju-87 B-2 Stuka
Posted: Fri Apr 18, 2014 4:51 pm
by mustang1989
Thanks Handi, mostrich and Karl!! I appreciate the great compliments. More on the way.............
Re: 1/48 Hasegawa Ju-87 B-2 Stuka
Posted: Fri Apr 18, 2014 8:45 pm
by mustang1989
LOL.....Being in my 40's I know EXACTLY what you are sayin'. I'm stickin' to 48th for as long as I can! Call it denial!!! haha
Re: 1/48 Hasegawa Ju-87 B-2 Stuka
Posted: Sat Apr 19, 2014 7:04 am
by LyleW
Joe, wait for the 60s! My heavens son, what a fine job you've done. I still need a Stuka or two in my pile. Well done!
Re: 1/48 Hasegawa Ju-87 B-2 Stuka
Posted: Sat Apr 19, 2014 7:47 am
by mustang1989
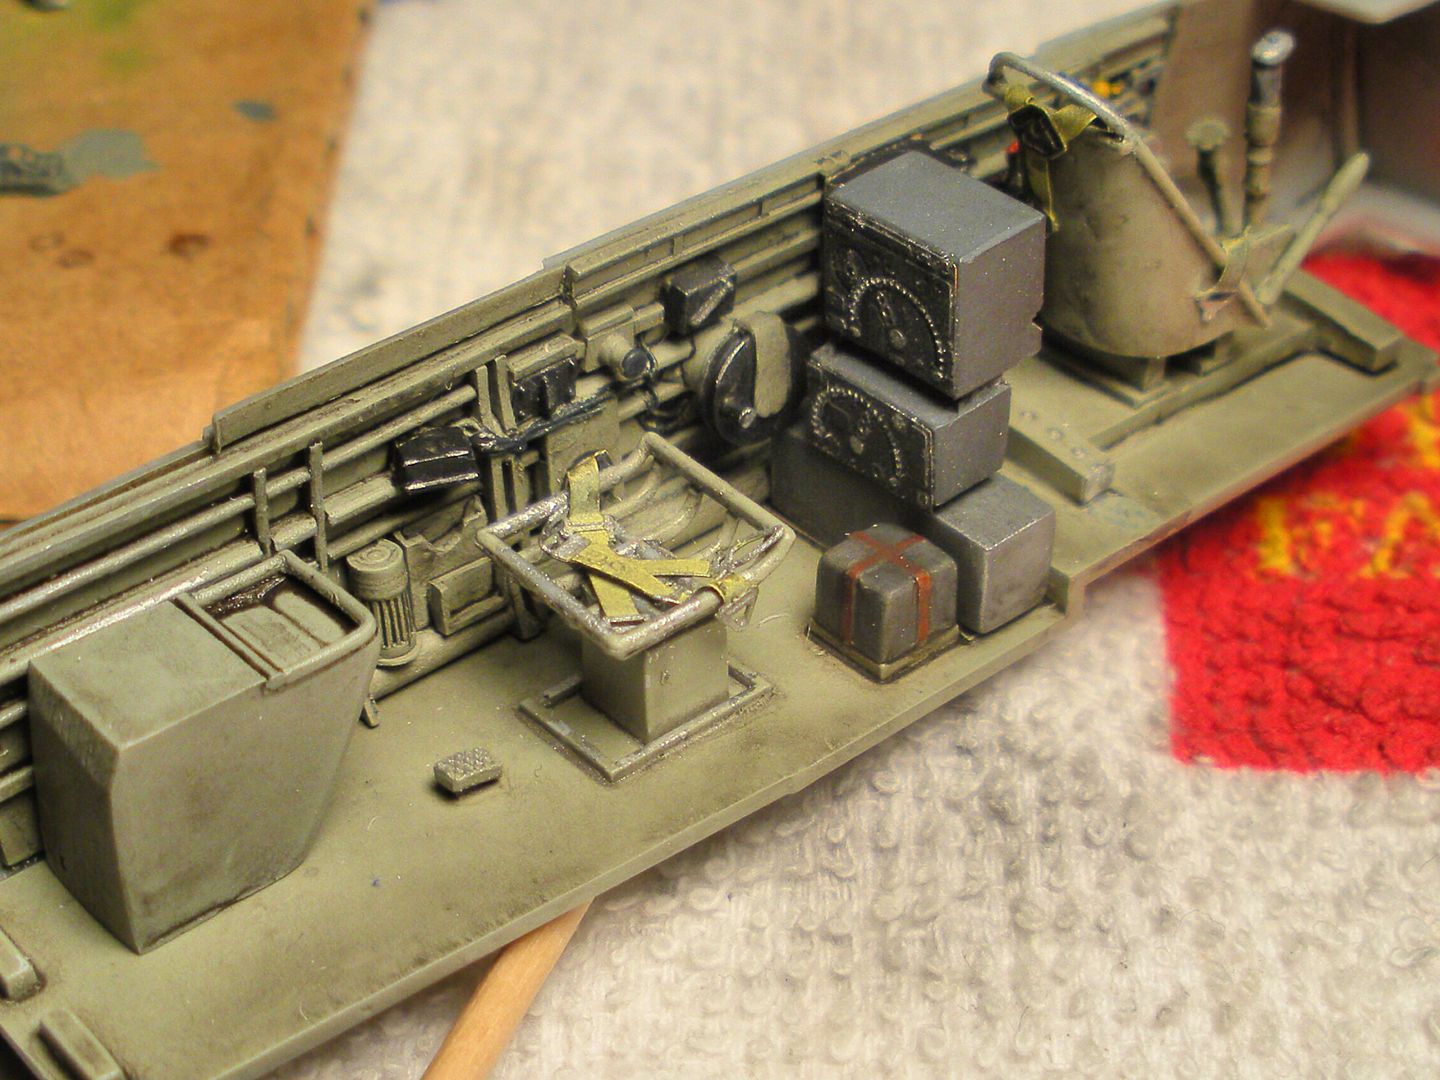
Thanks Lyle!! Hopefully I'll still be building well into my 60's and more hopefully long after that! Well folks I installed the S5b and F5a radio transmitter and receiver stack into the cockpit and something just didn't seem right about the look.....
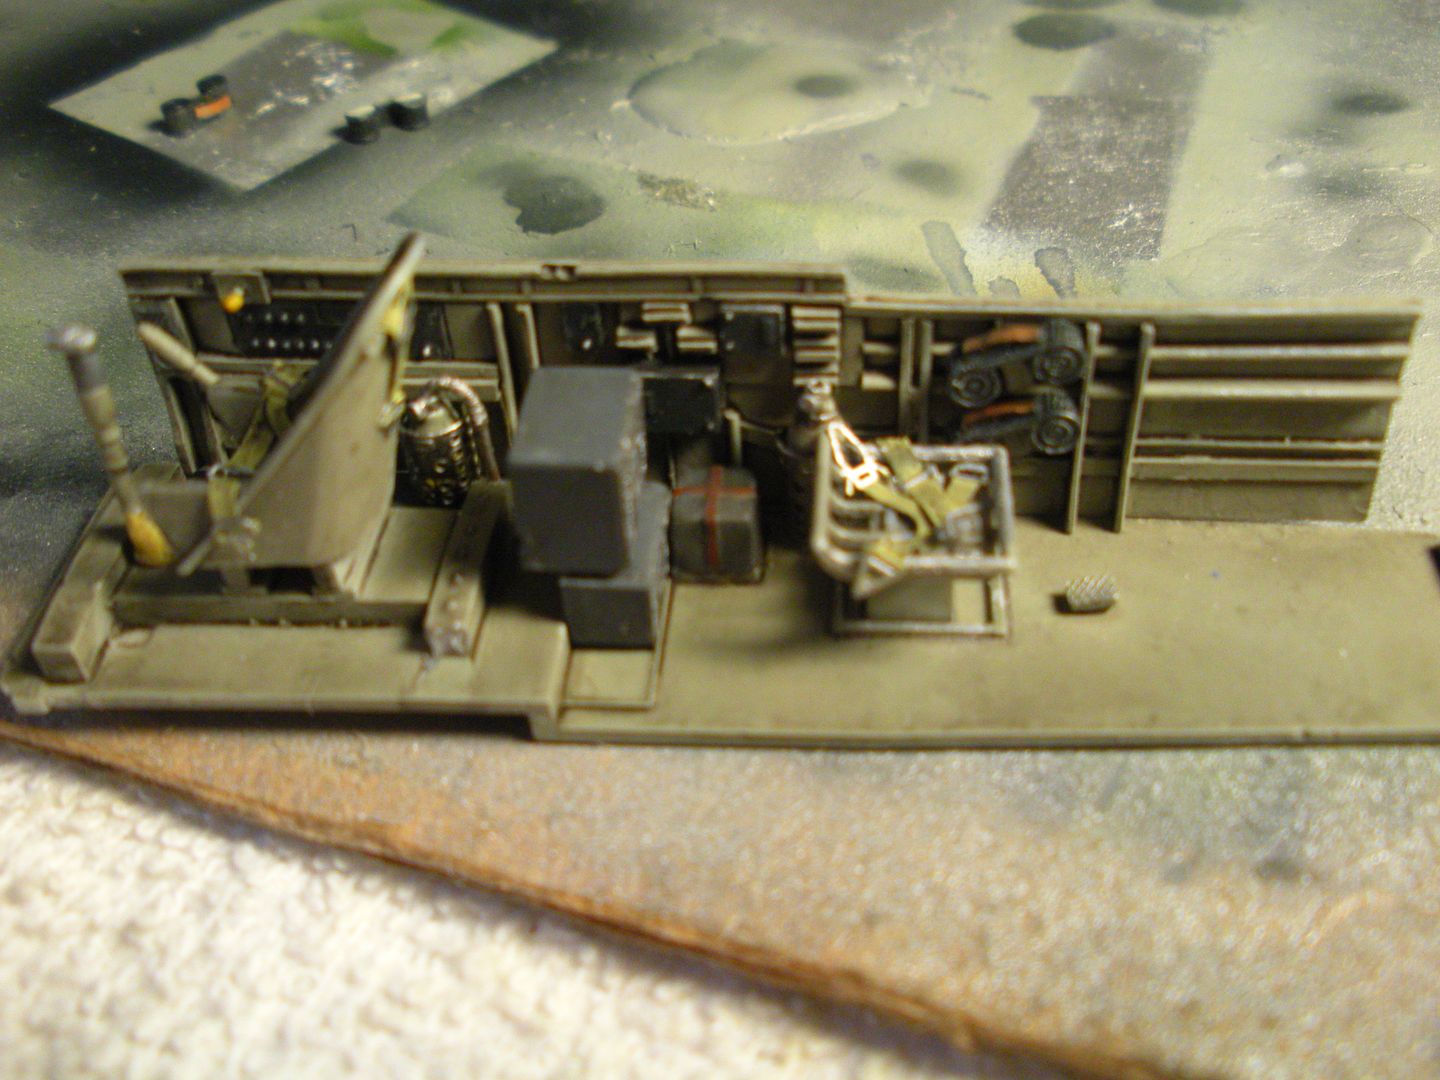
And then I got to looking at my references and found that there is another "box" under the two radios! A little fabrication, painting and weathering later.....and wa la!! After I took this last pic I ended up thinning that over done wash up in the top of the ammo dumpster!!
Now..........that's better!
Re: 1/48 Hasegawa Ju-87 B-2 Stuka
Posted: Mon Apr 21, 2014 8:26 pm
by mustang1989
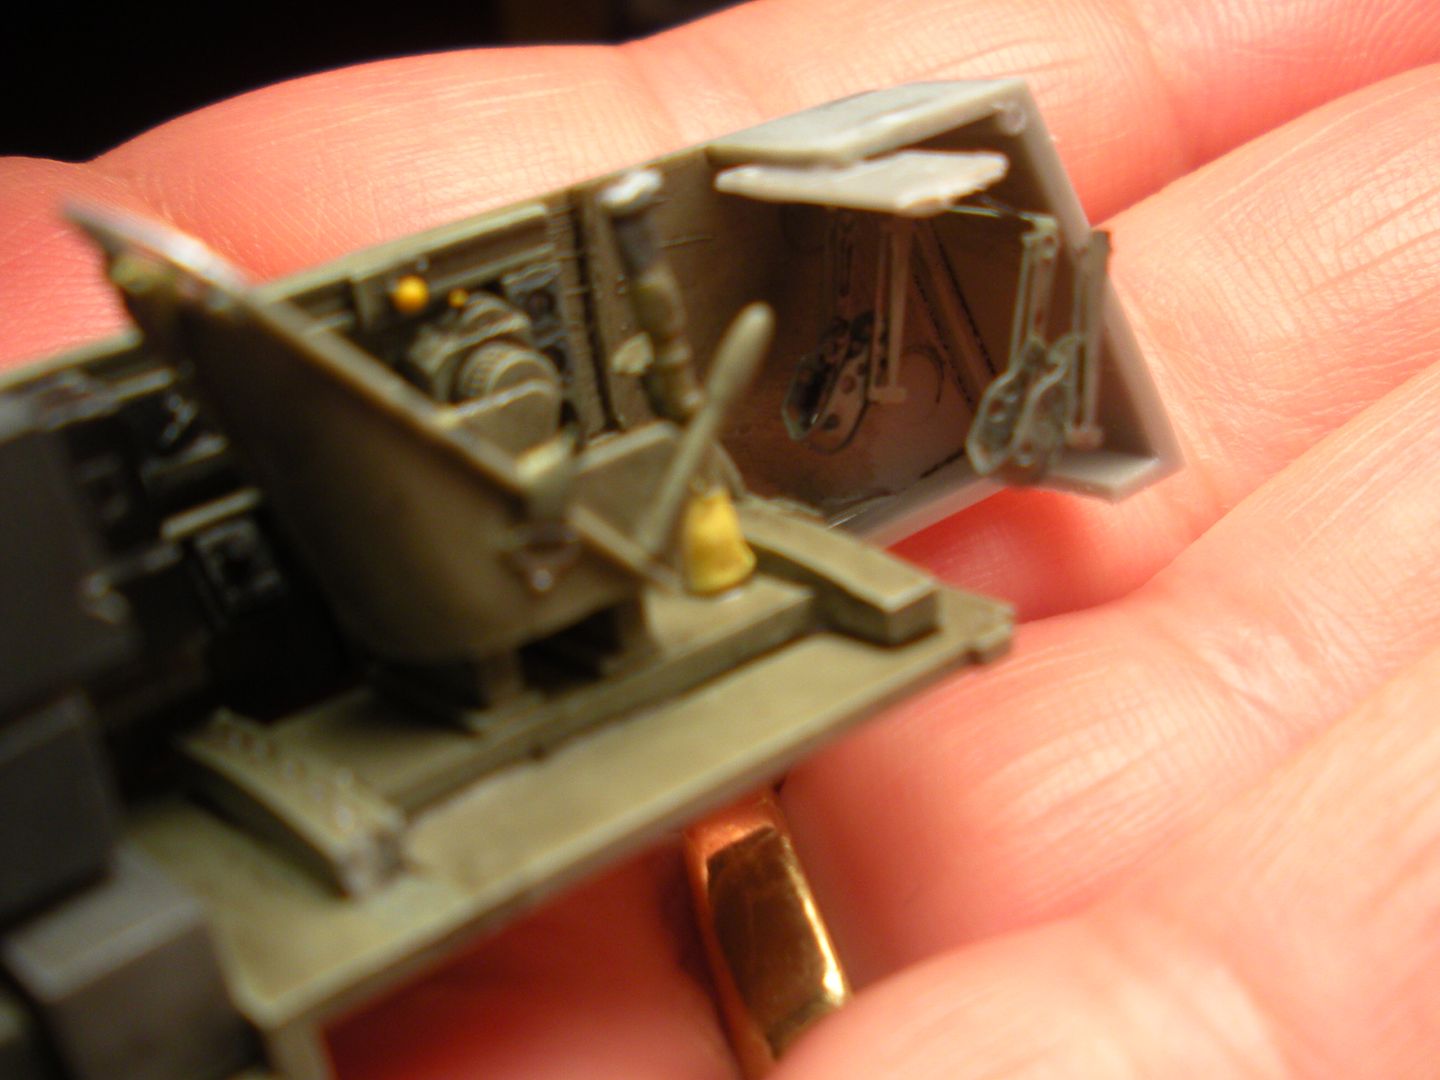
Got the rudder pedals installed. THIS was a friggin' test here! The Aires instructions had me adhering one of the tiny retaining legs to the top of the L/H side fuselage and the other to the R/H side after both fuselage halves were glued together...............................................................riiiiiiiight! Sure thing! I took a spare piece of plastic stock and glued the pedals to that and then that assy to the L/H fuselage half. It was alot easier to glue the other side after the L/H side glue had dried. For tha love of Pete here!

Another view here:
Re: 1/48 Hasegawa Ju-87 B-2 Stuka
Posted: Tue Apr 22, 2014 2:50 am
by pzl66
Beautiful cockpit Joe!! More!!
Re: 1/48 Hasegawa Ju-87 B-2 Stuka
Posted: Fri Apr 25, 2014 3:09 am
by mustang1989
Thanks Kevin! Well folks its time to close the fuselage halves up. Honestly this is the part of the build that I dislike the most, when we have to close up all that detail that we've slaved over. So here's a farewell pic to the cockpit detail.....sniffle sniffle

.............
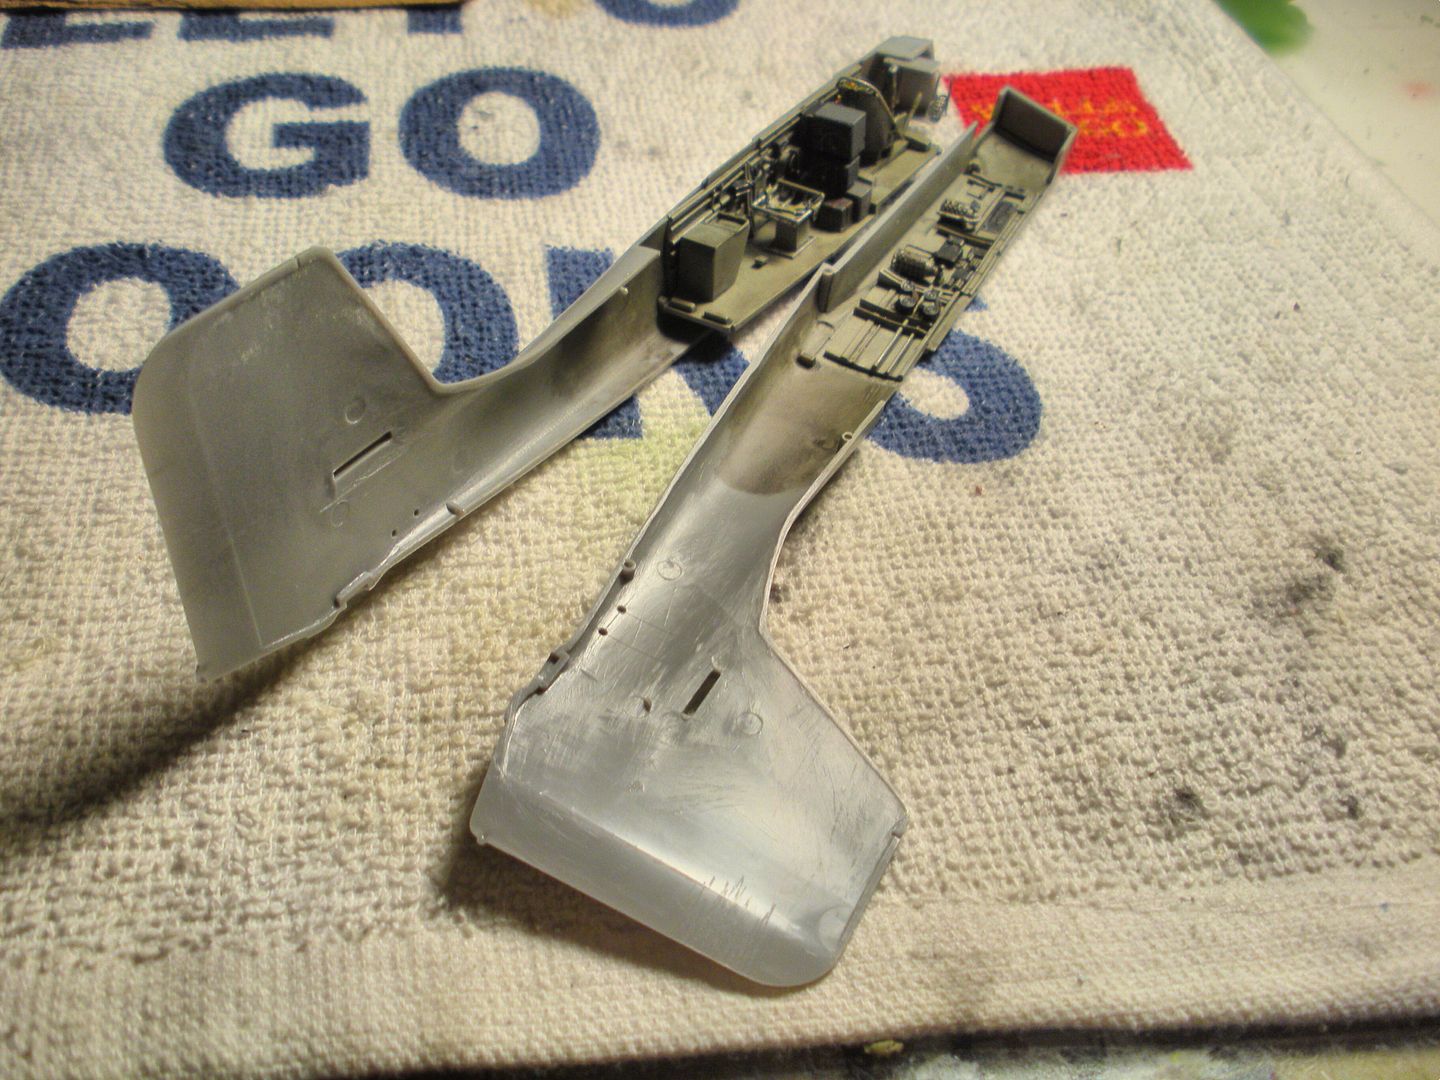
and the pic of the halves together drying...........

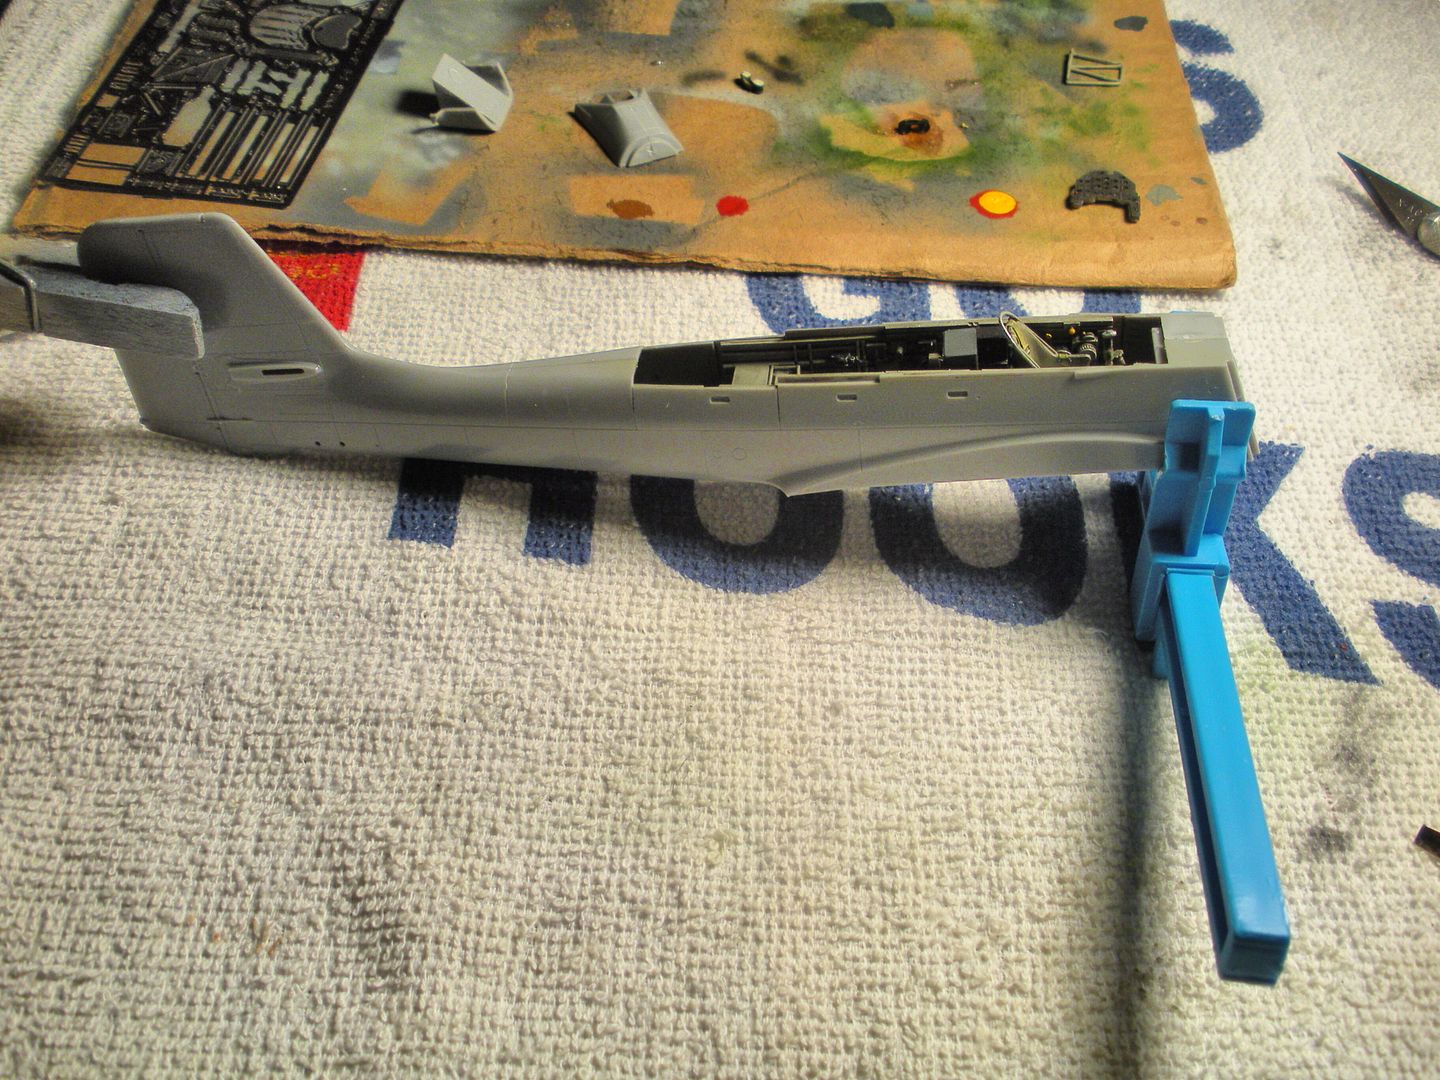
and onto the wings while all of that is setting up. I drilled the holes in the port wing to cut out the wing machine gun access panel and was cutting when I hairline cracked the wing in the lower L/H corner of the pic here. I could have made it past that until I cracked it again in the top of the pic.

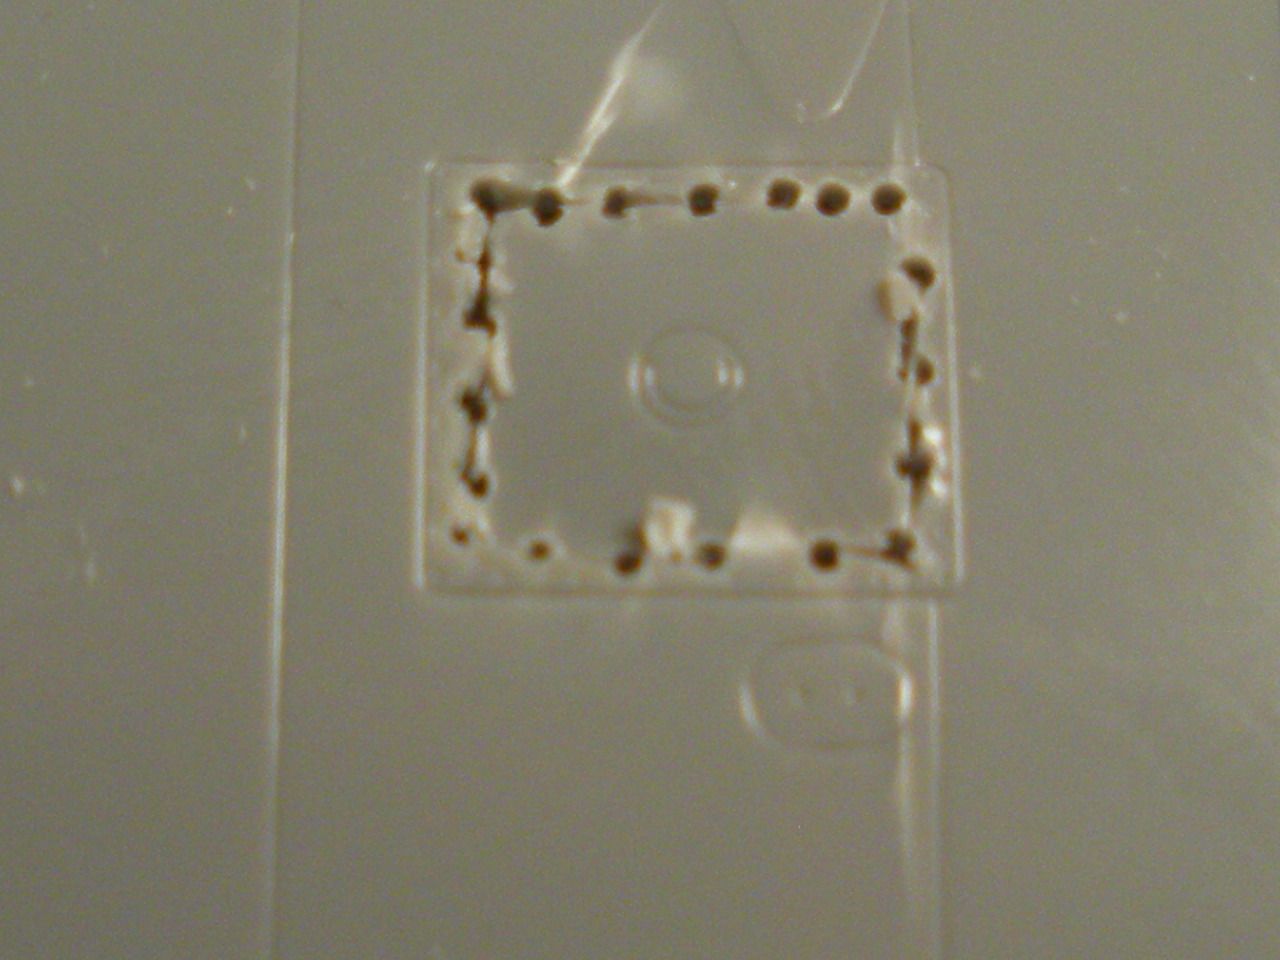
I have two other complete spare kits of this model so I broke out my spare parts. Looks like I'll be visiting the Revell site. lol
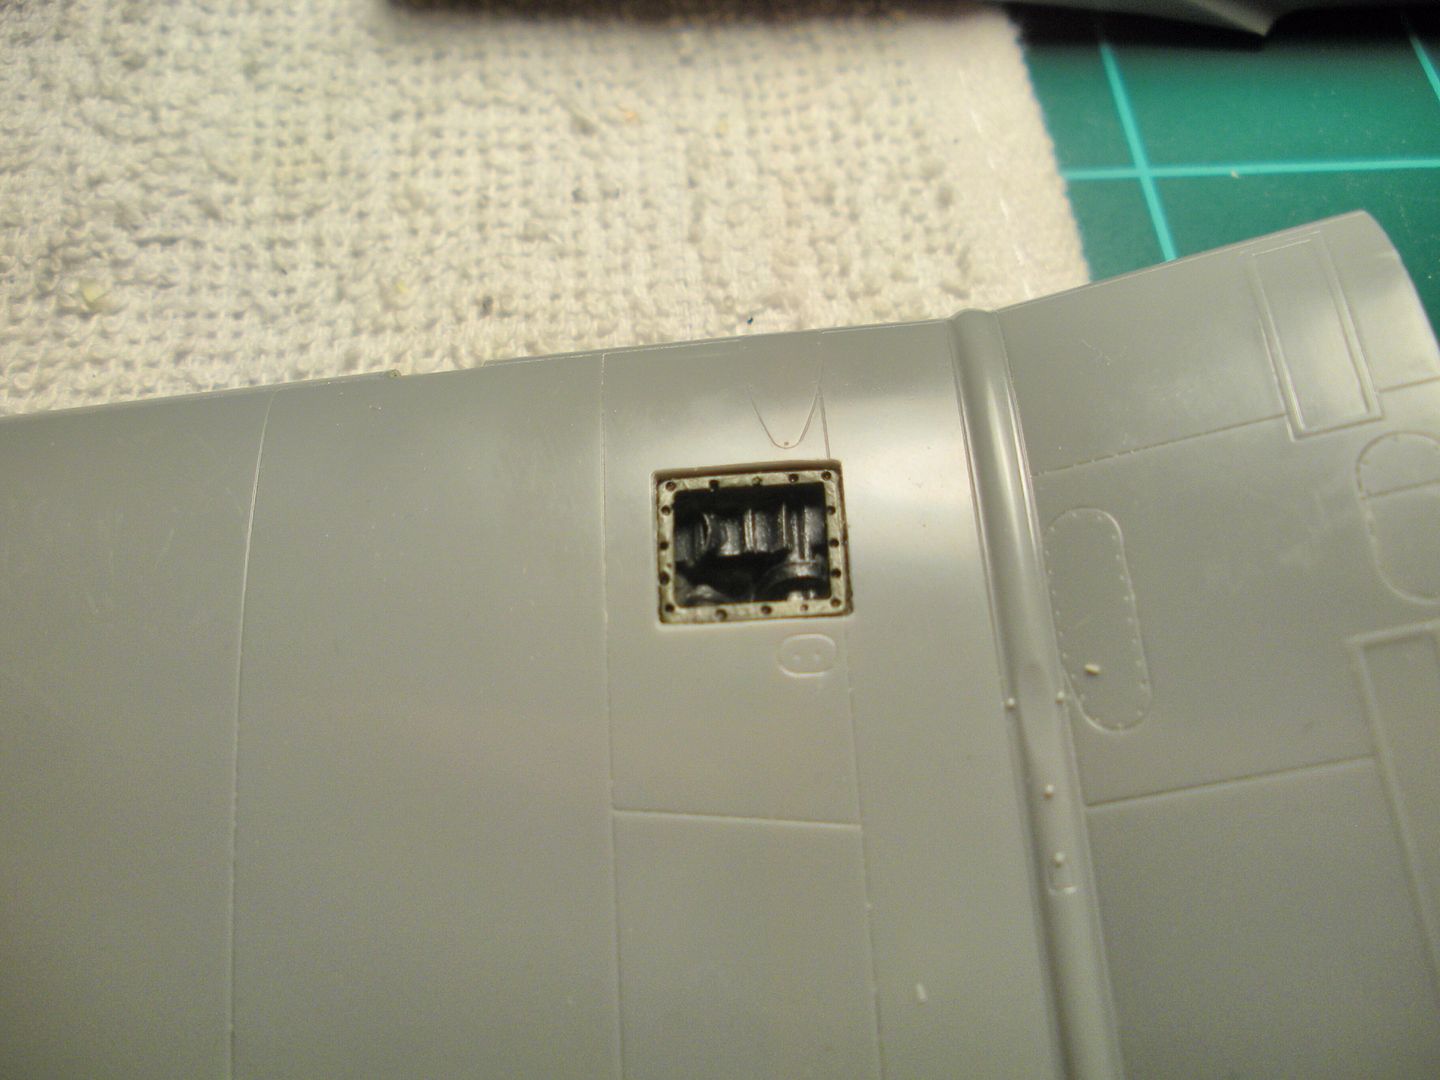
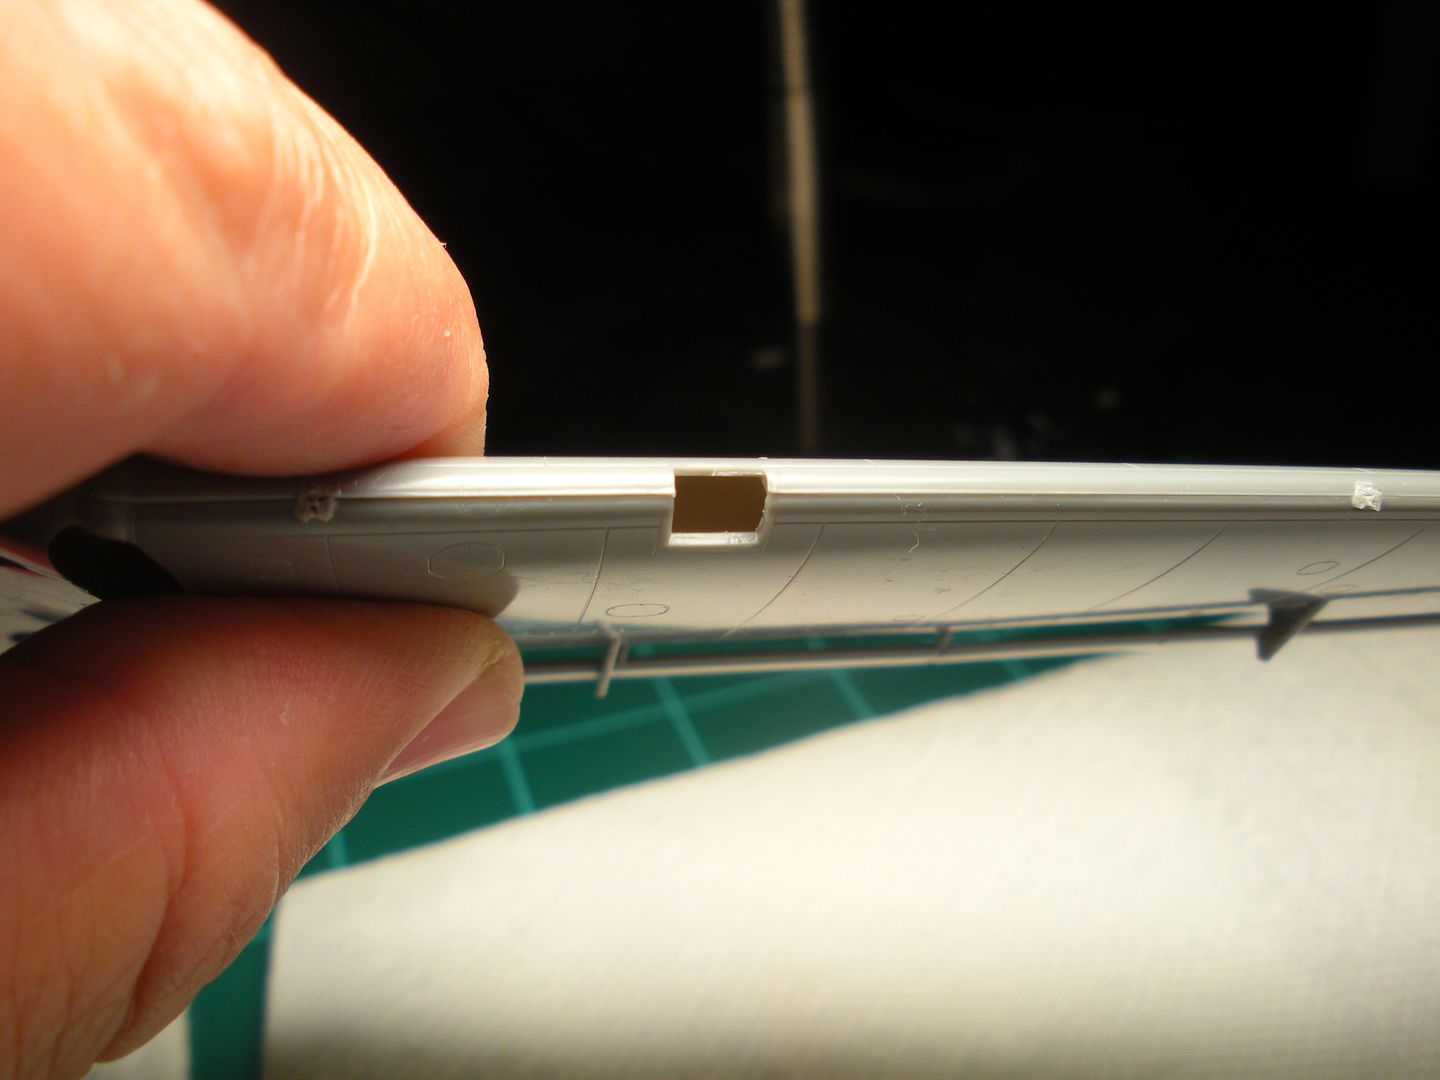
I managed to cut the hole out this time almost perfectly:
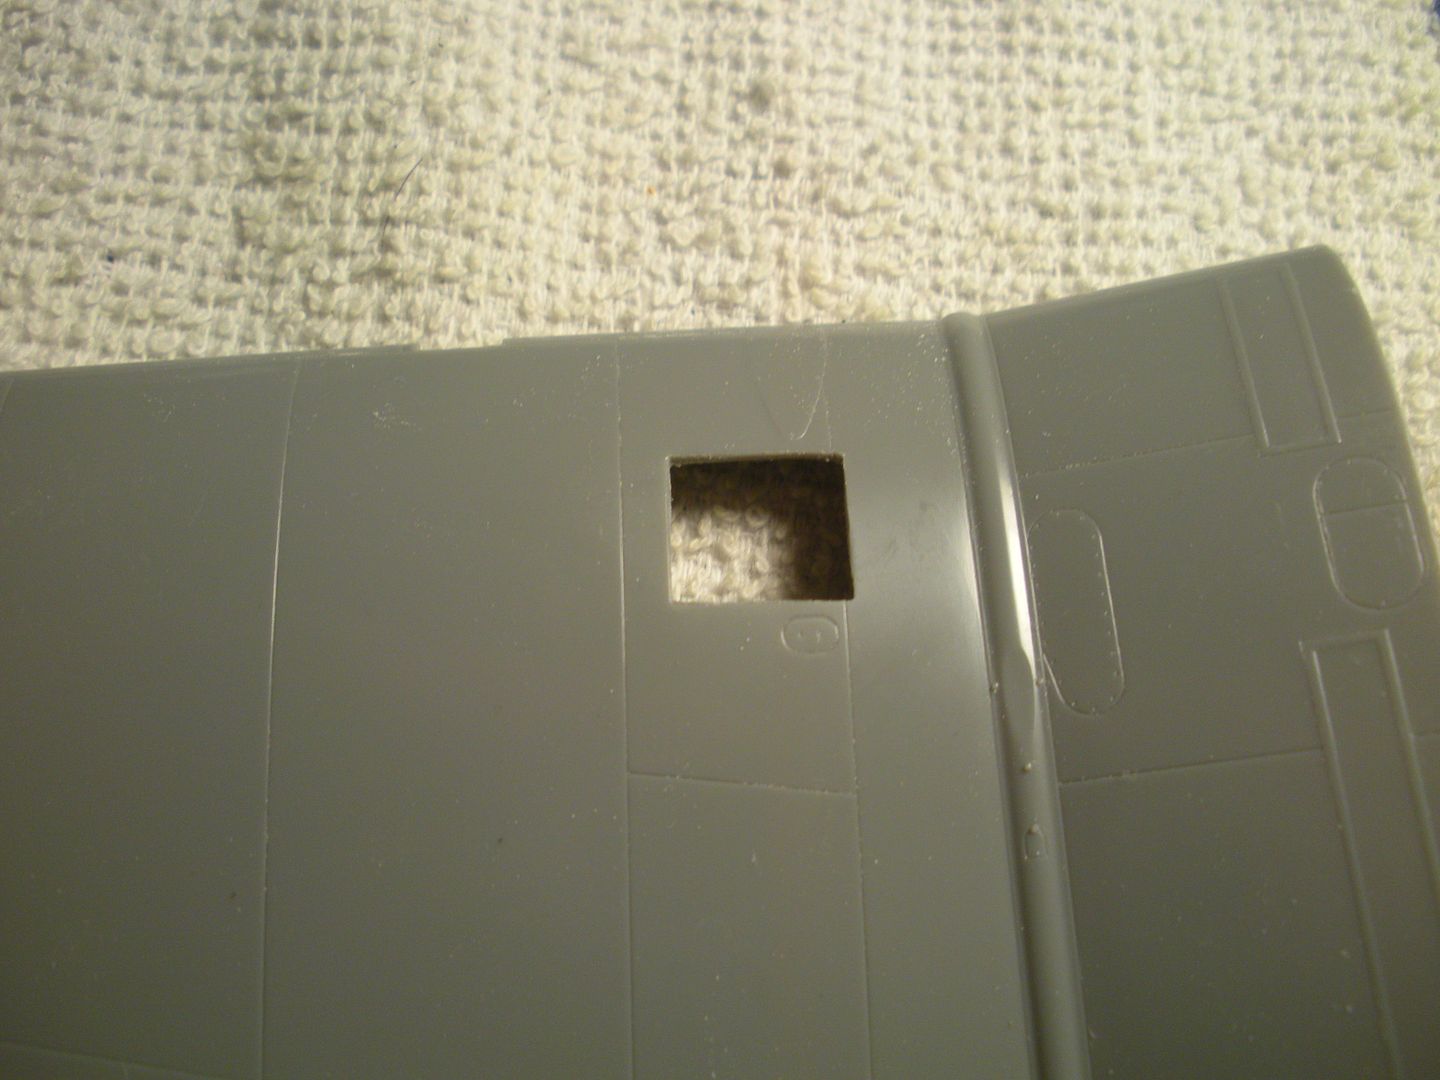
and here we are with the "guts" test fitted. I'm happy!
Re: 1/48 Hasegawa Ju-87 B-2 Stuka
Posted: Fri Apr 25, 2014 3:47 am
by KSaarni
The rudder pedals are just amazingly well made!
- Kari
Re: 1/48 Hasegawa Ju-87 B-2 Stuka
Posted: Sat May 03, 2014 3:29 am
by mustang1989
Thanks Kari! Sorry it took so long to get back to you all here. Man I'll tell you guys, I'm starting to expect at least one MAJOR obstacle in every build I do. Maybe its the kit , maybe its my experience level.....I dunno. This thing had the WORST most HORRIBLE fit at the bottom of the fuselage joint just aft of the wing centerpoint. The cowl cover was the same way as was the lower piece that I glued onto the fuselage just in front of the lower wing centerline area. Sandpaper, sanding sticks and whatever else I can throw at this thing have been true friends to me here. More on that later.
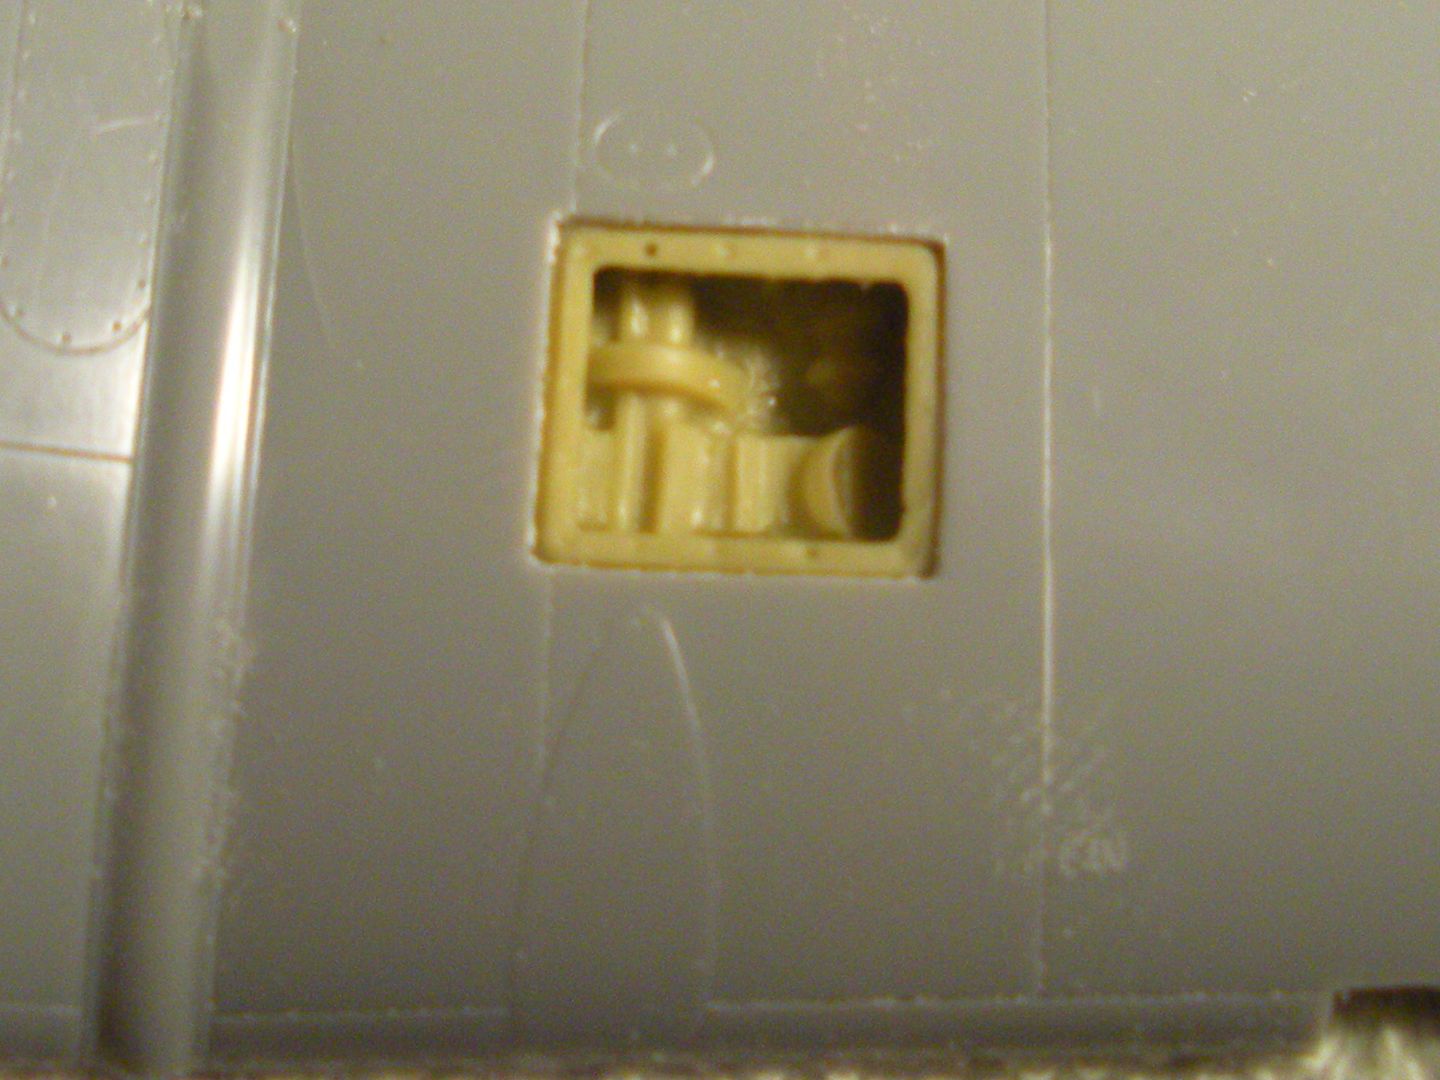
Here's the Verlinden port wing mounted MG17 machine gun internals after painting and weathering........
and here's a little scratchwork here. When I was looking at the "landing light" hole in the port wing that was simply supposed to be covered by a clear lens and left with a vacant hole I said................."NO." Here's what I mean......
I don't know what homo was sluffing on the job that day at Hasegawa but that there aint gonna git it!
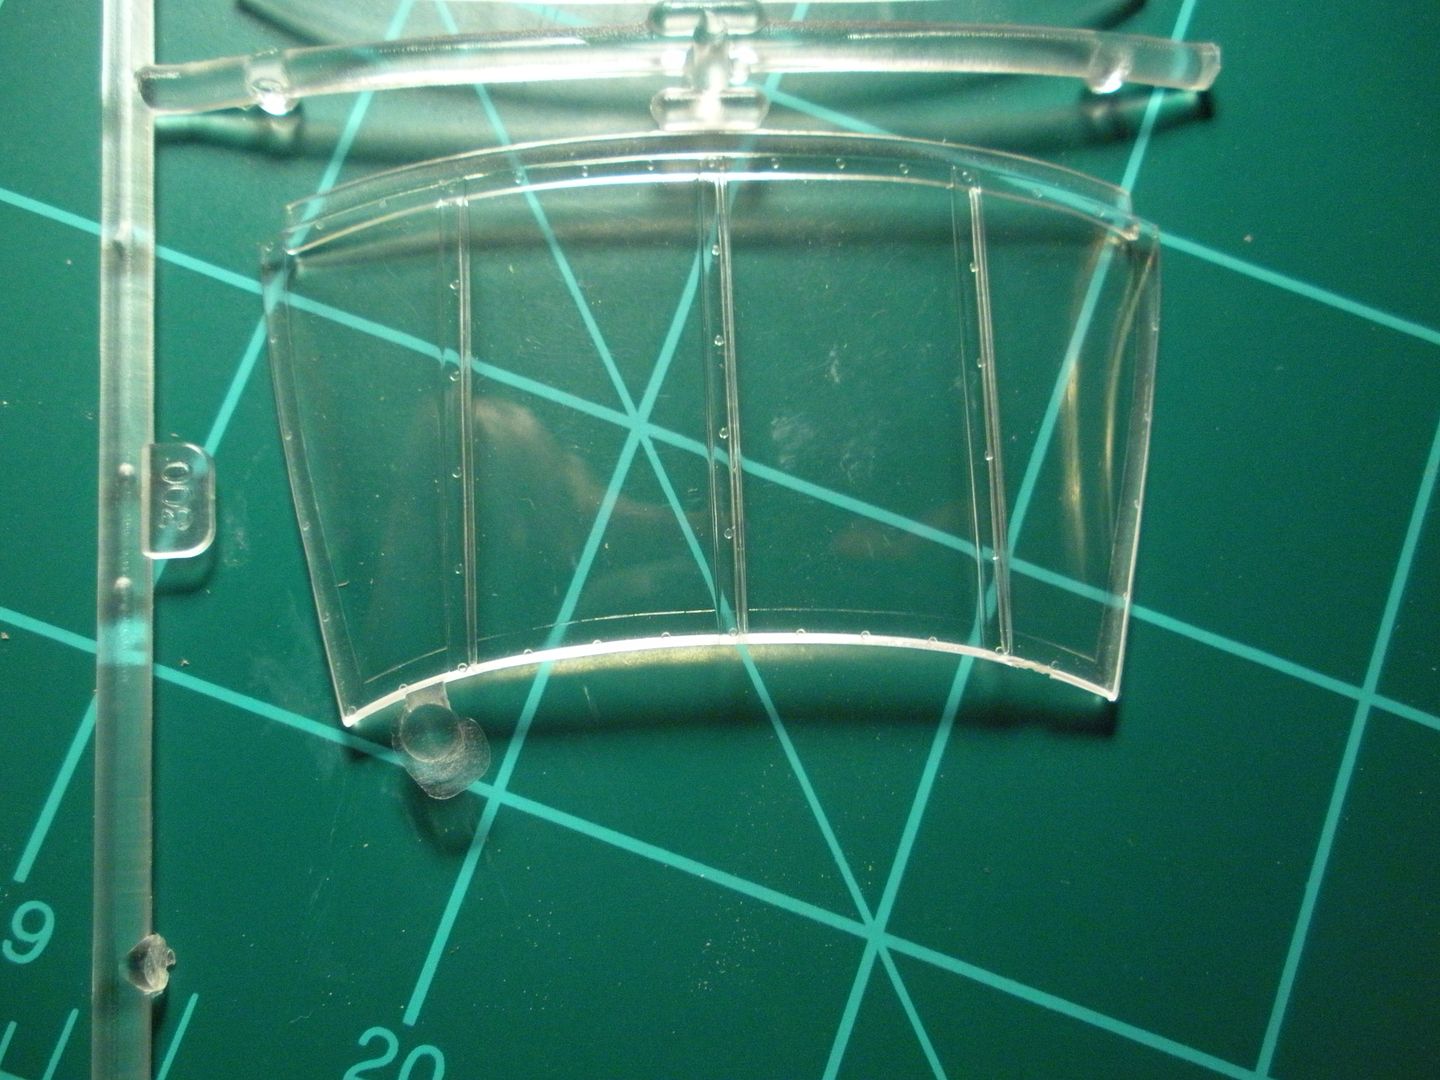
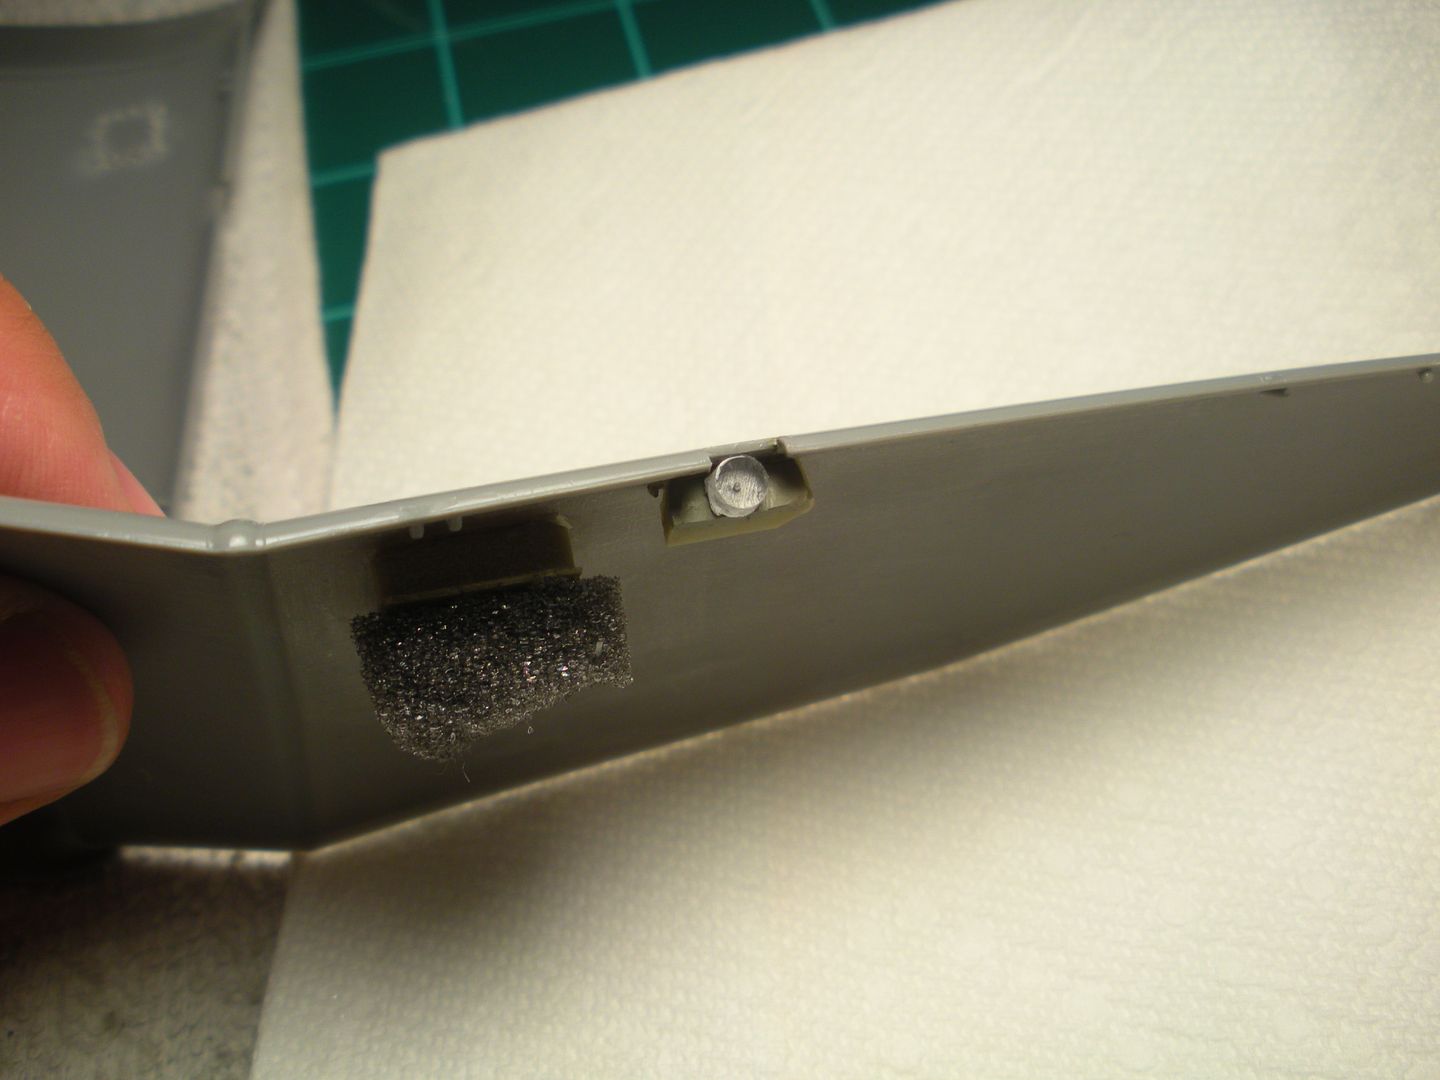
So......I broke out a spare resin block from all the resin stuff that I do and cut it to size so it would fit between the wing in order to mount a "landing light" to it. As for the landing light? I spied a windshield out of a Mark Martin #6 Thunderbird I had in the stash and cut one of the molding tabs (you guys know the ones) off of the top of the windshield .........(notice the right side tab is gone)
I then trimmed it up so it would be round and reduced the thickness of it. After that I painted the back side of the light chrome silver and added one drop of future floor polish to the lens to give it that concave look and to make it super clear and mounted it...........

The foam you see is insurance to keep that MG17 right where its at instead of possibly falling in the wing later on in it's display life (happened to me once).
and another internal shot of the light
and then the finished product with the wing halves held together to show the end result of the light....