Well, it's a new month and time for another short tour. This one will be focusing on the Motor Pool since that has been where almost all the work has been happening. The rest of the plant is being re-organized and therefore nothing else has been able to happen. So, all aboard the trams and let's go see what's happening.
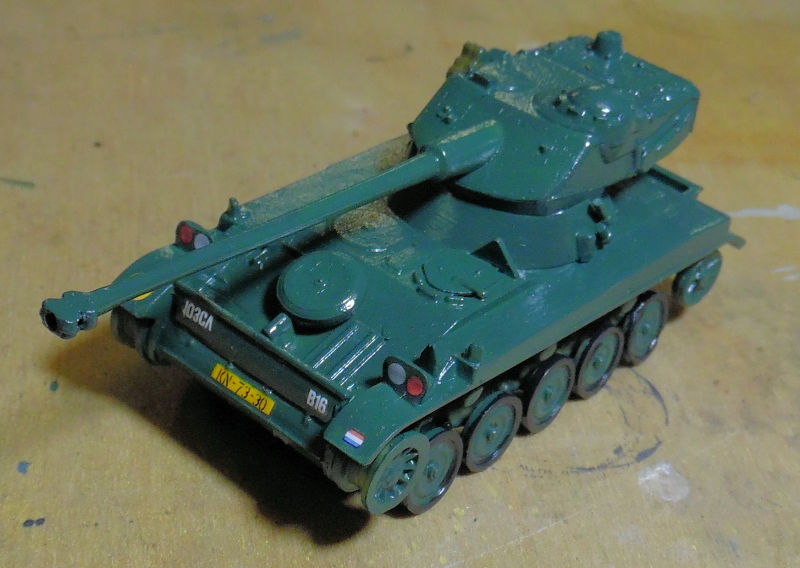
The first bay of the Motor Pool has the French AMX 13 tank which has now been painted:
After some more detail painting and a glosscoat this was then decaled:
Once we find a glue that will hold the tracks together, we'll add them and then weather and finish this tank.
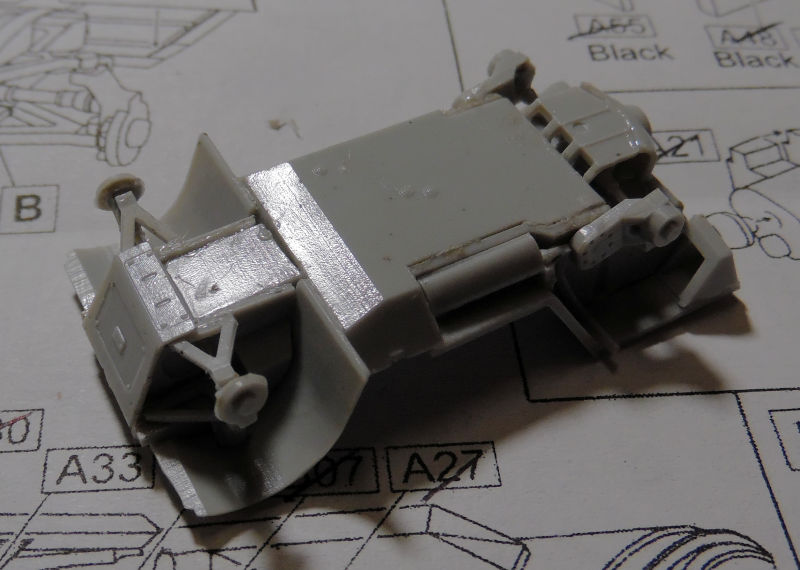
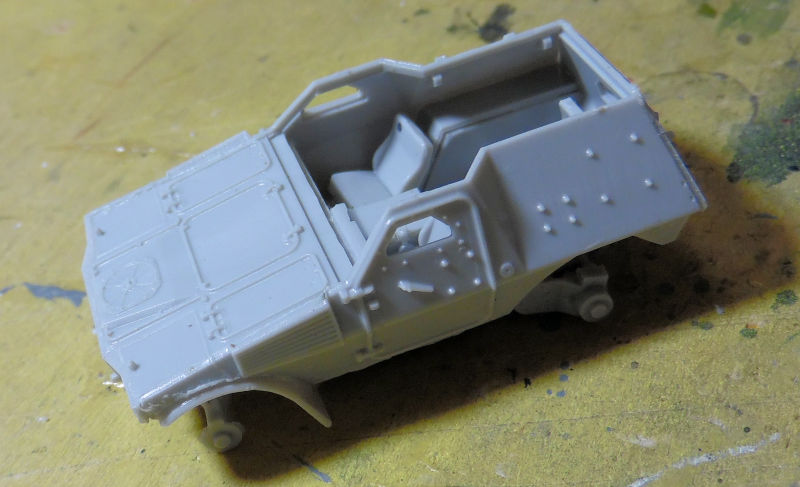
In the next bay is another French vehicle that we've been working on. This is the little VBL scout car sporting a Milan anti-tank missile launcher. When seen last, it had the basic chassis built up. Now we were able to add the suspension:
The interior and sides were then added:
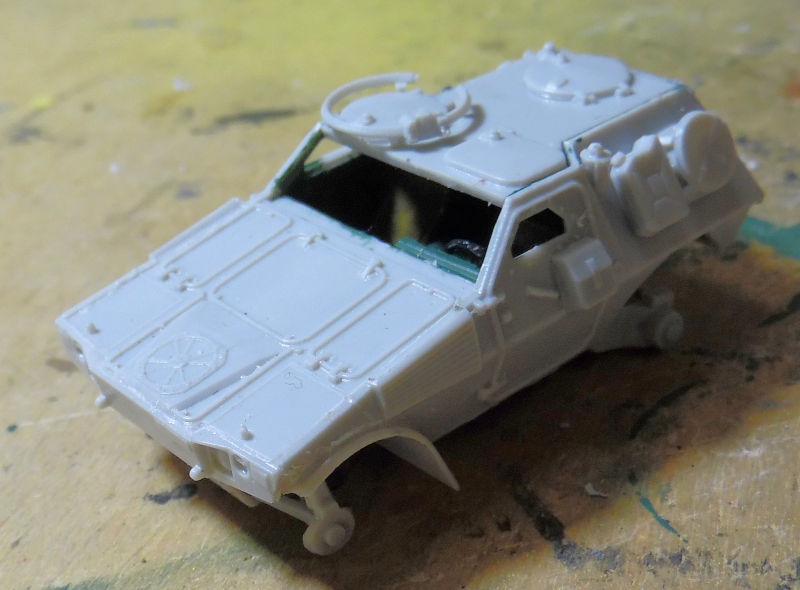
After the interior was painted, the top was installed and some additional detail parts were cemented into place:
The Milan launcher was pretty delicate but fairly easy to build:
A base coat was then added:
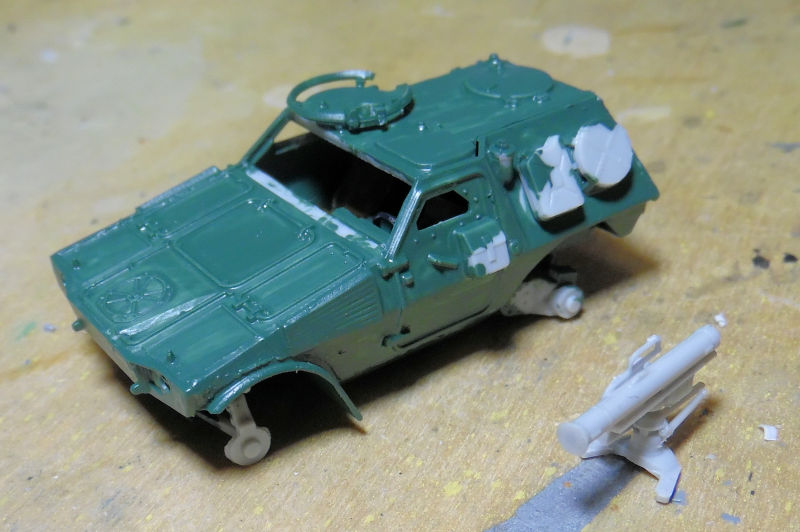
Later the camouflage pattern and detail parts were painted and a gloss coat applied. Once dry, the decals were added:

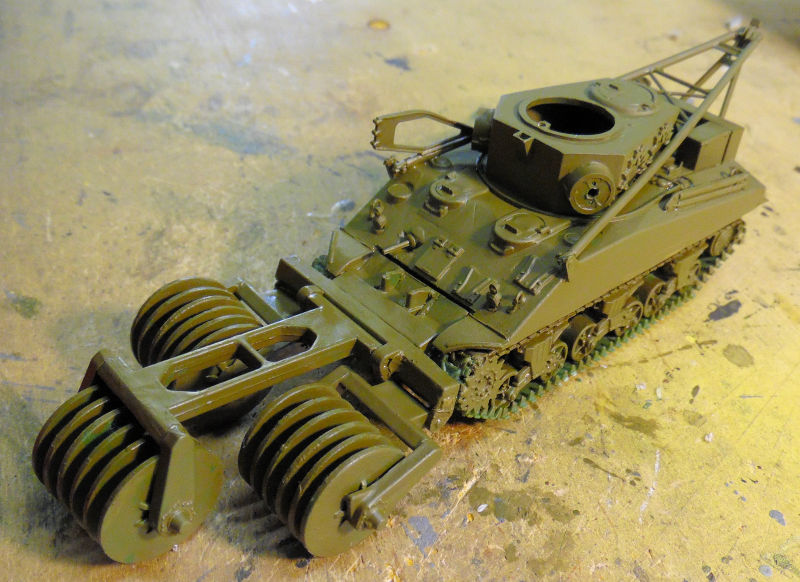
That's all we have on that one, now to see what's in the next bay. Here is the German SdKfz 9 with the crane that has finally been rigged. I had to improvise since a vital part went missing ( as usual!) so this is how I rigged it:

Moving on from there we have another Shelf Queen that is finally progressed now that parts had been found. This is the M35 TRV after it finally got the crane parts:
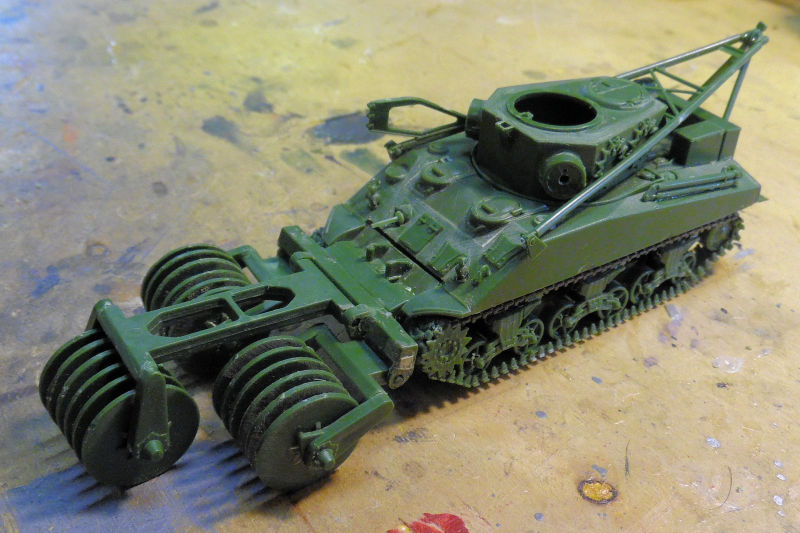
Later this was painted a base olive drab:
Now to source some decals since they've disappeared and then we'll have this ready for finishing....finally!
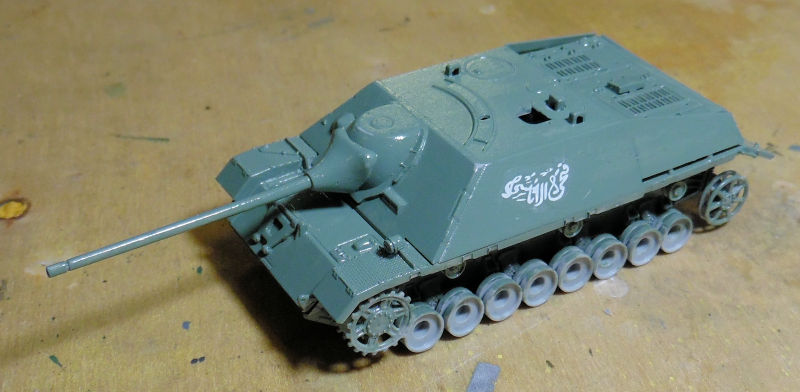
In this next bay we have the Syrian Jagdpanzer IV that has been painted, glossed and decaled. The top is just fitted on:
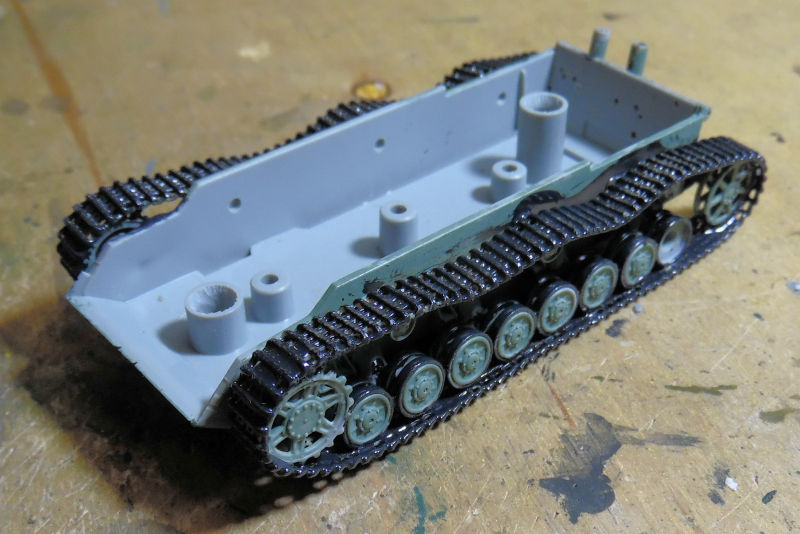
Later we removed the top to add and paint the tracks. The hubs had been added to the wheels too:
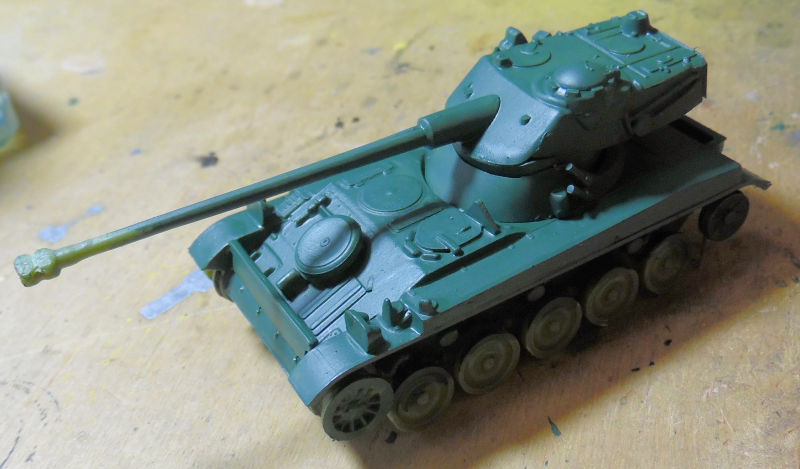
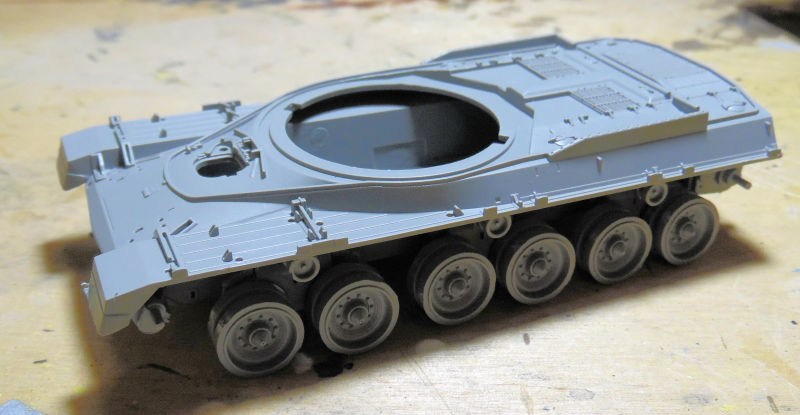
Moving to the next bay, here is an Iranian Chieftain tank that i finally got around to starting. The basic hull was built first:
Then the bogies, wheels, and upper hull were added:
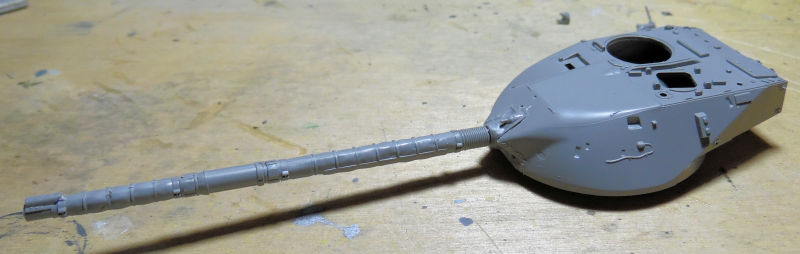
After that, the turret was started:
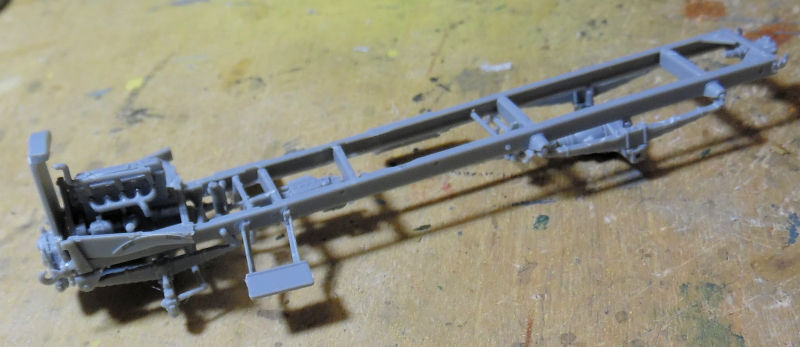
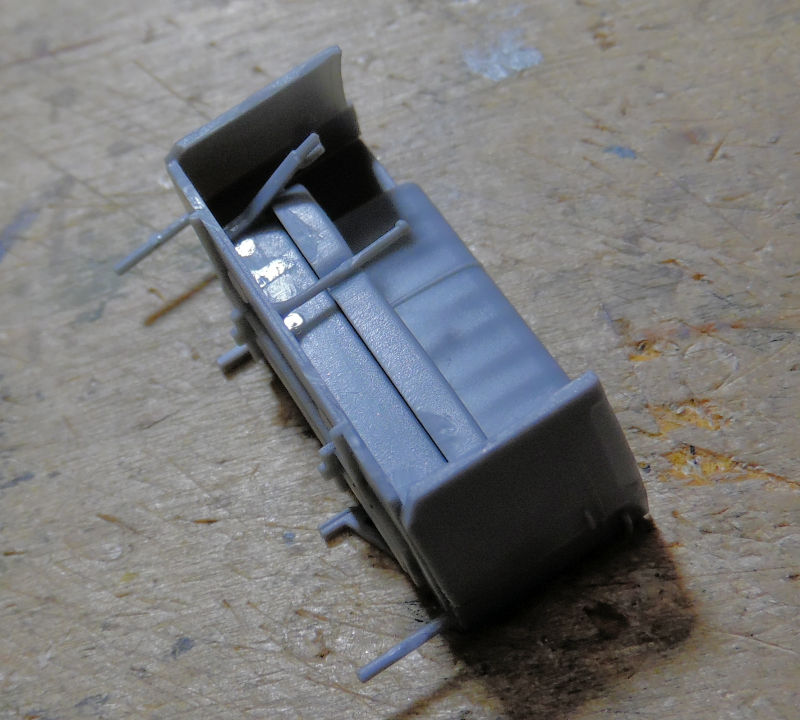
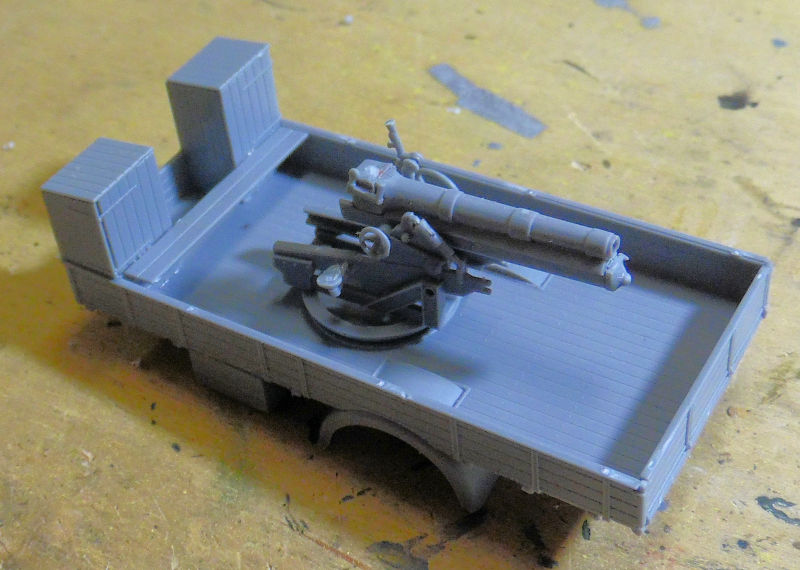
That was as far as I got on that. I then restarted work on this Italian truck in the next bay again. The engine and some additional parts had been added to the chassis:
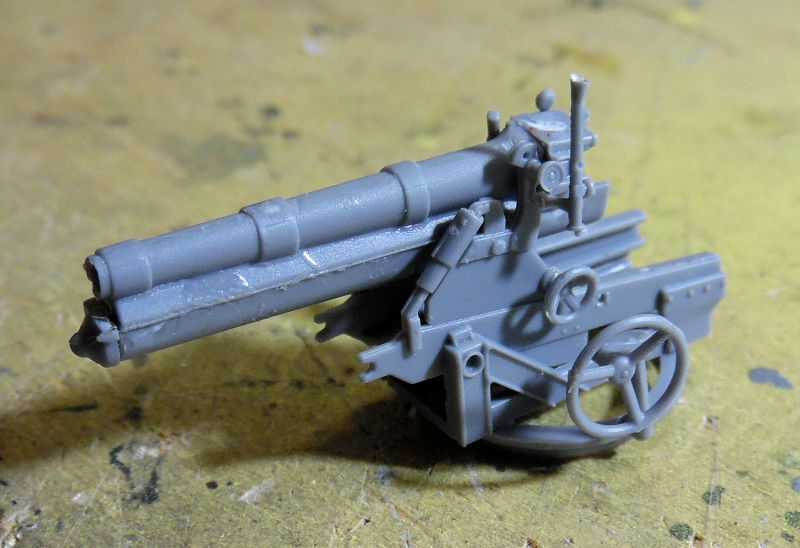
While that was drying, I started on the 100mm gun that sits in the back of this truck:
Later the cab was built up:
'
Sometime after that, there was a glue spill and this is the result:
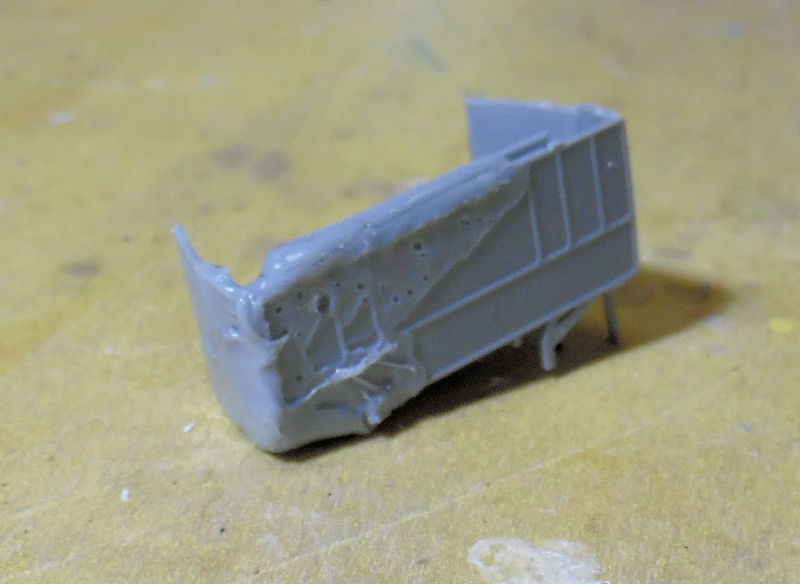
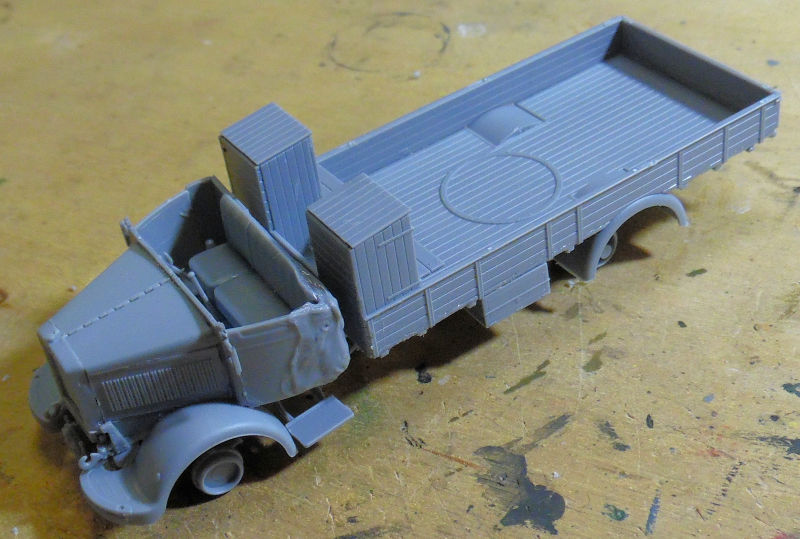
That had me thinking I wasn't going to be able to finish this, but I decided to just say eff it and move on. The cab was installed and the hood (or bonnet for those across the Pond) was built up:
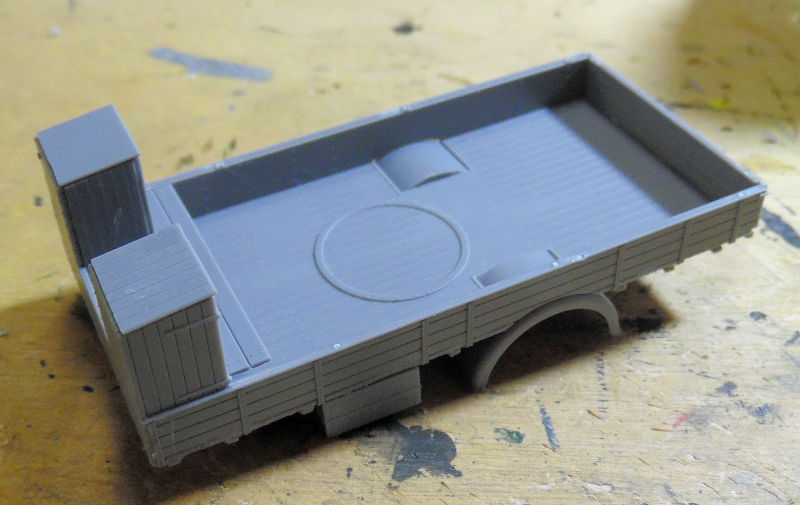
The truck bed was then built up:
I decided to dry fit the gun to see how it looks:
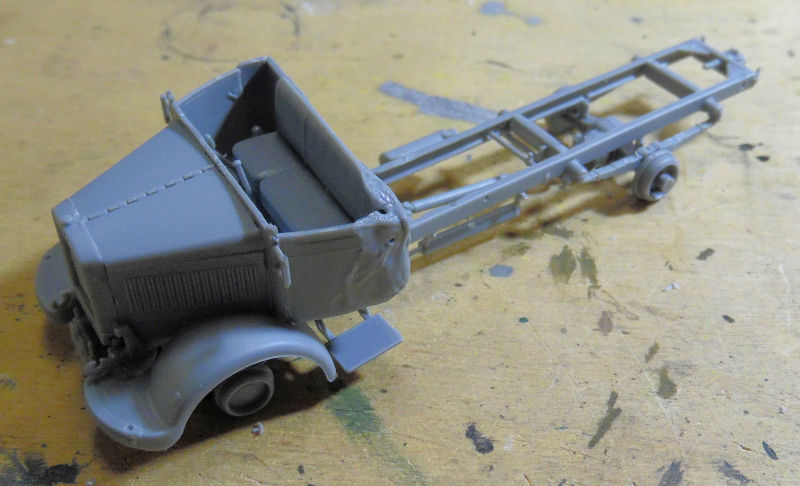
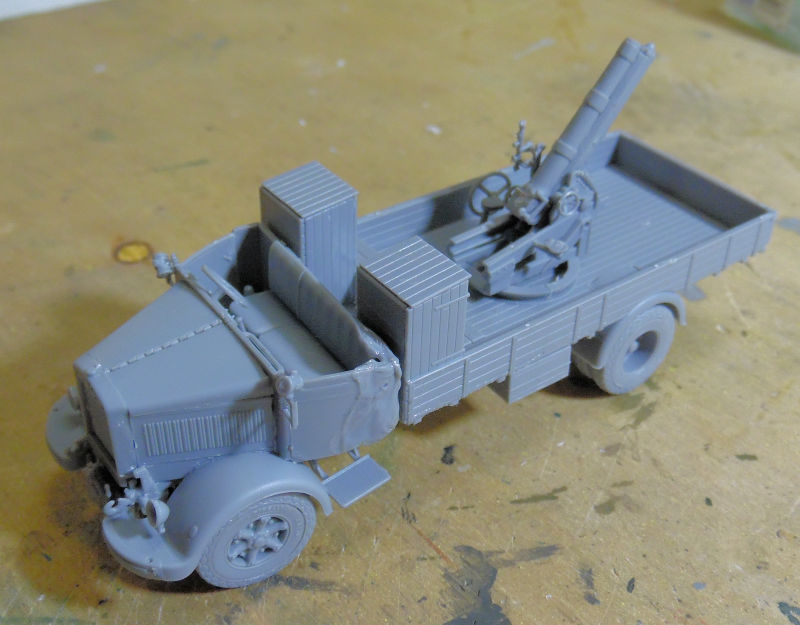
Once I was satisfied the bed had dried sufficiently, I added it to the chassis:
The gun was then installed in place:
'
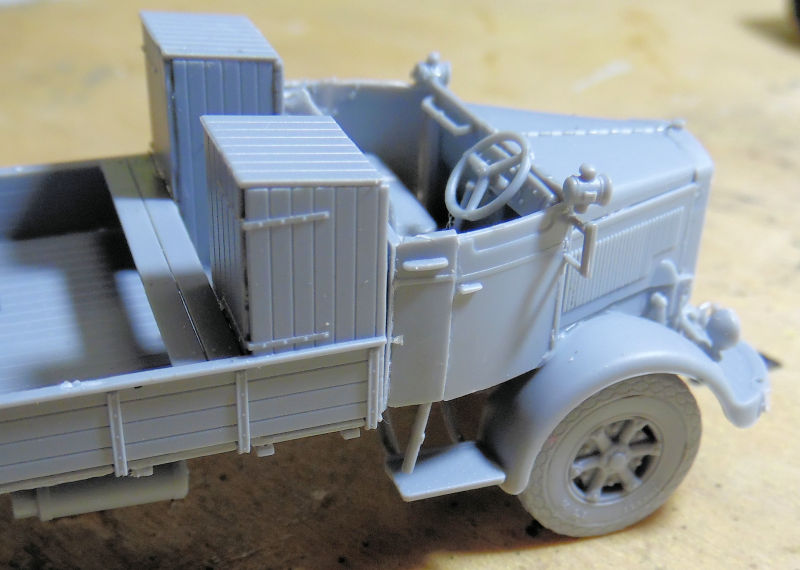
Since I could not figure out how to make that damage look like something done in battle; I decided to try my hand at restoring this cab. It was a basic job that started with sanding off the blob and then trying to carve out a new door. I then shaved some sprue pieces to make the door lining, door handle and grab handle. It ain't perfect but from three feet away it should look good enough under paint:

Compare to the other side and you'll see how crude that work is:
But at least I'll be able to finish it now. Moving on, we have this next bay holding one of two HEMMTT tractor trailers; this first one is the Patriot truck. The chassis was started first:
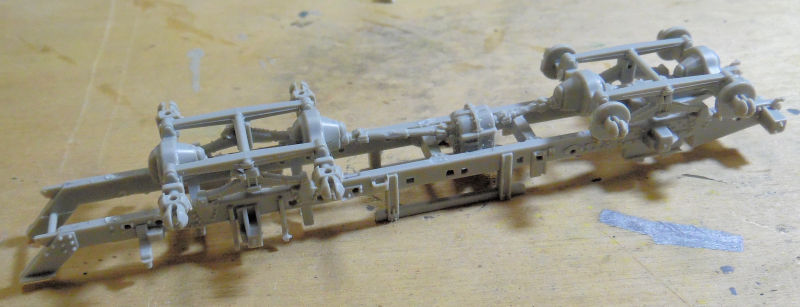
I really like how Trumpeter did these chassis assemblies.
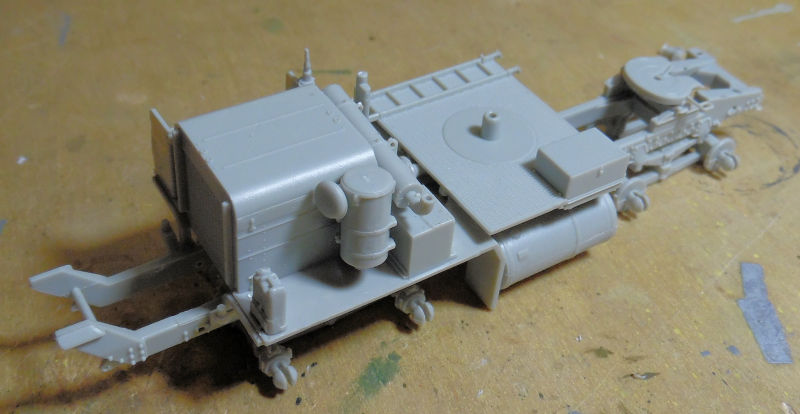
Engine, engine cover and additional chassis parts were then added:
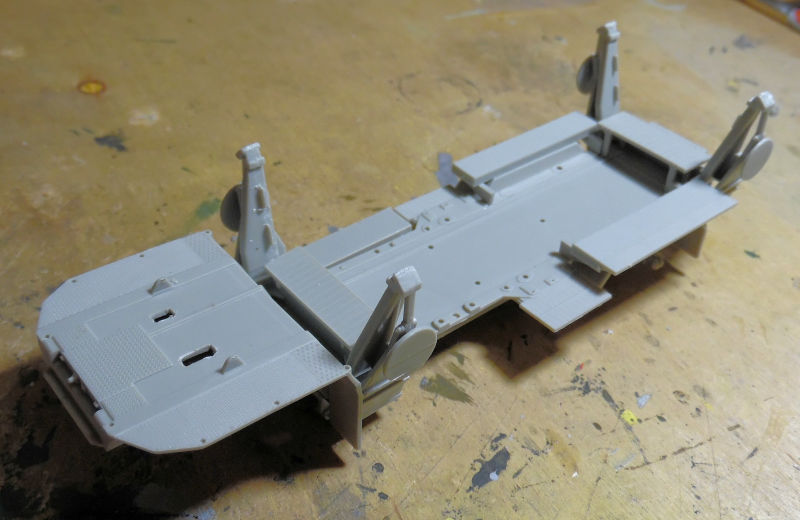
Next we built the basic trailer where the Patriot launching system will sit:
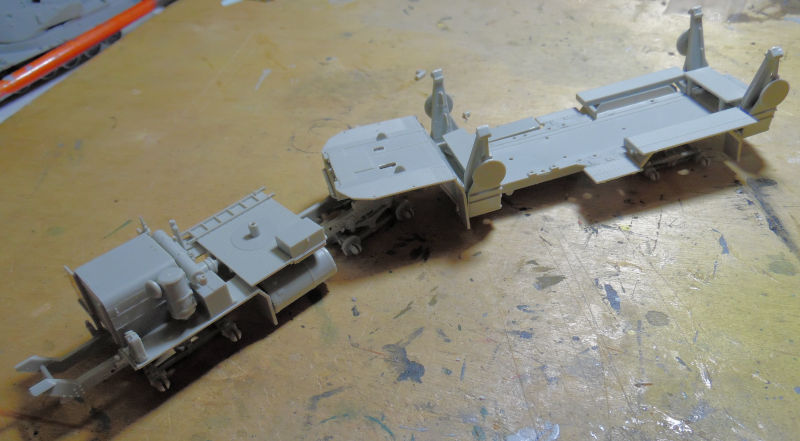
Here they are mocked up so far:
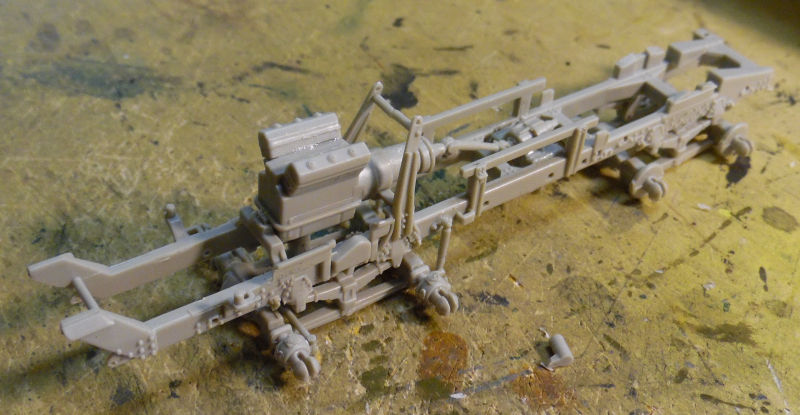
In the next bay is the second HEMMT truck and trailer. Here is the chassis built up for that one:
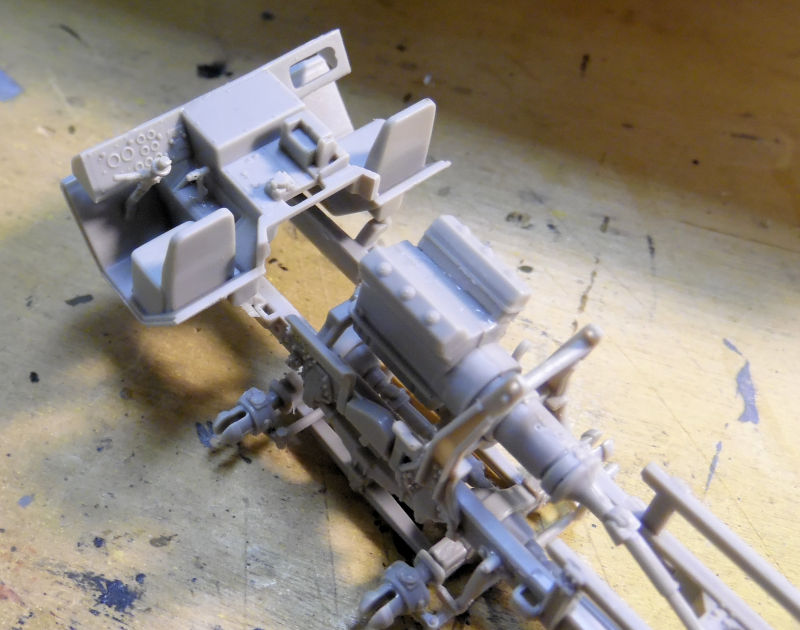
The cab interior was built and then added to the chassis:
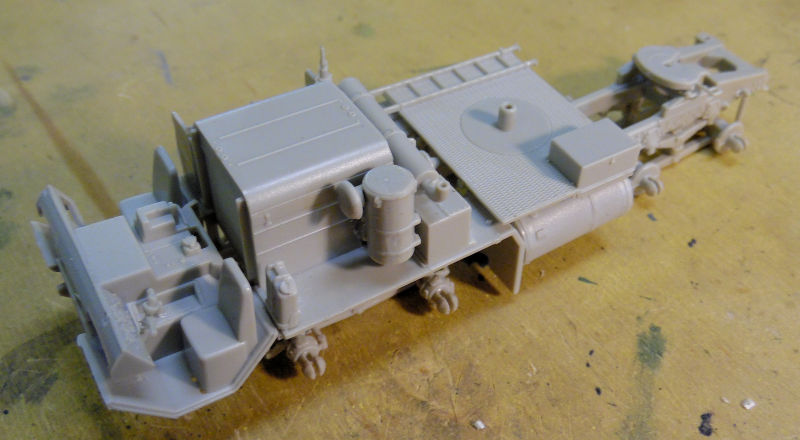
The remaining engine cover, platform and detail parts were then installed:
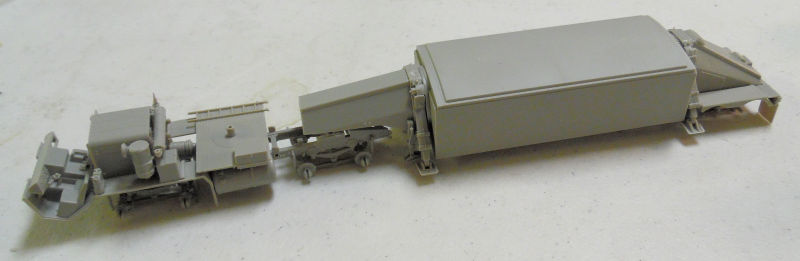
Next I built the AN/TPY radar trailer; it went so fast and easy that I forgot to take pics. Here you can see it as it's mocked up with the tractor chassis:
Finally, in this last bay, we returned to the P.1000 Ratte. The tracks had been giving me fits trying to get them to stay on and stay tight. I also realized they did not give me enough links to complete all six tracks. So, I went to work gluing on the track runs as tight as I could make them which was a towering effort all it's own. I finally, (or so I thought) got one side done:
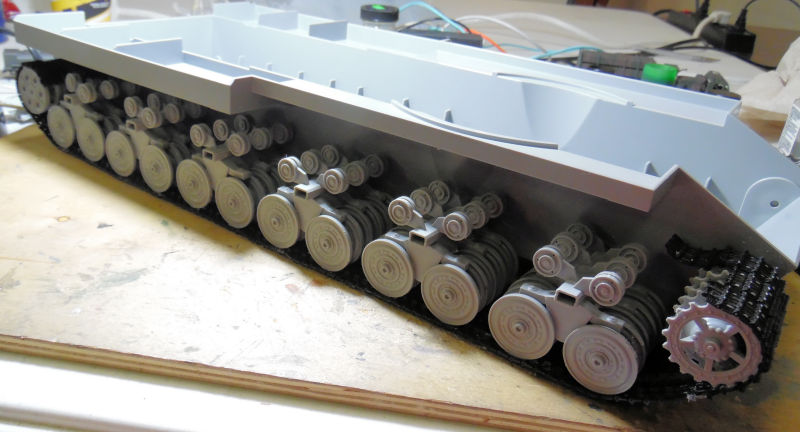
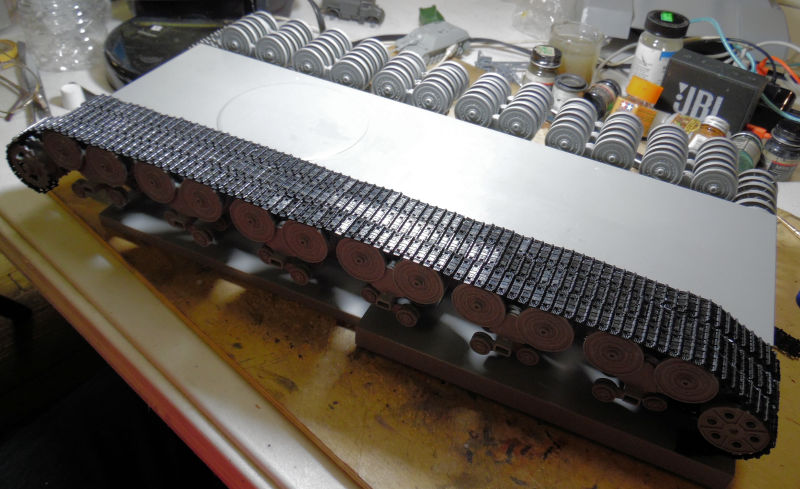
I then completed the other side, and added the top hull to the lower one to see how it looked:
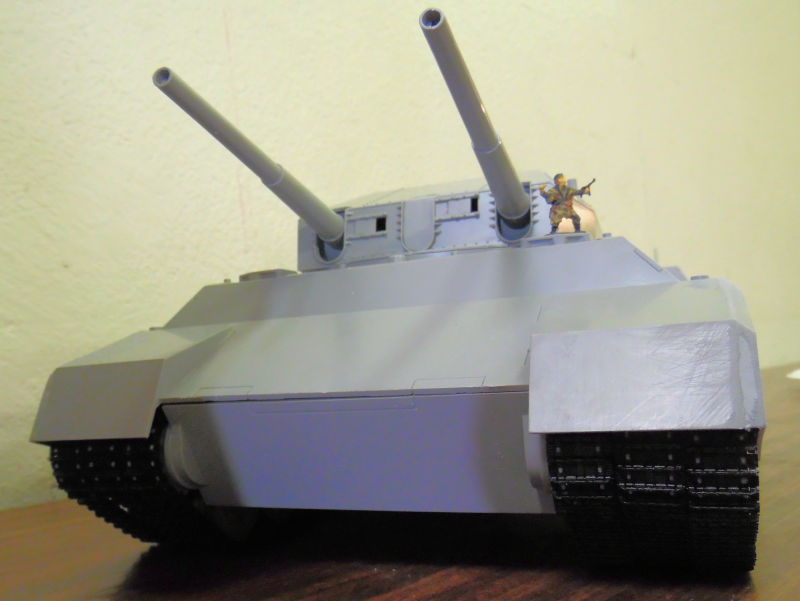
Note the soldier on the top to denote scale. The tracks were on, but later when I transported this home to paint, several links came loose.
Meanwhile, here's a couple pics to show how this 1/72 scale monstrosity looks next to a 1/72 scale German Fuel Truck.... and the soldier on top as well:
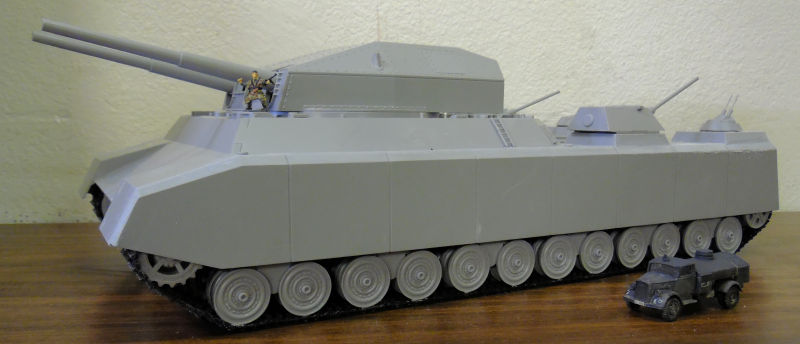
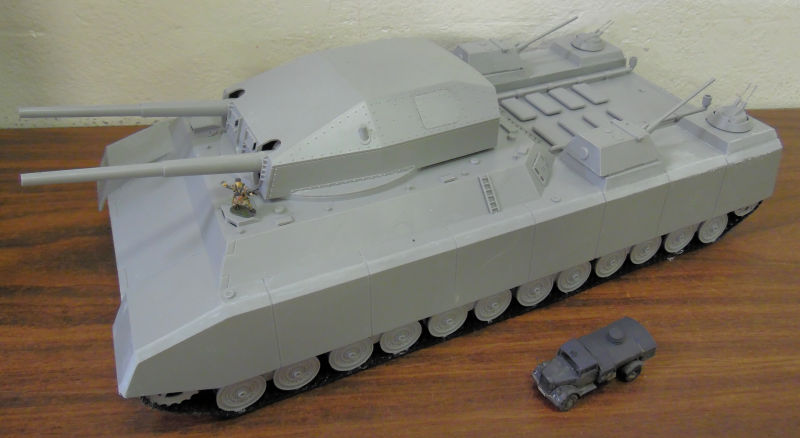
Definitely gonna need a whole lot more fuel trucks!
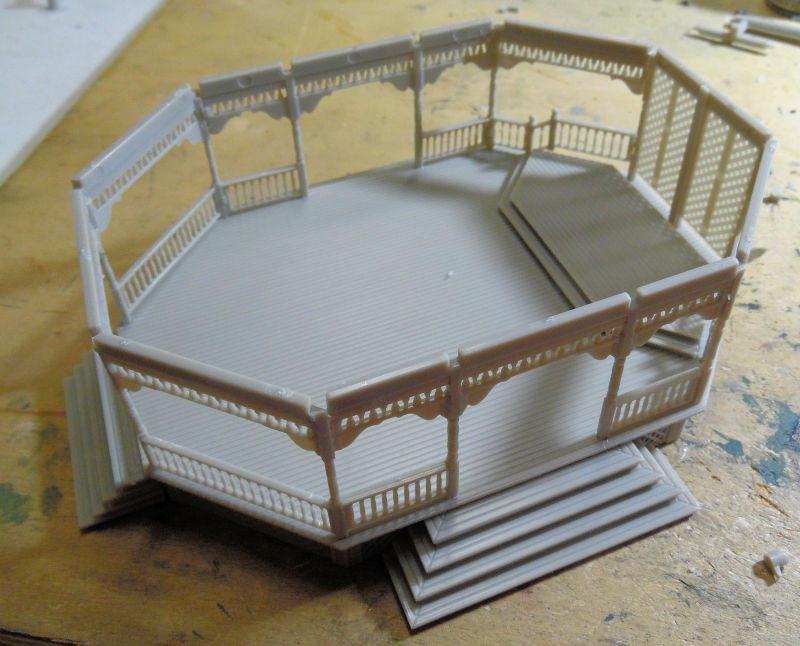
That's the tour of the Motor Pool for now, as we swing back around through the back lot, you'll see what we also started an HO scale gazebo for a Central Park train layout. First the base was done:
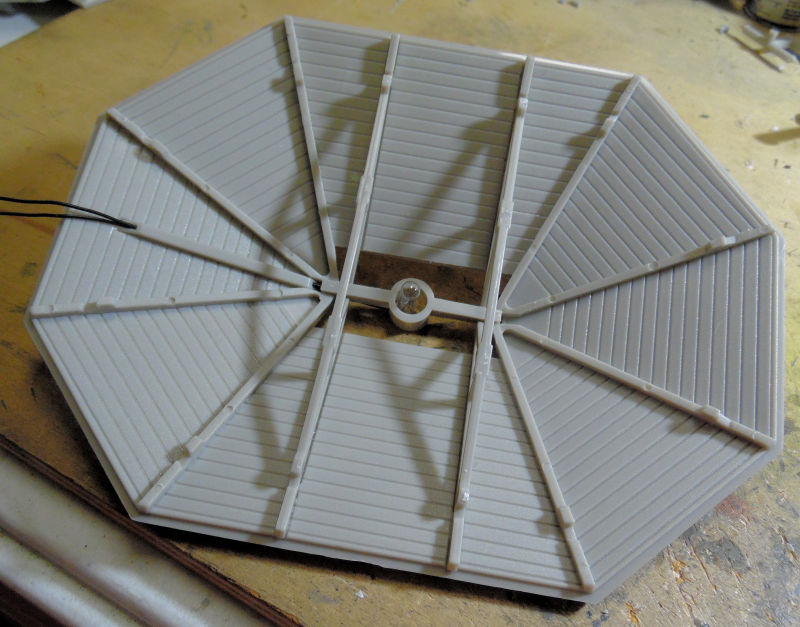
Then the roof was built, and the light that was included was added to the center of the roof:
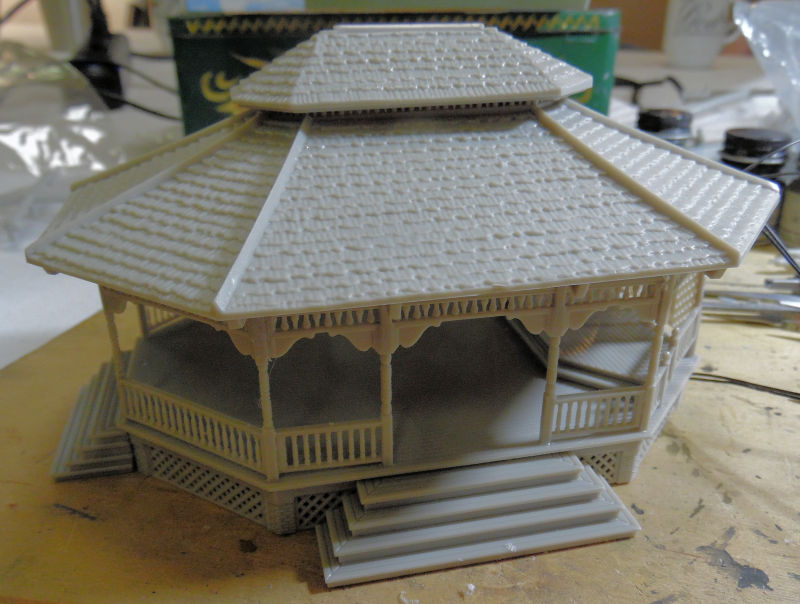
Here it is all mocked up, ready for paint:
And that concludes the latest tour of Maddog Manufacturing. Thank you all for stopping in and taking the tour. Comments are always welcome.