My apologies; I have been gone for awhile, but now I have time to actually start a new tour of Maddog Manufacturing. This will be a rather short tour, as I've had a lot going on and not as much time to work on anything much except when I got to Hobby Days. Even then, Hobby Day production was down.
Anyway, without further ado, let's board the trams and get this tour started!
Once again, we start in the Hangar.
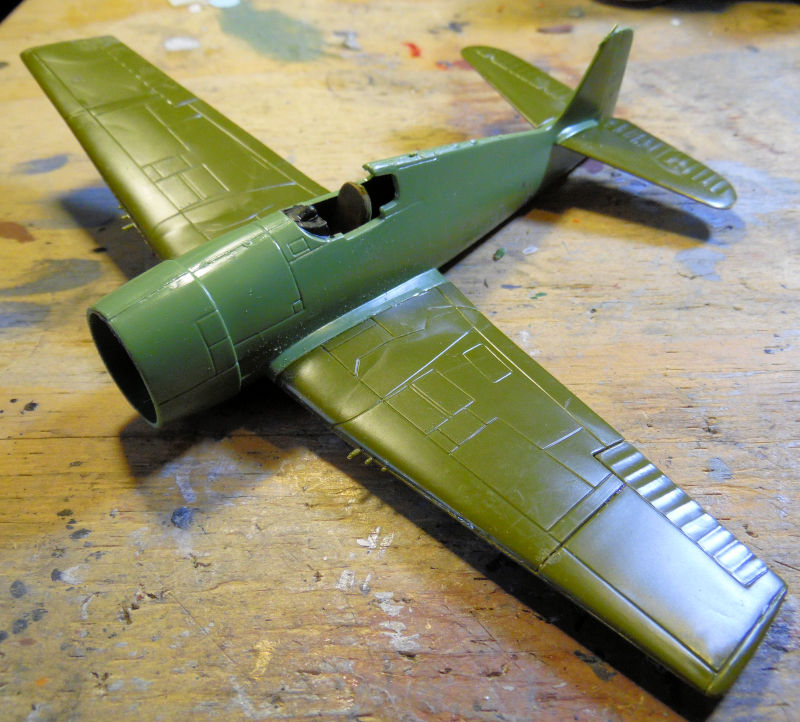
Not much to show, but we did get started on two models that two friends purchased for me at the latest Distressed Kit Auction back in June. These were the Matchbox F-6F Hellcat built up to this point:
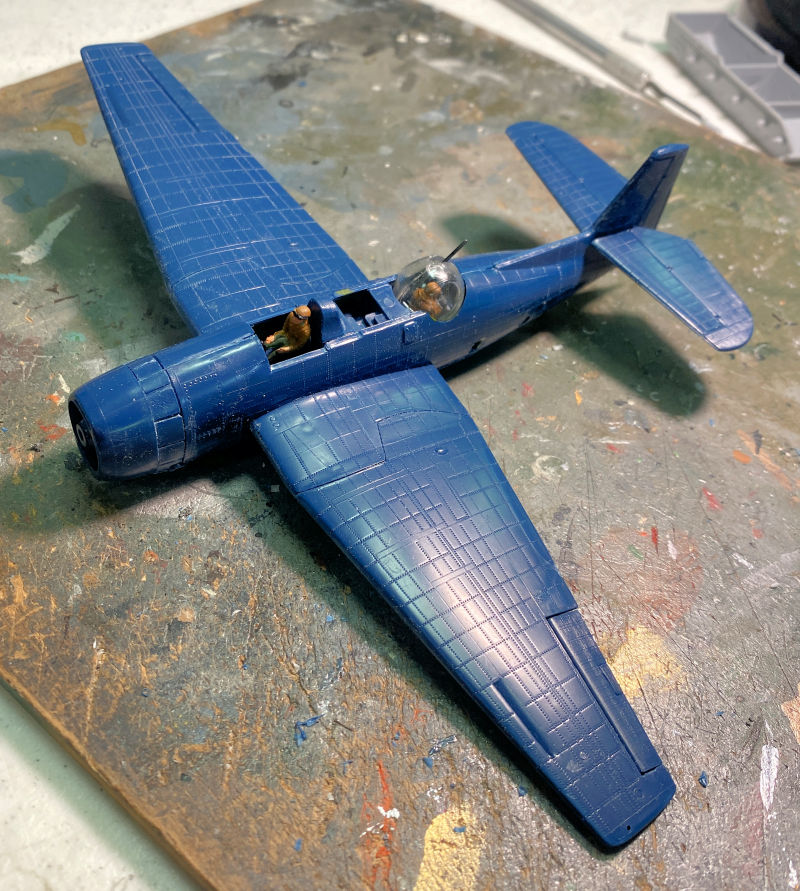
Next was an ancient Airfix Avenger as part of that deal. We got it this far:
Again, short tour, that's all there is in the Hangar. Now to check out the work in the Shipyards....
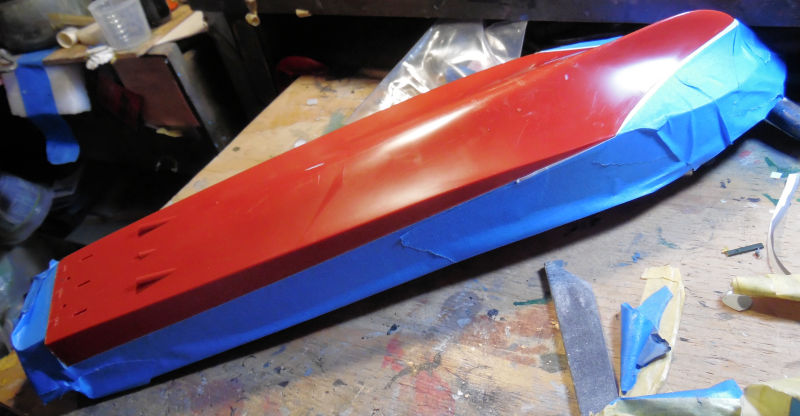
Over here in the shipyards, only a small amount of work has been done on a couple of the small boats. First, the Vosper's Perkasa boat hull was masked for painting the lower hull:
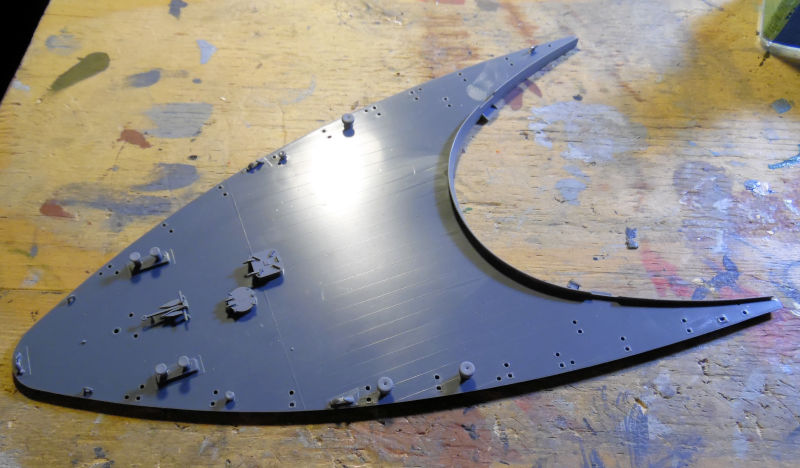
Next, we got all the greeblies added to the front and second decks of the Japanese PT-15 torpedo boat:
First the front deck:
The extra holes are for the railings that will be going on last. And now a shot of this with the first two forward decks cemented in and the rear deck just dry fit in place:
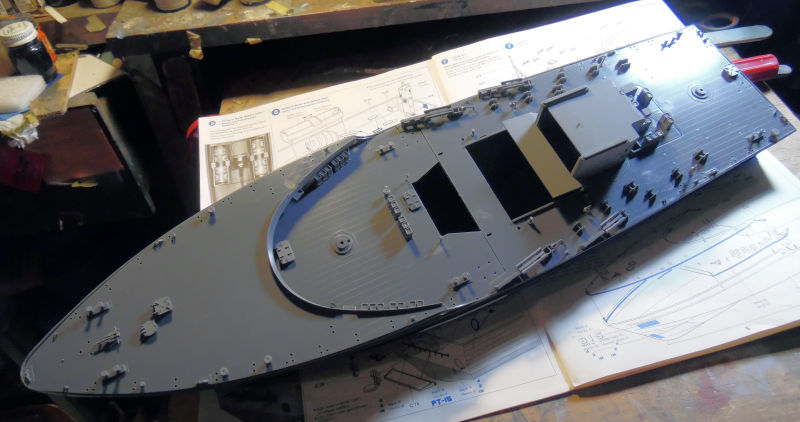
This is almost all ready for paint at this point. The decks and greeblies and deck houses all have the same Neutral grey color.
Moving on to the Motor Pool, there's been a little more done than in the previous departments, starting with a couple French vehicles that are based on the AMX-13 chassis.
First is the AMX-61 102mm self propelled gun. We got it all assembled to this point and then promptly lost the gun mount assembly seen in the lower right of the picture:
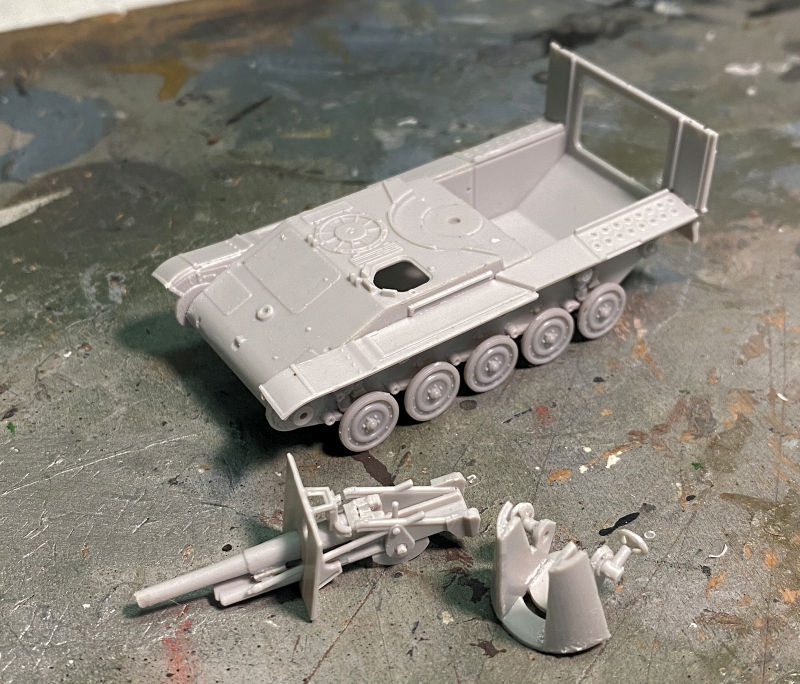
Looks like that won't be done for awhile until that sub assembly shows up again, or a new kit is purchased. Story of my life, especially recently...
The other French vehicle is the DCA. We first got all the main roadwheels on it:
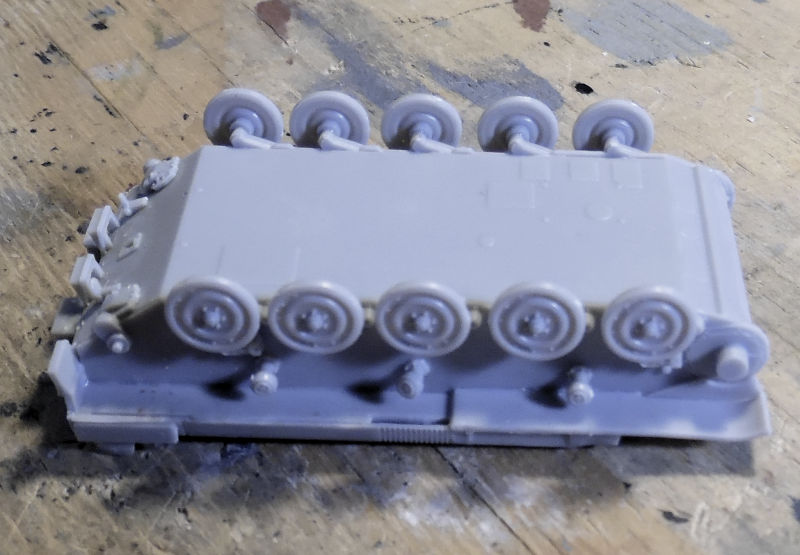
By the way, the plastic is not that blue....
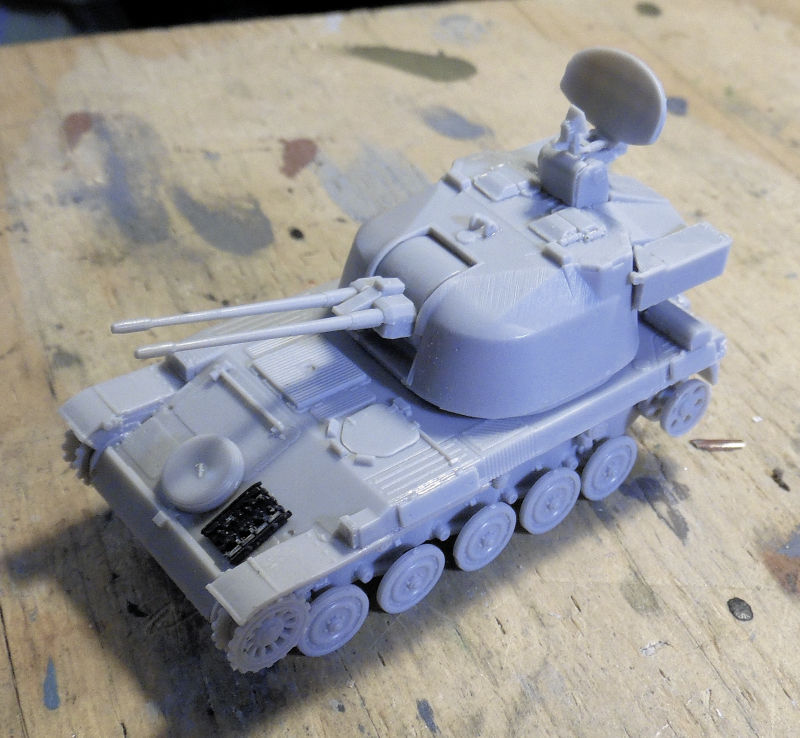
Later we assembled the radar set in parts as we tried figuring out how it was supposed to look. The instructions show it facing aft and I wanted mine to be facing forward:
You can see above that while sub assemblies for the radar set were drying, additional parts were added to the turret. Later we got things figured out and assembled, as well as most of the remaining detail parts that won't break off during painting and handling:
Finally, the lower hull for the Israeli Shot Kal Gimmel was assembled:
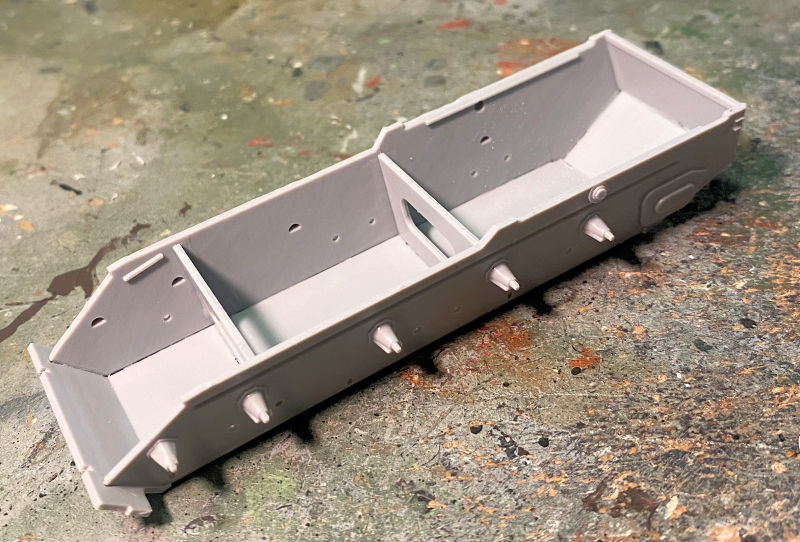
We also had gotten the same assembly done for the Shot Kal Dalet but since it looks the same, no need for a pic.
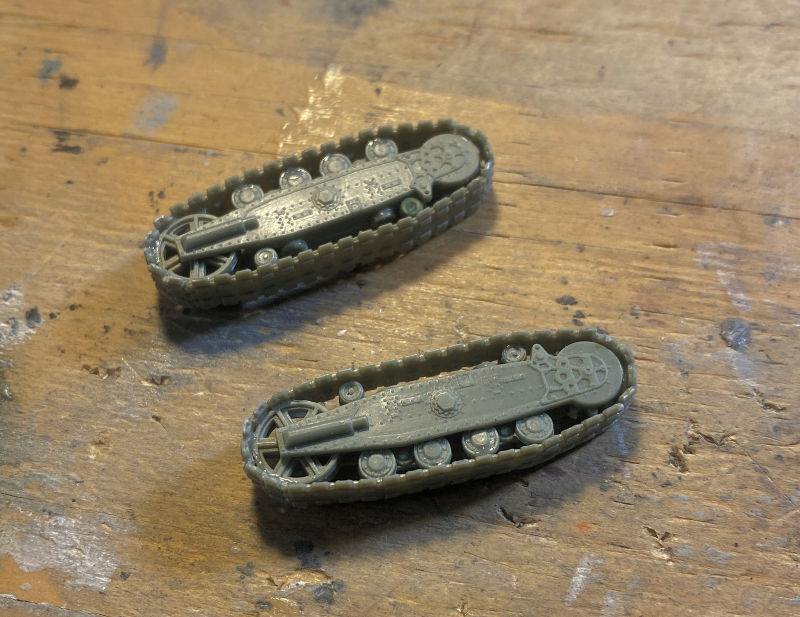
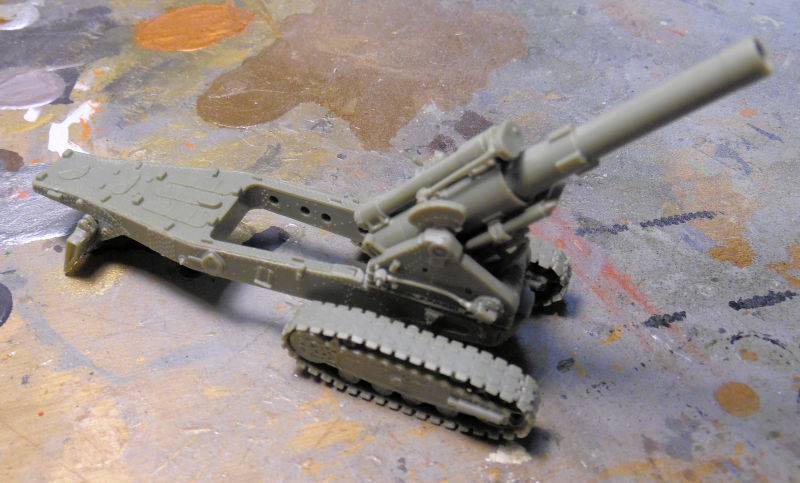
Additional progress was made on the Russian 240 mm tracked artillery piece; the tracks were added to the bogie assemblies:
Later on, all the sub assemblies were put together to see what adjustments would be needed:
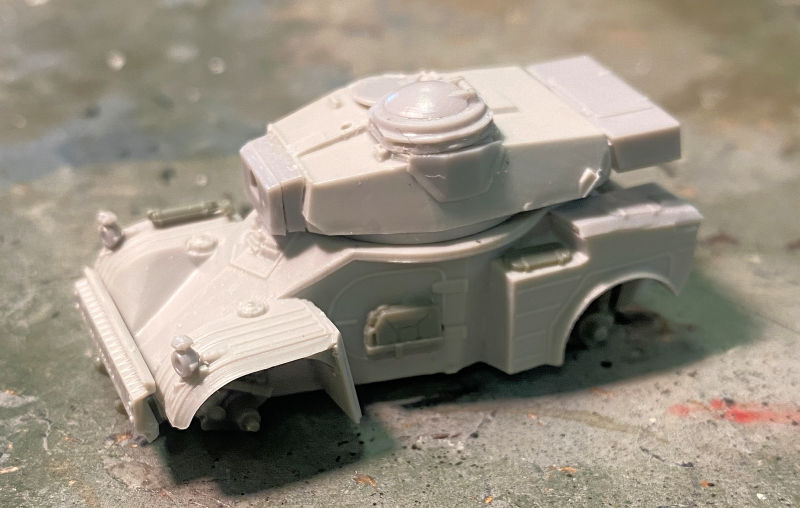
Last but not least, we got almost all the assembly done on the South African Eland-90. The only problem now is that the main gun has gone missing so until we get another, or find the sprue that has it; this one will sit unfinished for awhile:
Finally, in our semi-rarely used spare workshop, we have a couple little projects happening.
First off, the chassis to the 1/24 scale Packard was glued inside the fenders since anytime we tried adding additional chassis parts, the whole chassis kept breaking apart:
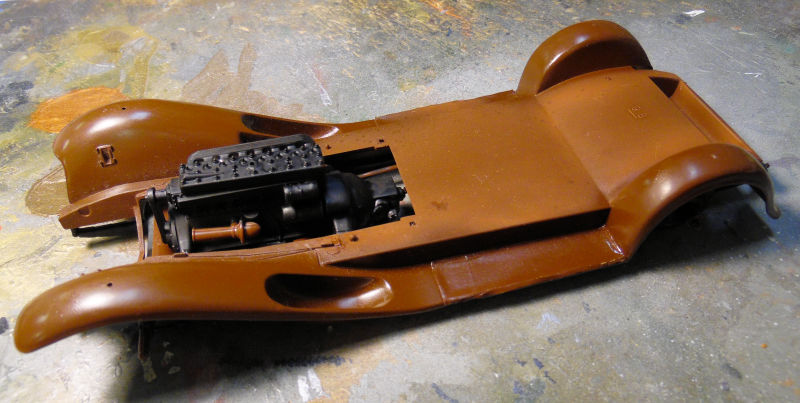
Hopefully, this will stay glued; this plastic is so brittle it barely holds together!
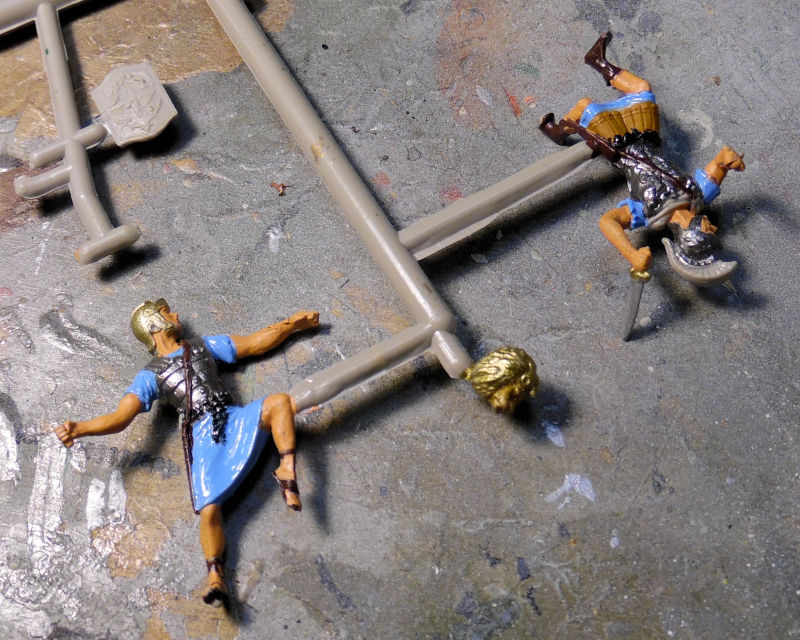
Finally, for fun, we've been working on the ancient UPC model of a Roman Racing Chariot. No scale is given, but based on the size of the guys, it is probably somewhere between 1/50-1/56 scale; possibly 1/48 at a stretch. First, the Roman crew was painted up with the colors available at the time:
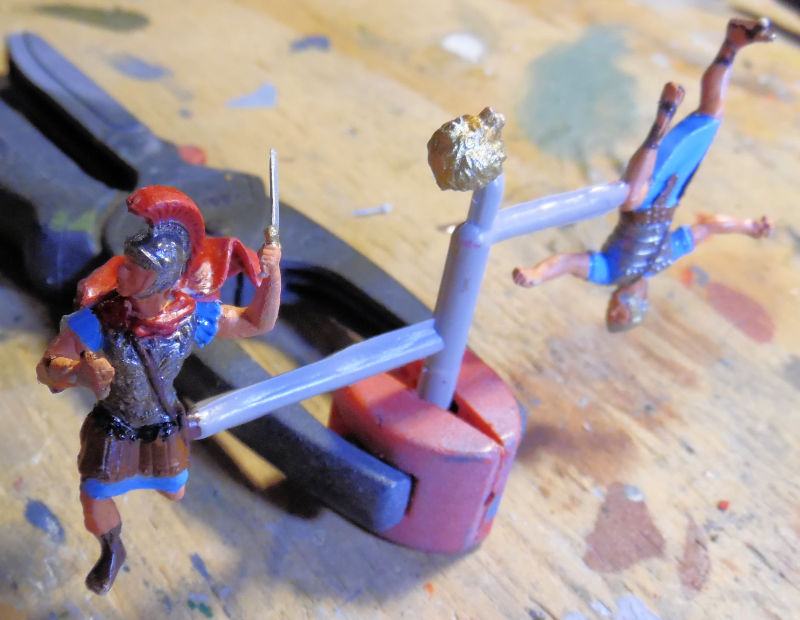
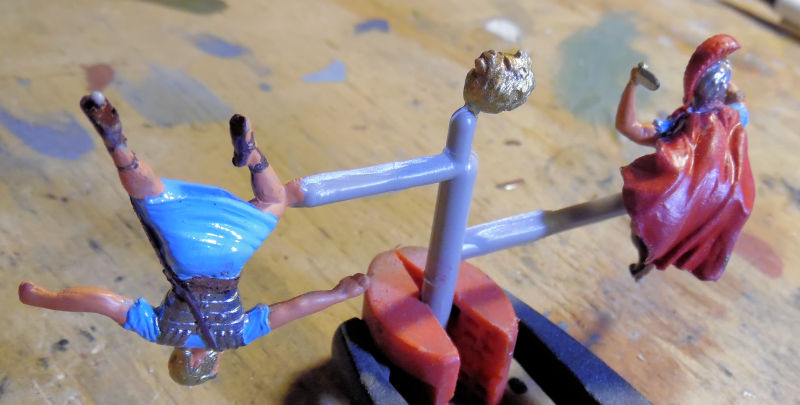
Later, they were completely painted, waiting on washes and drybrushing:
Two of the horses were done next; the other two will be black stallions. The two whites will need a bit of touch up:

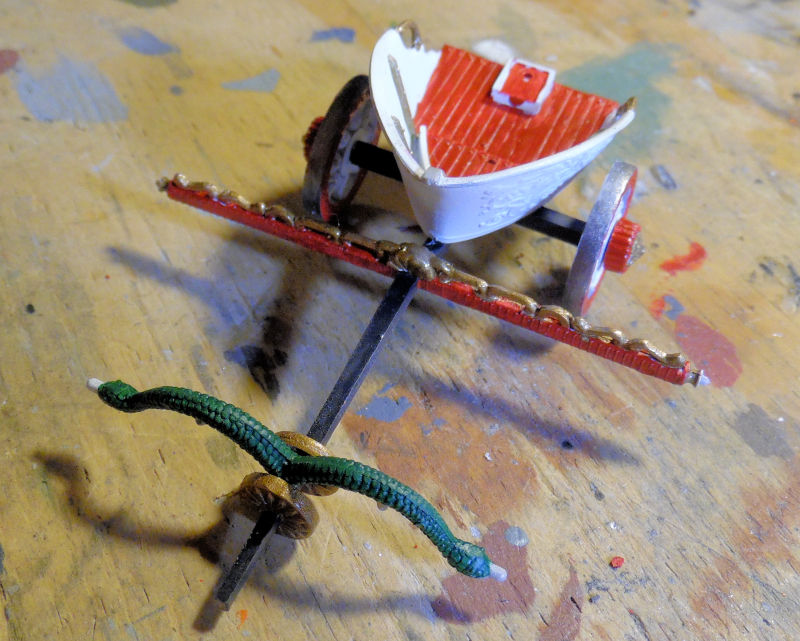
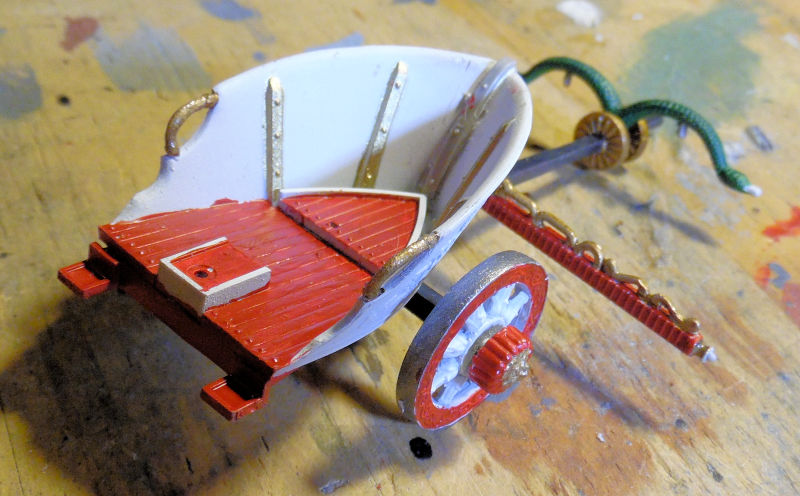
Finally, the chariot itself was built up and then painted. It said to make the chariot black but I decided we were going to paint it white:
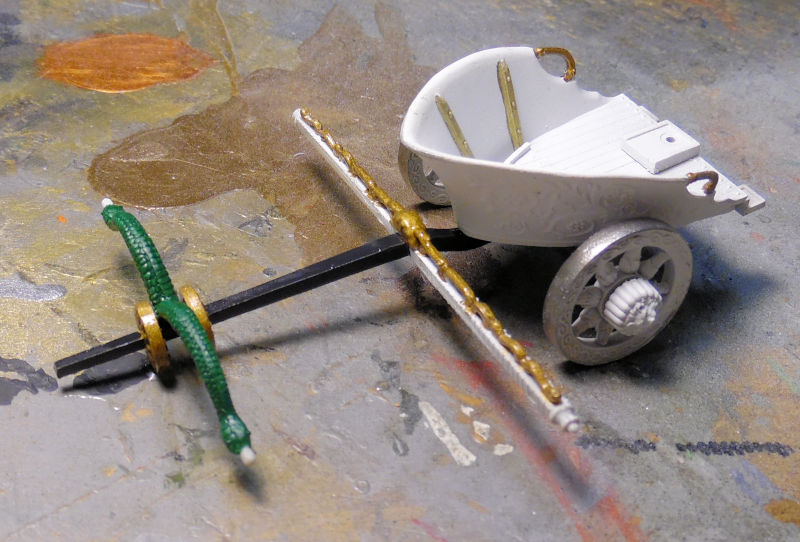
You can see some of the other details were painted as well. Later all the painting was done; all that's needed are some touch ups and then the decals can go on:
And that concludes this latest tour of Maddog Manufacturing, I hope you enjoyed it. As always, comments are welcome.

