Kari's Revell 1/32 Bf-110 C-2/C-7 - START
Posted: Tue Jul 16, 2019 5:54 am
Hi all,
has taken some time to brush off some dust from my shoulders, my tools and especially my bench, but finally I succeeded to do so. Or actually since already a week, but had to get something achieved before being able to share with you the baby steps of this project.
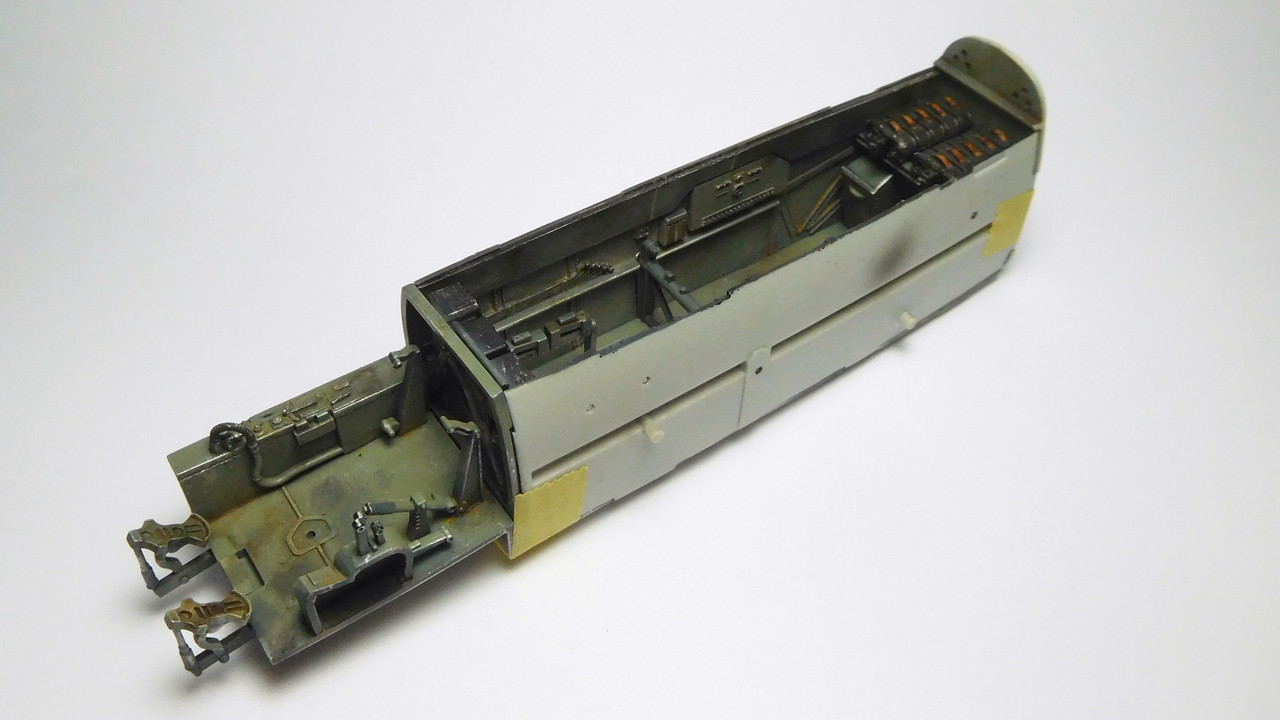
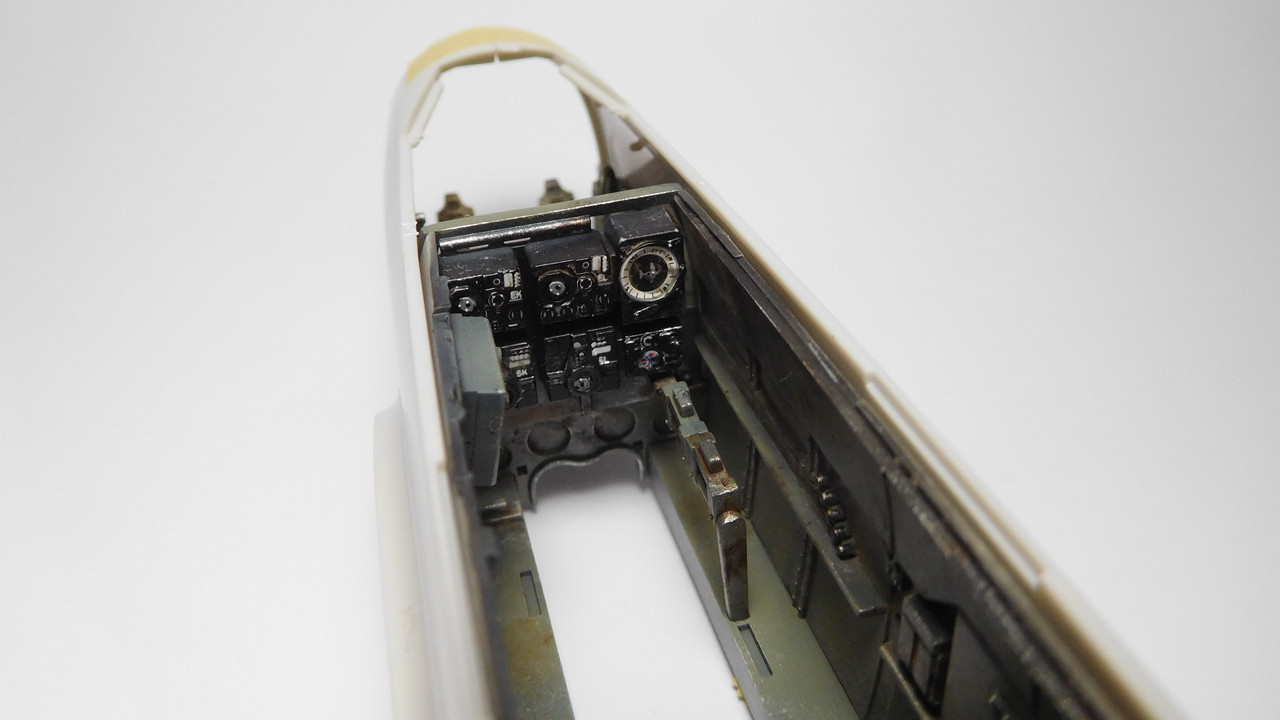
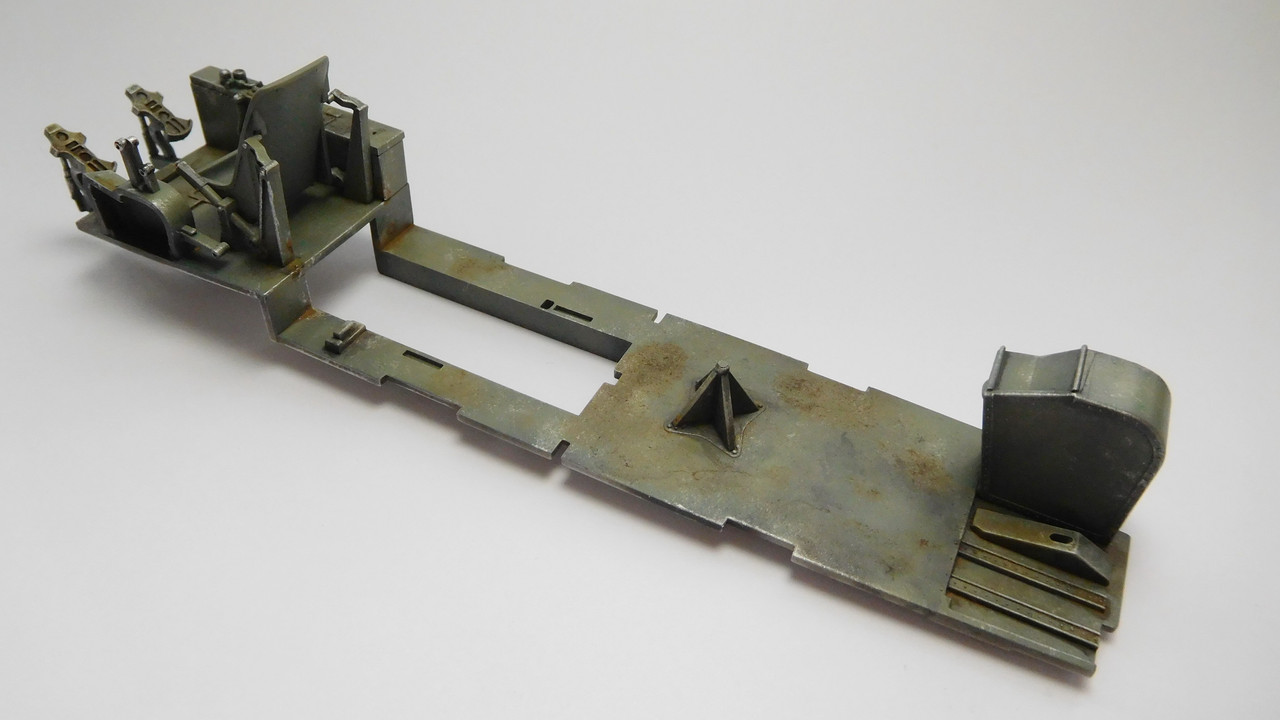
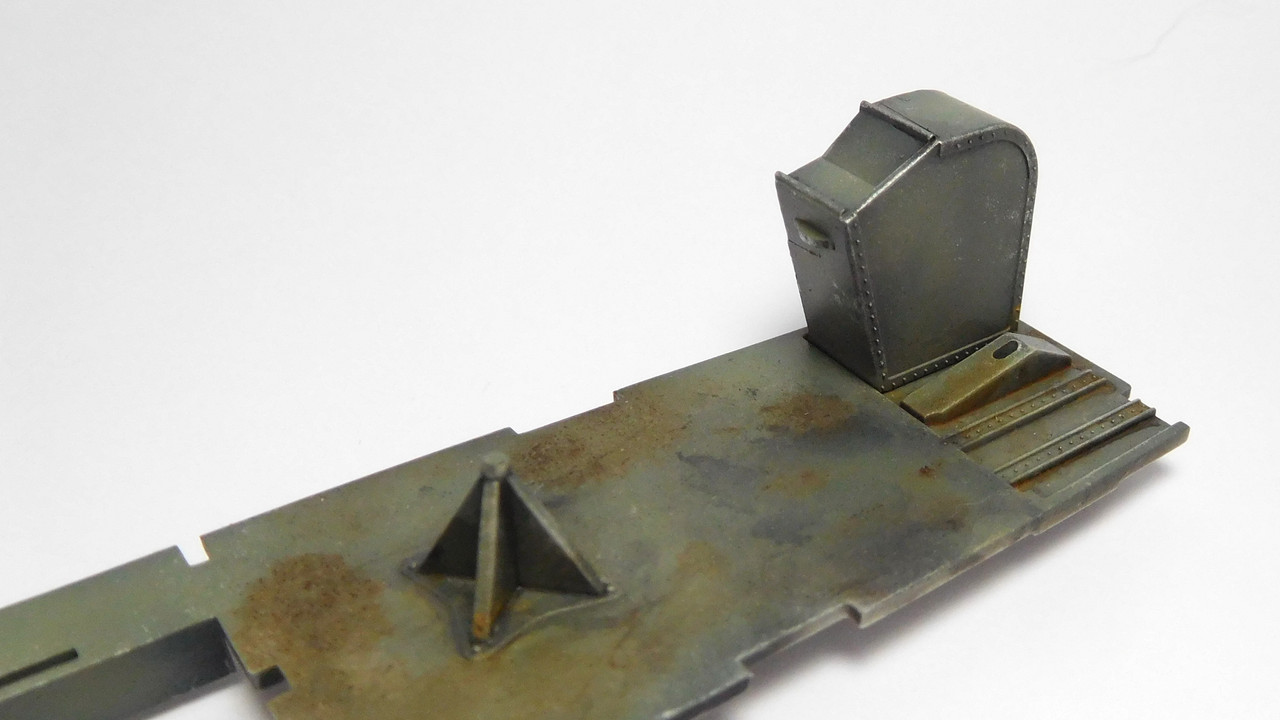
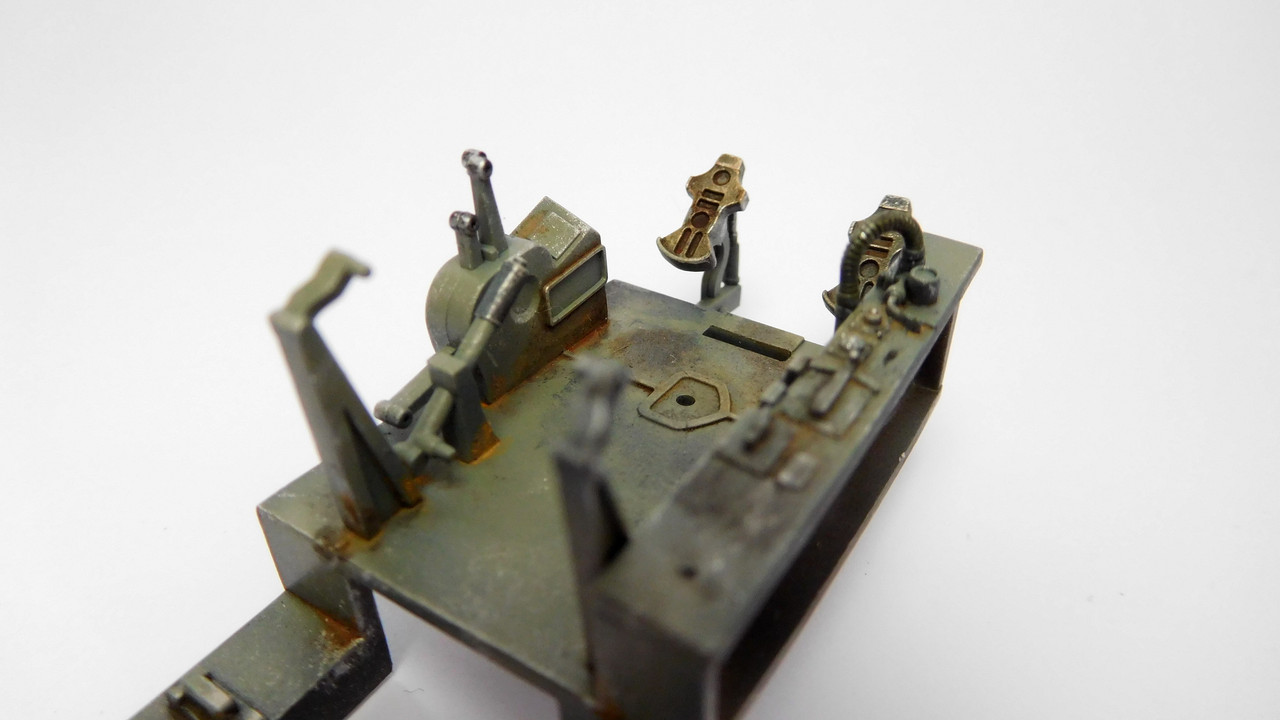
So yes, I have been working on the cockpit, what you see in the pictures below has taken close to a week to achieve..
Day 1: Blackbase prime
Day 2: Several thin layers or Mister Paints RLM02 + detail painting
Day 3: Careful drybrushing of Tamiya X-11 + detail painting
Day 4: Ammo Migs pigments & Ammos pigment fixer + detail painting
Day 5: discrete oil washes + detail painting
Day 6: Thin layers of Mister Paints RLM02 "here and there" and quick re-do of "day steps" 3 and 5.
Of course at the same time I have been working with other cockpit parts (such as the sidepanels) which got the same "treatment".
I must say, has been a very relaxing thing to do, this sort of "slow building" process..
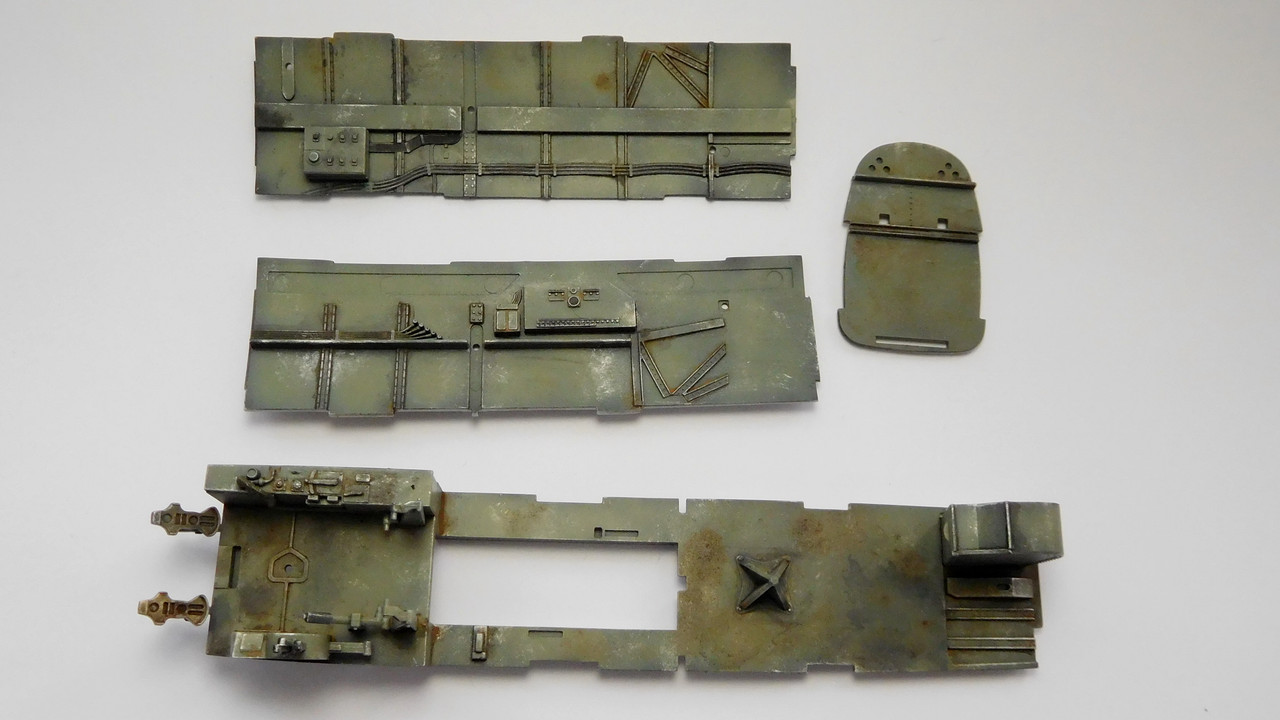
Disclaimer: There are a number of sinkmarks clearly visible in the sidepanel in the middle. But no worries, the sidewall is still missing one extra panel, that is still in the paintbooth.. So soon those sinkmarks will be hidden forever! :-)
Let's see what next!
- Kari
has taken some time to brush off some dust from my shoulders, my tools and especially my bench, but finally I succeeded to do so. Or actually since already a week, but had to get something achieved before being able to share with you the baby steps of this project.
So yes, I have been working on the cockpit, what you see in the pictures below has taken close to a week to achieve..
Day 1: Blackbase prime
Day 2: Several thin layers or Mister Paints RLM02 + detail painting
Day 3: Careful drybrushing of Tamiya X-11 + detail painting
Day 4: Ammo Migs pigments & Ammos pigment fixer + detail painting
Day 5: discrete oil washes + detail painting
Day 6: Thin layers of Mister Paints RLM02 "here and there" and quick re-do of "day steps" 3 and 5.
Of course at the same time I have been working with other cockpit parts (such as the sidepanels) which got the same "treatment".
I must say, has been a very relaxing thing to do, this sort of "slow building" process..
Disclaimer: There are a number of sinkmarks clearly visible in the sidepanel in the middle. But no worries, the sidewall is still missing one extra panel, that is still in the paintbooth.. So soon those sinkmarks will be hidden forever! :-)
Let's see what next!
- Kari