Tamiya M41 Walker Bulldog-Ending at last!

Here is the place to show off the progress of your armor builds
User avatar
Gary Brantley
Addicted Member
Posts: 1760
Joined: Tue Apr 08, 2014 9:40 pm
Location: Cameron, Texas

Re: Tamiya M41 Walker Bulldog

Post by Gary Brantley »

Good day everyone! I've made some small progress on my Bulldog. I didn't really like the mantlet cover mount I had made so I redid that and did the pieces that hold down the sides of the cover as well. I think they'll work okay when painted; I see the biggest challenge here is getting each little tab to lay as flat as possible. Getting one of those Grandt Line nuts on each may be "beyond my reach". That step would come after attaching them, and then would require painting I guess. We'll cross that bridge when we get there! :lol:

Image

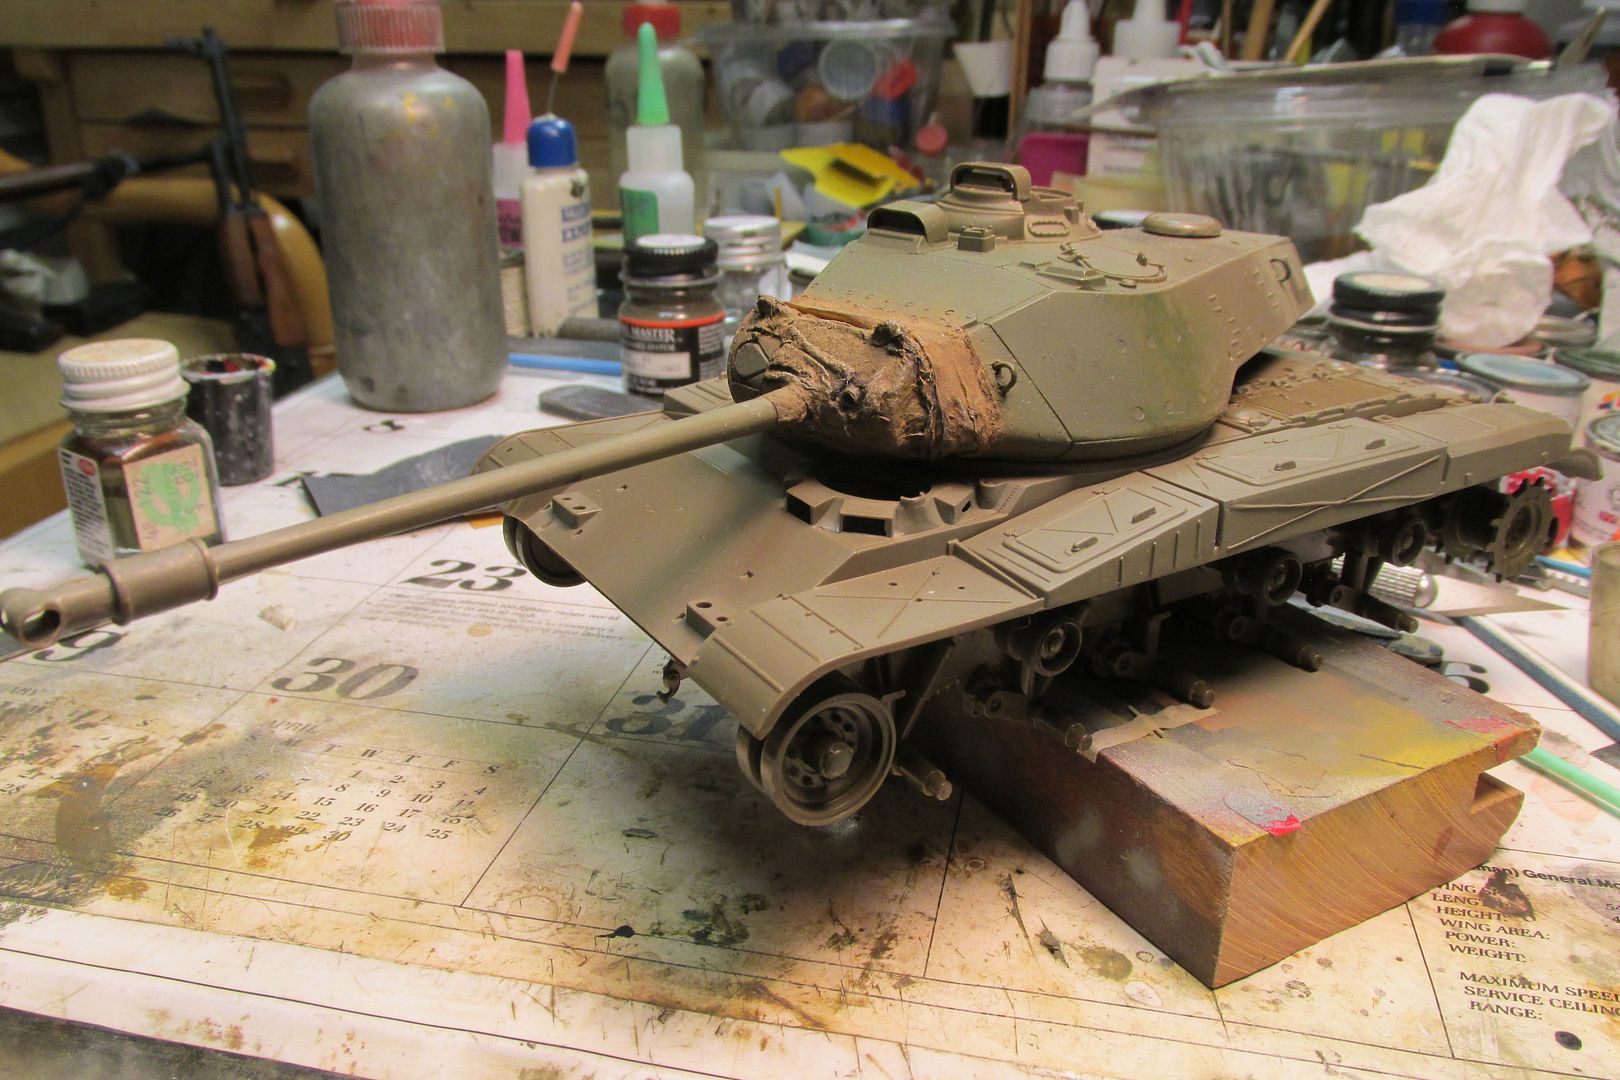
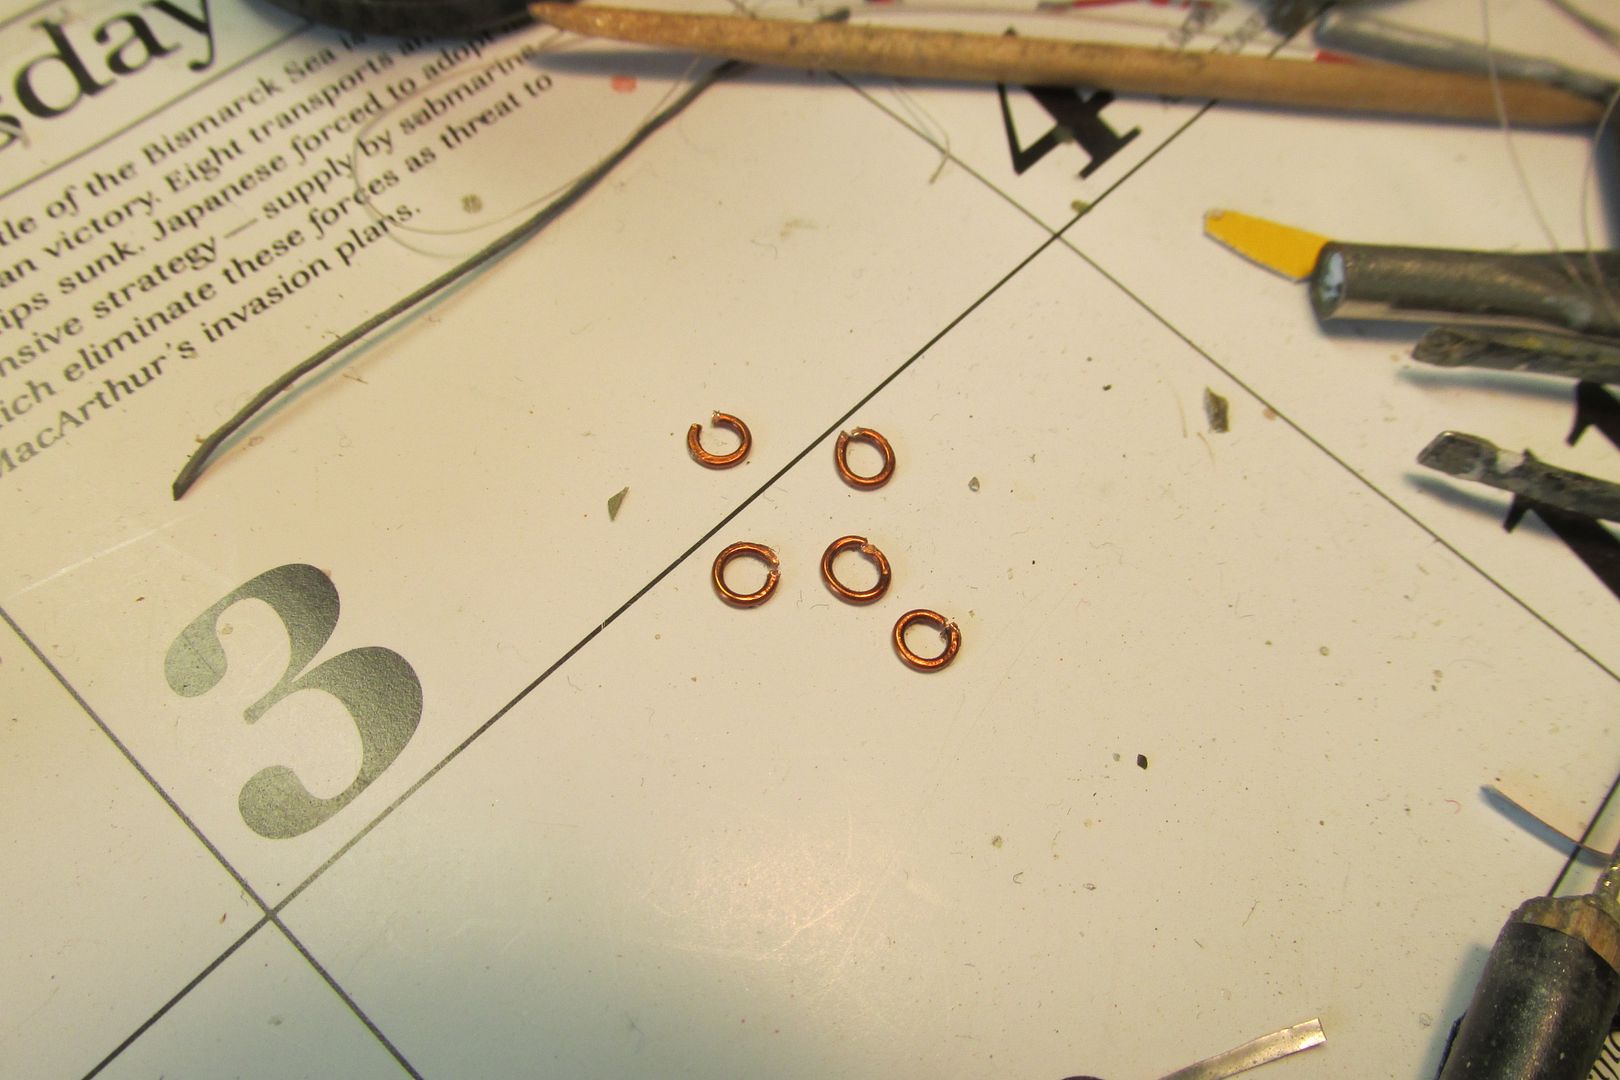
I did manage to make several lift rings for the glacis plate from copper wire. I think I can make a couple of them work. I managed to make the "gouges" in which the rings will sit with a small dental burr-type router bit in the Foredom motor tool. The real lift rings had about six huge weld beads around their attachment points so I hope "bedding" these rings in CA will approximate that. I'm leaving them off until I assemble the two hull halves.

Image

Image

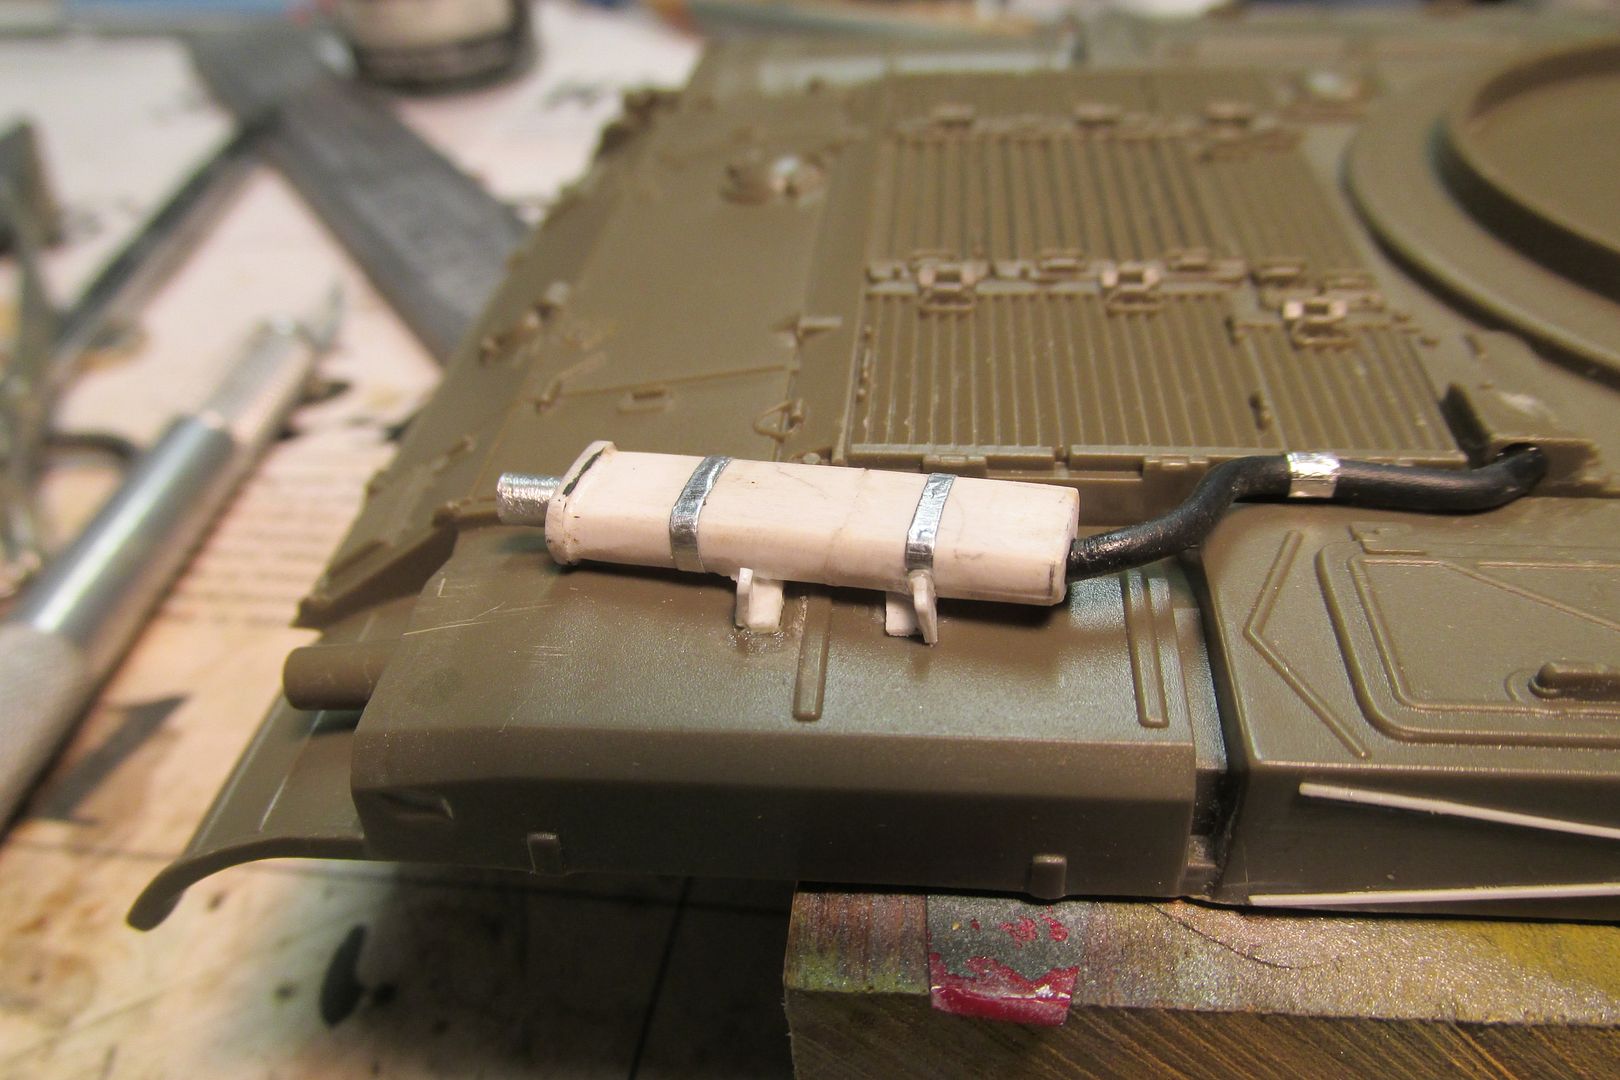
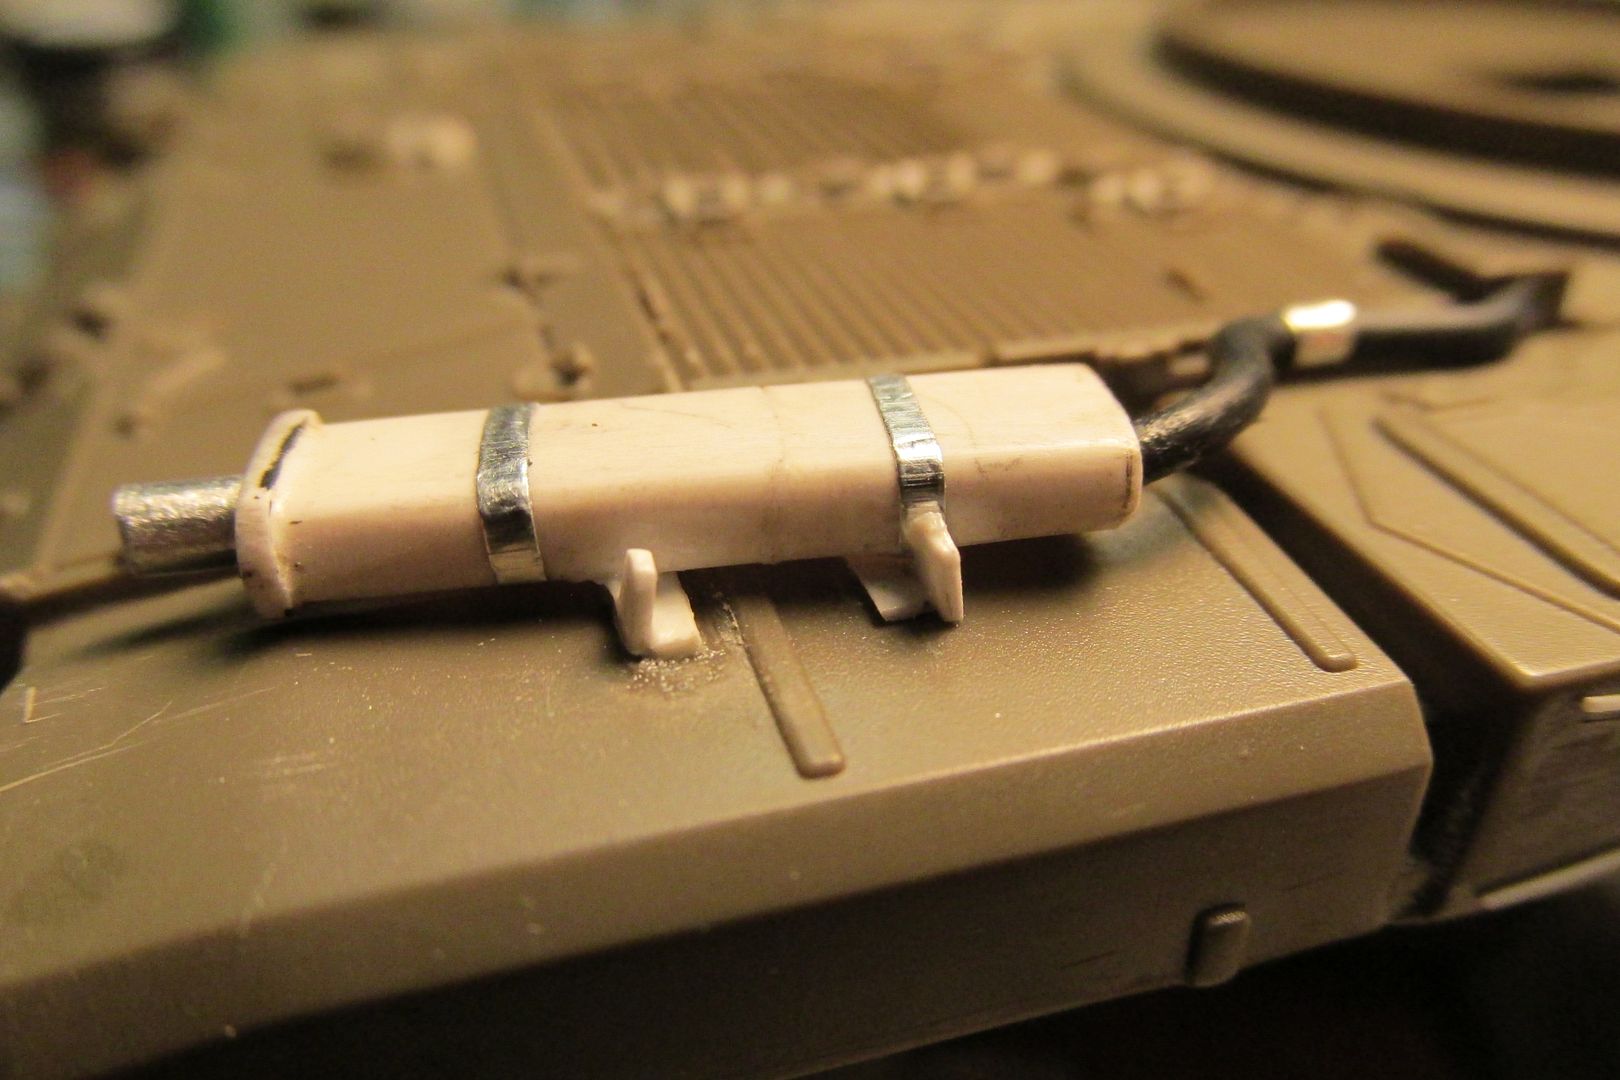
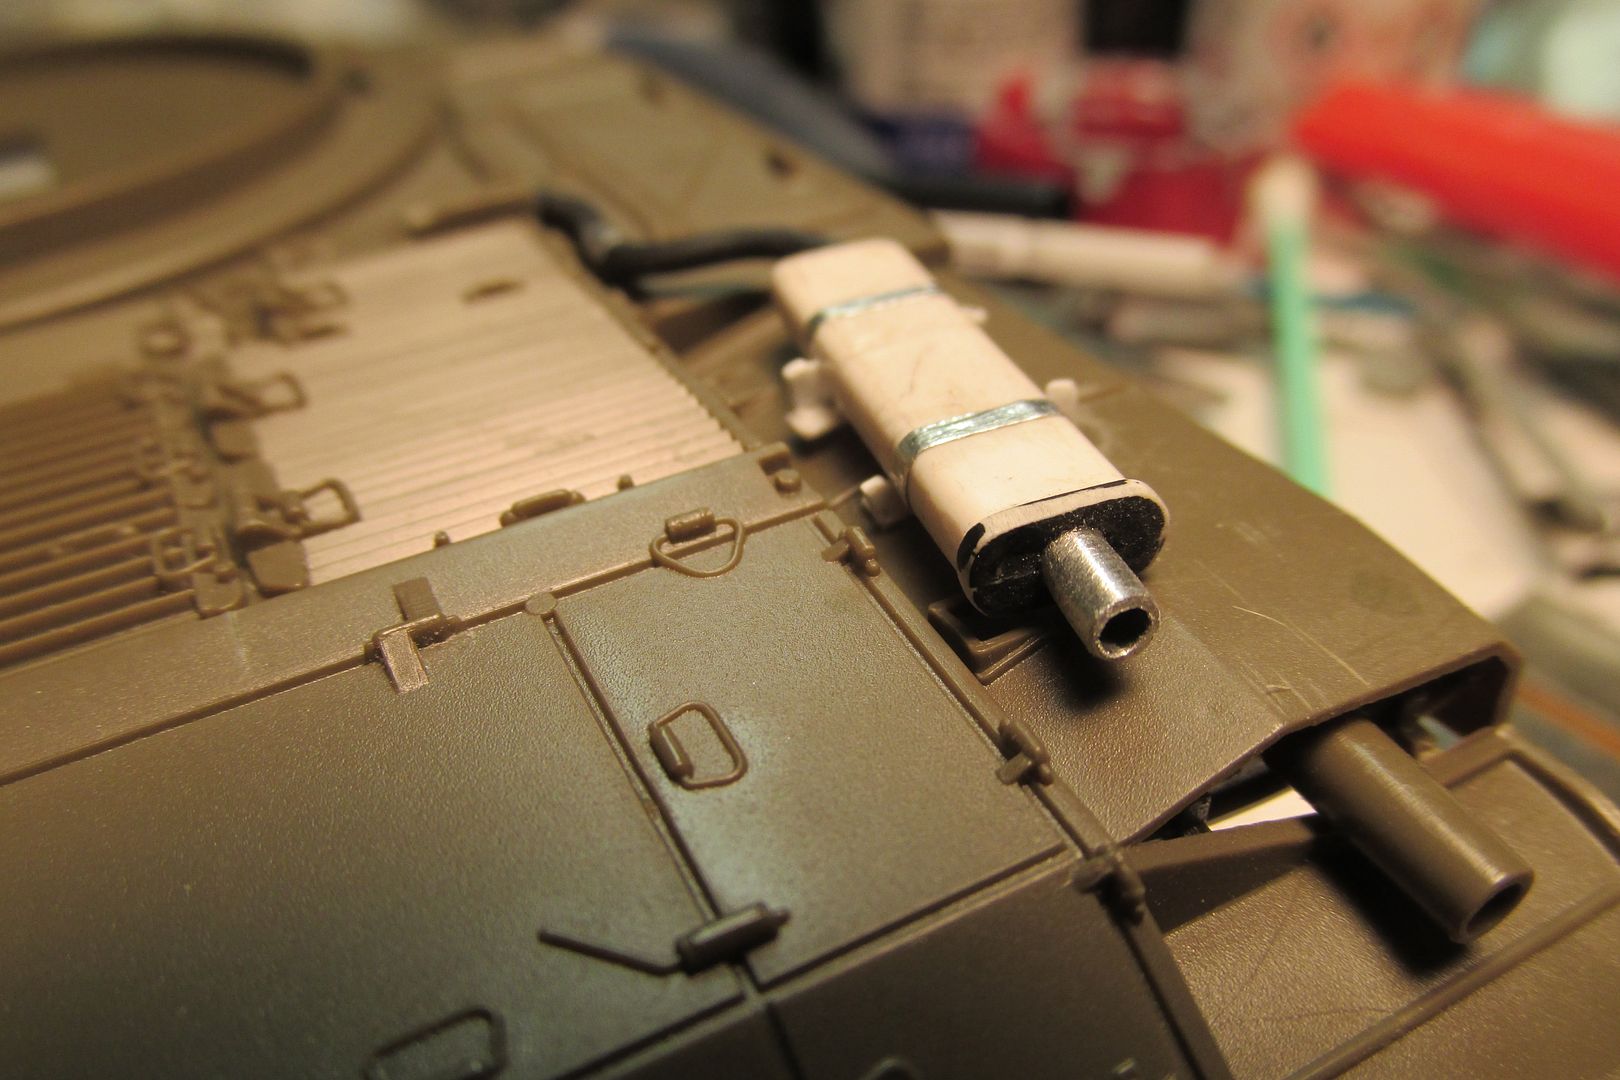
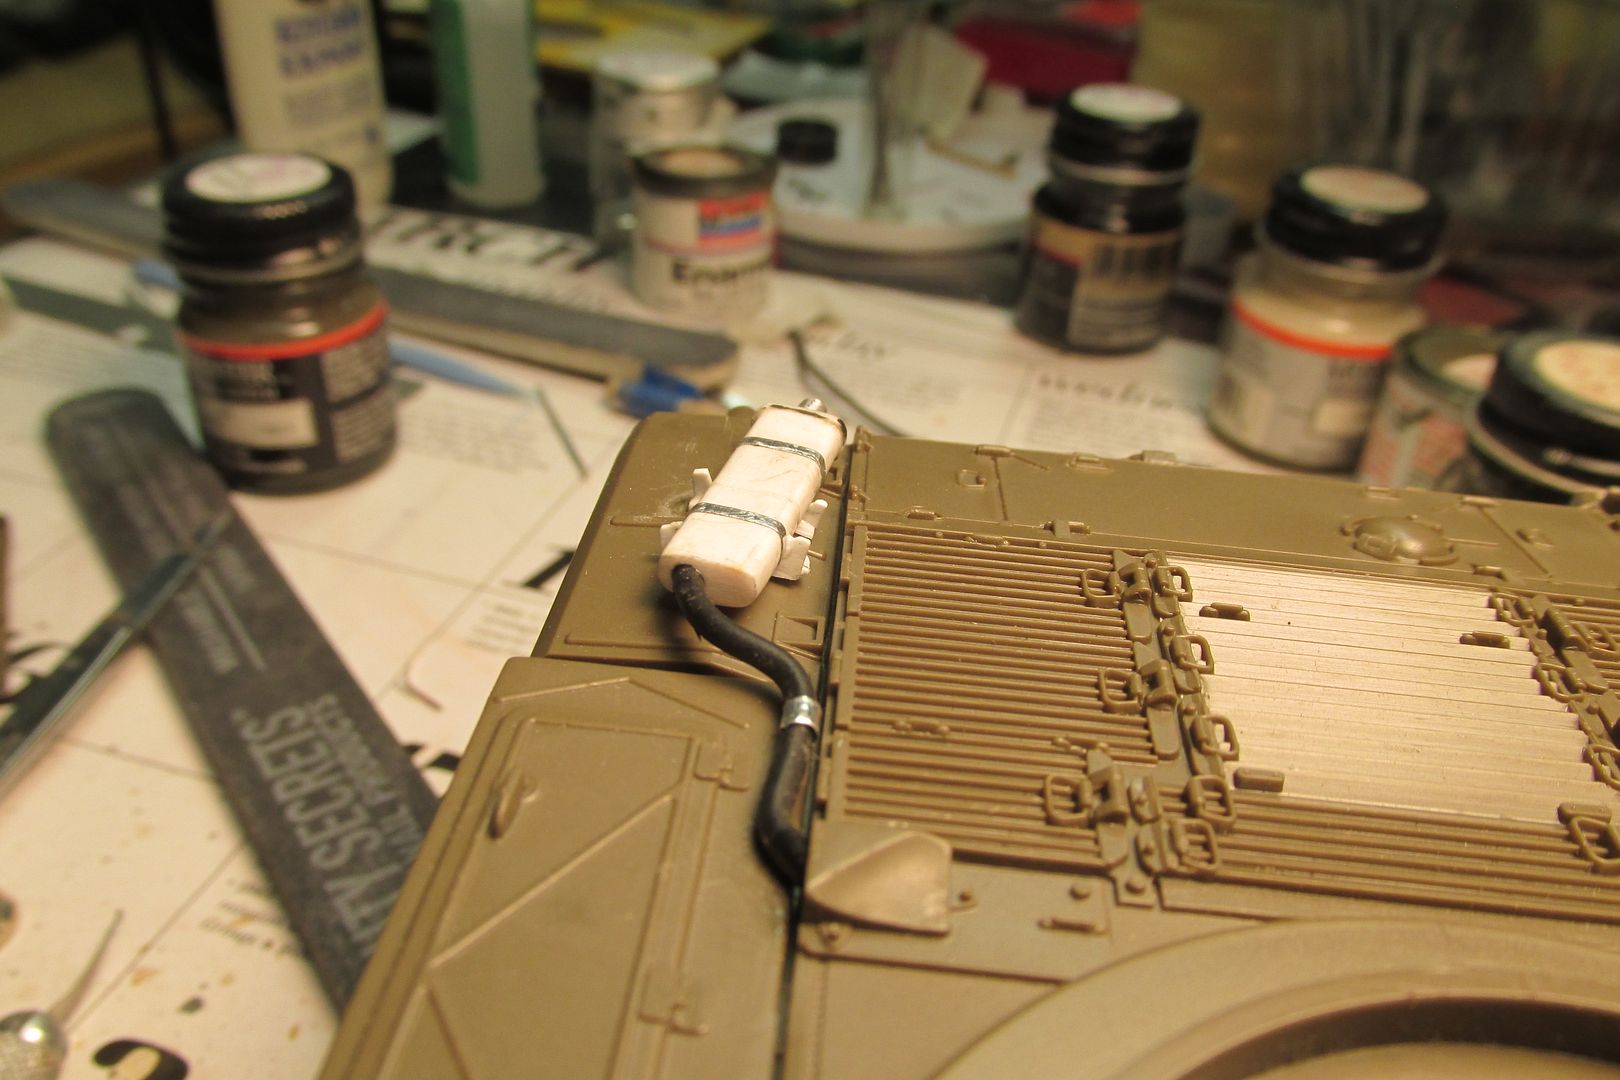
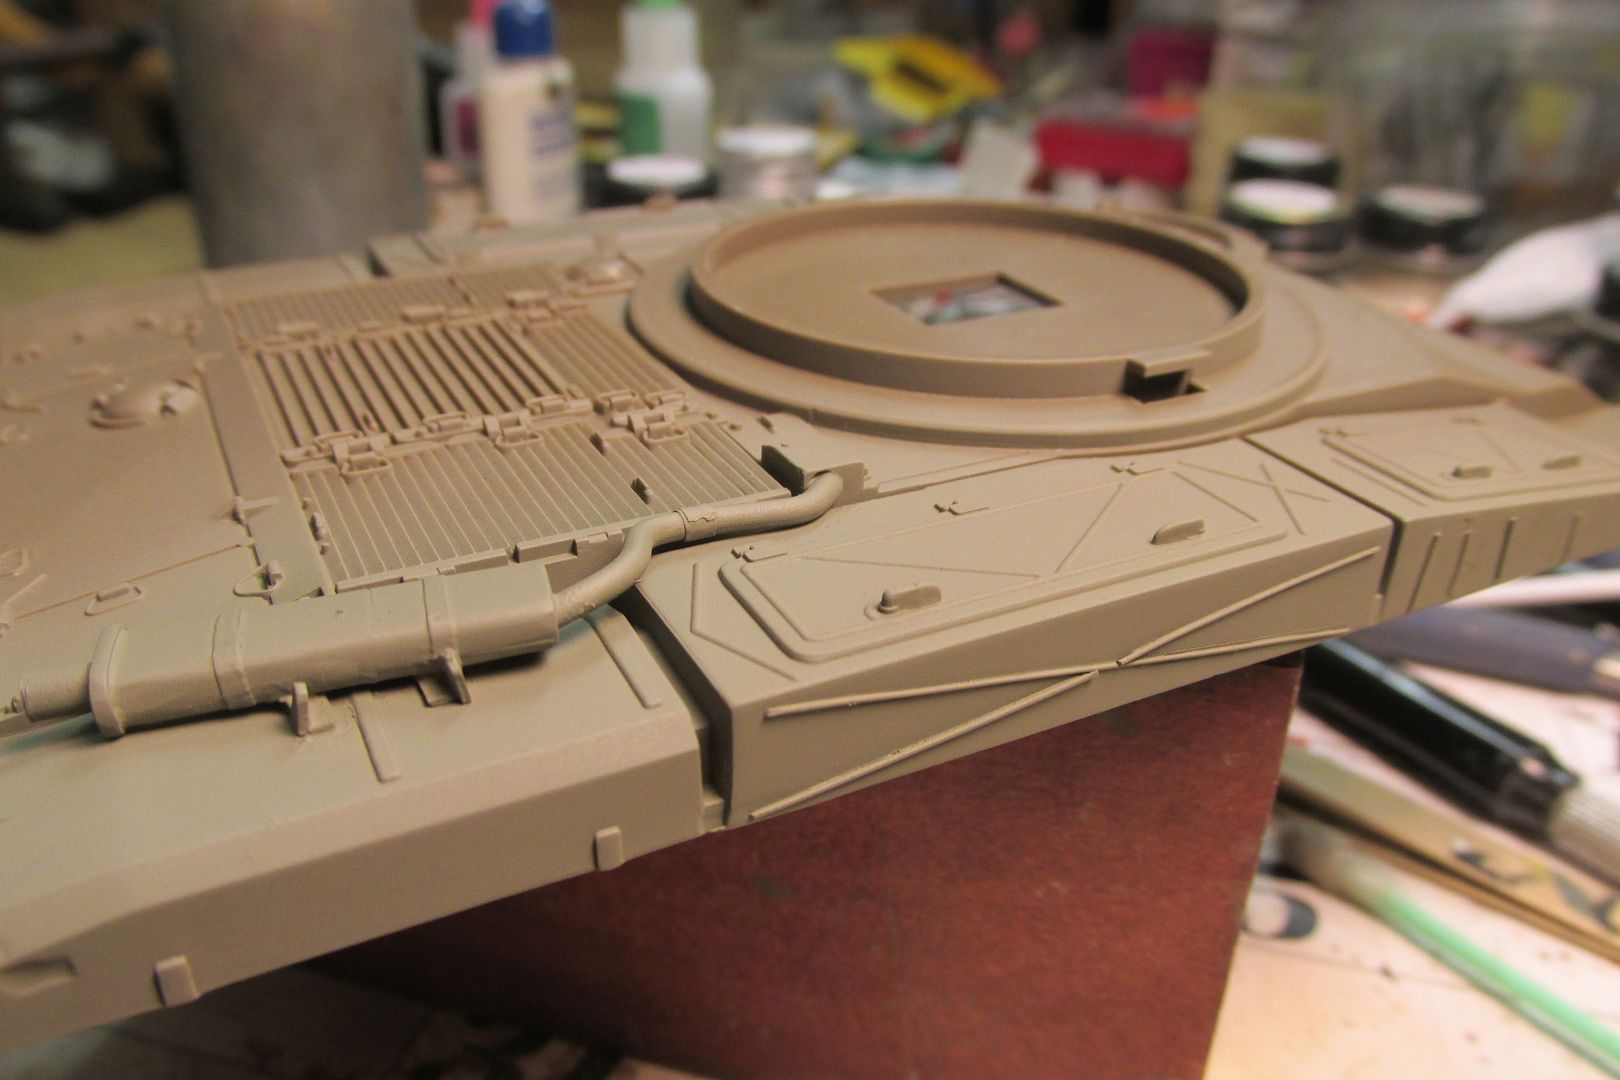
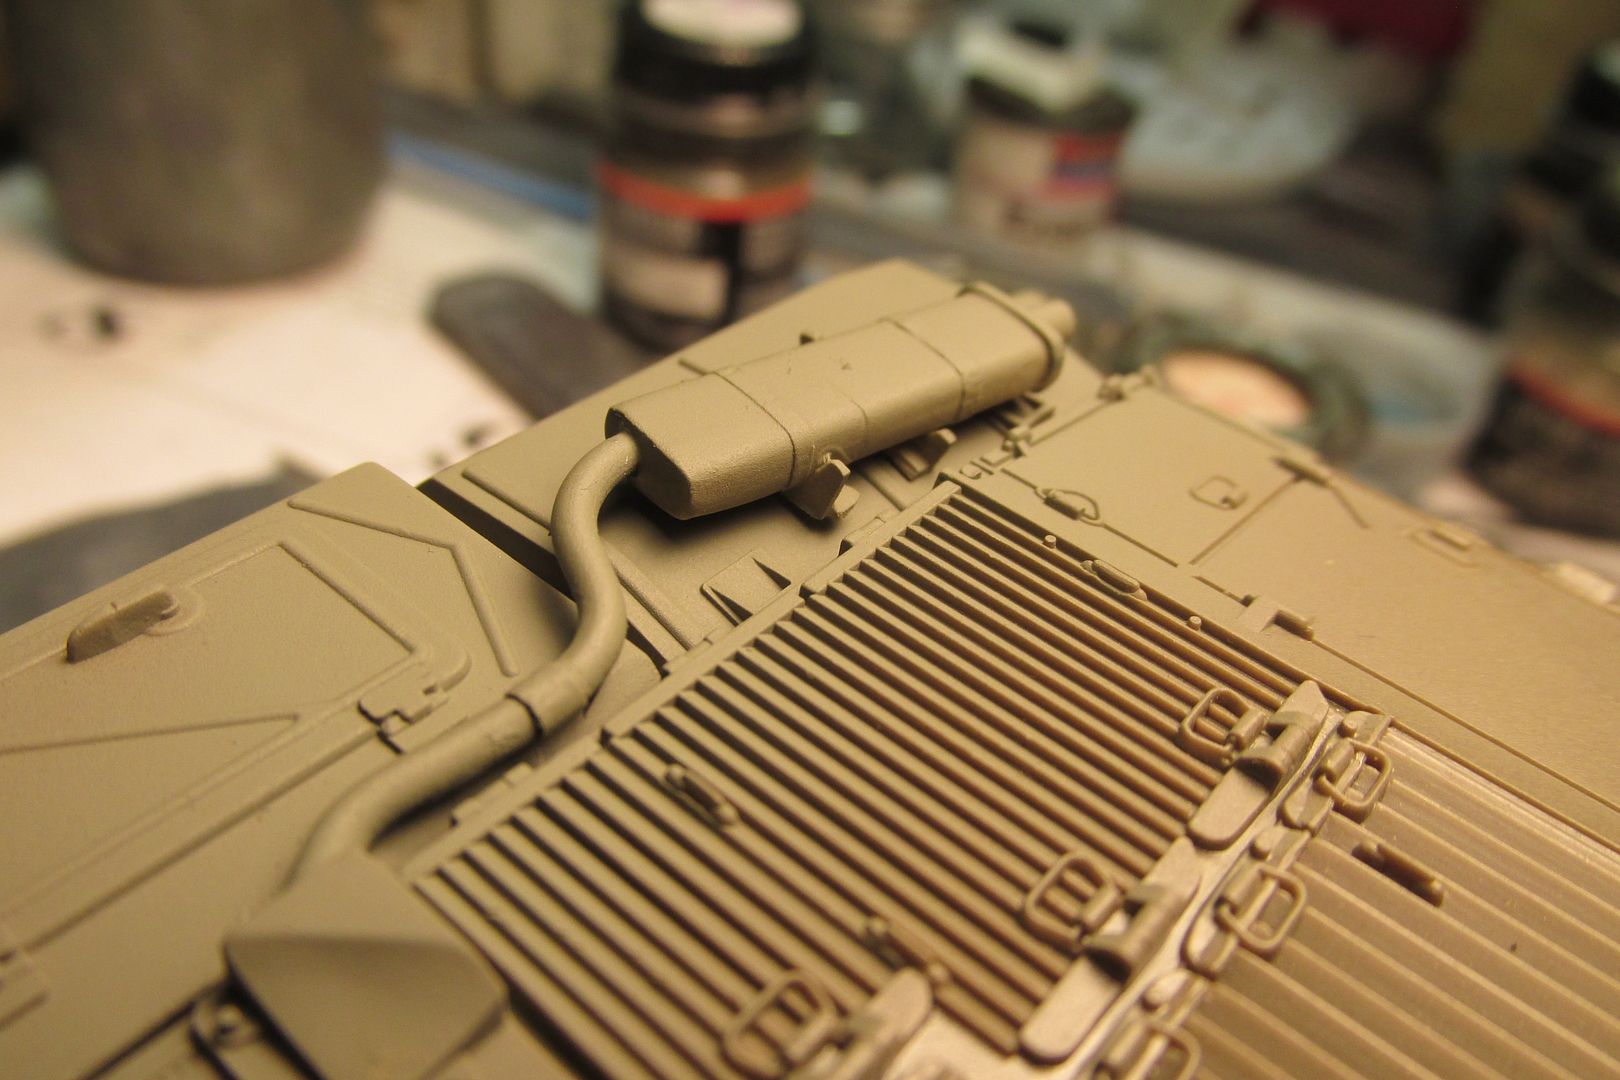
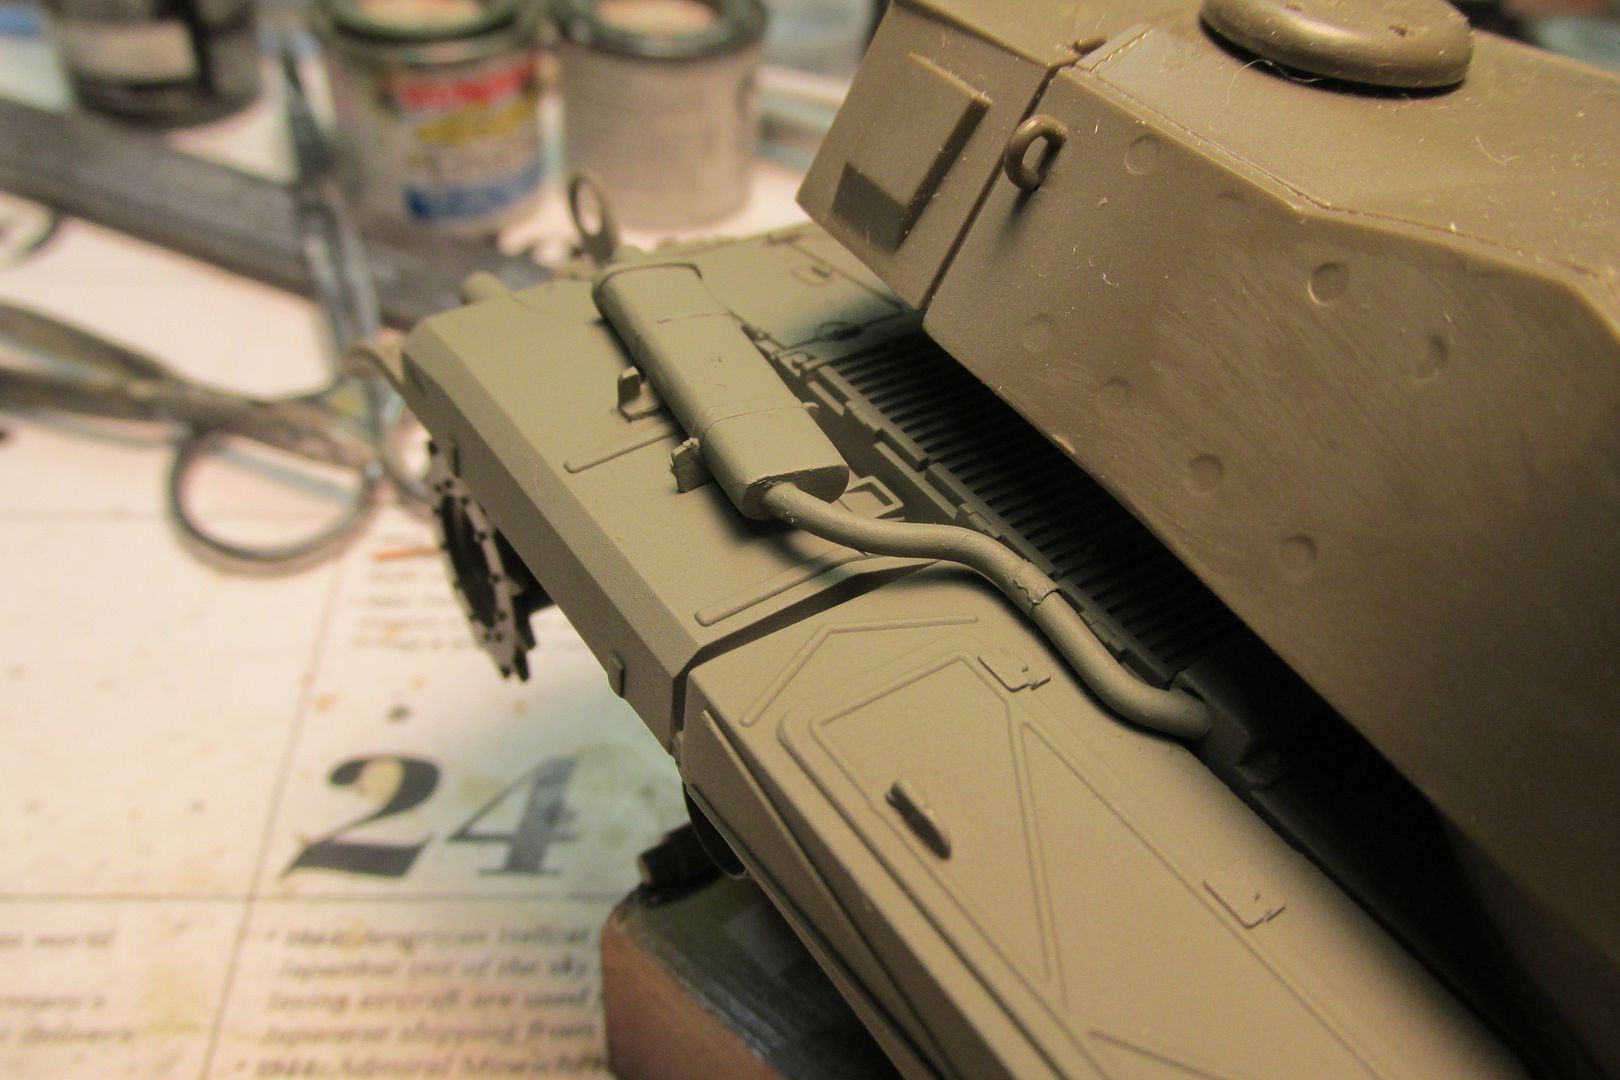
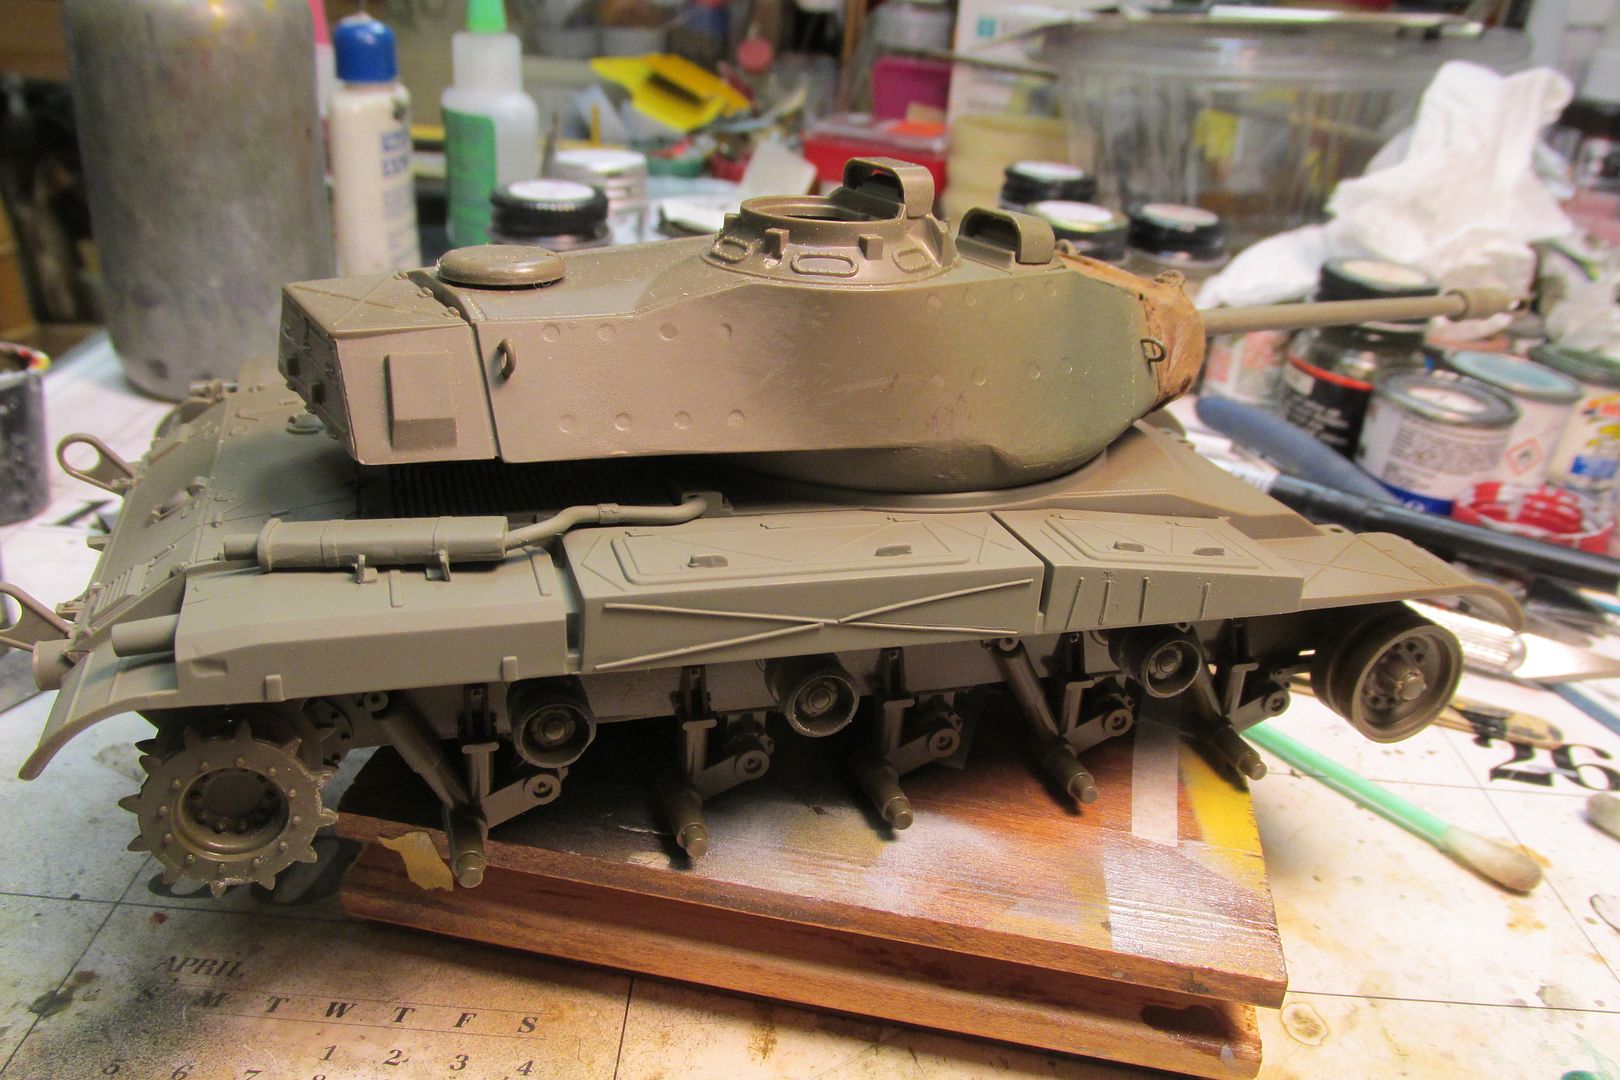
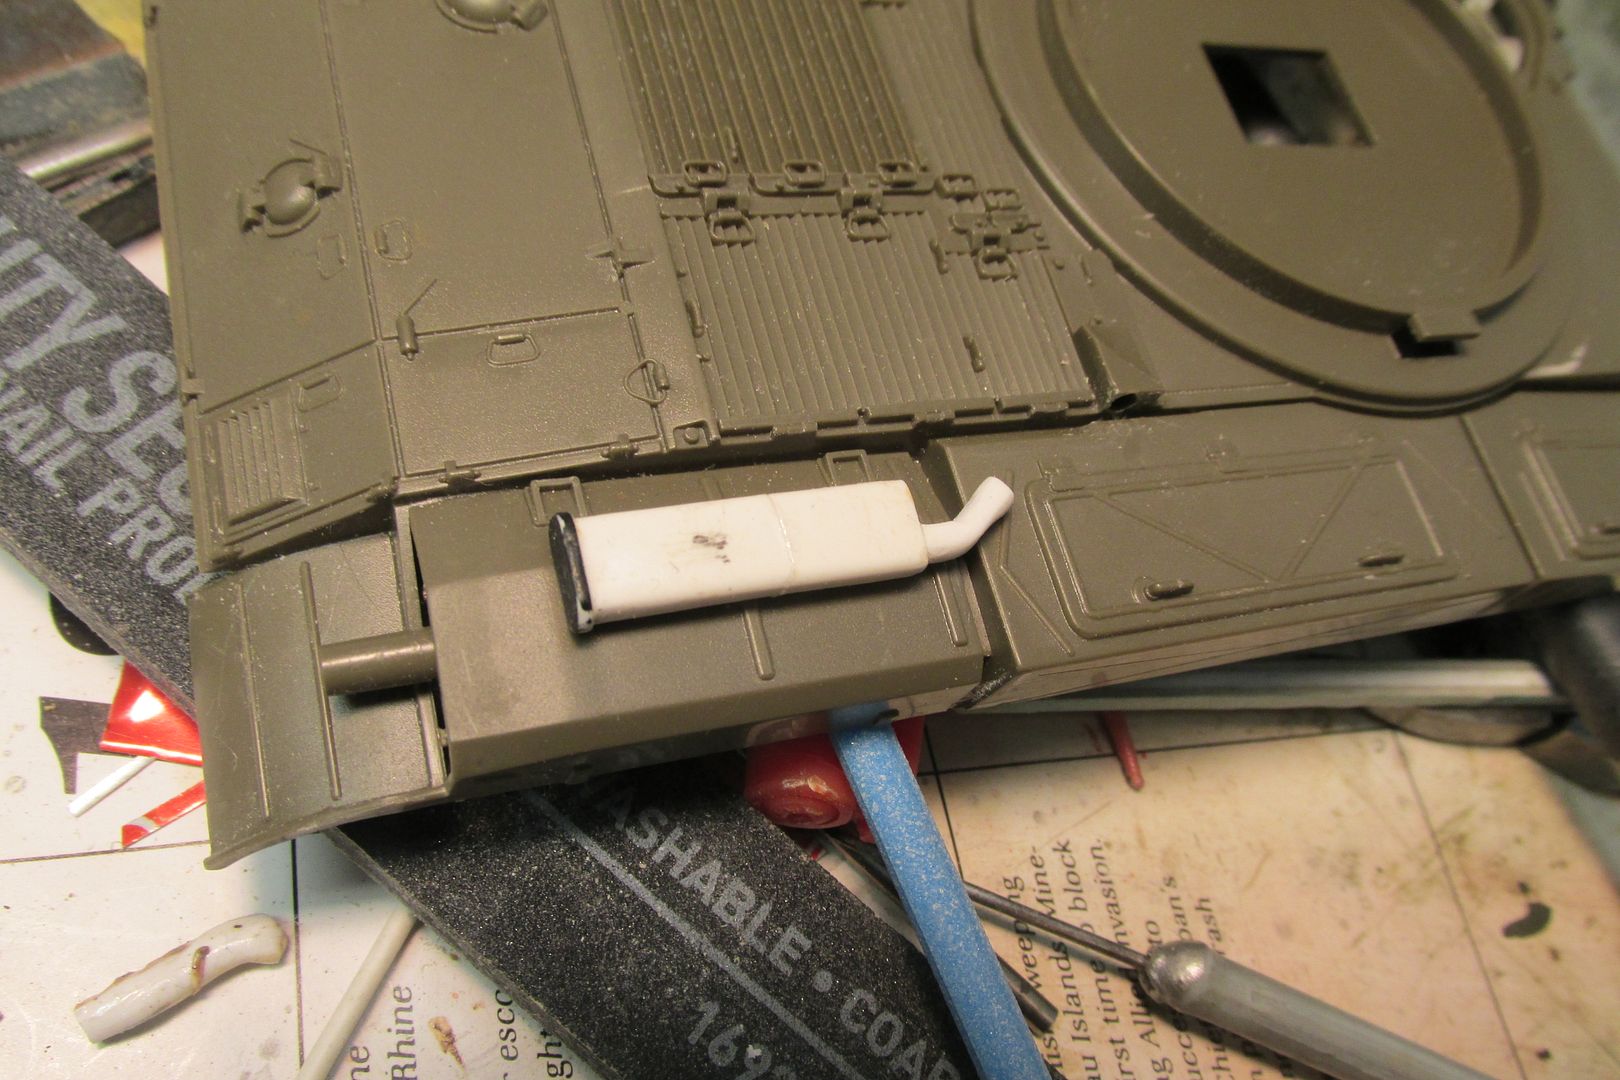
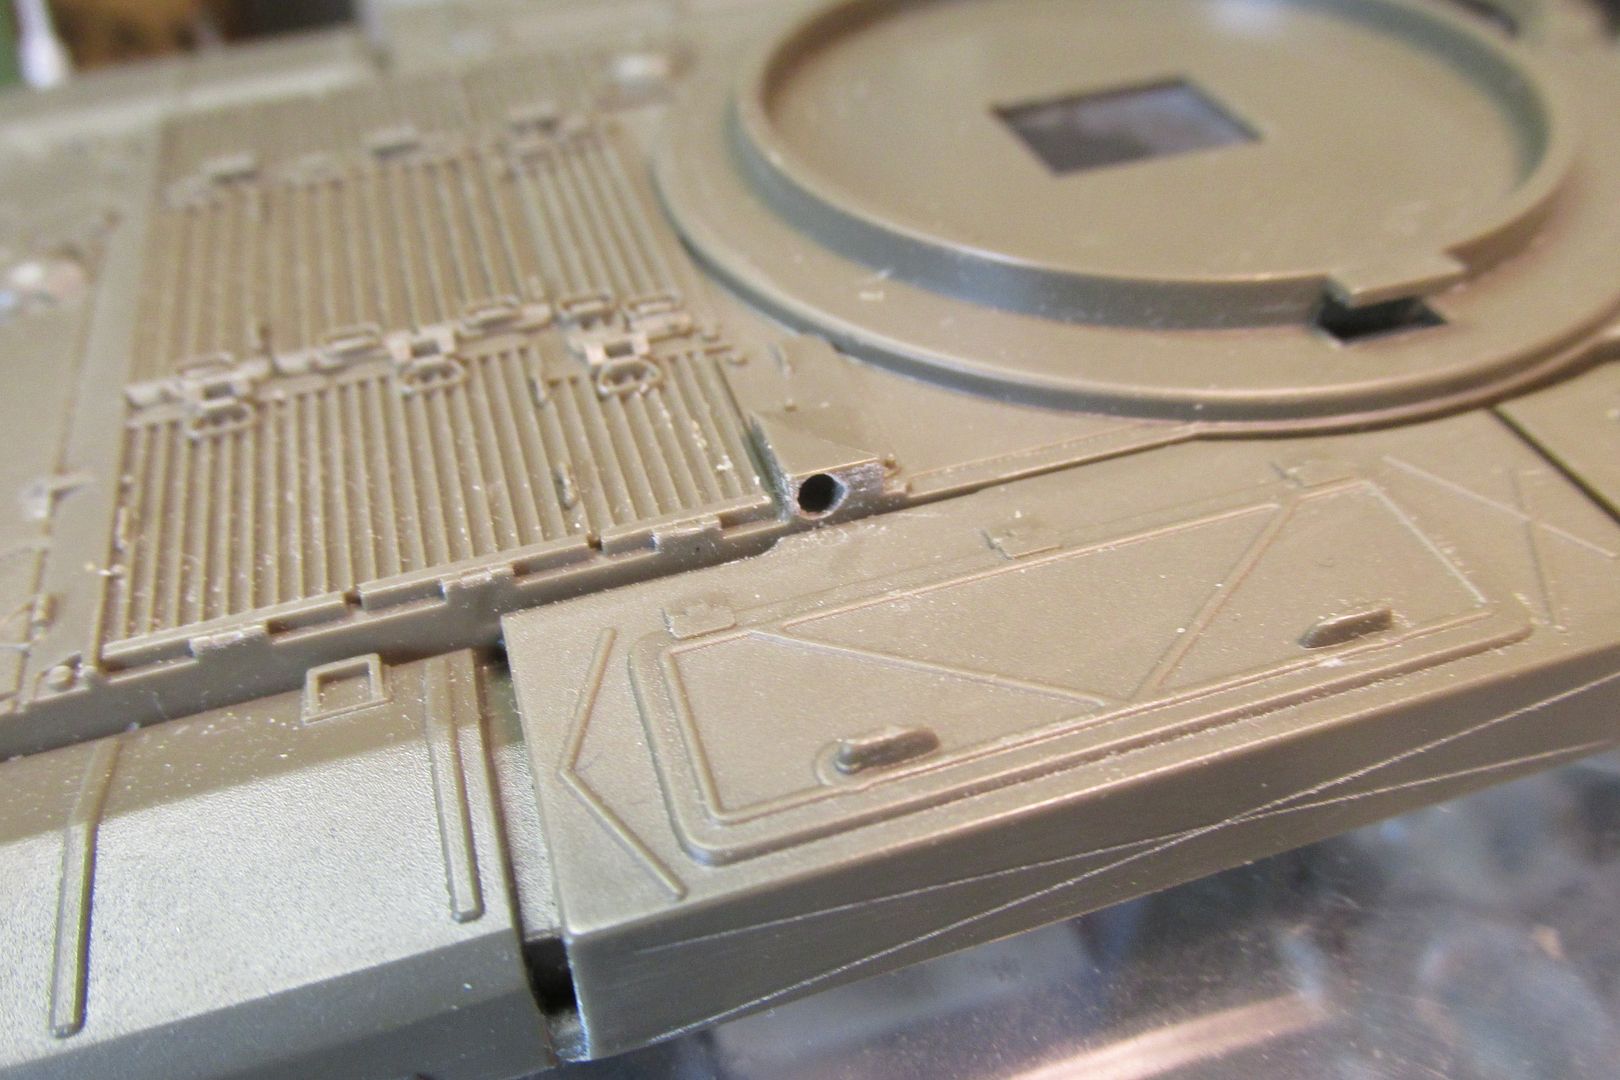
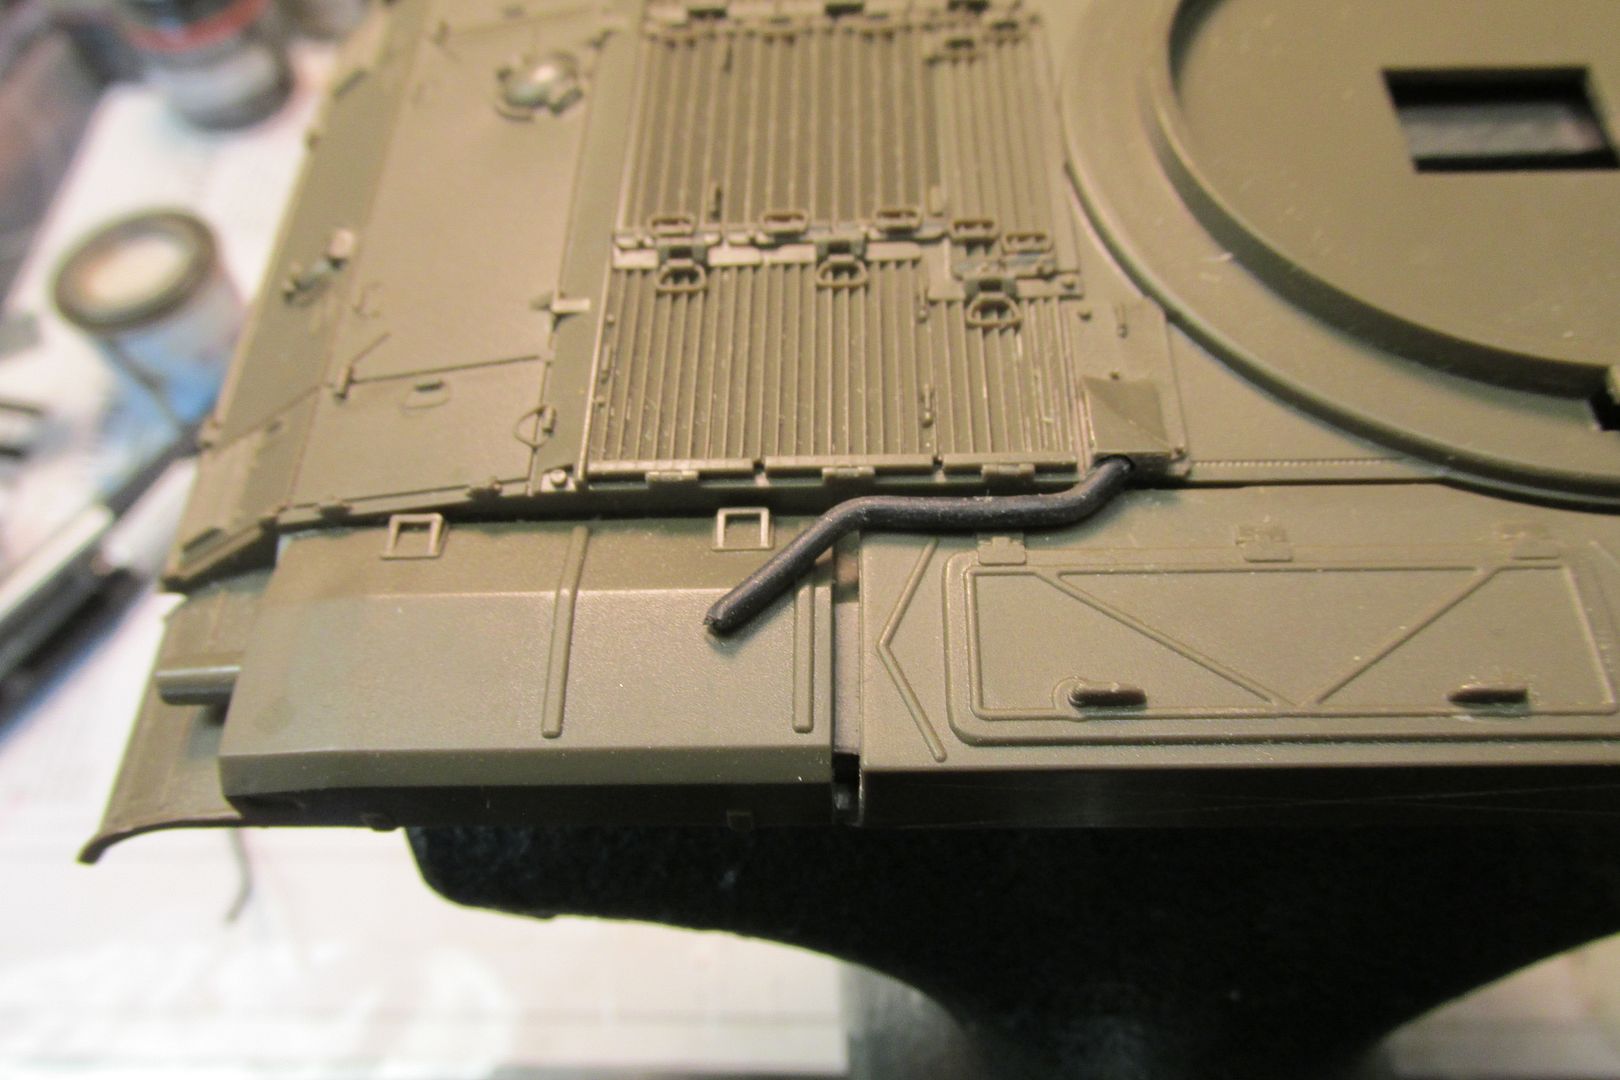
I'm adding the small, auxiliary muffler for the tank's generator too. Originally, it was mounted on top of the right rear main muffler but due to intense heat there, it was subsequently relocated to the front right fender. I've seen ARVN Bulldogs with either type and since the rear mount seems easiest, here we go with that! I found an ancient model car exhaust collector that will approximate the aux. muffler and a piece of electrical wire will do for the flexible pipe connecting it to the exhaust port on the rear starboard engine deck. The exhaust port for this muffler had to be drilled out too. The muffler will need a bit more work to attach the connecting pipe and create a short tail-pipe too.

Image

Image

Image

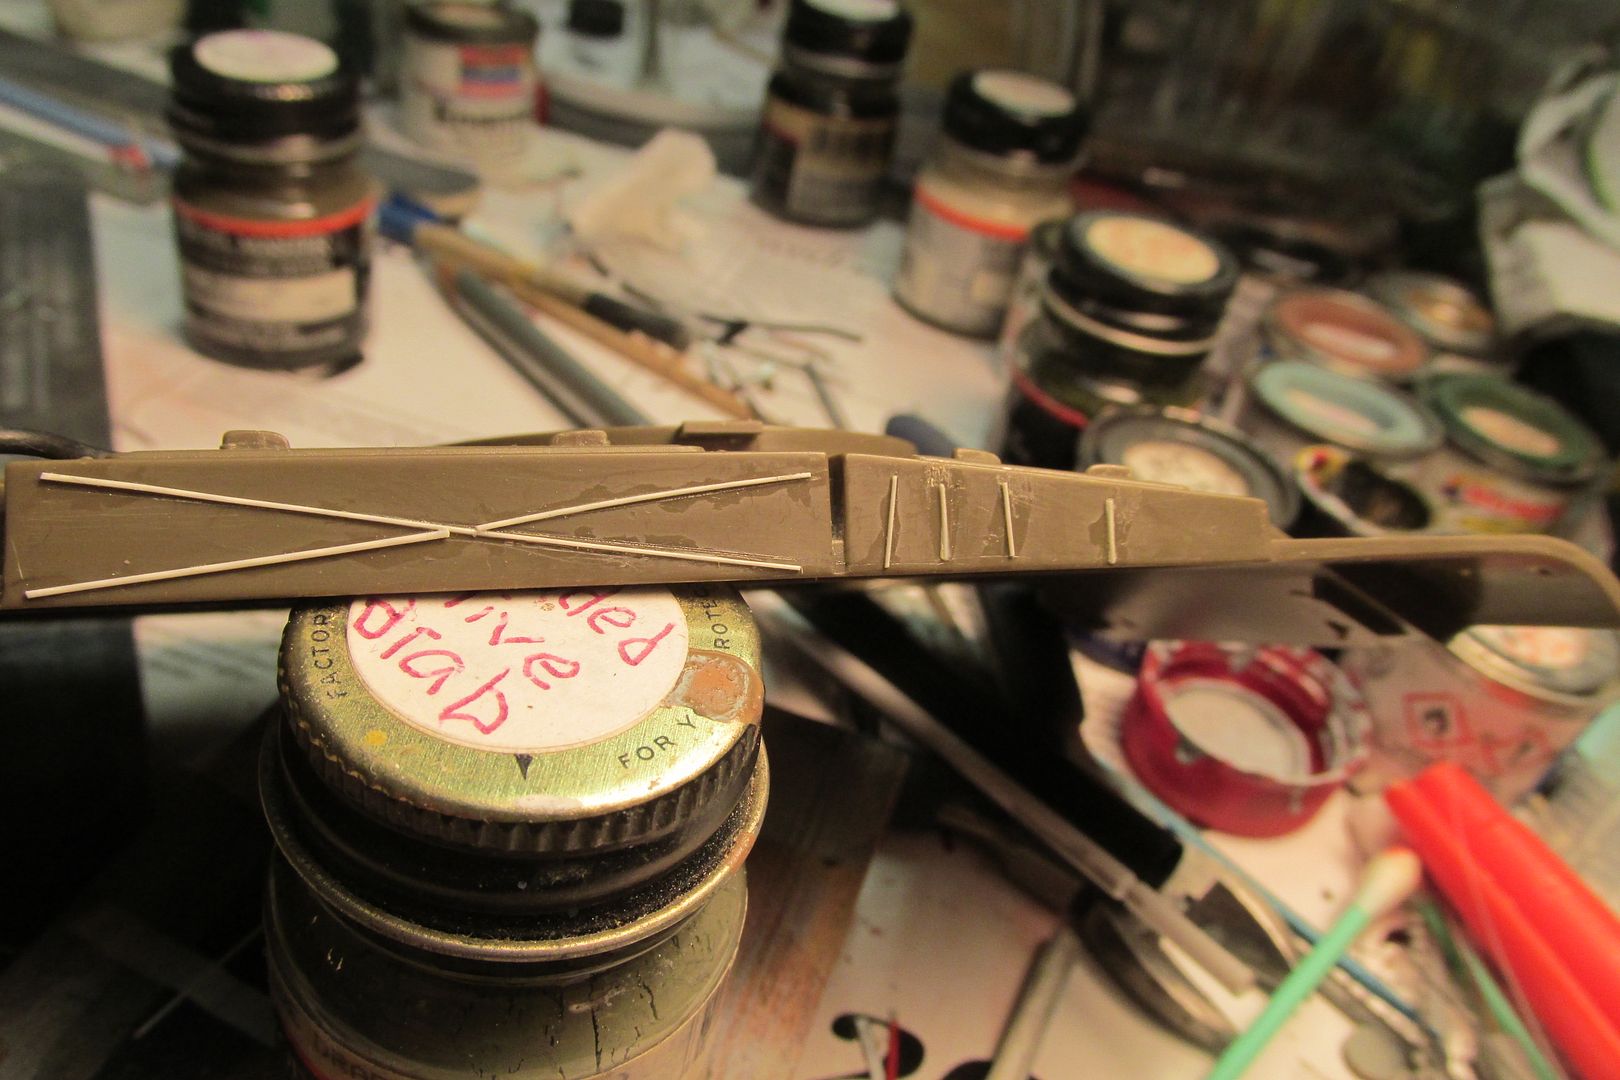
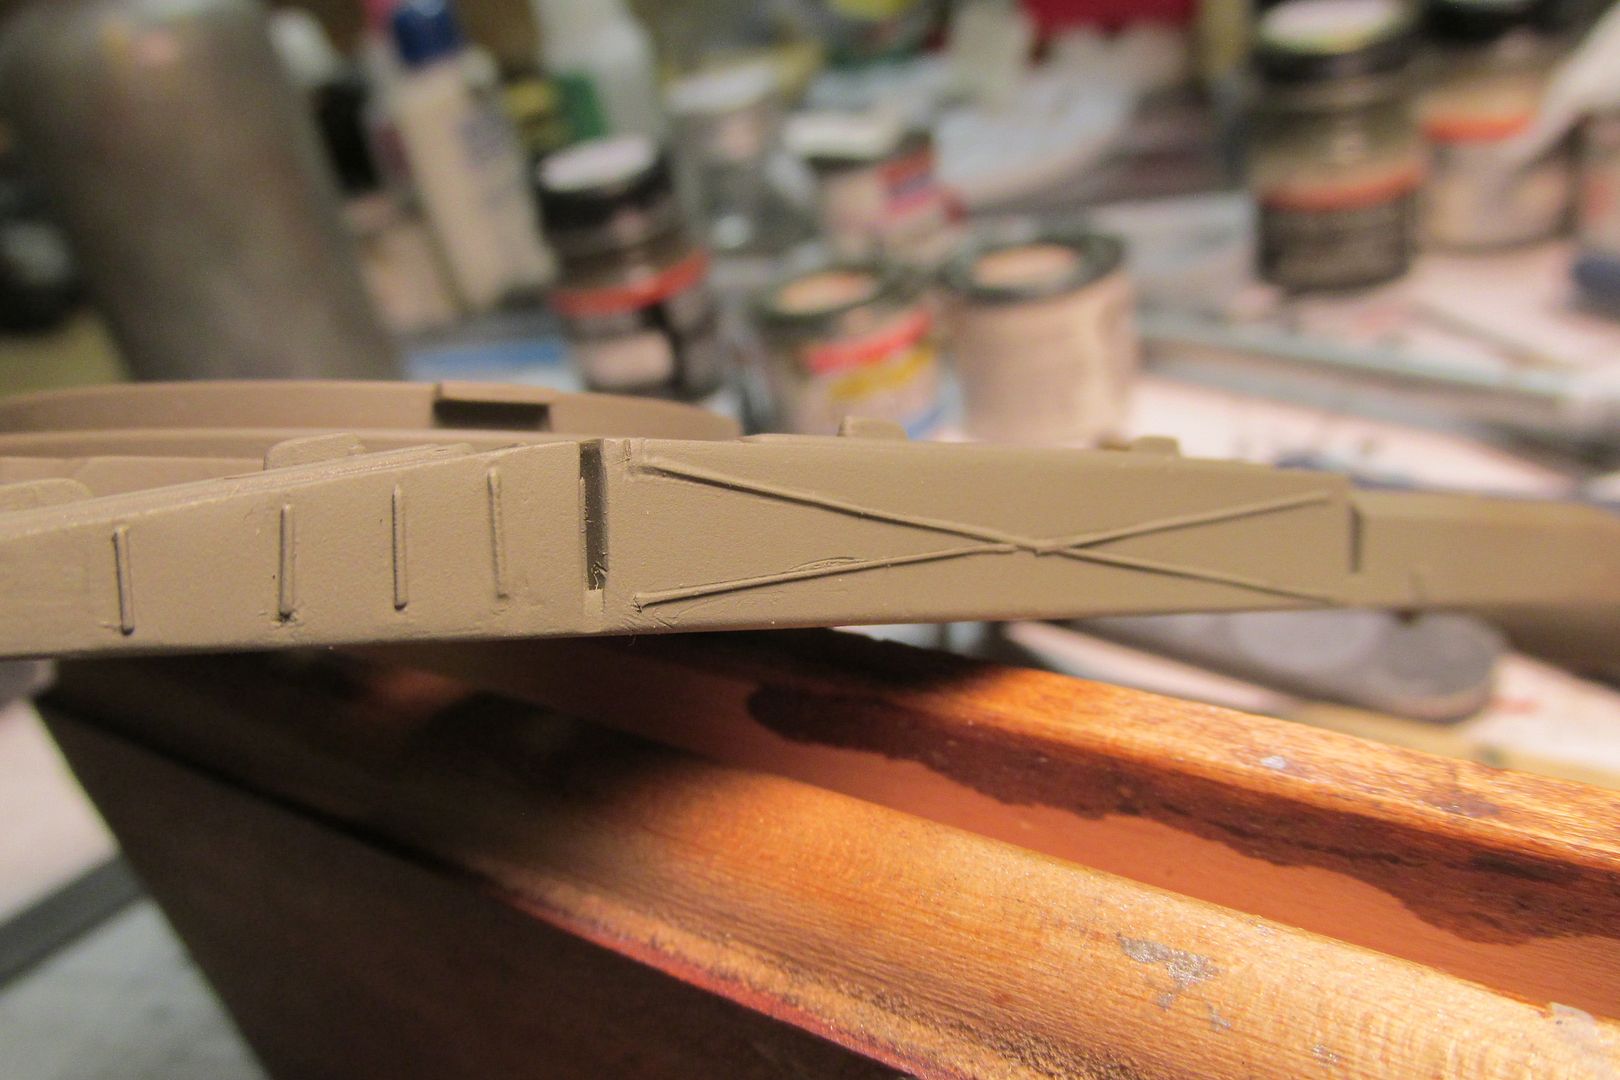
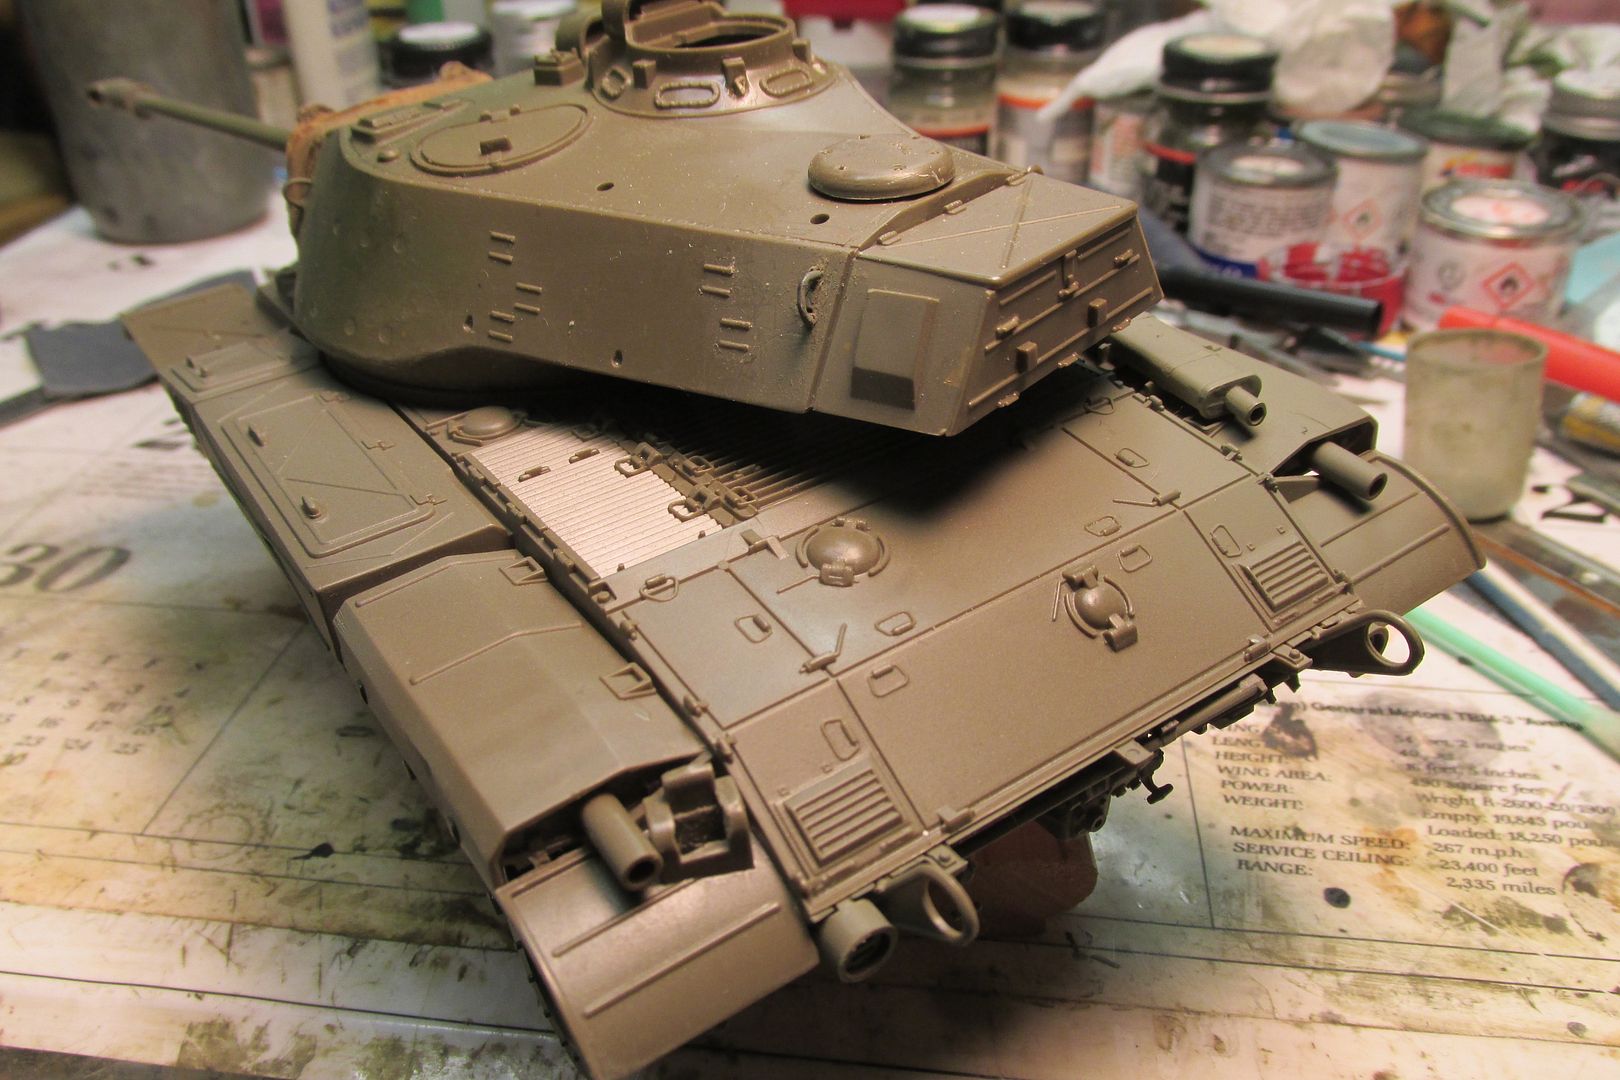
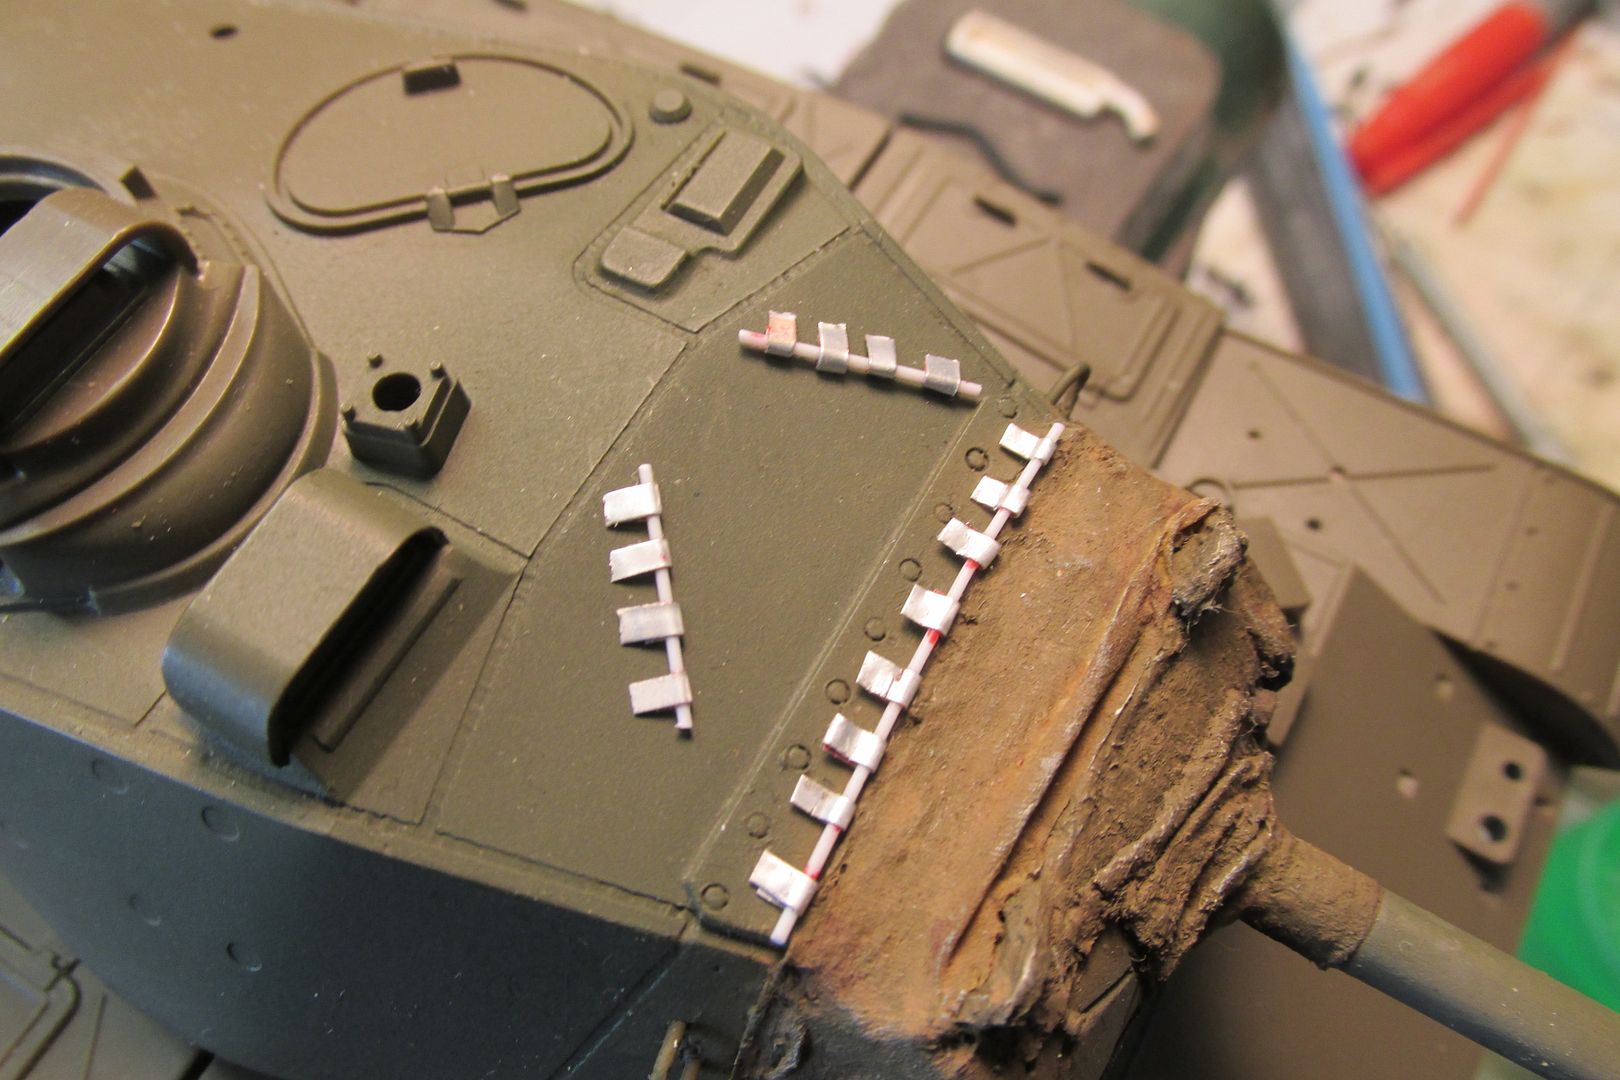
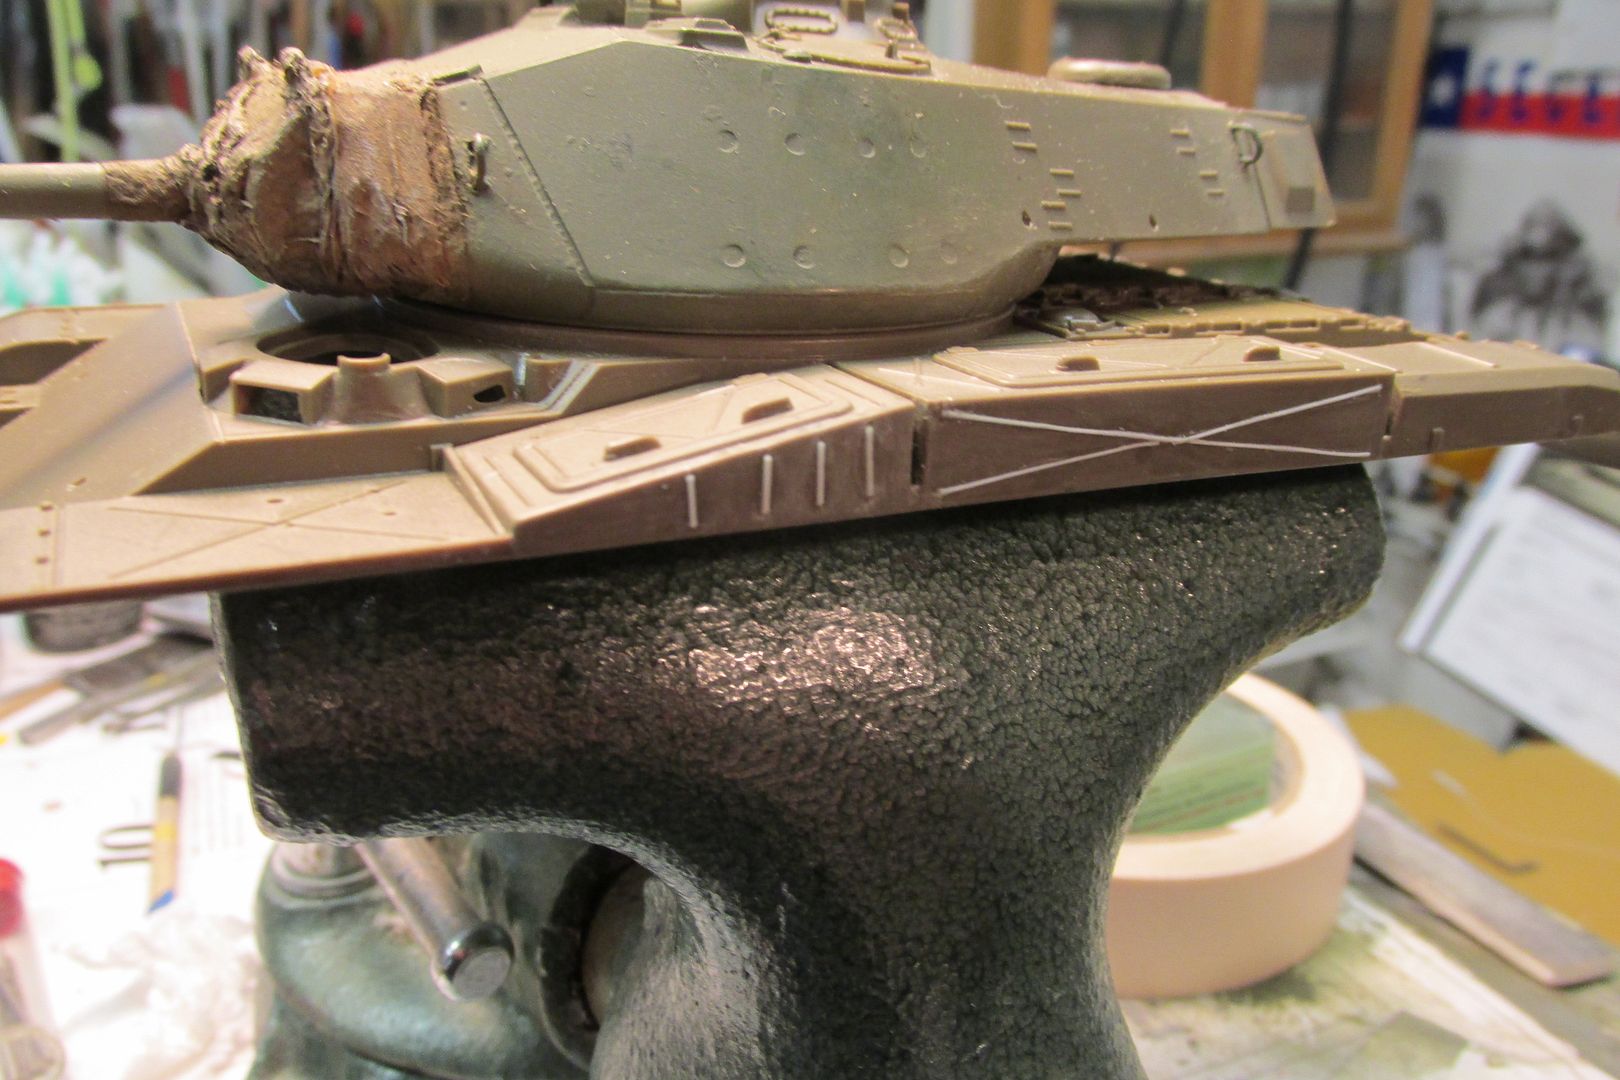
The stiffeners for the sides of the stowage boxes are half done. I laid them out last night and scribing the location for each one. I had stretched some gray sprue so the contrasting color would help locate the sprue pieces, and attached the port side with Tamiya liquid cement. It went okay, but I see how I can improve the process for the other side. I tried some RLM 81 over the storage boxes to see how the stiffeners looked painted as well as to try out the color. The Model Master paint is semi-gloss, and once it's flat-coated, I think (hope?) the stiffeners will look okay.

Image

Image

Image

Image

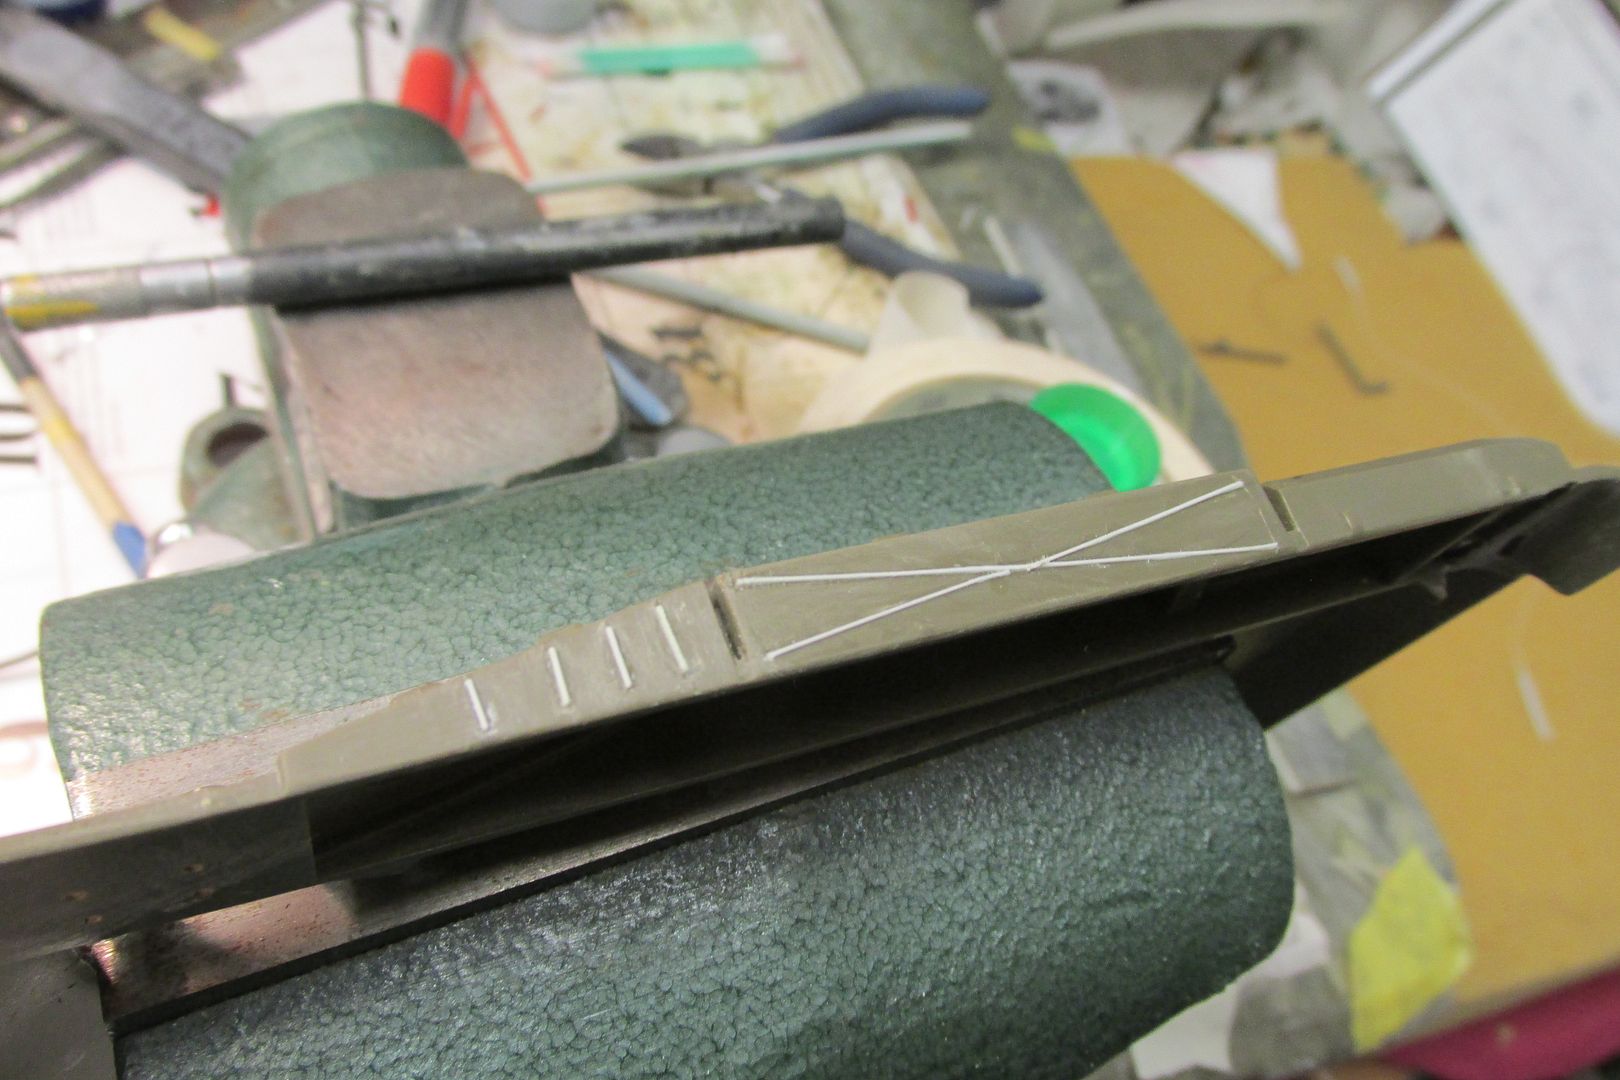
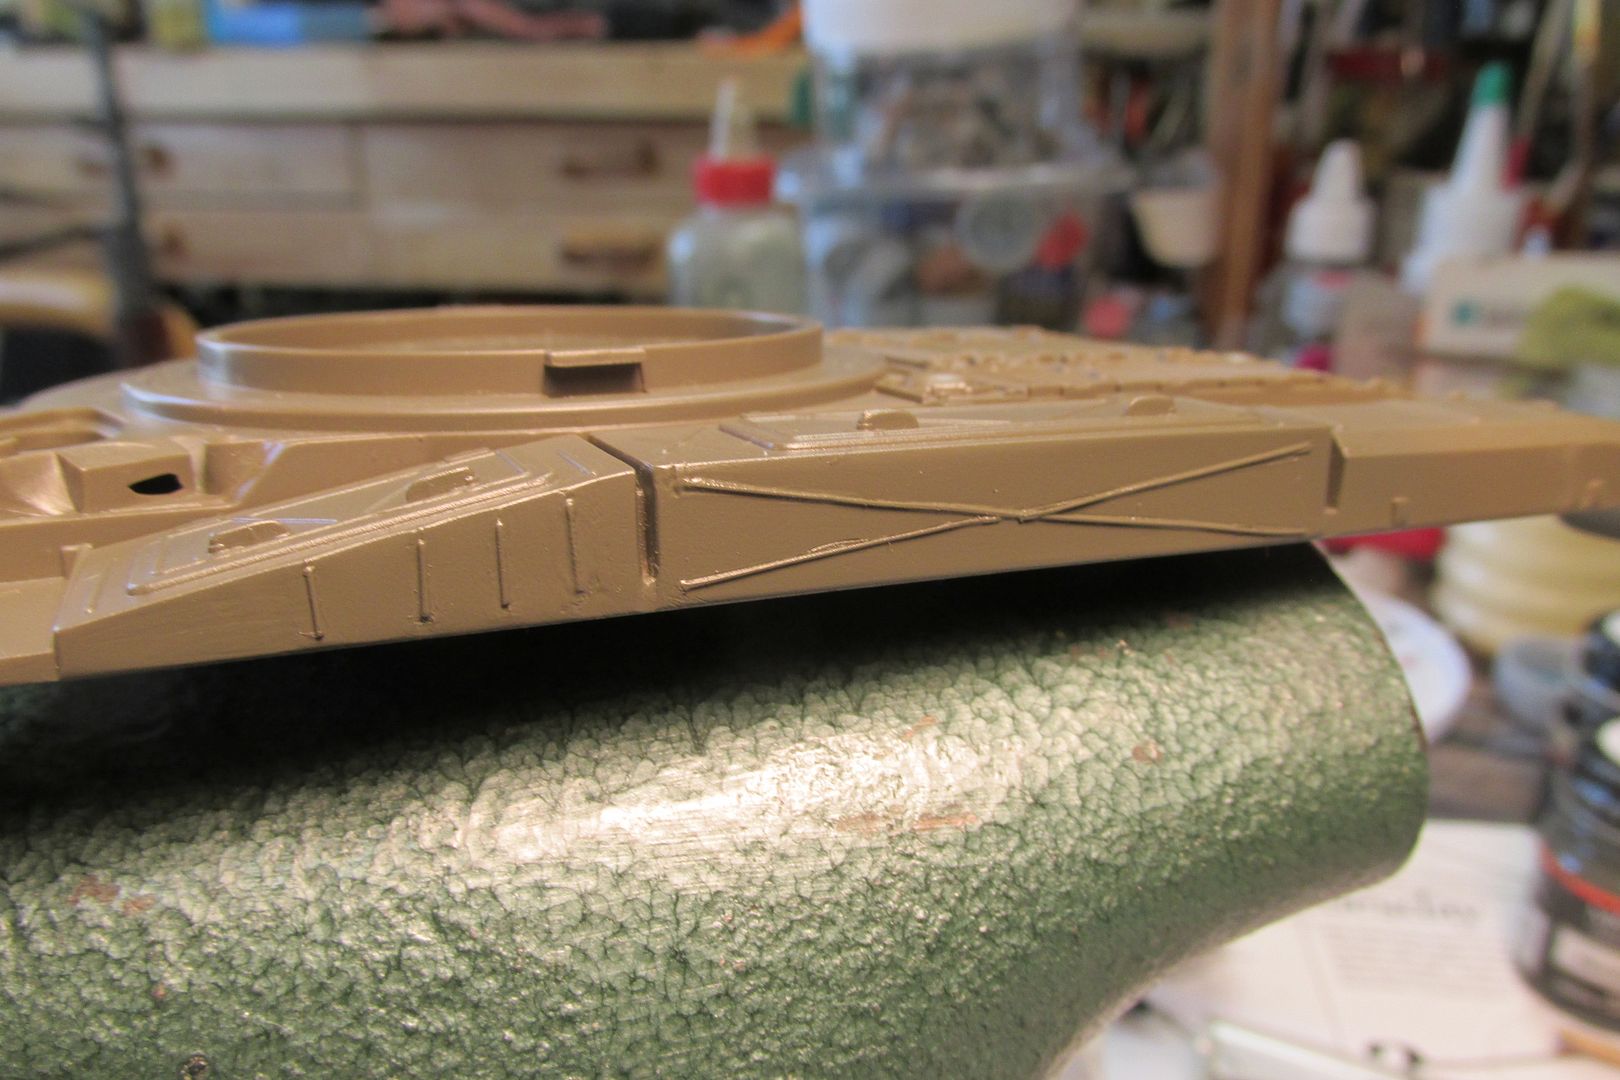
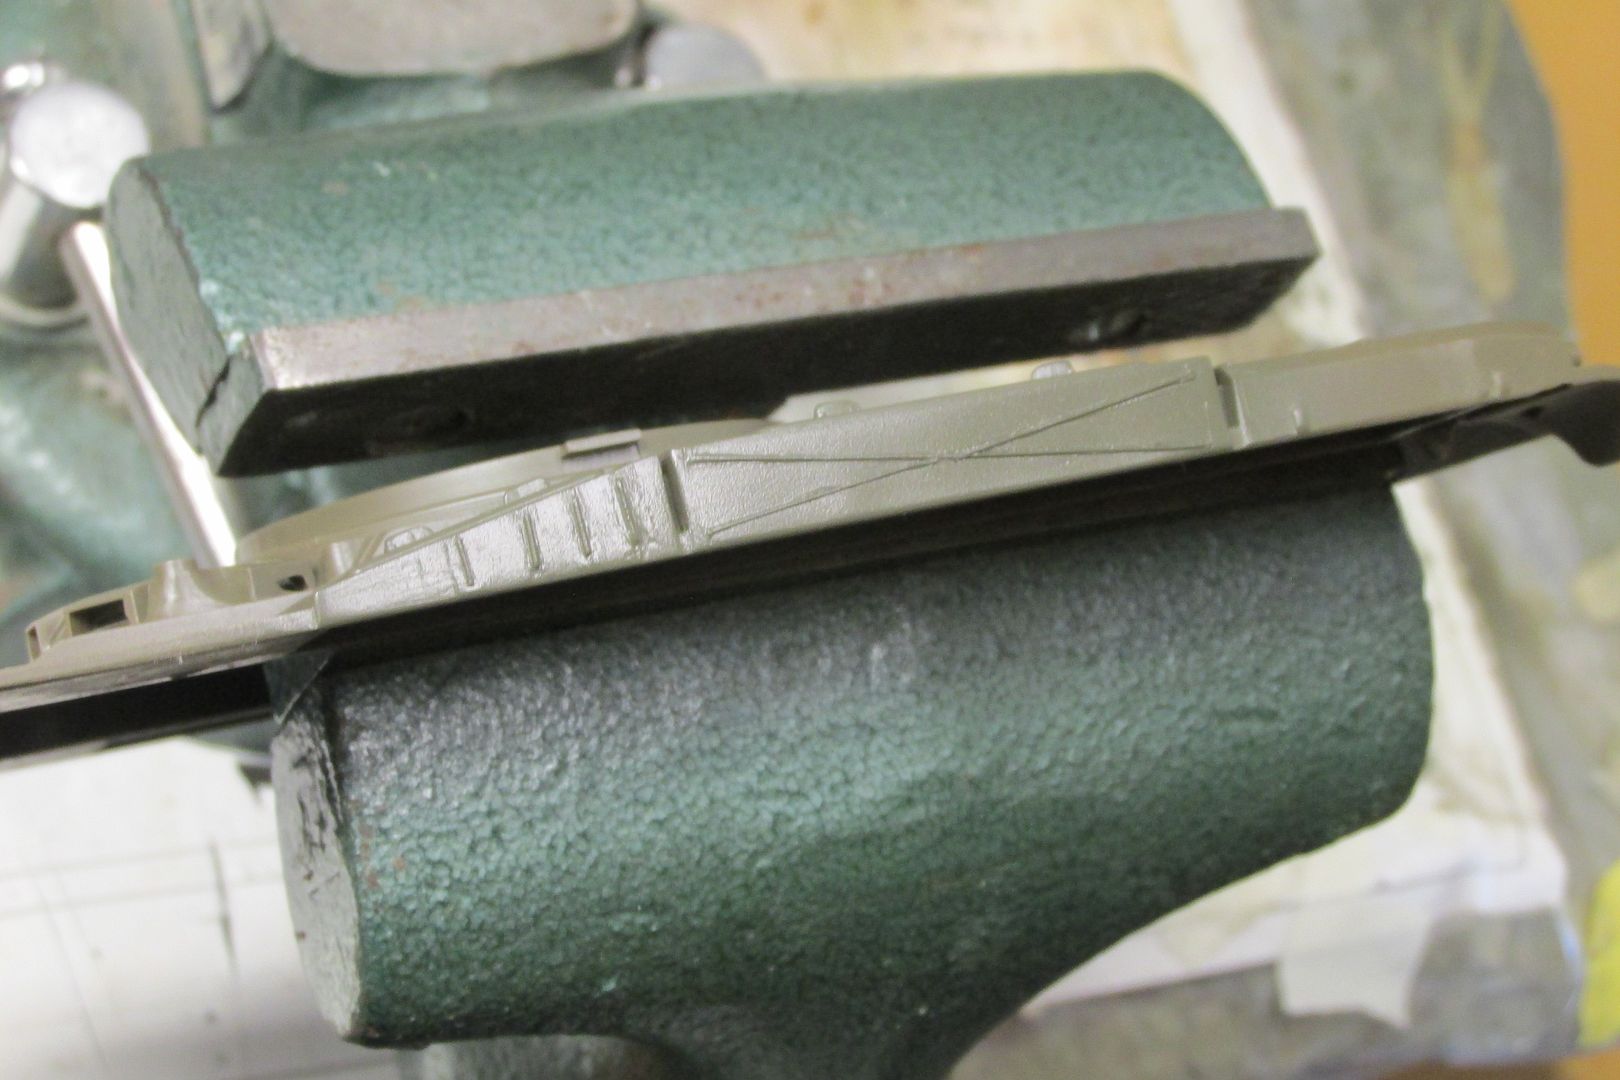
Starboard side ready for sprue "stiffeners":

Image

Well, I'm afraid that's all I've got for now folks! I hope to add a new update in a few more days. Thanks for stopping in and taking a look!
User avatar
LyleW
Admin
Posts: 13742
Joined: Fri Dec 13, 2013 7:25 am
Location: Mt. Washington KY

Re: Tamiya M41 Walker Bulldog

Post by LyleW »

Stik got him another one!

Gary, that is some mighty-fine work you got goin' on there! Mighty fine.....
To make each build less crappy than the last one. Or, put another way, "Better than the last one, not as good as the next one!"..
User avatar
Stikpusher
Moderator
Posts: 19020
Joined: Sat Apr 05, 2014 8:37 pm
Location: Ceti Alpha 5

Re: Tamiya M41 Walker Bulldog

Post by Stikpusher »

Looks good Gary! Very nicely done on the stamping ribs. :shoutout:
"Surely I have made my meaning plain? I intend to avenge myself upon you, Admiral. I have deprived your ship of power, and when I swing 'round, I intend to deprive you of your life."

FLSM
User avatar
Floki
Elite Member
Posts: 3548
Joined: Wed Dec 12, 2018 2:23 am
Location: Muncie, Indiana

Re: Tamiya M41 Walker Bulldog

Post by Floki »

Some great additions you are making to this.
March as one, Don't look back
Odin's sons... Attack!
Unleash hell! Do not repent! Warfare grants us no lament
Let your weapons slash and tear This is no place for fear
Hold the lines! Move as one! In unity our victory's won
Our shields will form a mighty wall
United we shall never fall
User avatar
Gary Brantley
Addicted Member
Posts: 1760
Joined: Tue Apr 08, 2014 9:40 pm
Location: Cameron, Texas

Re: Tamiya M41 Walker Bulldog

Post by Gary Brantley »

Thanks Lyle, Carlos and Clint! I sure do appreciate the support, and encouragement. I've been having fun, in spite of an issue or two, and that feels great! :lol: Jackie and I have just returned from the country; we had an early supper out there, and then rode around the perimeter fence-line looking for poke plants. I believe it's still a bit early, maybe by a week or two. Gettin' hungry for a big mess o' poke salad!

I will try to finish the stretched sprue stiffeners later this evening. The aux. muffler gets the attention next! :grin:
User avatar
Stikpusher
Moderator
Posts: 19020
Joined: Sat Apr 05, 2014 8:37 pm
Location: Ceti Alpha 5

Re: Tamiya M41 Walker Bulldog

Post by Stikpusher »

Here’s a good blog article on M41s in combat. Lots of good reference photos there.

https://mikesresearch.com/2019/03/24/m4 ... r-bulldog/
"Surely I have made my meaning plain? I intend to avenge myself upon you, Admiral. I have deprived your ship of power, and when I swing 'round, I intend to deprive you of your life."

FLSM
User avatar
Gary Brantley
Addicted Member
Posts: 1760
Joined: Tue Apr 08, 2014 9:40 pm
Location: Cameron, Texas

Re: Tamiya M41 Walker Bulldog

Post by Gary Brantley »

Wow! Great find Carlos, thanks so much for that link! Great stuff there fer sure. :bow:
User avatar
Gary Brantley
Addicted Member
Posts: 1760
Joined: Tue Apr 08, 2014 9:40 pm
Location: Cameron, Texas

Re: Tamiya M41 Walker Bulldog

Post by Gary Brantley »

It's time for another progress report. I managed to cobb together an auxiliary muffler and get it mounted and I also added the stiffening ribs to the SB side storage boxes. I'm not real happy with the ribs and need to tweak one of them a bit if possible. The muffler turned out pretty good I think, and will fit in well. I wonder why Tamiya left one out of the kit? I guess to give scratchbuilders something to do, eh?

Again, I'm having fun puttering along at my regular glacial pace! I believe the "rough and tumble" nature of armor fits my modeling approach in ways that aircraft don't; mistakes are easier to hide and cover with other stuff! :lol: I find that I don't worry about my glitches as much and that makes it more fun for ol' Grandad! :grin:

The SB stiffening ribs:

Image

Auxlilary muffler before paint:

Image

Image

Image

Image

And with some paint on:

Image

Image

Image

I also repainted the Port side ribs as I didn't like that semi-gloss look. I repainted them with the same Model Master Faded Olive Drab that I used on the SB side work. I think they look better flat, but I still haven't decided on a final color for the tank.

Image

I also painted the mantlet cover mounts and tried the upper piece on for grins:

Image

And I couldn't resist putting all three main pieces together to see how it looked:

Image

Image

Image

More progress will be forthcoming my friends and you'll read about it here first! :lol: Thanks for your interest and have a great fin de la semana!
User avatar
Stikpusher
Moderator
Posts: 19020
Joined: Sat Apr 05, 2014 8:37 pm
Location: Ceti Alpha 5

Re: Tamiya M41 Walker Bulldog

Post by Stikpusher »

Looking good Gary! I do like all those improvements and corrections that you’re doing. I didn’t know about the auxiliary muffler. I’ll have to remember that if I build another one. :hmm:
"Surely I have made my meaning plain? I intend to avenge myself upon you, Admiral. I have deprived your ship of power, and when I swing 'round, I intend to deprive you of your life."

FLSM
User avatar
LyleW
Admin
Posts: 13742
Joined: Fri Dec 13, 2013 7:25 am
Location: Mt. Washington KY

Re: Tamiya M41 Walker Bulldog

Post by LyleW »

Stikpusher wrote:...... I didn’t know about the auxiliary muffler. I’ll have to remember that if I build another one. :hmm:
:shocked: :shocked: :shocked: :shocked: :shocked: :shocked: :shocked: :shocked:
To make each build less crappy than the last one. Or, put another way, "Better than the last one, not as good as the next one!"..
Post Reply

Return to “Work In Progress: Armor”