Well, it's been nearly a month since the last tour, so we are due. As there has been quite a bit of progress during that time, this will be another two-part tour due to the extensive amount of things to show.
So, all aboard the trams for the latest tour!
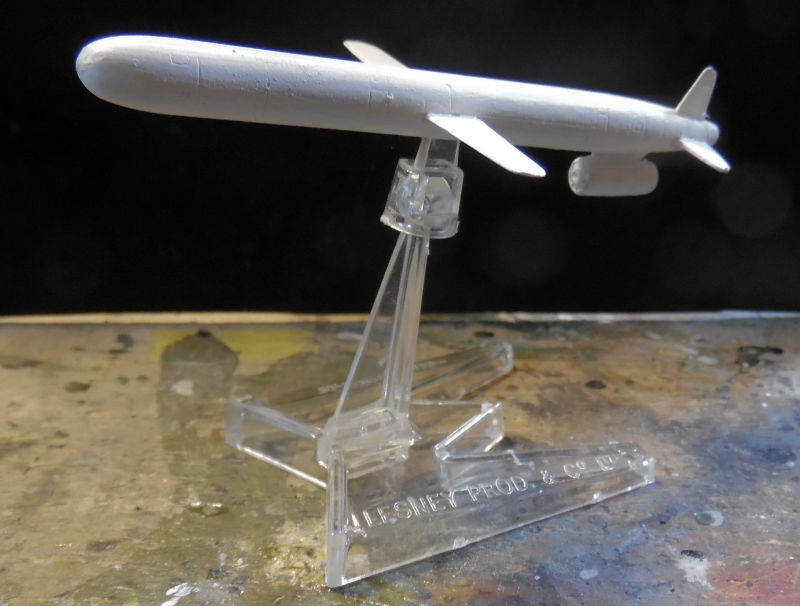
The Hangar is the first stop as always and here is where the majority of the progress has been. Starting in this first bay, we have some Russian ordinance. This was a short run kit that I got in the Distressed Kit Auction some time back. These finally got some paint on them and since the stand to the flying one went on walkabout, we modified one to hold it:

Not too shabby...
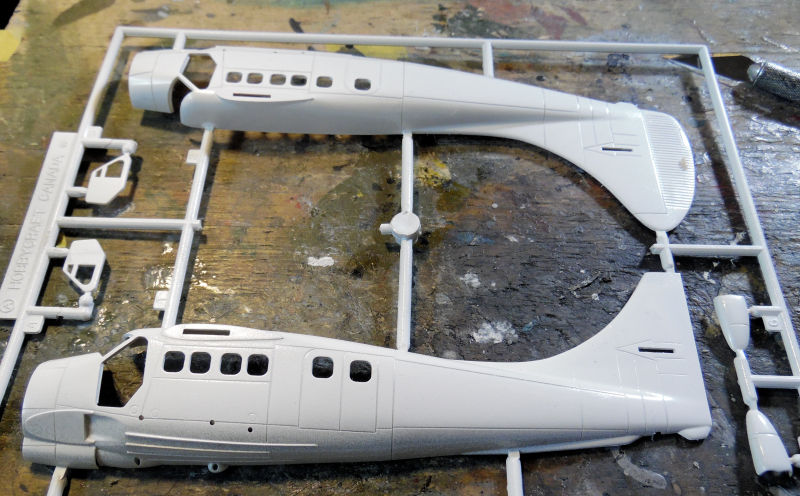
In the next bay is a project that got started because of all the white we were spraying on the Concorde. so, while I had the white out, we shot a white on the fuselage of this Canadian Otter to get a jump on it:
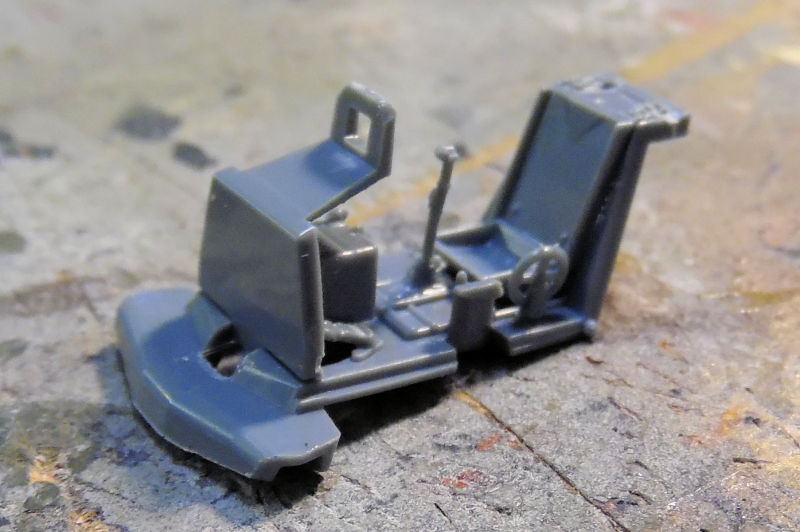
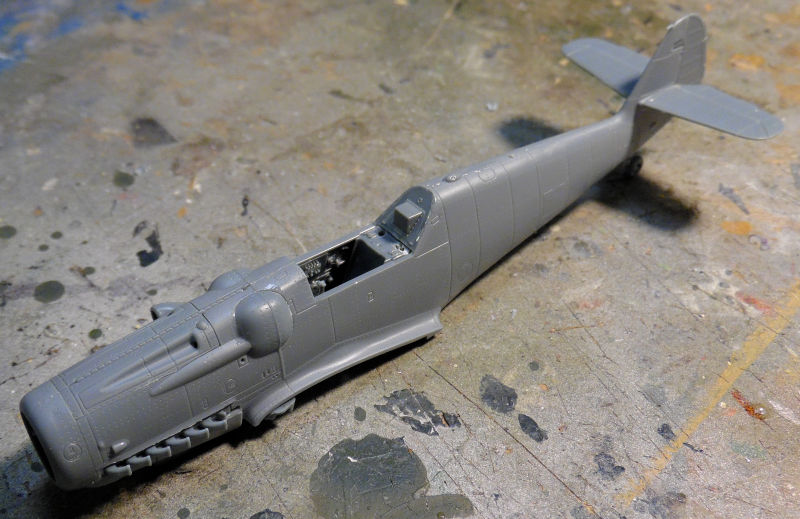
Now on to the next bay, we have another started project; something that had been crying out for me to start. This is the Eduard Profipak Israeli S-199. The cockpit sans instrument panel was started first:
After that the basic fuselage was assembled:
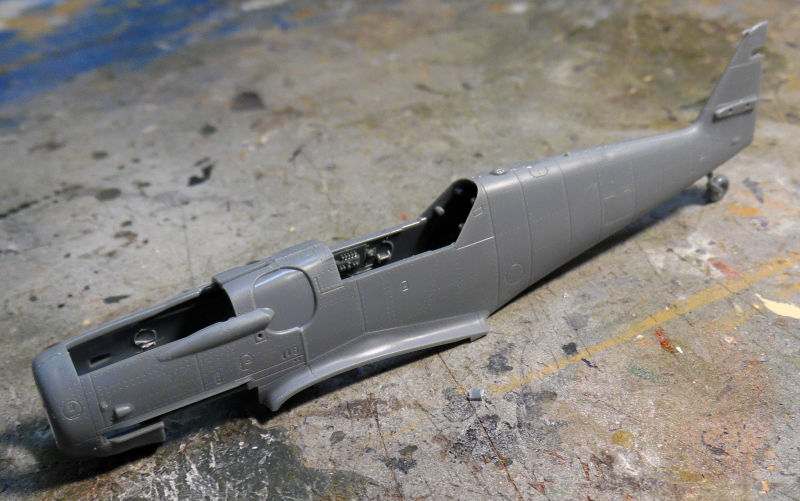
Then we completed the rest of the fuselage and slipped the cockpit sub-assembly inside to dry fit so we could see how it fit:
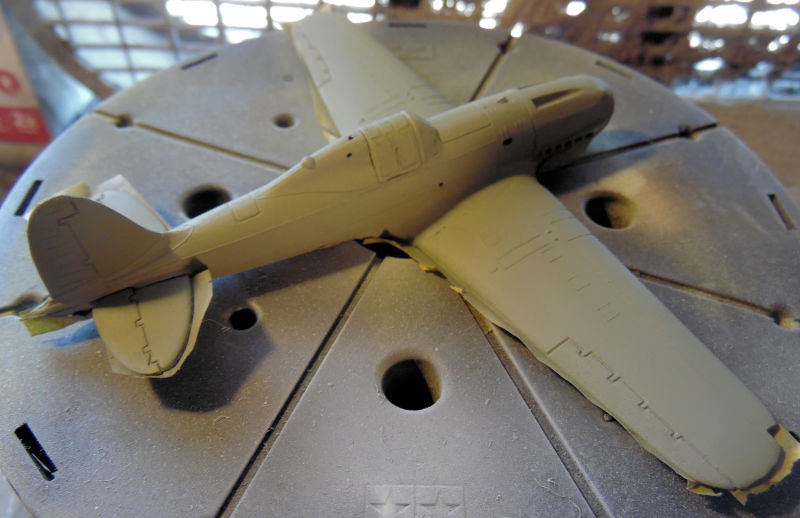
Looking pretty good so far. Next we worked more on the Italian Macchi C.205. The canopy went on after some more sanding had taken place:
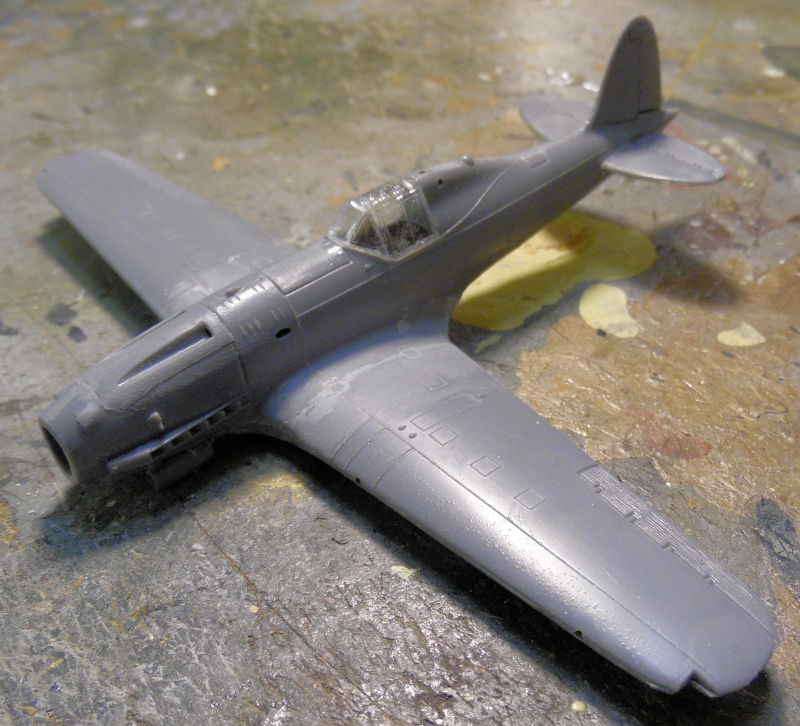
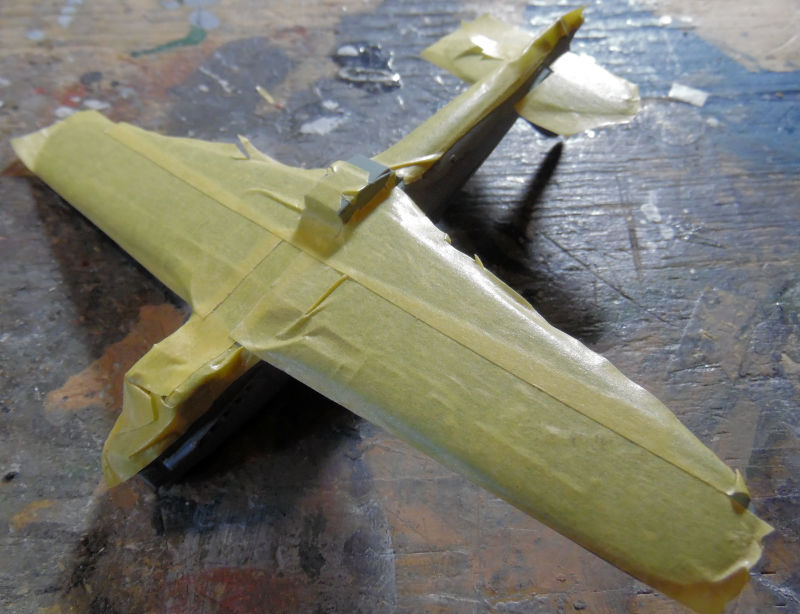
The the canopy was masked; it was easier to do it while installed on the aircraft:
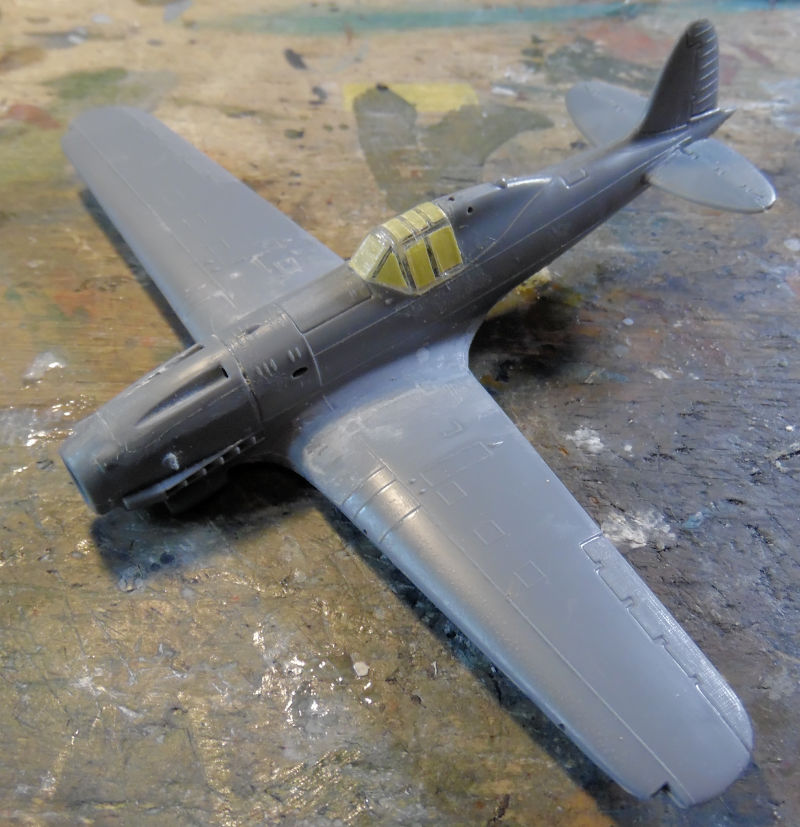
Next stop was the paint station, where this got the undercoat. Once it was dry, we masked it off for the upper coat:
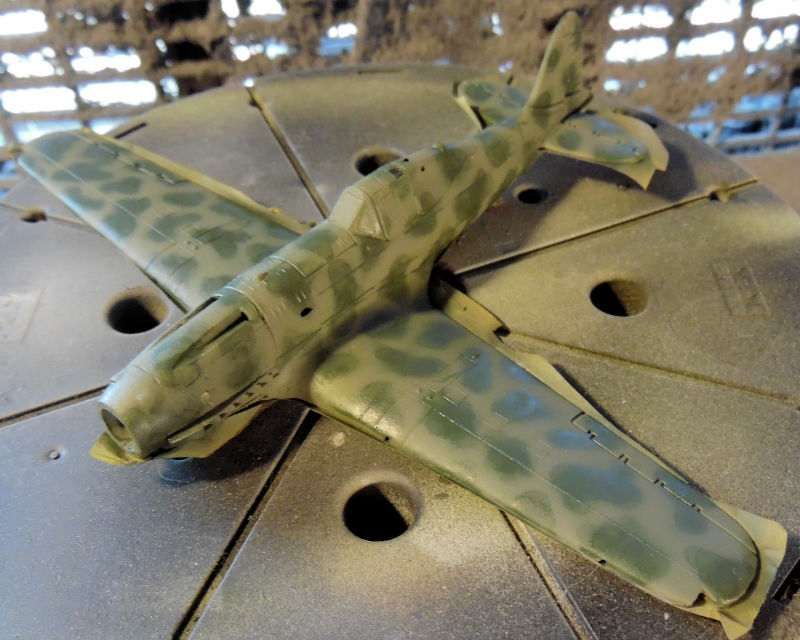
The upper coat went on after that:
Followed later by the darker green splotches since we still had that color in the color cup after spraying the T-34:
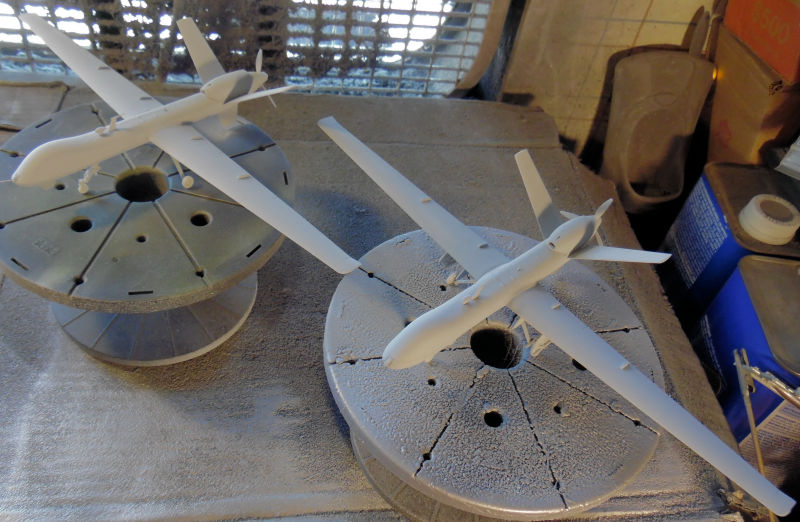
Moving along, we got some more progress done on the two Reapers (that I mislabeled as "Predators") shooting a base coat of Light Ghost Grey over them both:
Once that was dry, a gloss coat was sprayed and we got the decals down on the British Reaper:
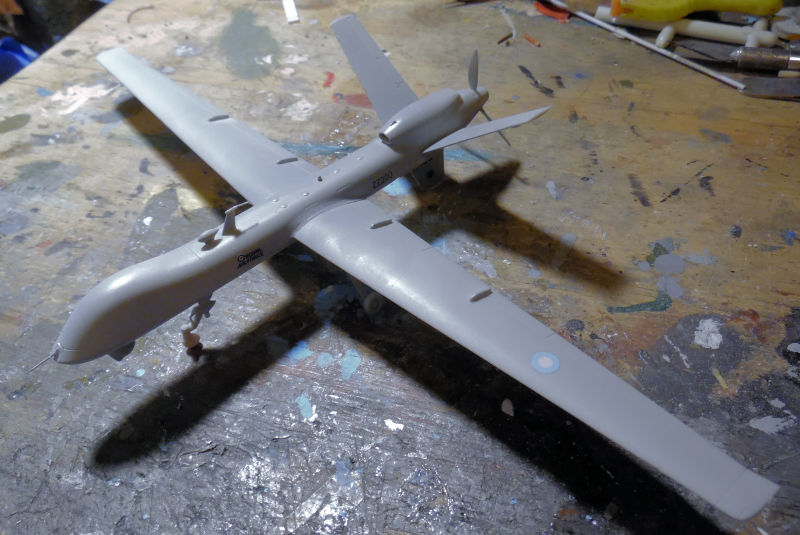
I'm waiting for word from my nephew to see if he knows a particular drone he's flown the most so I can model it.
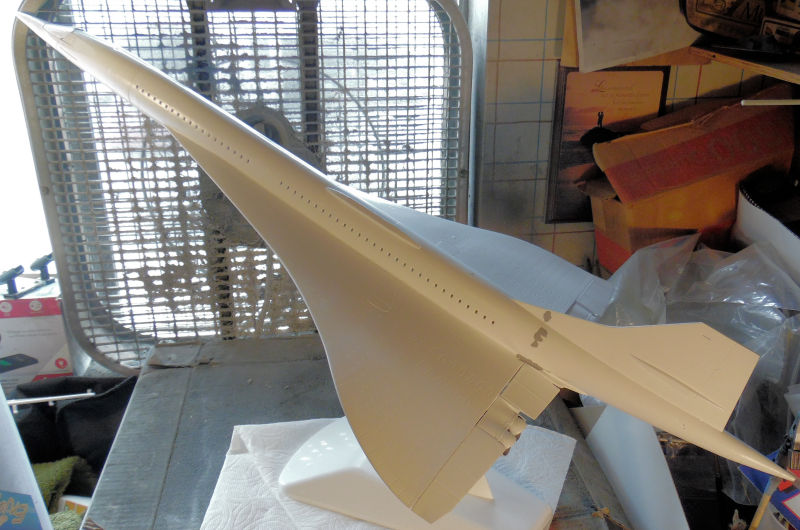
Now for the larger stuff. In this bay we have another attempt at shooting a gloss coat on the Concorde:
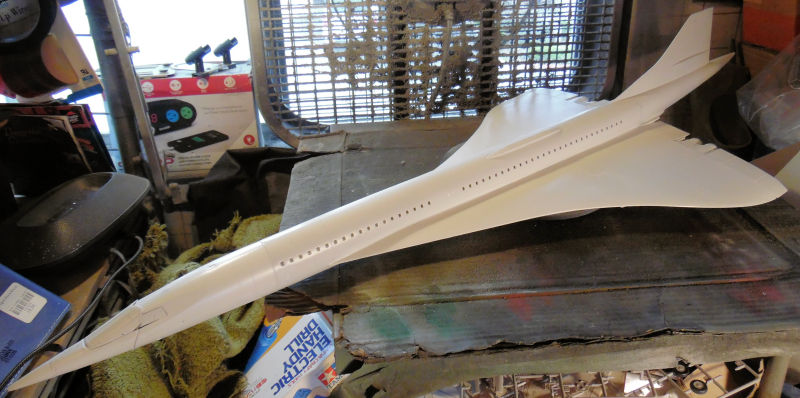
I was not satisfied with the joint between the tail and the main fuselage. However, to facilitate things we did what I should have done long before: we built the stand that came in the kit:
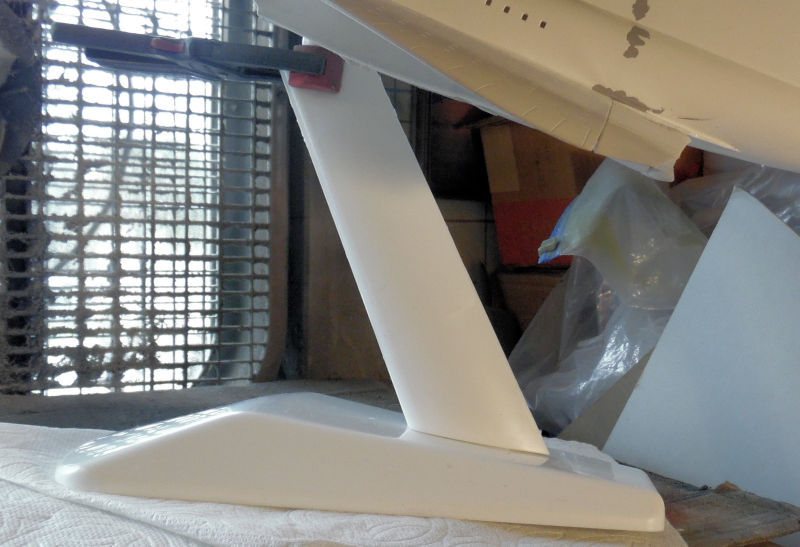
Now this is much easier to maneuver without having to touch it and dirty up the white! It also made it easier to add the additional Mr. Surfacer to try and smooth out the troublesome joint again:
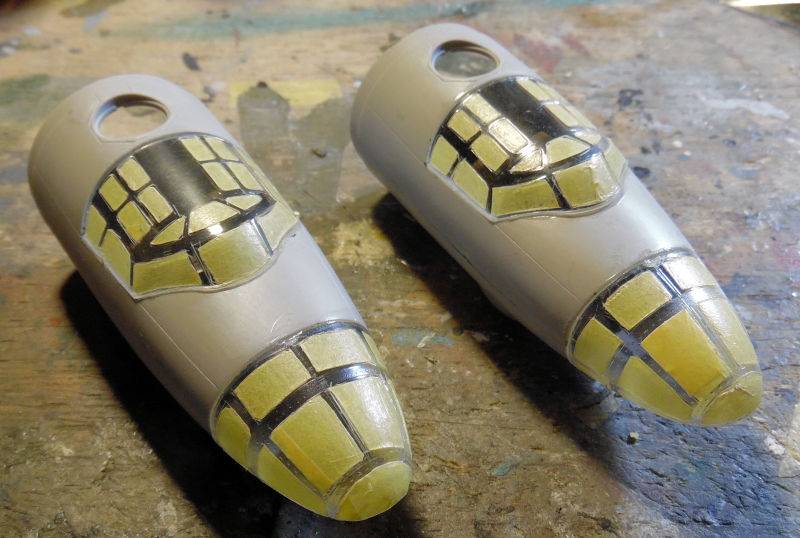
Moving on while that dried, we have in this next bay both of the T-16 Badgers under construction. Both cockpit modules had the clear parts masked off to prepare for paint:
The engines were added to the main fuselages of both planes and the main fuselage halves were cemented together. You can see one of them had already got the cockpit module attached:
Afterward, the other cockpit module was attached and the wings were installed on both planes:
Later their first color went on. I'm not exactly happy with this shade and I may re-shoot another one....or not:
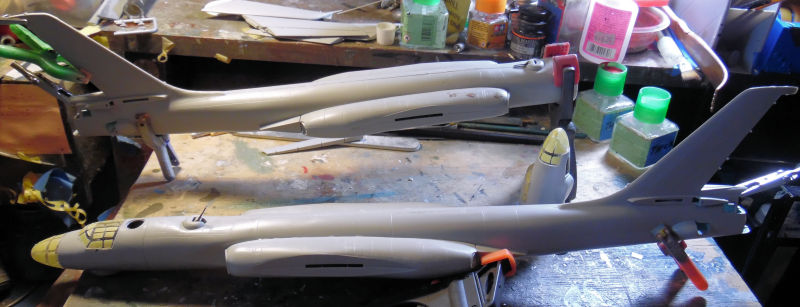
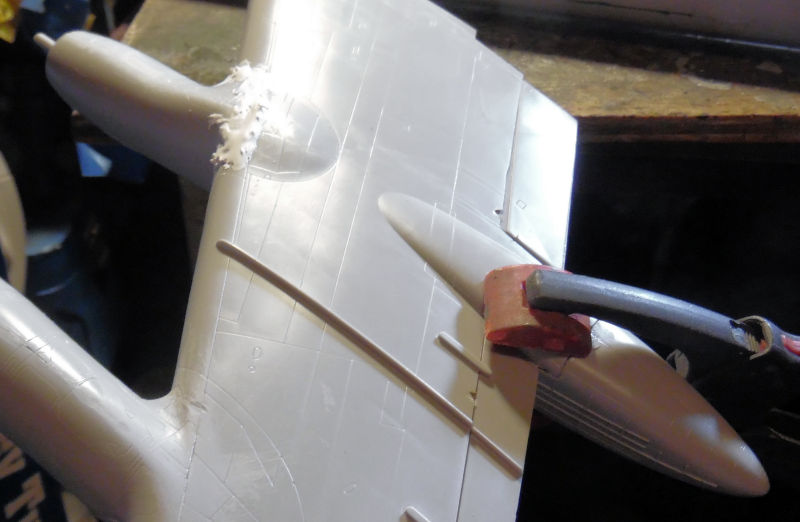
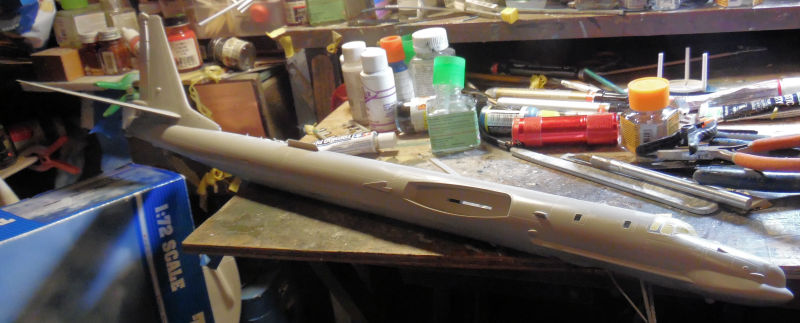
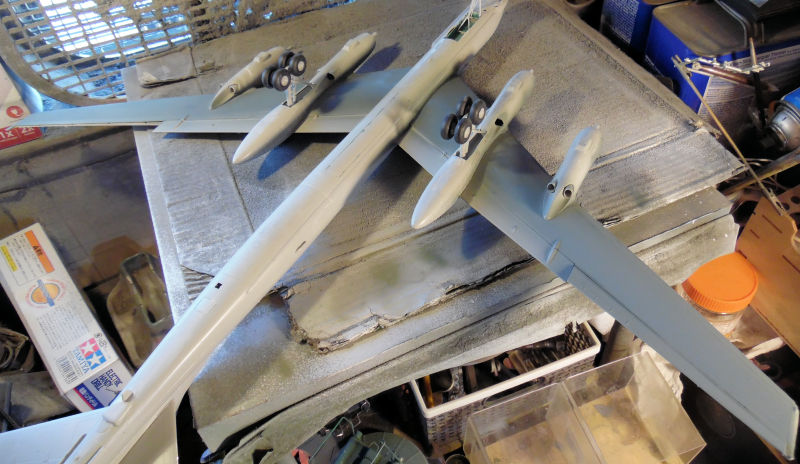
Now for the next big model, we go to this next bay where the Tu-95H (also mislabeled as the "Tu-142) is being built. I wasn't happy with the way the inside nacelle on one wing was sitting; there were too many large gaps along the nacelle and wing. The only thing to do was to remove it and re-set it correctly so that that the gaps are gone:
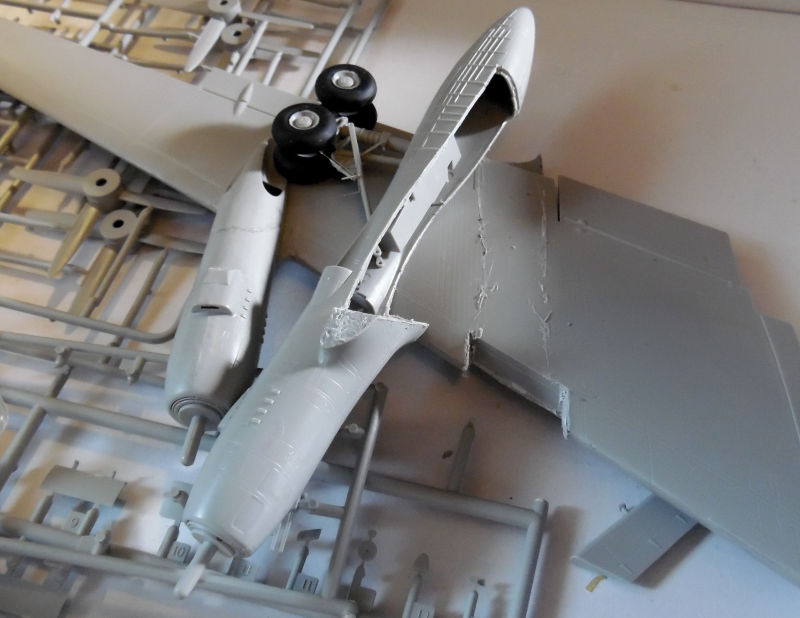
Once re-set there was still a bit of putty needed at the top joint where the nacelle meets the wing:
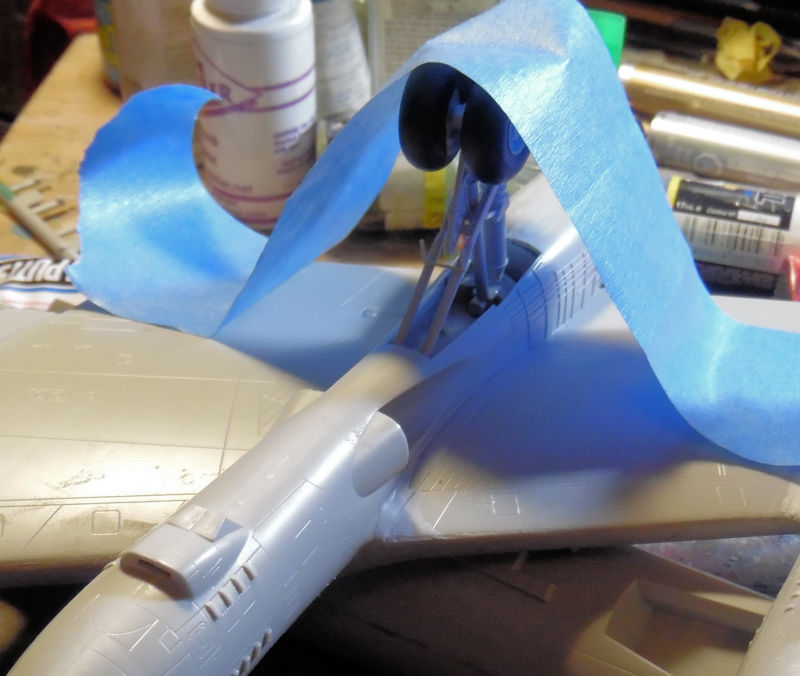
Naturally doing all that caused the main landing gear to break, so this was fixed to dry along with everything else:
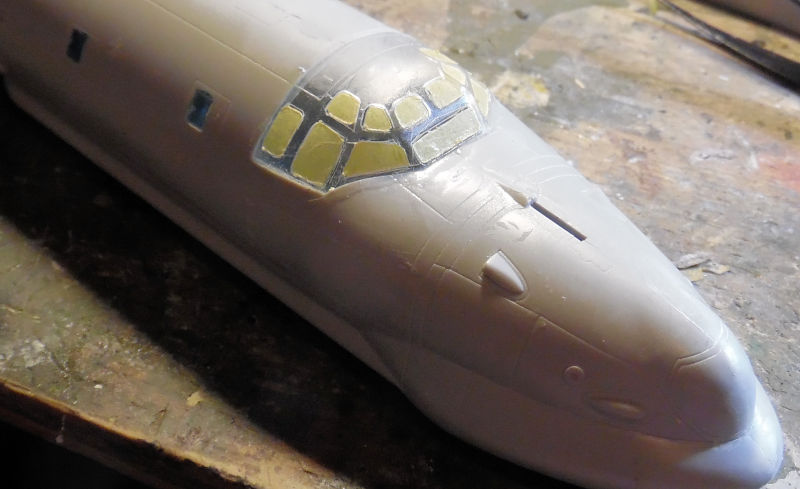
While that was drying we moved on to the front fuselage section where the canopy was installed:
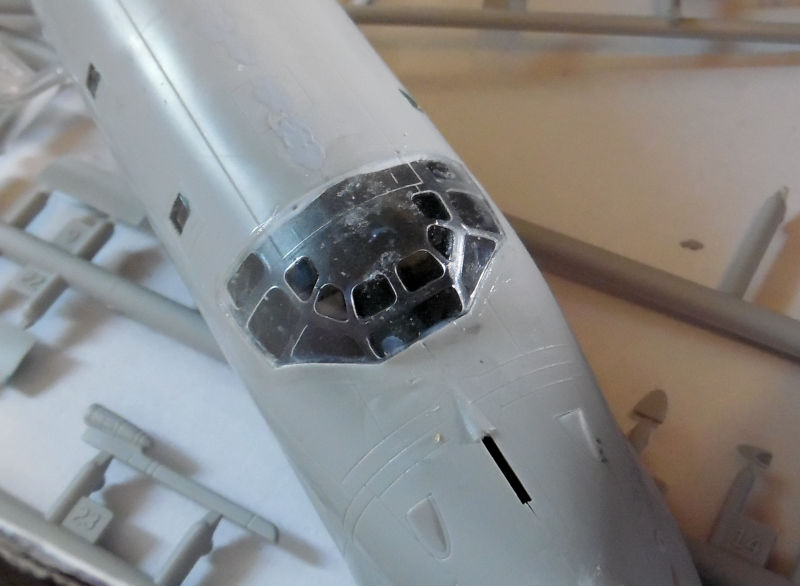
This was then masked when it was dry:
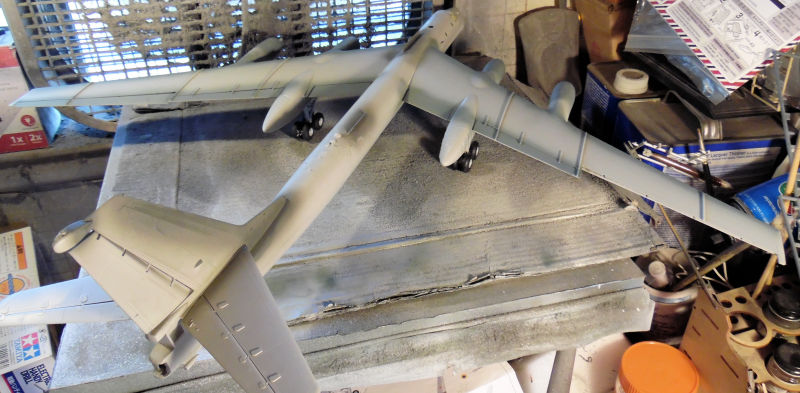
After that, the rear fuselage and the front fuselage were joined together. Now you can get some idea of how big this thing is as it is sitting on a standard tray table:
Naturally you'll be able to see how incredibly messy my bench is, but hey, it can't be helped....
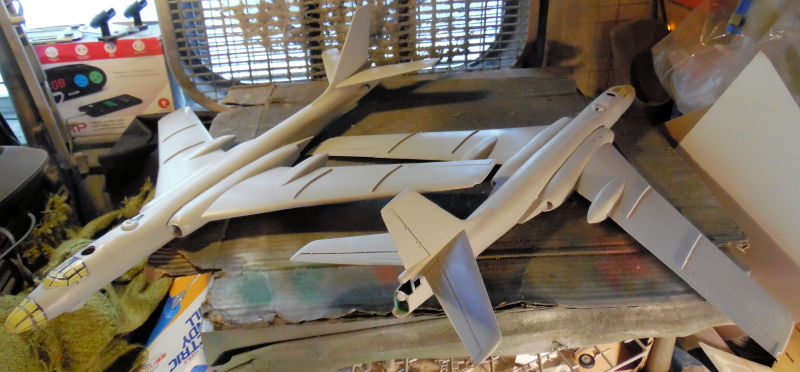
Moving on, we then installed the wings:
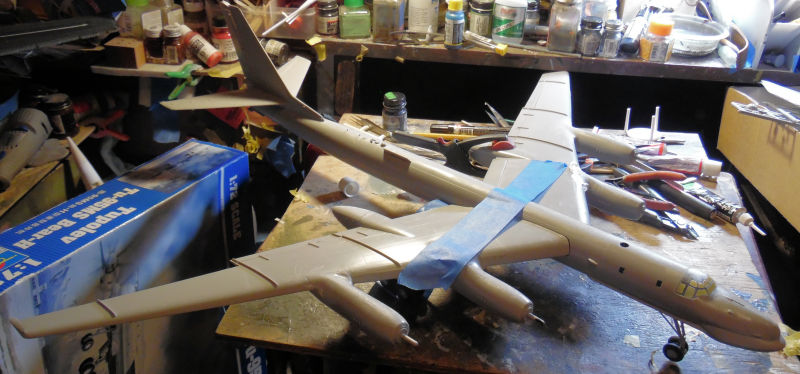
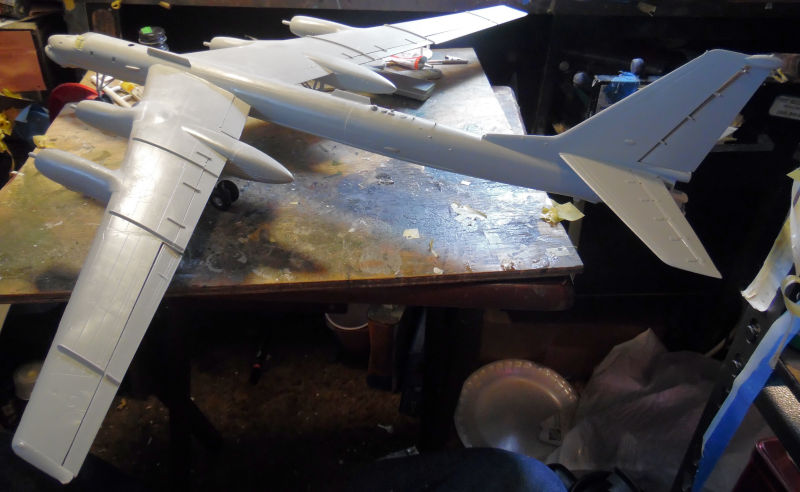
I had to pull the entire tray table out to fit that thing! Here's another view of this thing on the tray table:
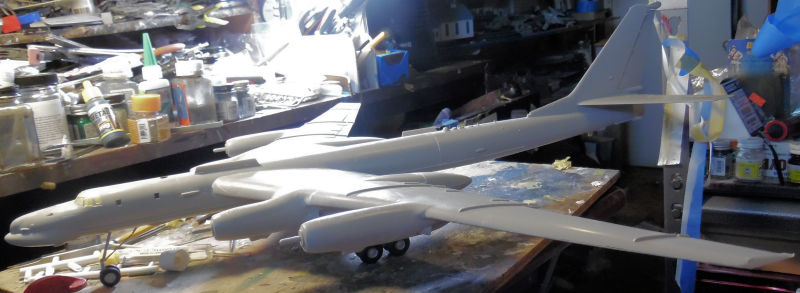
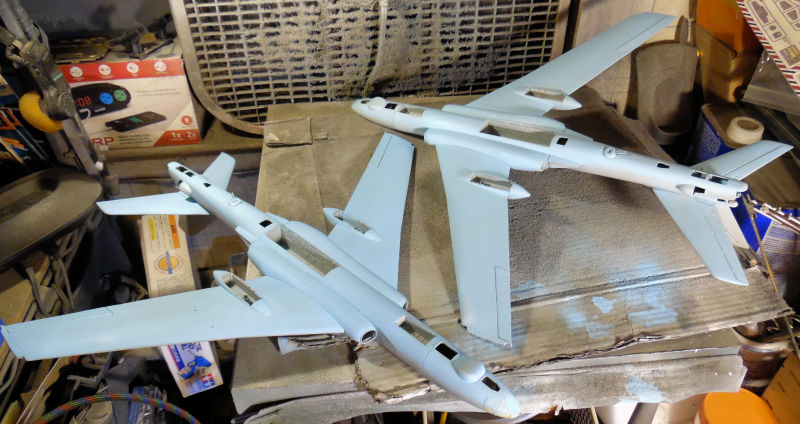
Later on, this Big Bird got it's first color:
That will all be masked when it's time to put the main bare metal silver coat on. First, we still need to add some of the lighter greys on certain areas first.
Now this tour has been quite extensive already so we shall continue the tour in the Shipyards and the Motor Pool in the next post.