Happy St. Patrick's Day, it's time for another tour. It's gonna be a short one, but hopefully a fun one. All aboard the trams and get settled in. First stop is the Hangar....
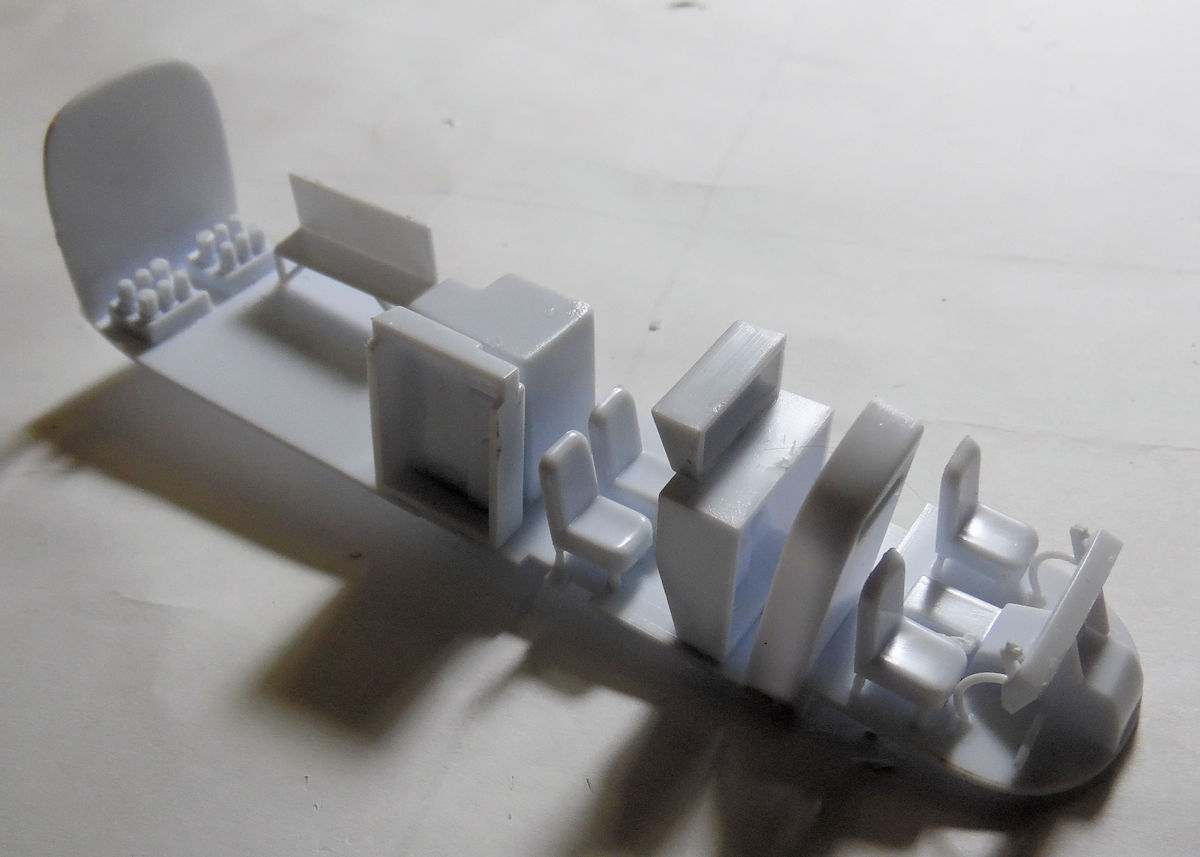
In the Hangar, we got started on an SH-3C Sea King helicopter in Japanese markings. The cockpit and interior were built up first:
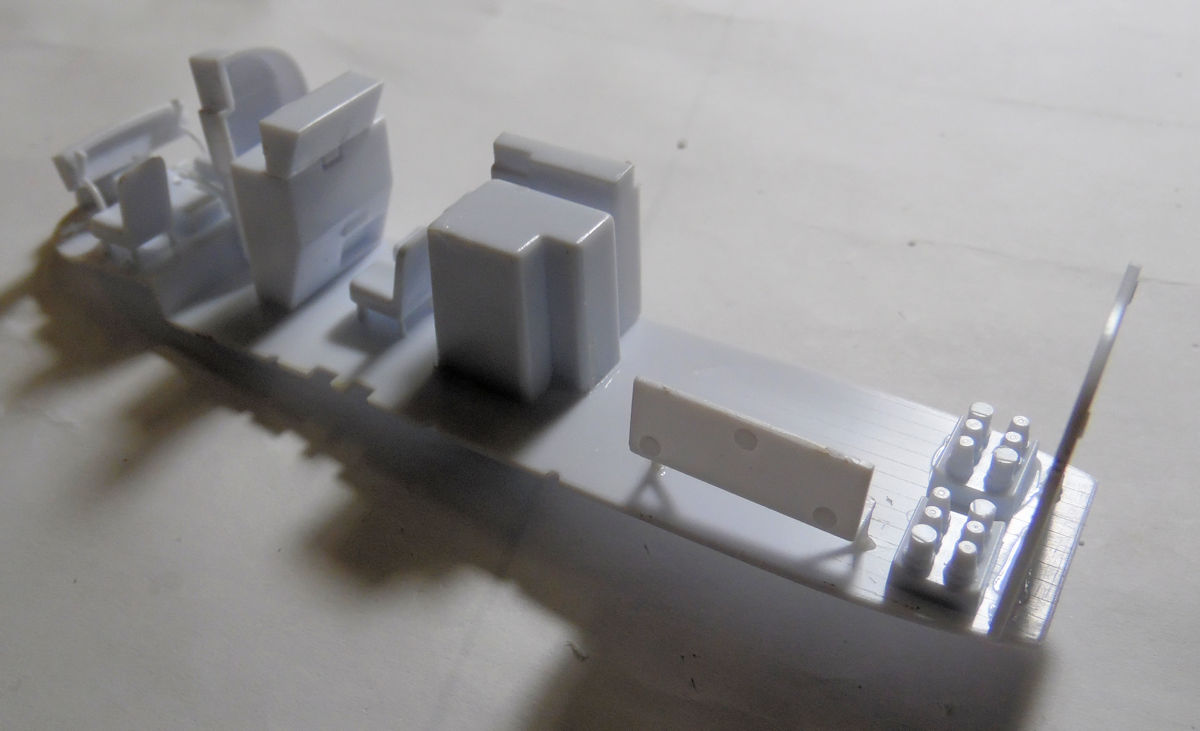
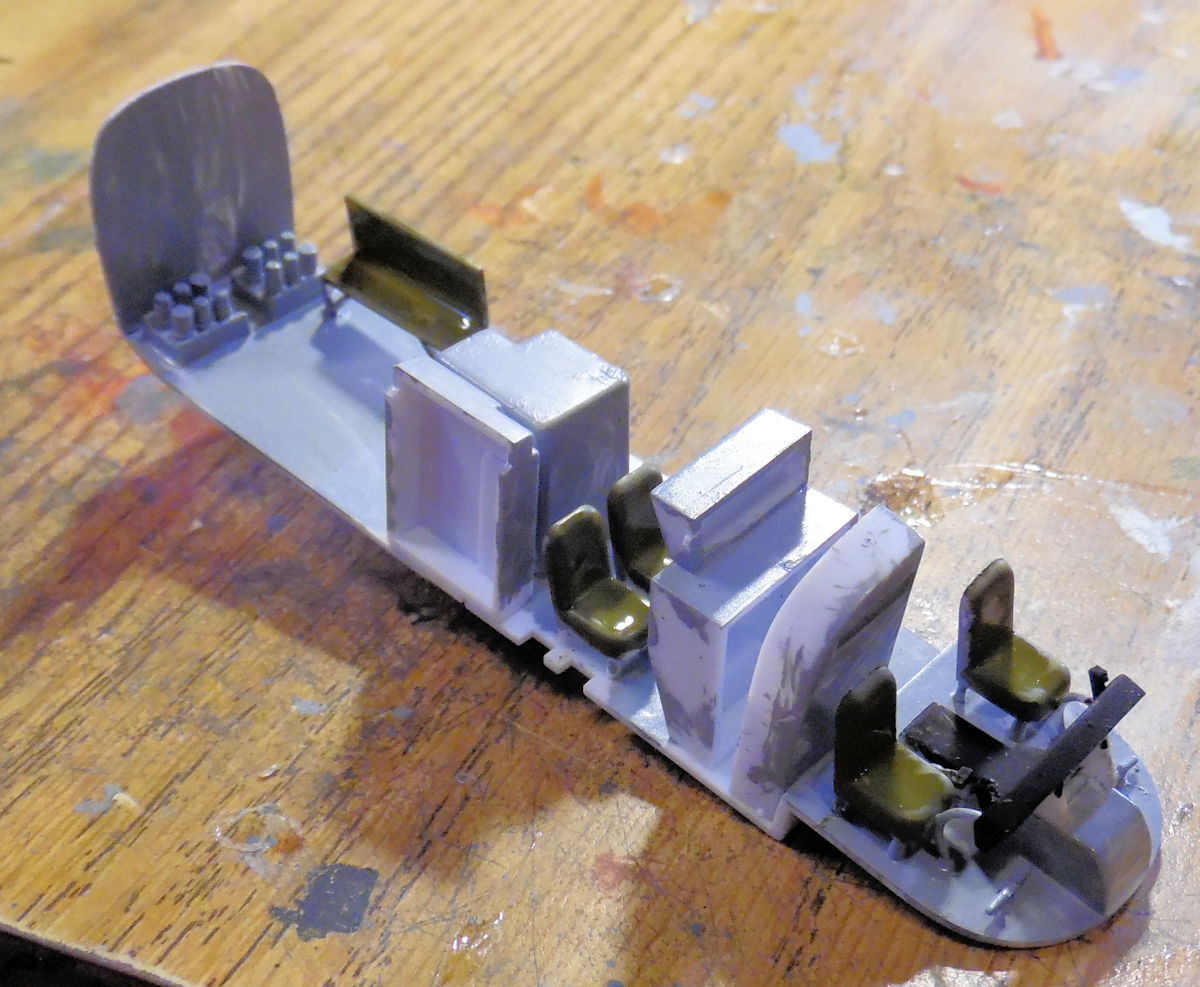
Later the interior was painted. Once thew fuselage parts are painted, this will be closed inside:
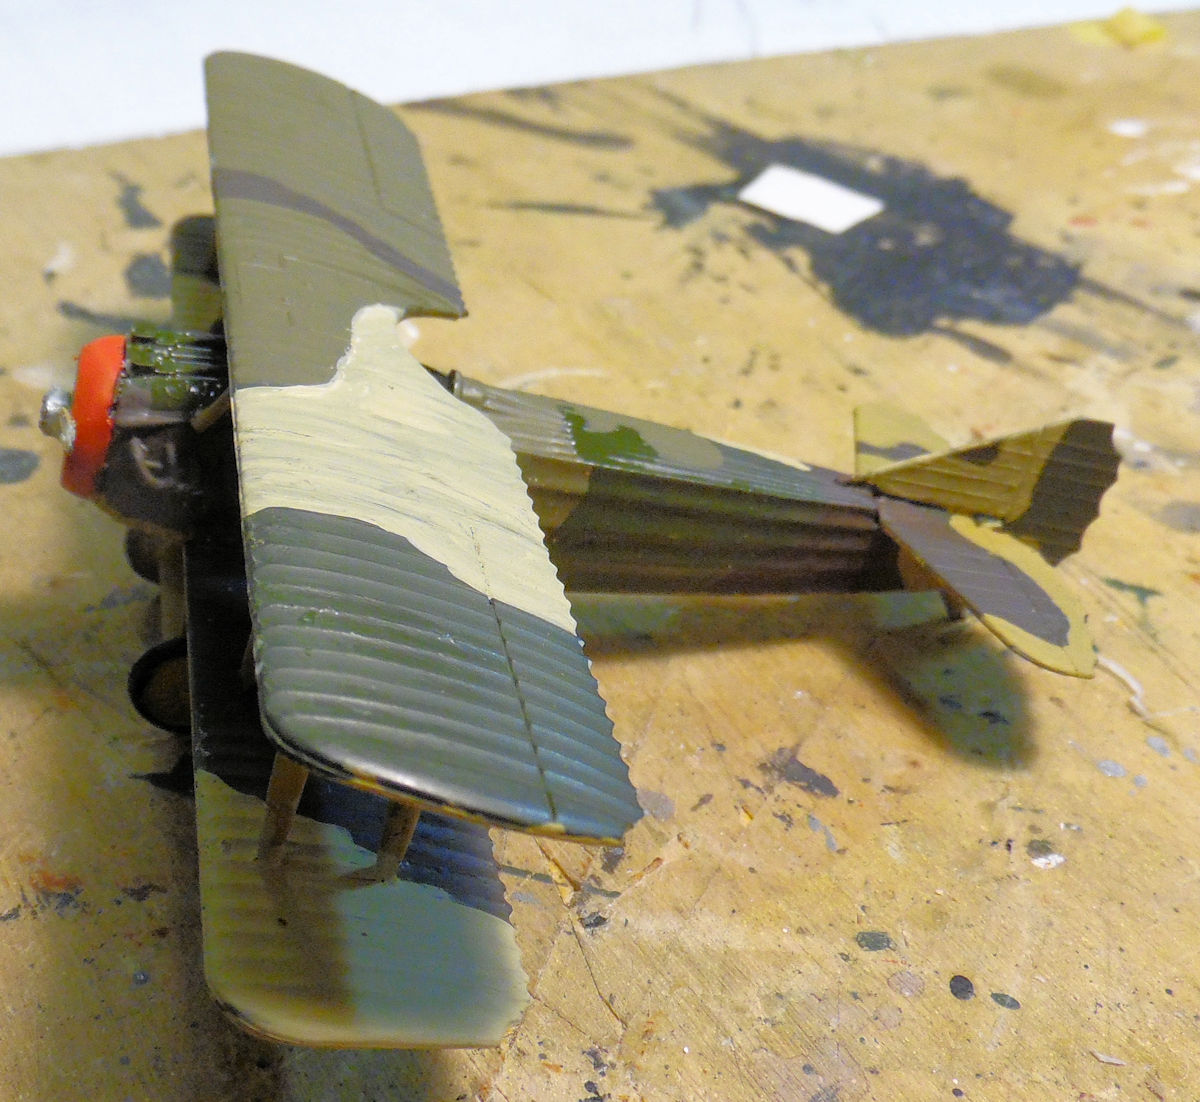
In the next bay, our tiny Spad got all three colors painted on:

That's all for the Hangar, it's not much but we still need to get the paint booth worked up to airbrush so many projects. Hopefully soon. Now on to the Shipyards....
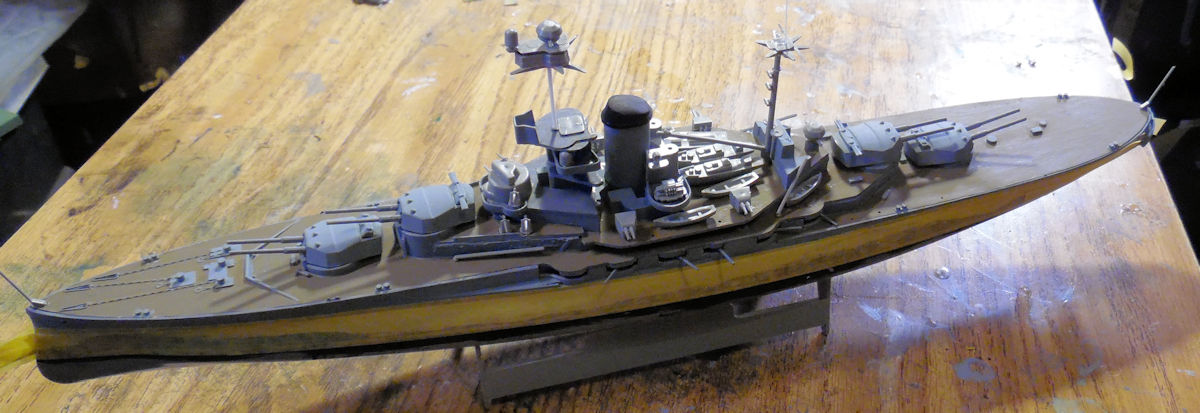
Here in the Shipyards a little more has gotten done. In this first slip the HMS Revenge got her hull taped off for painting, some of her final details added; and the forward mast was added using styrene rod since the parts for it were missing. It is a Distressed Kit from the Auction after all:
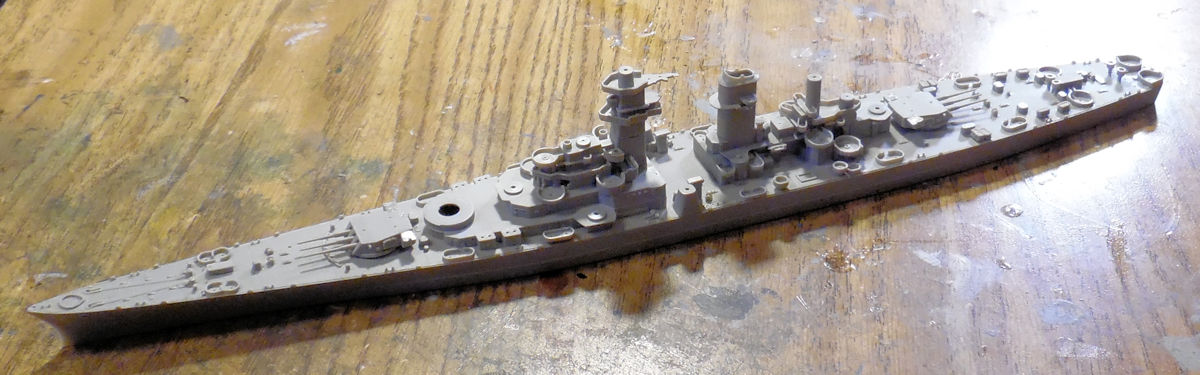
In the next slip, the USS Alaska got many of her finer details added and the superstructure was cemented into place. However; until I find all the missing parts that disappeared when the box full of sub-assemblies fell over and scattered them, this is as far as I'll be able to go on this:
Since several ships had been launched, we had some free slips ready for more projects. This next slip, we laid the keel for a modern Japanese landing craft. This built up pretty fast as the model is only about 6" long:
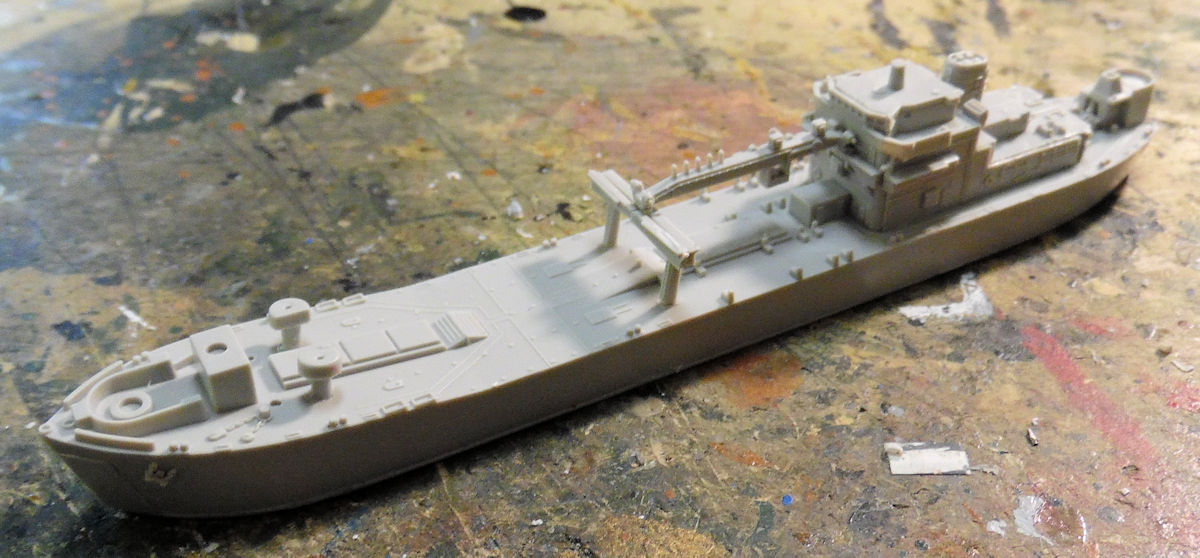
It doesn't show well here but the deck was painted:

Now the hull and superstructure was painted and additional detail parts were added:
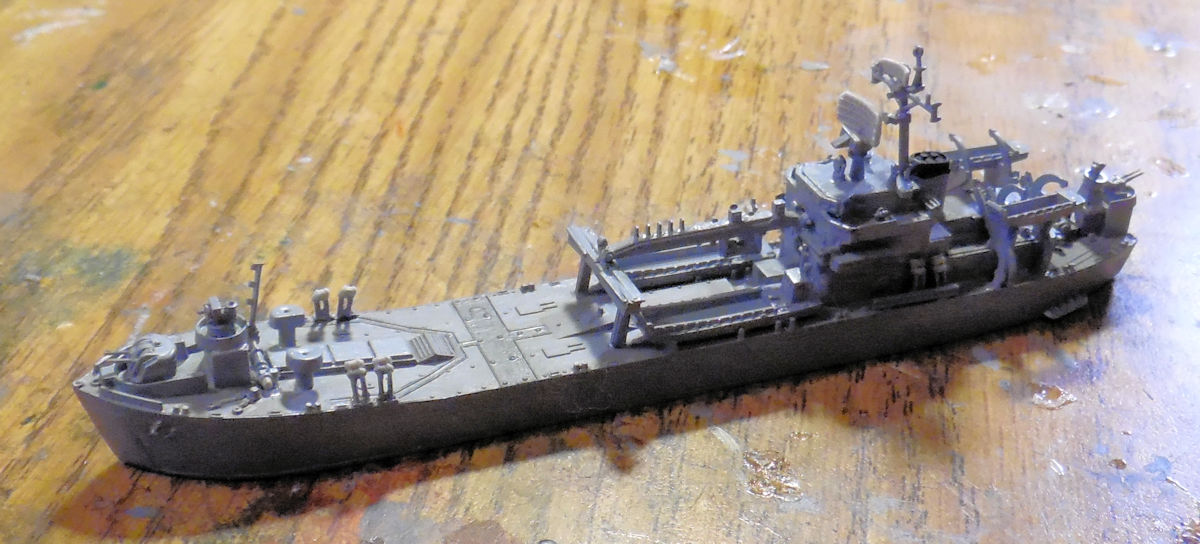
This one is getting close to launch...
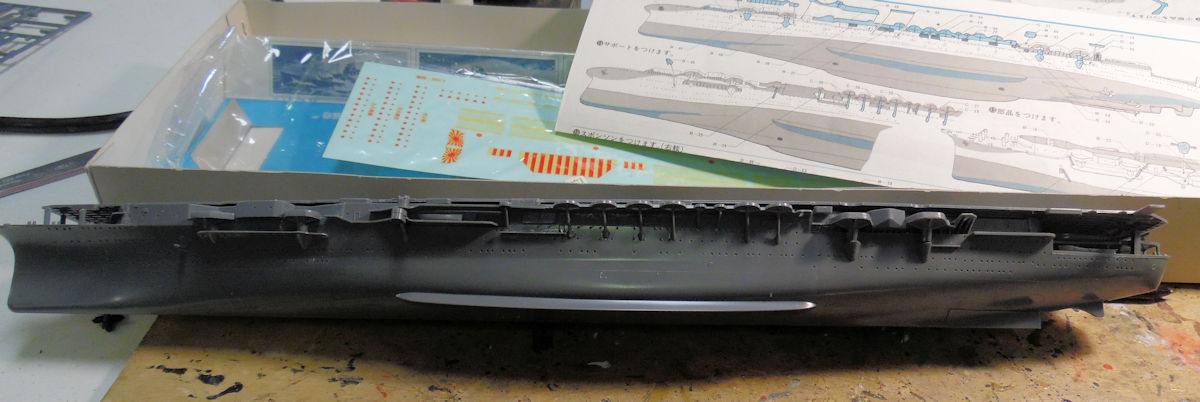
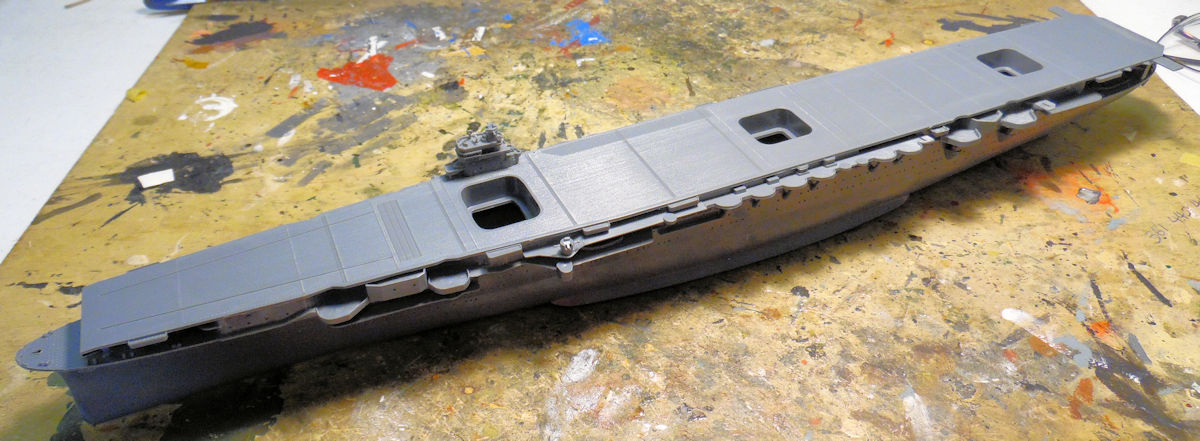
In the next open slip, we laid the keel for the IJN Shokaku, a Nichimo 1/500 scale model of this famous carrier. This had been in the stash for decades and the time was right to start it. The first things done were the fore deck and aft deck details:
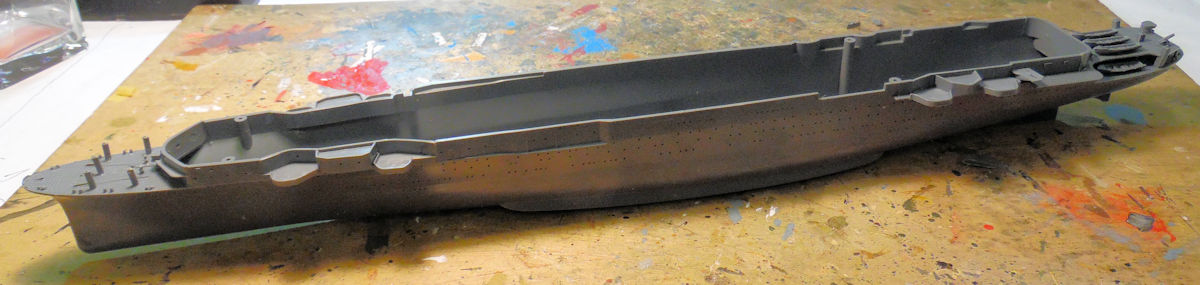
All the side sponsons went on next on one side:
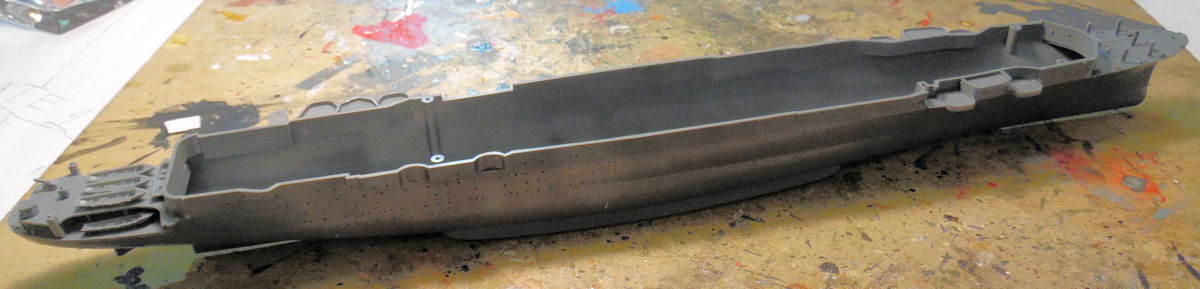
Followed by the side sponsons on the other side which can be seen on the far side of this shot:
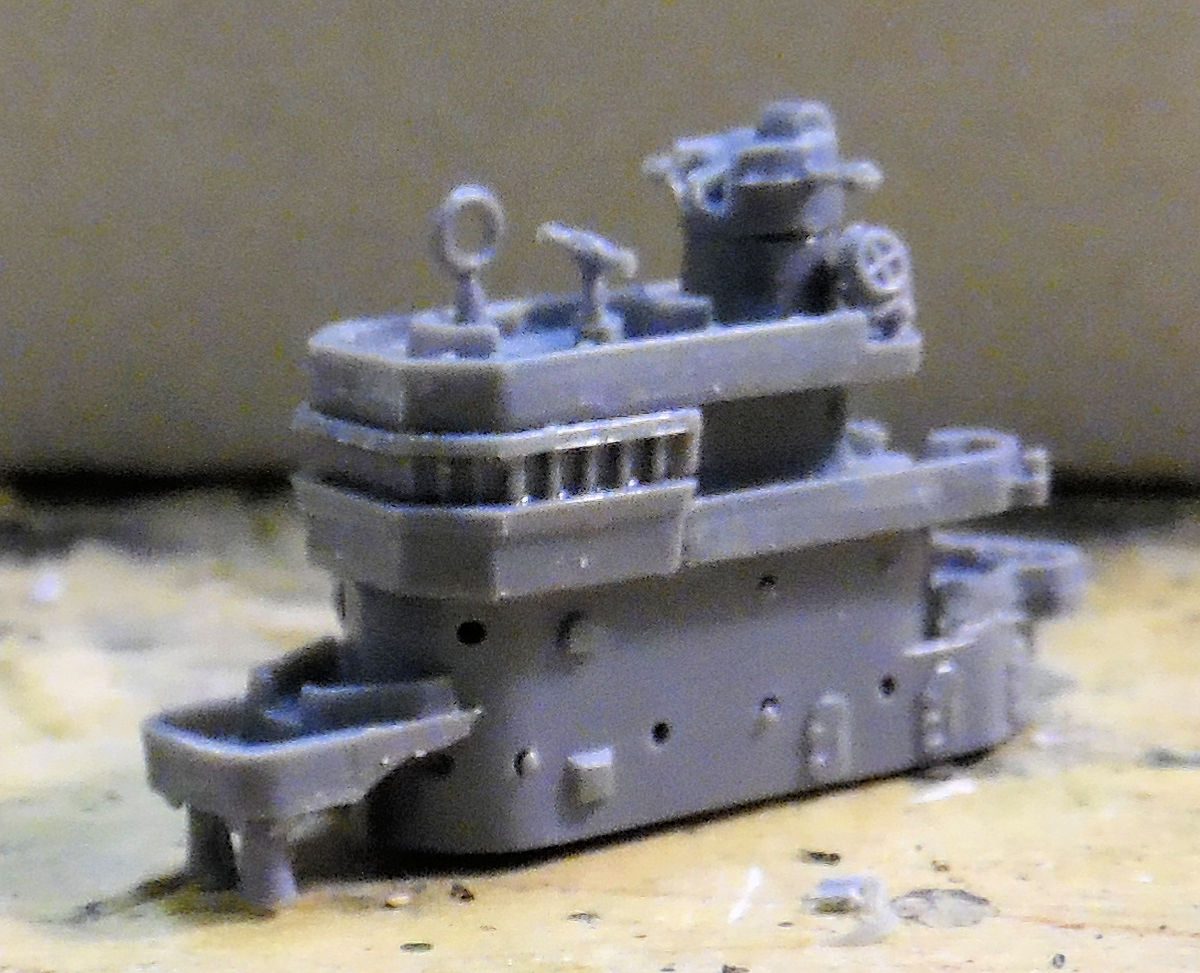
While those were all drying, the tiny island was built, sans antenna:
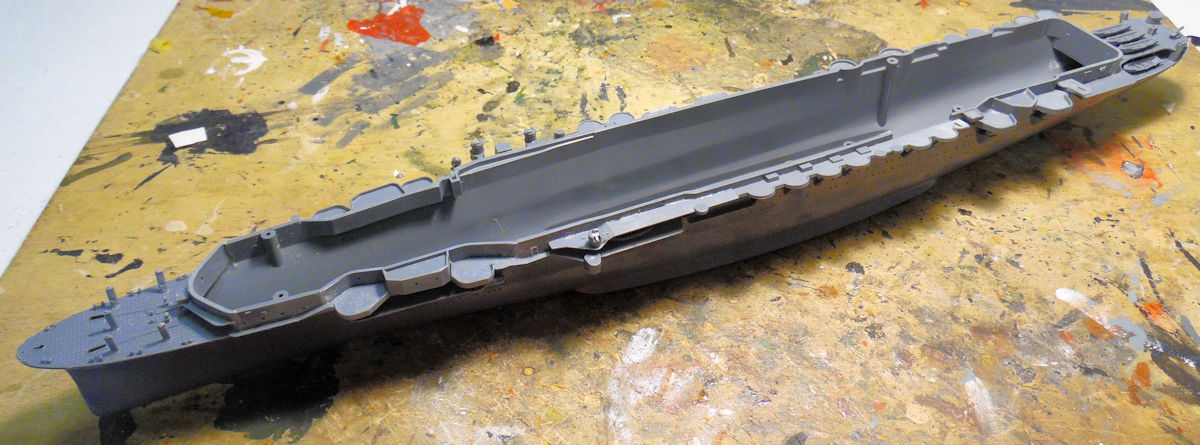
Here's a shot of the whole thing with island and flight deck dry-fit:
That completes the tour of the Shipyards, now let's head over to the newly opened Motor Pool where we have a few projects started now.
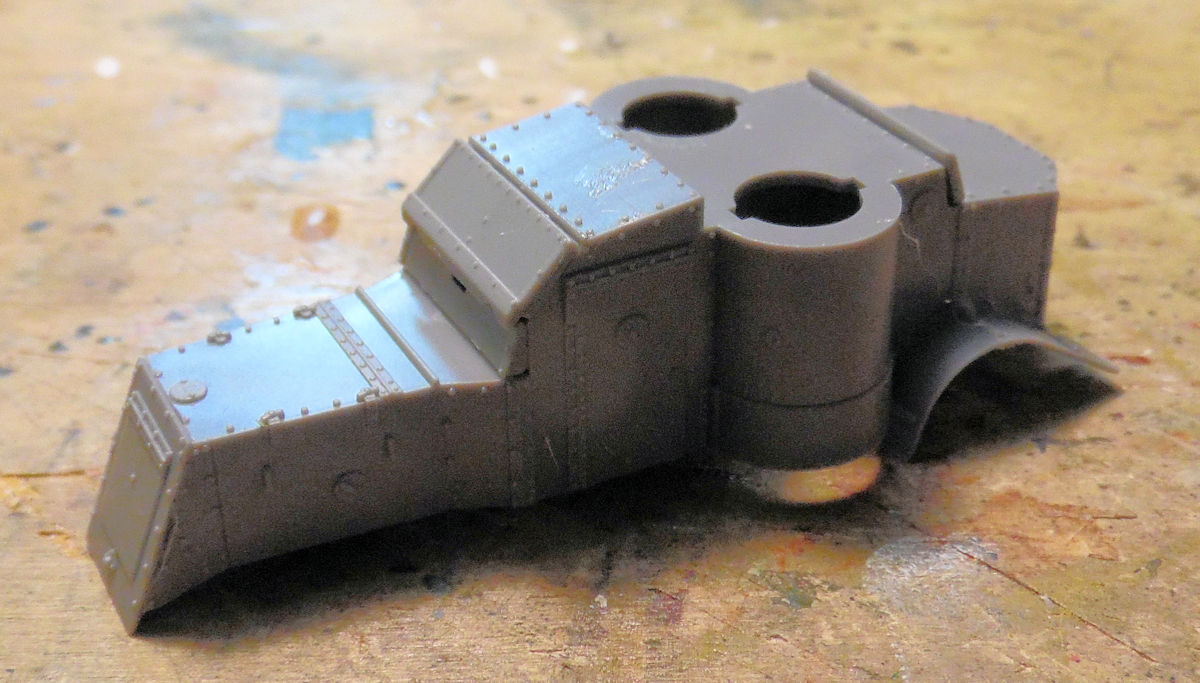
In this first bay, we have a British Austin Armored car. I got this to use the decals from it to complete another Austin car for a commission, which had the wrong decals in it. Now that the commission is done, I'm building this one for myself. The suspension was built first:
Later the upper hull was built:
That is it for that so far.
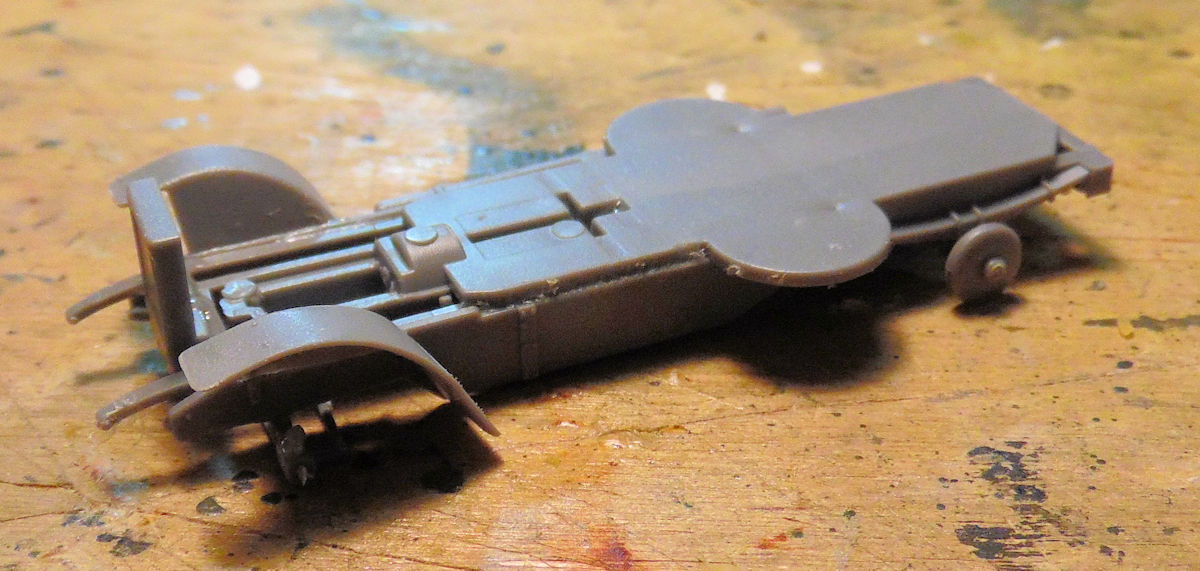
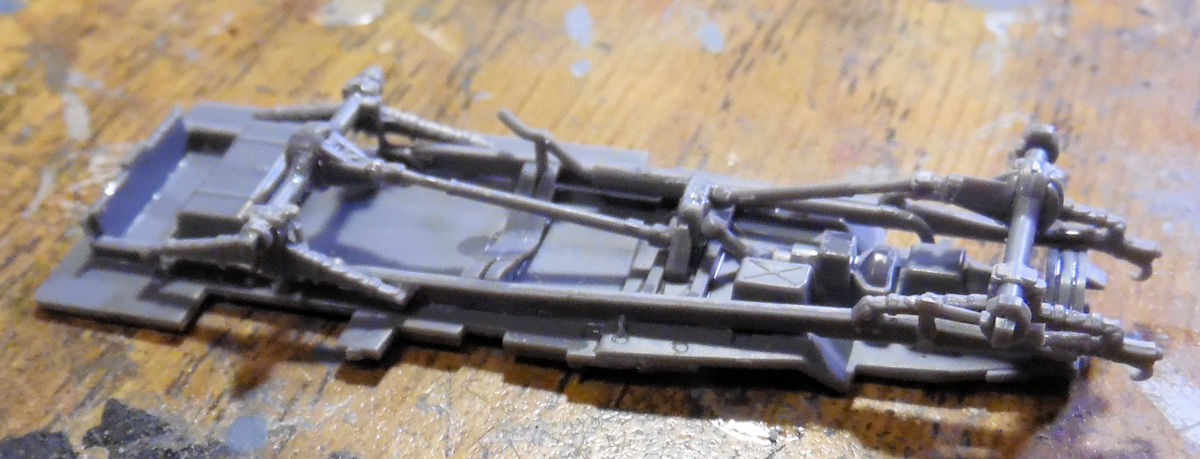
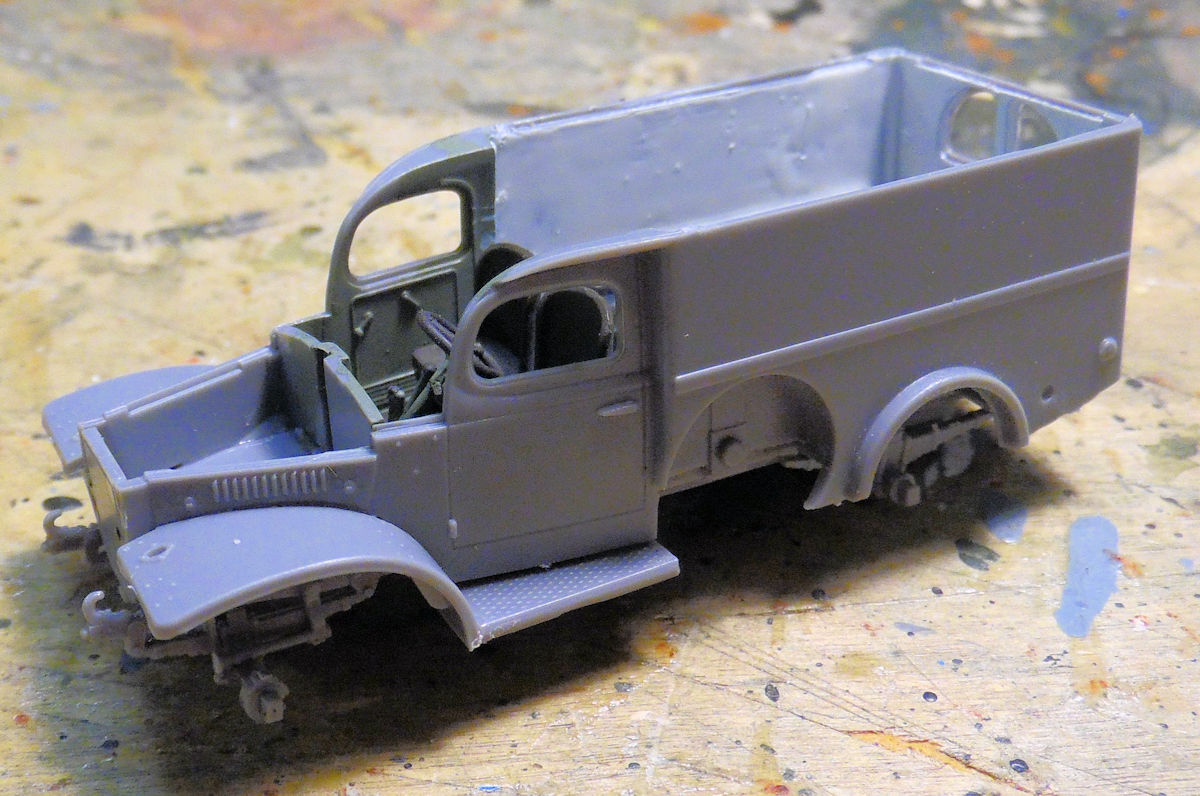
Next up is the WC-18 ambulance by ACE and the chassis and suspension were done first:
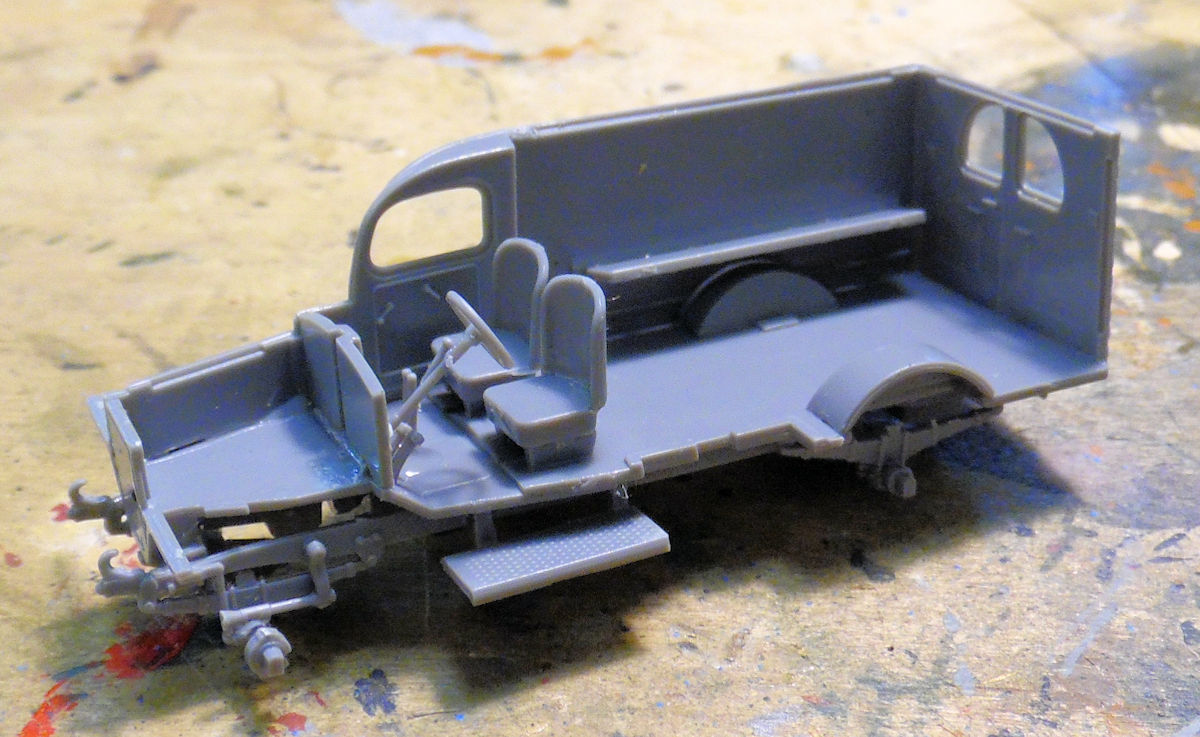
Next I built up one side of the body, adding the interior of the cabin inside, leaving it this way to paint it later:
After checking references, I chose an interior paint scheme and painted it up:
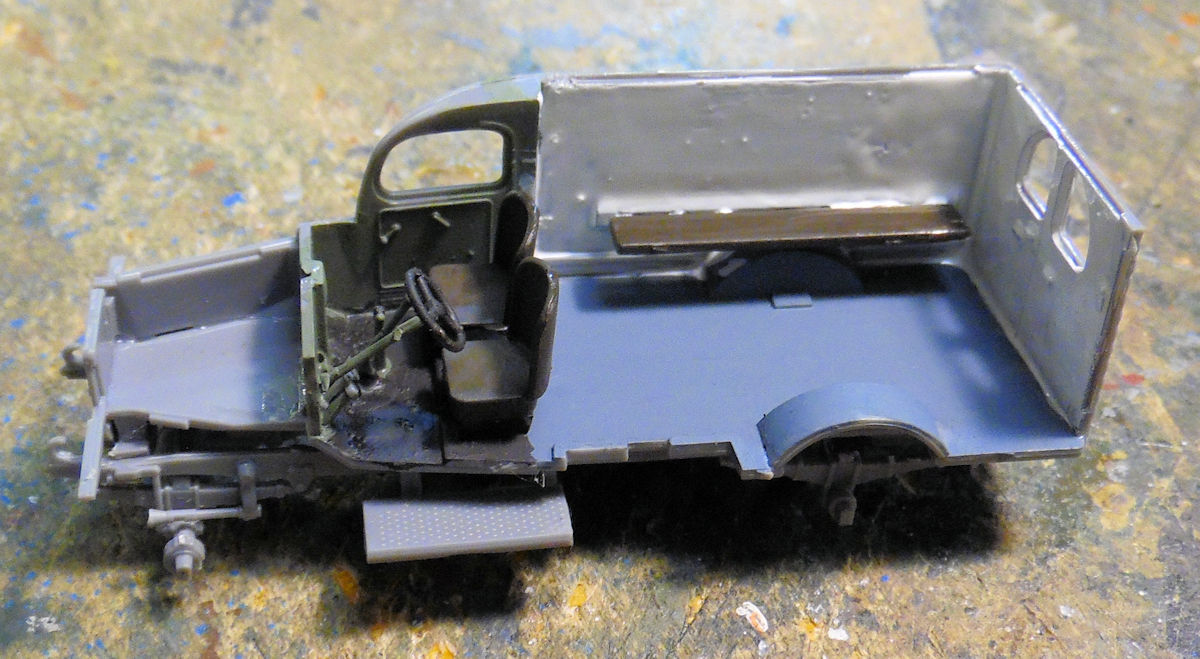
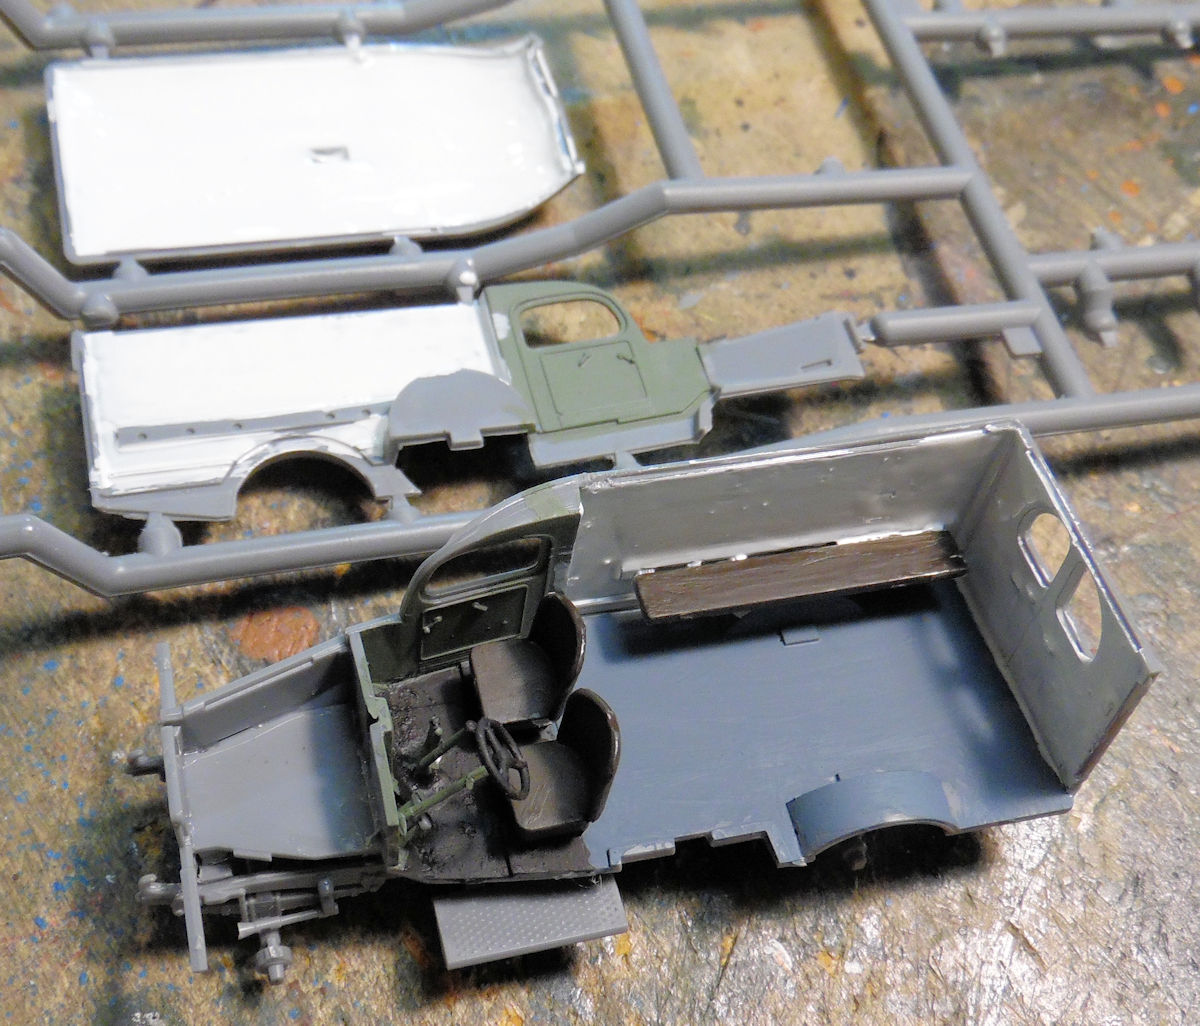
This allowed me to close it up and add some more interior details:
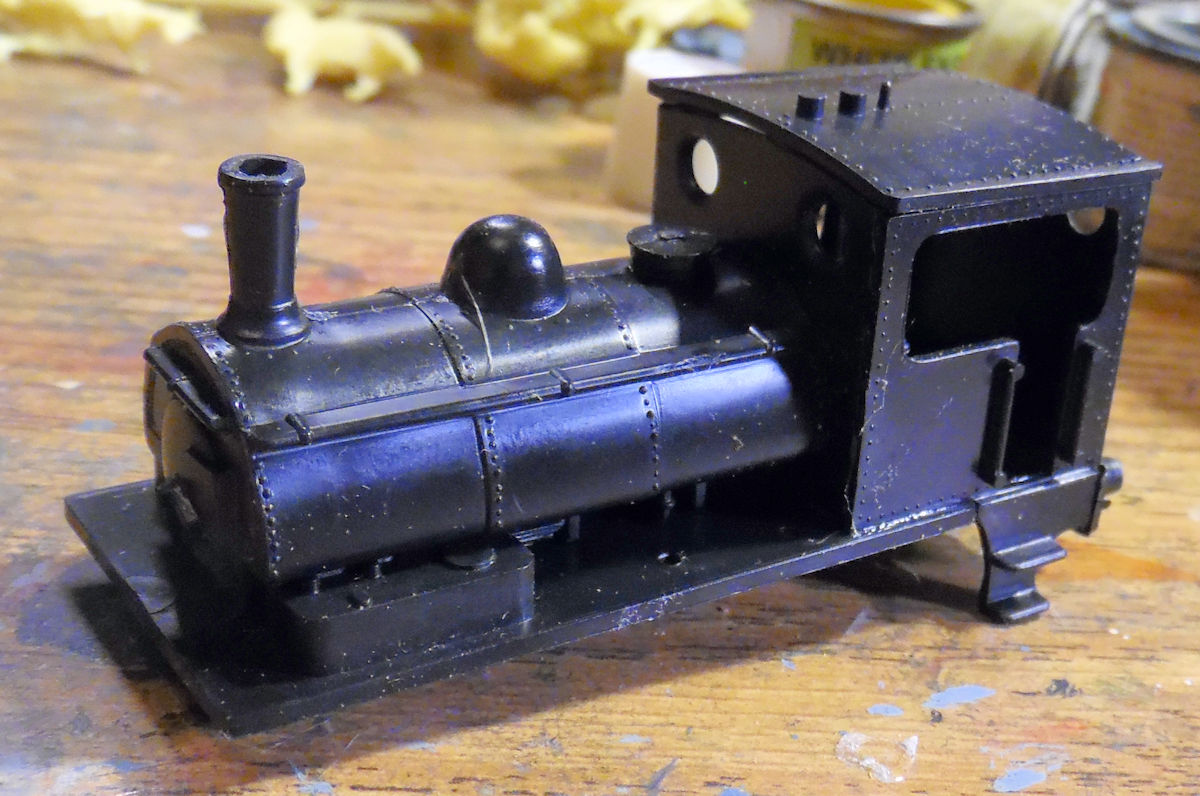
Finally in this last bay, I couldn't resist starting that little locomotive that my friend gave me. I started with the upper body first:
Once the wheels and linkage were done, I got it painted:
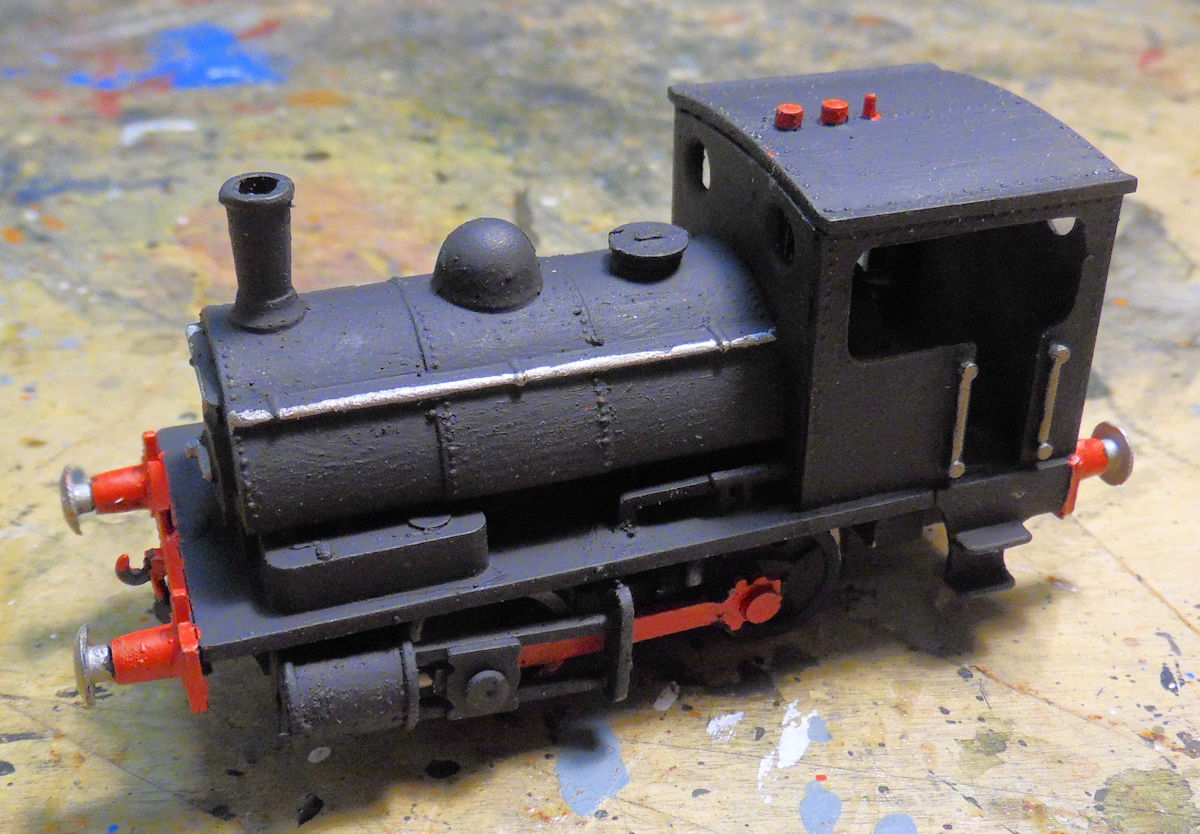
Next up will be decals and some detail painting.I'm looking forward to seeing this done.
That completes our tour of the facilities today, short and sweet. Thank you all for looking in, comments are welcome.
