Hobbycraft F8F VNAF

Something you have never built.
Post Reply
User avatar
Stikpusher
Moderator
Posts: 18977
Joined: Sat Apr 05, 2014 8:37 pm
Location: Ceti Alpha 5

Re: Hobbycraft F8F VNAF

Post by Stikpusher »

Progress today! Got the wings and fuselage assembled! Woohoo!

Image

Just need to do the seam clean up, glue these assemblies together, and it will start looking like an aero plane…
"Surely I have made my meaning plain? I intend to avenge myself upon you, Admiral. I have deprived your ship of power, and when I swing 'round, I intend to deprive you of your life."

FLSM
User avatar
keavdog
Elite Member
Posts: 3632
Joined: Thu Jan 10, 2019 1:14 am
Location: Goodyear, AZ

Re: Hobbycraft F8F VNAF

Post by keavdog »

Nice progress. Are you doing blue or NMF?
Thanks,
John
User avatar
Stikpusher
Moderator
Posts: 18977
Joined: Sat Apr 05, 2014 8:37 pm
Location: Ceti Alpha 5

Re: Hobbycraft F8F VNAF

Post by Stikpusher »

I’m going with the NMF scheme that was worn in the end of their service lives.
"Surely I have made my meaning plain? I intend to avenge myself upon you, Admiral. I have deprived your ship of power, and when I swing 'round, I intend to deprive you of your life."

FLSM
User avatar
Stuart
Elite Member
Posts: 9658
Joined: Sun Apr 06, 2014 1:06 pm
Location: North Wales
Contact:

Re: Hobbycraft F8F VNAF

Post by Stuart »

Looking good Carlos - that engine's looking good!
Stuart Templeton 'I may not be good but I'm slow...'

My blog: https://stuartsscalemodels.blogspot.com/
User avatar
Stikpusher
Moderator
Posts: 18977
Joined: Sat Apr 05, 2014 8:37 pm
Location: Ceti Alpha 5

Re: Hobbycraft F8F VNAF

Post by Stikpusher »

Thanks Stuart. Quick Boost makes a really nice accurate resin replacement engine for this kit. But the kit engine could easily be improved with some wire and other bits.
"Surely I have made my meaning plain? I intend to avenge myself upon you, Admiral. I have deprived your ship of power, and when I swing 'round, I intend to deprive you of your life."

FLSM
User avatar
Stikpusher
Moderator
Posts: 18977
Joined: Sat Apr 05, 2014 8:37 pm
Location: Ceti Alpha 5

Re: Hobbycraft F8F VNAF

Post by Stikpusher »

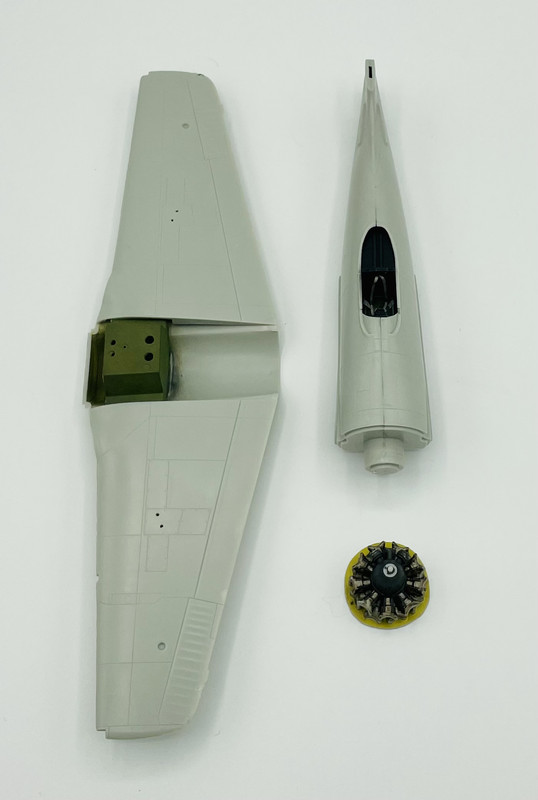
Between yesterday and today I did most of the seam clean up on the separated wings and fuselage, then glued them together. I also added the vertical stabilizer, engine, wing cannon drum bulges and cockpit rollover brace.

Image

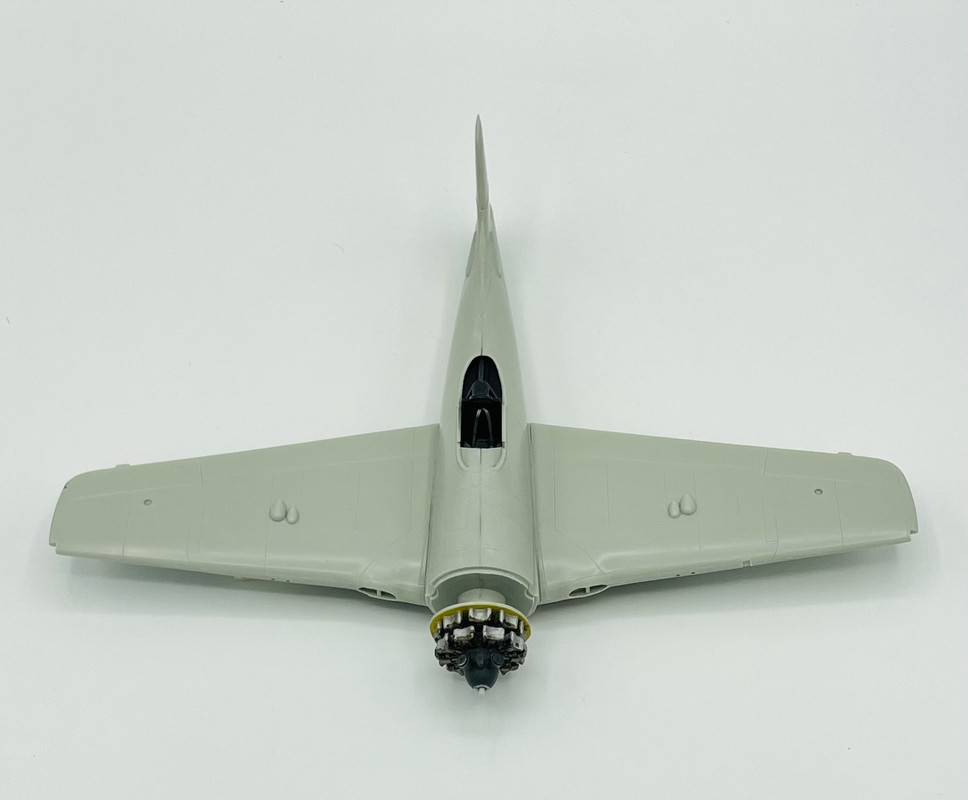
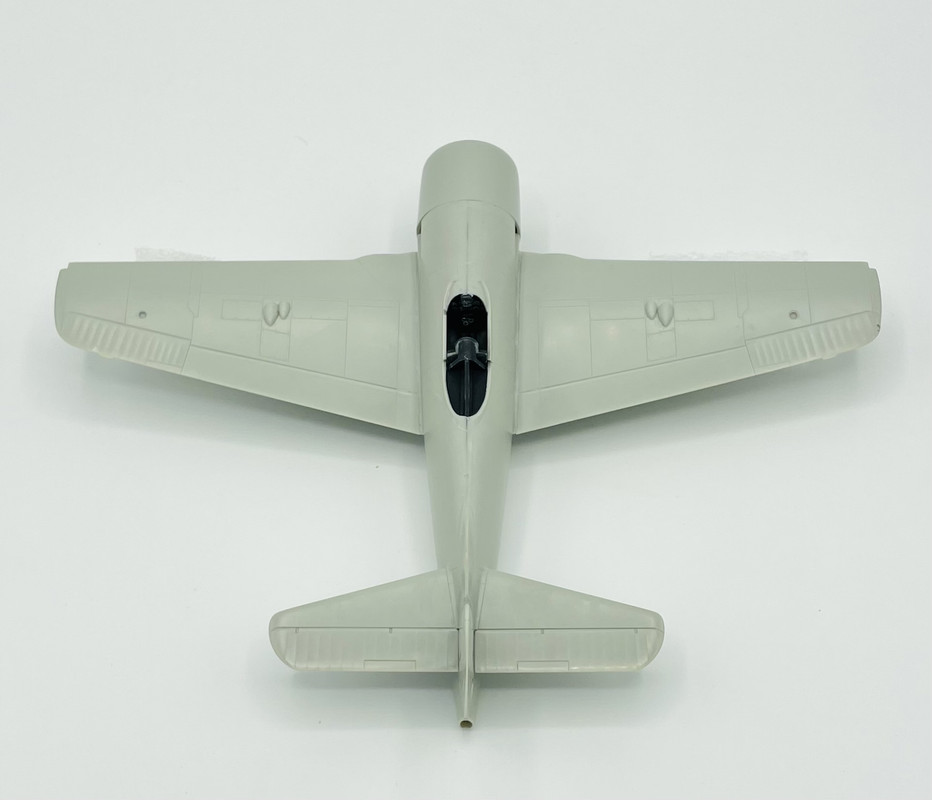
Afterwards I have been doing some sanding to improve the fit of the cowling to the fuselage. It was a bit off, but with some work, now fits pretty well. I just placed it on for the photo, as I still need to paint the interior color.

Image

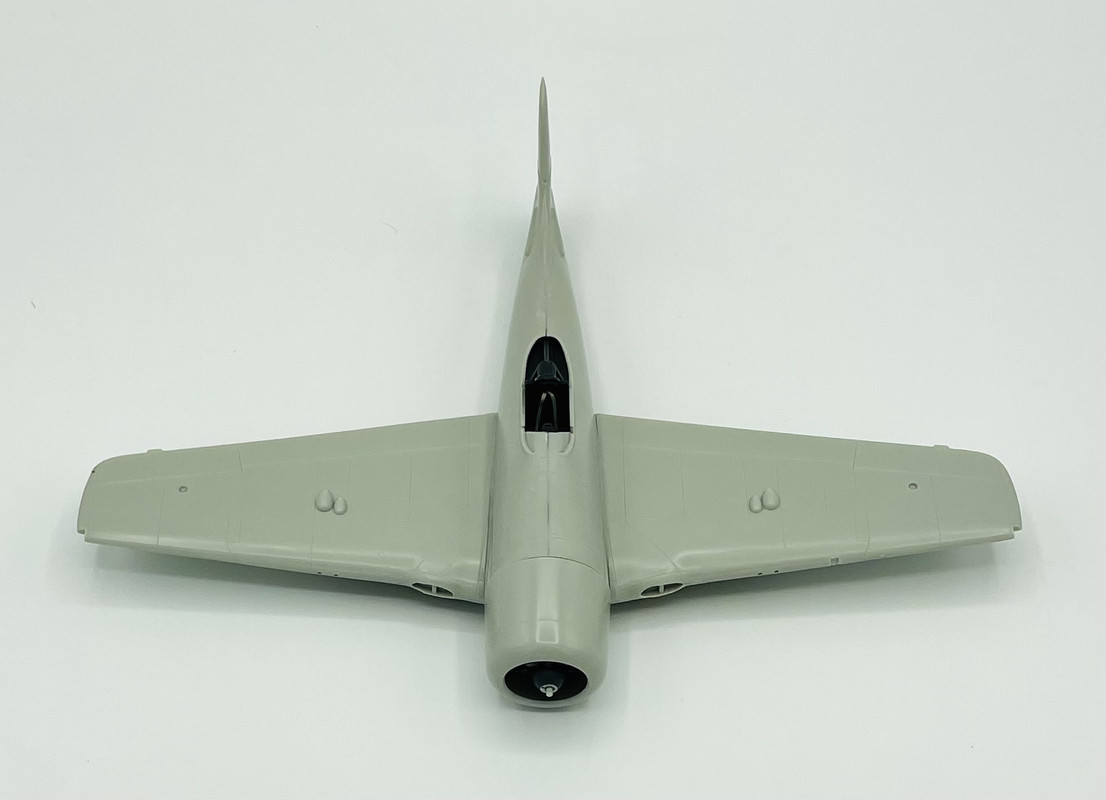
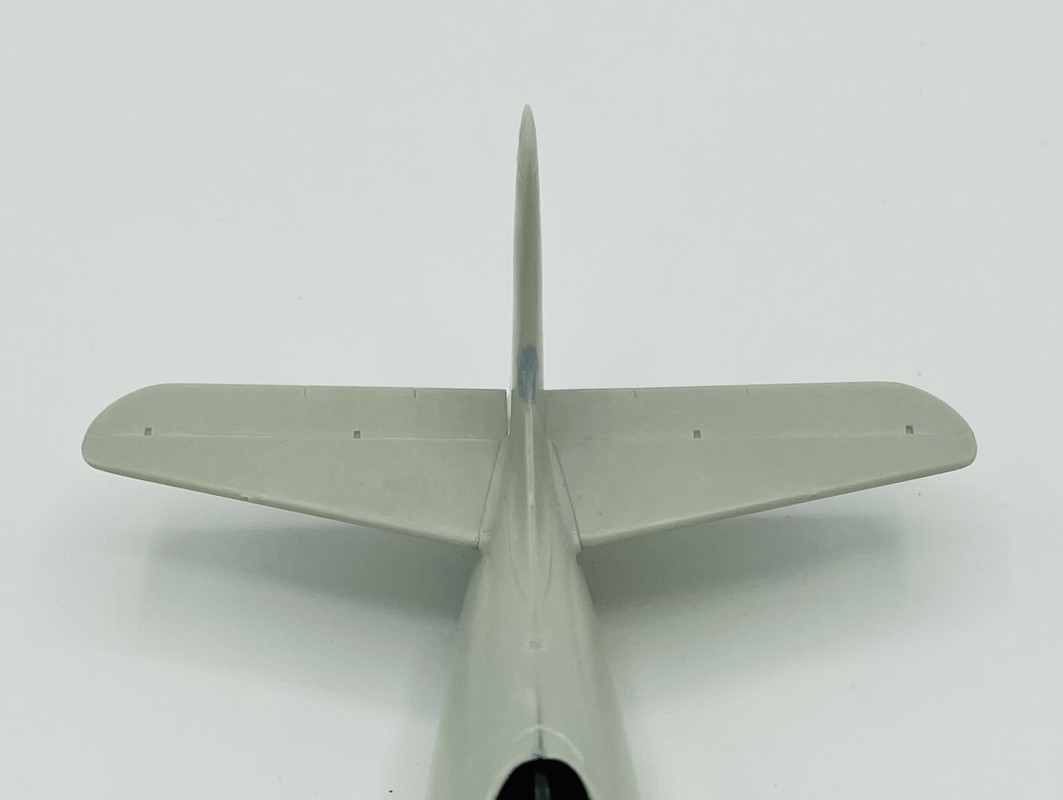
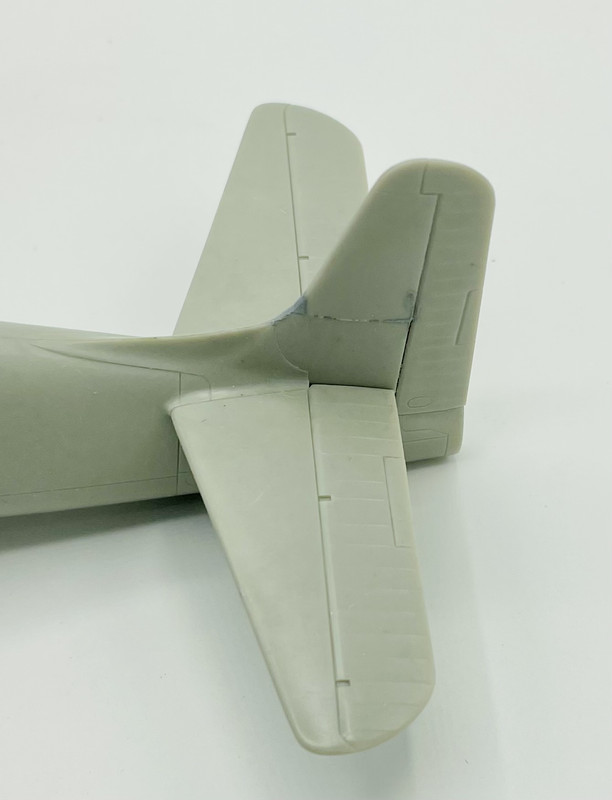
I have a bit of seam filling to do before the next update…
"Surely I have made my meaning plain? I intend to avenge myself upon you, Admiral. I have deprived your ship of power, and when I swing 'round, I intend to deprive you of your life."

FLSM
User avatar
Medicman71
Elite Member
Posts: 9797
Joined: Mon Apr 07, 2014 9:32 am
Location: Houston, Tx

Re: Hobbycraft F8F VNAF

Post by Medicman71 »

Very nice Stik!
Mike

Sponsored by Boeing, Lockheed Martin, Northrop Grumman, Saab, BAE, and Dassault
User avatar
keavdog
Elite Member
Posts: 3632
Joined: Thu Jan 10, 2019 1:14 am
Location: Goodyear, AZ

Re: Hobbycraft F8F VNAF

Post by keavdog »

Great progress. Looks like a couple of wing root issues but nothing horrible.
Thanks,
John
User avatar
Stikpusher
Moderator
Posts: 18977
Joined: Sat Apr 05, 2014 8:37 pm
Location: Ceti Alpha 5

Re: Hobbycraft F8F VNAF

Post by Stikpusher »

Thanks guys.

John, yes there is a bit of a seam on the upper side of the wing roots, but I minimized that as much as I could in construction. Now it’s the filling challenge without destroying adjacent detail.
"Surely I have made my meaning plain? I intend to avenge myself upon you, Admiral. I have deprived your ship of power, and when I swing 'round, I intend to deprive you of your life."

FLSM
User avatar
Stikpusher
Moderator
Posts: 18977
Joined: Sat Apr 05, 2014 8:37 pm
Location: Ceti Alpha 5

Re: Hobbycraft F8F VNAF

Post by Stikpusher »

More progress to report!

I finally glued the horizontal stabilizers in place… also shows a good view of the fuselage spine seam clean up.

Image

that was done after seam clean up on the vertical stabilizer. The kit provides separate tails for a -1 or -2 (as well as cowling and exhausts), but the seam was quite pronounced, along with a slight step. Since I’m doing a bare metal scheme, I had to make sure that the plastic was sanded and buffed super smooth….

Image

Then of course I had to test fit the cowling again for the latest profile shot….

Image

Man this cat is looking like a bear from this angle!
"Surely I have made my meaning plain? I intend to avenge myself upon you, Admiral. I have deprived your ship of power, and when I swing 'round, I intend to deprive you of your life."

FLSM
Post Reply

Return to “Cherry Popper Group Build”