Page 47 of 52
Re: 1/32 Tamiya F4U-1a Corsair - Boyington 17740
Posted: Sun Jan 19, 2020 11:14 pm
by jkim
Re: 1/32 Tamiya F4U-1a Corsair - Boyington 17740
Posted: Sun Jan 19, 2020 11:16 pm
by jkim
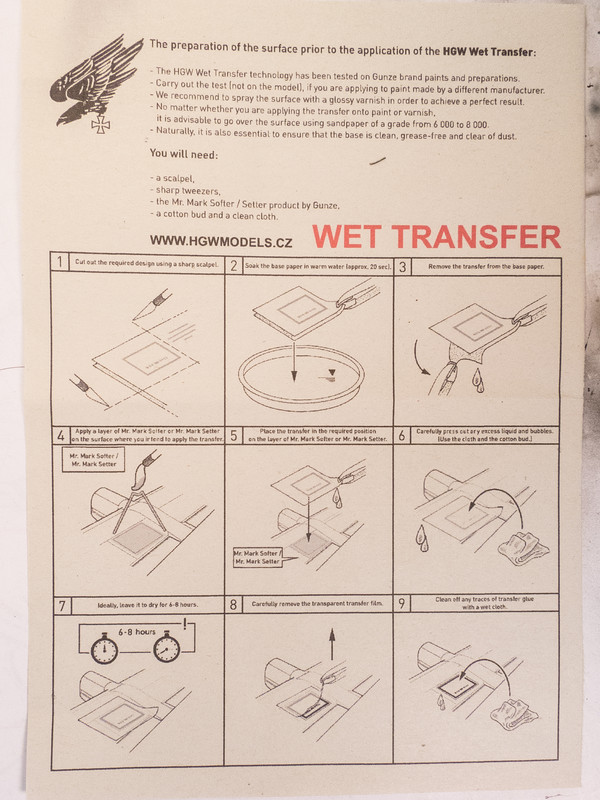
Here are the instructions for the HGW Wet Transfers, upon request...
Re: 1/32 Tamiya F4U-1a Corsair - Boyington 17740
Posted: Mon Jan 20, 2020 9:05 am
by Floki
I like the way they look, another thing I would like to try one day.
Re: 1/32 Tamiya F4U-1a Corsair - Boyington 17740
Posted: Mon Jan 20, 2020 2:51 pm
by Medicman71

Interesting. I've never seen those used before.
Re: 1/32 Tamiya F4U-1a Corsair - Boyington 17740
Posted: Mon Jan 20, 2020 6:16 pm
by BlackSheep214
Incredible. I can't tell that's a decal at all. I wouldn't worry about the incomplete decal. Besides, look at this way ….consider it chipped due to wear and tear.
Re: 1/32 Tamiya F4U-1a Corsair - Boyington 17740
Posted: Mon Jan 20, 2020 6:53 pm
by jkim
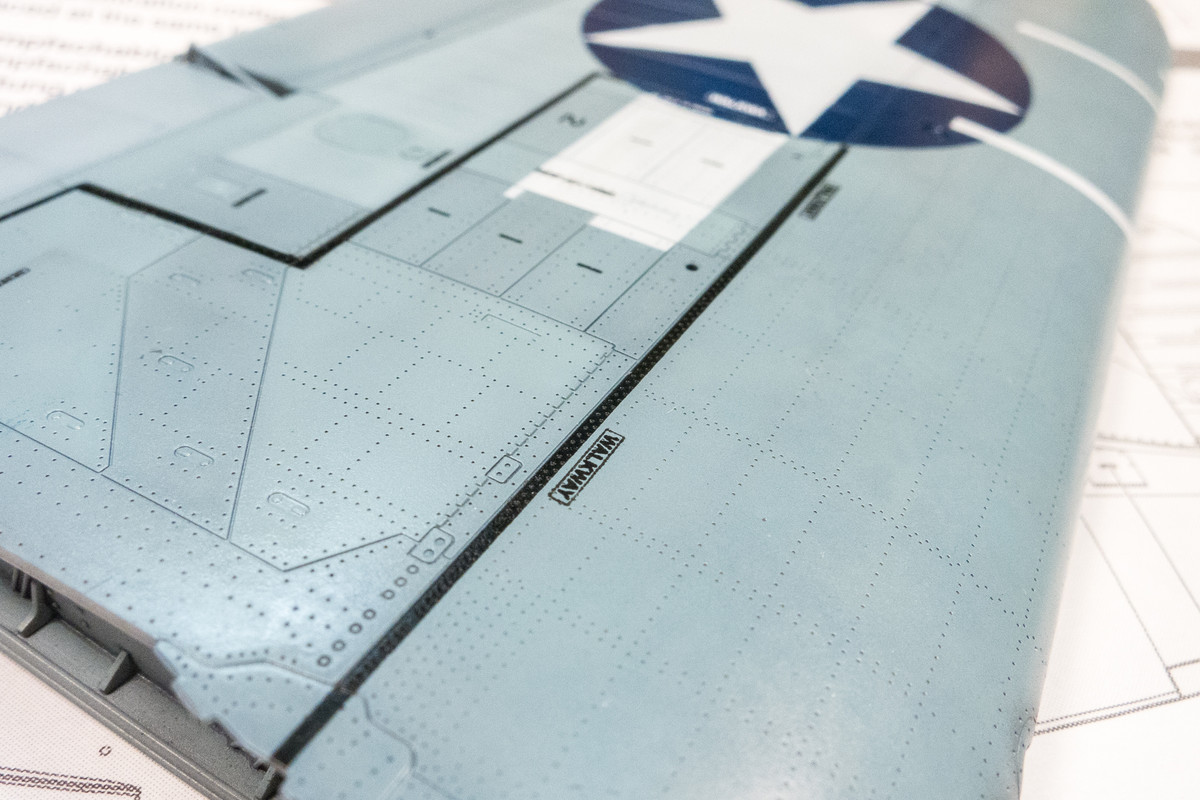
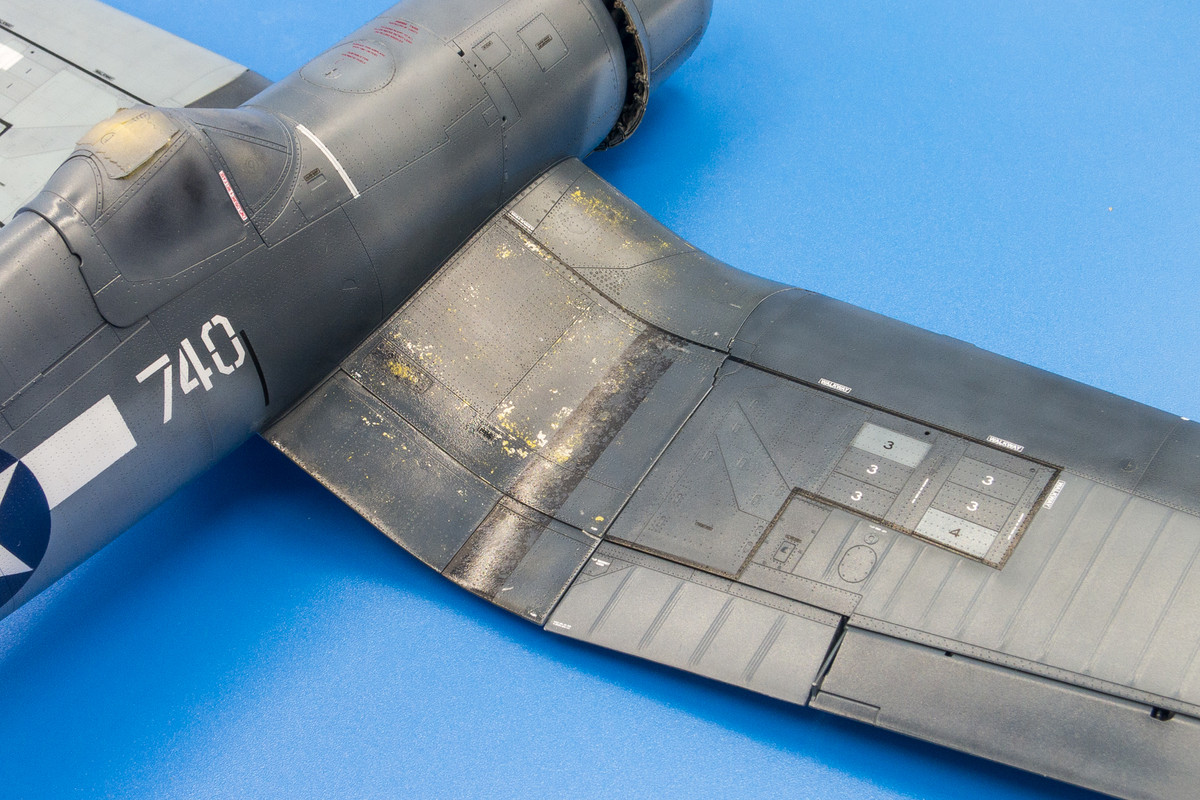
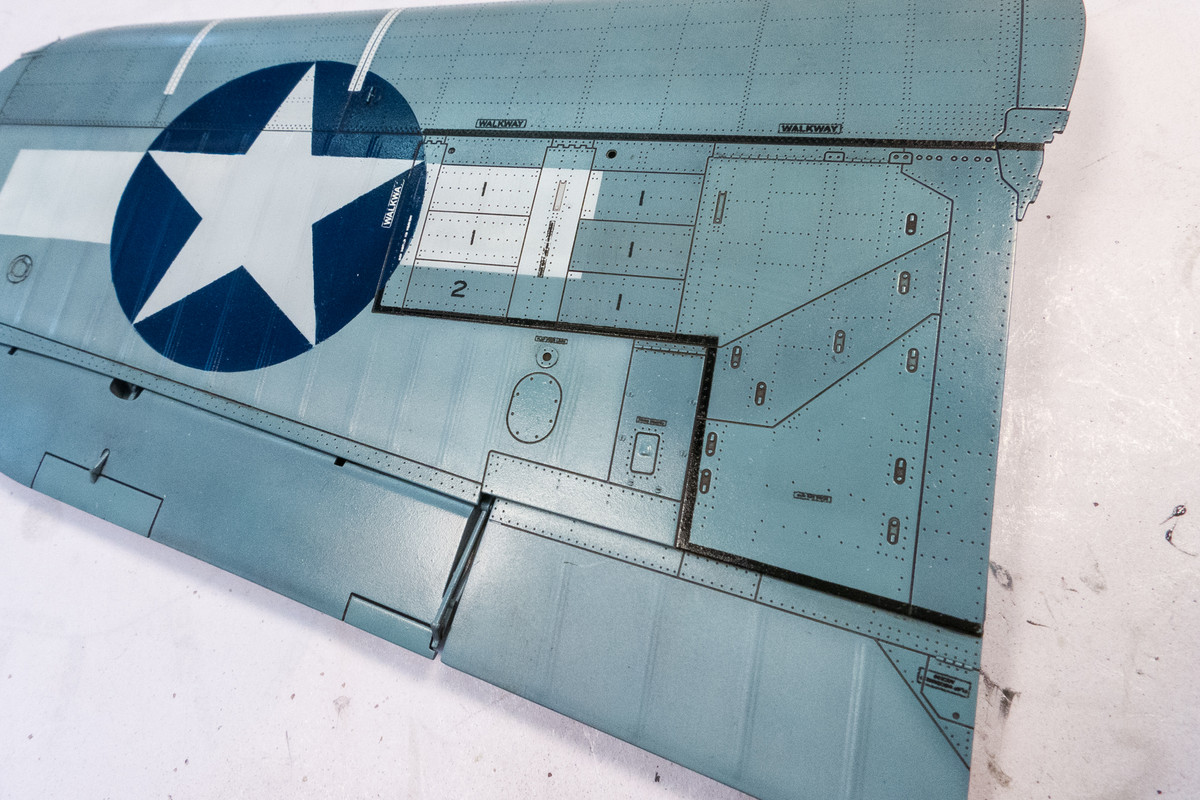
Thanks guys! Time for a panel wash! As usual, I am using a home-mixed pastel wash comprised of water, pastel chalk and a drop of dishwash soap. For the white and lighter blue areas, I am using a brown color.
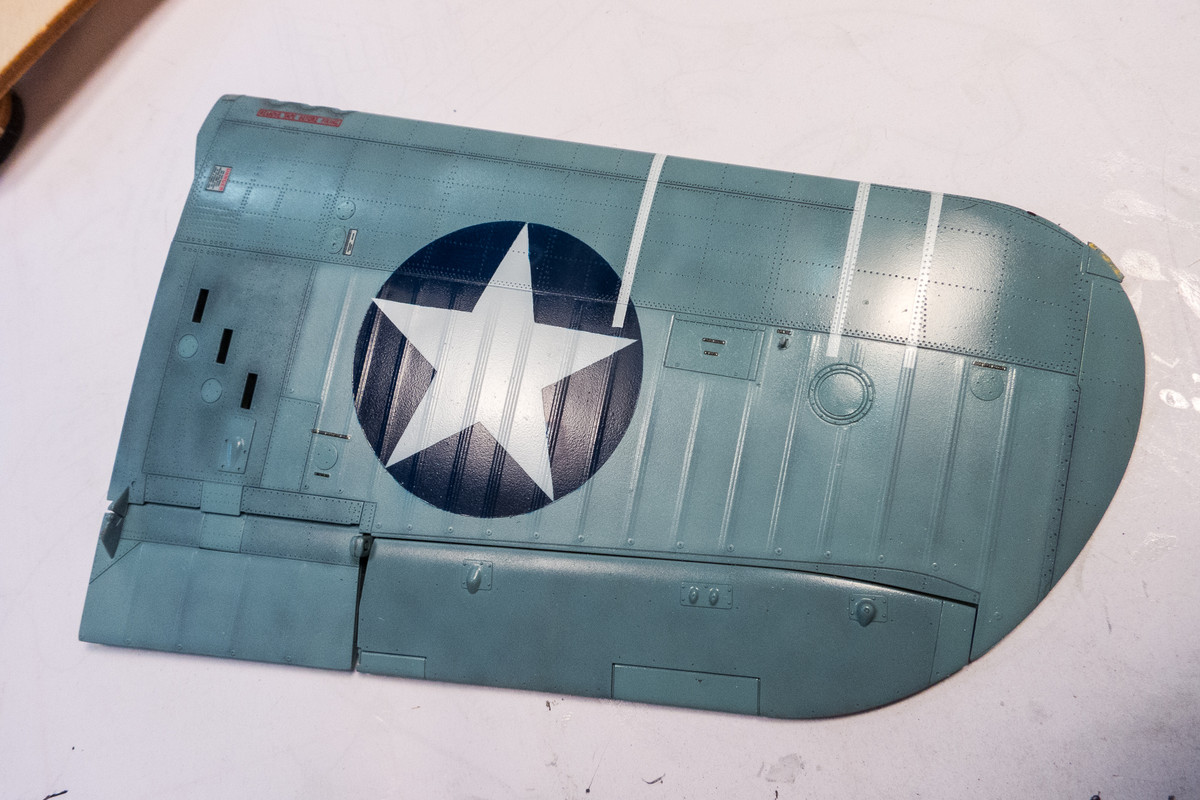
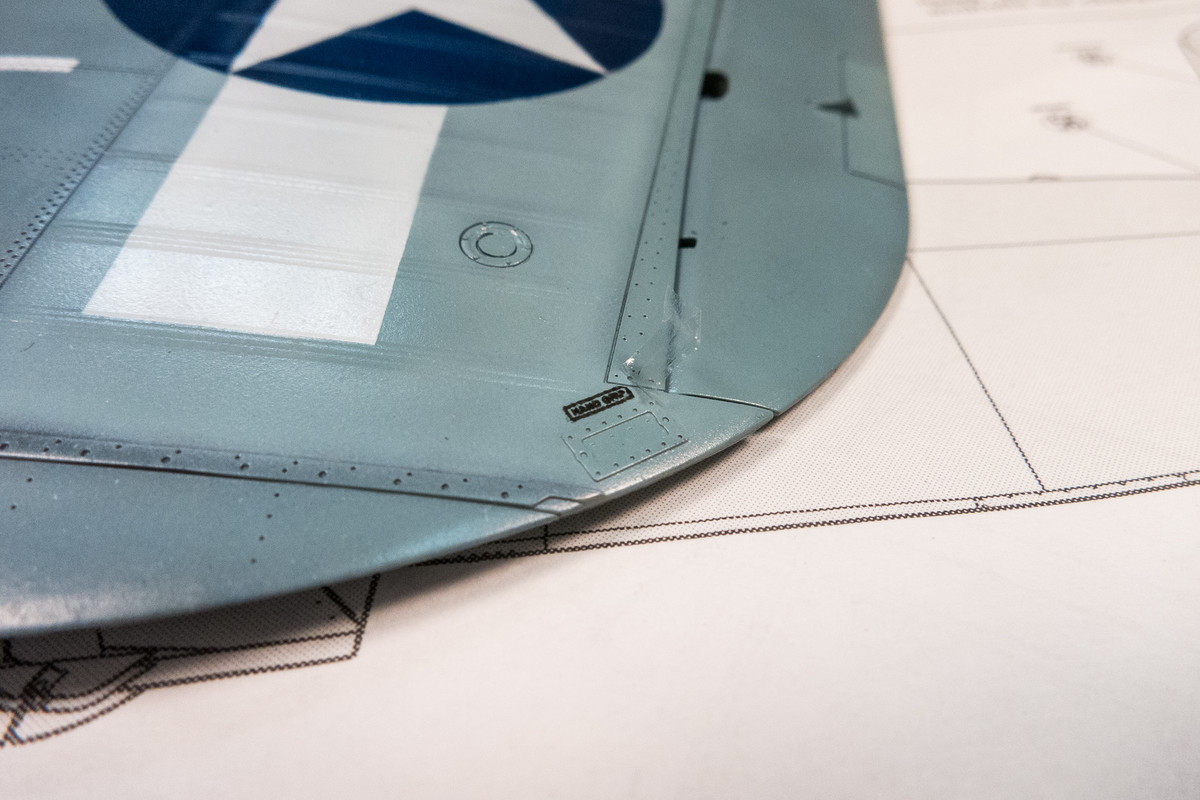
Difficult to see the effect on a wide angle shot of the entire wing but if you zoom in on certain areas, you can notice the effect. My goal with the wash, in addition to highlighting detail, is to reduce the physical grooves and holes with lines and dots, which I think makes the surface look less like a plastic model.
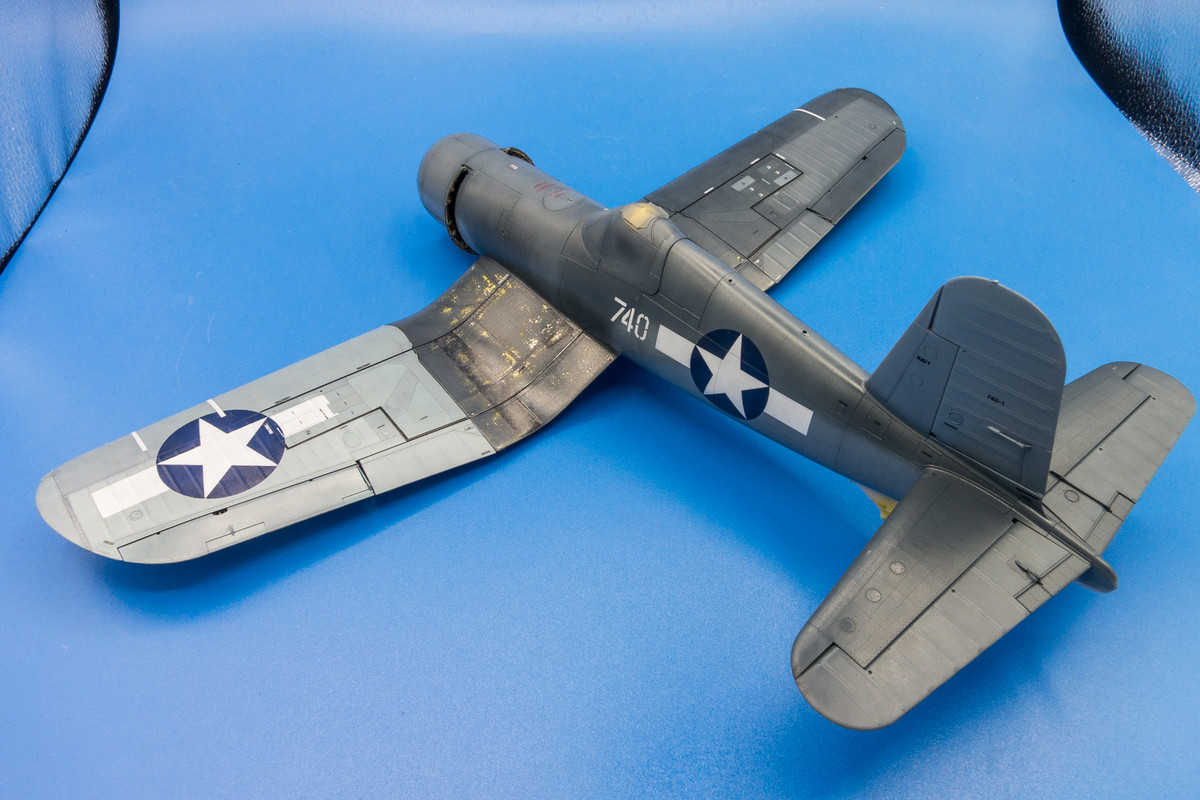
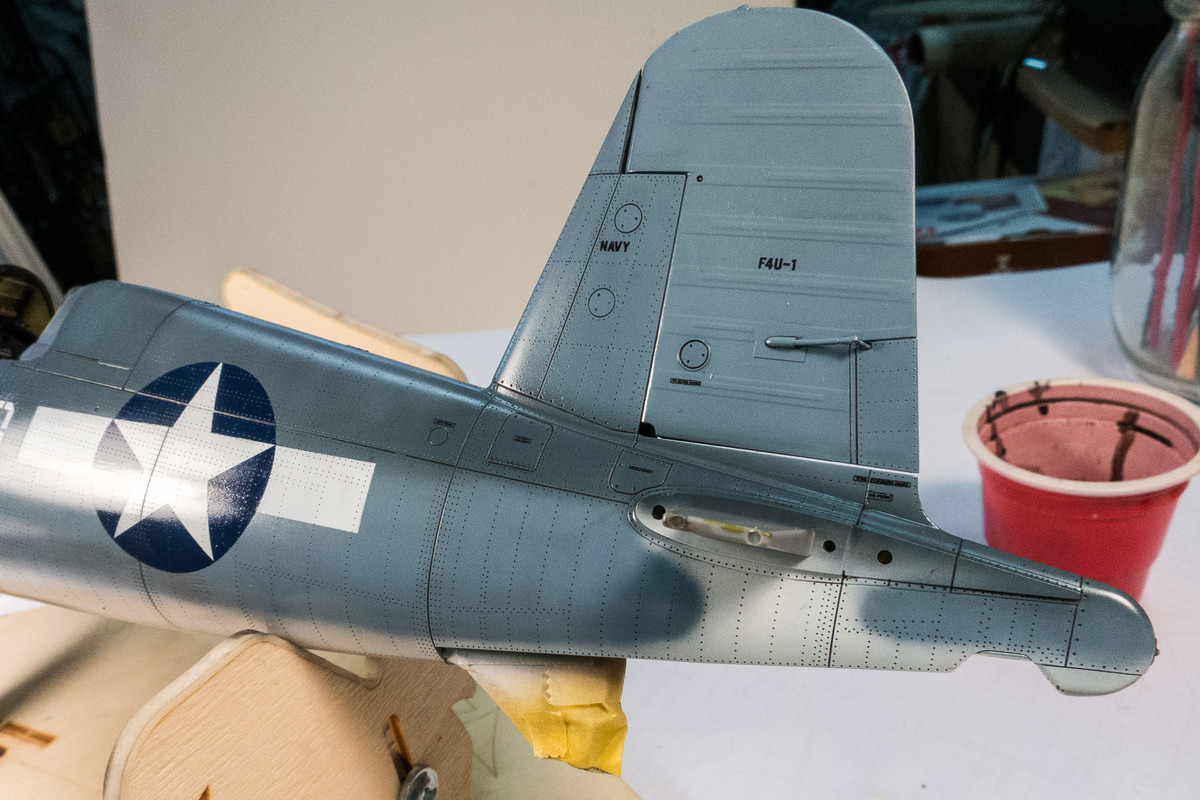
Here's the top side of the port wing.
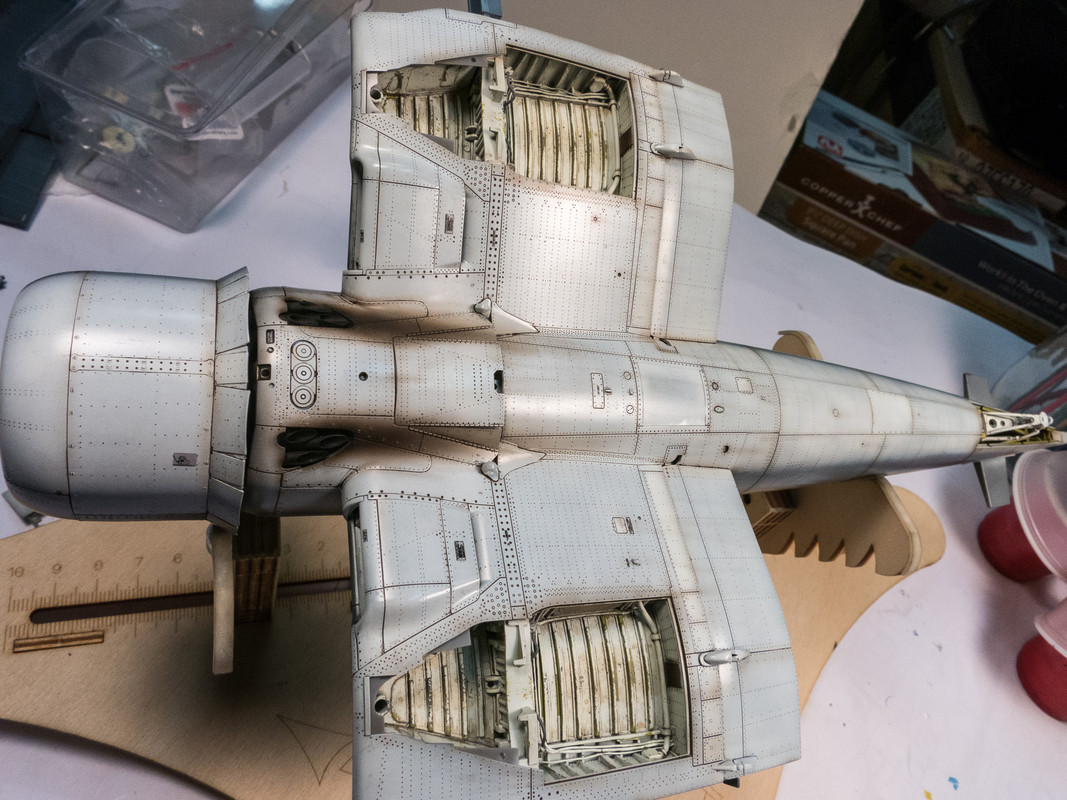
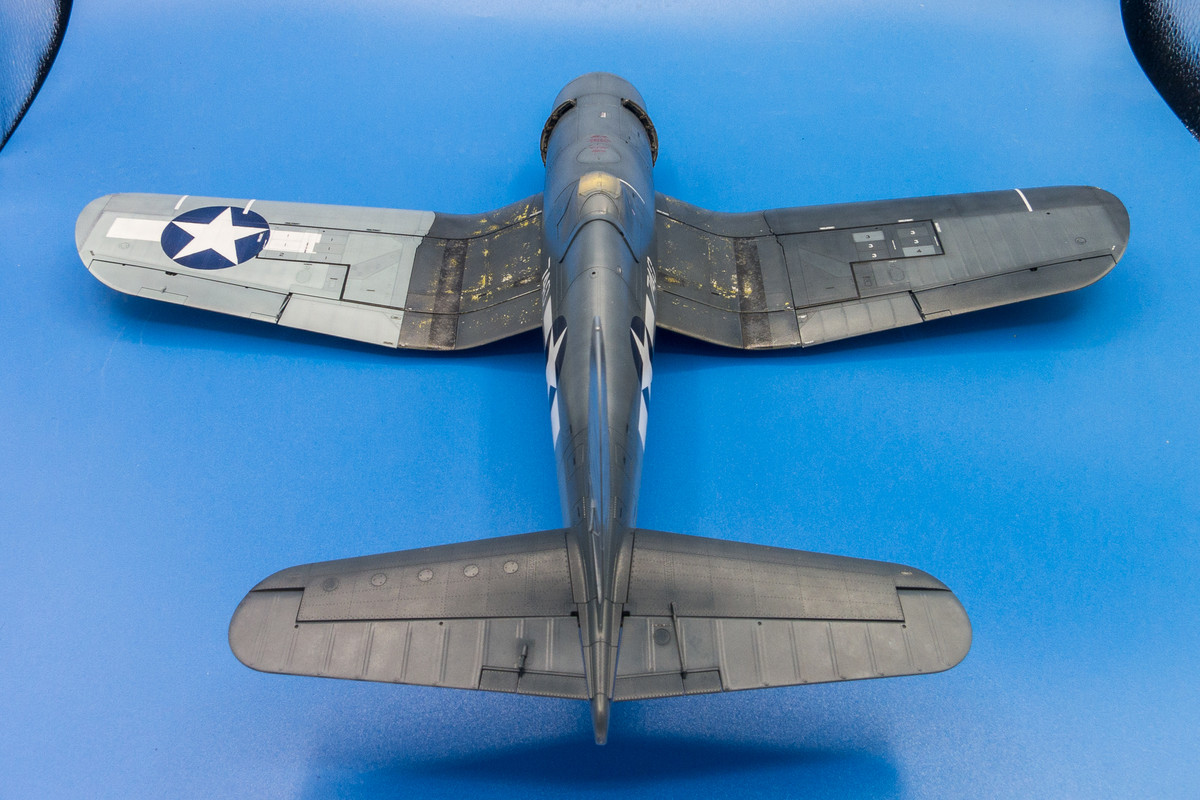
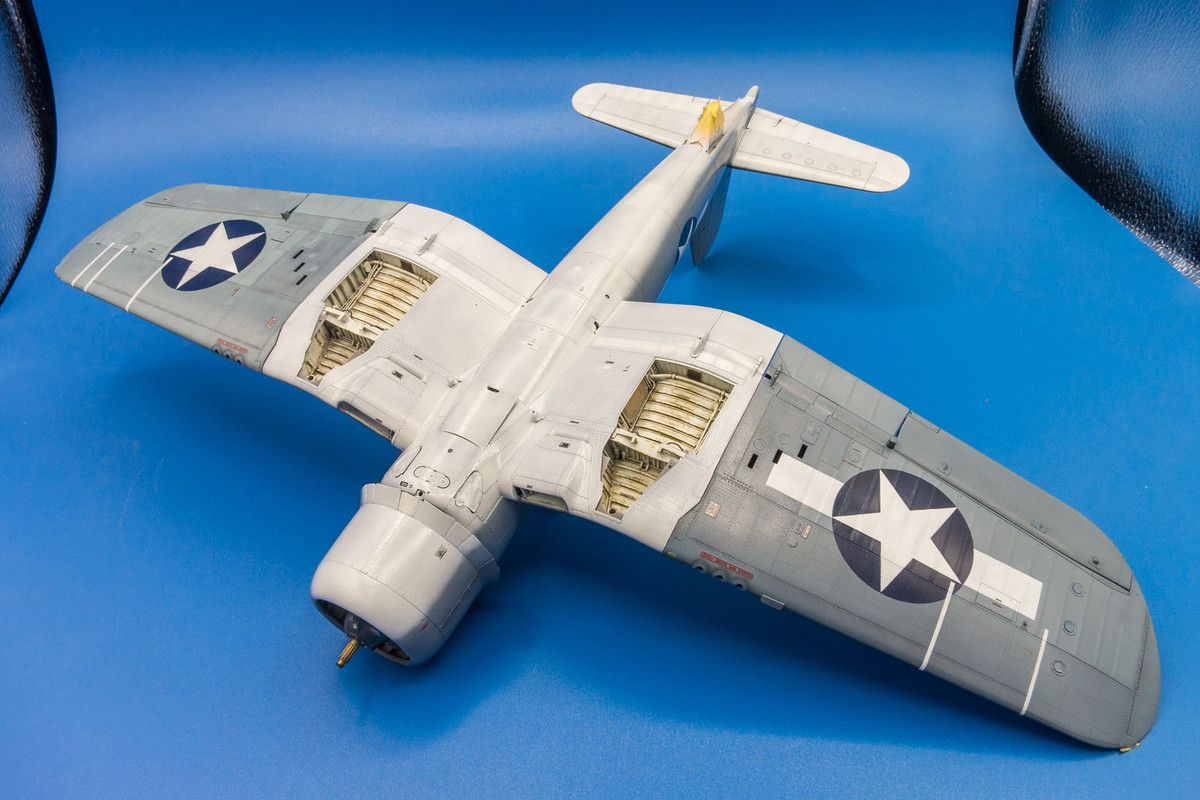
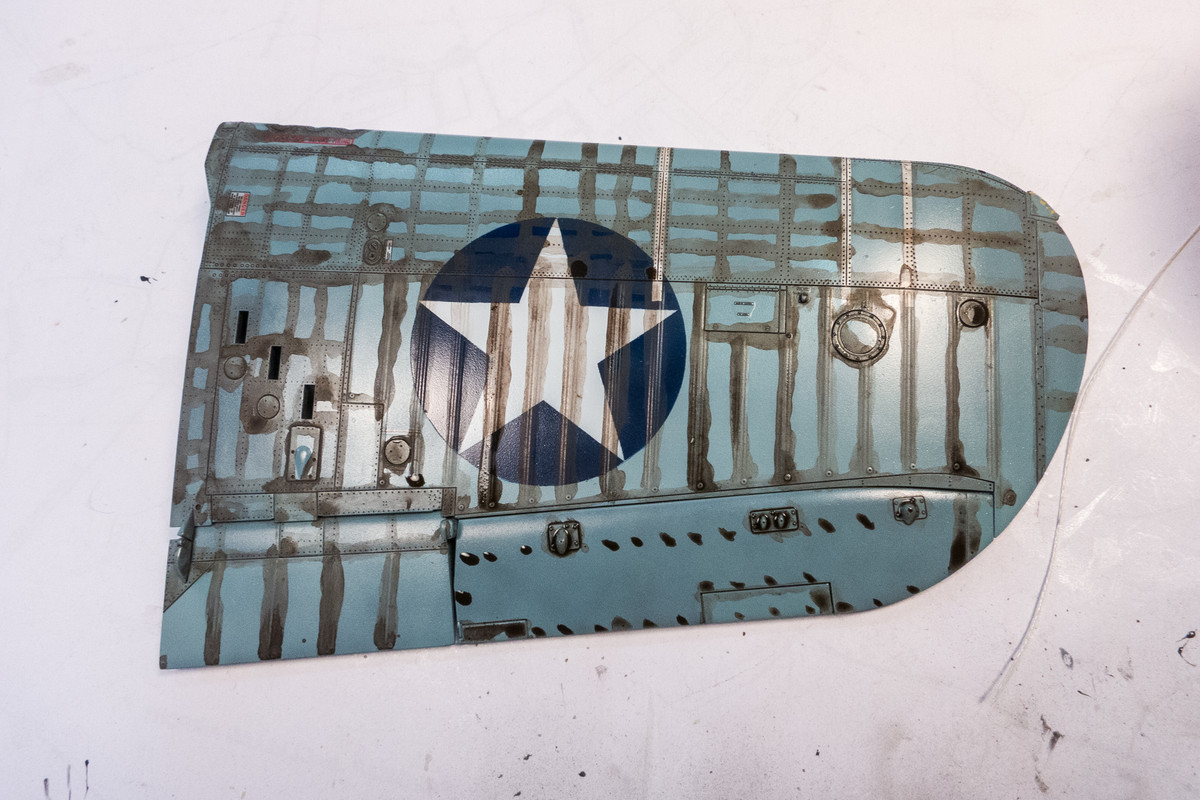
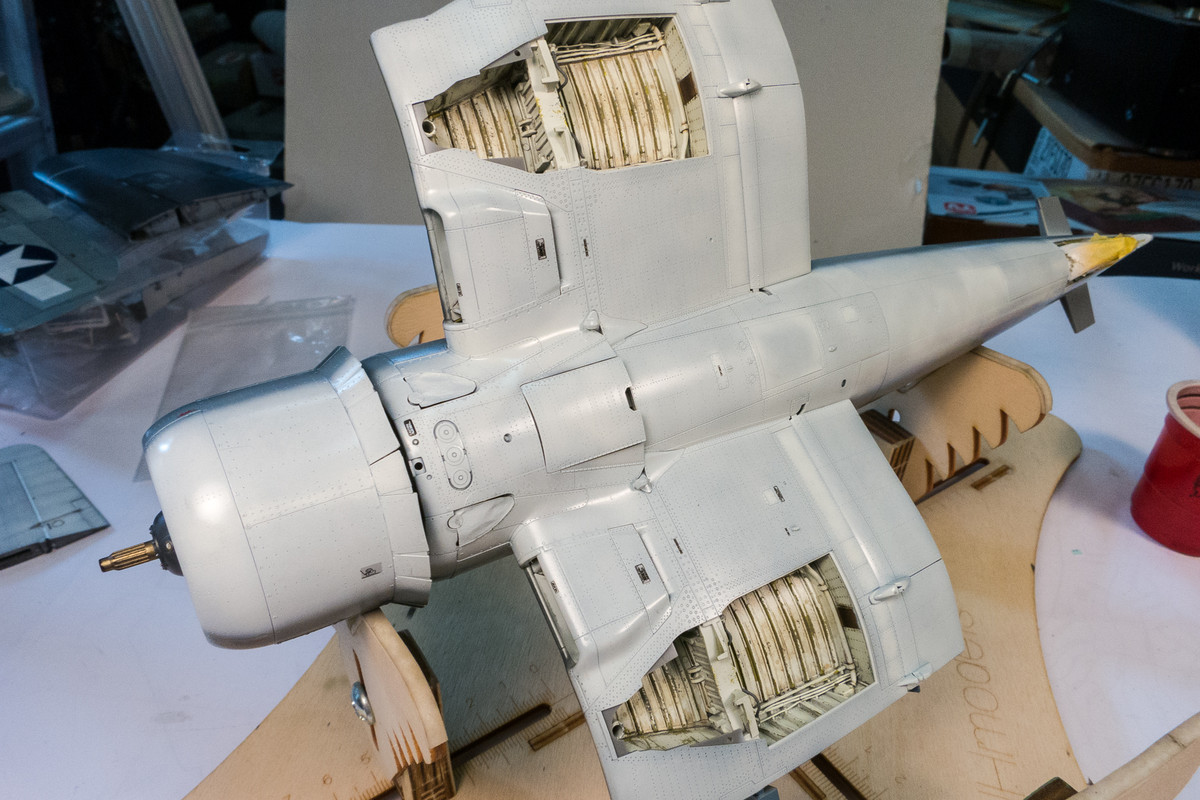
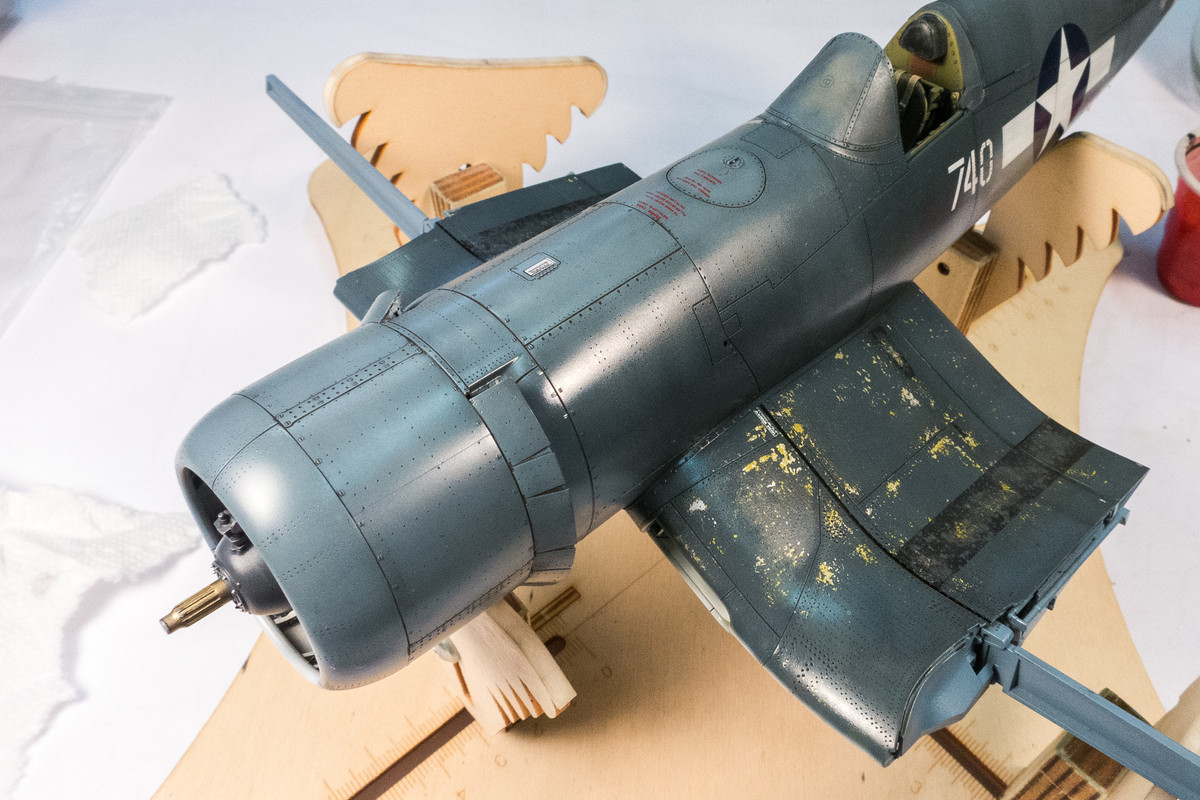
The underside of the aircraft is completely covered with rivets, panel lines and other details. So the wash will almost cover the surface completely.
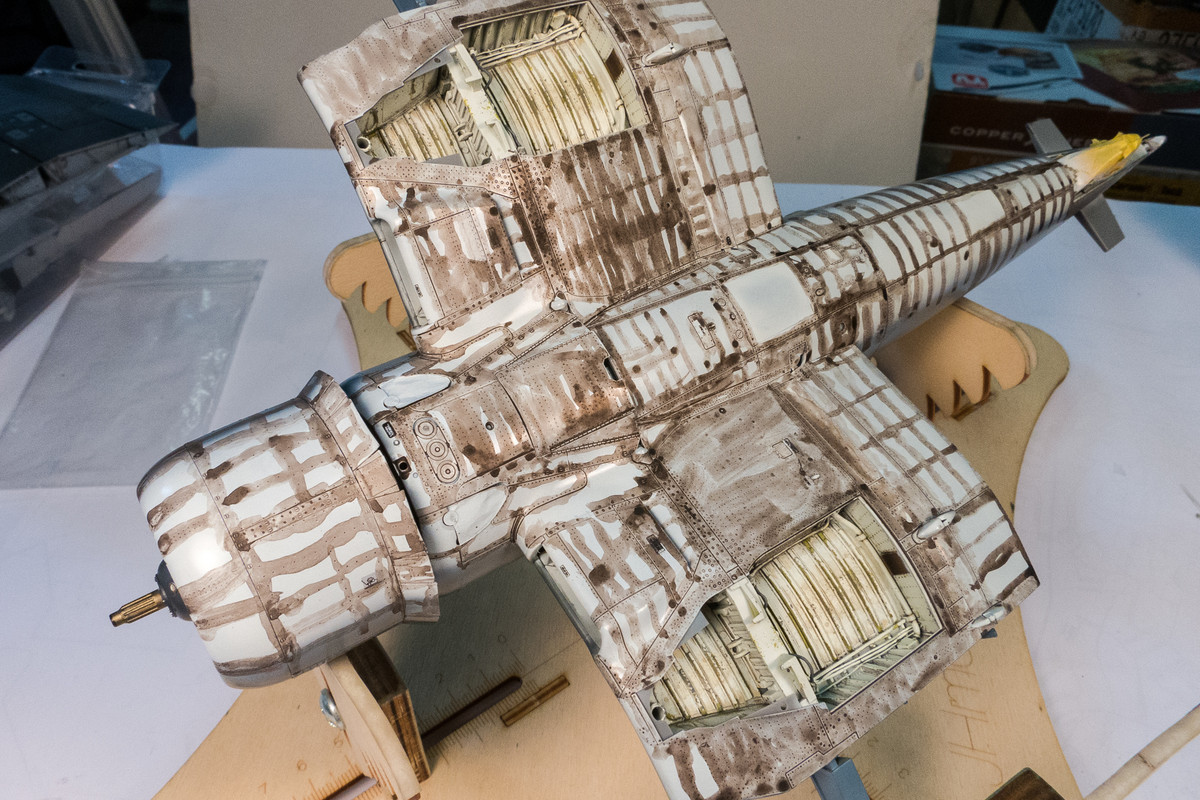
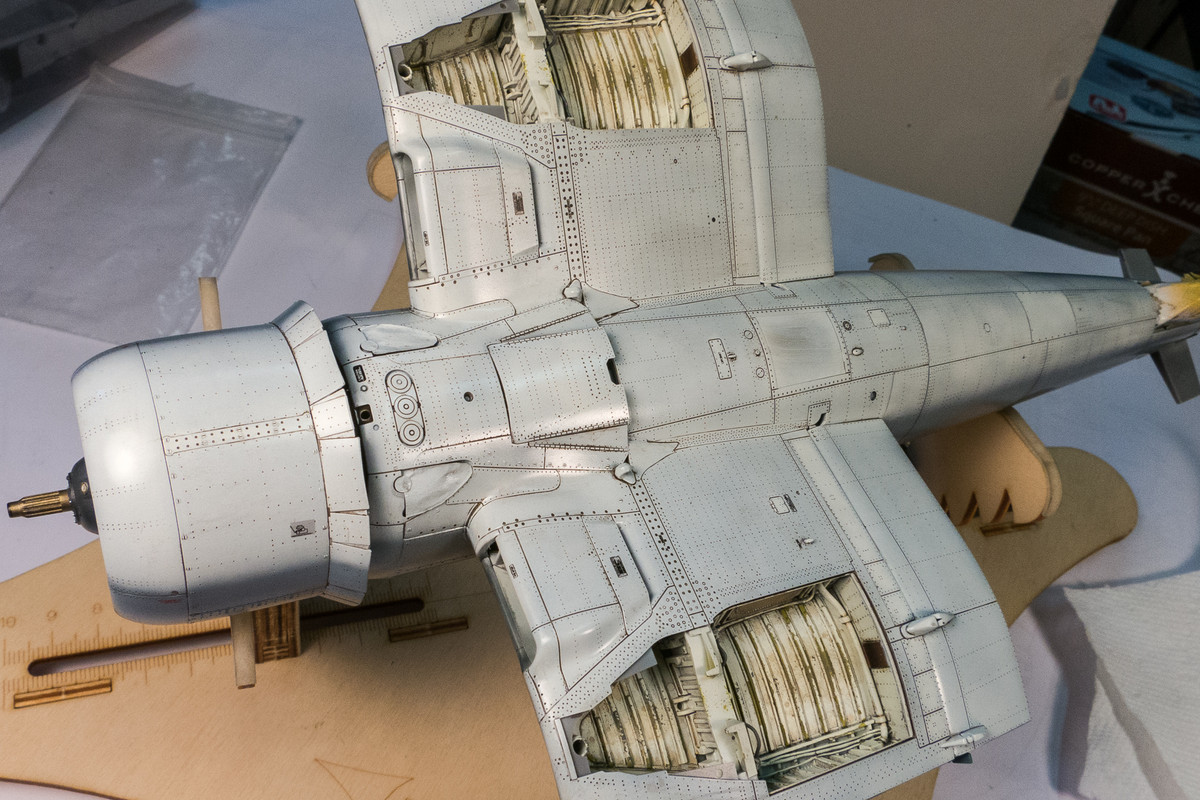
After the wash is completely dry, it is wiped off carefully with a moistened paper towel. I use small pieces and toss each piece as they get loaded with the dark wash.
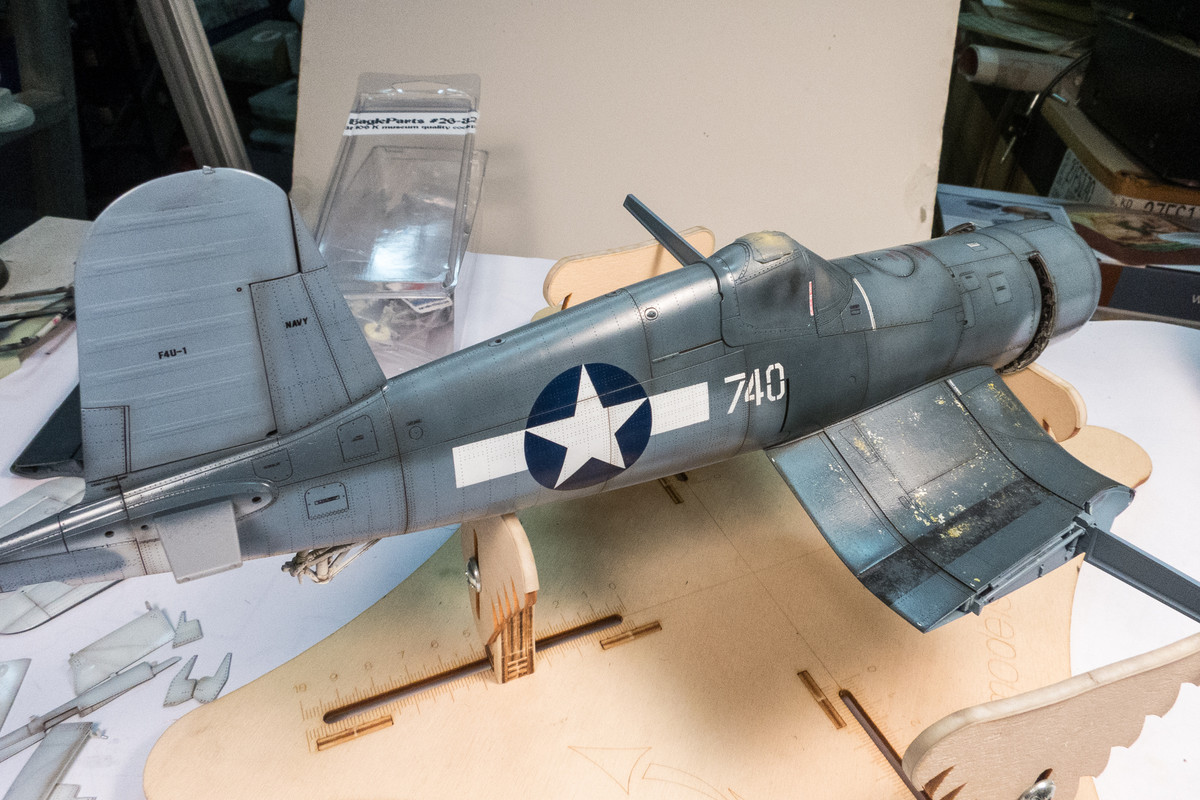
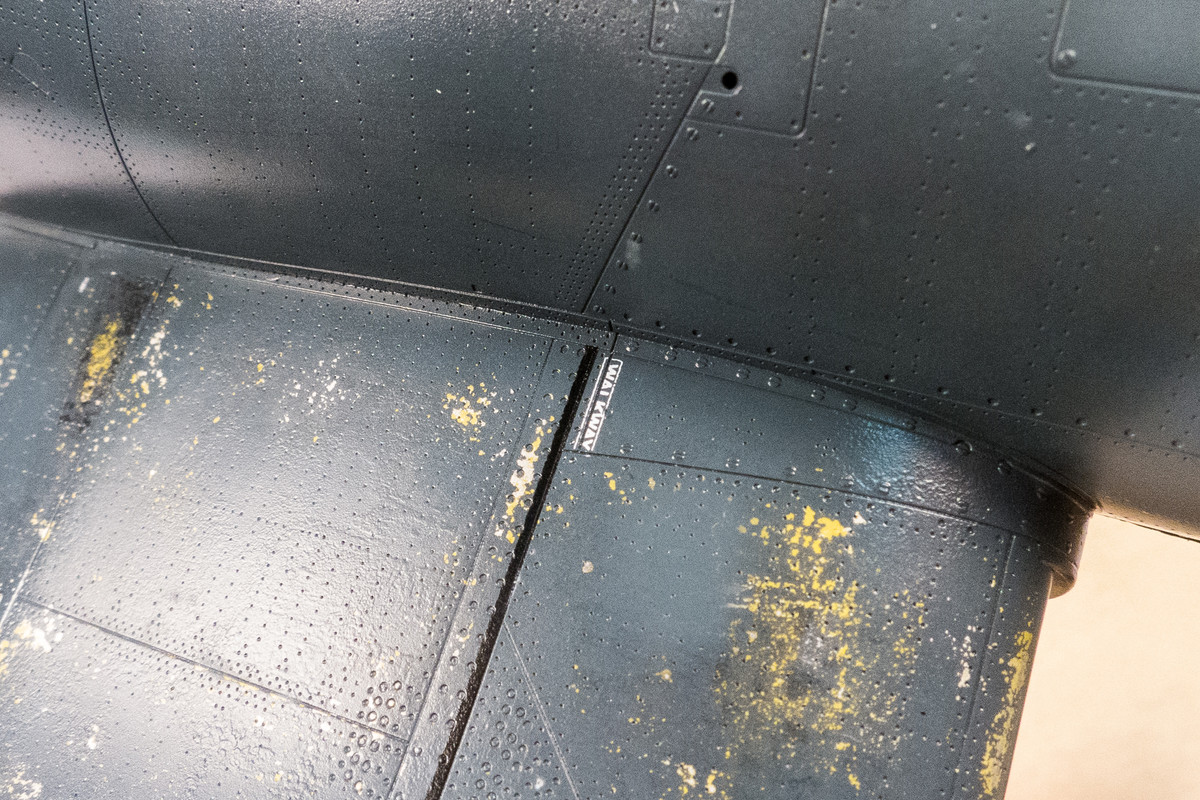
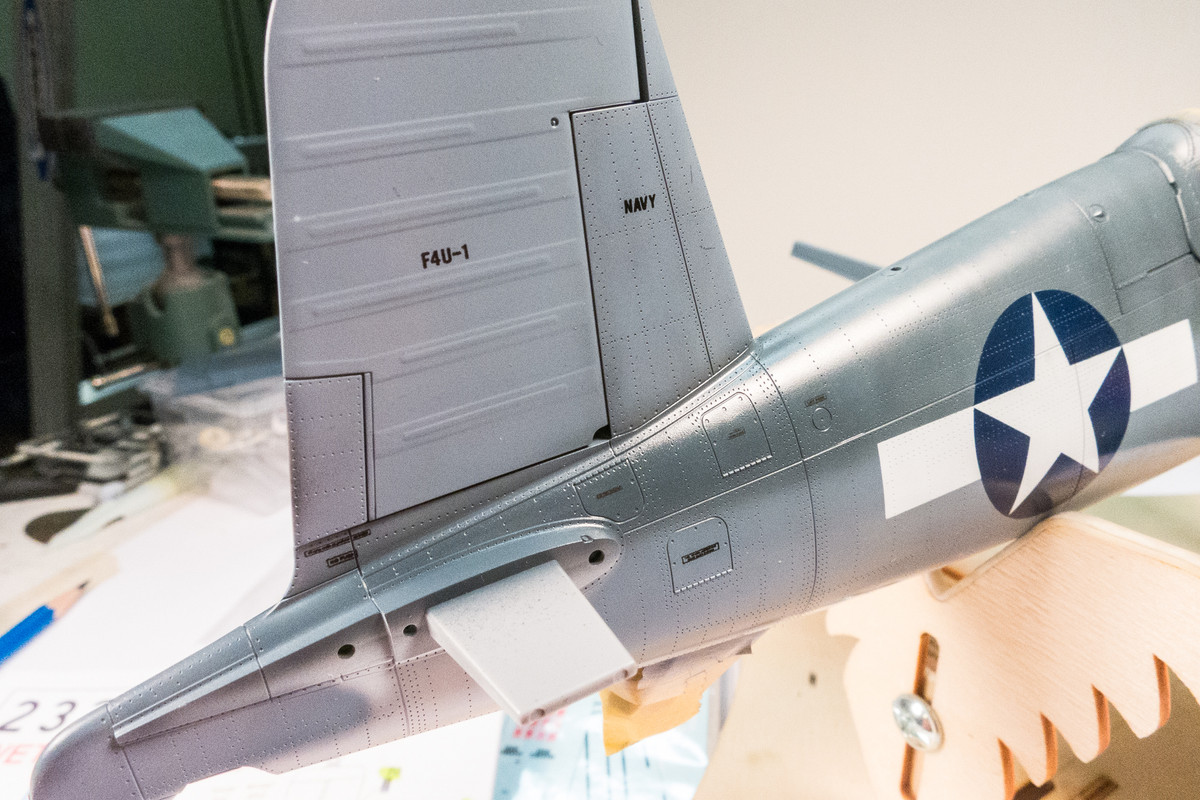
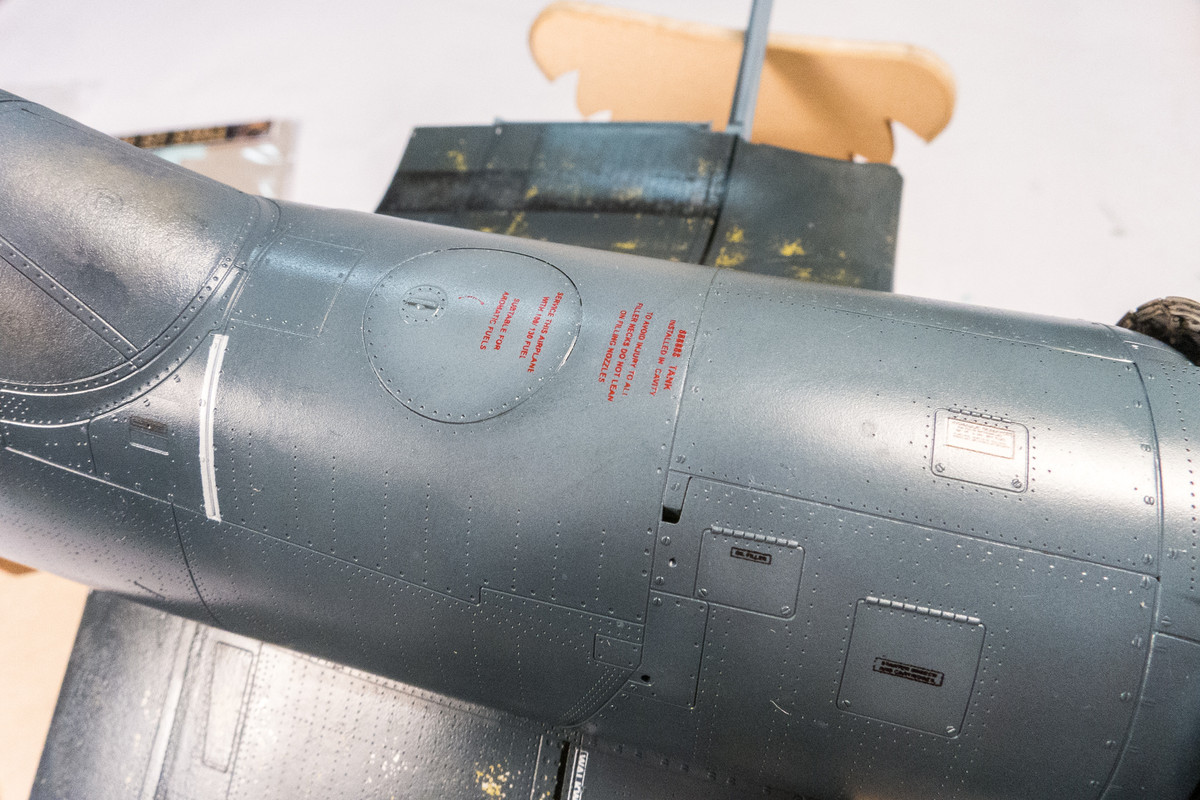
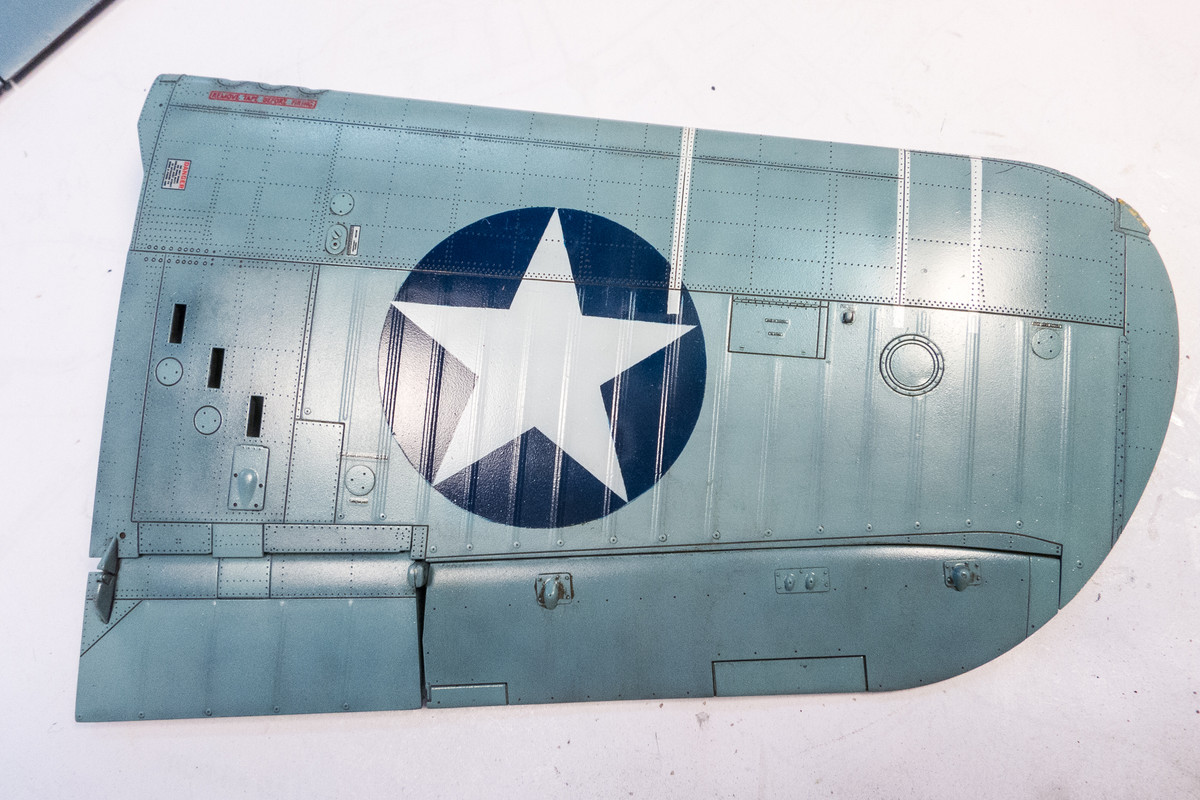
The darker blue upper surfaces are treated with a darker brown (almost black) wash.
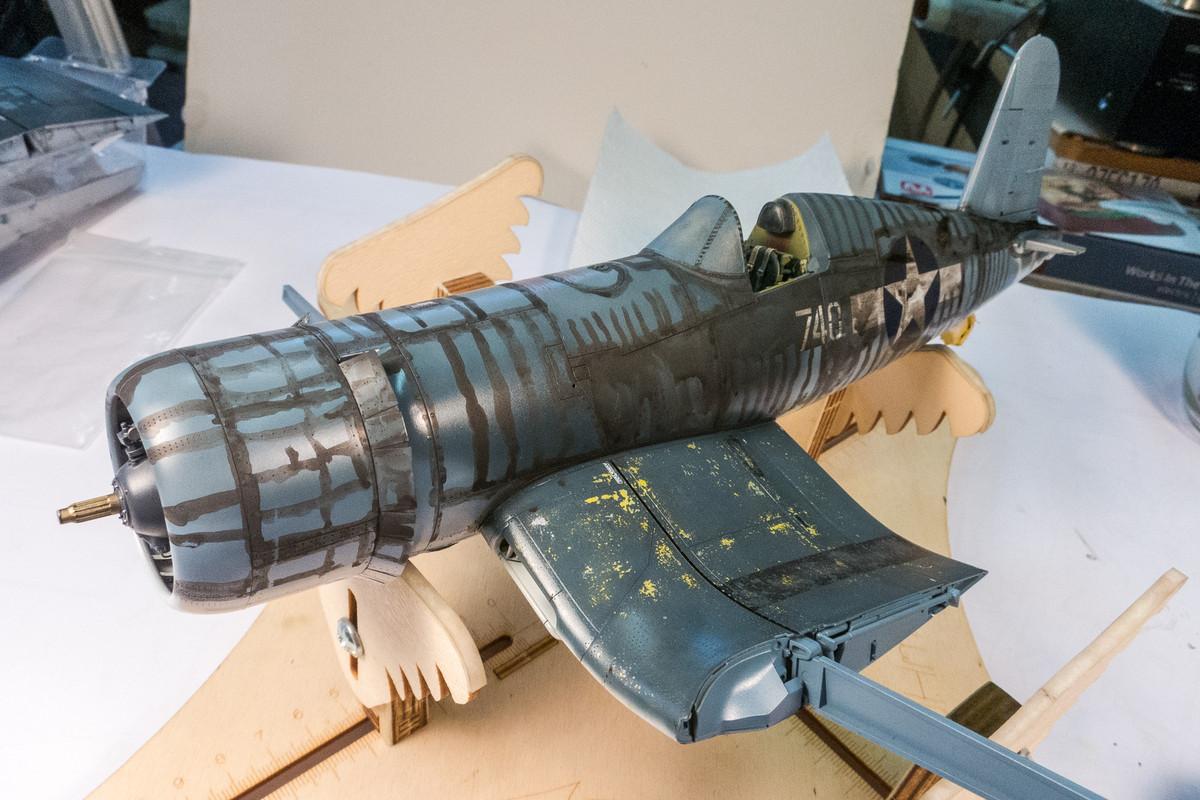
The effect is much more subtle due to the reduced contrast between the wash and the dark blue camo color.
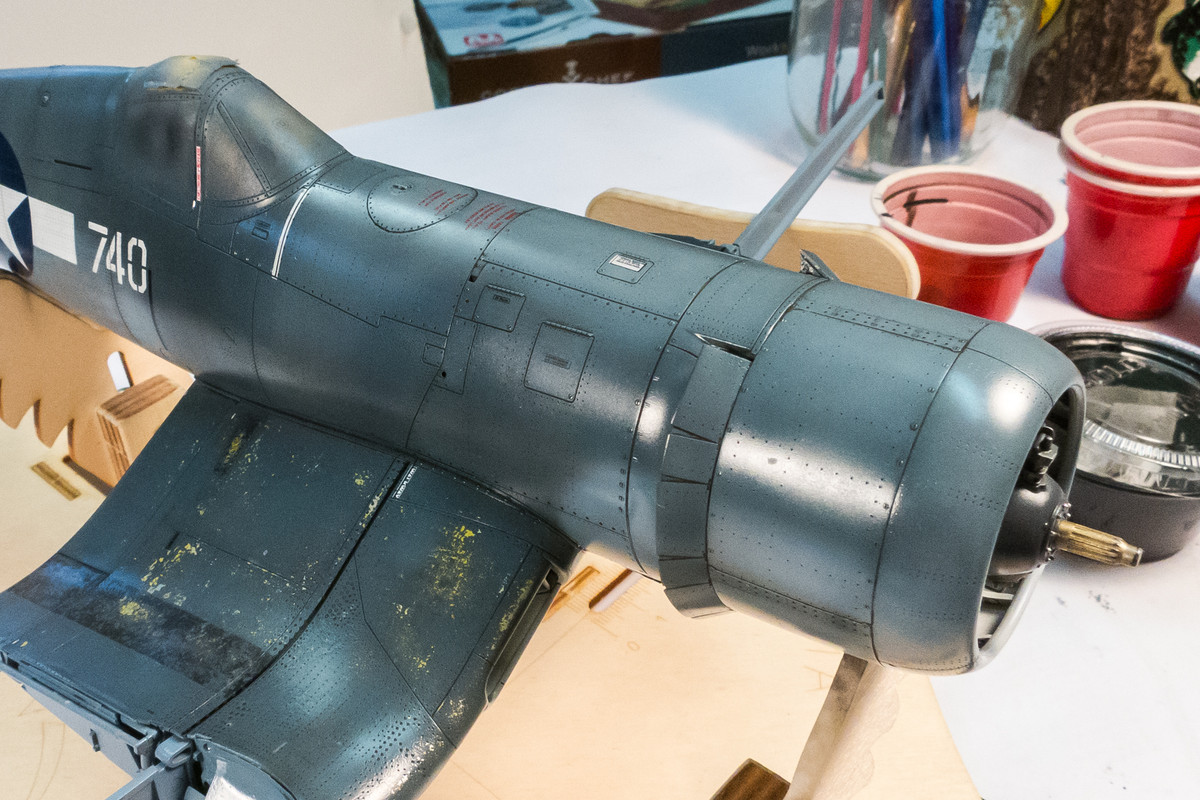
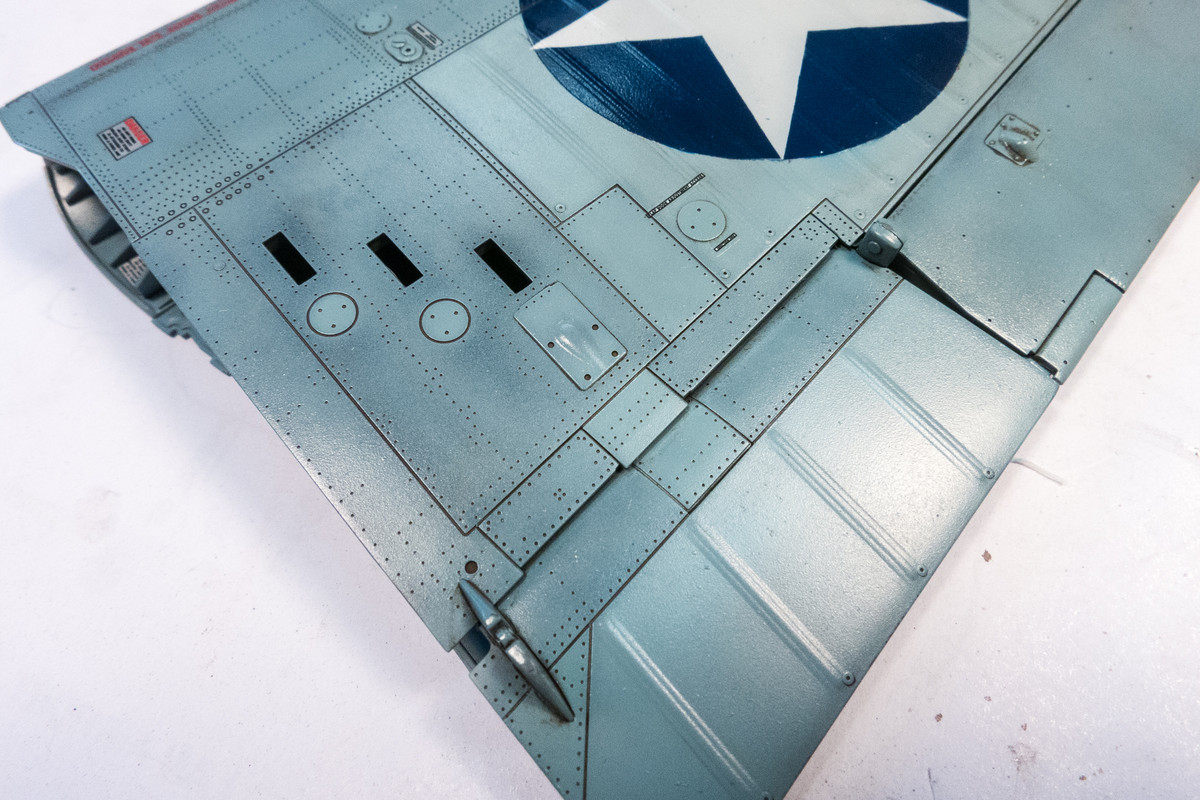
Next, I'm going to do some post-shading and some chipping using a fine sponge.
Re: 1/32 Tamiya F4U-1a Corsair - Boyington 17740
Posted: Mon Jan 20, 2020 7:30 pm
by Medicman71
Question. How do you get the wash to stay in the panel lines and rivets. I never can seem to keep it where it belongs.
Re: 1/32 Tamiya F4U-1a Corsair - Boyington 17740
Posted: Mon Jan 20, 2020 8:53 pm
by jkim
Medicman71 wrote:Question. How do you get the wash to stay in the panel lines and rivets. I never can seem to keep it where it belongs.
Once the the wash is dry, it won't be removed unless water washes it away. The damp (not wet) paper towel removes the dried stuff on the surface but leaves the wash in the recessed panel lines and rivets. The main thing is to let the wash dry completely before removal and to use a barely damp piece of cloth to remove.
Re: 1/32 Tamiya F4U-1a Corsair - Boyington 17740
Posted: Mon Jan 20, 2020 8:59 pm
by Floki
The wash really brings out all that detail.
Re: 1/32 Tamiya F4U-1a Corsair - Boyington 17740
Posted: Tue Jan 21, 2020 12:18 am
by jkim
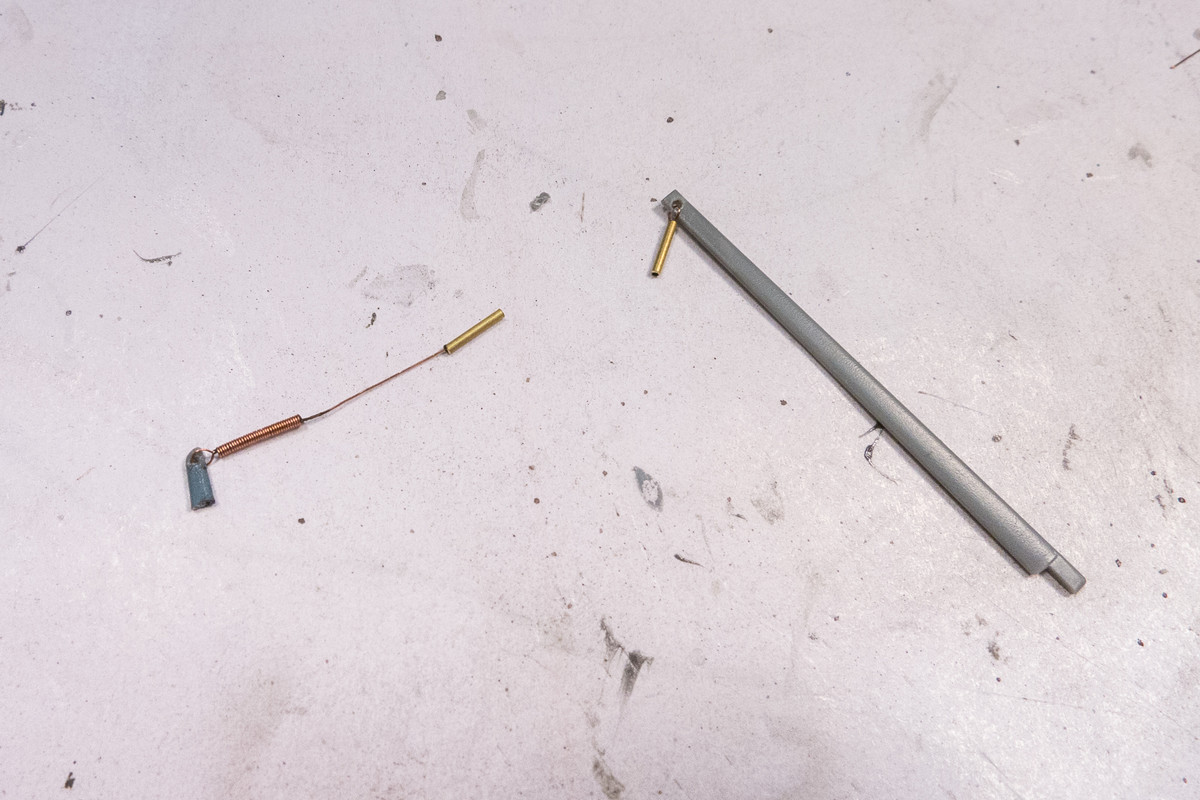
The aerial mast on the tail fin broke off so I took the opportunity to fashion the aerial attachment hardware from electrical wire and brass tubing.
Some of the post-shading was done, including the exhaust stains.