Gary,
In this case you can wet down the wing using a small cloth, which is what I will do when I address the Sopwith Camel’s fuselage seams.
Timing Notes
7 minutes to workable mixture
First 10 to 12 minutes
Apply putty sparingly to surface - for example work level rather than overfill and reduce
Add clean water to wet the mixture
Apply additional fill if necessary
Add clean water
Soak a strip of 800 grit sandpaper
Draw the sandpaper along the root to the edges in both directions
Wet again
Again pull the putty which should be slimy and not chalky
14 minutes
Wet the wing, wet the paper - soak the paper well
Flip the paper to smooth side
Draw the paper on both sides of the fill
15 minutes
This is when I clean my workstation
Let set
Then take clean water and moisten surface
Use only smooth sandpaper to keep a hard surface not cotton buds which are too rough and create a texture
Use a sharp toothpick to restore panel lines if desired
20 minutes
This is when I stop
Russian fighter project
-
speedgraflex
- Moderator
- Posts: 11282
- Joined: Fri Feb 10, 2017 11:08 pm
- Contact:
Re: Russian fighter project
Make more models!
-
Gary Brantley

- Elite Member
- Posts: 2709
- Joined: Tue Apr 08, 2014 9:40 pm
- Location: Cameron, Texas
Re: Russian fighter project
Thanks again, Bruce! I appreciate your efforts to explain the process! 
-
speedgraflex
- Moderator
- Posts: 11282
- Joined: Fri Feb 10, 2017 11:08 pm
- Contact:
Re: Russian fighter project
I took photos too, trying to show a bit of process. I need to set my camera on a tripod to record a video.
Make more models!
-
jeaton01

- Elite Member
- Posts: 2374
- Joined: Thu Apr 23, 2020 9:20 am
- Location: Northern California
- Contact:
Re: Russian fighter project
Gary, it should never become crumbly unless it is about to harden and you try to work it. I roll up two balls the same size of each part and then smash them together. Then I roll that between my palms making a worm. When the worm is big enough I fold it into a spiral and roll that into a worm. I do that until the color is completely uniform. There are different colors, I use a cream color which I think is part one and always comes as part of the set, the other color I like is kind of an iron like gray, so it is easy to tell when it is well mixed. I generally don't take more than 10 minutes to finish the work including smoothing the surface.
-
Gary Brantley
- Elite Member
- Posts: 2709
- Joined: Tue Apr 08, 2014 9:40 pm
- Location: Cameron, Texas
Re: Russian fighter project
Thanks so much, John! I need to make another try with that Apoxie Sculpt. My first attempt wasn't that great.  I need some practice, me thinks. Can the Apoxie be thinned with water before it's applied to the model?
-
jeaton01
- Elite Member
- Posts: 2374
- Joined: Thu Apr 23, 2020 9:20 am
- Location: Northern California
- Contact:
Re: Russian fighter project
No, you need to roll it on to the surface with some pressure till it starts to stick. If it is too wet I don't think it will form a good bond. Just wet the surface and work it once it has stuck to the model.
-
Gary Brantley
- Elite Member
- Posts: 2709
- Joined: Tue Apr 08, 2014 9:40 pm
- Location: Cameron, Texas
Re: Russian fighter project
Thanks again, John! I sure appreciate the added info.
-
Gary Brantley
- Elite Member
- Posts: 2709
- Joined: Tue Apr 08, 2014 9:40 pm
- Location: Cameron, Texas
Re: Russian fighter project
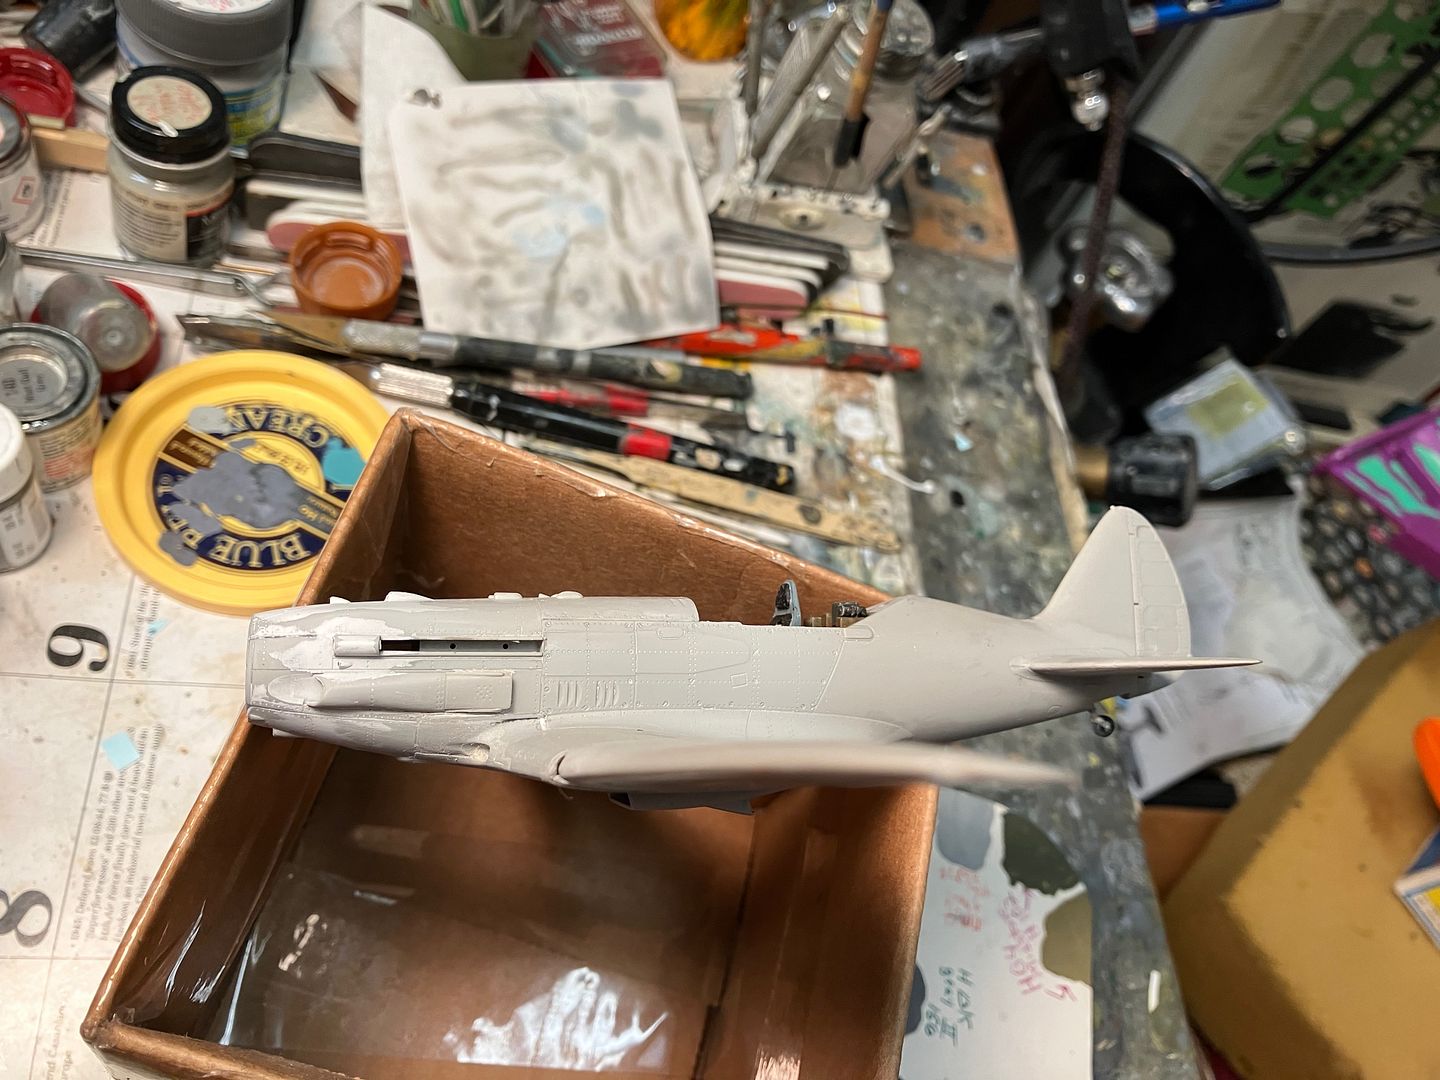
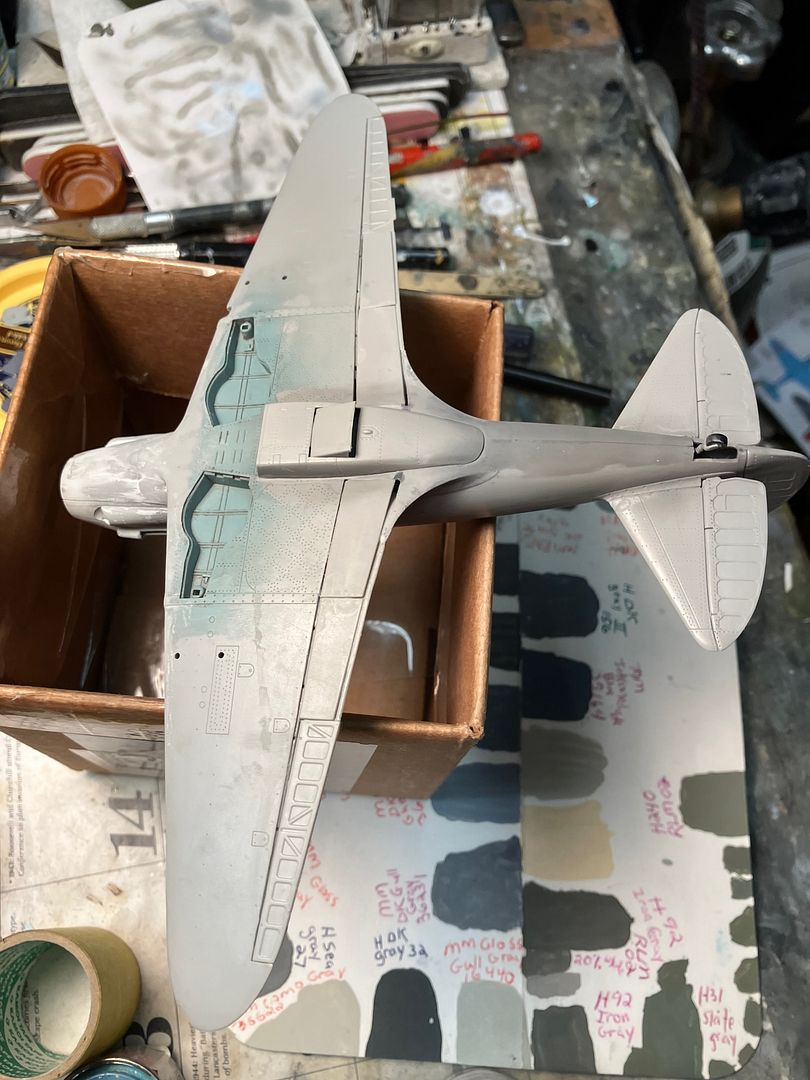
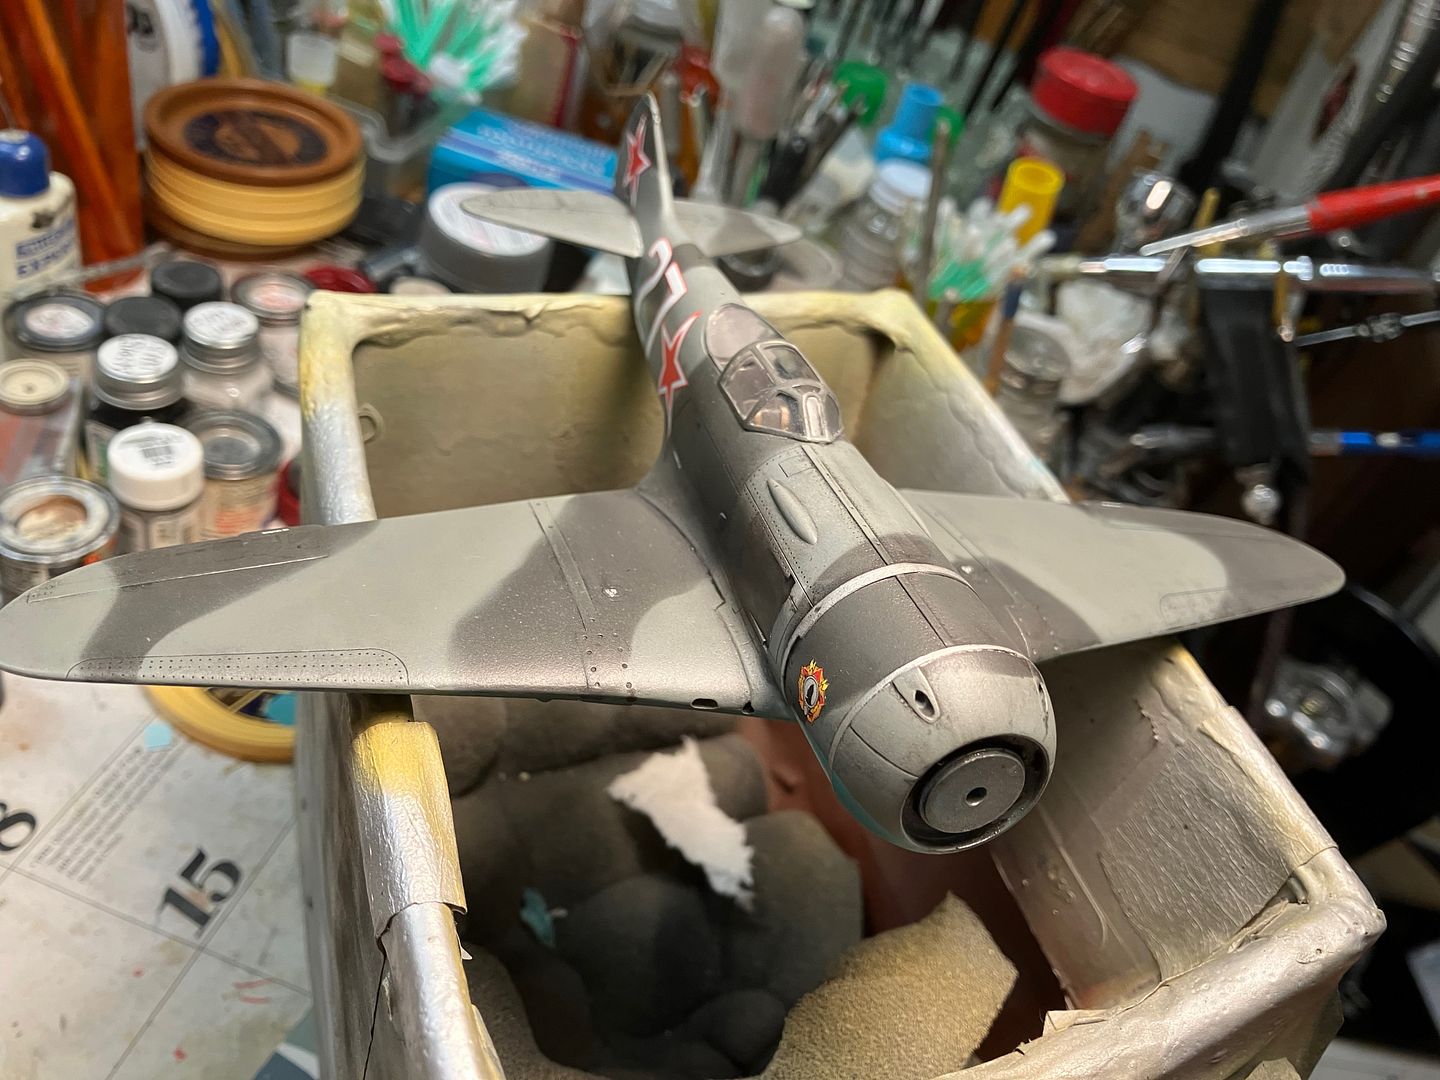
Okay, after a very long time, I've got a small update. I've got the Hobbycraft La-7 painted and decaled and just about ready for all the fiddly bits. It was painted about three weeks ago. Not my best work by far but it's all I can hammer together right now. I've done more work on the Trumpeter MiG-3's starboard wing-root but I'm still not happy with it but I am really tired of futzing with it too. Got some pics to prove it  :
:
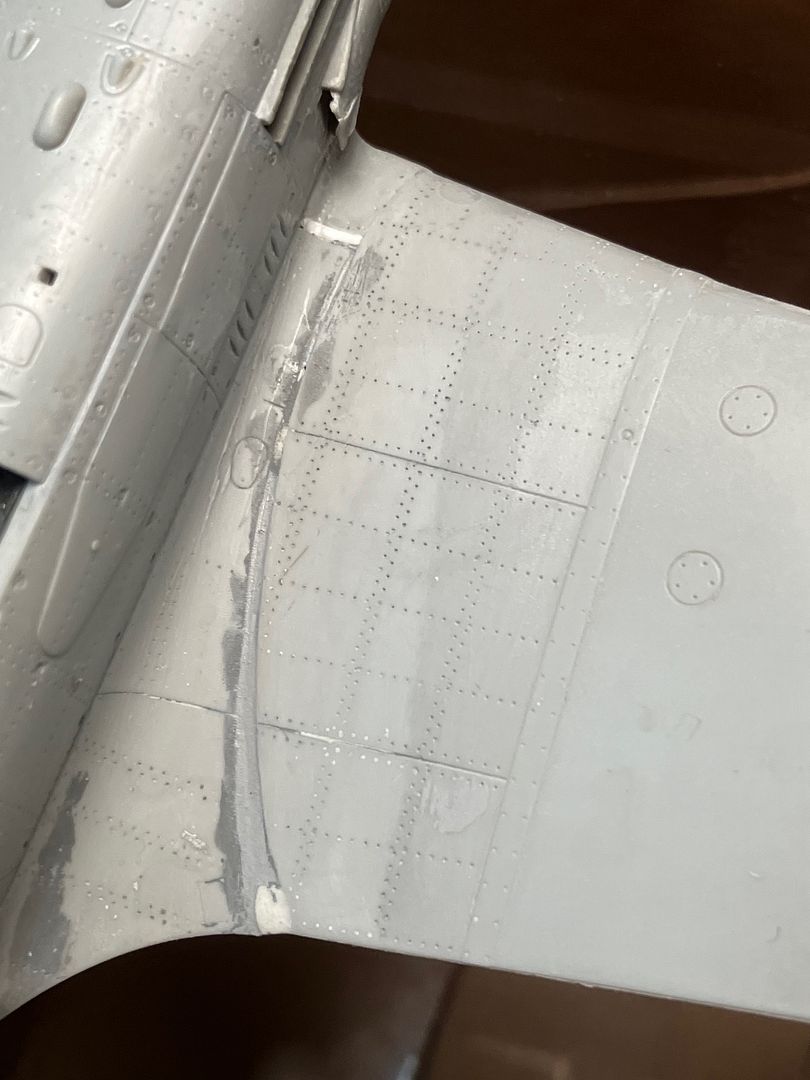
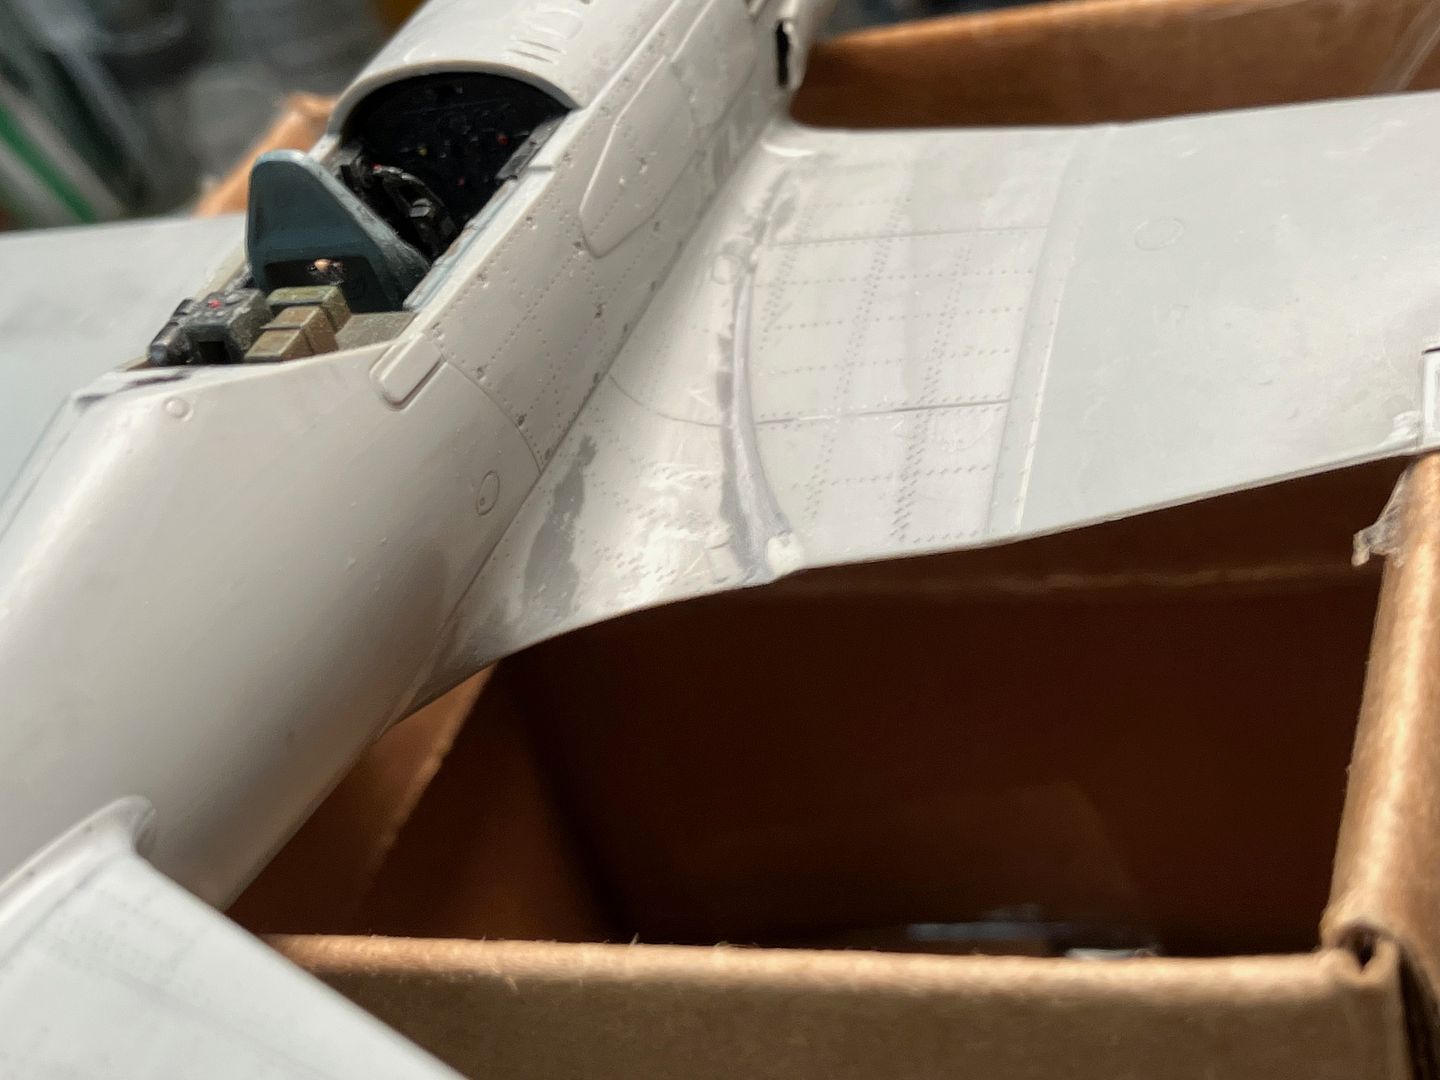
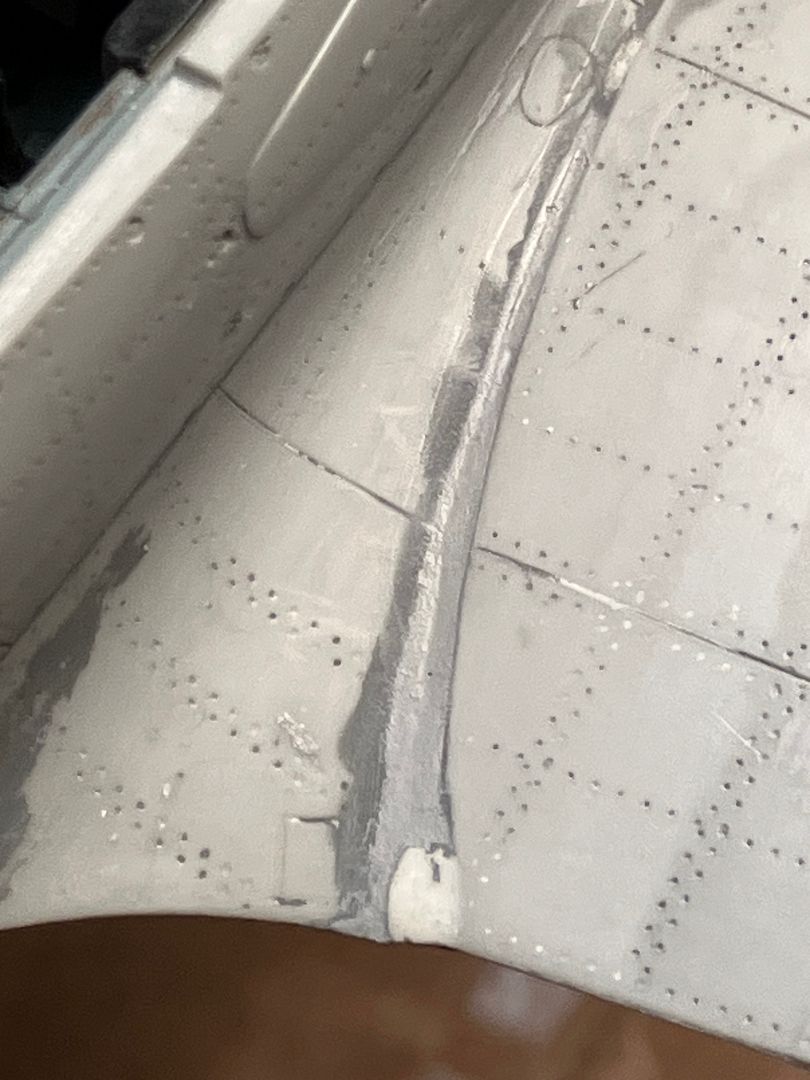


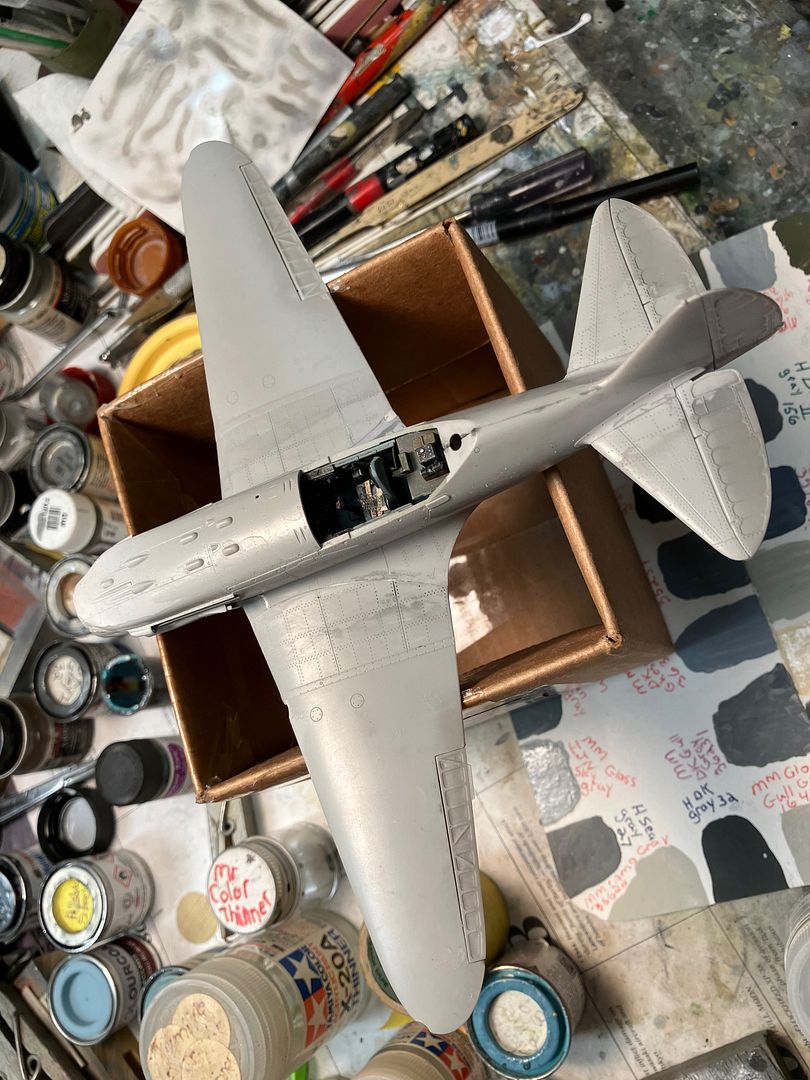
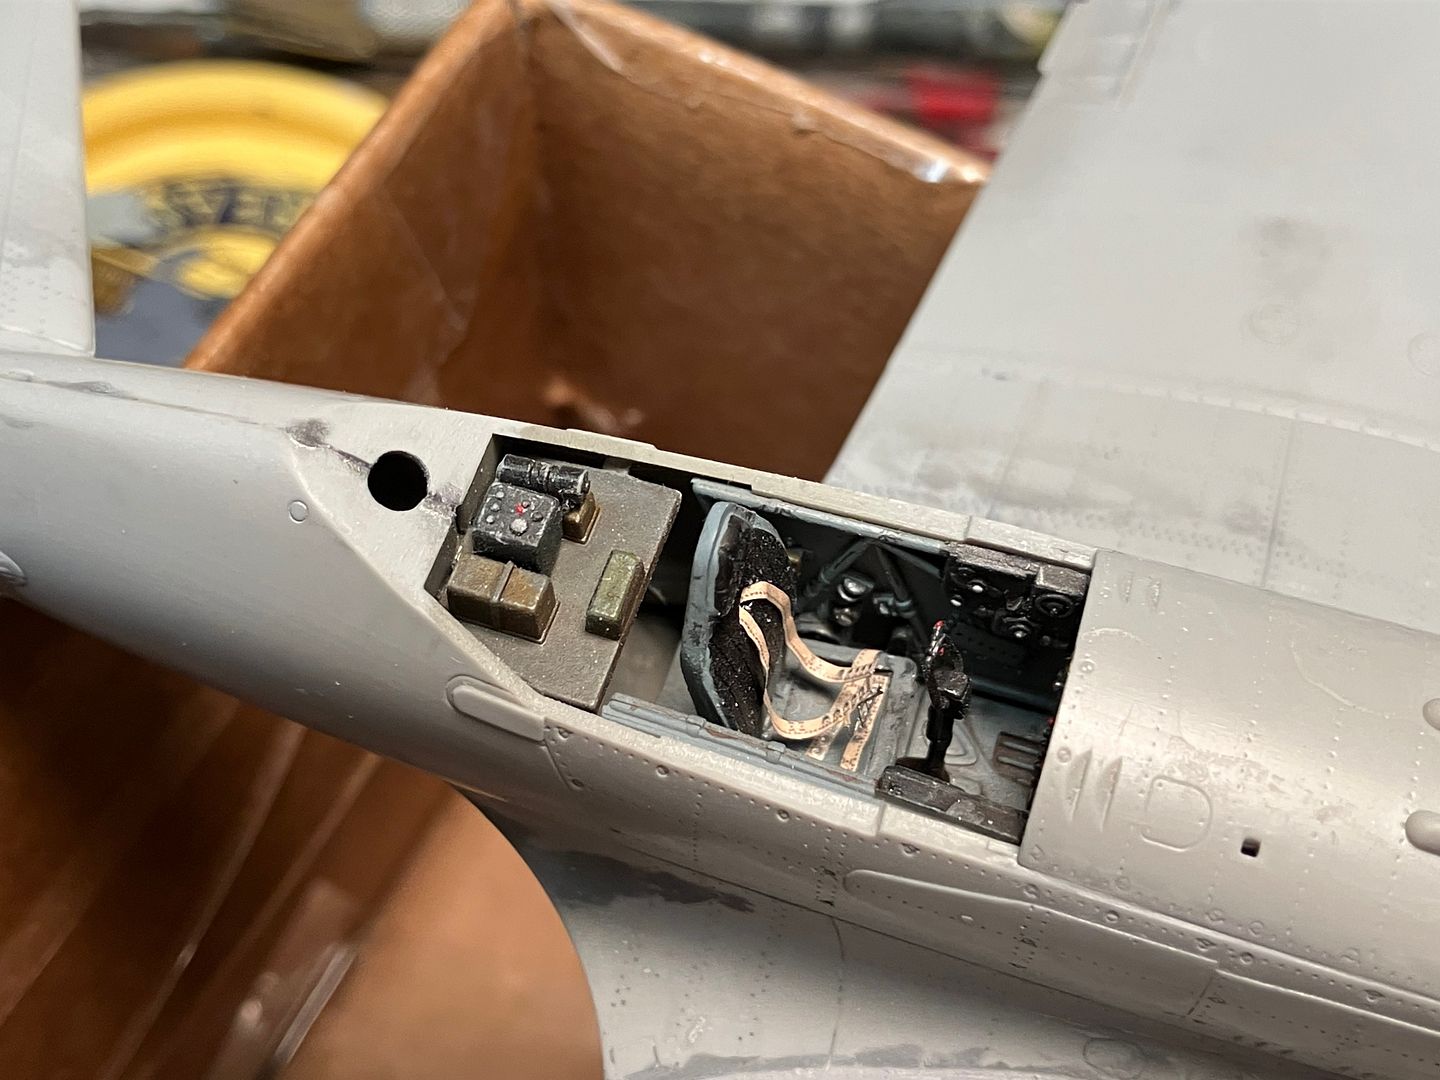
The rest of the MiG-3 is about ready for paint. I think this fighter looks like an air-racer with its sleek looks! The main gear wells are already done in the underside color:
And here are a few shots of the La-7; all the paints are Humbrol enamels, silly putty masking, sprayed with the Gahleri GHAD-68.
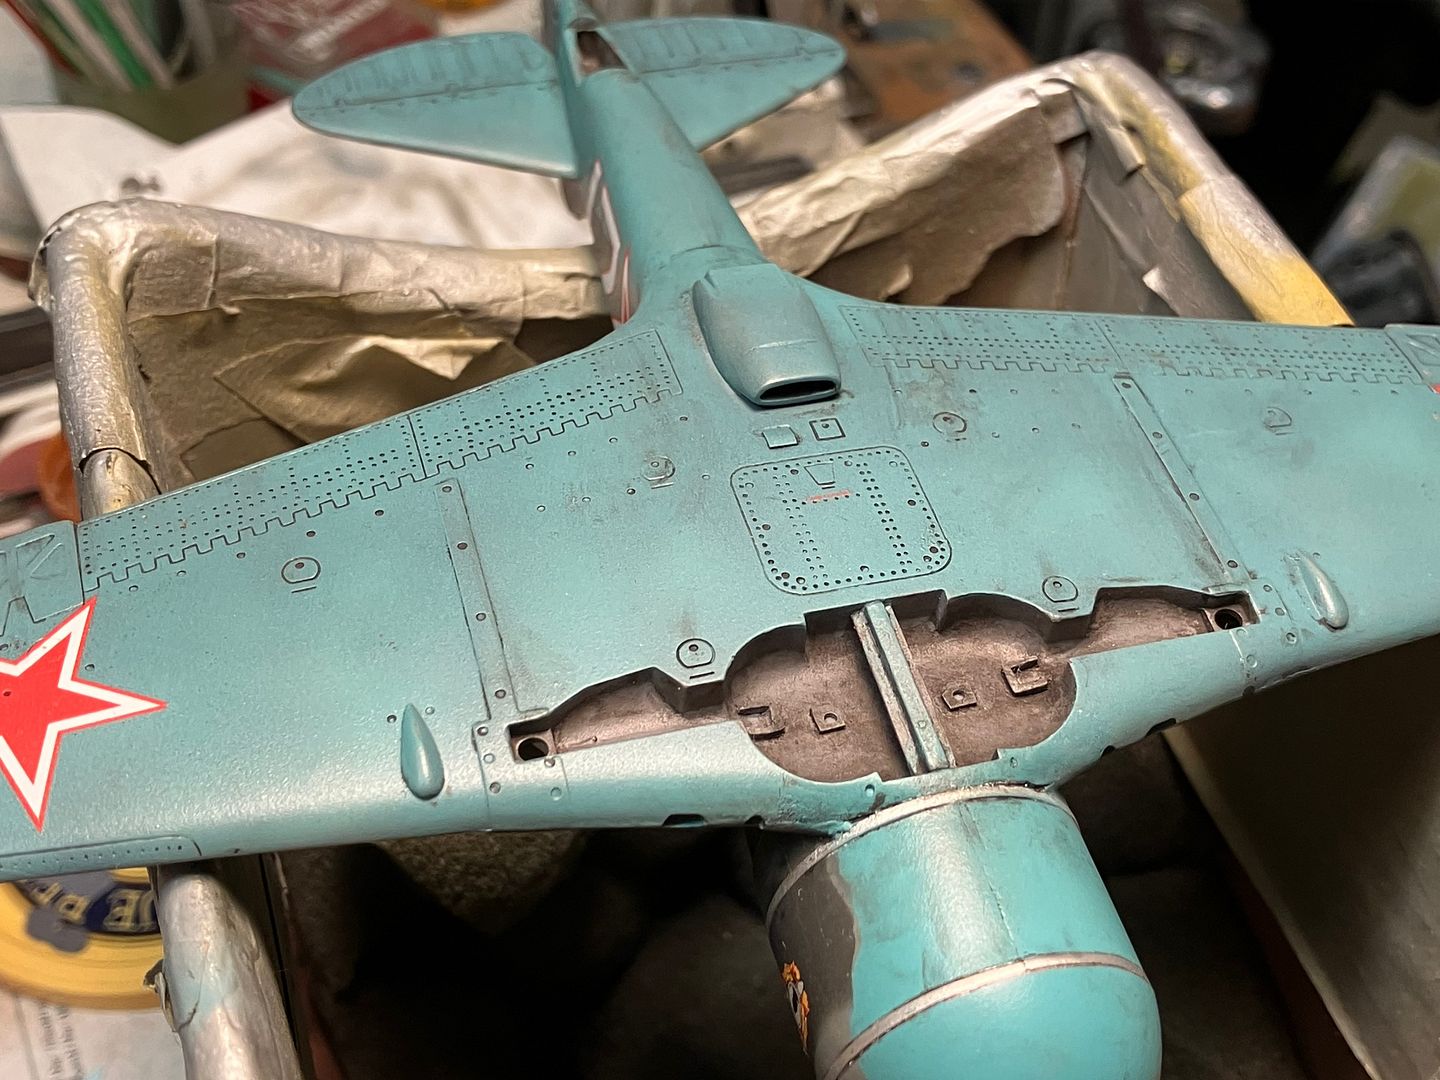
-
Medicman71

- Elite Member
- Posts: 11257
- Joined: Mon Apr 07, 2014 9:32 am
- Location: Houston, Tx
Re: Russian fighter project
Very nice!!
Mike
Sponsored by Boeing, Lockheed Martin, Northrop Grumman, Saab, BAE, and Dassault
Sponsored by Boeing, Lockheed Martin, Northrop Grumman, Saab, BAE, and Dassault
-
Gary Brantley
- Elite Member
- Posts: 2709
- Joined: Tue Apr 08, 2014 9:40 pm
- Location: Cameron, Texas
Re: Russian fighter project
Thanks very much, Mike!