Hi,
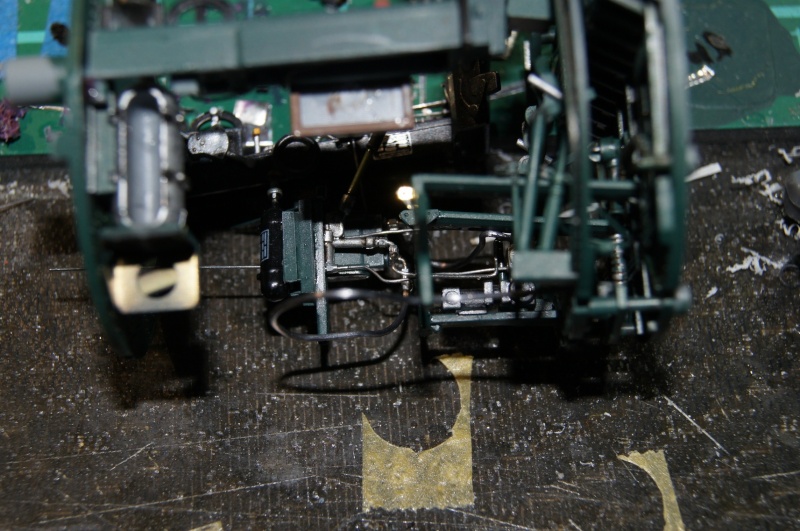
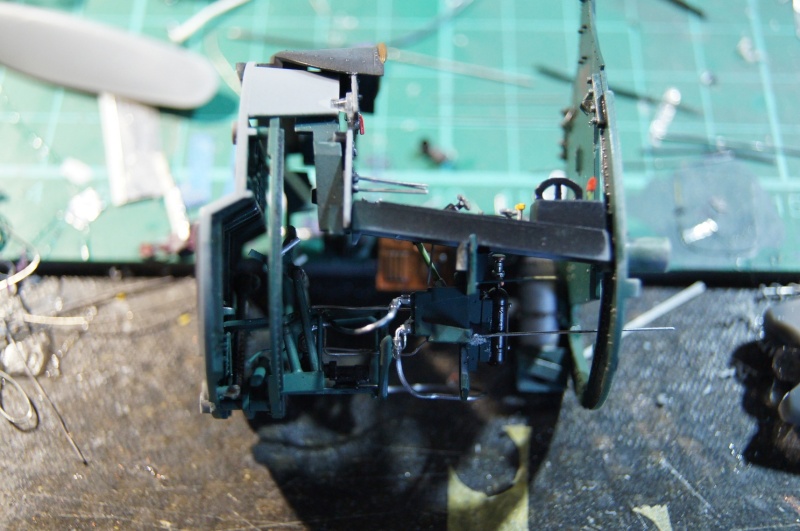
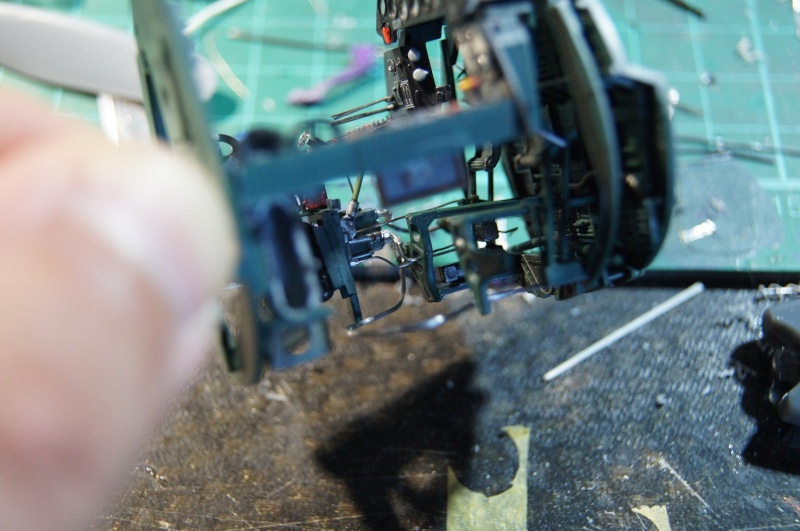
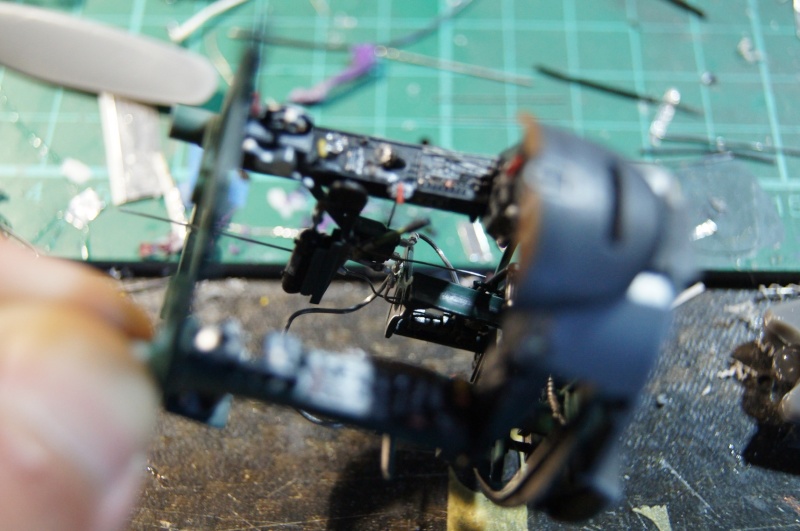
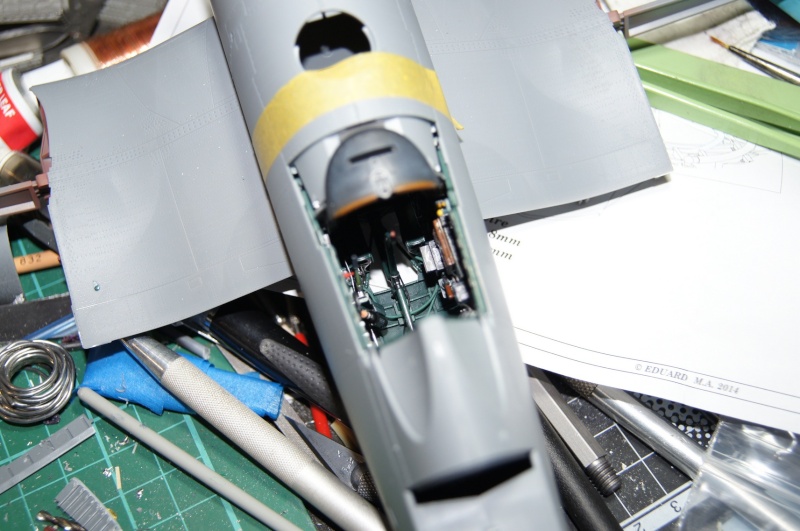
The cockpit is now enclosed in the fuselage.
I finalized the stick adding the conduct of the "funnel". Hard to see with the center wing box in place, but I will try to take a picture tomorrow.
Lower window reinforcements are also installed, painted and slightly weatheredas well as the "bottom" of the cockpit.
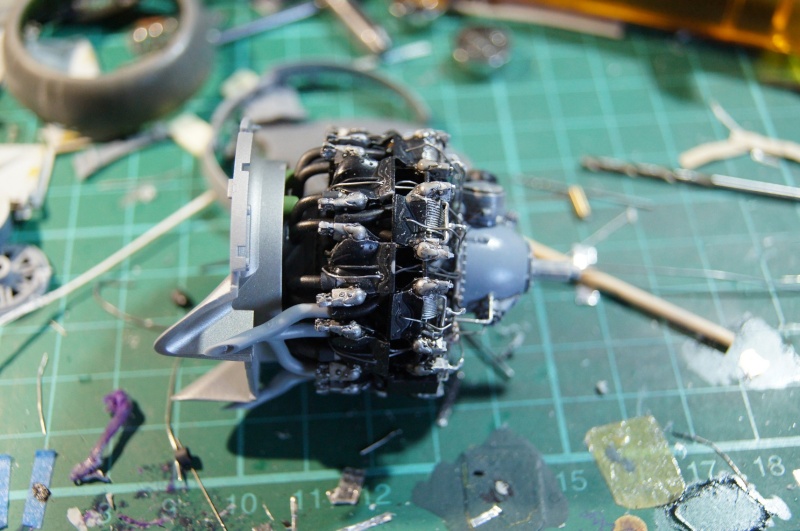
The pipes have all well took their place: Cool!
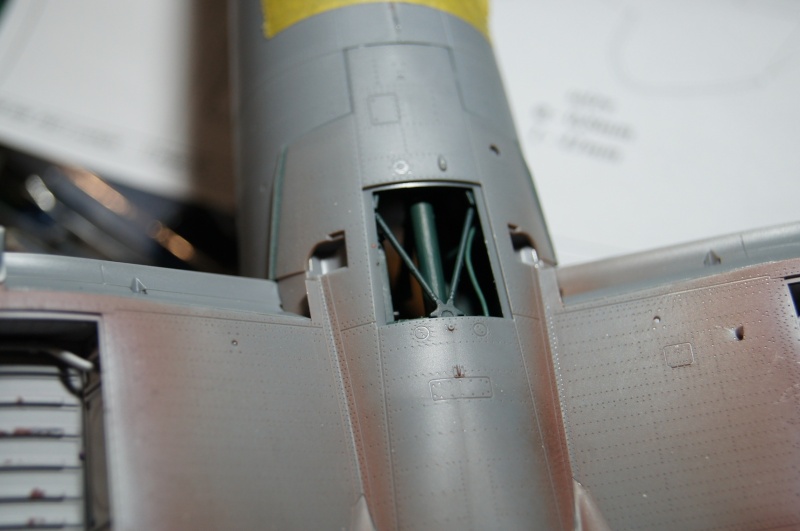
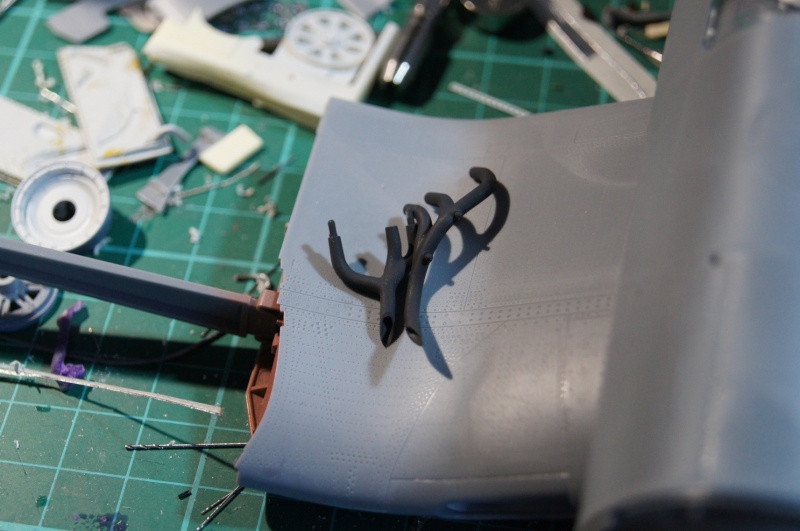
Next step : Maybe weathering the wheel wells

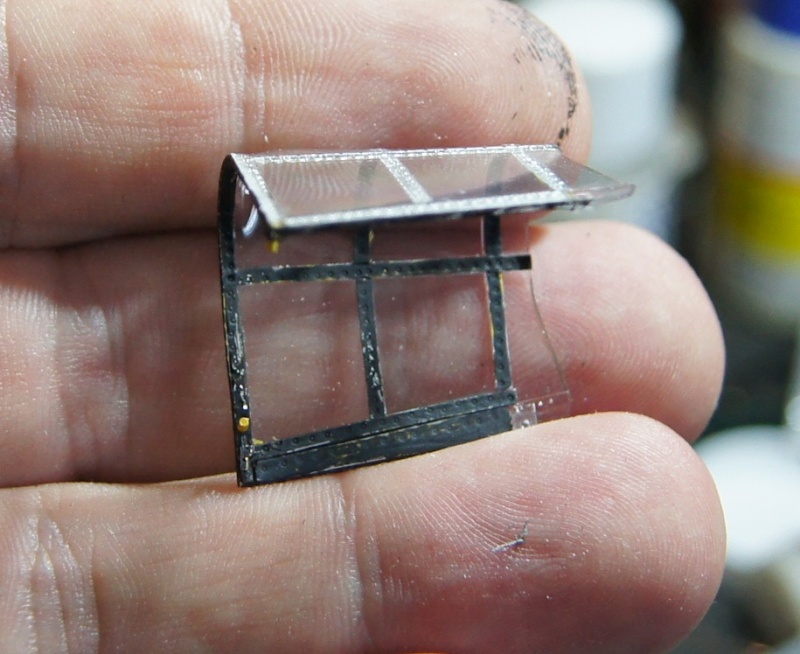
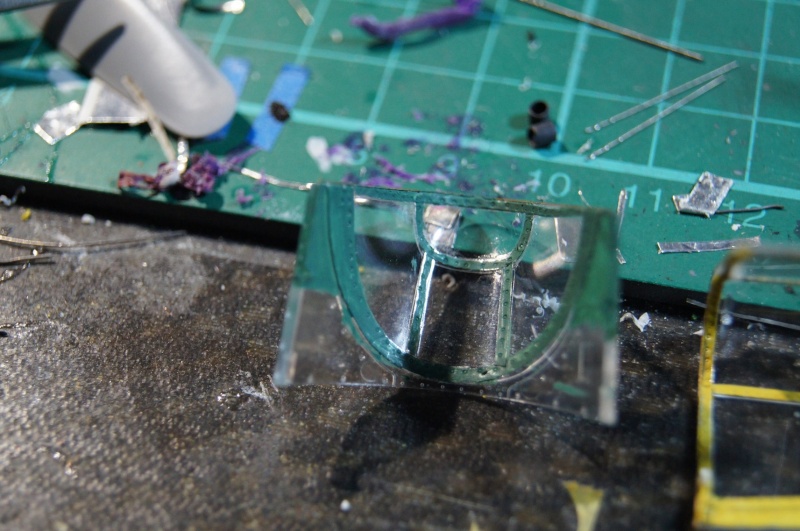
I also paint the internal frames of the windshield and canopy.
Green for the first, to have the cockpit color on the lower area of the transparent part:
Still need to install the flap control handle on the left side, straddling the transparent part and fuselage.
Tamiya part is misplaced in my opinion. Eduard seems to have made the same error on the new resin cockpit ...
The canopy is equipped with its opening handles , slightly visible at the moment, and receives a coat of zinc chromate.

The under layer will allow a possible additional small effect in the weathering process...
I know it is not really consistent in terms of color (maybe hue is the right term? Sorry for my poor English...), but ...
More soon.
pascal