Page 9 of 14

Re: Monogram 1/48 B-26B WIP- Updated 6/25

Posted: Thu Jun 26, 2014 1:43 pm
by LyleW
This is a pretty cool way to do this. I've since seen several others that did the same thing, for pretty much the same reasons. Nice.

Re: Monogram 1/48 B-26B WIP- Updated 6/25

Posted: Thu Jun 26, 2014 1:49 pm
by Stikpusher
I first did it on my TBD-1 build a couple of years ago.

Re: Monogram 1/48 B-26B WIP- Updated 6/25

Posted: Thu Jun 26, 2014 1:58 pm
by LyleW
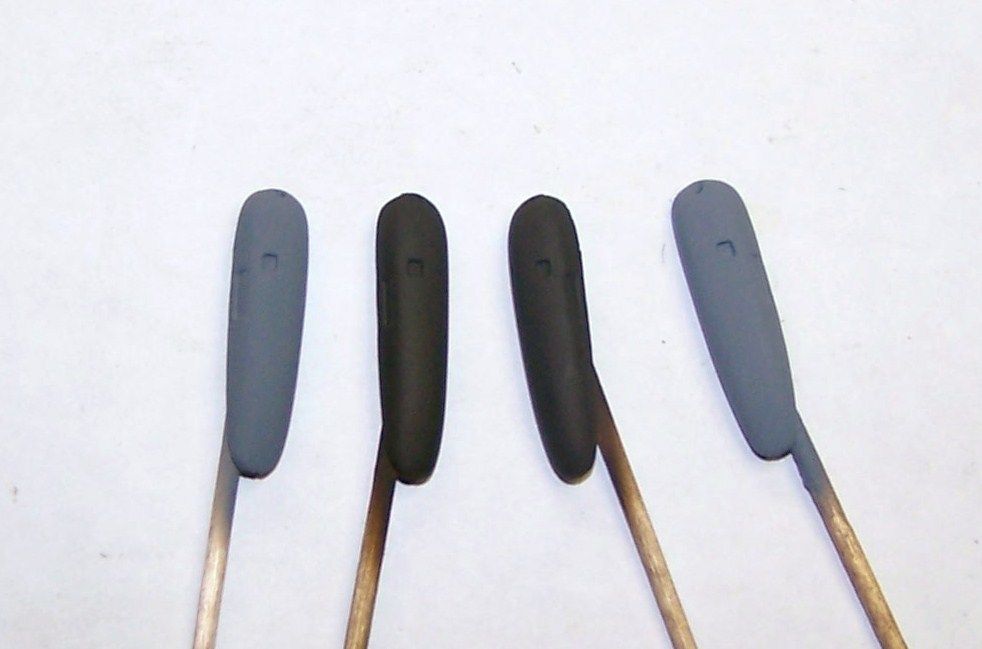
it makes perfect sense if the fit is decent, since you can put the windows in after paint. I can "fix" some paint a lot easier than I can fix windows.

Re: Monogram 1/48 B-26B WIP- Updated 6/25

Posted: Thu Jun 26, 2014 9:57 pm
by Stikpusher
LyleW wrote:it makes perfect sense if the fit is decent, since you can put the windows in after paint. I can "fix" some paint a lot easier than I can fix windows.
exactly... ;)

OK, another full day's worth of work here with a couple of time out breaks. And today's progress is...

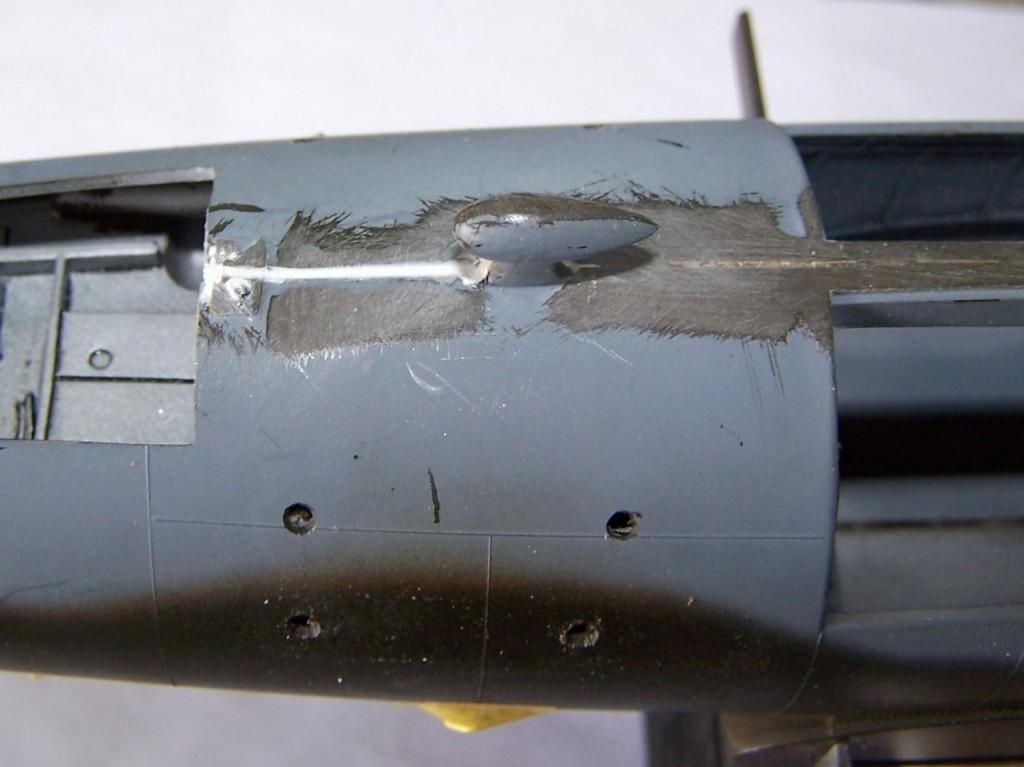
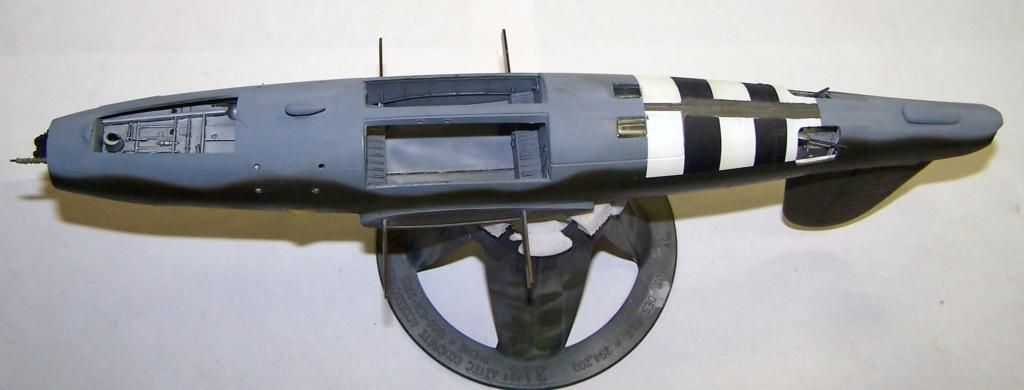
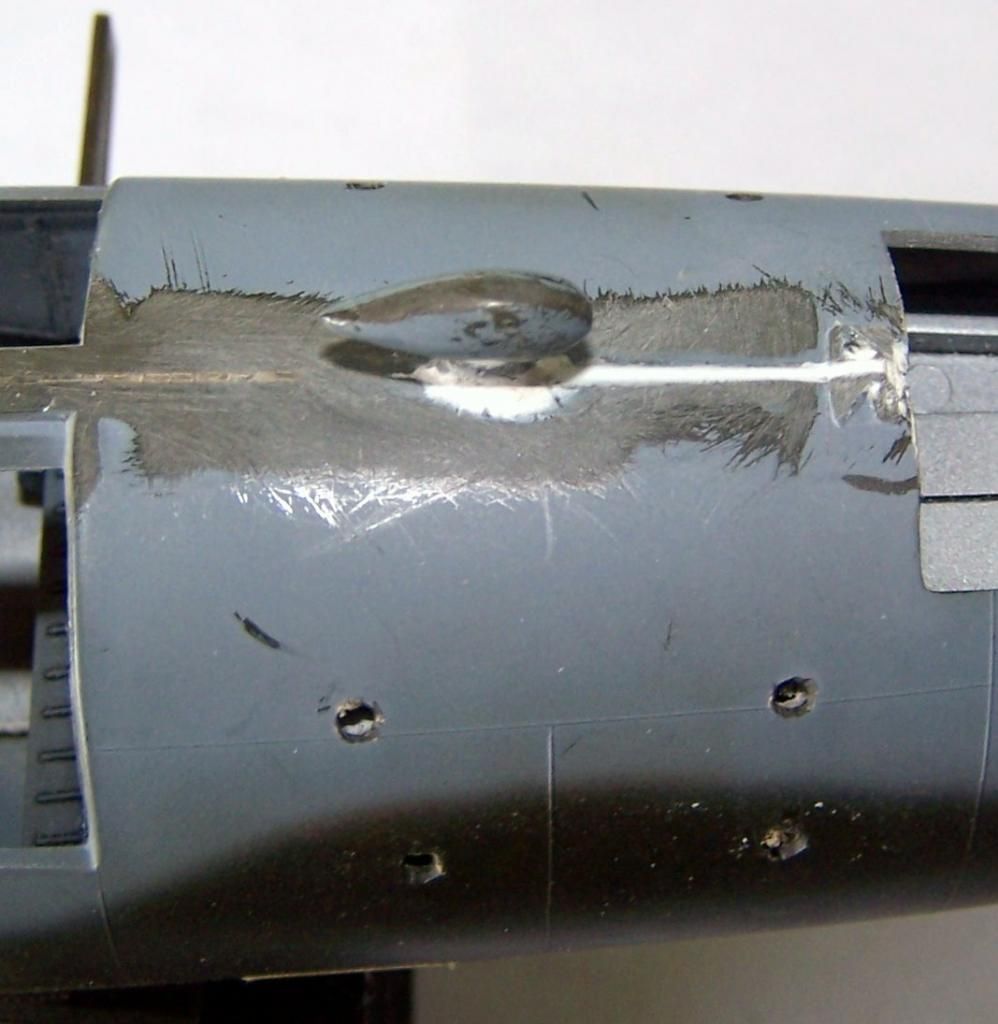
I completed the lower forward seam clean up by sanding up some Squadron White Putty

Image

Image

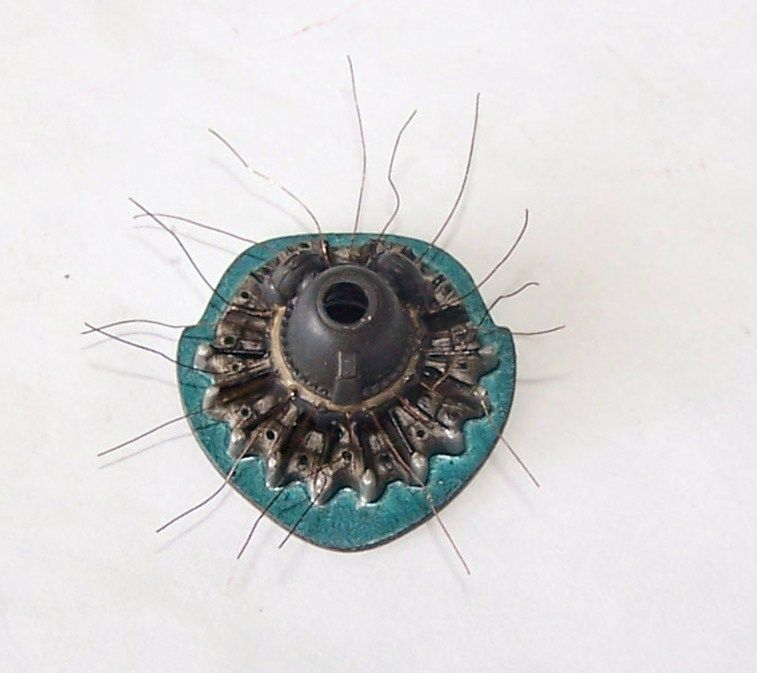
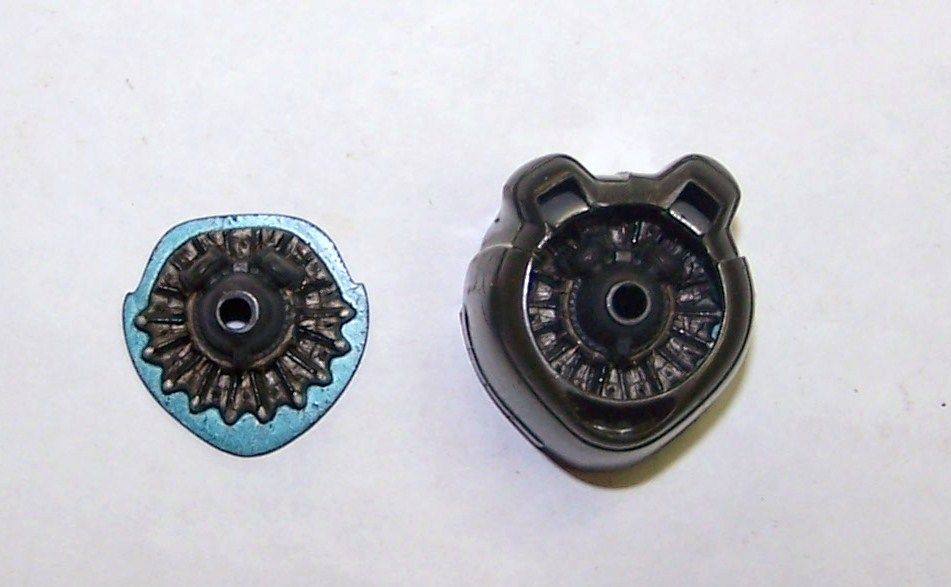
second engine wired up

Image

Image

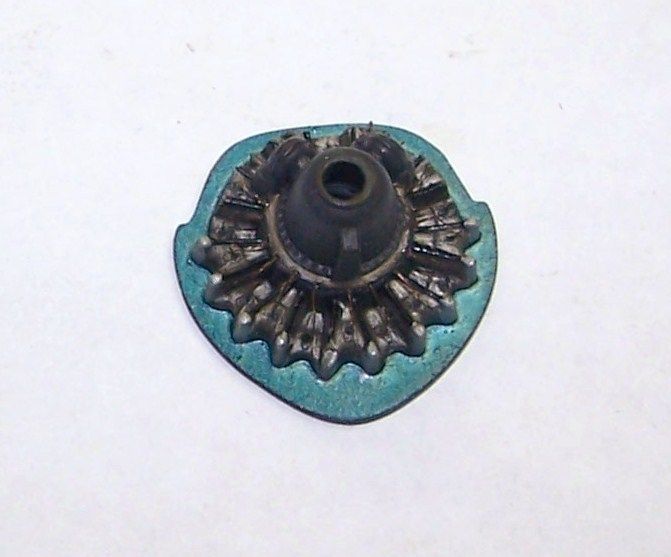
and with the first wired engine already glued into its cowling

Image

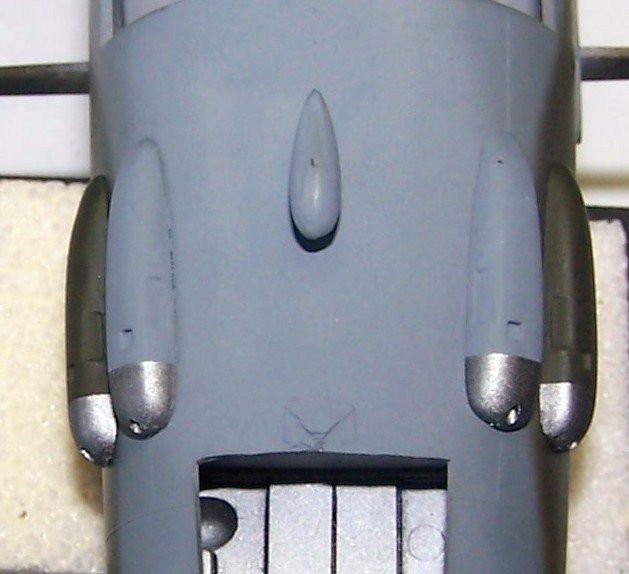
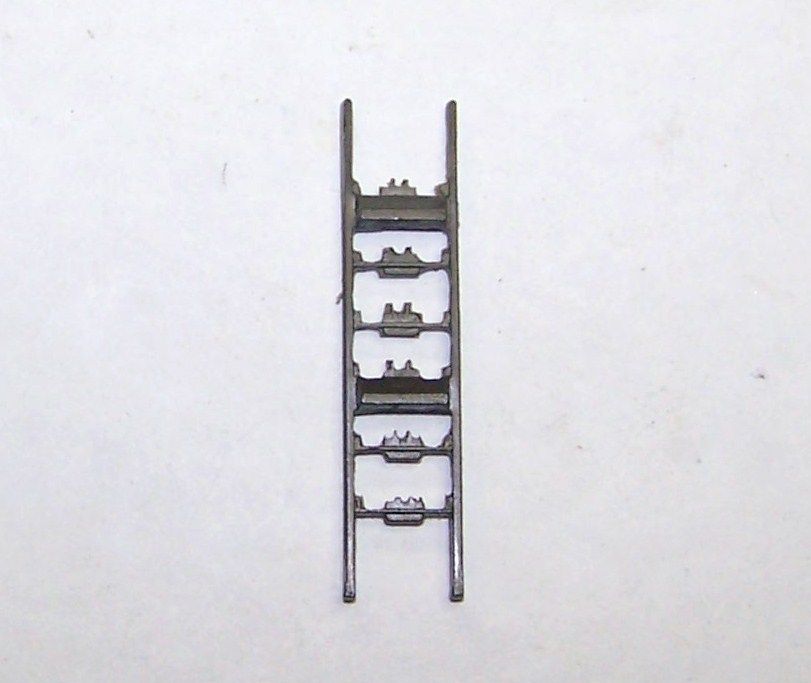
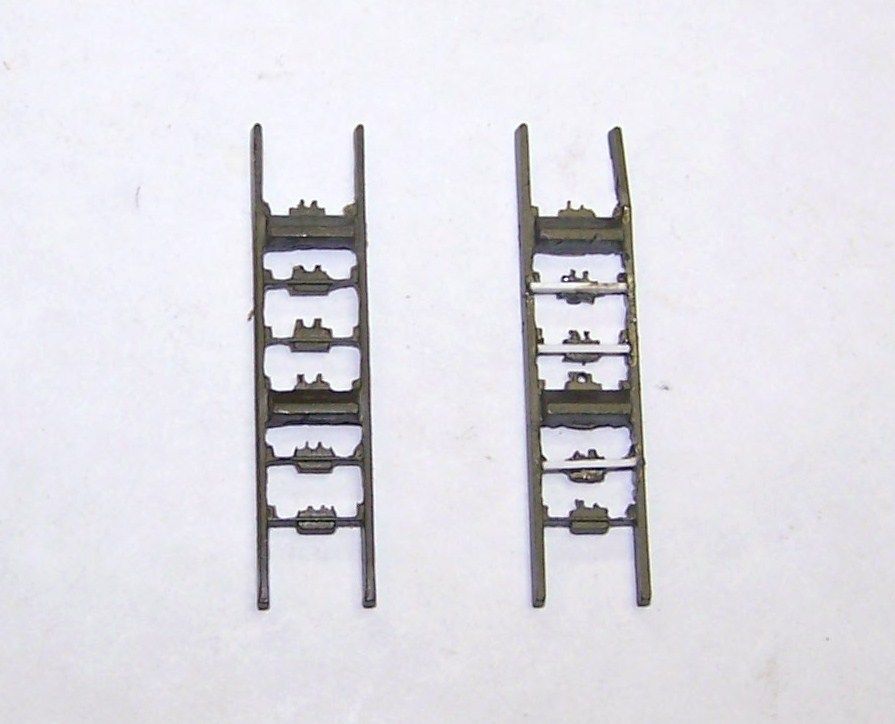
second bombrack drilled out. This time I barely used a pin vise, used my motor tool to grind out most of the solid stuff and then cleaned it all up with needle files

Image

with the first one... using the motor tool I did not break and have to replace any of the cross members... score one for the good guys!

Image

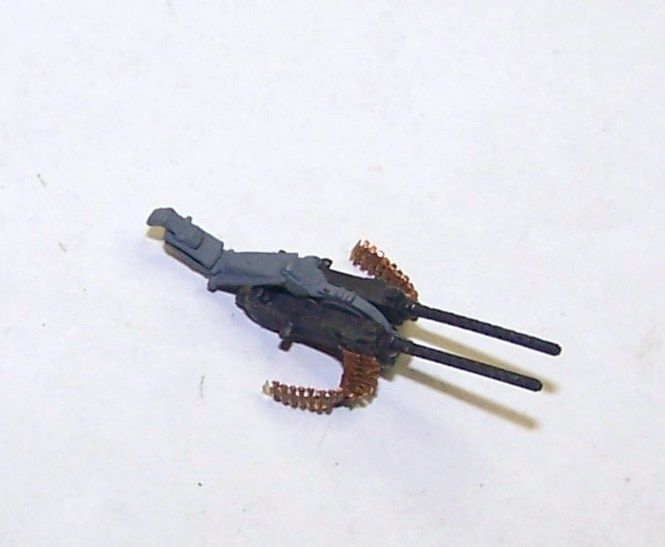
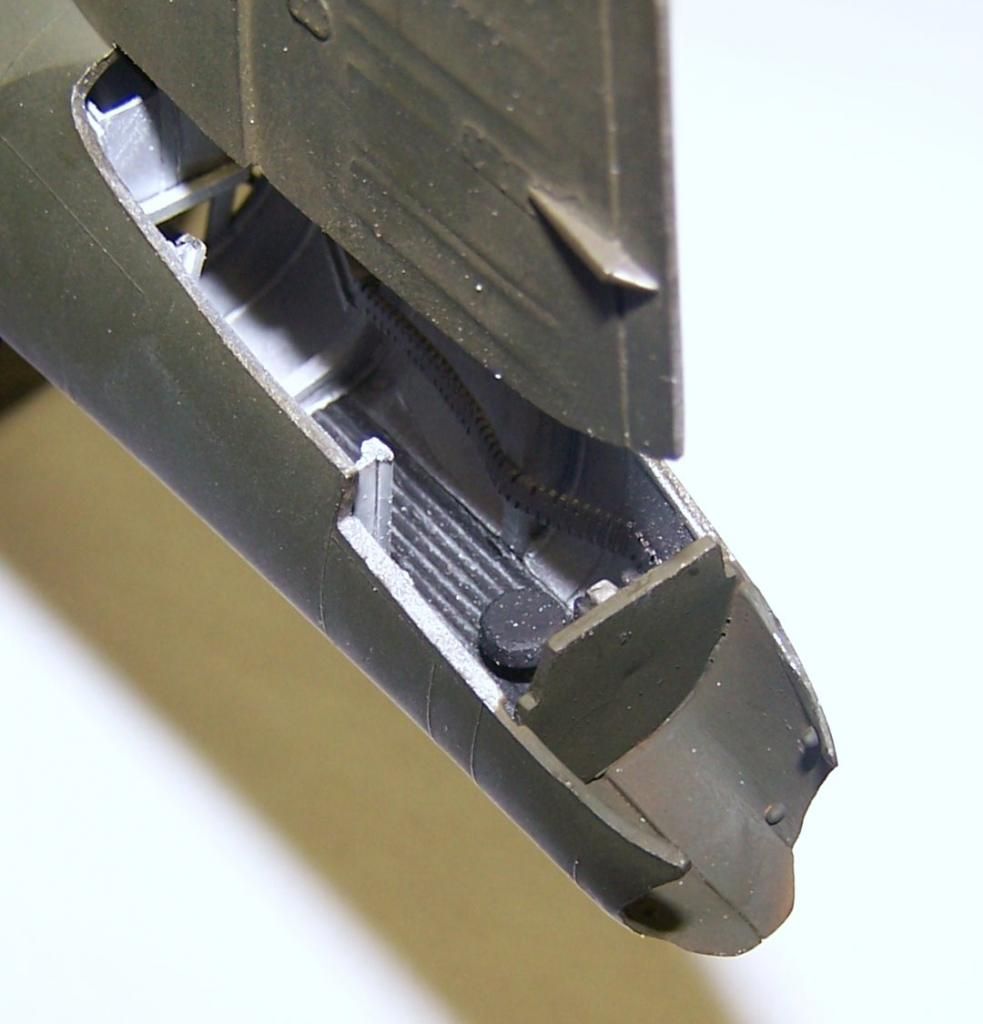
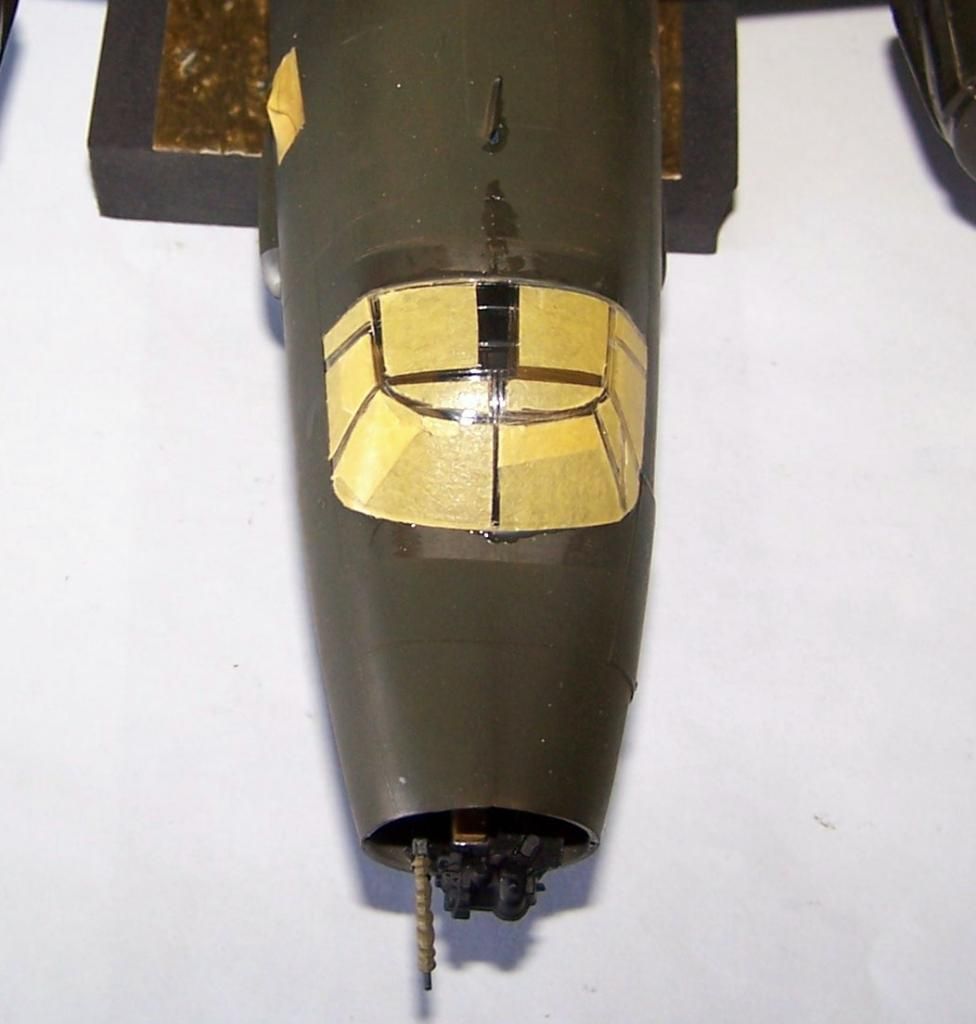
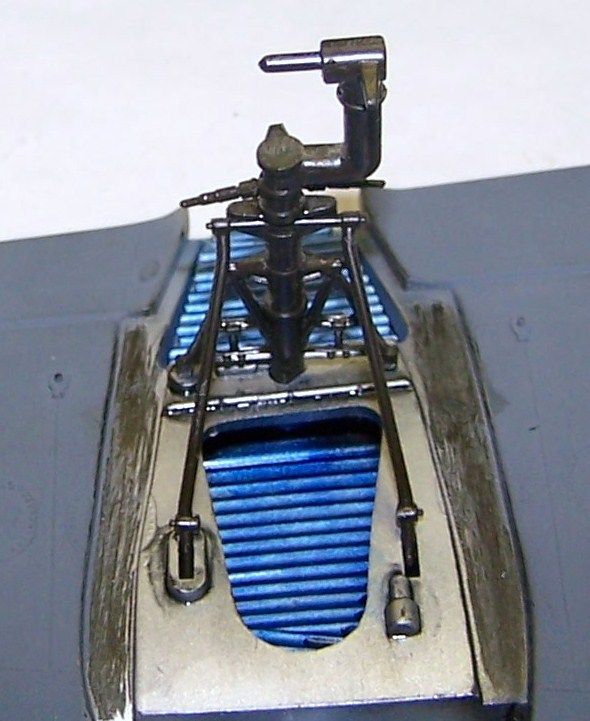
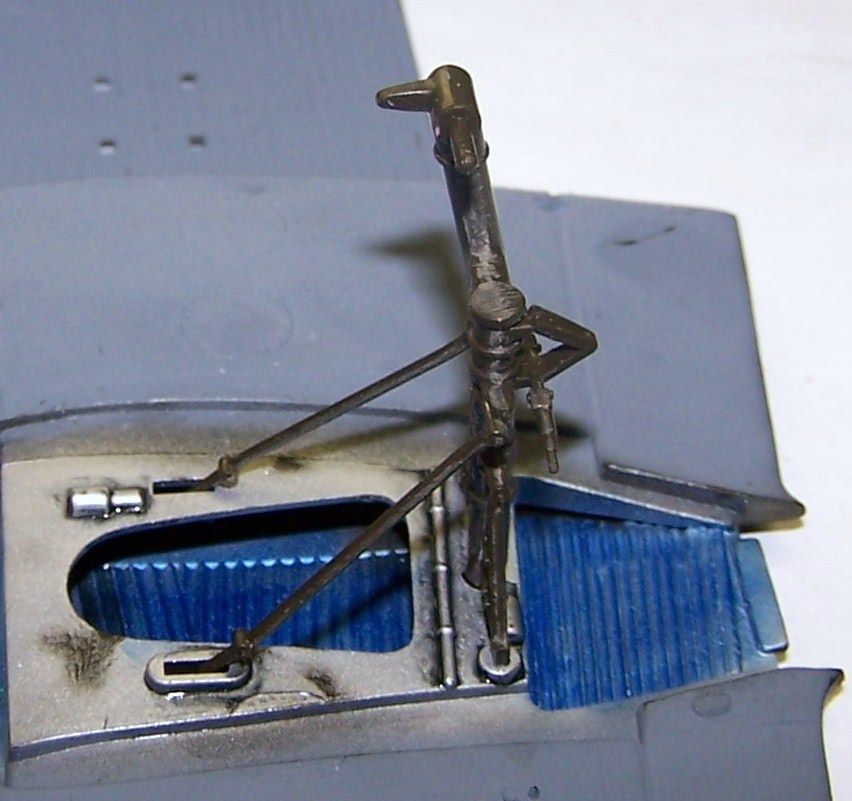
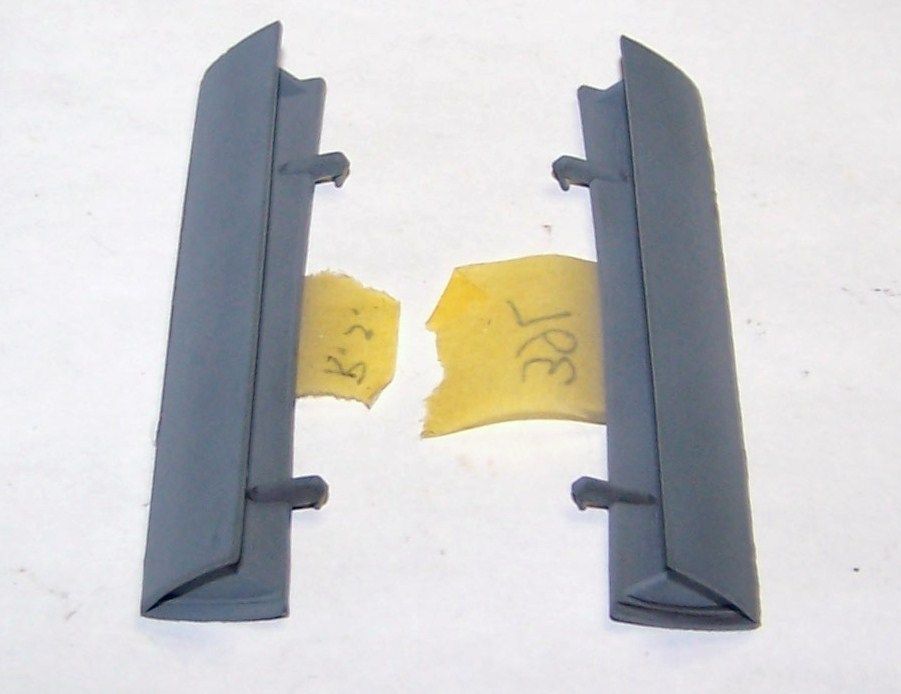
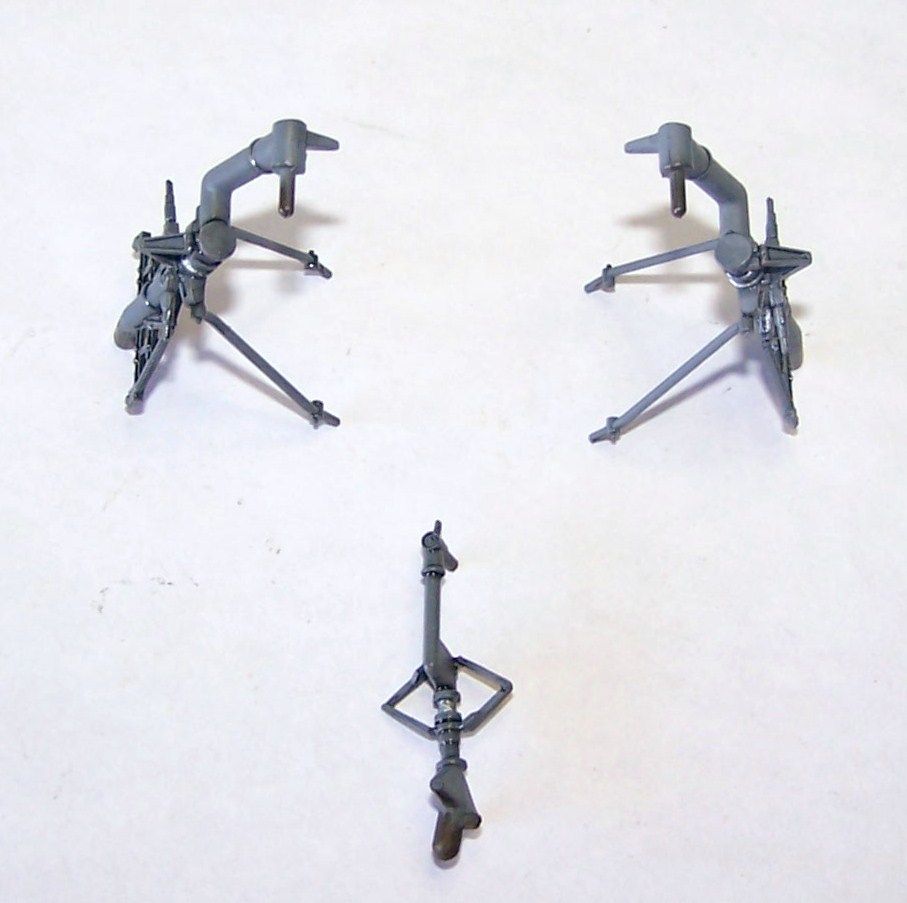
I painted up the side package gun housings and tail gun mount, and added the flex ammo feed chutes to the tail guns- still need to paint those, and the detail work on the tail gun mount

Image

Image

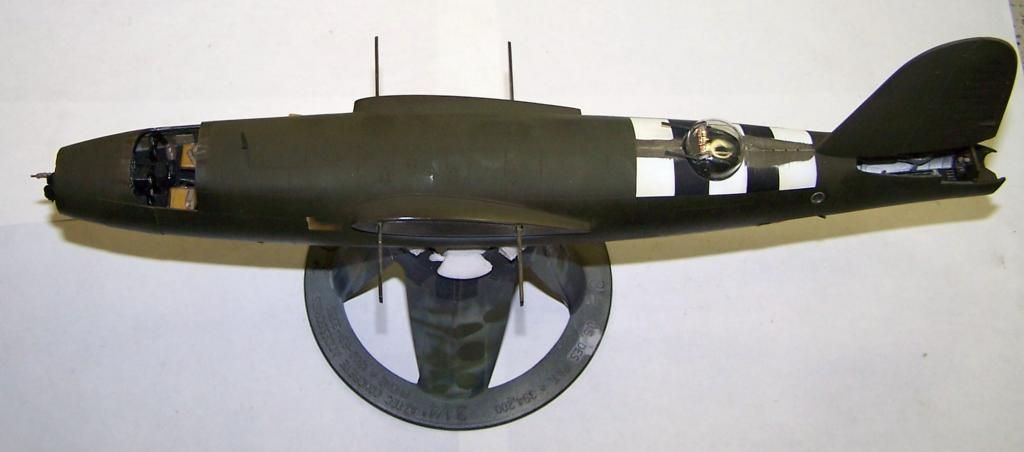
and I touched up the OD and Neutral Gray on the fuselage seams

Image

Image

as well as painting the tail gun compartment OD

Image

and that's all for today...

Re: Monogram 1/48 B-26B WIP- Updated 6/26

Posted: Fri Jun 27, 2014 9:44 pm
by Stikpusher
Apparently yesterday I forgot to add a couple of photos that I took at the end of the session. Let's just say that between some refershing beverages the night before and all day at the bench I was a bit on the tired side... so here they are:
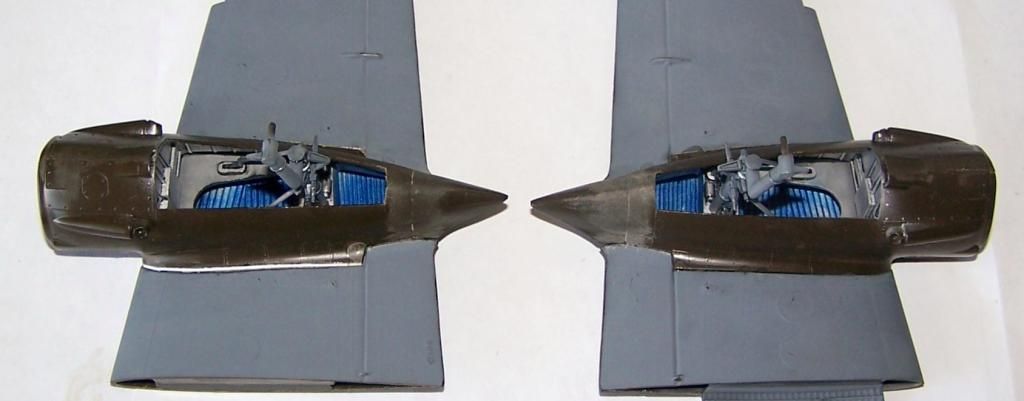
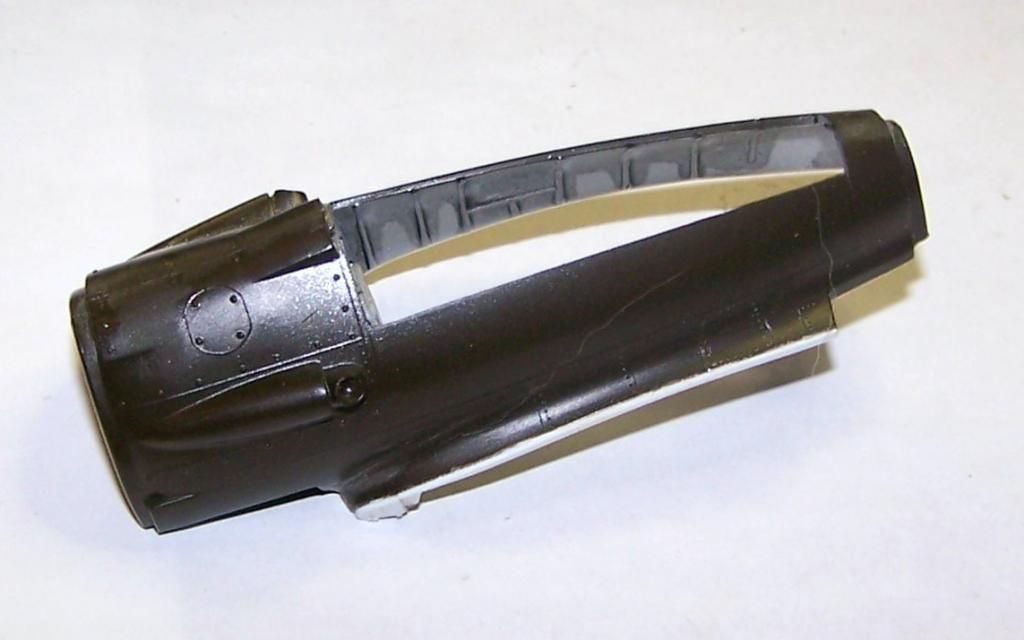
I had read that the fir of the nacelles tot eh wings can be problematic on this kit. True. But nothing a little effort can not fix, especially knowing that ahead of time. One nacelle fits quite well, and no work needed to correct that. The other- well there is a bit of a gap- But, a simple shim of sheet plastic added where needed and sanded to match the countours ahead of time and that is corrected.
Image

I also built up the main gear struts and l placed (not glued) them into position for drying overnight.
Image

Image

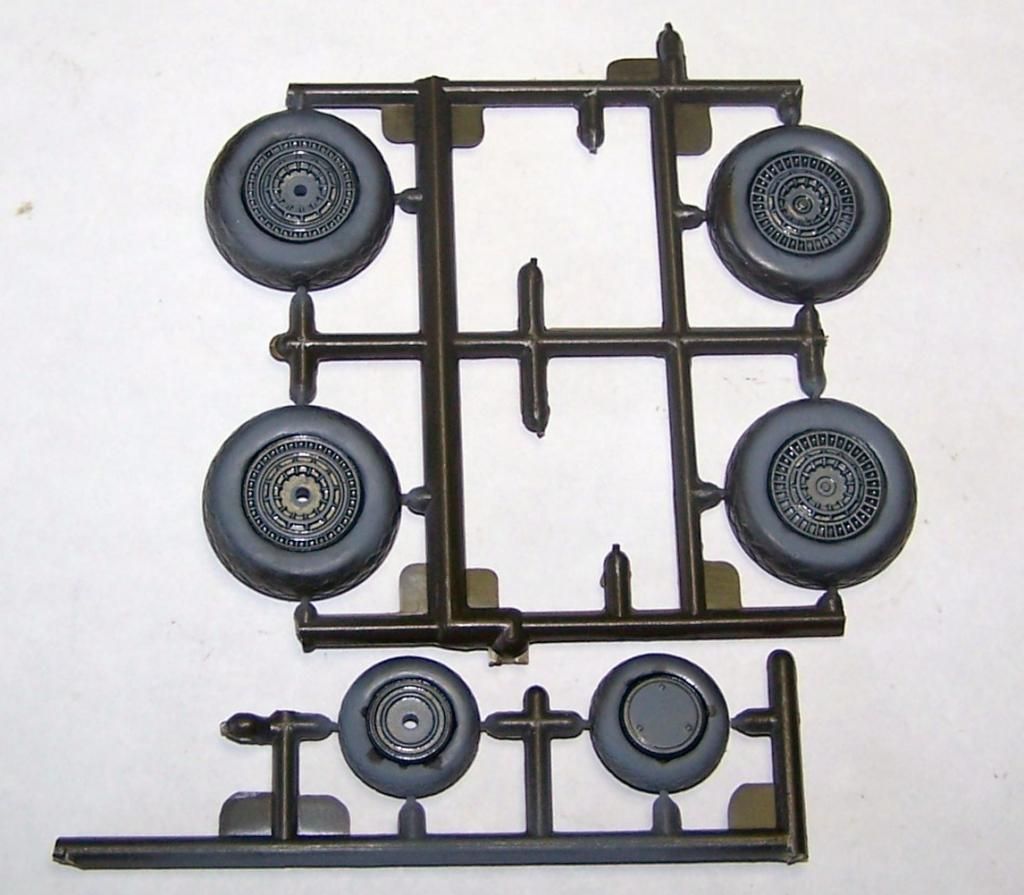
and that's where things stood when I sat down this morning... First was mor Neutral Gray. Landing Gear struts, bomb racks, bomb bay doors, wheel hubs...
Image

Image

after the NG had a while to dry I added a dark gray enamel wash on the wheel hubs and landing gear struts
Image

Image

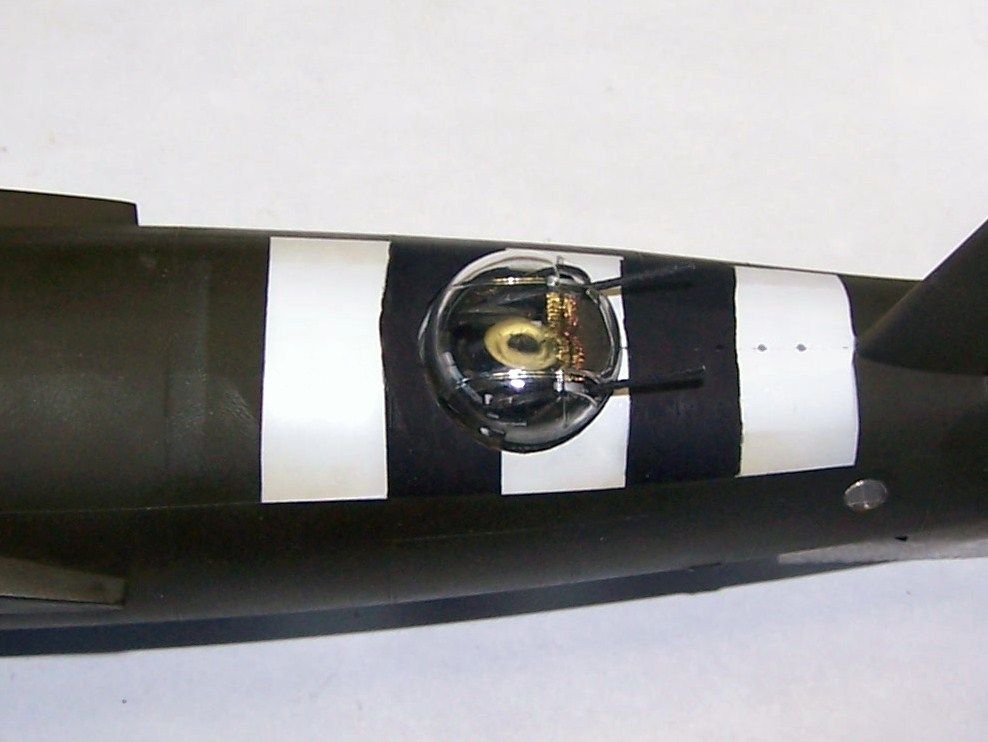
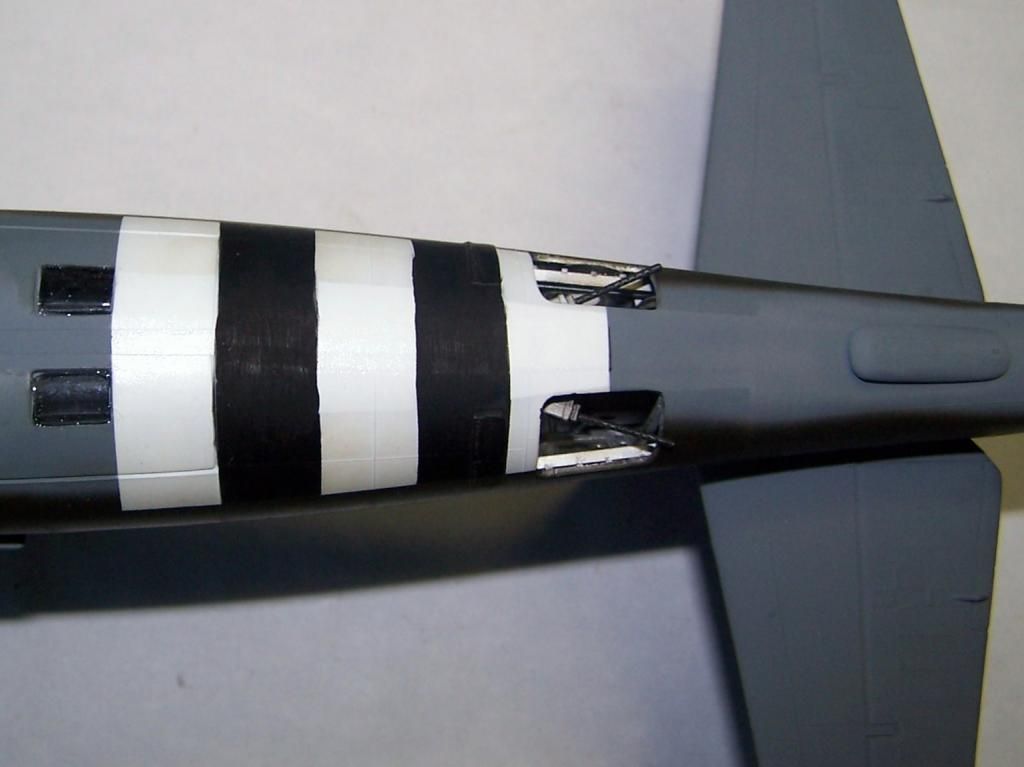
I masked up where the white needed to be re done for the fuselage invasion stripes, airbrushed the white portions, the touched up the black by hand brush to give the not so neat appearance of the real things
Image

Image

Image

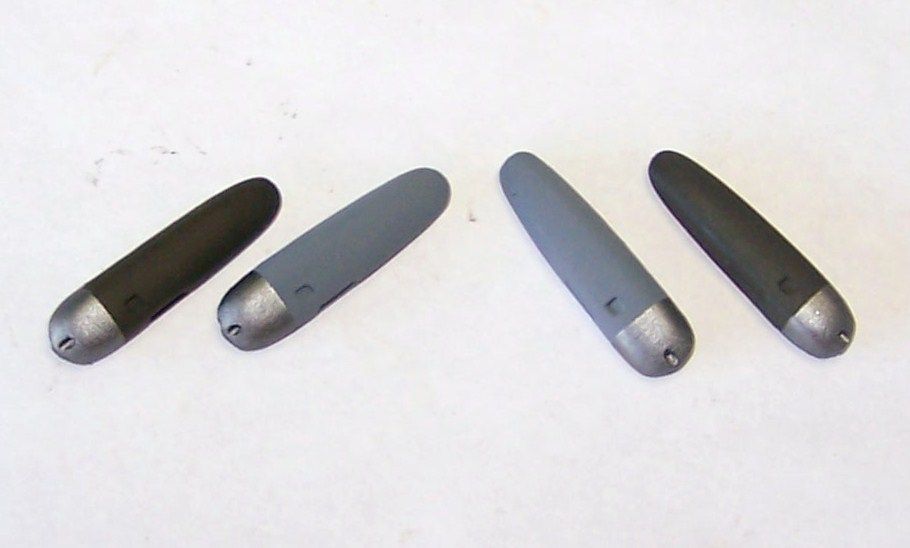
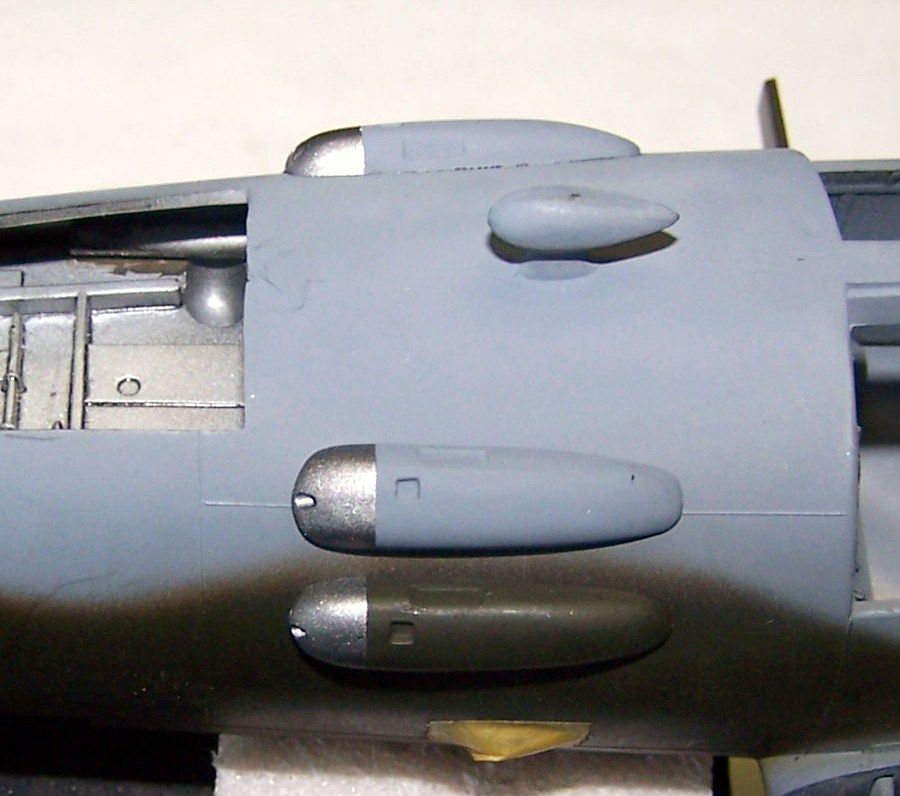
and I airbrushed a custom mix metallic color onto the front portion of the package gun housings. Once it had dried I glued them into place. I will add the Quick Boost barrels to them at the end of the build.
Image

Image

Image

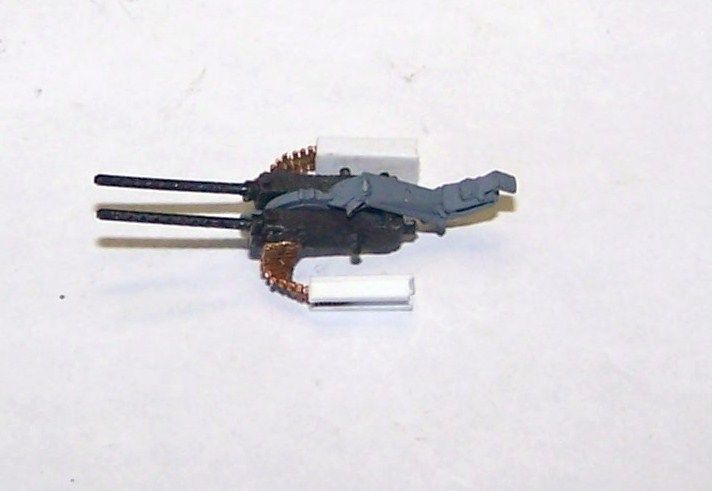
and I actually did some gluing today as well... first I scrath built the final portion of the tail gun ammo chutes that channels teh flex portion near the tail gunners armor plate, and added them to the flex chutes.
Image

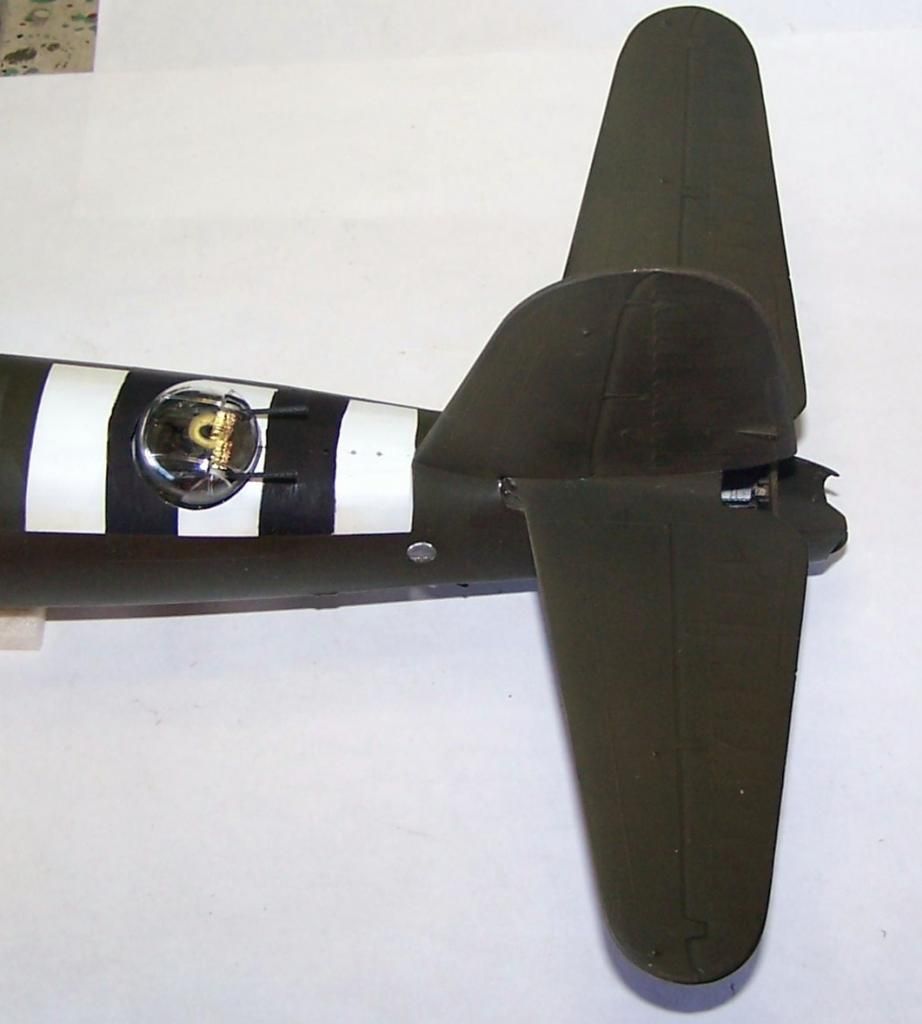
then I glued the horizontal stabilizers in place... talk about a tail sitter... you would think thaty I hgad stuffed ot full of something the way it altered the balance
Image

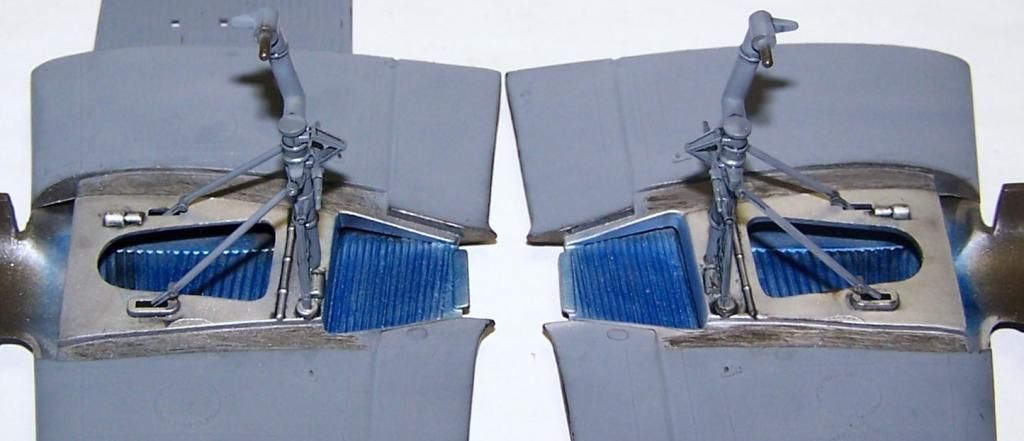
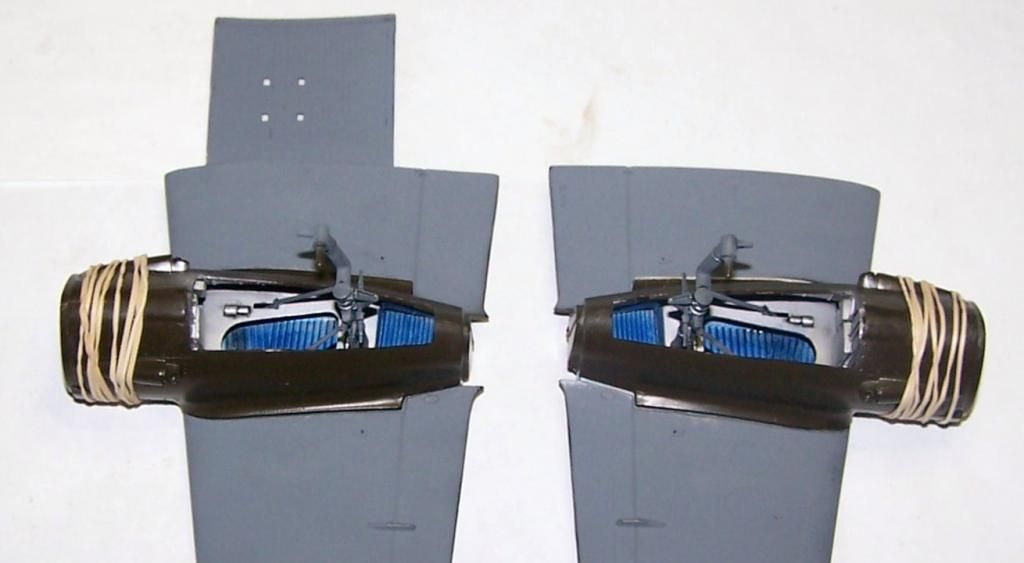
and then I glued the landing gear into place on the wing and after that the engine nacelles. Again, after test fitting, I learned that if I glued the front portions first, let them dry, then the rear portion, it would reduce if not eliminate most of the fit problems in that area
Image

Image

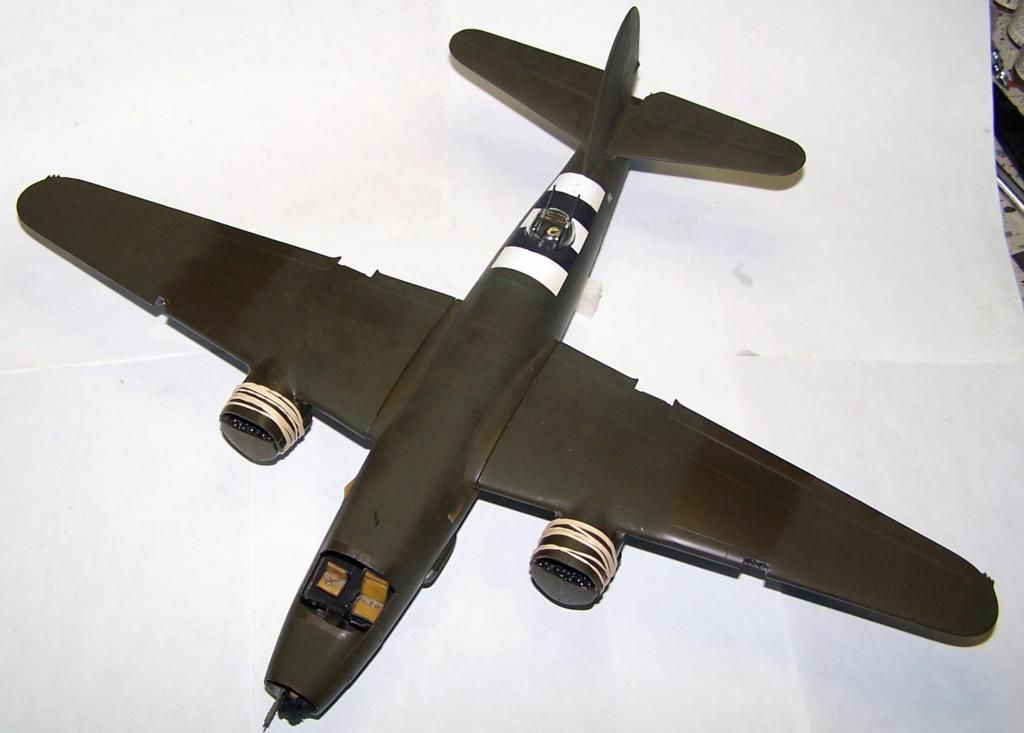
then I had to do it... test fit the wings...
Image

starting to look like a B-26 now...
Re: Monogram 1/48 B-26B WIP- Updated 6/27

Posted: Sat Jun 28, 2014 6:39 am
by LyleW
winner, winner, chicken dinner. beverages, day at the beach, most excellent modelling session....living the hi-life. nice work. Looks very good

Re: Monogram 1/48 B-26B WIP- Updated 6/27

Posted: Sat Jun 28, 2014 6:11 pm
by Stikpusher
Hah! No high life here. Just a good life ;)

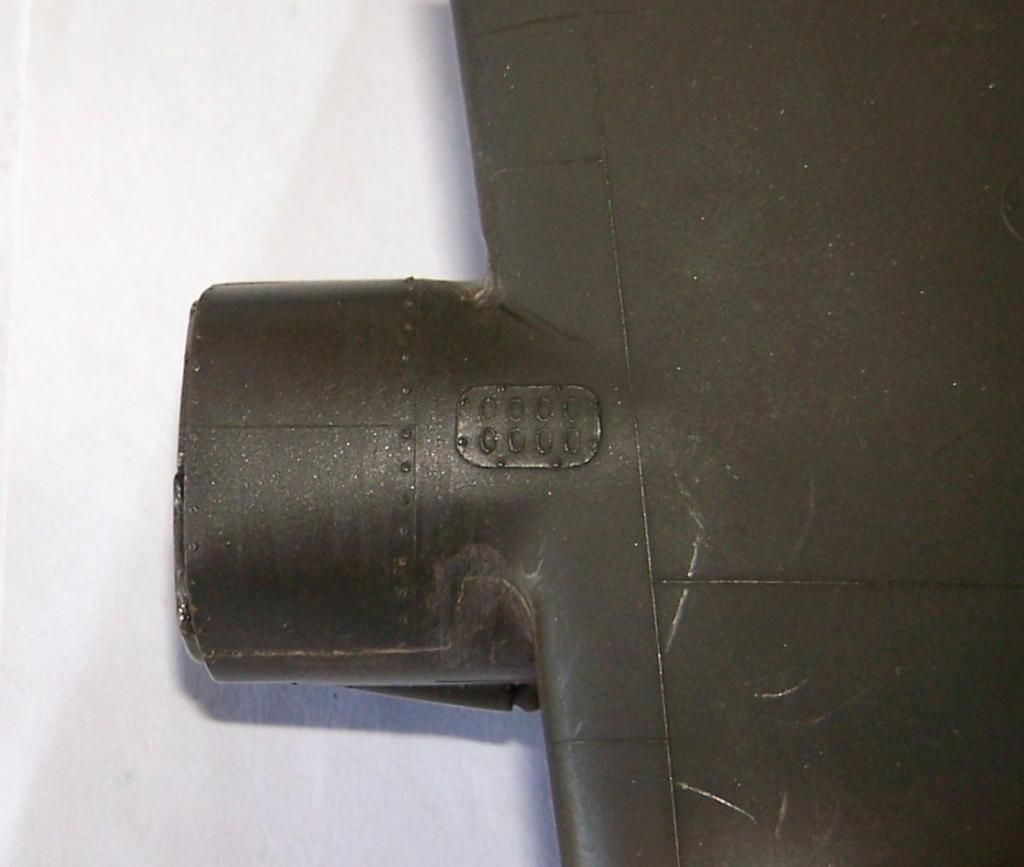
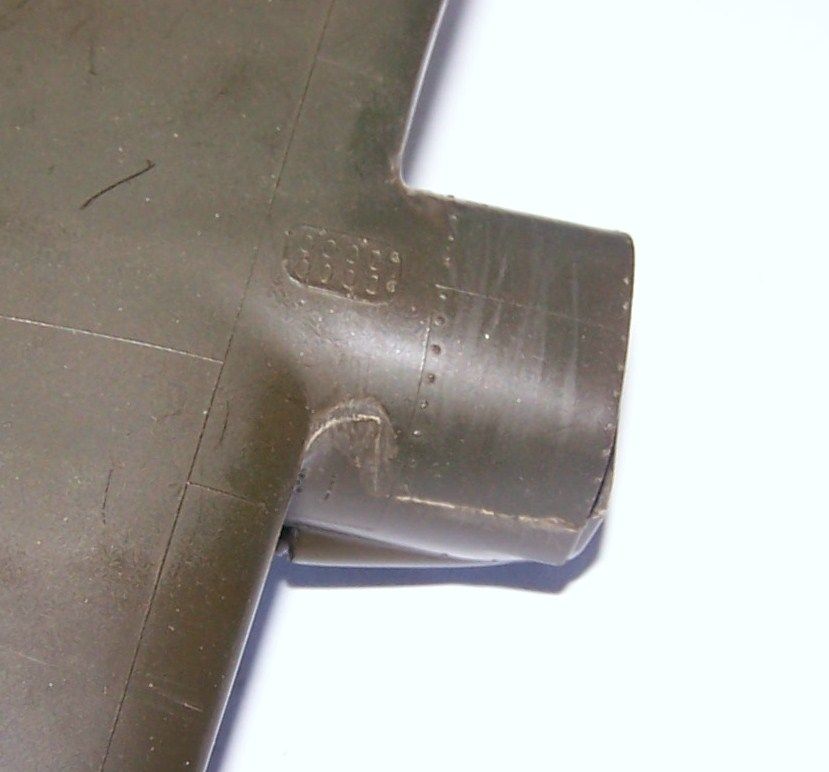
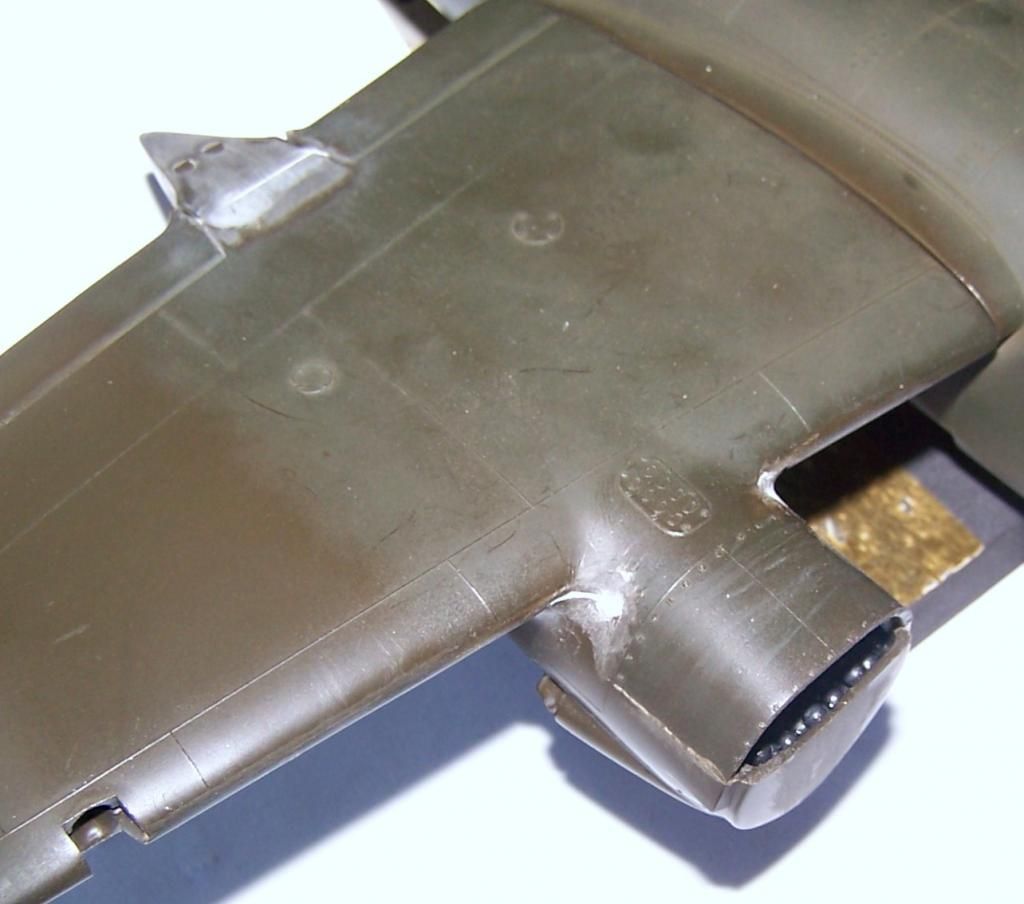
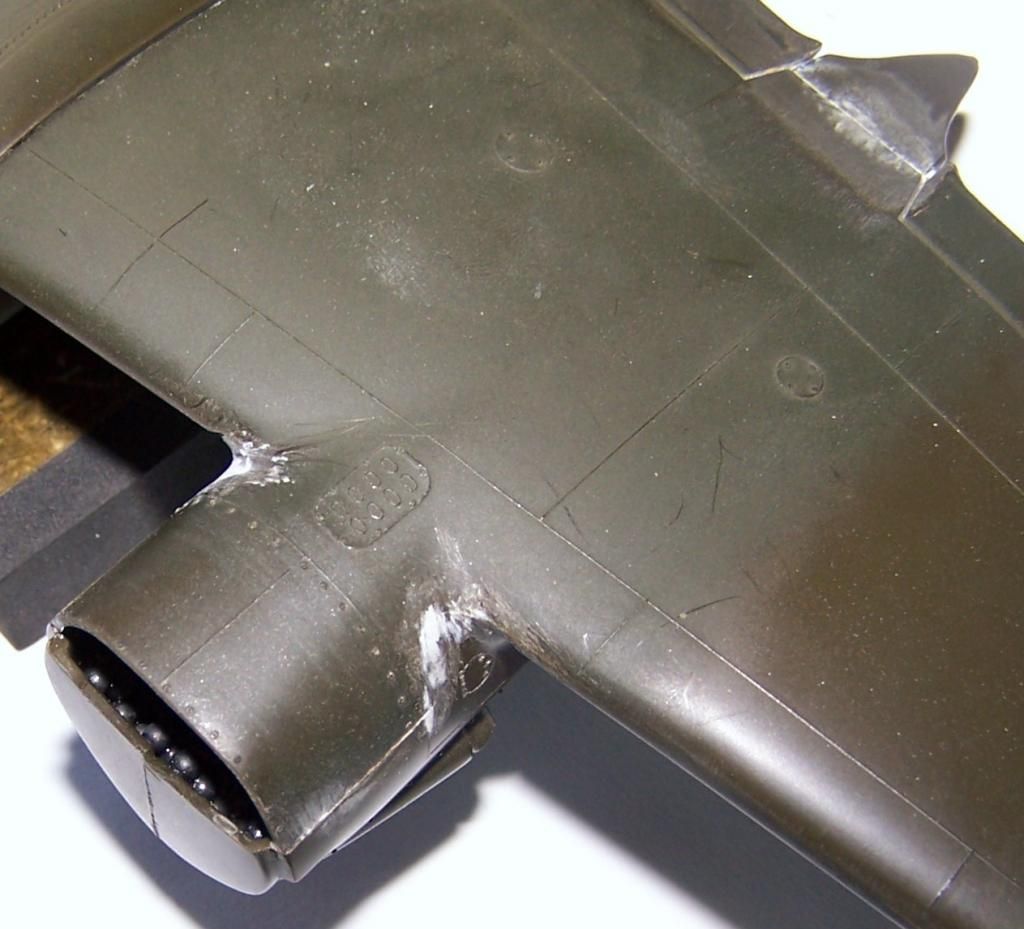
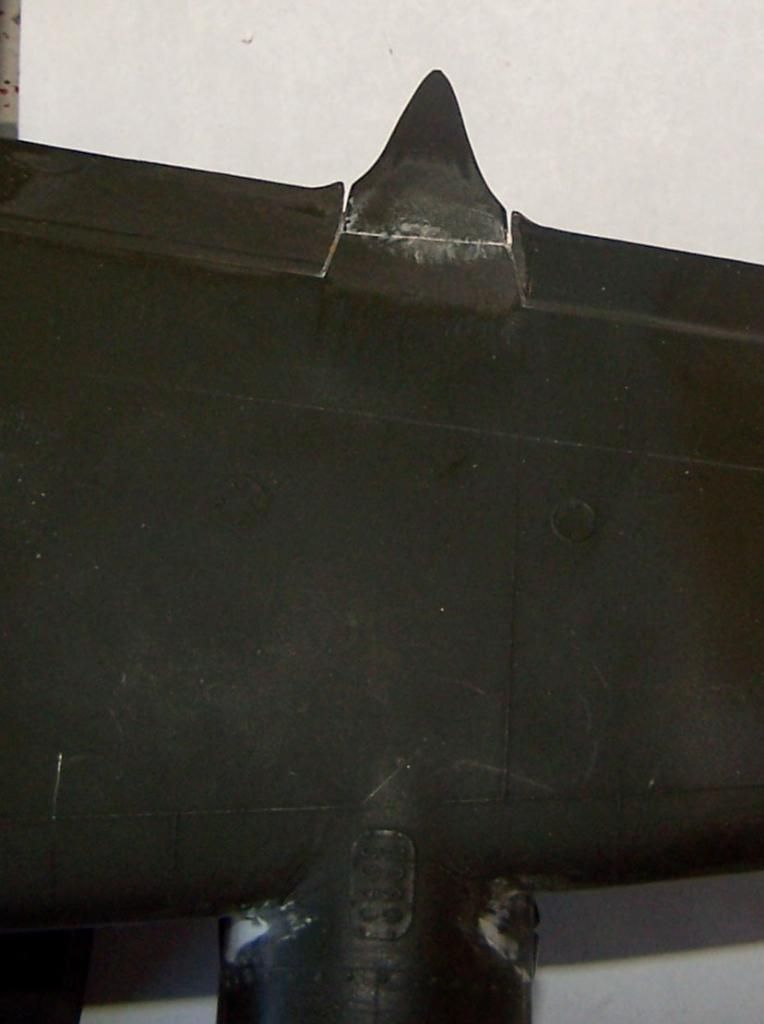
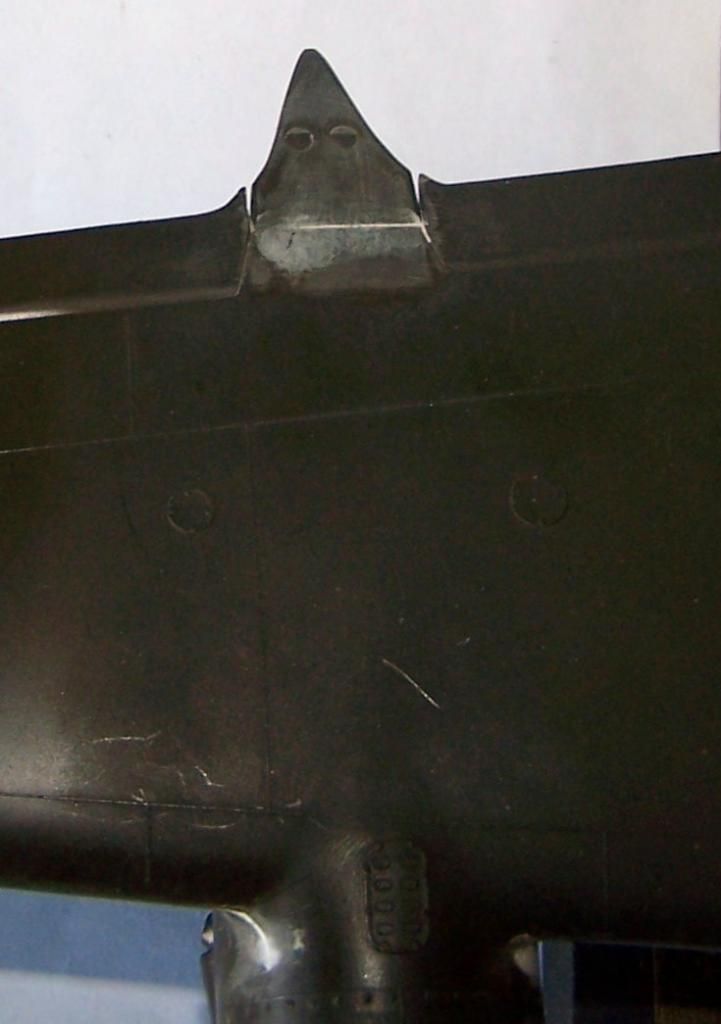
Well last night before bed I finished gluing the engine nacelles down in place and added their tail cones. By carefull planning ahead and effort, I had minimal gaps/seams in this area to contend with that I have read more than one person complain about online... I sanded that smooth in the midday, then used Squadron White Putty to take care of any remaining gaps

Image

Image

Image

Later in the afternoon, I sanded the putty, and am satisfied with the results of that work...

Image

Image

Image

Image

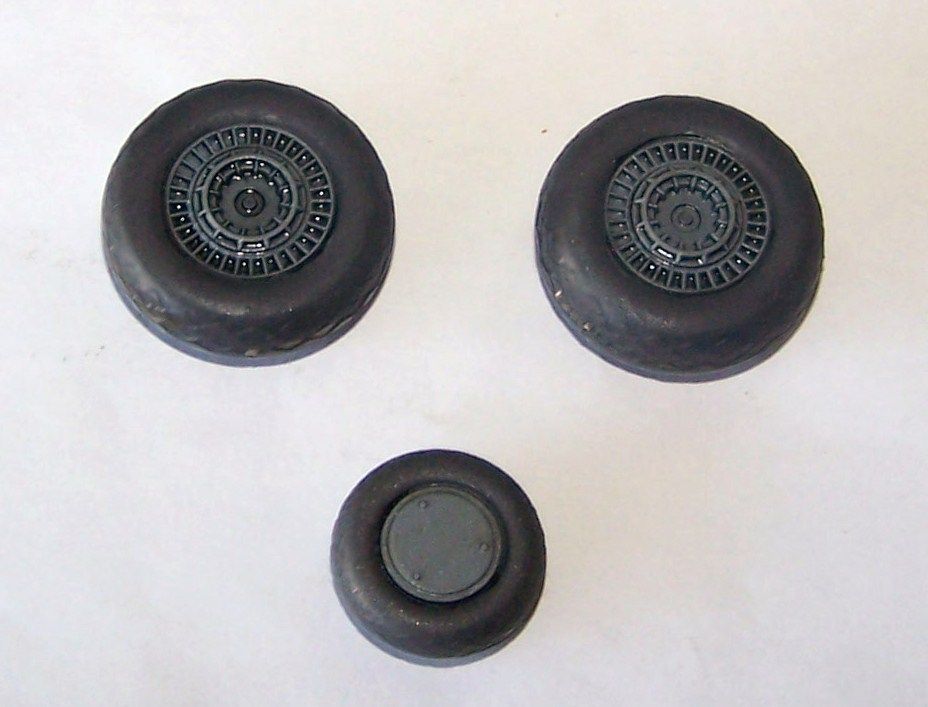
I also finished painting and built up the wheels

Image

and masked up the canopy with Tamiya masking tape, then glued it in place.

Image

Now it's time to enjoy a Saturday evening out...

Re: Monogram 1/48 B-26B WIP- Updated 6/28

Posted: Mon Jun 30, 2014 1:50 pm
by Medicman71
Very nice!! Almost done now!

Re: Monogram 1/48 B-26B WIP- Updated 6/28

Posted: Mon Jun 30, 2014 6:49 pm
by Stikpusher
Yeah... Almost a month overdue now ...

Re: Monogram 1/48 B-26B WIP- Updated 6/28

Posted: Wed Jul 02, 2014 5:10 am
by BsYamato
I finished words to commente the masterpiece coming :shock:
Just a disappointing about the paint the outer before glue final assembly.. you're mad :lol: