Thank you gents!
Now since I have all of this fresh in my mind and the corrections I wanted to do here goes one more Emil! I won’t bore you with the same old stuff but rather things I am doing to correct small issues with the kit without having to rely on aftermarket resin.
So this kit is starting at the wings, the radiator cowling pops up on the regular kit. This is solved by sanding, sanding and more sanding. What I did was to thin the walls of the opening a little so it is not quite as thick, followed by sanding to thin the part that attaches it to the wings. This will have you sanding the block on the wing to allow the cowling to sit almost flush with the wing. But now the PE part won’t fit, you will need to remove the bottom row (part furthest away from the wing) of the PE part, little dry fitting to verify fitment and you are golden! Almost. If you don’t already have Tamiya extra thin cement, well get some before messing with this! I used Mr Hobby thin cement since it is strong and bonds the parts really well, but it is not good for filling ting gaps, that is where Tamiya comes into play! Use this to fill the gaps you see, but leave a little recessed line if you can for the allusion of a panel line. Doesn’t have to be perfect, just good enough to trick the eye!

Un-modified part pictured on the left (which is actually the right radiator) and left is after you give it some love while listening to some Barry White.

The photo etch won’t fit after you sand the part, this is how much you need to trim, easy peasy to cut with an Olfa knife!

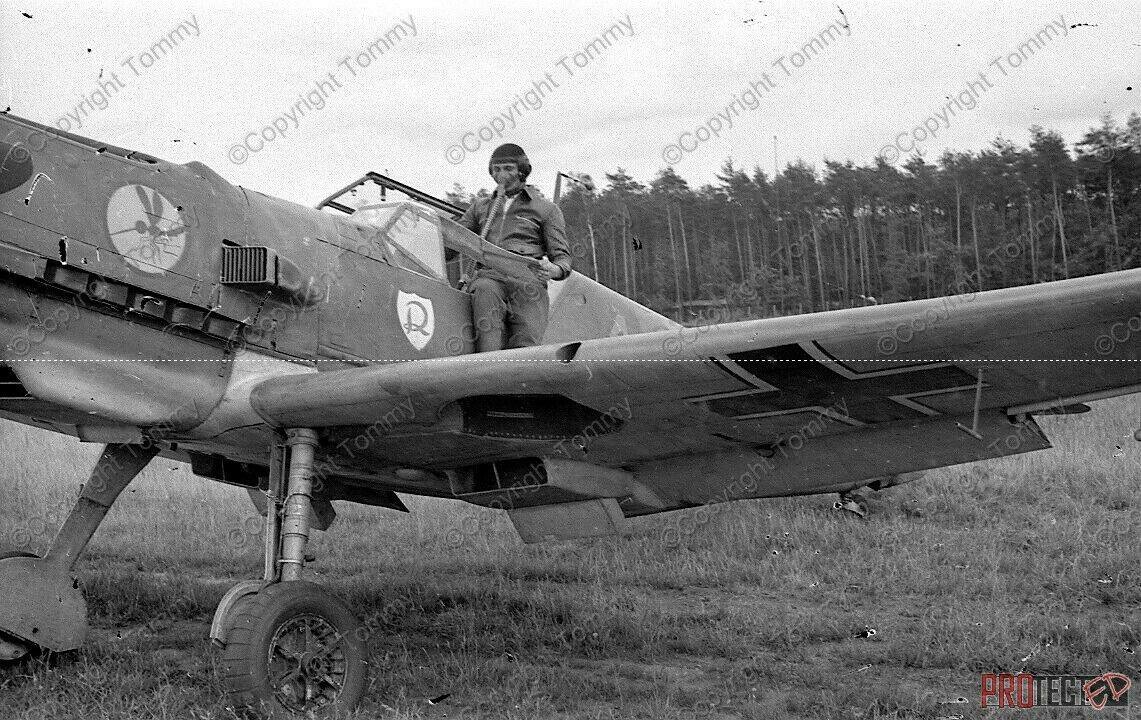
This is the look we are trying to achieve as best we can, see those struts? That is coming up next! Ok this part you will need to buy some styrene rod but I promise it is cheap! So be sure to add some to your next order since it is good to have!
(Also get Tamiya extra thin cement, and tape in 6mm and 10mm too. Also this build will require copper wire but that should be relatively easy to get!)