Thank you Mike! My apologies for the lat reply, things have been crazy with my internet service lately, that and the cats have monopolized by keyboard space so I can't type replies!
Thank you Bruce! Sometimes there are specific factors. One is; do I have this in my collection already? Another: Have I seen anyone else build this recently? Another: I need this to complete a set/series/group. Another is the condition of the box it's in and/or whether it's a bagged kit or not. Those I tend to build since bad boxes make for missing pieces and decals. And another: How long has this been in my stash; it's time to build it.
Thank you Stuart!
It's been awhile, given all that has been happening, but now I have a chance to start another tour. I have a few continuing projects and started a few more. So with that being said, let's all board the trams and head out to the Hangar to start.
Here in the Hangar, we have the first bay holding the C-46 that I got from a friend that bought it in a thrift store. It's been languishing a bit, but now I have the new paint on it and started adding the landing gear and propellers:
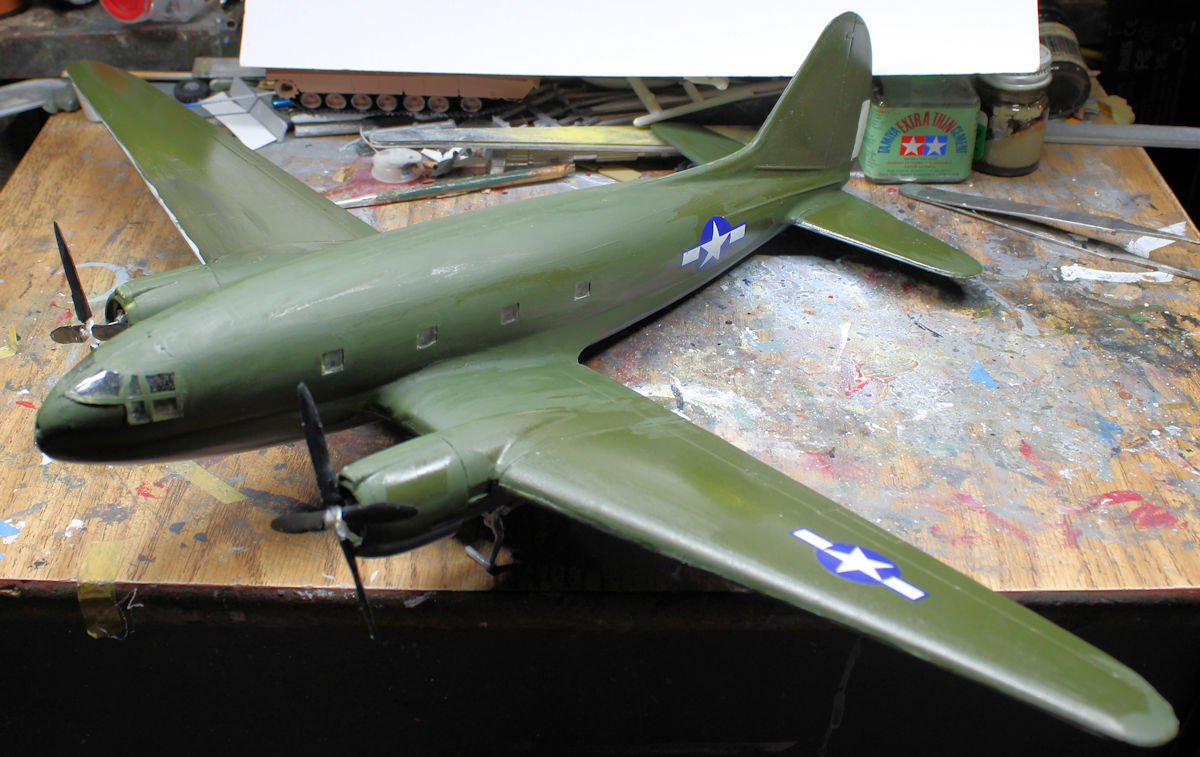
Some substantial pieces are missing from this, such as the main wheels, tail wheel and propeller hubs among others; so some rather extensive artistic license will probably be employed here.
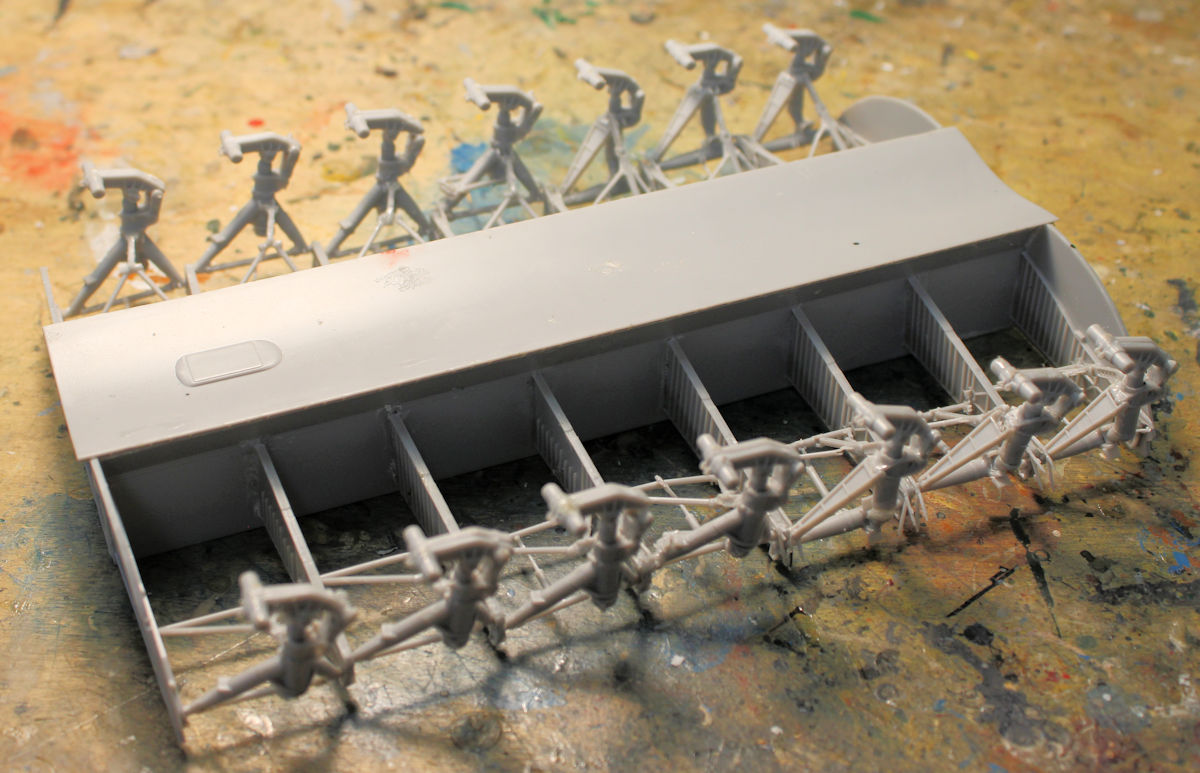
Moving on to the next bay, we continued to work on the extensive and highly detailed main landing gear bay for the An-225. After massive effort, frustration and persistence, the final struts were installed:
Later some additional parts were added and the roof of the landing gear bay were glued in place:
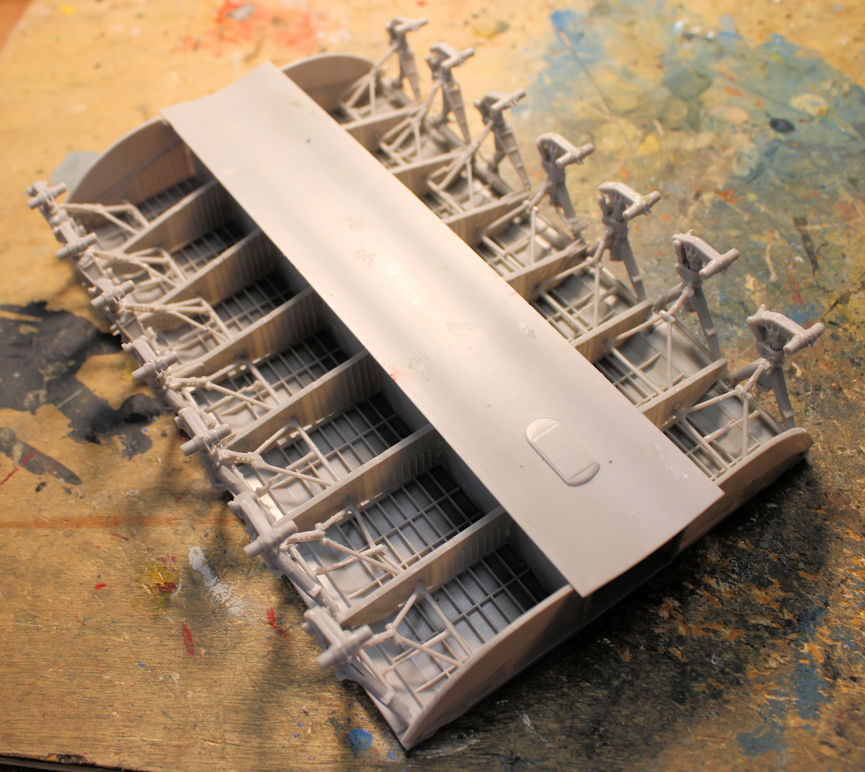
That was enough for now, believe it or not, that landing gear bay is still only half built.
Moving on to the next bay, there is a new project started. It's a civilian version of the Mi-1 from Mach 2. It is a difficult kit to build to say the least. First step was the cockpit, which surprisingly had only one pilot seat and a bench in back for passengers:
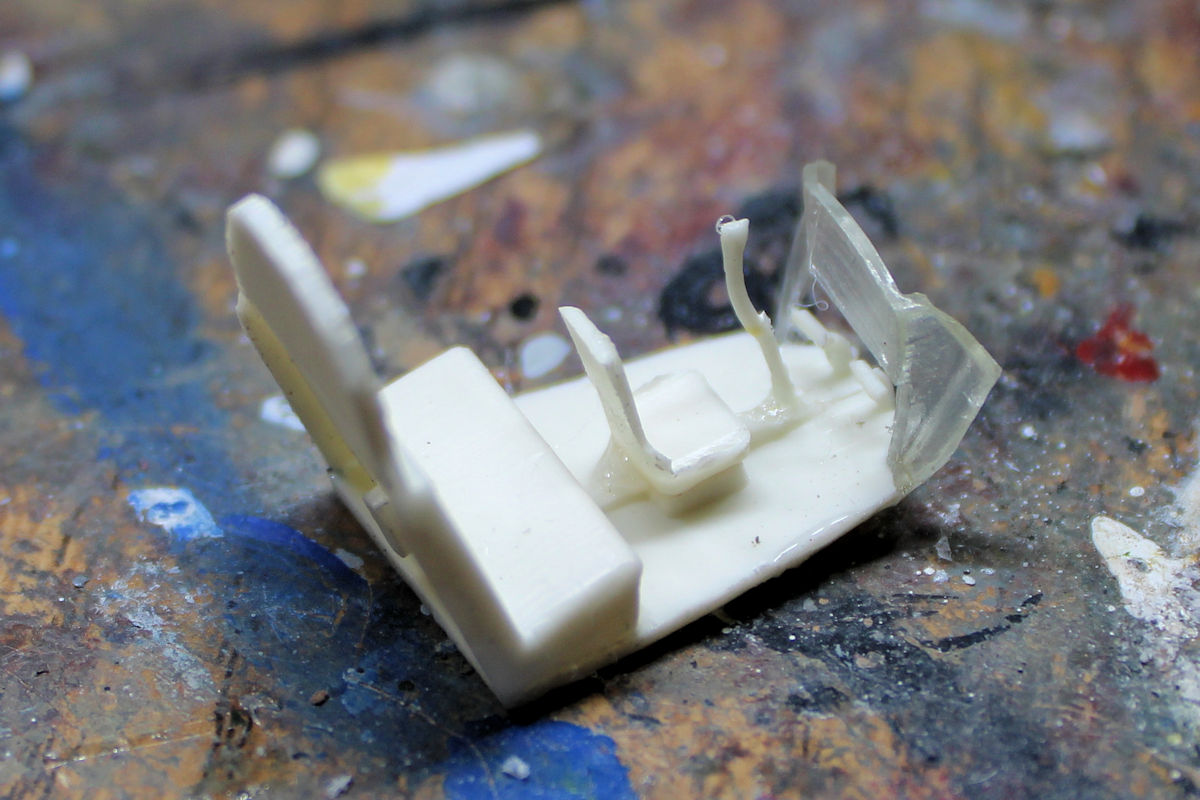
And yes, they molded the instrument panel in clear; why I do not know. Surprisingly, the fuselage went together well and I was thrilled that it did:
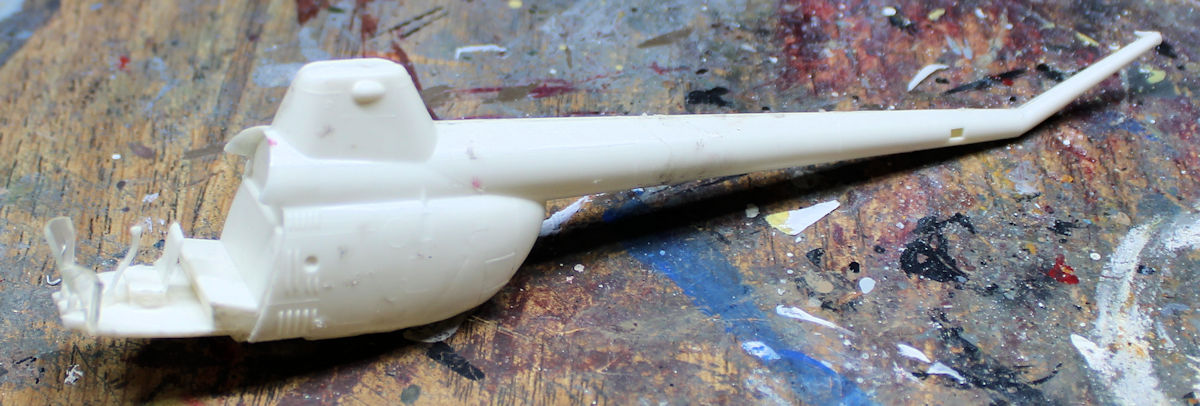
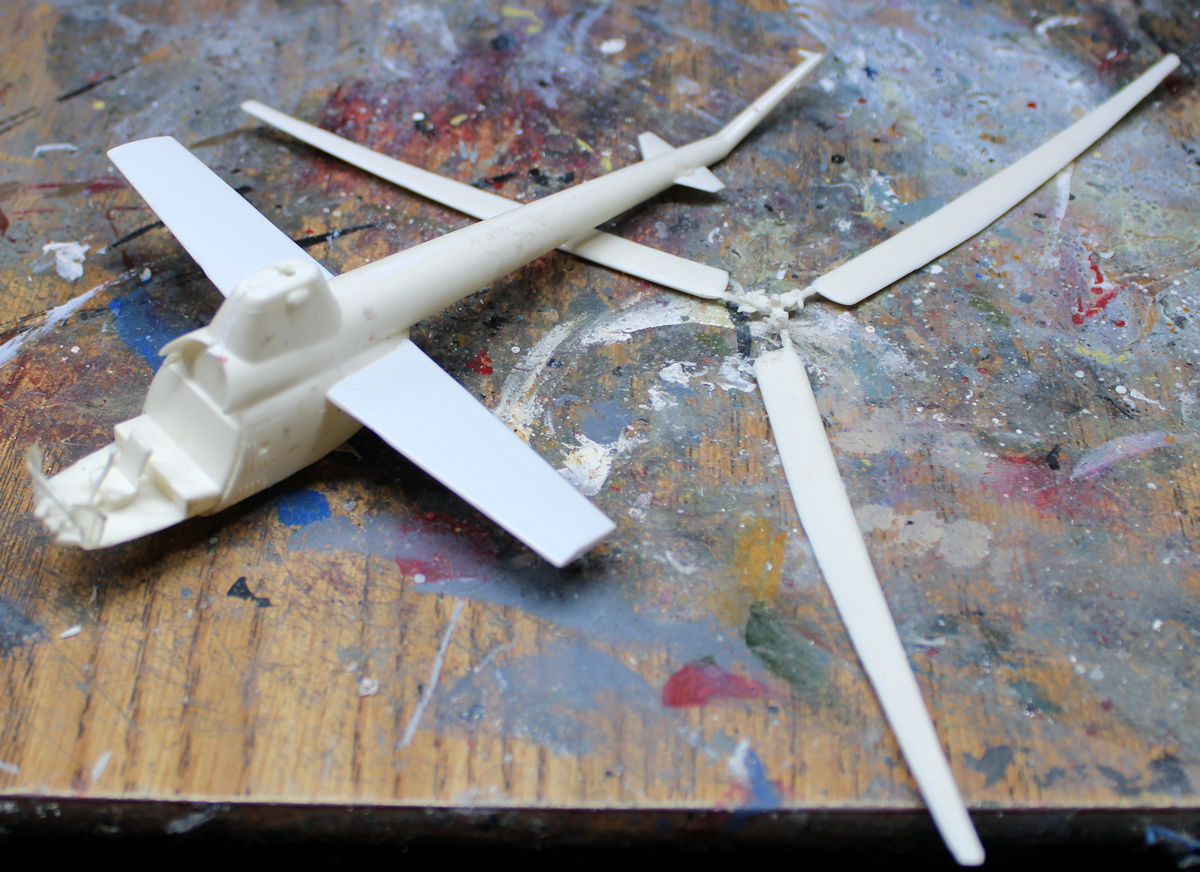
Later additional detail parts were added to the fuselage, and the main rotors were built. They had such delicate connection points that it took forever to get glued right. I see many broken main rotors in the future:
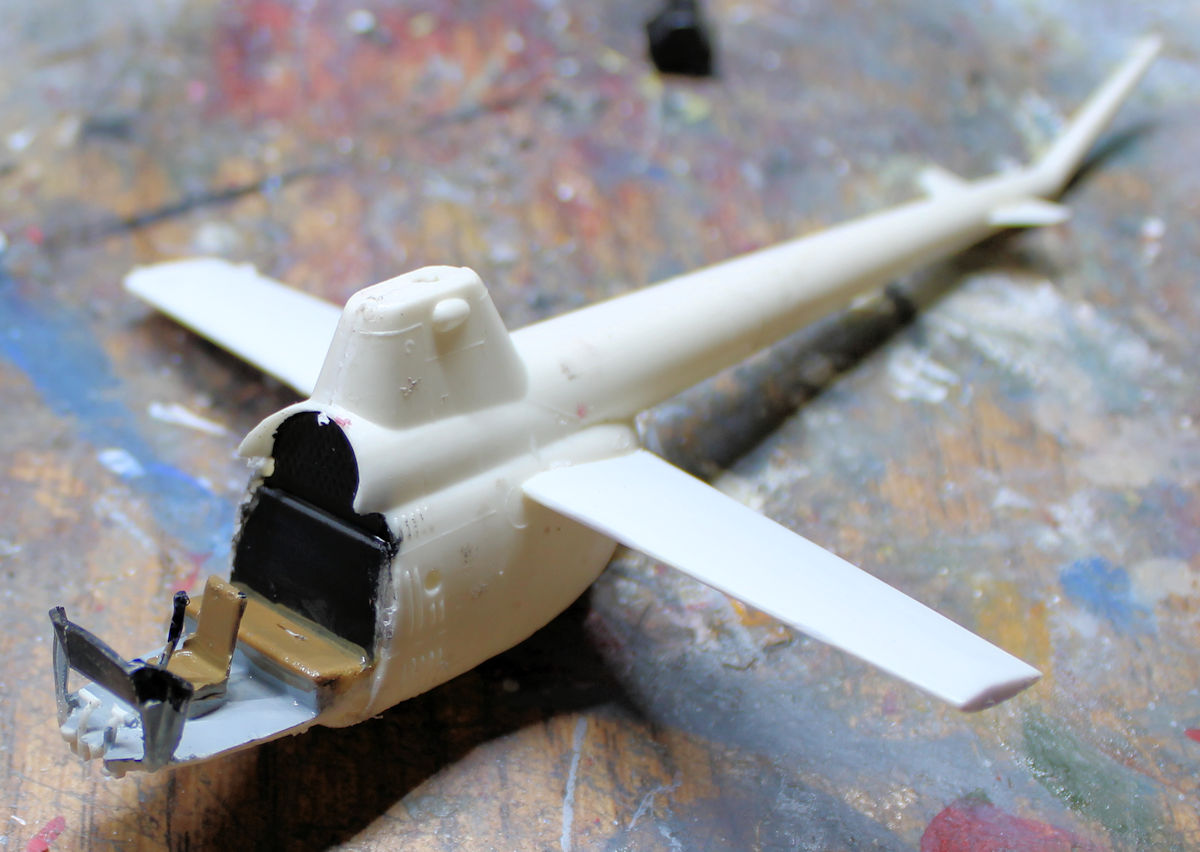
Cockpit painting came next before starting to close this up:
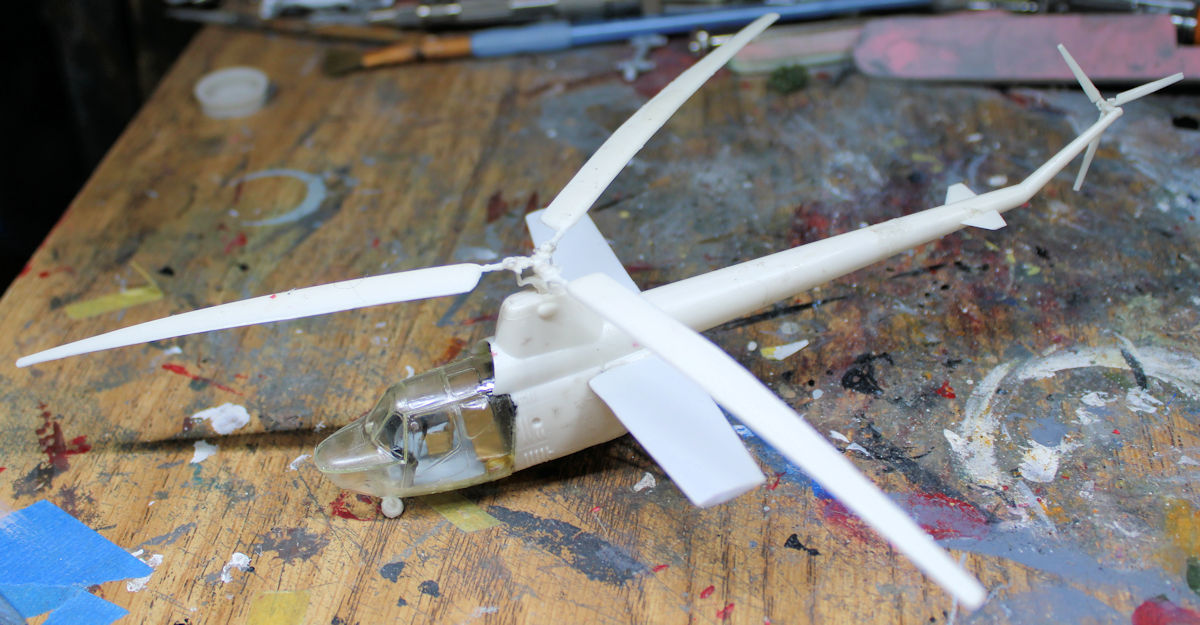
Finally, the forward fuselage, also molded exclusively in clear; was installed along with tail rotor, more details and a test fit of the main rotor. The forward landing gear was still too wet so it flopped over when I tried standing this up:
Moving on to the next bay, we have another helicopter. This is another shelf queen that has been languishing for awhile. Frankly, I don't even remember why. So, once I painted the interior, I started the process of working on this some more:
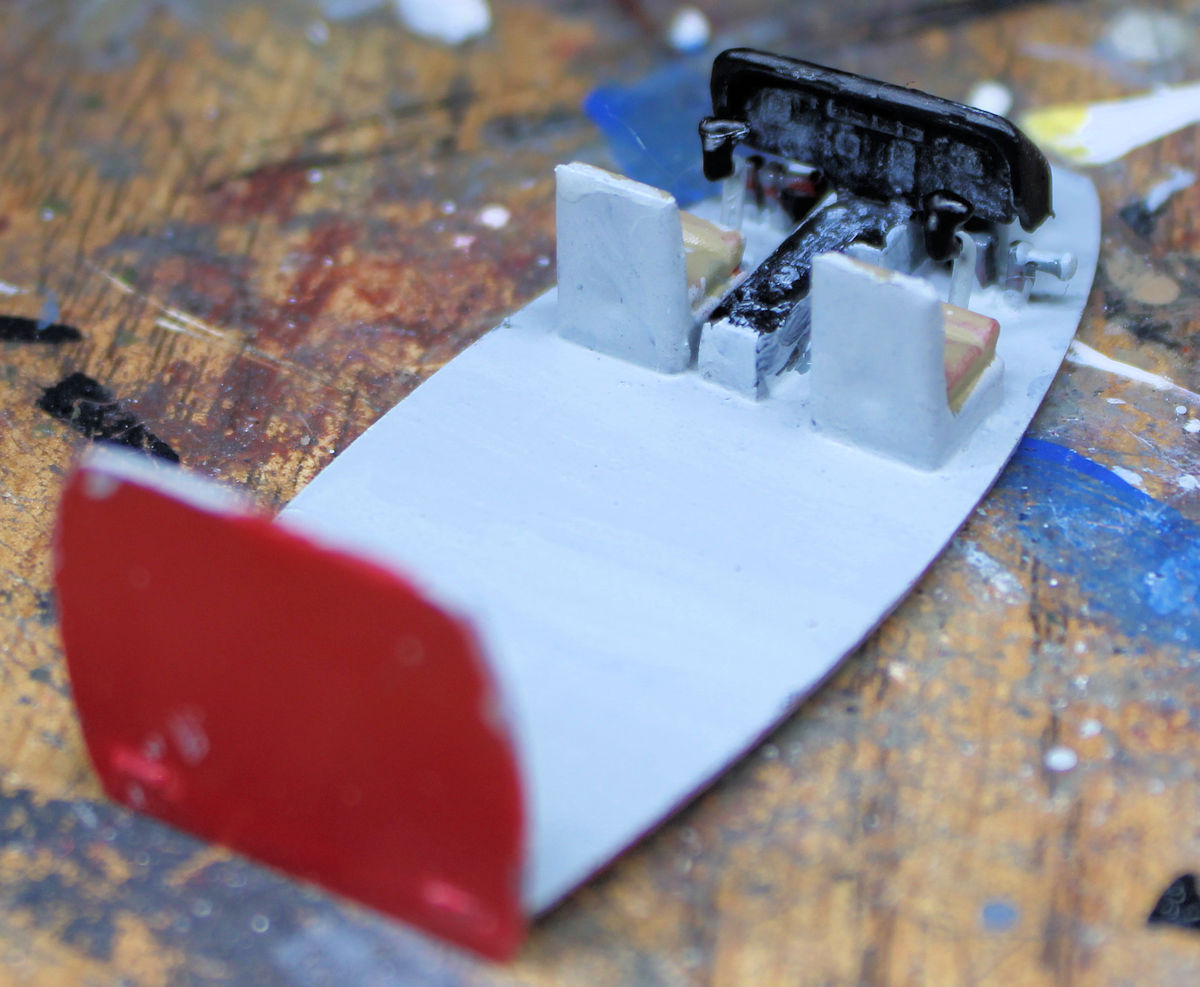
I closed this up inside the fuselage and got ready to add more parts later once it dried sufficiently:
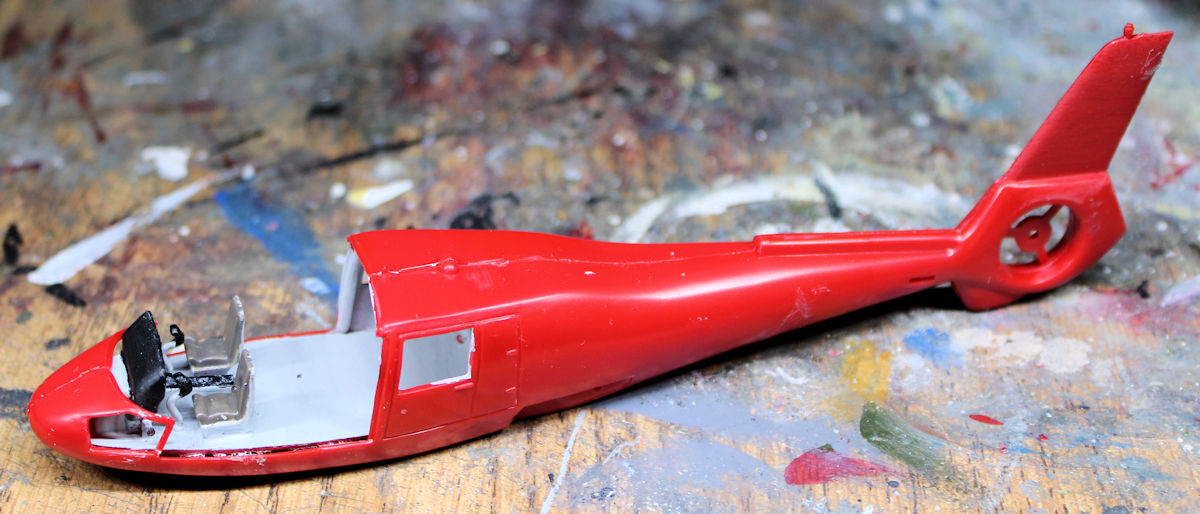
That completes the Hangar portion of the tour, now on to the Shipyards.
Here in the shipyards, several new keels were laid and further progress was made on at least one project.
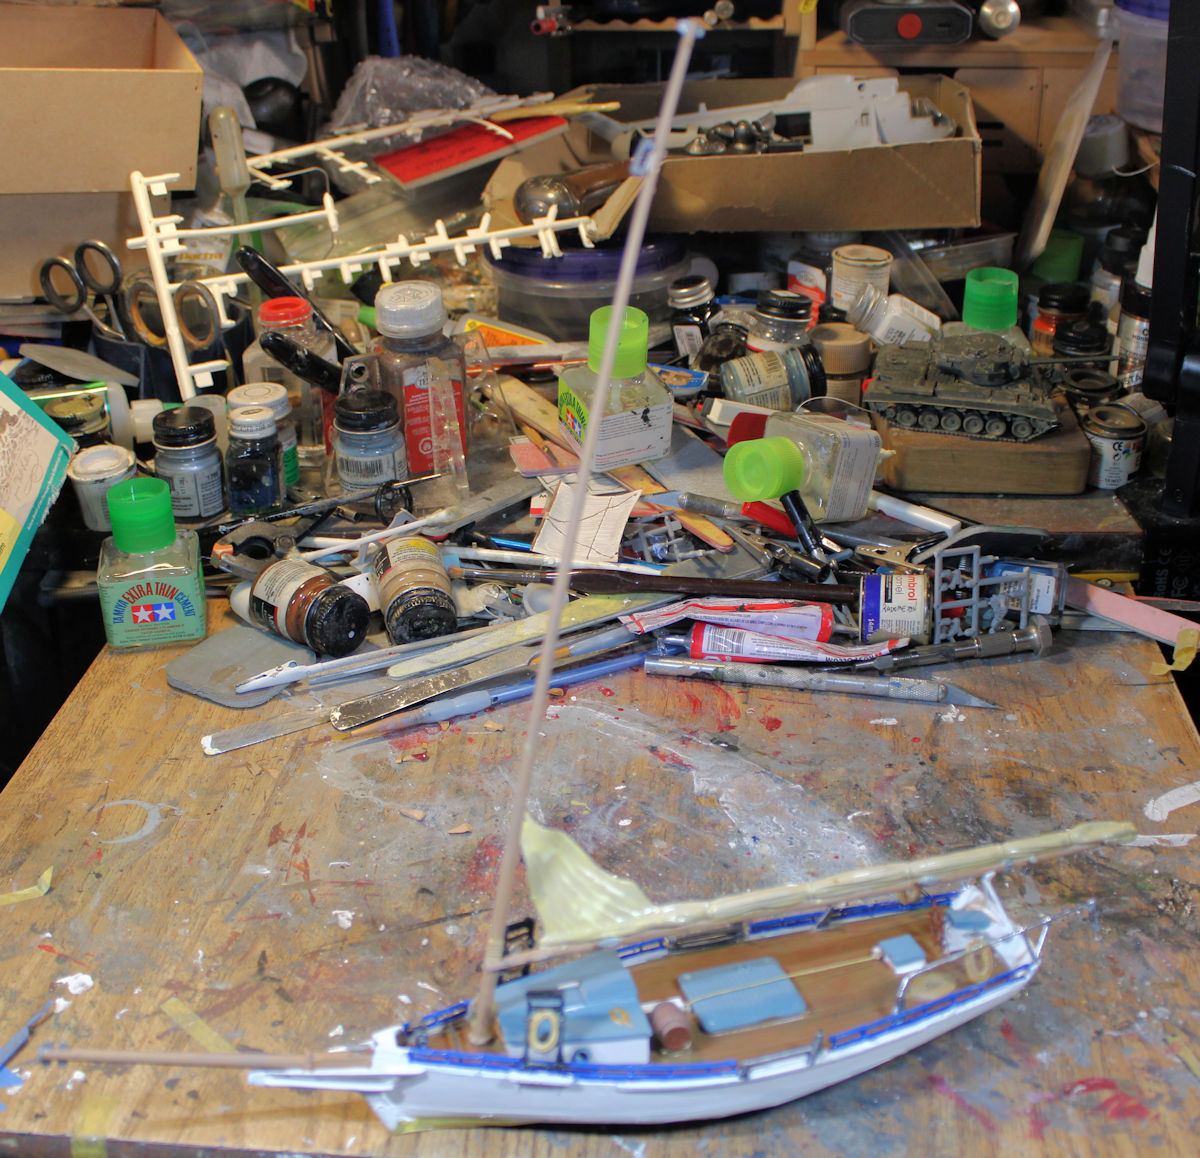
Starting in this first slip, we had the Skipjack receive her main mast and boom:
Here's a more detailed shot of the deck, showing the details and wash effect applied to the parts on deck:
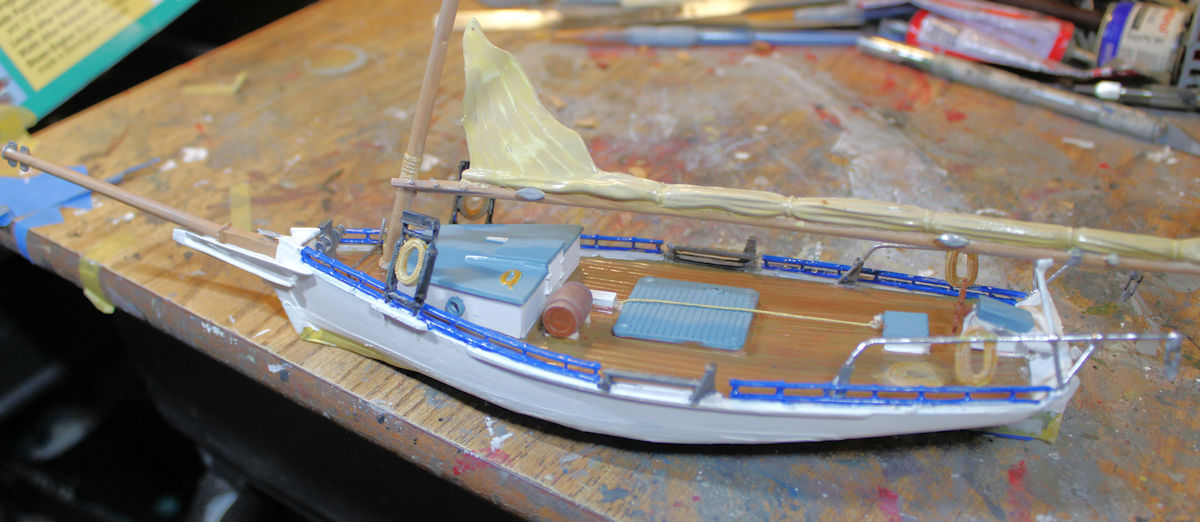
Later this thing fell on the ground and several parts went missing, I recovered and replaced most of them but the one part that had been giving me trouble all throughout this build is still missing. I did get the smaller boat added to the davits on the rear, while the second boat had some detail touch-ups started:
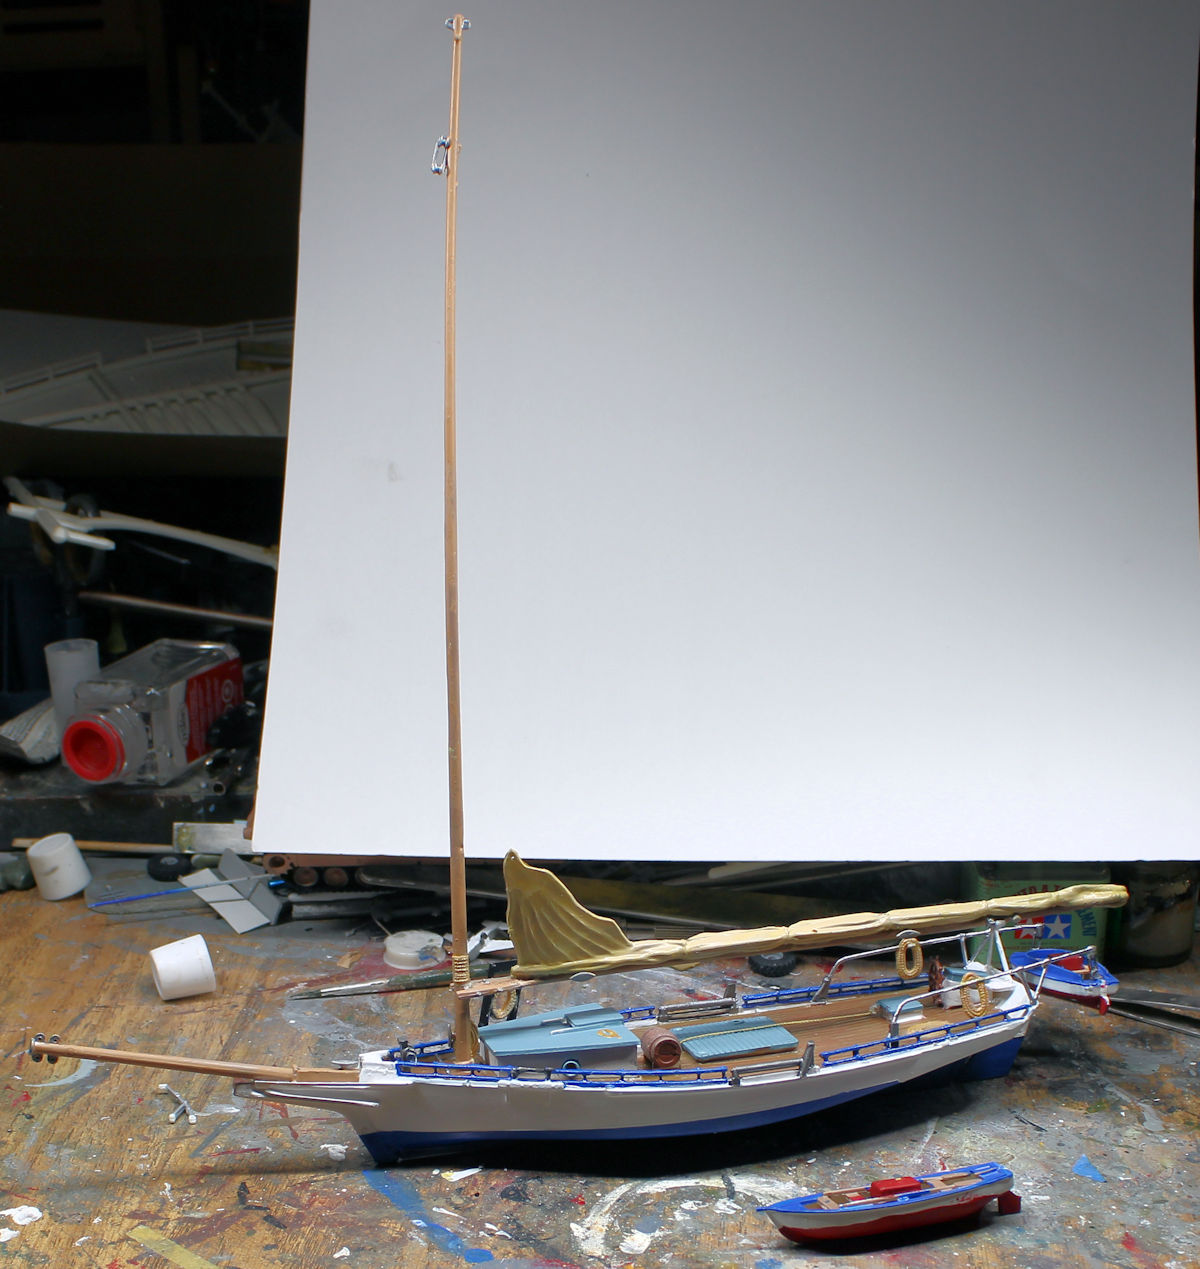
Also, one of the bowsprit parts went missing; I might just rig the forward sail on without it. I'm just tired of this taking space, especially with the mast on so I'm just gonna do what I can to get it over the finish line.
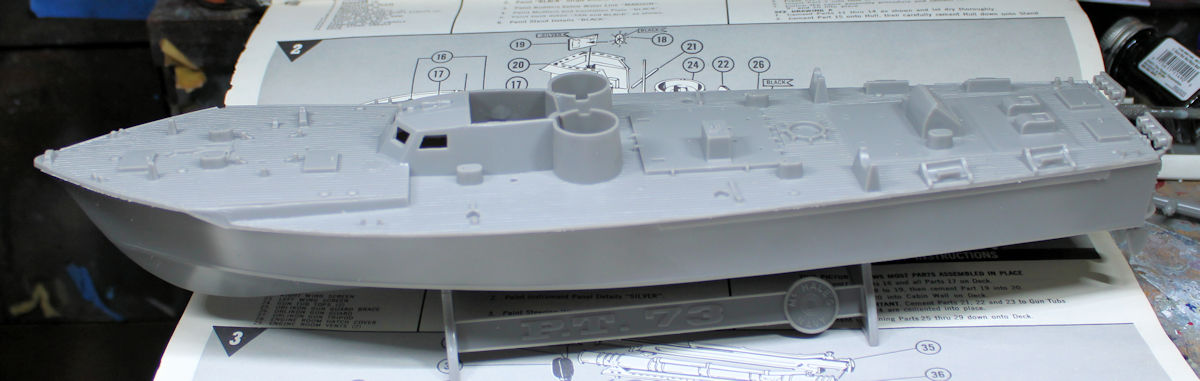
In the next slip, our first new project is this PT-73 from McHale's Navy. The rear bulkhead was finished up and added to the main hull, then the deck was glued down. That's as far as I got on this so far:
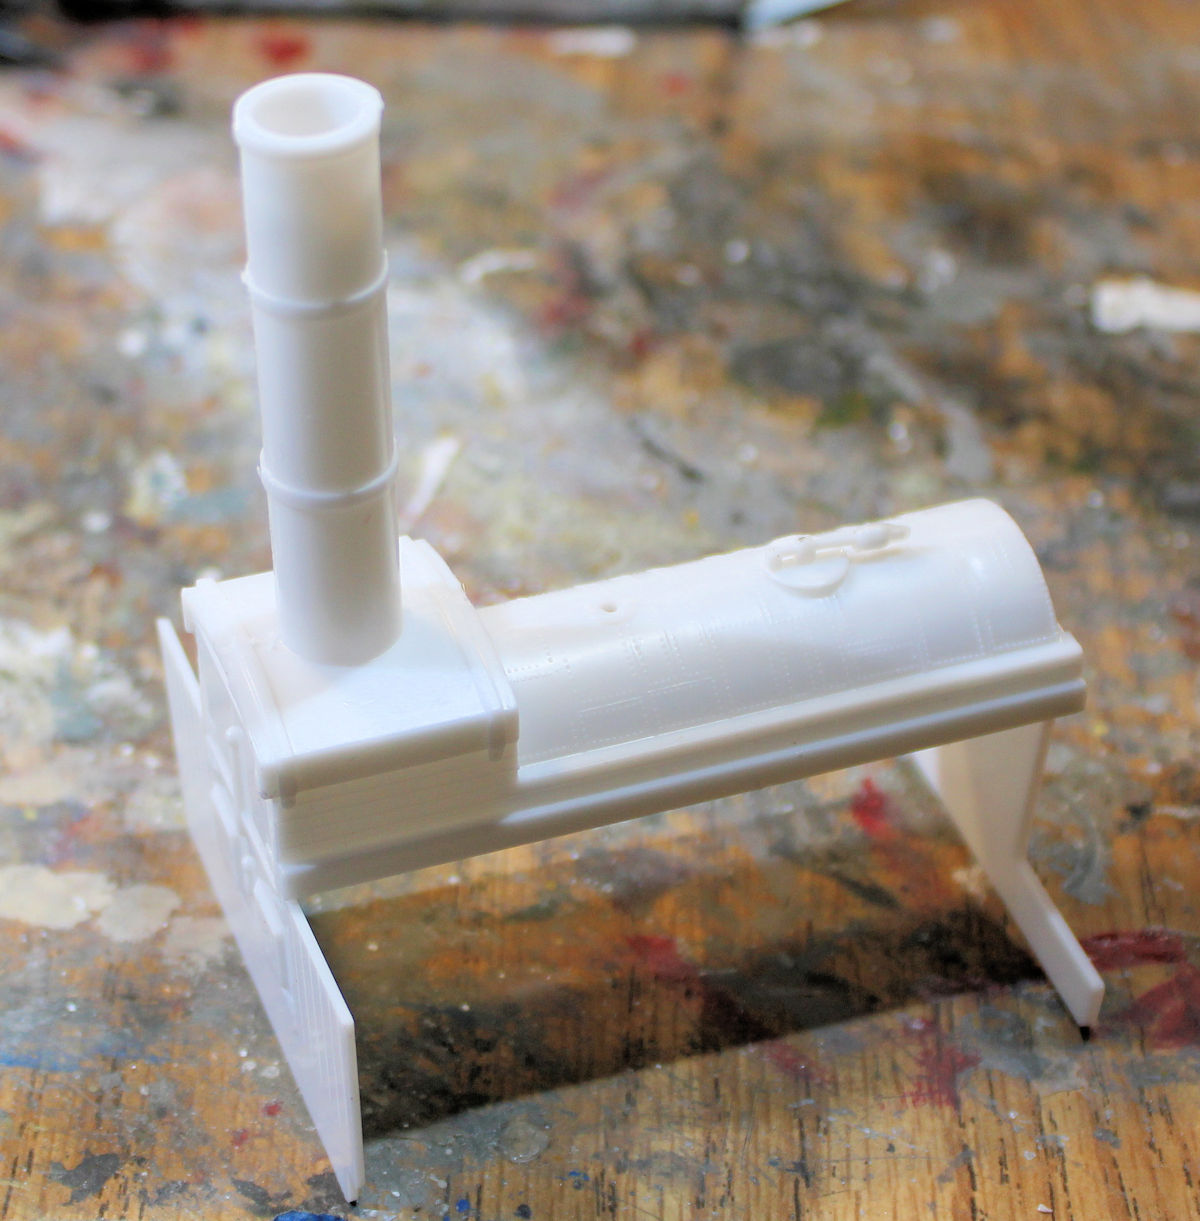
I did get more done on this next project I started in the next slip. This is the old Lindbergh SS Clermont steamship that I got at a local shop. First I started with the main boiler:
Later all the linkage was done for the main paddlewheels and one of the paddlewheels was assembled to place on this assembly:
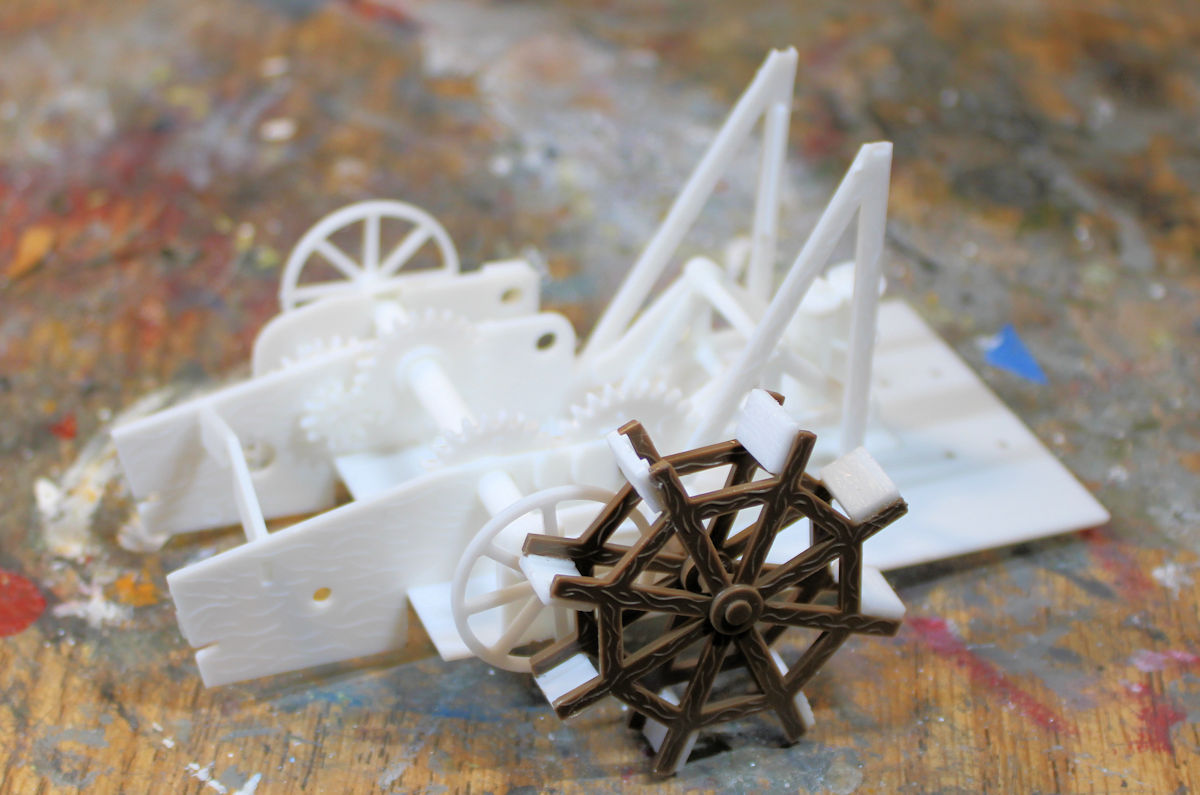
Those paddlewheels do move too, which is nice. After all, this was designed to be motorized, but I don't have the features I need to motorize it.
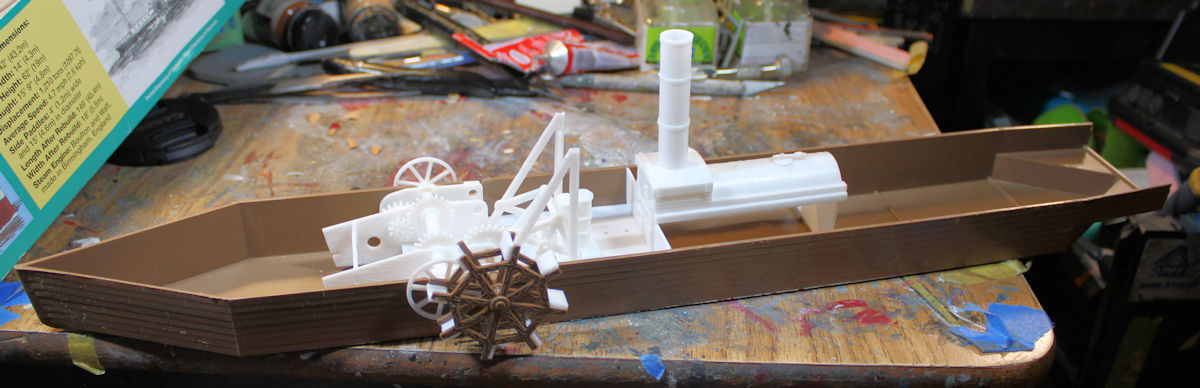
I decided to test fit these inside the hull which was molded as one piece:
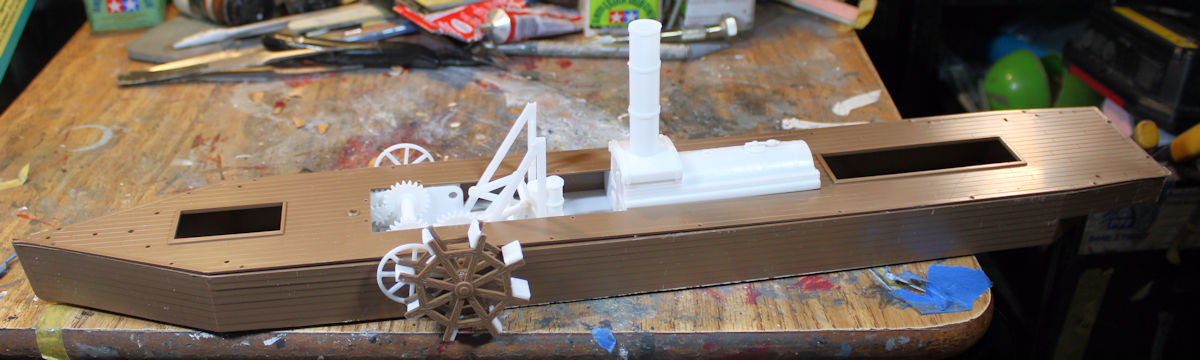
After seeing how they fit, I test fit the main deck on top to see if there were any issues there to deal with. So far, no:
That completes the Shipyard portion of this tour, on to the Motor Pool:
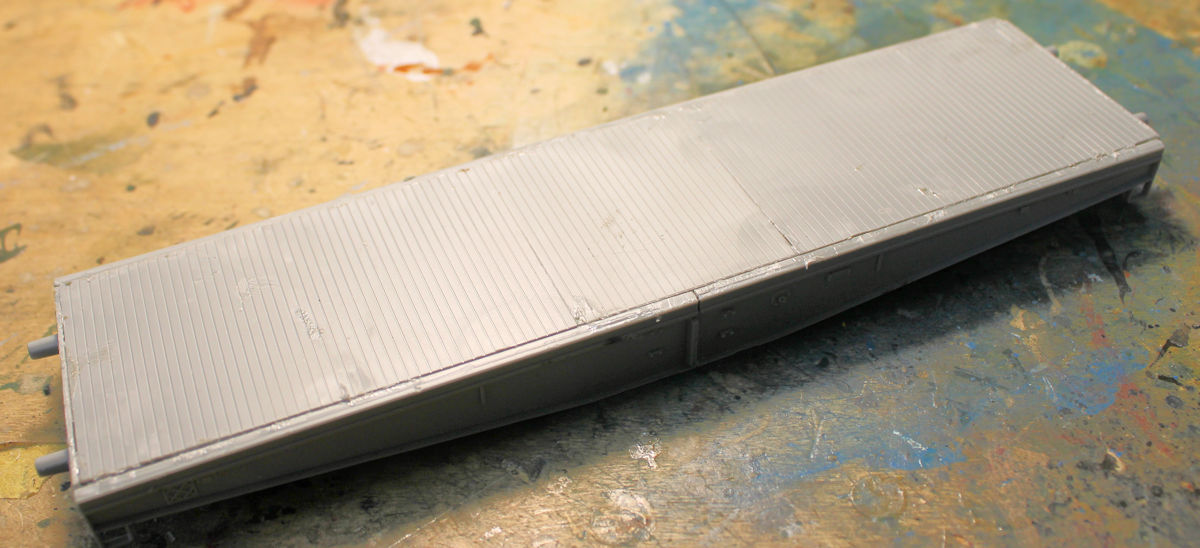
Here in this first bay is a started railroad flatcar. I have a kit that has two of these included so I decided to get them started. This is as far as I got, in preparation for doing all the bogies:
Moving on to the next bay, this Marine M46 Patton finally got the decals applied now that I found, fixed and bought them on a site that finally had some in stock:
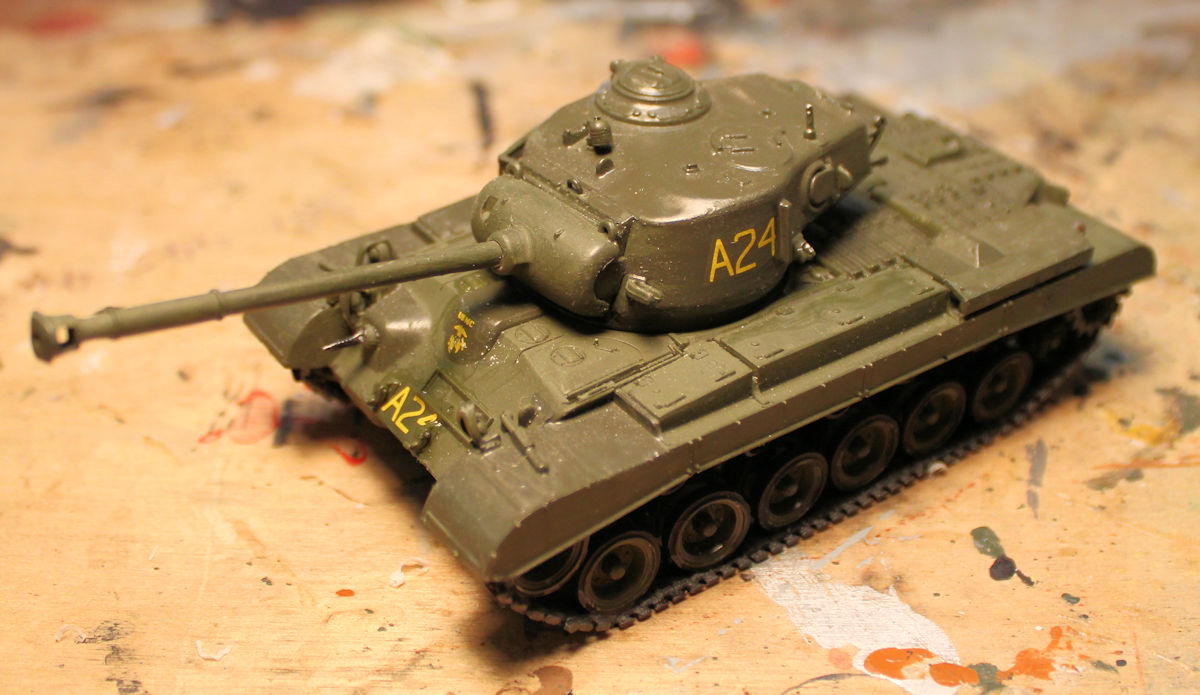
Just some additional details and weathering and that is done. Speaking of Marine tanks, in this next bay this M1A2 Abrams has been languishing for awhile now because the barrel got lost. Finally I found a metal barrel and installed it; painted the whole tank and added the upper machine guns to it:
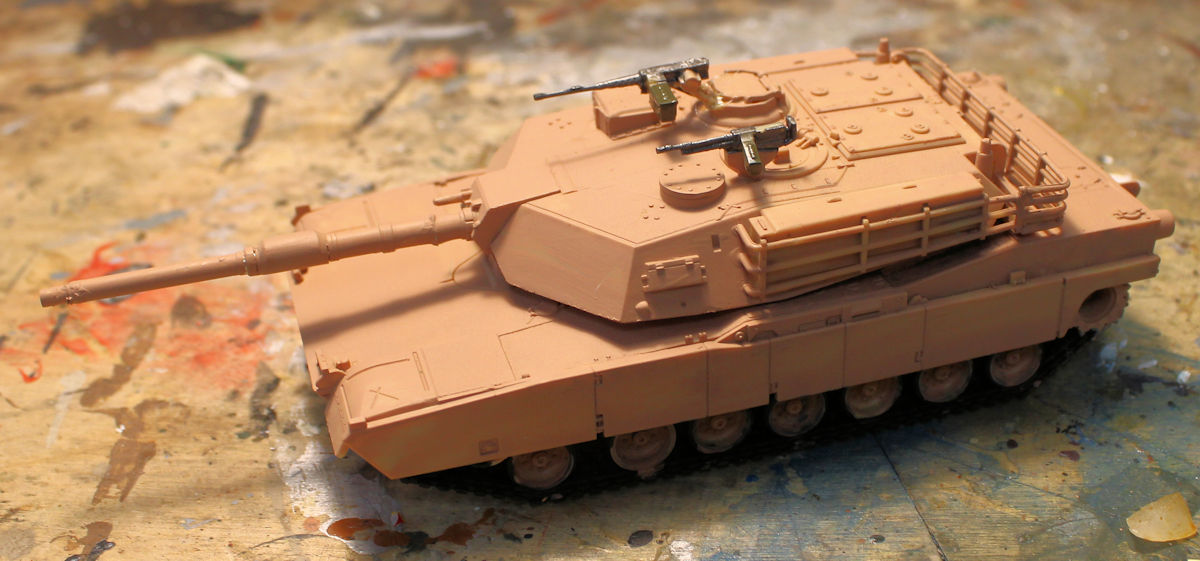
Now I just have to find the decals....
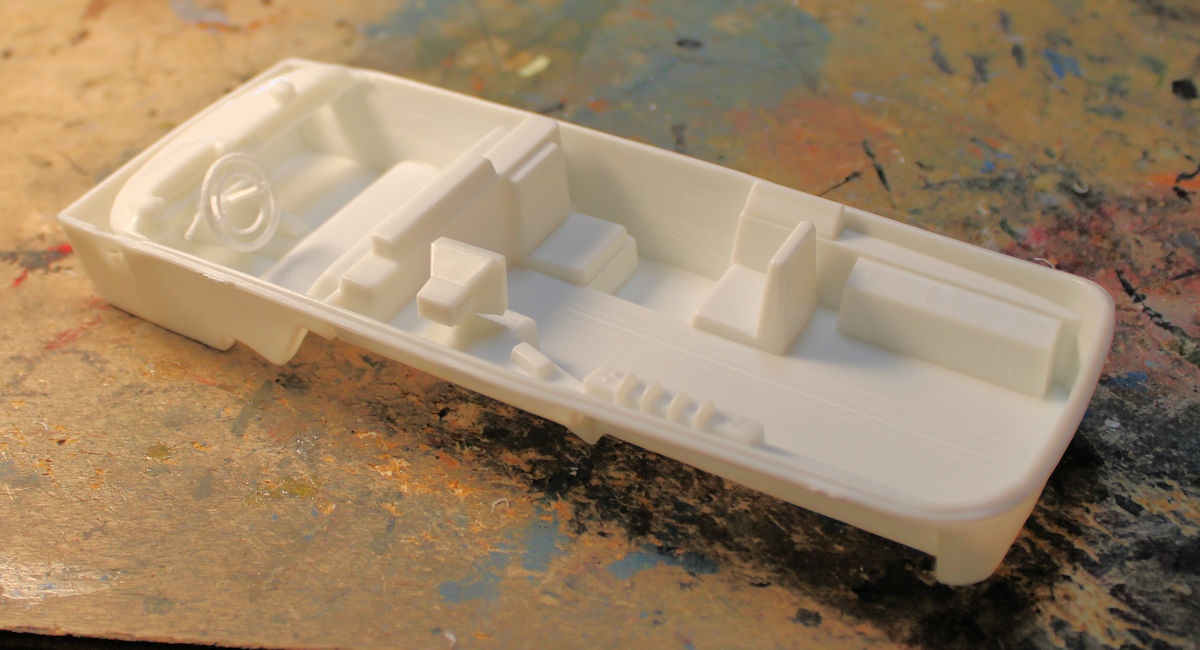
That concludes the Motor Pool portion of this tour, so on to the Garage in back where I started the Ecto-1A Ghostbusters car I got at San Diego Comicon. I've wanted this car for awhile and found it there so once I got home, I lost no time in getting it started. First was the assembly of the interior:
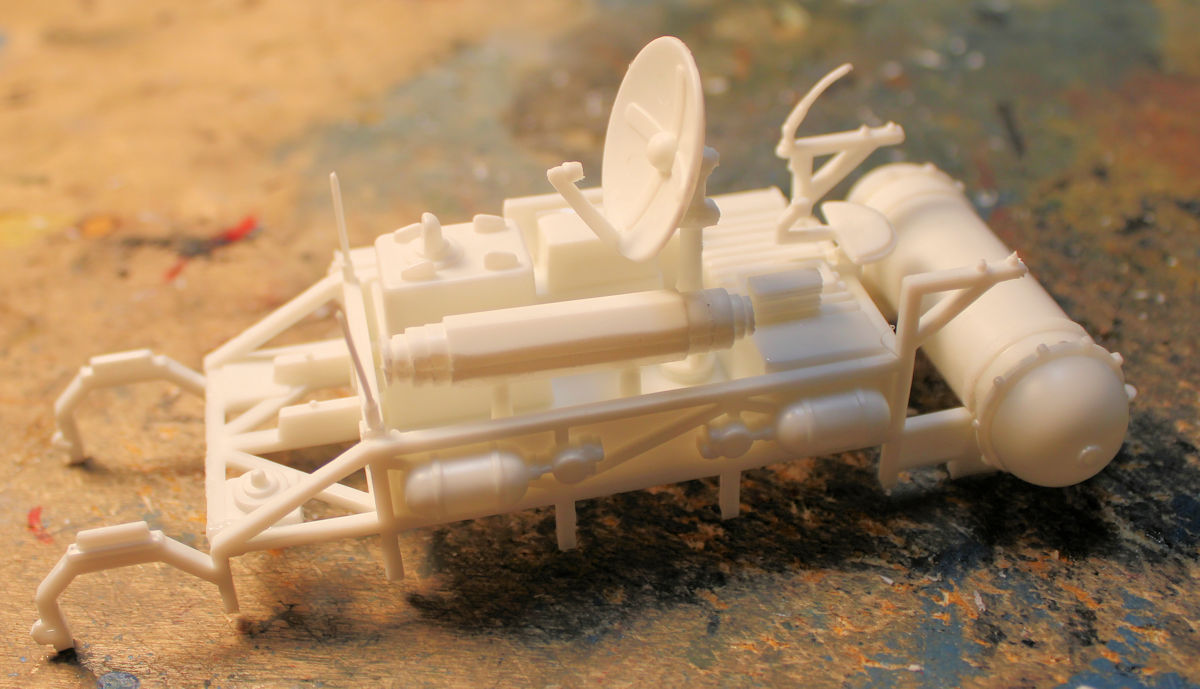
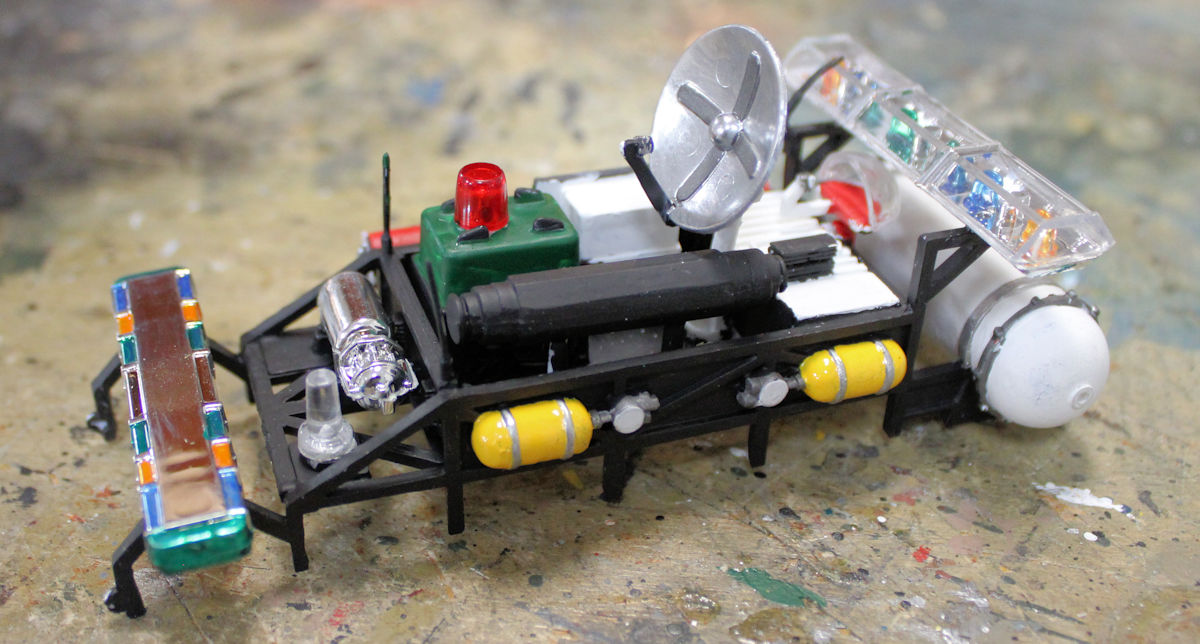
Then I moved on to the apparently complicated equipment rig on the roof, assembling about 90% of it:
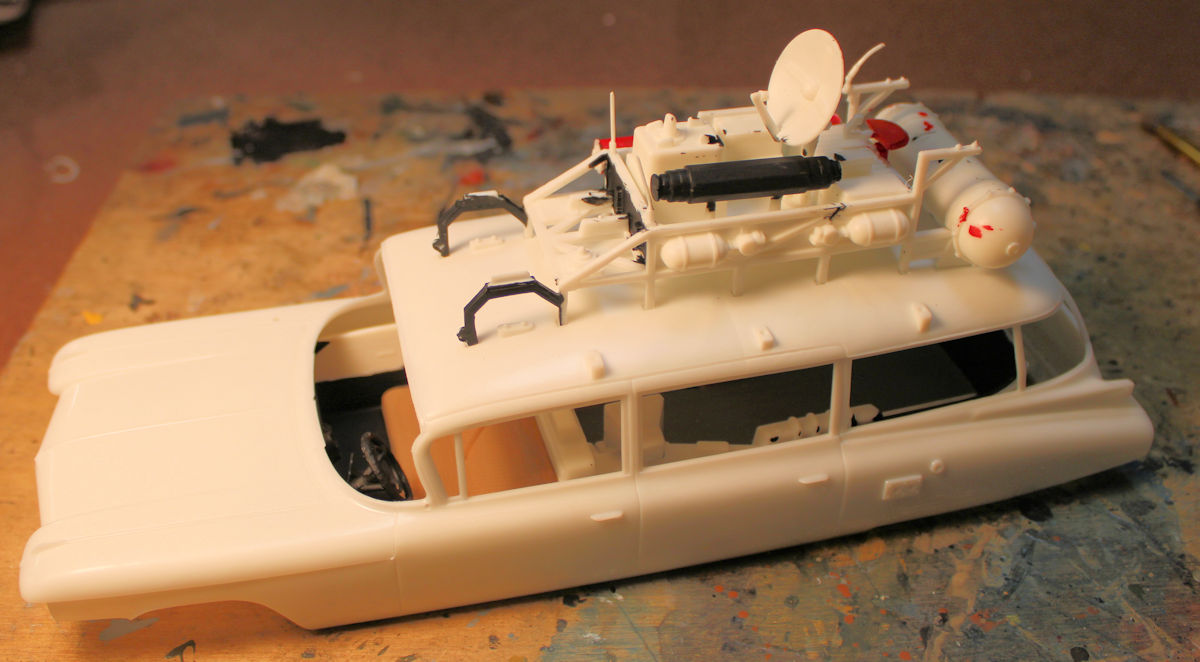
I then just had to test fit everything together:
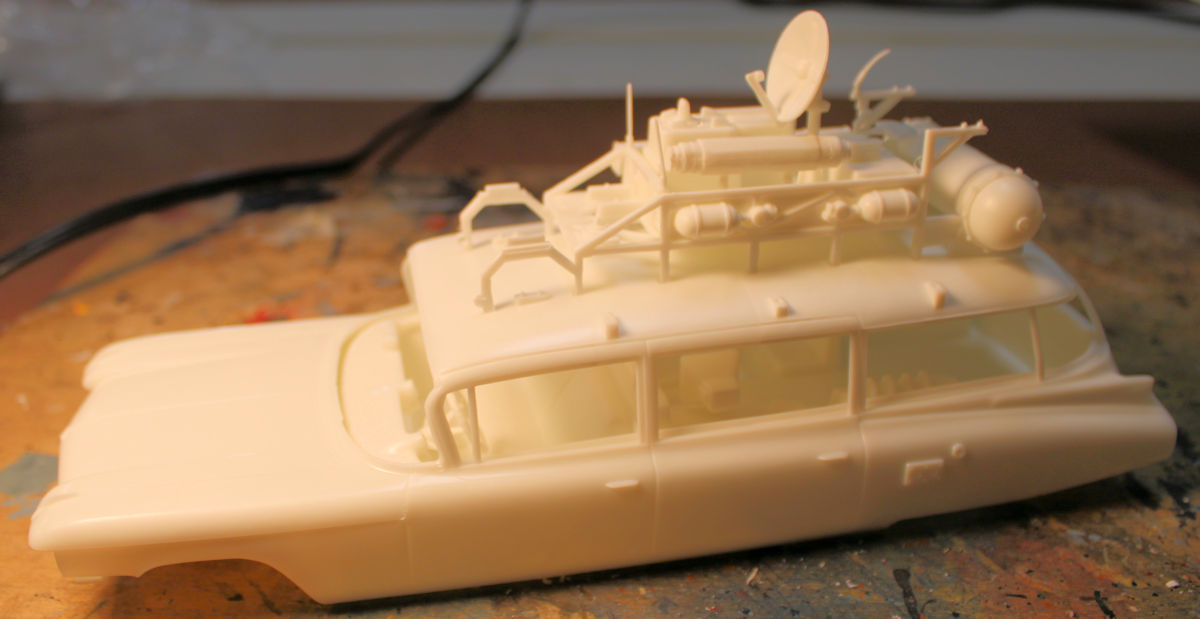
How exciting! I then started painting the interior, then parts of the equipment rig and fit it all together again:
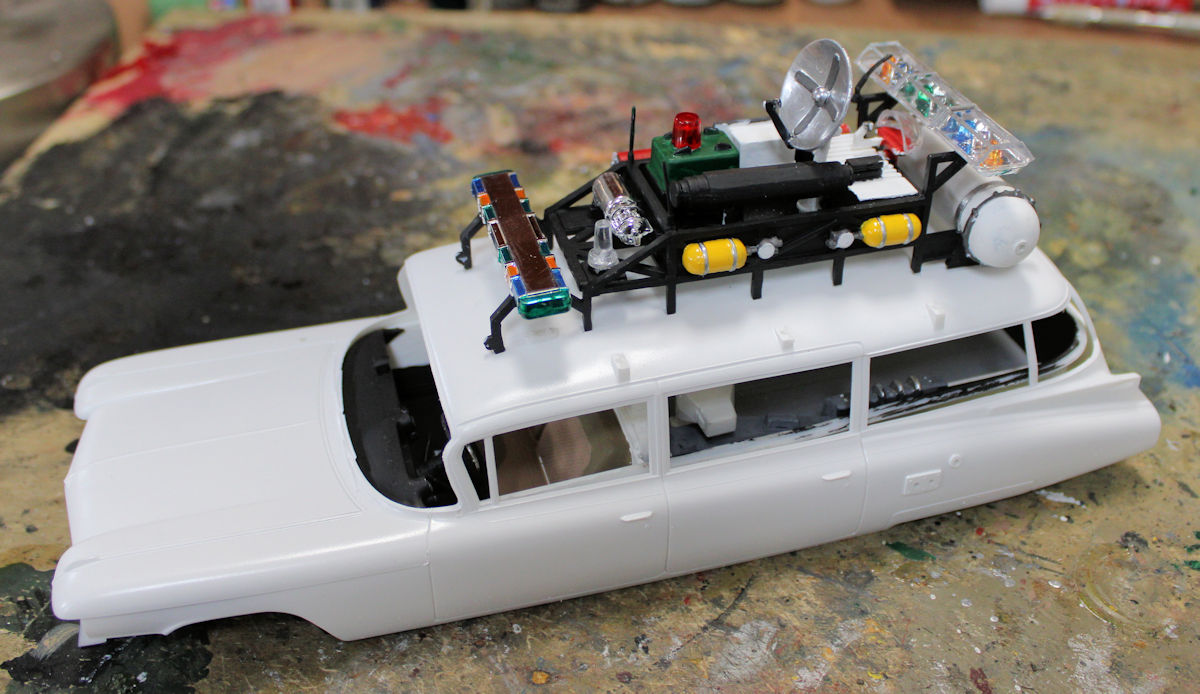
After that, I had to finish the painting of the equipment rig, add more detail parts, and painted and assembled the light bars before adding them to the rig:
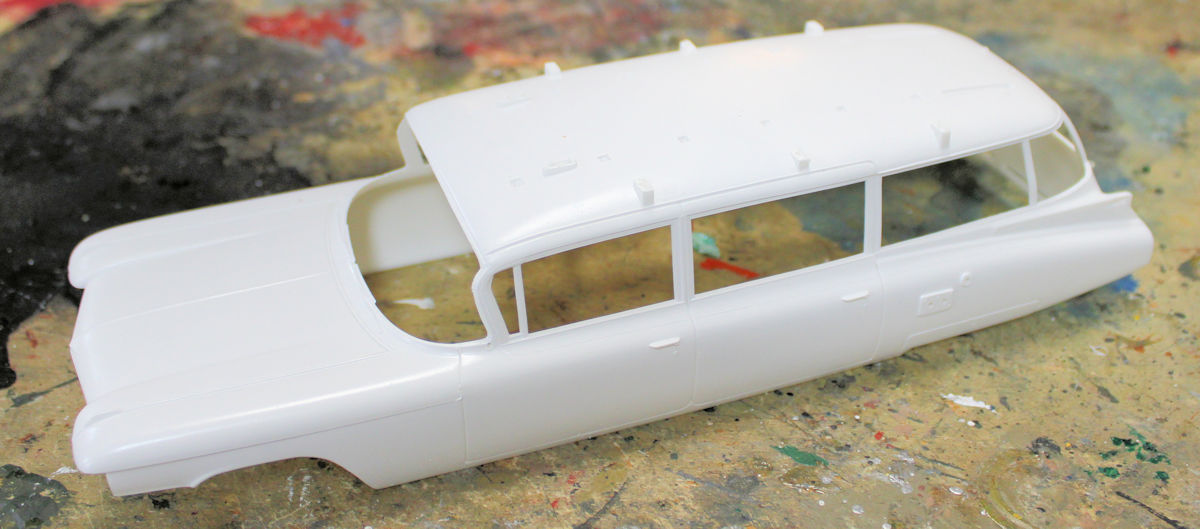
After seeing how far I'd gotten, I painted the body of the car white, in preparation for additional assembly:
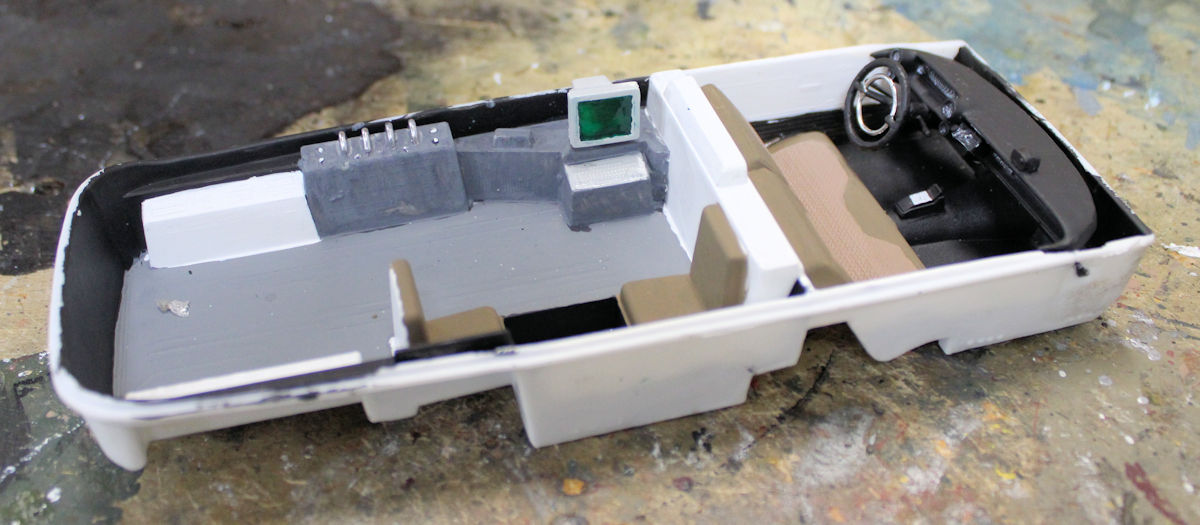
While that was drying, I completed the painting of the interior so I could close this car up:
I also detailed more of the equipment rig, touching up the paint and adding a few more detail parts:
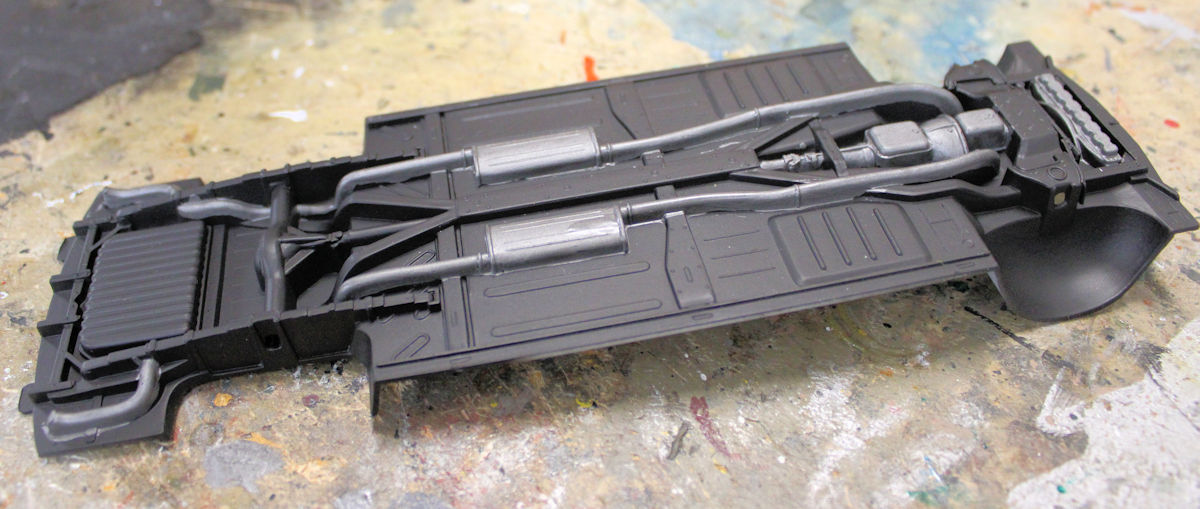
The bottom also needed painting so I painted it up as well:
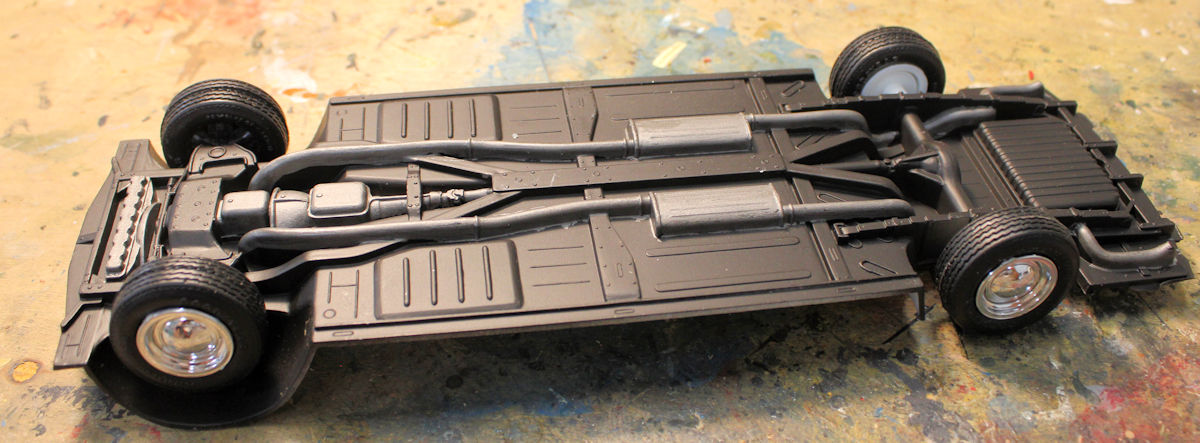
Once dry, the wheels went on:
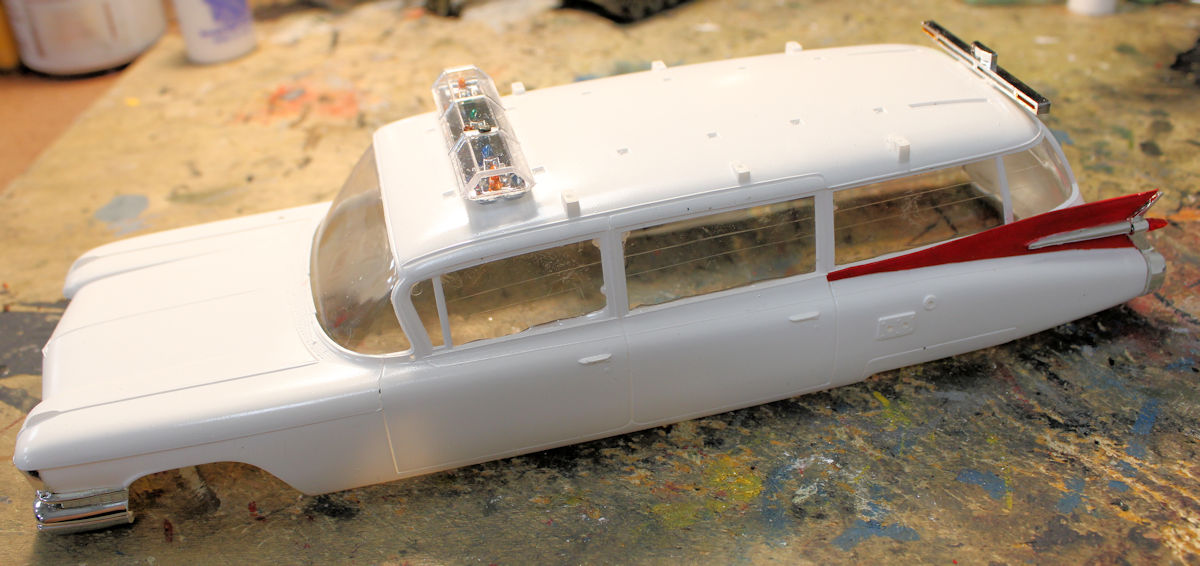
After that I returned to the body of the car, I clear coated it with gloss, added the interior glass and started adding some light bars and details:
At that point I realized that this was the opportune time to add the decals. The long black and yellow decals gave me the most fits because they tended to roll up lengthwise, making it extremely difficult to lay down flat! I finally got them all on satisfactorily enough and moved on to add the rest of the decals:
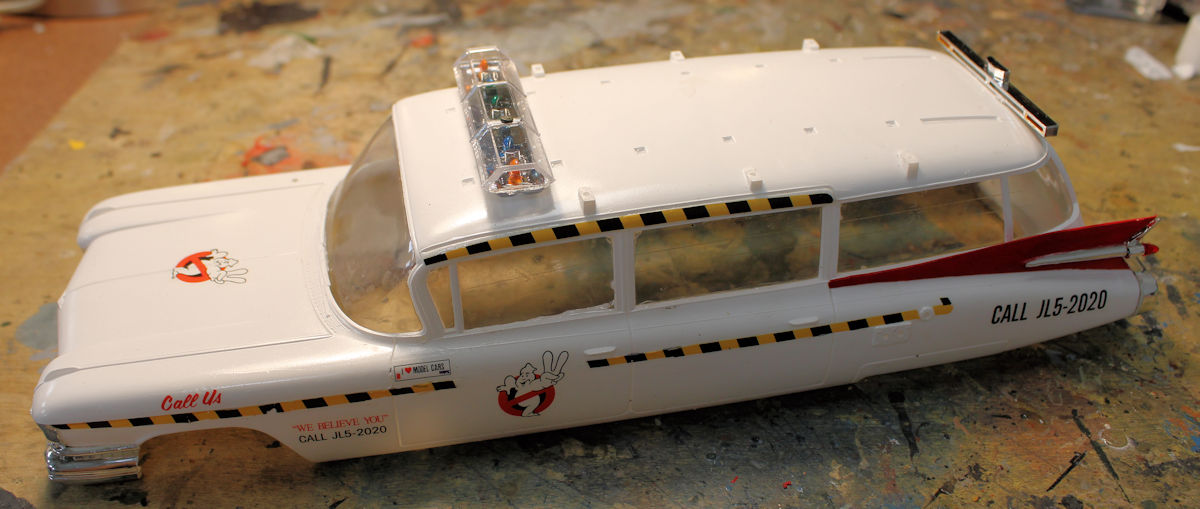
At that point, it was just a small matter to complete this car.
And with that, our tour ends here at Maddog Manufacturing, thank you all for coming in and remember, comments are welcome. We'll see you at the next tour!
