Thank you Stuart! I actually had four of them. One I gave away to a friend's daughter who was desperate to win the one in our Orangecon raffle. Since she didn't win it, I gave her one of mine. Two more of them came in a box set that someone in San Diego sold me two for one, since one had been started. The fourth was given to me by another modeler who decided he didn't even want to try after reading some reviews. So, one of these two bombers will get the kit decals and the second one I'll use the convention decals from one of the IPMS USA conventions. Still not sure what I'll do with the third one....
Carlos, I agree! And yes, I remember that old commercial too!
Since it's the middle of a heat wave here in SoCal, I figured it's time for another short tour of Maddog Manufacturing's air conditioned facilities. Today we have some small progress in the Hangar, followed by a lot in the Motor Pool. So, all aboard the trams and remember to keep hands and feet inside at all times that the trams are moving.
As mentioned, here in the Hangar, we spent months of time trying to get these two B-2 Stealth Bombers smooth enough to take paint. Finally after all this time, I believe we made it:
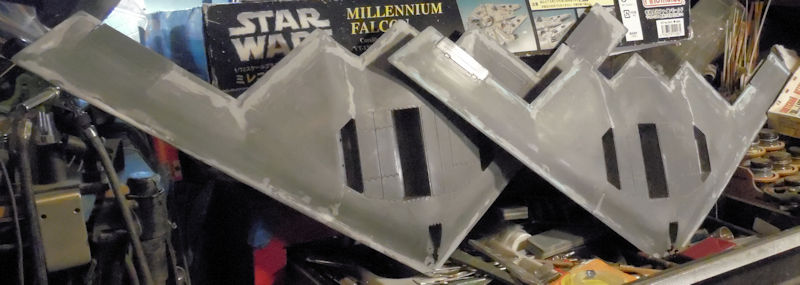
Next up will be a coat of black primer to see where I am mistaken. Until then....
Now off to the Motor Pool.
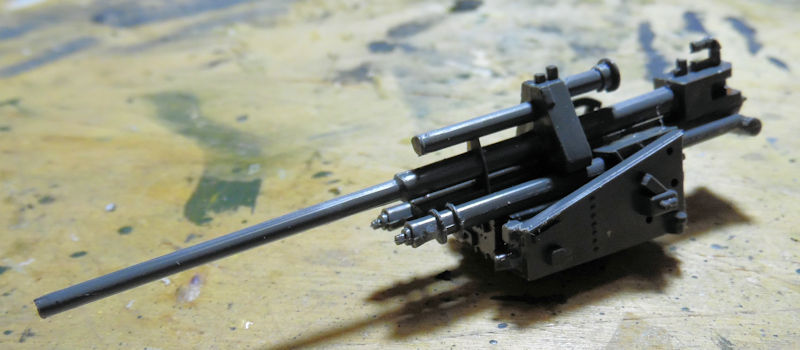
In this first bay of the Motor Pool we started a Fujimi German 105mm anti-aircraft gun. The gun and cradle were assembled first:
Later we got the base and the travel attachments:
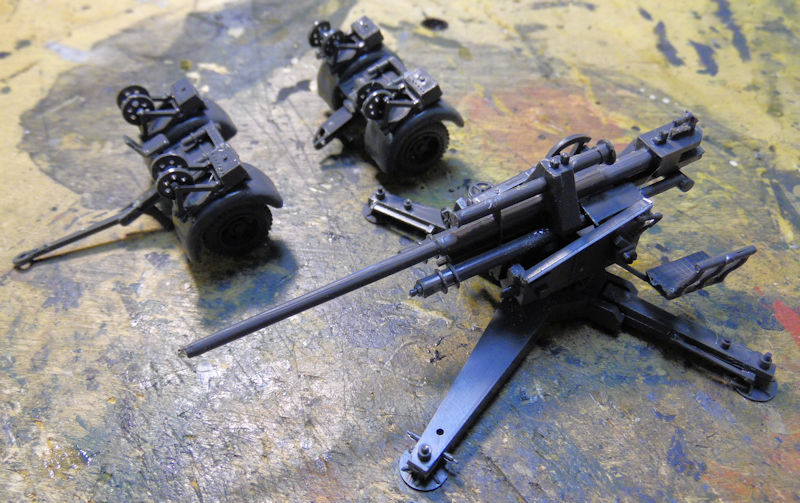
After they had dried, we painted them....mostly:
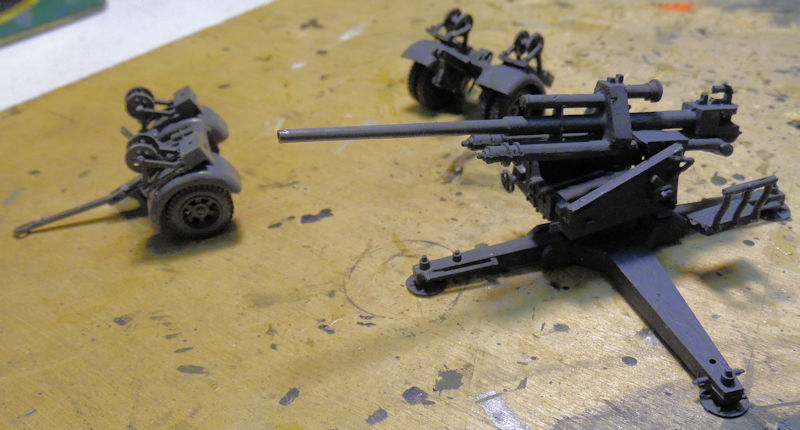
That's all that was done here, some additional adjustments will need to be done. Until then, we move along to the next bay where we have the Russian Zis-5 that pulls the 37mm AA gun. All assembly is done and the painting is completed, now I can add the roof:
After the paint had dried, the cab was closed off and; using Micro Crystal Clear, we added windows to this:
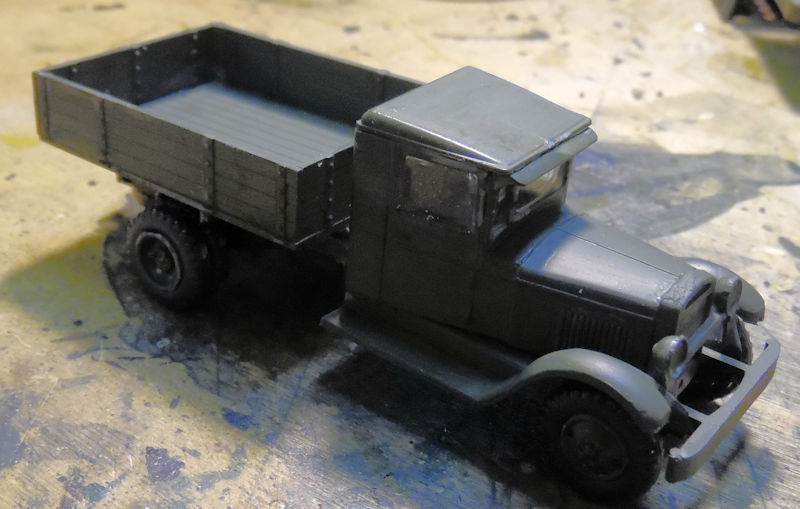
Now we can get decals on it and move it closer to being finished.
In the next bay, we continued work on the MAN KAT 1014 tractor trailer, painting the main tractor parts that were already assembled:
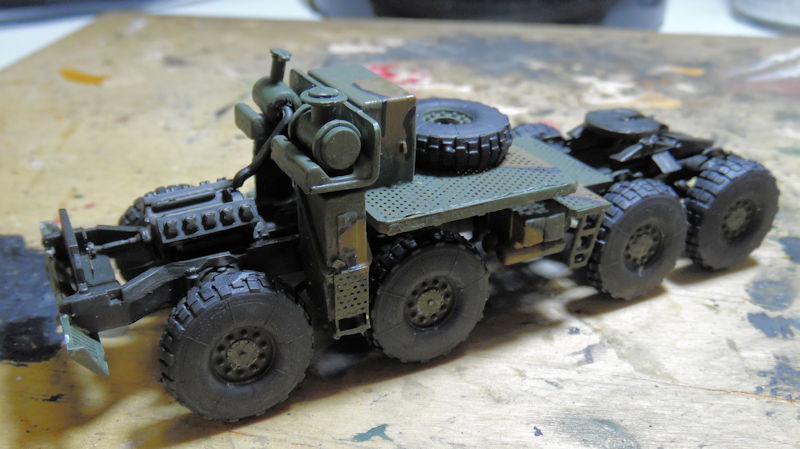
Later we assembled the wheels and suspension for the trailer:
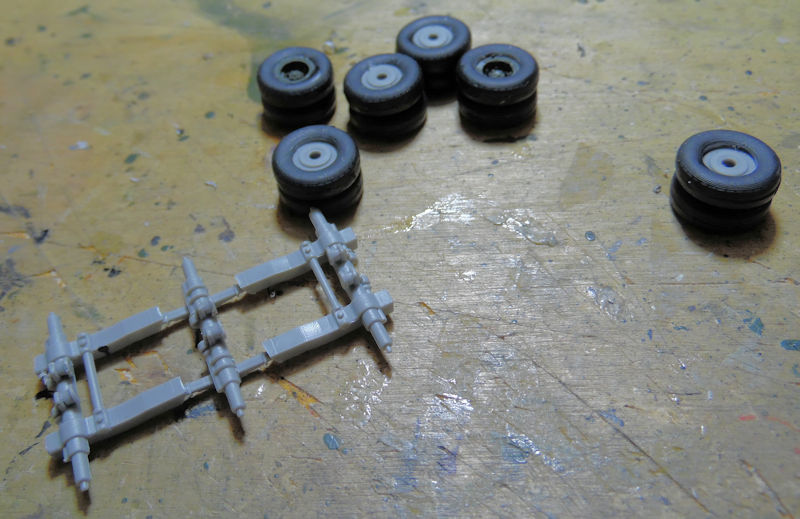
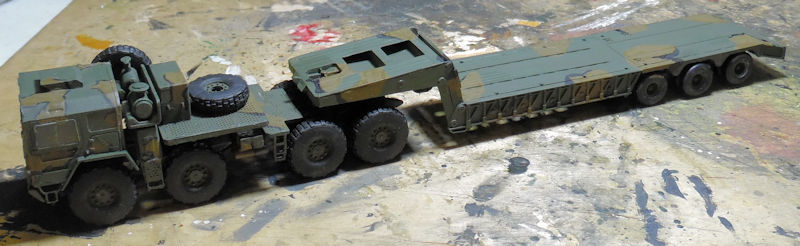
That was a delicate operation! Still, we got it looking good when these were finally installed on the trailer and added the driver's cab:
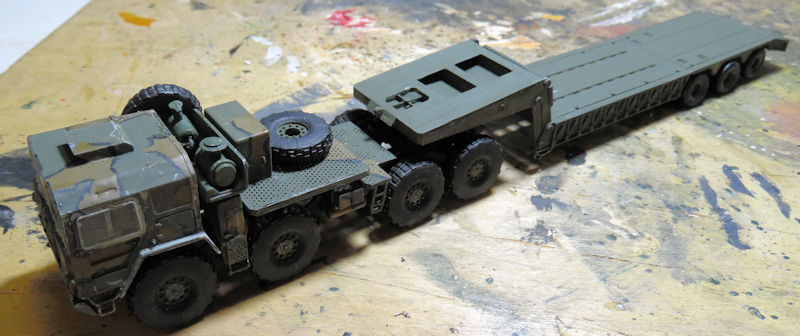
Later the trailer got the same camouflage pattern on the tractor:
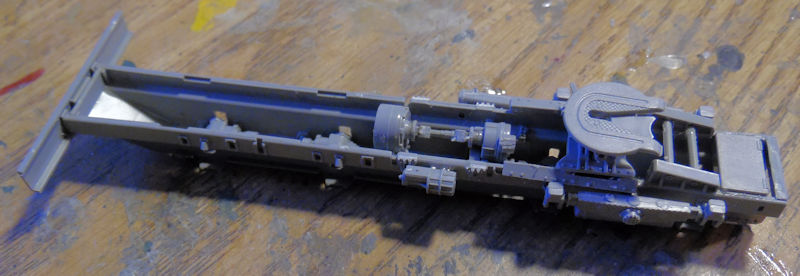
Moving on to the next bay, we started a Takom MAZ-536 Tractor Trailer by starting with the tractor chassis:
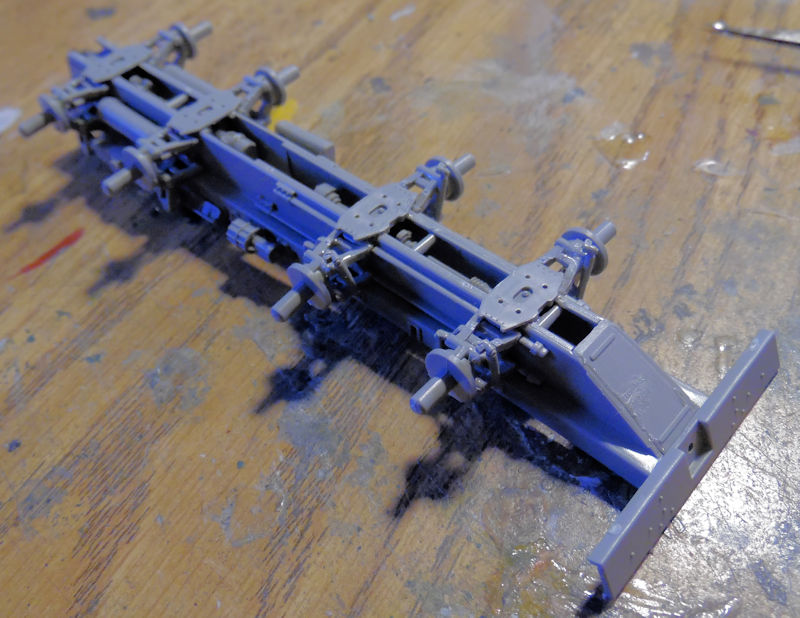
Later the suspension was added. I love the way Takom has you assemble these and install them:
Finally, we got to the cabin and interior. All got built up and now this is as far as I can go on this tractor since all the clear parts and P/E have all disappeared:
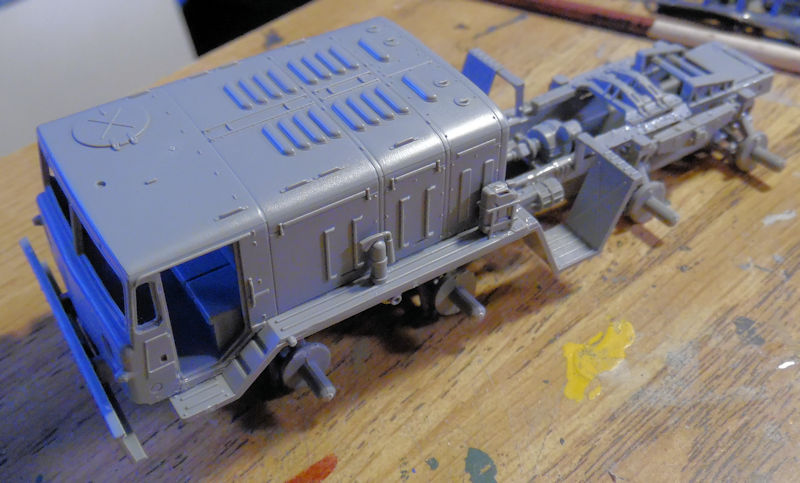
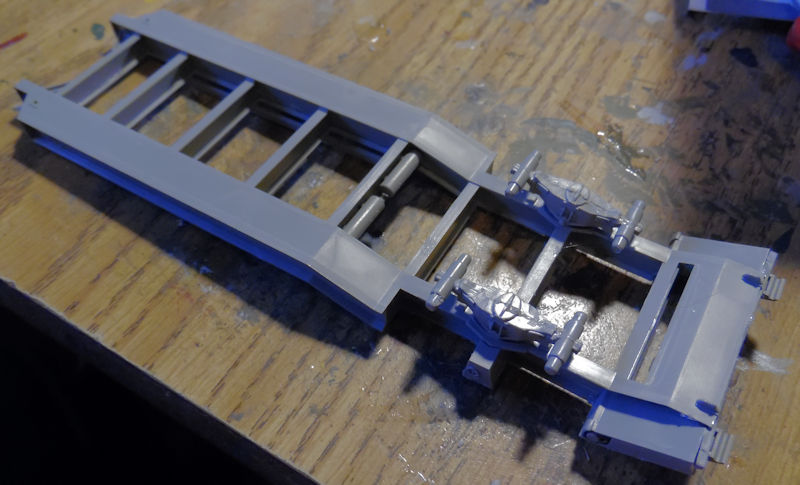
I know they must be in the hobby room, so we'll just have to wait till they show up. Until then, I at least got the trailer mostly assembled:
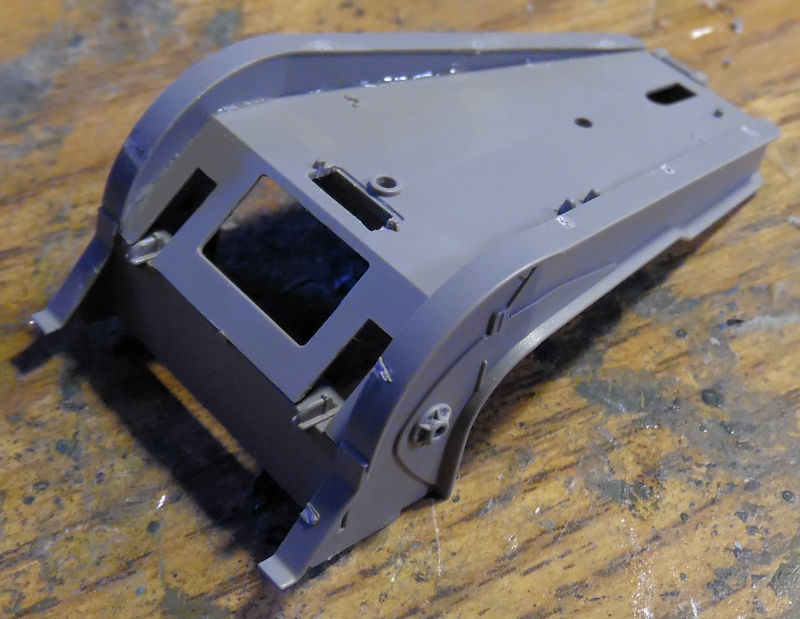
The goose neck was a separate assembly and went together well:
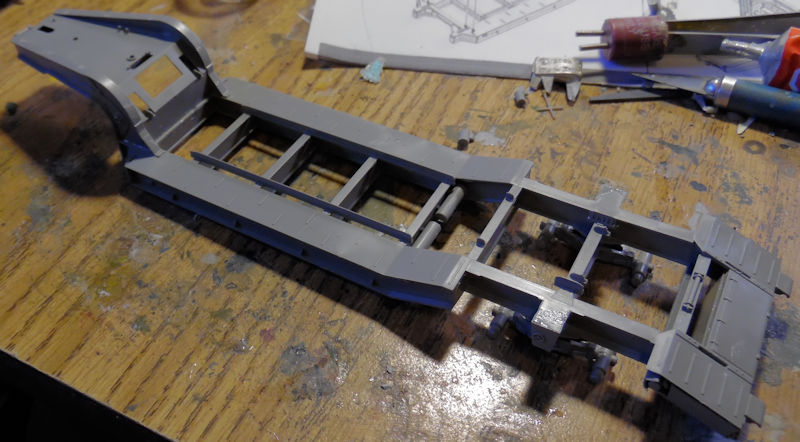
That was then attached when both were sufficiently dry enough:
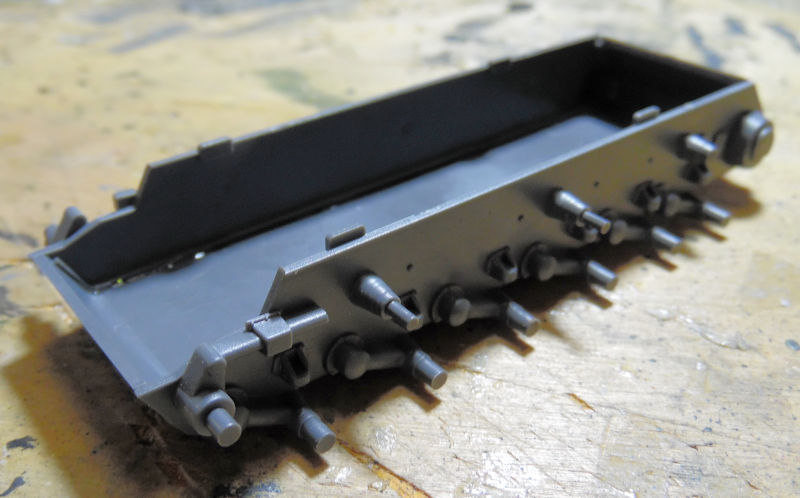
After all that I wanted a simple no frills build so I pulled out a very old PST KV-1C heavy tank that I'd had for ages. The lower hull was built first:
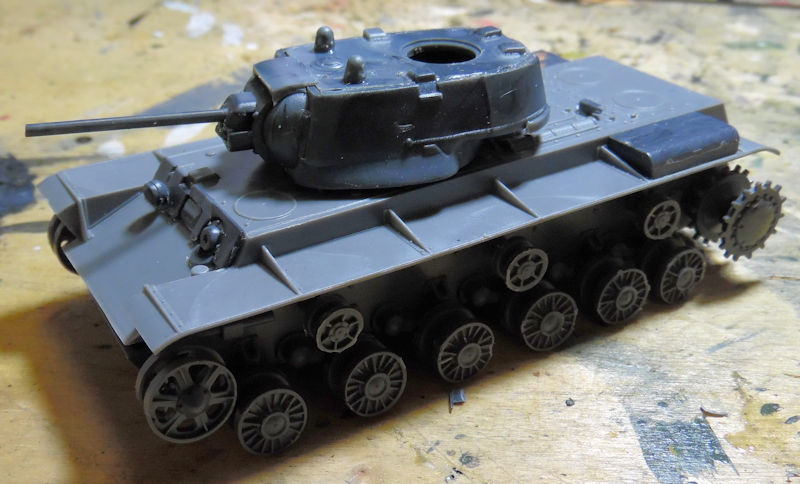
Afterward I built the turret and then added a few parts to the upper hull. Then when the lower hull was sufficiently dry, I added all the wheels and sprockets. Here you can see the two sub-assemblies dry-fit together:
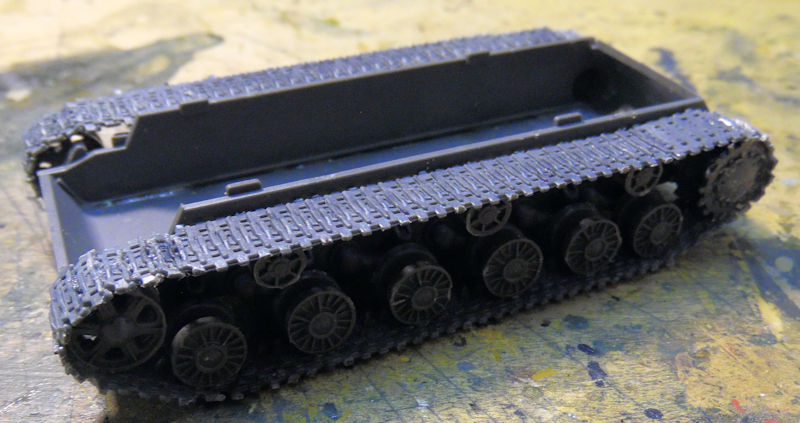
Later the tracks went on. I do love their link and length tracks:
Finally, the turret was fully completed, all the detail parts were added to the hull and the whole thing was cemented together:
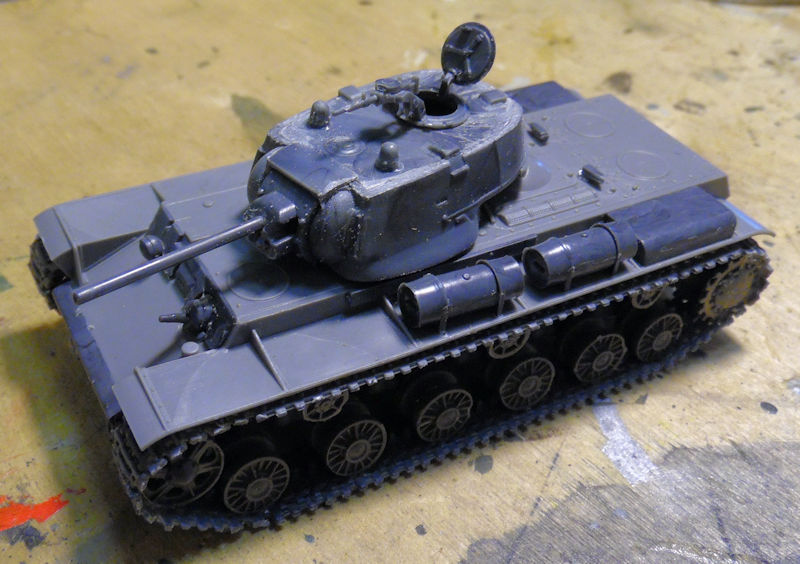
And because I liked the paint scheme on the box top, I chose that one to paint this tank:
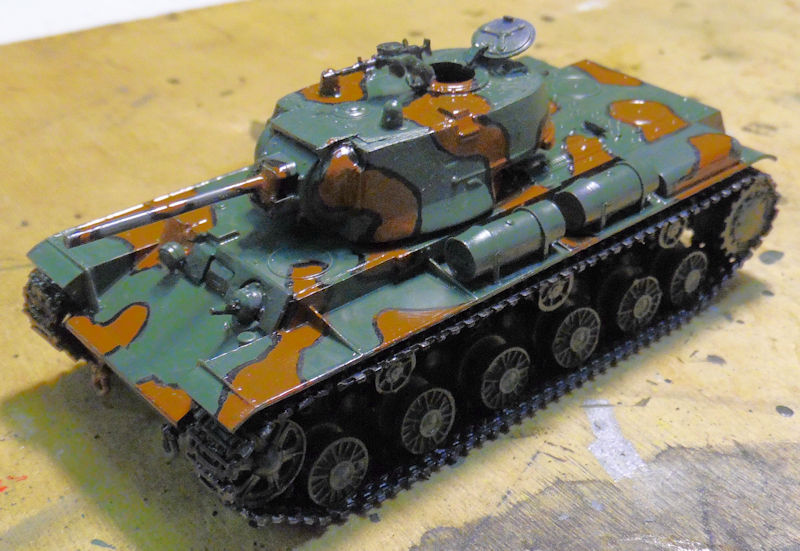
That brings that tank much closer to being done.
That's all I have for this tour today, I hope you enjoyed it. Thank you all for looking in, comments are always welcome.