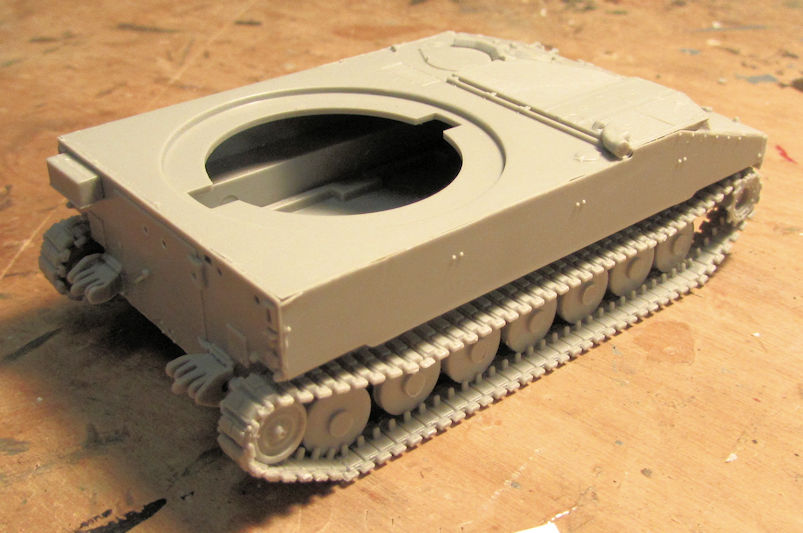
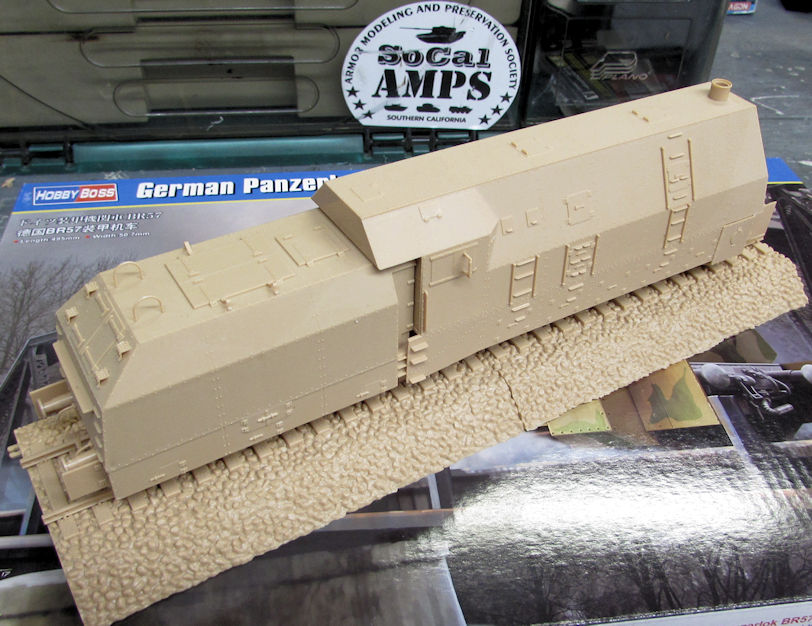
Maddog Manufacturing 2018 Production

Show off your completed work! One or two pictures and a brief explanation. Let others have a quick look at your finished masterpieces!
User avatar
Duke Maddog
Elite Member
Posts: 7091
Joined: Tue Jun 03, 2014 11:22 am
Location: Rowland Heights, CA

Re: Maddog Manufacturing 2018 Production

Post by Duke Maddog »

Thanks Medic! I appreciate that very much.


I had some time to work on things this past weekend so I kept going on a couple things. One was my Canadian Husky recovery vehicle that finally got all the bits and bobs on it. I just needed to detail and touch it up:
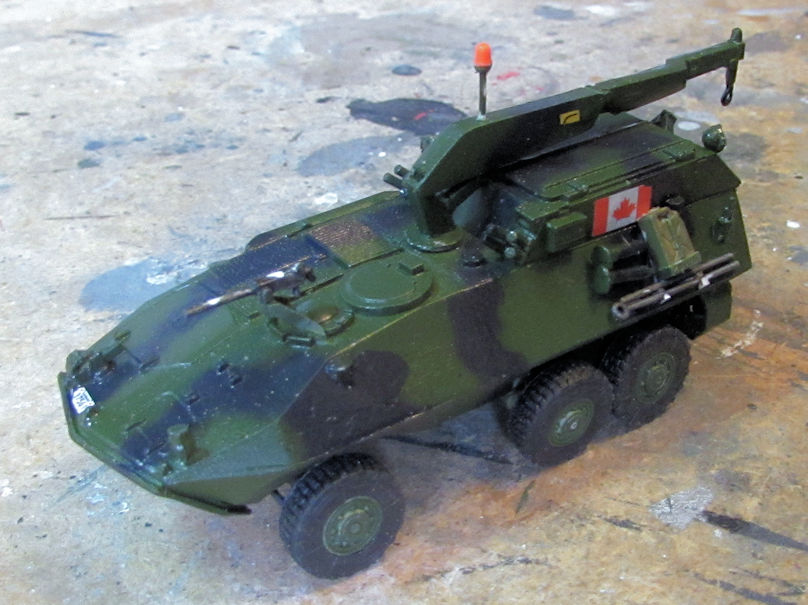
Image

Later on, I shot the dullcoat on it and then added some black wash to the grills:
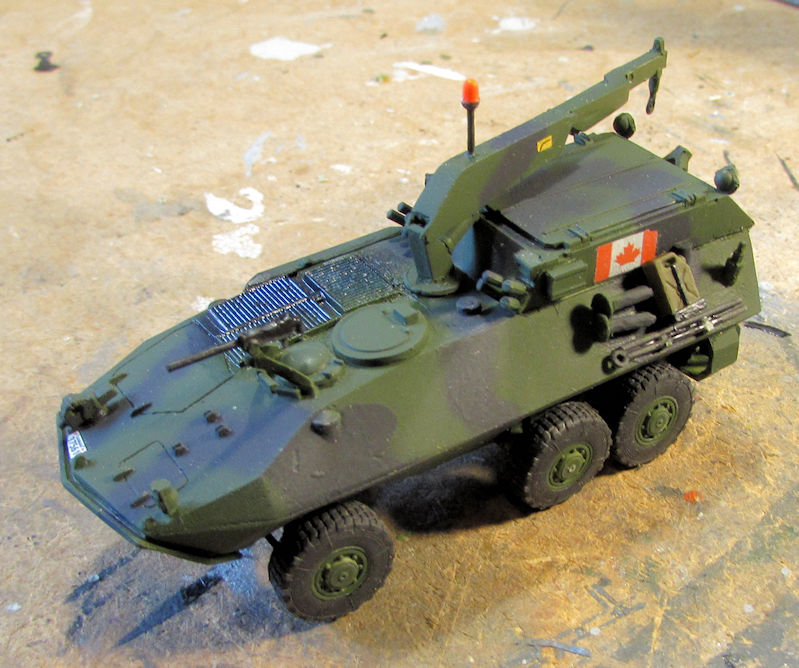
Image

She has since been weathered and will soon be posted in the finished Armored Forums.

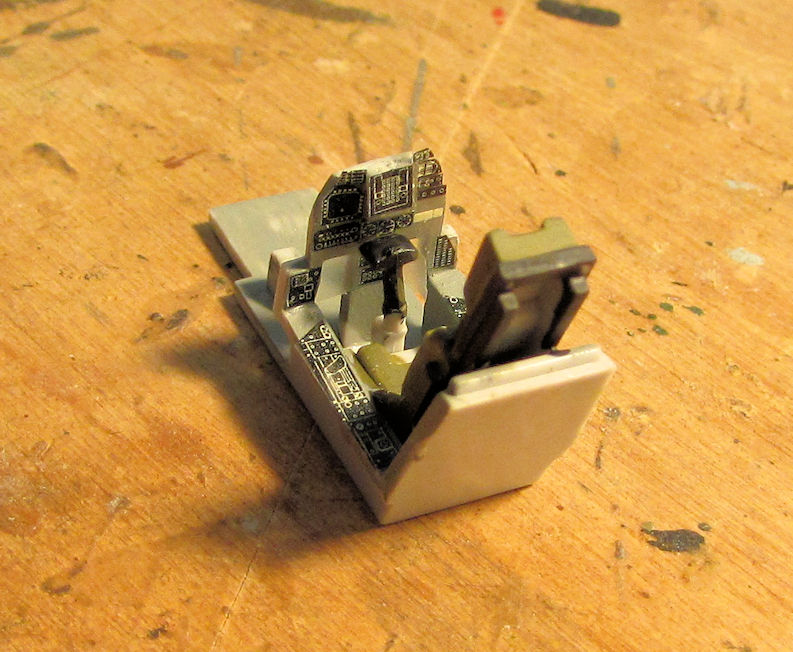
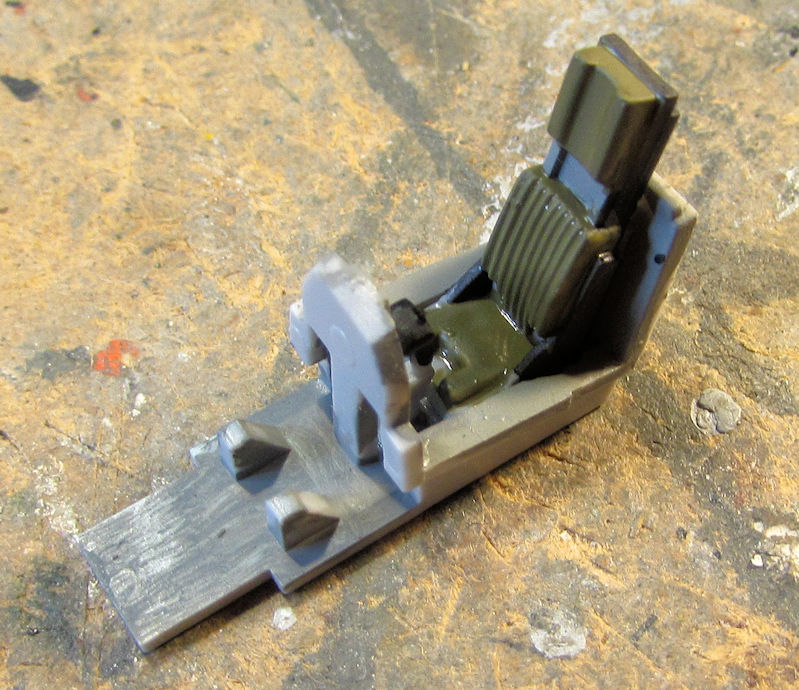
Meanwhile, I also pulled out the Italian Harrier I started. I painted the cockpit in preparation for the instrument decals:
Image

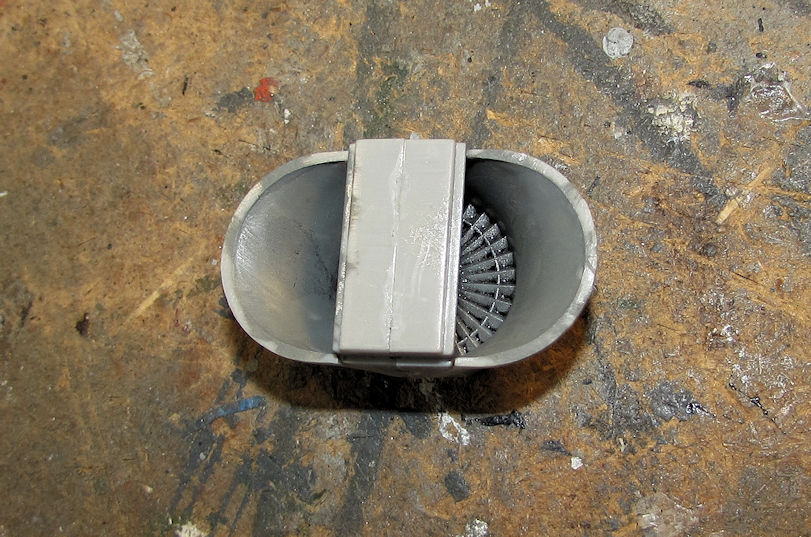
While that was drying, I painted the engine intake turbines...
Image

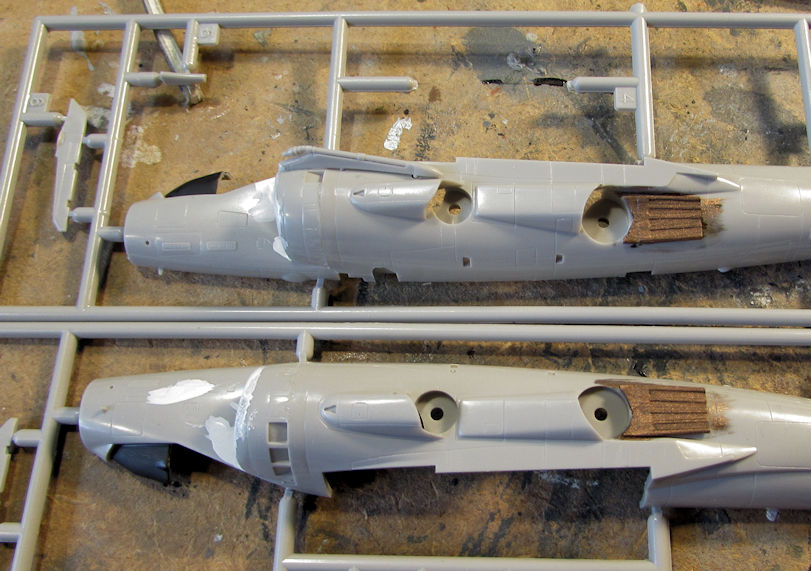
...and the cockpit cowl, engine intakes and exhaust plates on the fuselage halves....

Image

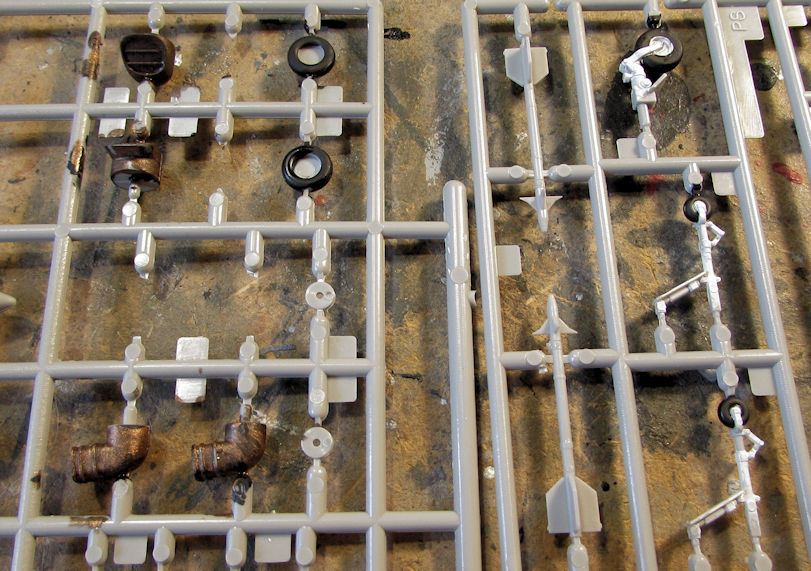
...and finally, the wheels, struts, and burner cans:
Image


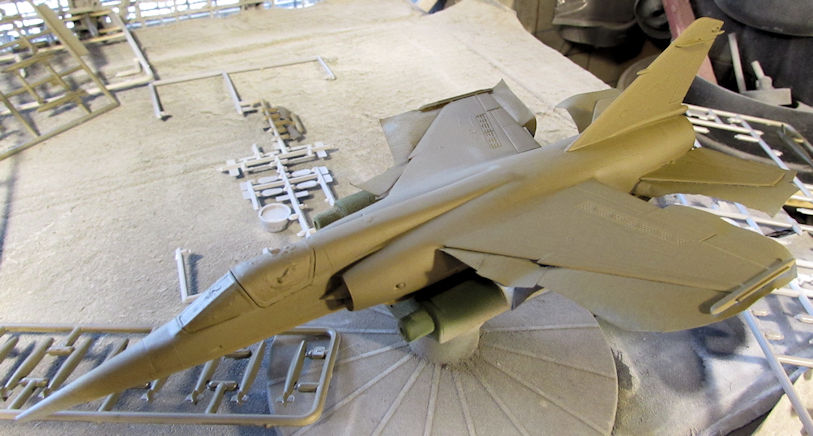
Another aircraft I continued on was the South African Mirage for my second African build. I added the canopy to this and then sanded down all the filler I had added:
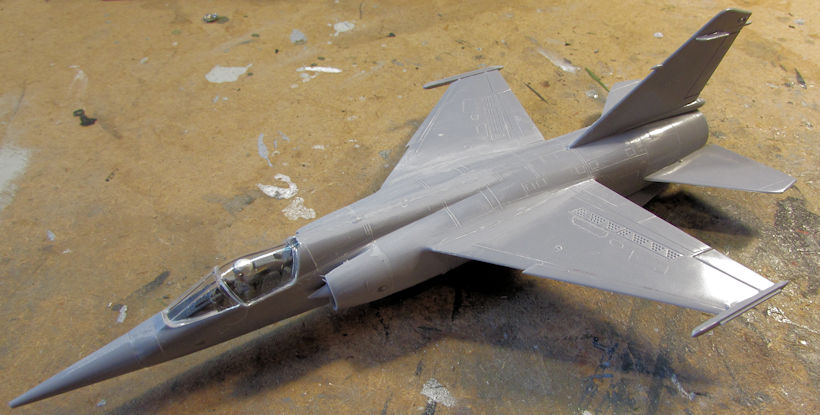
Image

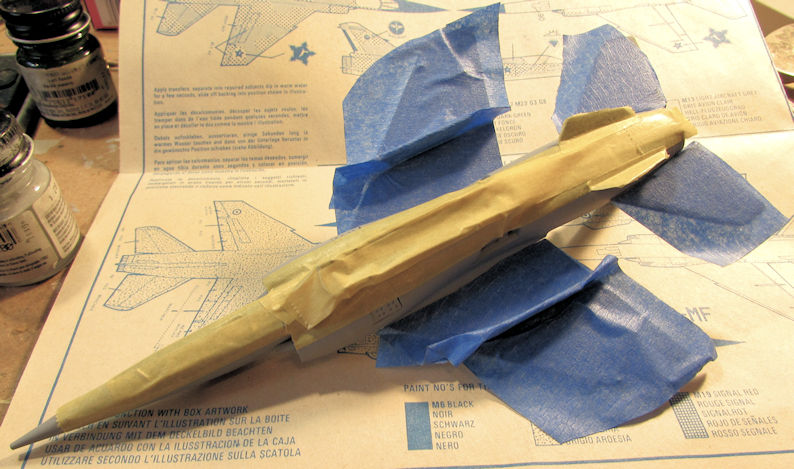
Later I masked off the canopy in preparation for a primer coat:
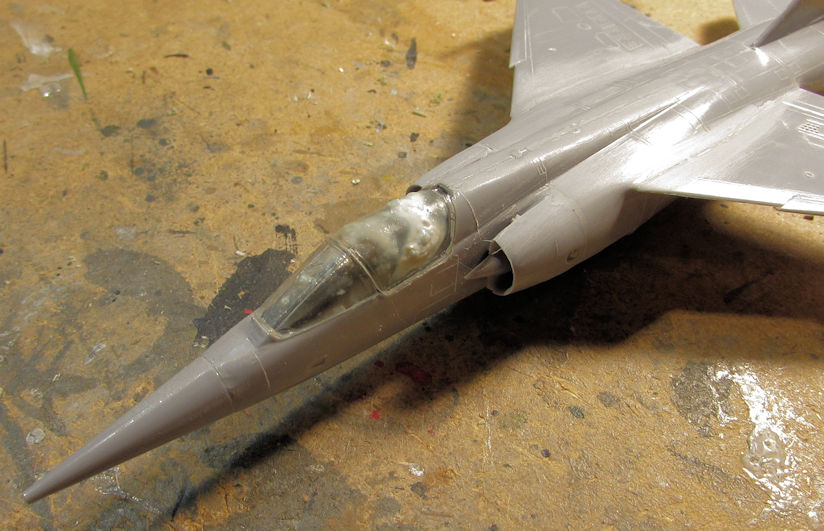
Image


Now for a few of the other models I mentioned before that I found when I cleaned up a bit. These are models I'd forgotten about, or had held back from starting before. I finally decided to just get them done.

One was this one that I had thrown in frustration. I started to re-cement back the Boeing 737 fuselage:
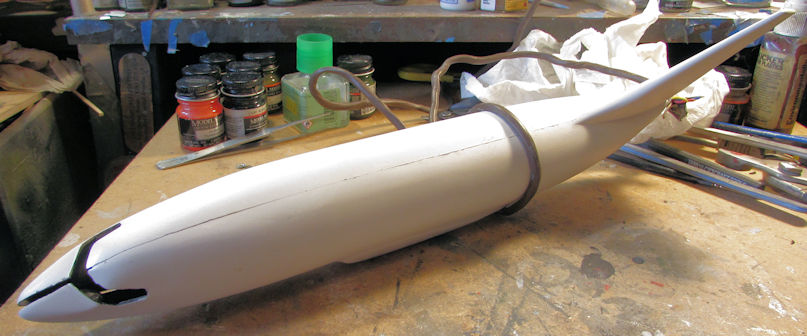
Image

Yes, that is some old housing wiring I'm using as a clamp to hold all that together. I've also since closed up the nose and I'm waiting for it to dry as well before I move on again and try to paint the white

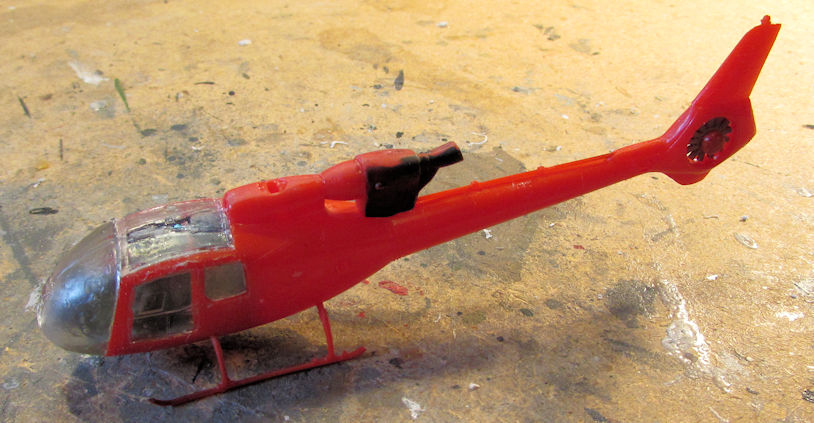
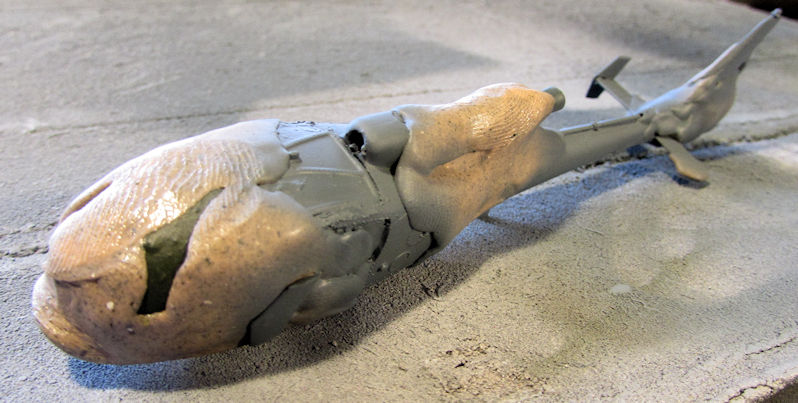
That was put aside and I then pulled this tiny Airfix Gazelle that I started some time ago (years?) and put away because I couldn't get enough weight in this to keep it on it's skids. Here is how it was when I found it:
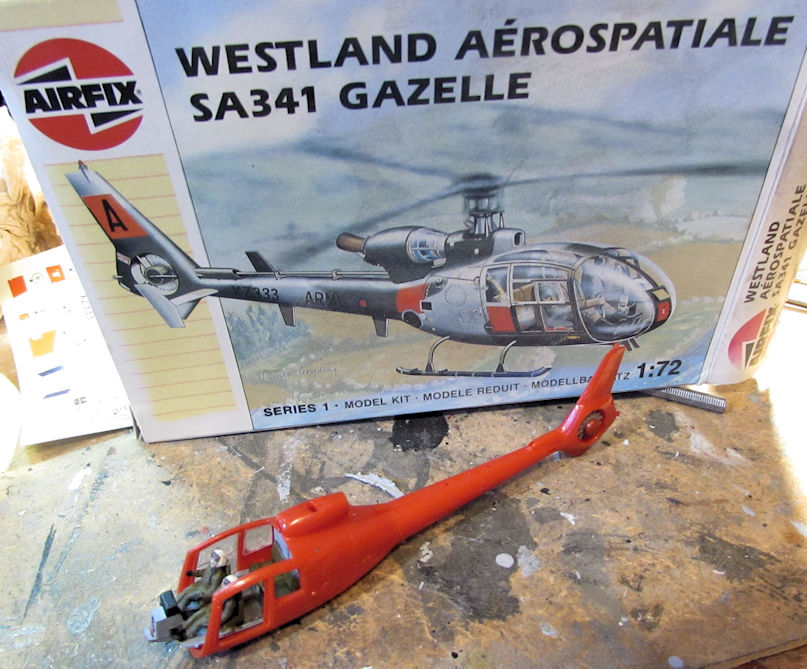
Image

I've since added the engine housing and tried to add a bit more weight in select crannies:
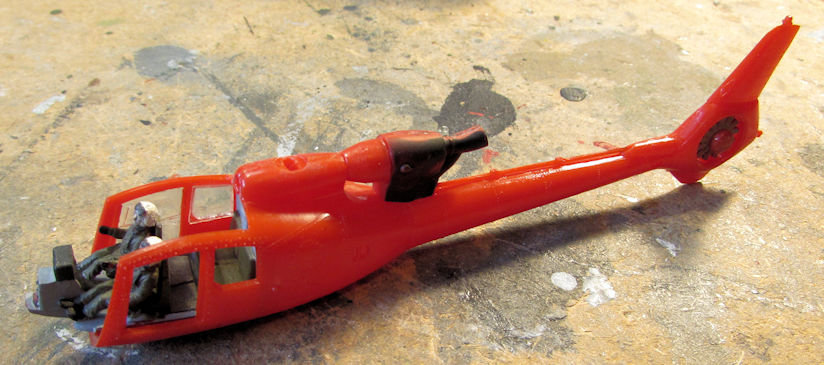
Image

Finally I hit on a new idea: the overhead canopy has a center bar on it that I used to add some additional weight to:
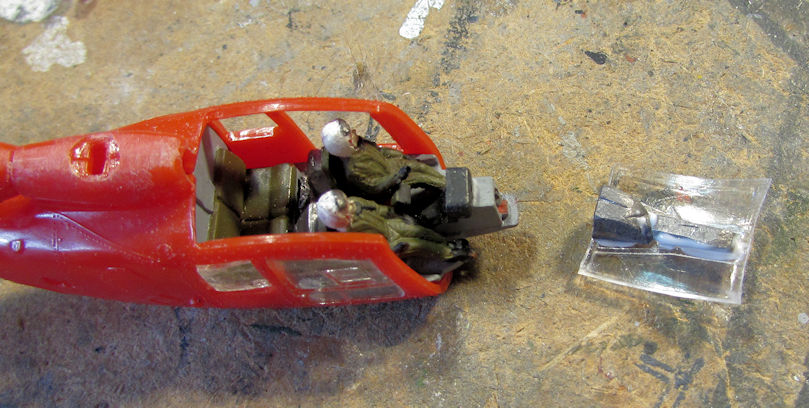
Image

When I tested it later, it seemed to do the trick! I sure hope so.

Then I started to cement all the clear parts on, starting with the overhead:
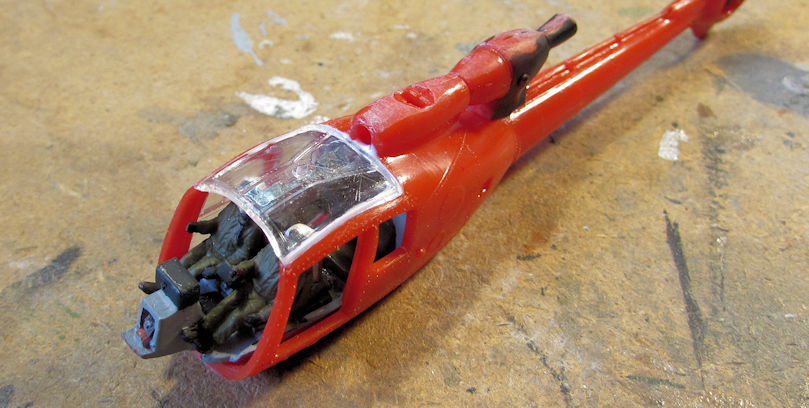
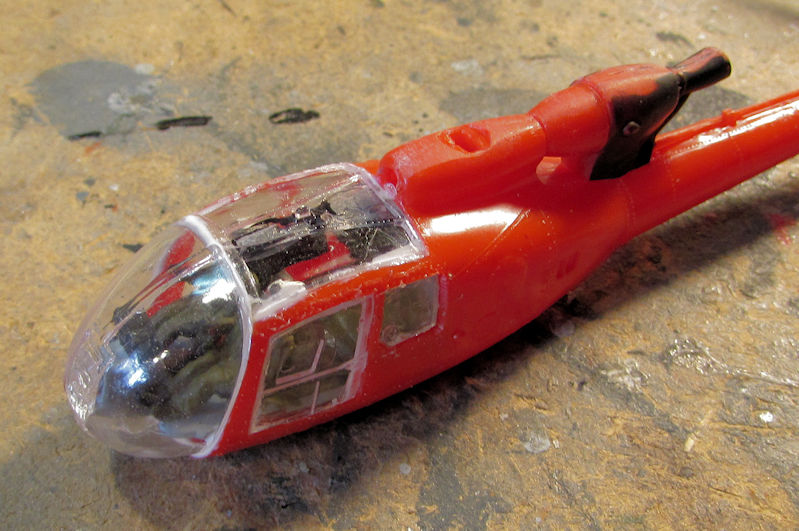
Image

And finally, all clear parts are on:

Image

While that was drying, I decided to assemble the main rotor so it would be ready to add when the time came:
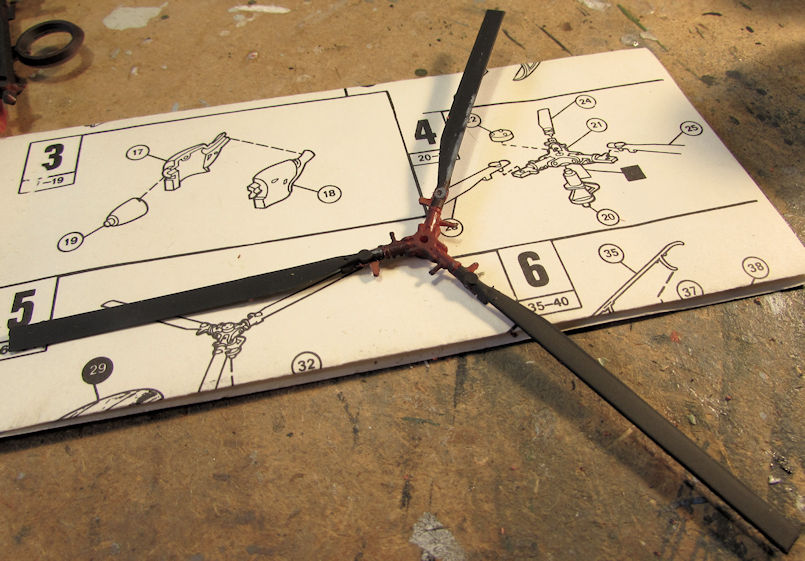
Image

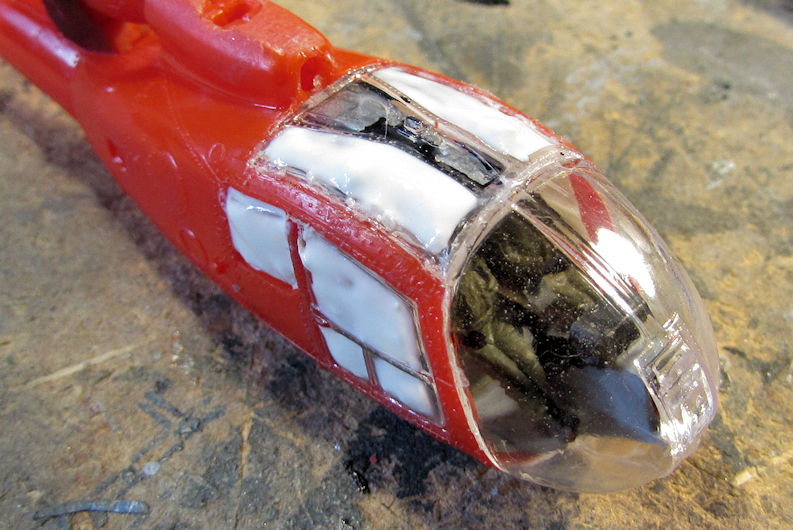
Once the clear parts were all sufficiently dry, I started to mask them off in preparation for painting. I did the sides first, later I'll do the front ones so this doesn't smear in the interim:
Image


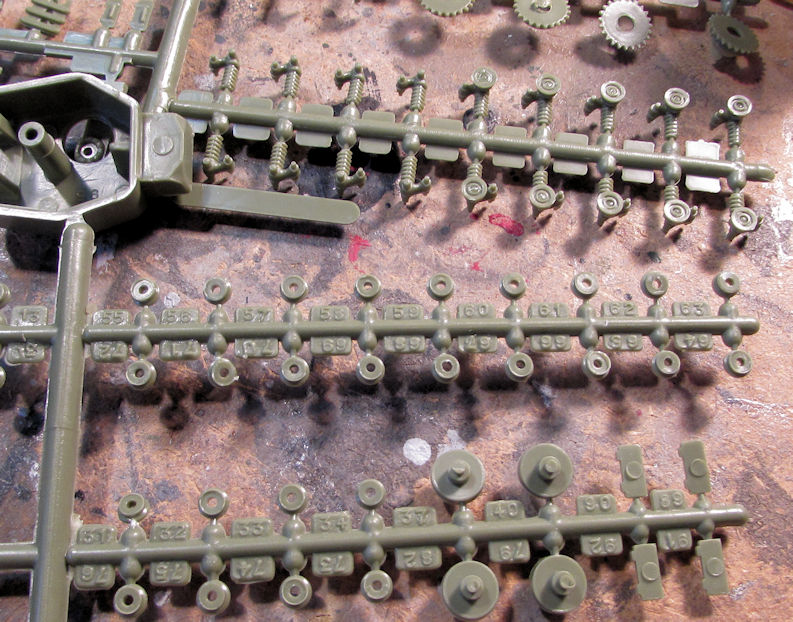
After all that, I wanted to start something different. I had been eyeing this kit of an Airfix Churchill bridgelayer for awhile and finally decided to pull it down and start it. I started with step one; having to add all the tiny wheels to the 22 struts that go on each side of this tank:
Image

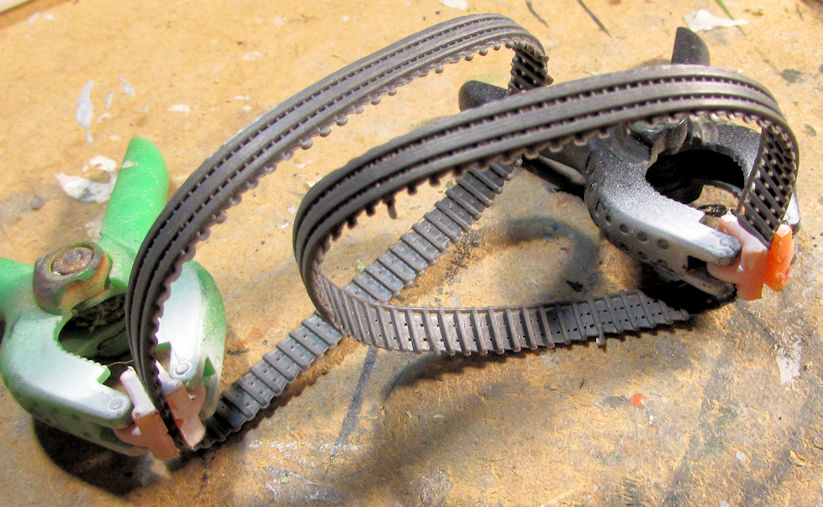
This kit came with vynil tracks that the instructions said I had to attach by heating them up. Upon close inspection, I realized that was not going to work. So, I pulled out that Tire Glue I had and glued these tracks together:
Image

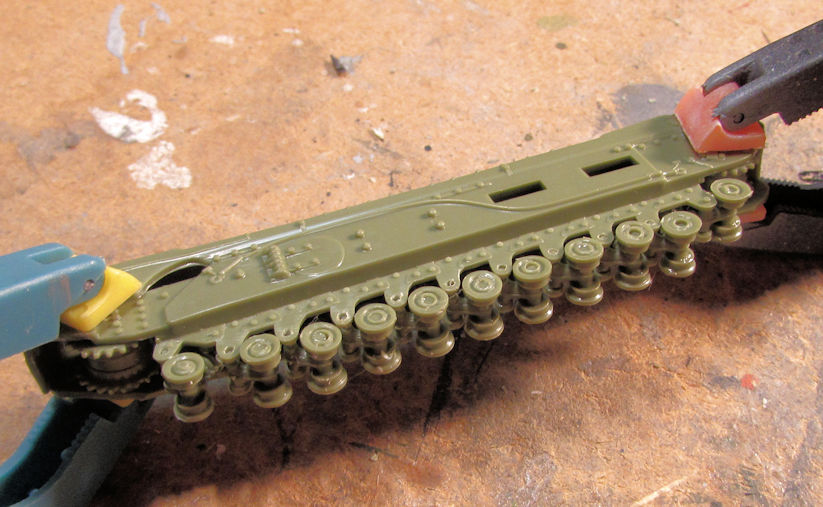
I then glued in the struts on one side of the track assembly, dry-fit and clamped the other side to let the struts dry in the correct position:
Image

I then moved on to the center hull, adding the hatches and exhaust pipes among other things:
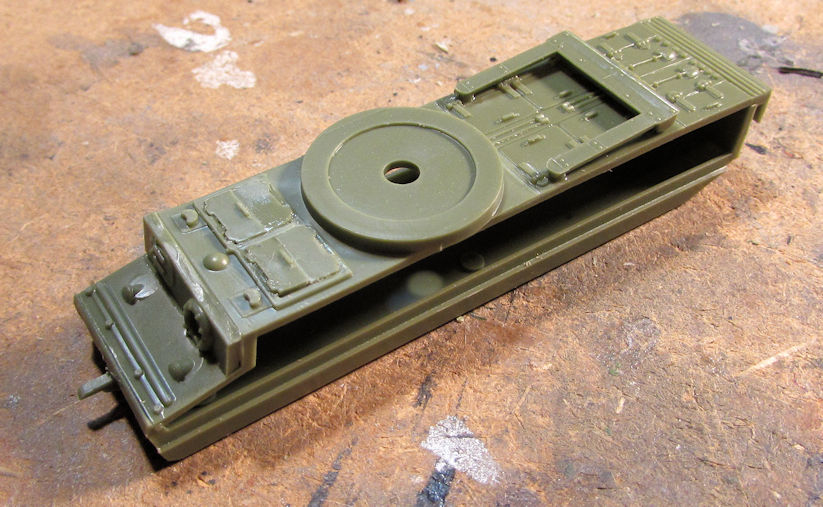
Image

I then started on the bridging assembly by assembling the bridge itself:
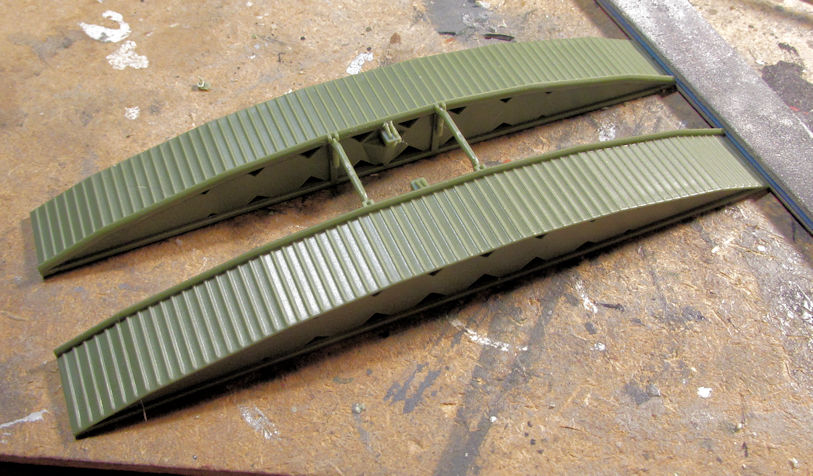
Image

After that I decided to test the tracks. One did glue successfully so I added it to the track assembly. The other one I re-glued:
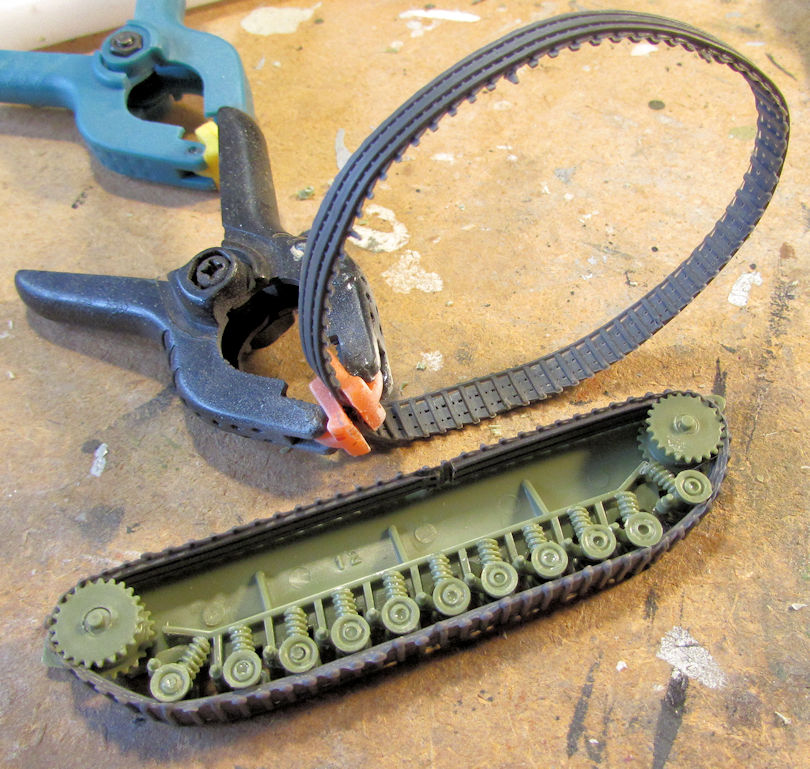
Image

Finally that one side got glued together:
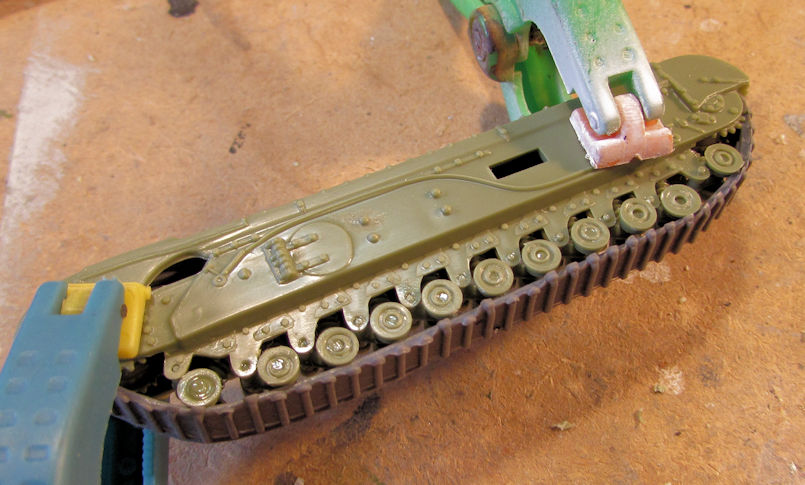
Image


Well, that's all I have for now. It's not too much but I'm happy with the progress so far.

Thanks for looking in, comments are welcome.
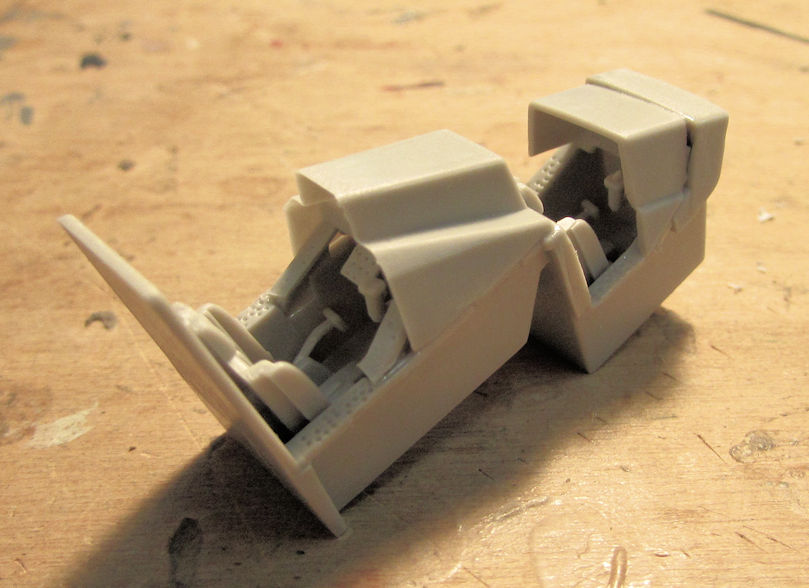
The Duke
Virtuoso of Miniatures

"Do you know what the chain of command is? It's the chain I get and beat you with 'till you understand who's in ruttin' command!"
-Jayne Cobb, Firefly Episode 2 "The Train Job"

We are modelers - the same in spirit, in hunger to insanely buy newly released kits, hustlers in hiding our stash from our better halves and experts in using garbage as replacements for after-market parts.
User avatar
Duke Maddog
Elite Member
Posts: 7091
Joined: Tue Jun 03, 2014 11:22 am
Location: Rowland Heights, CA

Re: Maddog Manufacturing 2018 Production

Post by Duke Maddog »

Now for my latest progress done over the last week and a half. Brace yourselves people, this is a long one.


I'll start with my aircraft again before bringing it back down to earth.


Most all this work here was done at Hobby Day. All the painting and airbrushing was done at my home.


I got the cockpit done on one of my latest acquisitions, the Eurocopter HAP Tigre. I'll be making this an Australian bird. It was fairly simple to do:

Image

Then, because I didn't want to paint, I moved on. I added the decals to the Italian Harrier so I could close this up inside the fuselage:

Image

Then, when I went to close this up; I realized I had left the sprue holding one side of the fuselage at home instead of bringing it to Hobby Day. Apparently it never got back to the box so I had to put this away for now too.

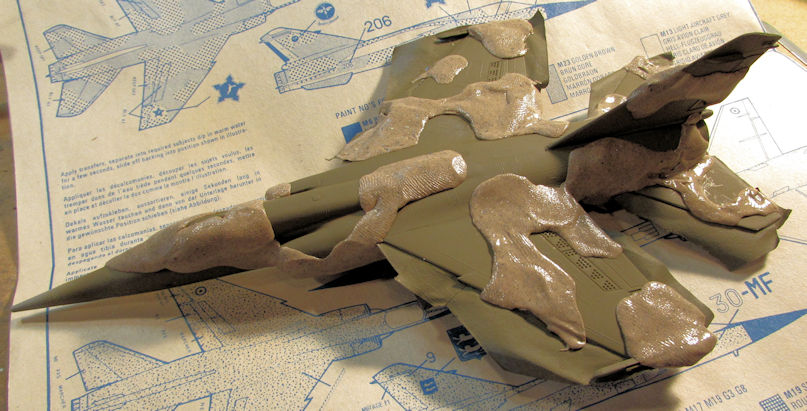
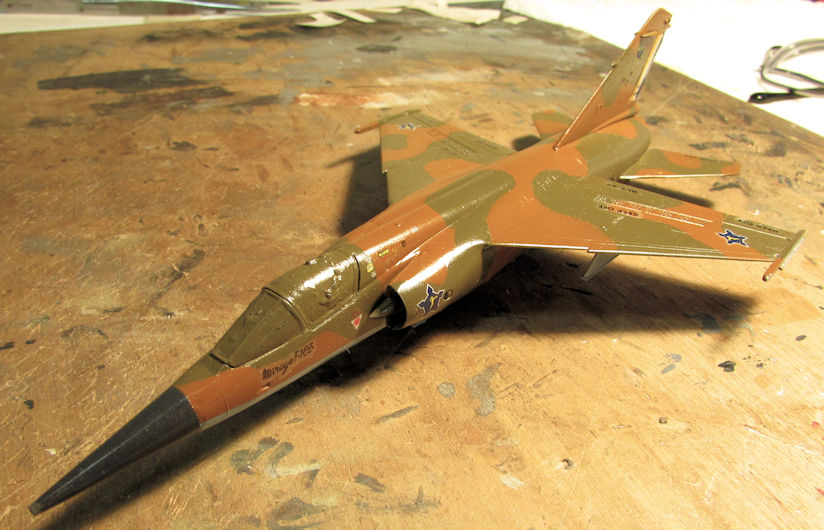
At home, I fired up the airbrush and got to work. First thing I did was to shoot a grey base on the bottom of the South African Mirage. Later, I taped up the bottom in preparation for shooting the top:

Image

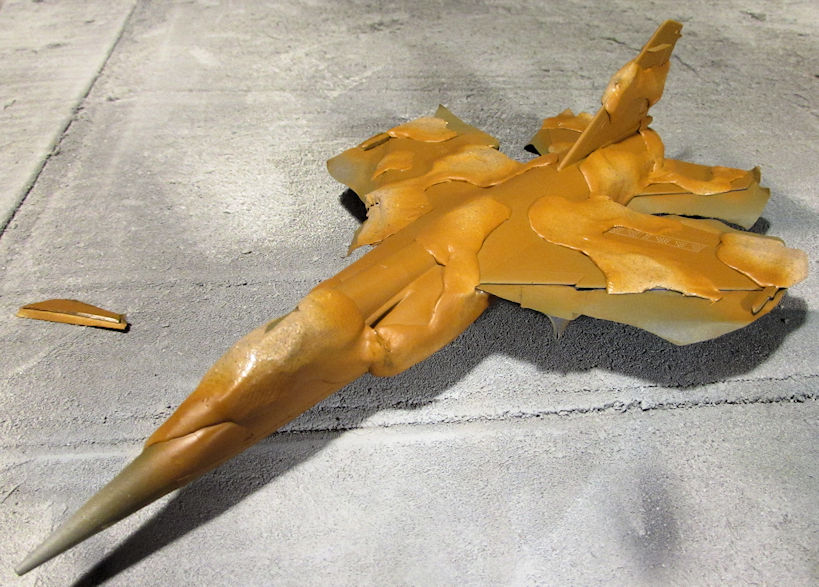
The first color went on next:

Image

Once that dried, I pulled out the Silly Putty and masked off the top for the second color:

Image

....and the second color went on:

Image

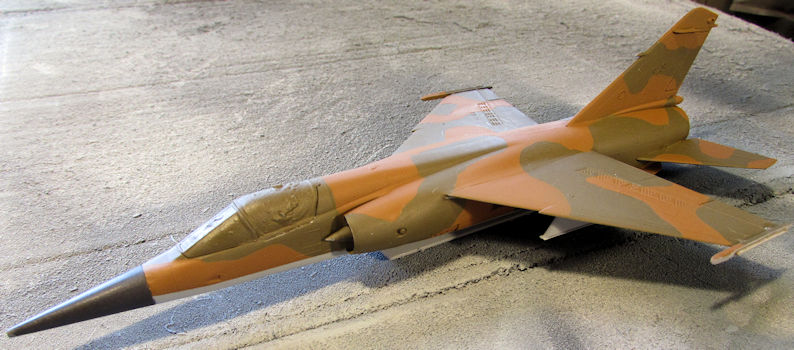
After that dried, I masked off the nose and shot it black. After that dried, I removed everything to see how it looked:

Image

Pretty impressive if I do say so myself....

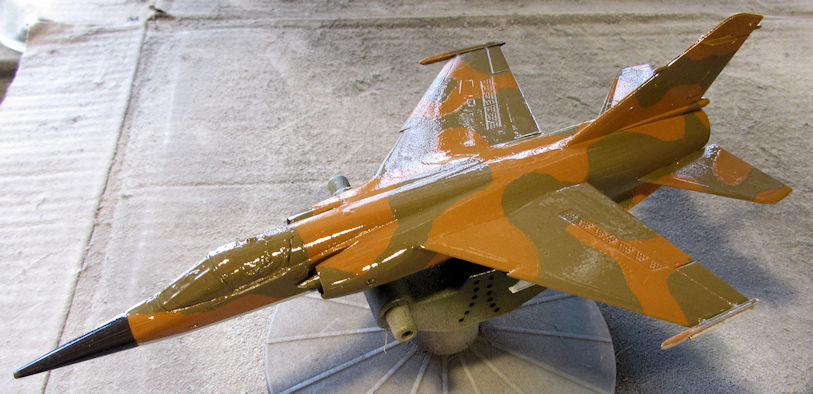
Got the gloss coat on it for decals next:

Image

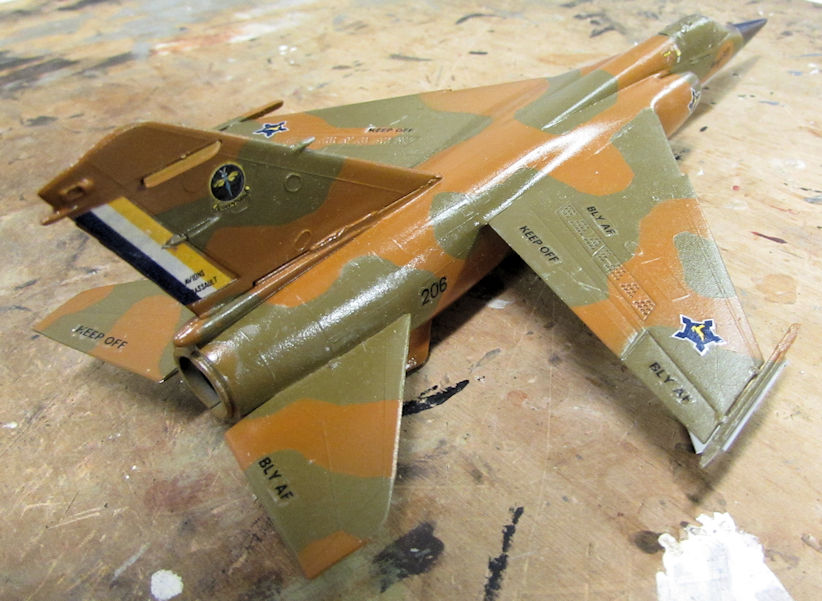
At Hobby Day, I got the decals done:

Image

Image

All that is left is dullcoat, landing gear and underwing stores. I'm real close with this one.


Another model that I made great progress one was the British helicopter. Once the masking dried, I added the landing skids and some other fiddly bits:

Image

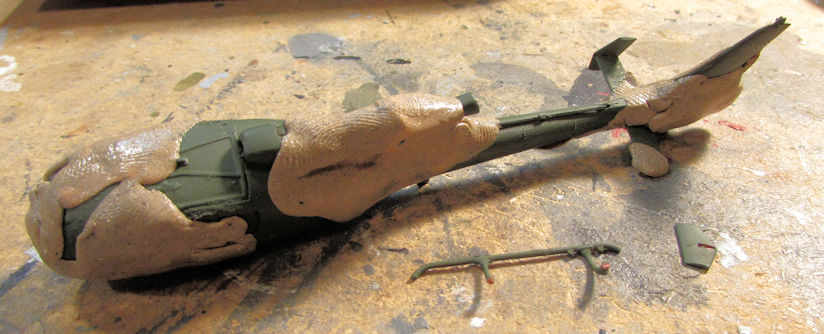
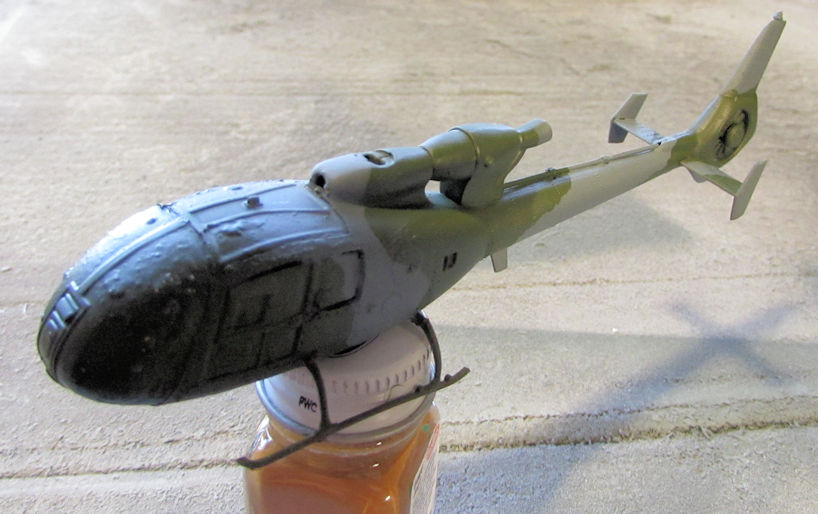
I then shot the green on it and let that dry. After it dried, I applied the Silly Putty masking again. You can see the parts I broke off while masking this tiny thing:

Image

The second grey color went on after that:

Image

Later on, I removed the Silly Putty and repaired the damage:

Image

Now that bird is ready for clearcoat and decals.


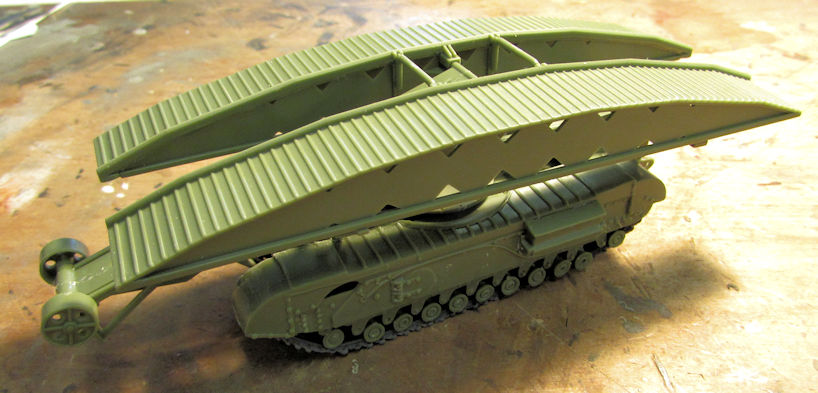
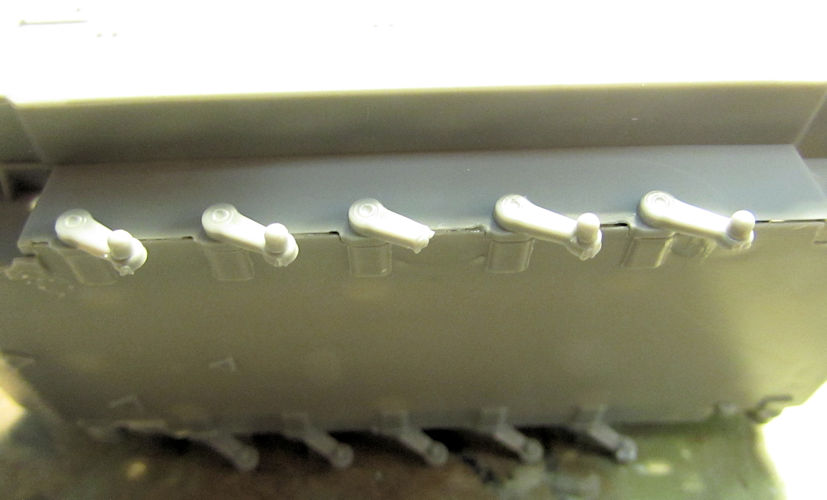
Now to get back down to earth. I first pulled out my British Churchill bridgelayer and looked it over. The instructions have you decide which position the bridge should be fixed in. That is not acceptable to me so I added some sheet styrene to one part to allow it to hold one of the rods that is supposed to pivot:

Image

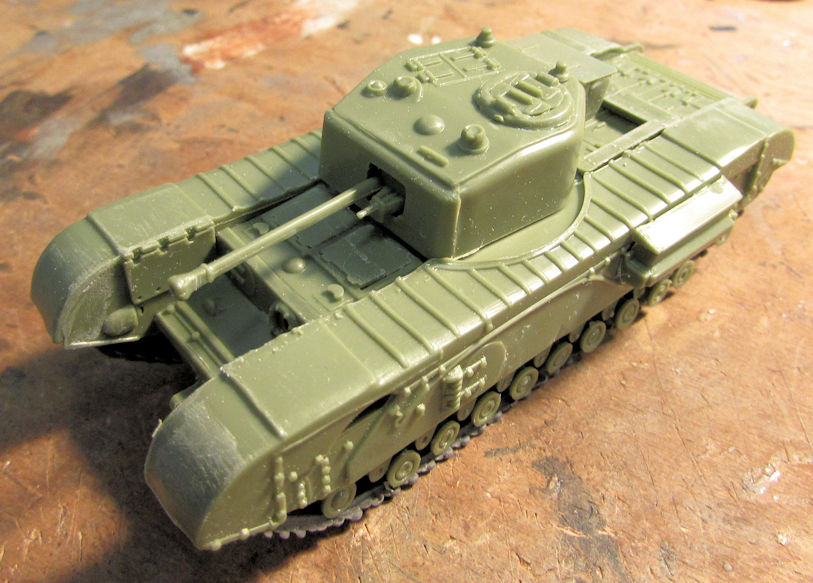
Next, I assembled the turret and snapped it into place, just for fun:

Image

That ain't gonna be used so this will be the last time you see this vehicle with the turret.

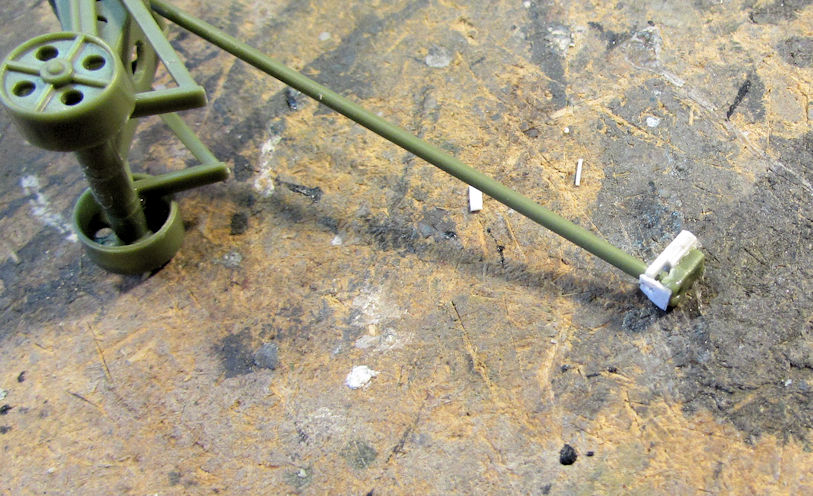
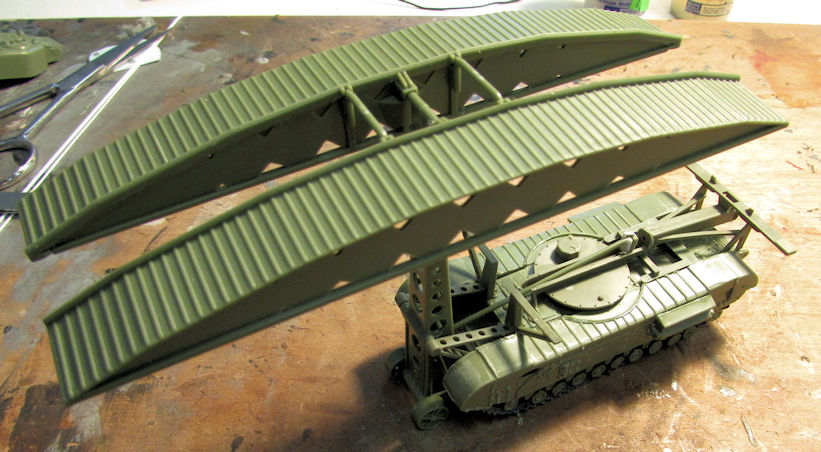
After removing the turret, I assembled all the other bridge layer parts and added styrene rod to the pivot part to allow it to move:

Image

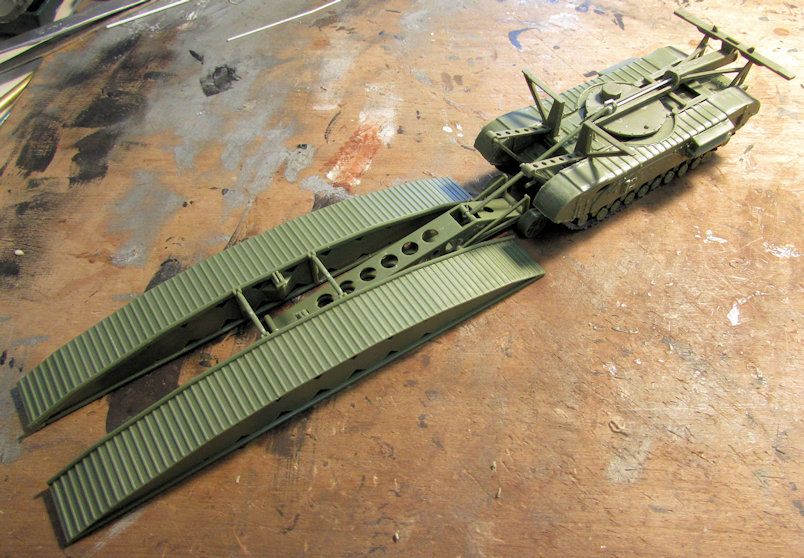
The bridge is not currently cemented on, it is sitting on the pivot point. You can see in this next pic how I made this workable:

Image

And to complete the bridge laying, the main swing arm is removed from the pivot point to lower the bridge down:

Image

This one is now ready for paint. Hopefully I'll get that done this week.

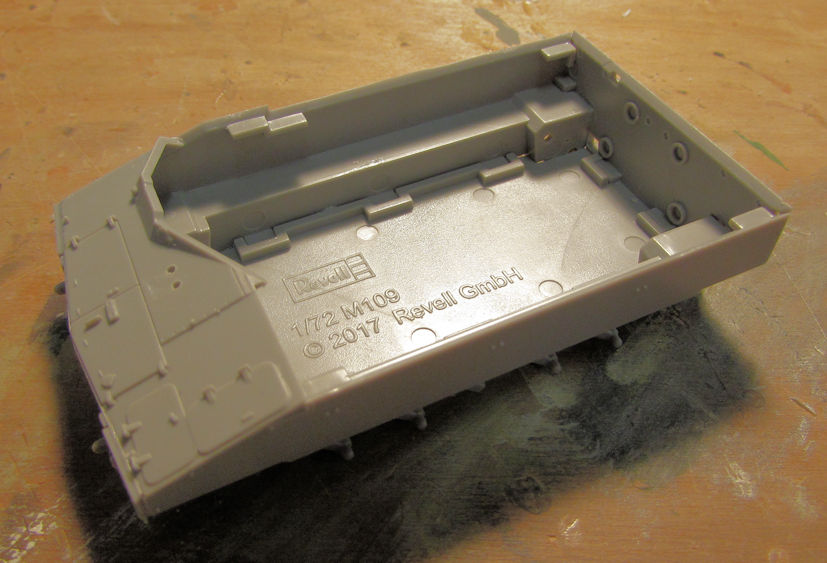
Next I decided to start my German M-109 Self Propelled Gun. I assembled the lower hull as directed:

Image

When I removed the two sides with all the torsion bars on it, I noticed that Revell of Germany had short-shot one of my axles:

Image

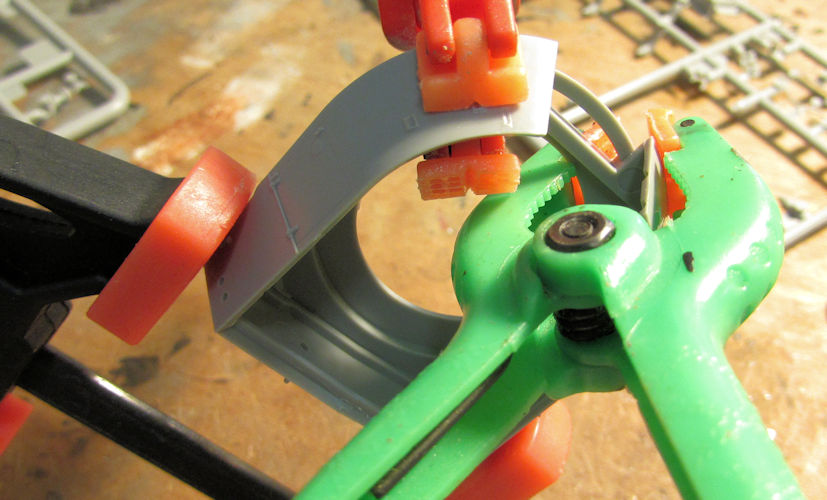
You'll also notice the gaps I need to deal with. Those are all over this model. You'd think a company like Revell of Germany can mold something that fits well. Anyway, I went to assemble the turret next. Lots of slight warpage on the sides, requiring clamps to make it glue correctly:

Image

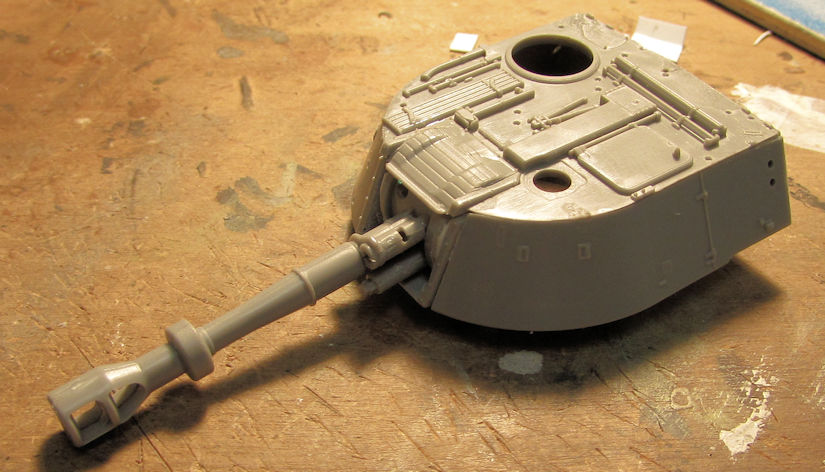
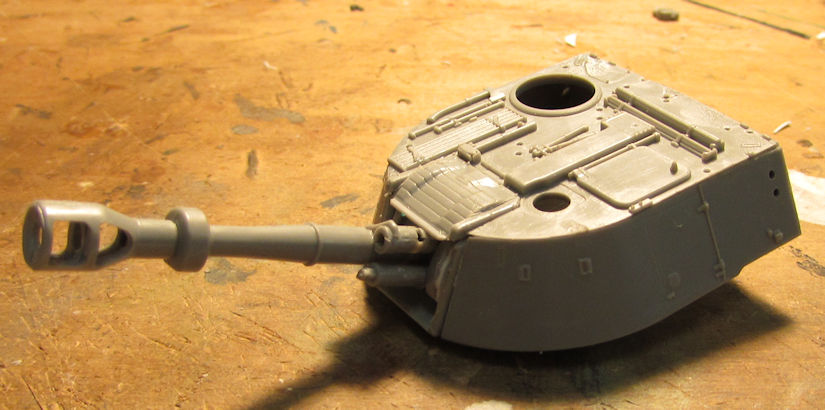
Next thing I noticed, the gun mantlet is molded in such a way that the gun remains fixed in place. Also not acceptable to me:

Image

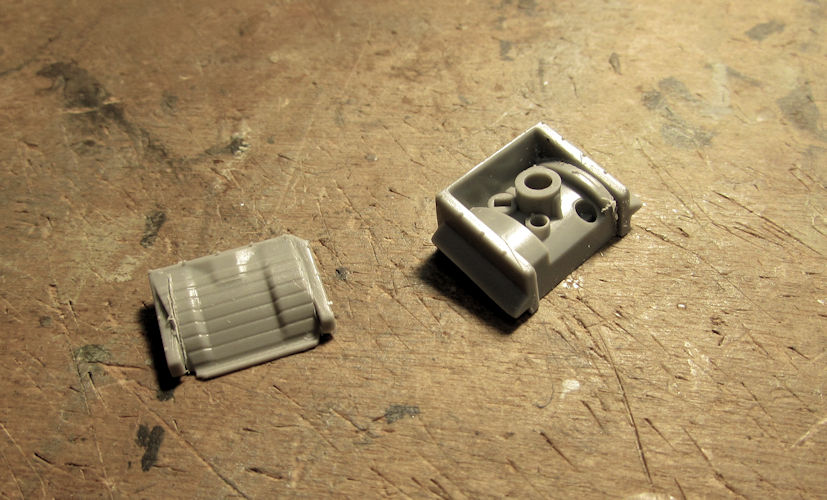
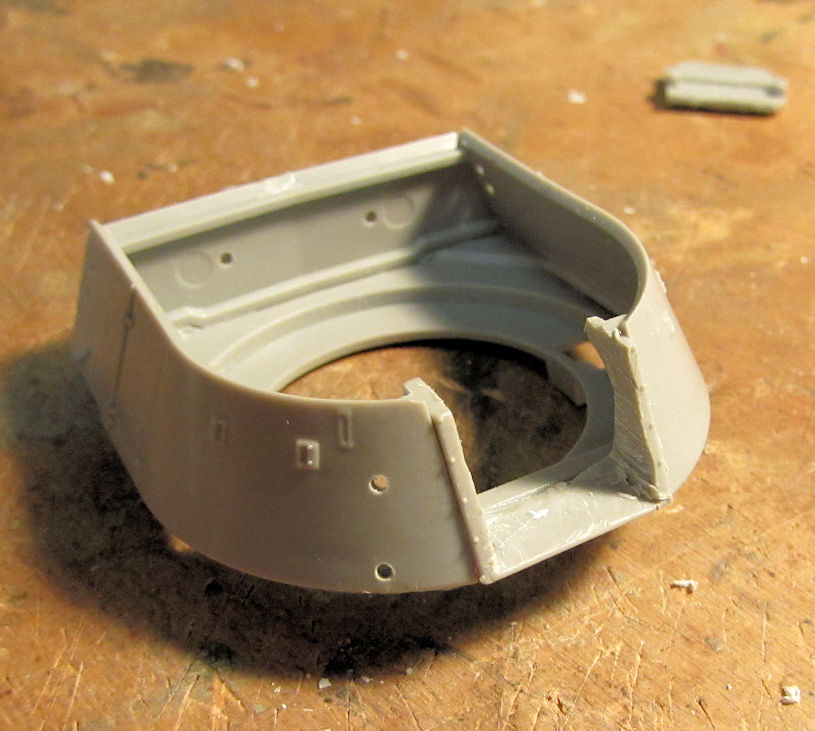
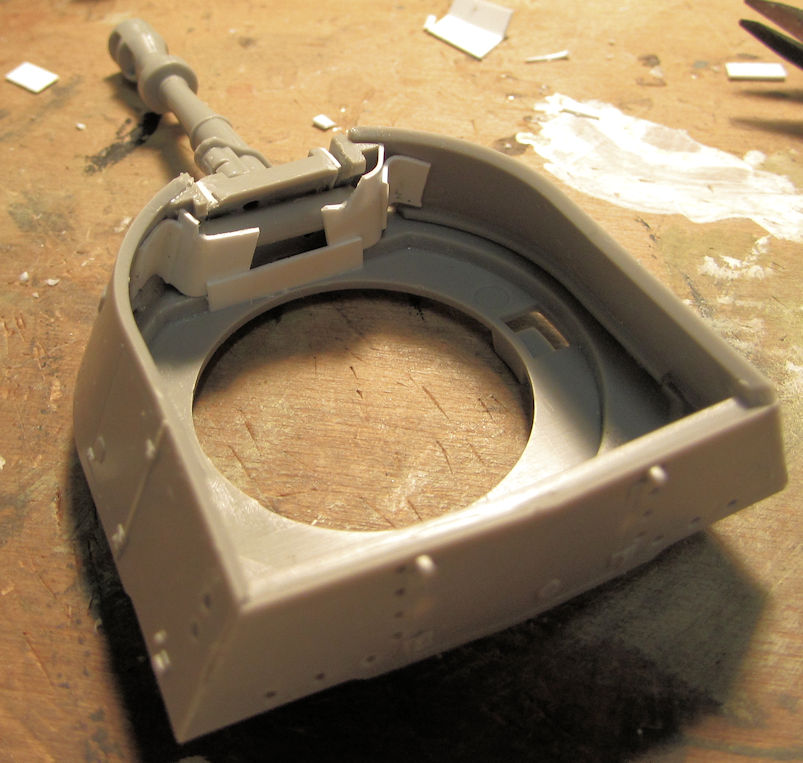
So, I cut out the center section of the mantlet and then cemented the frame to the turret opening. Unfortunately, I forgot to take some better pics showing all I did, but the gist is there:

Image

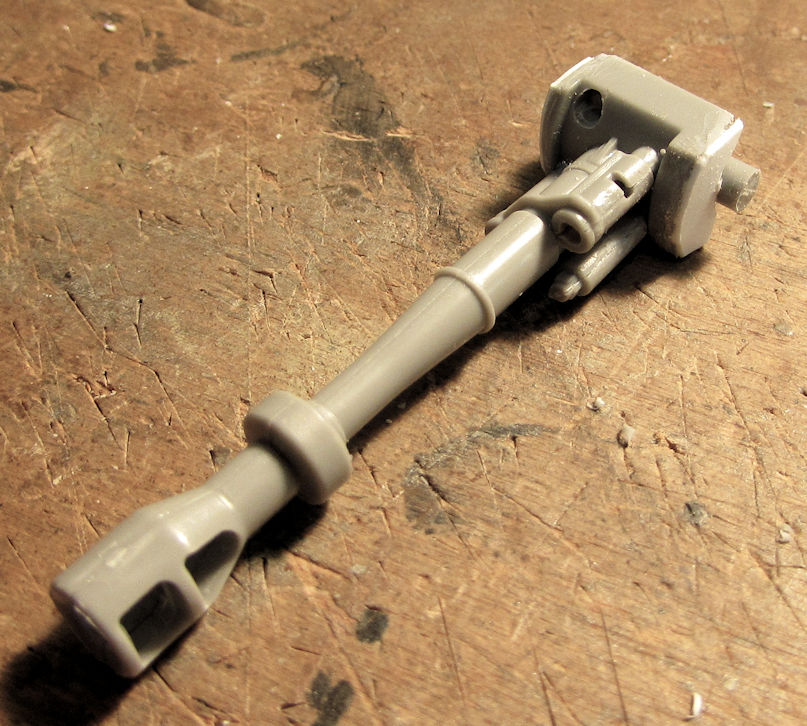
Next I assembled the gun, added it to the mantlet and then cemented a round section of sprue horizontally to the back of the mantlet. I also added some extra sheet styrene to the sides to widen it back up:

Image

Using more sheet styrene, I cut strips and cemented them inside the turret trapping the mantlet in place:

Image

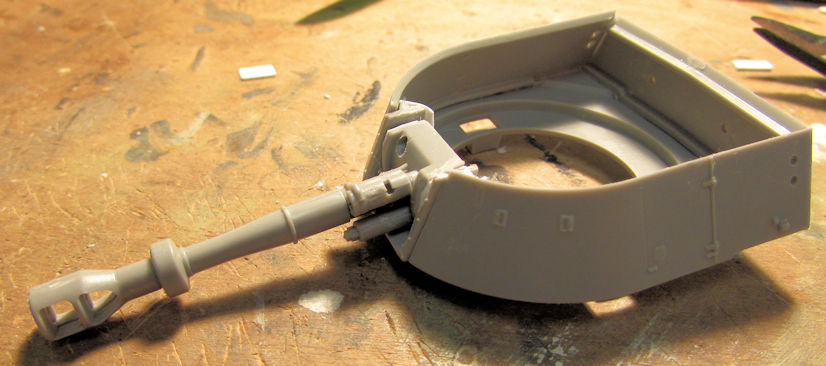
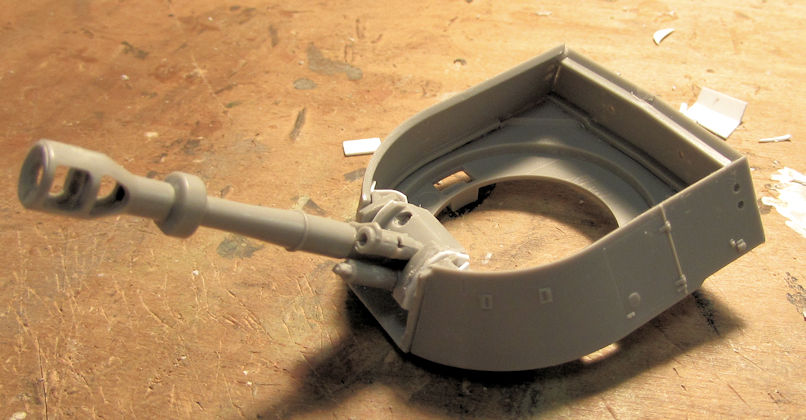
It worked. The gun now elevates the way it is supposed to:

Image

Image

That's all well and good, but lets see how well it works with the turret roof on:

Image

Image

Success! Now I can move on and move on I did.

I added the top of the hull next:

Image

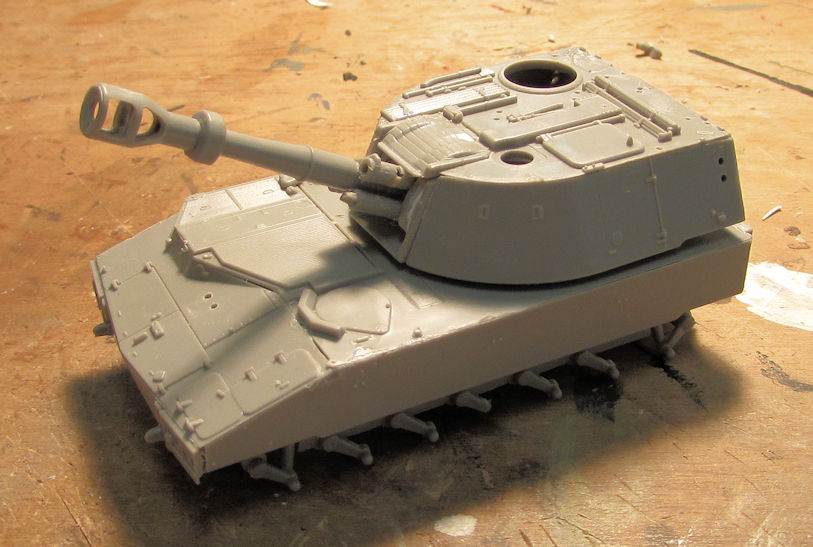
Just for fun, I placed the turret on this to see how it looks:

Image

Sweet! I'm loving it so far, despite the myriad gaps I'll need to fill later on.

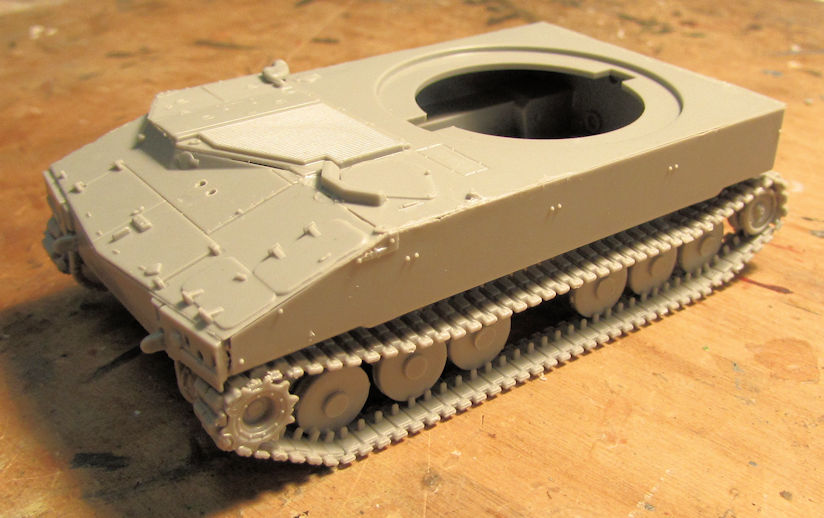
Now it was time to add the wheels and tracks. I added all the wheels except for the outer ones and the one that goes on the short shot torsion bar. Later I installed the track:

Image

Image

Later on, I'll cement that last wheel to the track itself so that it sits right; then I'll add the outer road wheels to this to finish that part off. That was as far as I got on that one.

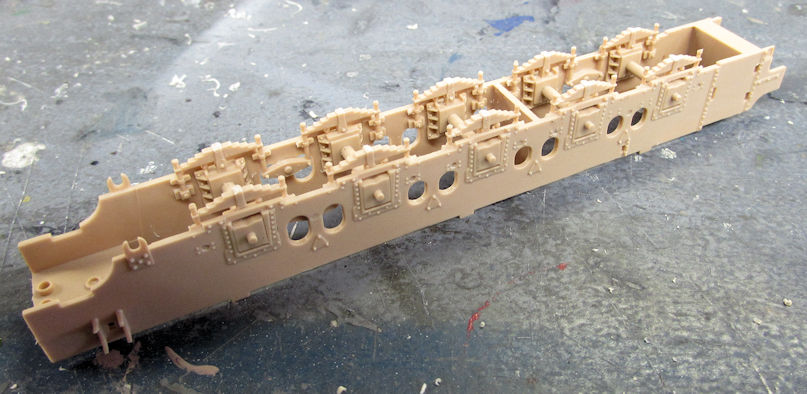
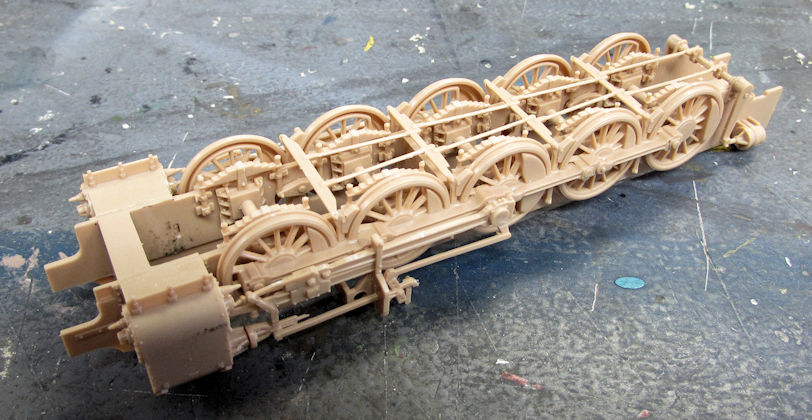
Moving on, I went from Hobby Day to my AMPS meeting where they were having a Build Night. I brought my German Panzerlok Br-57 armoured locomotive to work on. Once there, I started with the lower running gear as usual:

Image

Later I added the wheels:

Image

Final assembly of the lower running gear was completed next:

Image

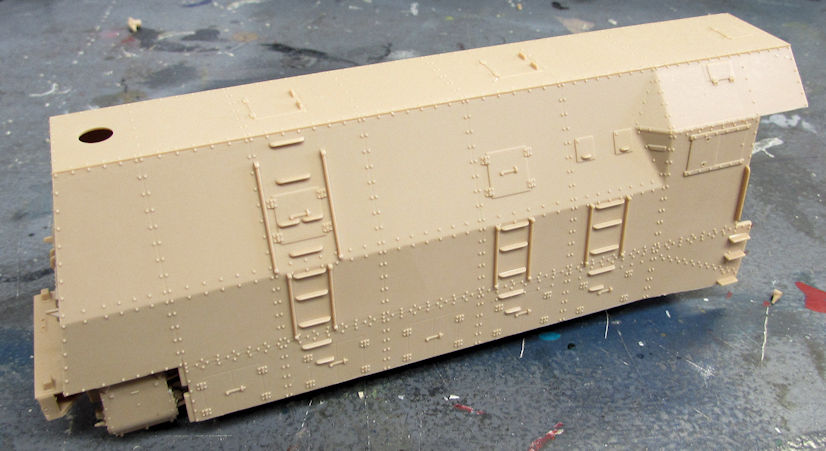
All that was left was to slip the upper armoured body to the top of this:

Image

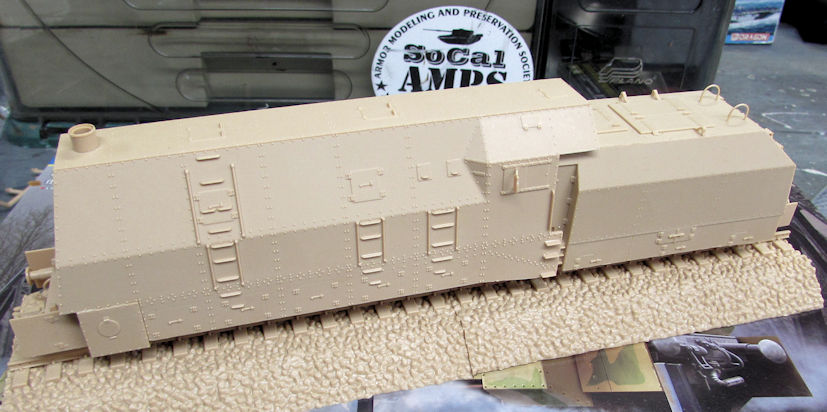
After that, I finished all the extra bits and finalized the assembly. Then I moved on and built the tender. It went so fast and easy that I forgot to take pics! Finally I put it all together. This beastie is now ready for paint:

Image

Image

Well, that's all I have for now. I hope you all enjoyed this long update. Take care and remember: comments are always welcome. Thanks for looking in.
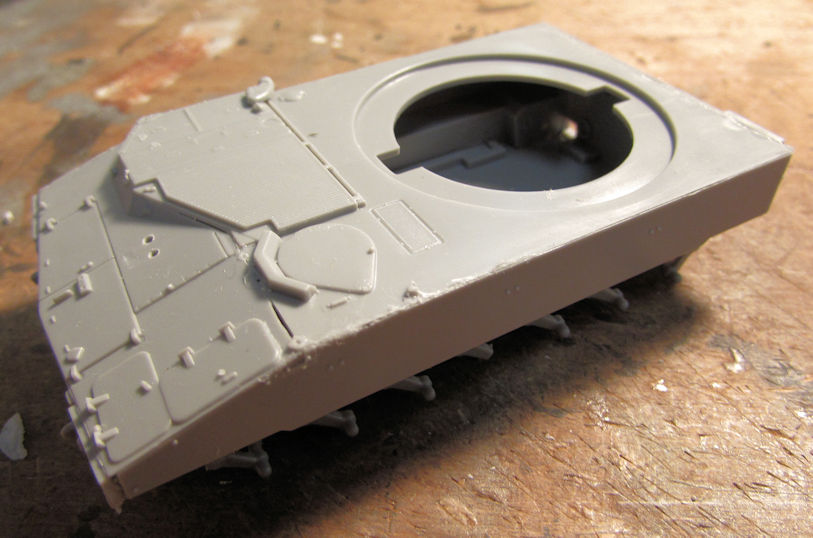
The Duke
Virtuoso of Miniatures

"Do you know what the chain of command is? It's the chain I get and beat you with 'till you understand who's in ruttin' command!"
-Jayne Cobb, Firefly Episode 2 "The Train Job"

We are modelers - the same in spirit, in hunger to insanely buy newly released kits, hustlers in hiding our stash from our better halves and experts in using garbage as replacements for after-market parts.
User avatar
speedgraflex
Moderator
Posts: 9758
Joined: Fri Feb 10, 2017 11:08 pm
Location: Santa Monica, California

Re: Maddog Manufacturing 2018 Production

Post by speedgraflex »

Duke!!!!

I have been so out of it these past three weeks; I feel like the jet wrapped in electrical wire... I haven’t been able to work out and all I do is work-eat-sleep-repeat, with breaks to take a few photos of Mustang parts. It feels good to vicariously live as a modeler through your posts!!!

When is the big IPMS gathering? I went to the official website and watched a video but my ADD must have screened out the details... is this when you will roadshow your armory? All 700-plus units?
Bruce / SPEEDGRAFLEX
User avatar
Duke Maddog
Elite Member
Posts: 7091
Joined: Tue Jun 03, 2014 11:22 am
Location: Rowland Heights, CA

Re: Maddog Manufacturing 2018 Production

Post by Duke Maddog »

Thank you Bruce, I'm glad I was able to help out in some small way.

The IPMS Nationals in Phoenix is on August 1st through the 4th this year. I intend to get there the day before it starts. And yes, I shall be bringing my entire 700-piece armor and vehicle collection to show there. I'll also be bringing a number of models to enter into the contest as well. It would be an exceptional thrill if you came to see my collection there. An IPMS National event is something that you just shouldn't miss if there's any possibility that you can go.

Thanks again Bruce I do hope and pray you get better soon.
The Duke
Virtuoso of Miniatures

"Do you know what the chain of command is? It's the chain I get and beat you with 'till you understand who's in ruttin' command!"
-Jayne Cobb, Firefly Episode 2 "The Train Job"

We are modelers - the same in spirit, in hunger to insanely buy newly released kits, hustlers in hiding our stash from our better halves and experts in using garbage as replacements for after-market parts.
User avatar
Stikpusher
Moderator
Posts: 18880
Joined: Sat Apr 05, 2014 8:37 pm
Location: Ceti Alpha 5

Re: Maddog Manufacturing 2018 Production

Post by Stikpusher »

Very nice Mark! I’m really liking the Churchill Bridgelayer and SAAF Mirage F1C. That is awesome that you made the bridgelayer mechanism work.
"Surely I have made my meaning plain? I intend to avenge myself upon you, Admiral. I have deprived your ship of power, and when I swing 'round, I intend to deprive you of your life."

FLSM
User avatar
mostrich
Admin
Posts: 2898
Joined: Sun Apr 06, 2014 2:13 pm
Location: Hamburg, Germany
Contact:

Re: Maddog Manufacturing 2018 Production

Post by mostrich »

That train seems to be a quick build with a very nice outcome. I'm curious how it'll look all painted up.
User avatar
speedgraflex
Moderator
Posts: 9758
Joined: Fri Feb 10, 2017 11:08 pm
Location: Santa Monica, California

Re: Maddog Manufacturing 2018 Production

Post by speedgraflex »

Thanks, Duke. I flipped through a couple reviews of the Hobby Boss Panzerlok. Are there any source images available? I found a French site where a garden railway build adaptation of the enormous Trumpeter kit was going on; he painted his version in a medium gray covered head to toe in soot.

Image
Bruce / SPEEDGRAFLEX
User avatar
Duke Maddog
Elite Member
Posts: 7091
Joined: Tue Jun 03, 2014 11:22 am
Location: Rowland Heights, CA

Re: Maddog Manufacturing 2018 Production

Post by Duke Maddog »

Stikpusher wrote:Very nice Mark! I’m really liking the Churchill Bridgelayer and SAAF Mirage F1C. That is awesome that you made the bridgelayer mechanism work.

Thanks Carlos. I still need to refine the bridge mechanism a bit, as well as figure out how to secure the bridge itself while still making it detachable, but yeah, it was a bit easier than I thought.
mostrich wrote:That train seems to be a quick build with a very nice outcome. I'm curious how it'll look all painted up.
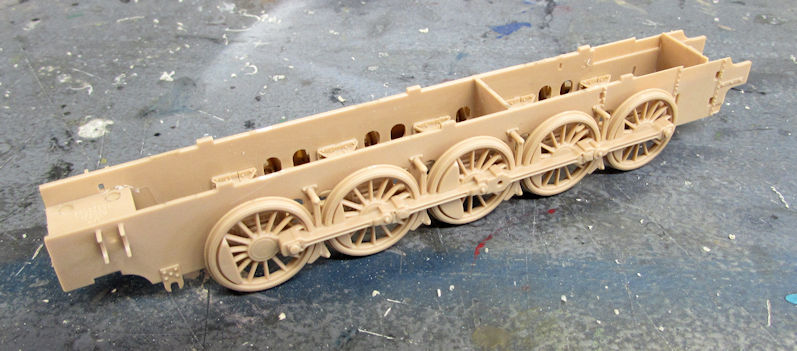
Mostrich it is indeed a quick build. I was able to do that whole engine and tender in 3 and a half hours. Painting should be fairly quick, even though I'll be doing mine in a three-tone pattern as indicated in the instructions. That pattern will also more closely resemble my current armored train that uses this same type of engine.

Bruce There are some source images for these train engines, but most of them are blurry distant pics of them. I have a German Armored Train book that shows a number of these from a distance. One of them shows the three-color pattern I'll be using, although it doesn't show too clearly. It is distinguishing enough to tell the three different tones and wavy pattern in the black-and-white pics. Your picture shows what I would interpret as a dirty winter whitewash for a train on the Easter front in winter time. It does look good, but I prefer the three-tone pattern, despite it's additional challenge.
The Duke
Virtuoso of Miniatures

"Do you know what the chain of command is? It's the chain I get and beat you with 'till you understand who's in ruttin' command!"
-Jayne Cobb, Firefly Episode 2 "The Train Job"

We are modelers - the same in spirit, in hunger to insanely buy newly released kits, hustlers in hiding our stash from our better halves and experts in using garbage as replacements for after-market parts.
User avatar
mustang1989
Moderator
Posts: 4903
Joined: Tue Mar 18, 2014 8:35 pm

Re: Maddog Manufacturing 2018 Production

Post by mustang1989 »

Dang Mark!!! You've got quite the assy line going there!! I'd go friggin' nuts if I had that many builds going on at once.
User avatar
Stikpusher
Moderator
Posts: 18880
Joined: Sat Apr 05, 2014 8:37 pm
Location: Ceti Alpha 5

Re: Maddog Manufacturing 2018 Production

Post by Stikpusher »

Mark, I hope that you bring the Churchill to AMPS in May. I should be there.
"Surely I have made my meaning plain? I intend to avenge myself upon you, Admiral. I have deprived your ship of power, and when I swing 'round, I intend to deprive you of your life."

FLSM
Post Reply

Return to “Member's Gallery”