Page 32 of 35
Re: 1/32 Special Hobby Hawker Tempest Mk V
Posted: Thu Jun 02, 2022 6:57 am
by Medicman71
Ok, now you're just showing off.

Excellent fix!
Re: 1/32 Special Hobby Hawker Tempest Mk V
Posted: Thu Jun 02, 2022 2:02 pm
by jkim
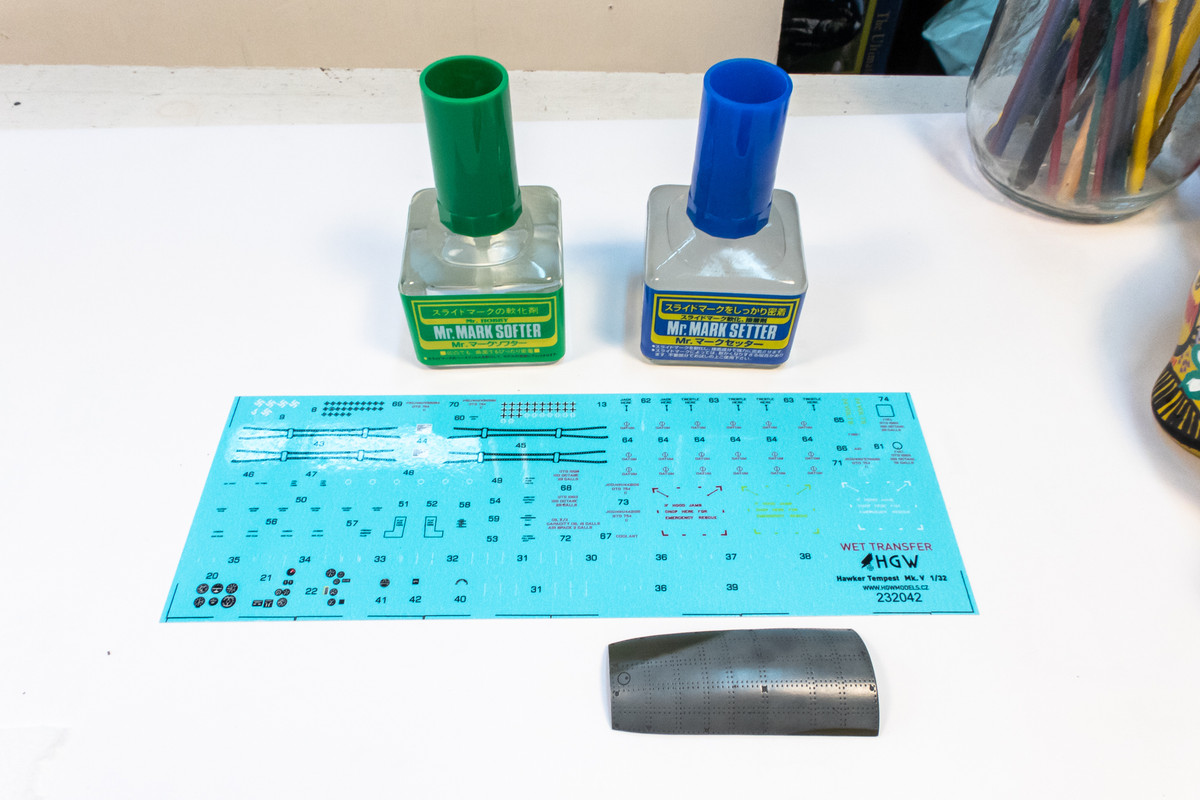
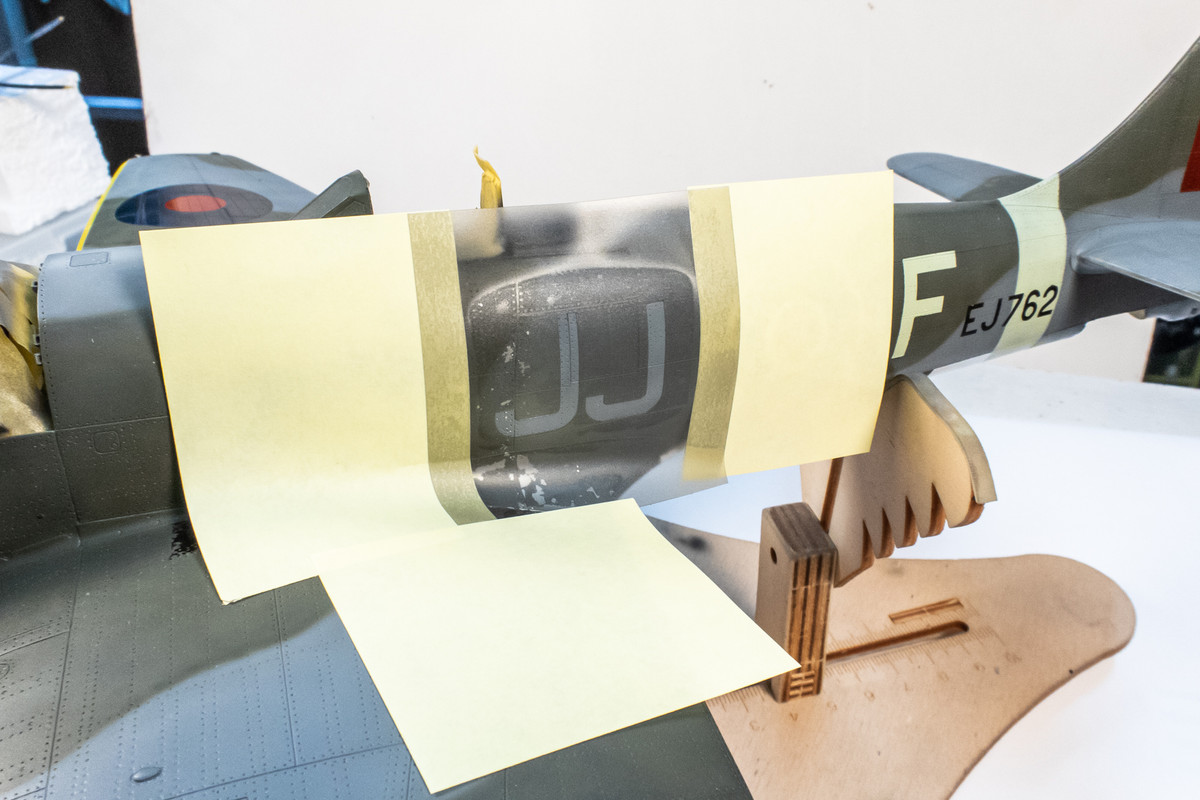
Thanks guys! Pretty pleased at not only the results of the paint repair but how straightforward it was to implement. When first confronted with this issue, my mind started turning over options in my head and the idea of using masks to cover the existing markings came immediately to mind. The Portrait craft cutter is such a handy tool and it makes things like this fairly simple to do.
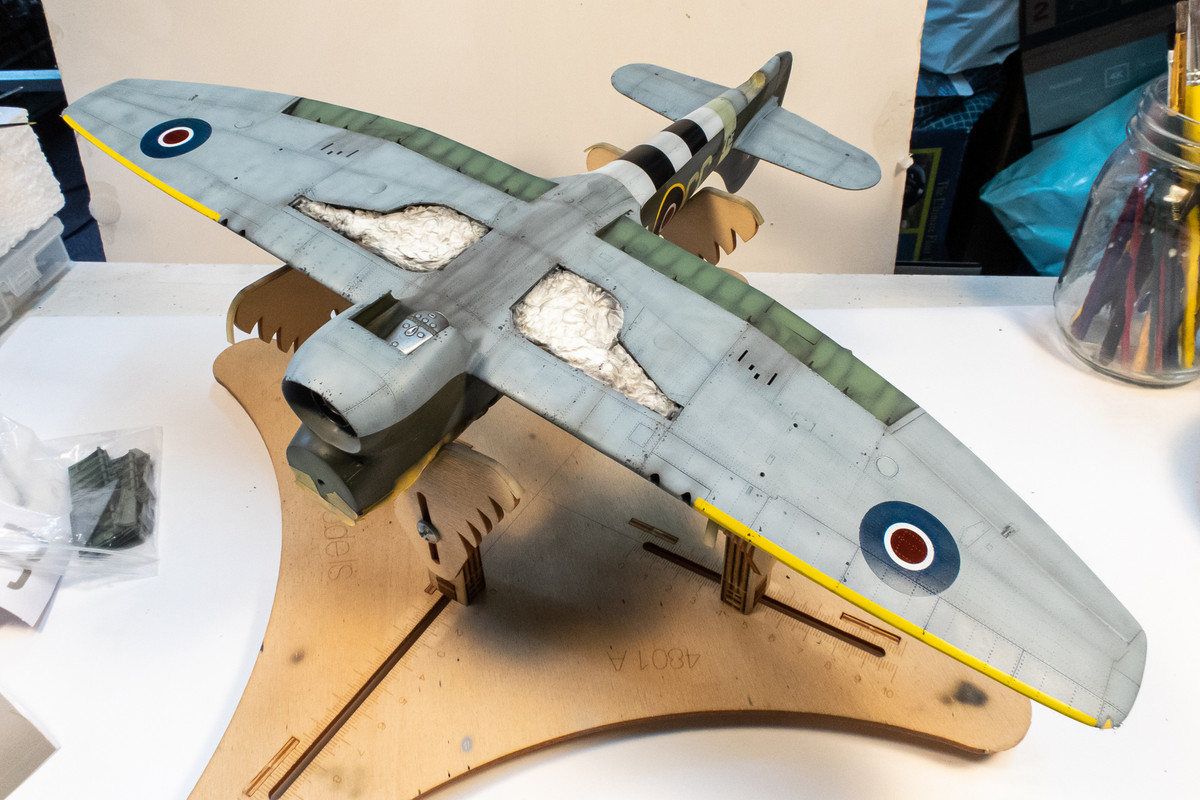
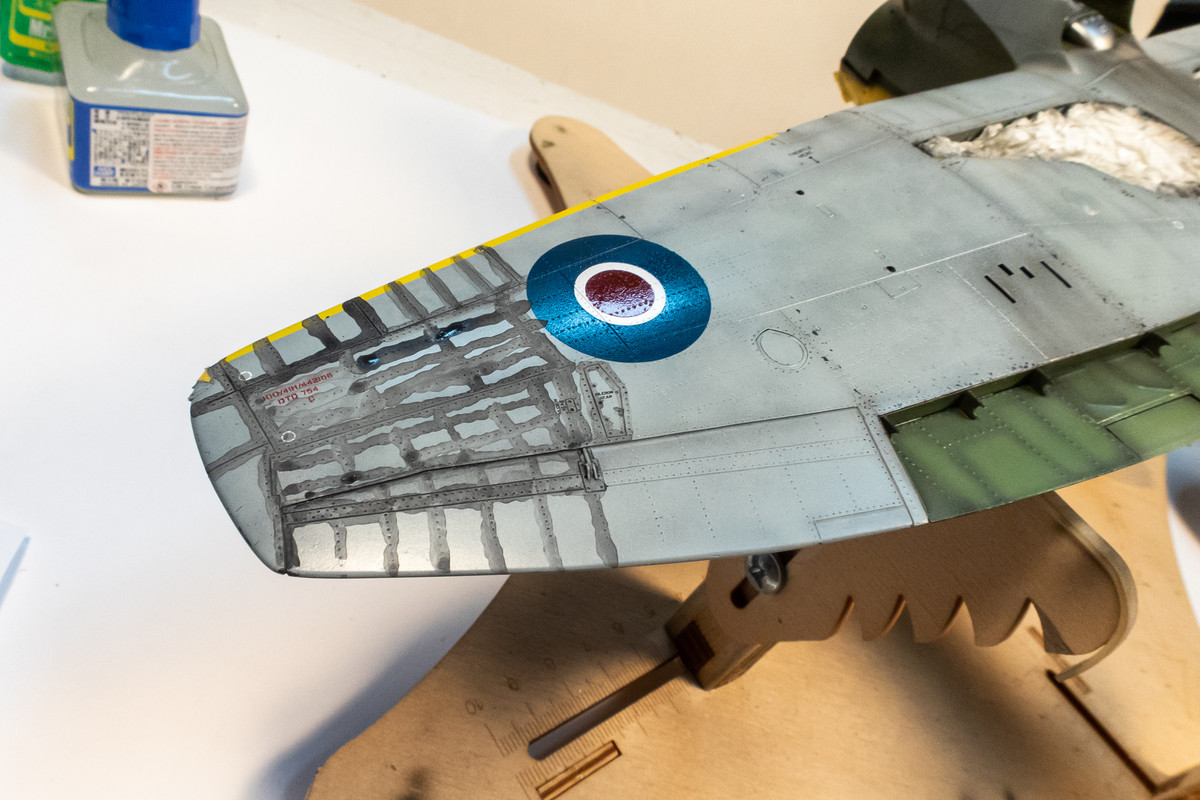
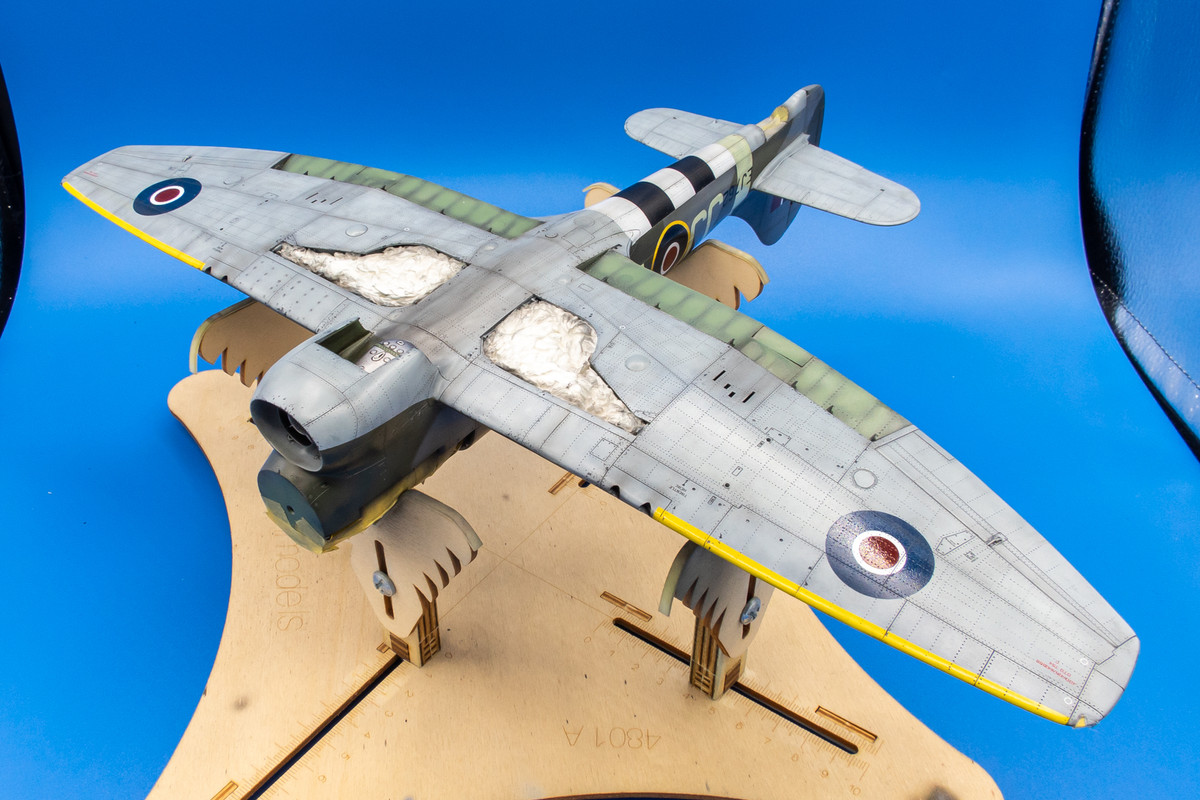
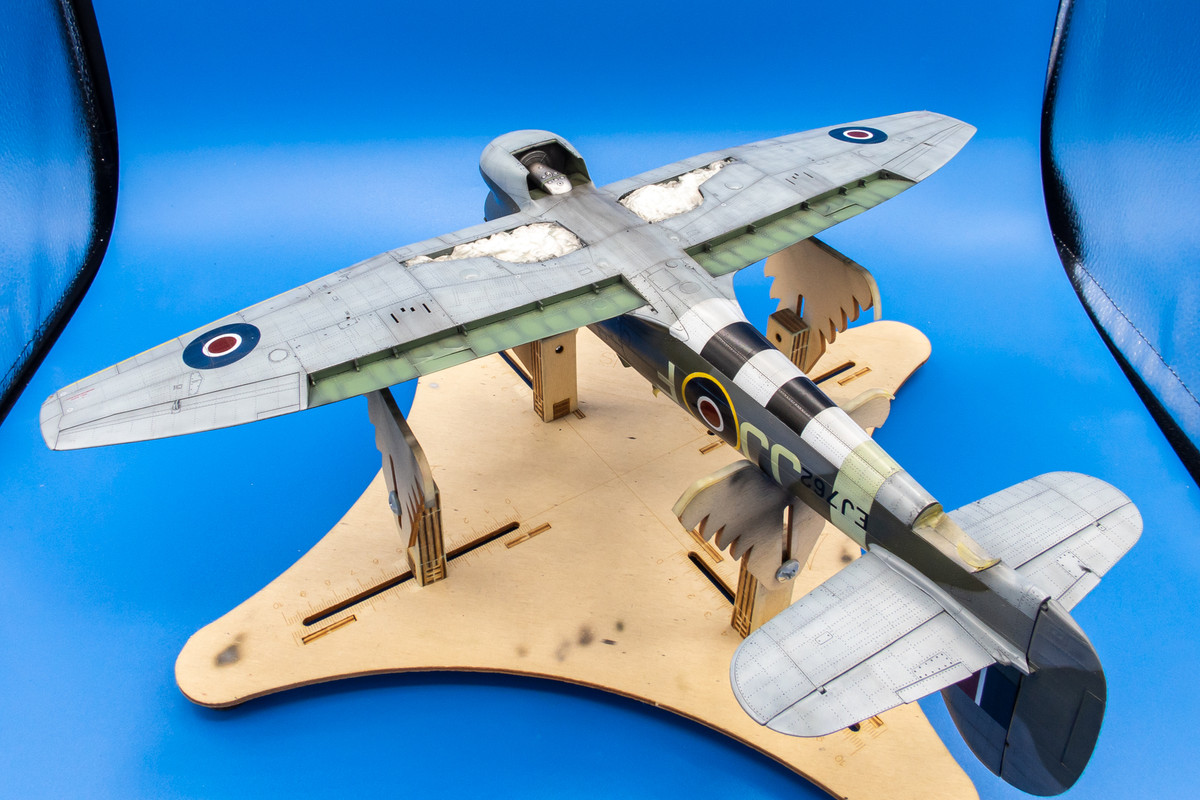
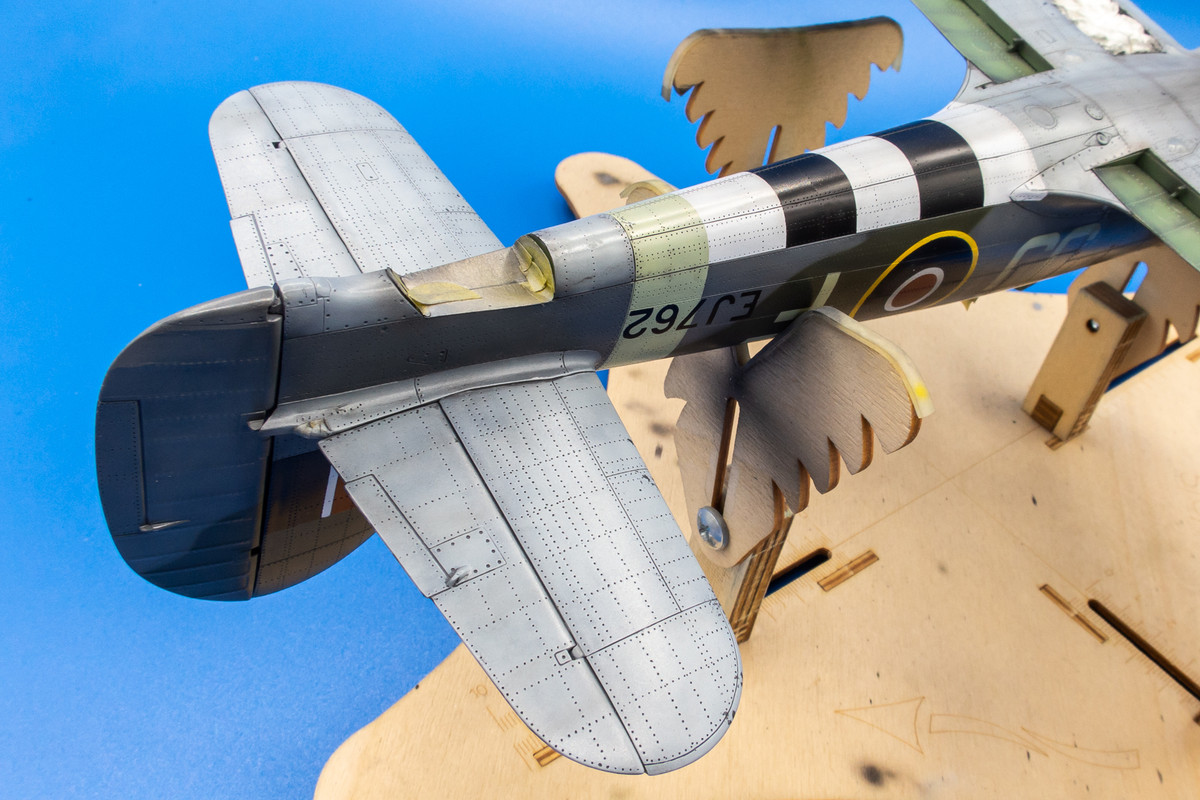
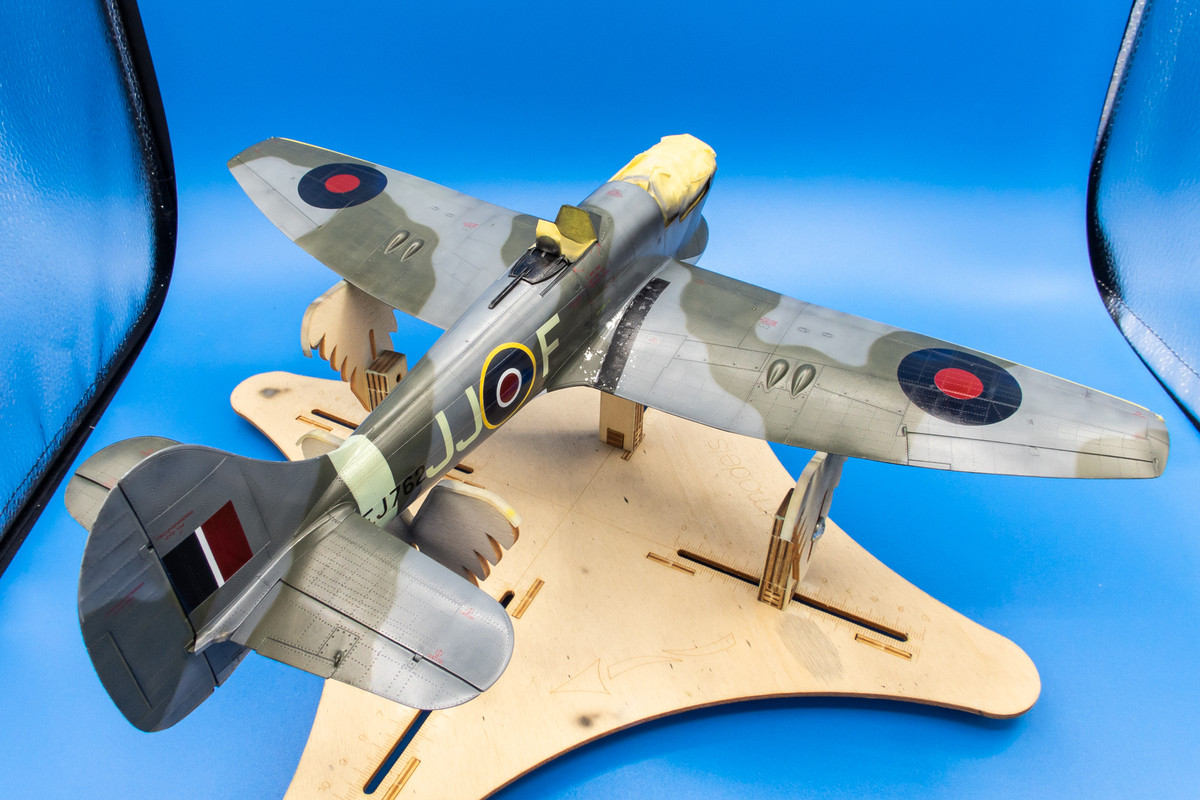
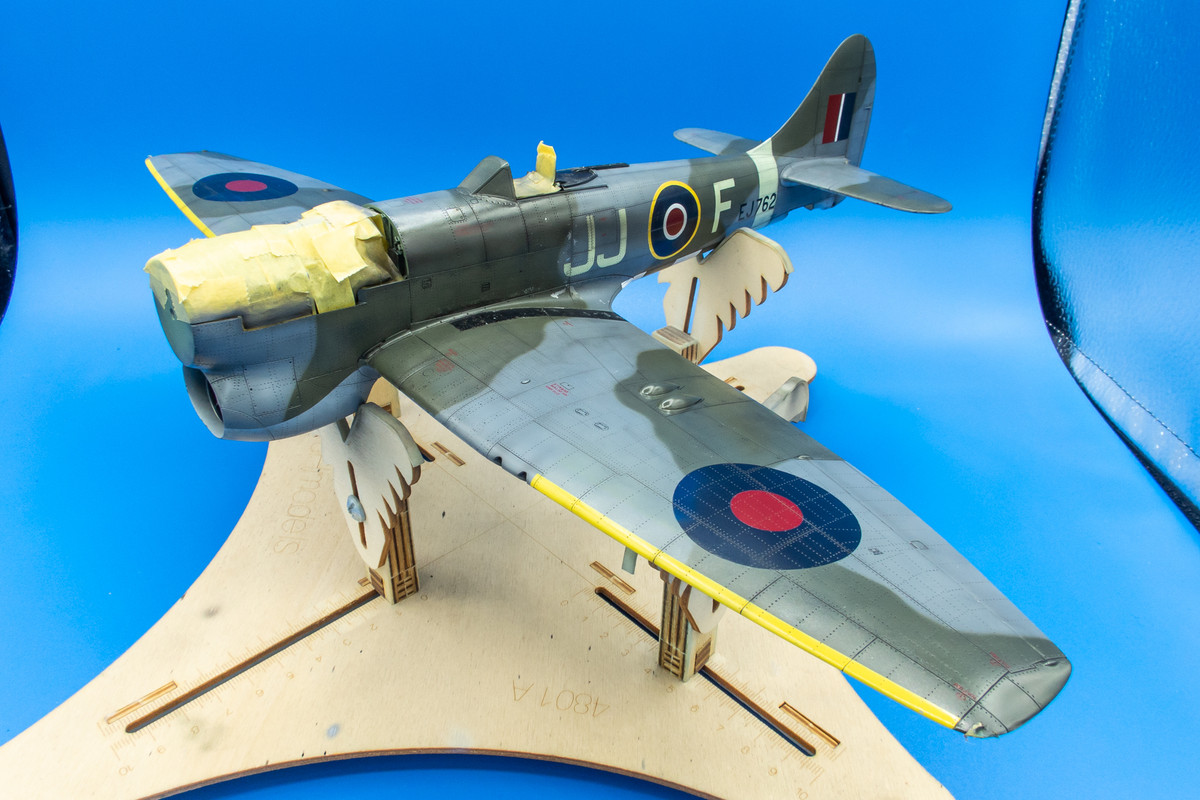
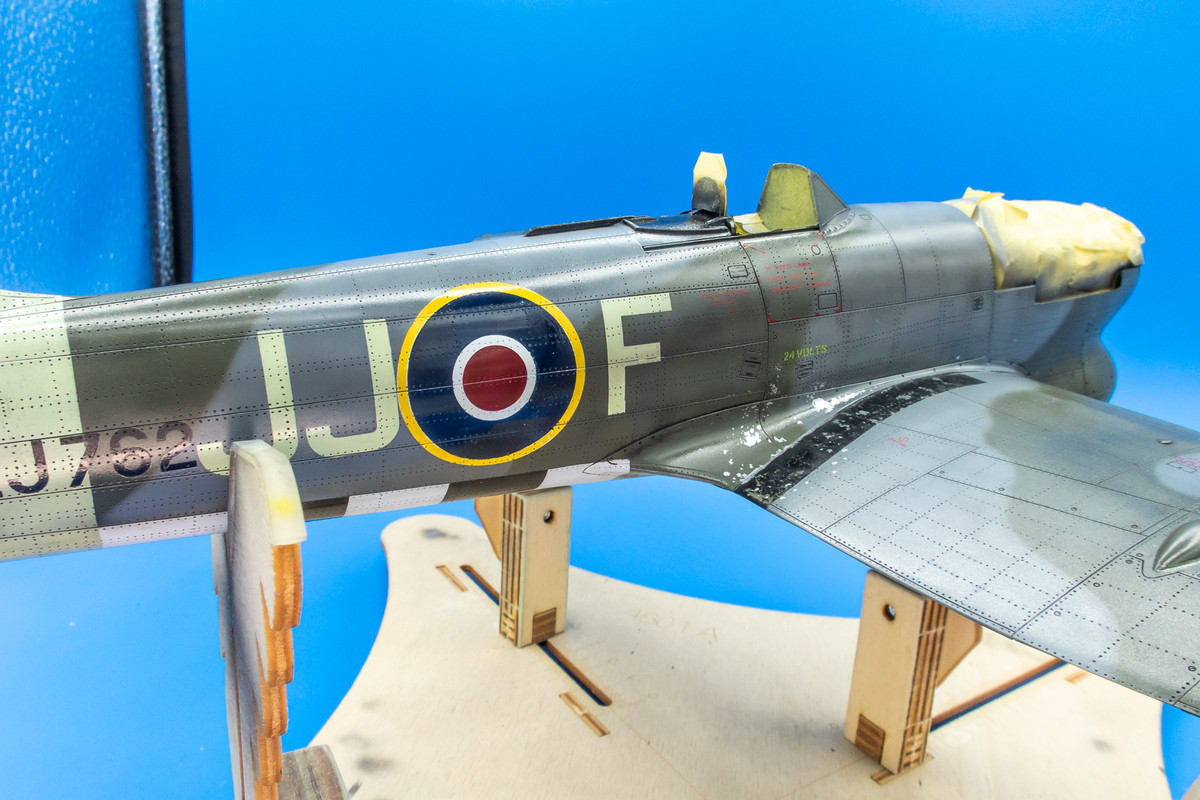
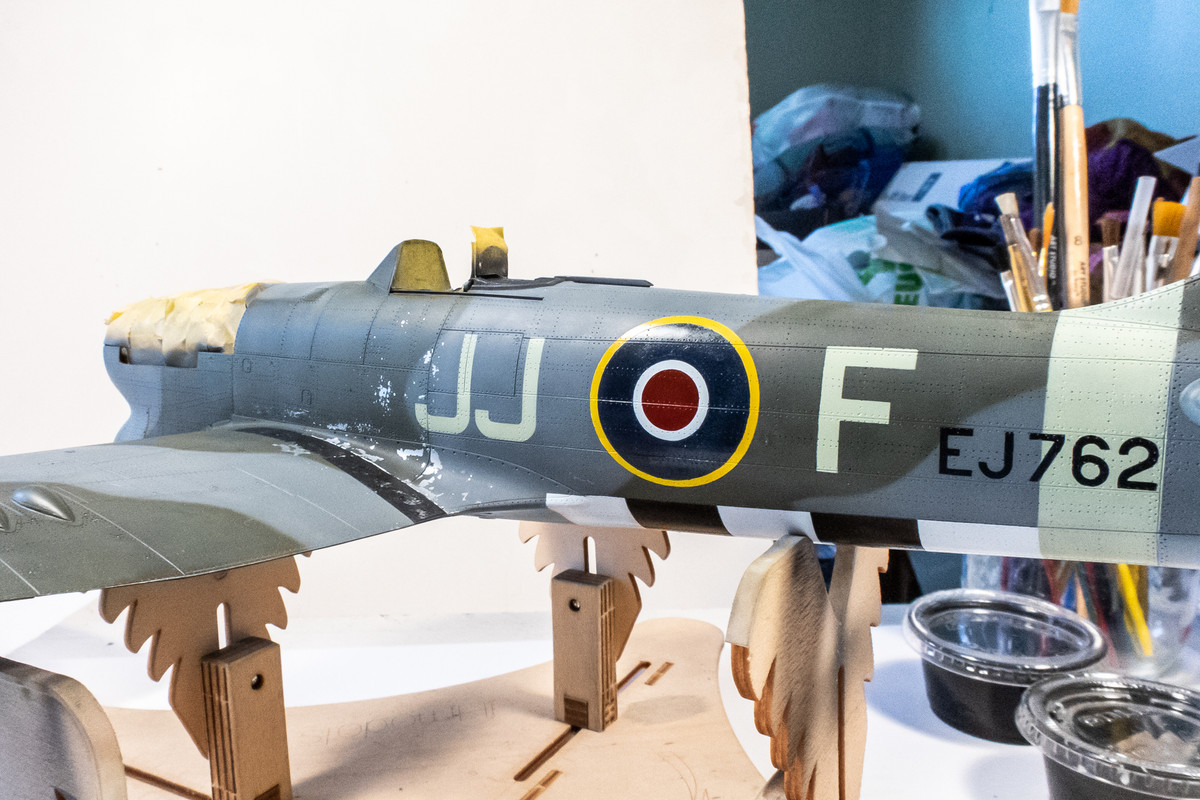
After the re-painted Ocean Grey area on the port side had dried, I re-painted the JJ code.
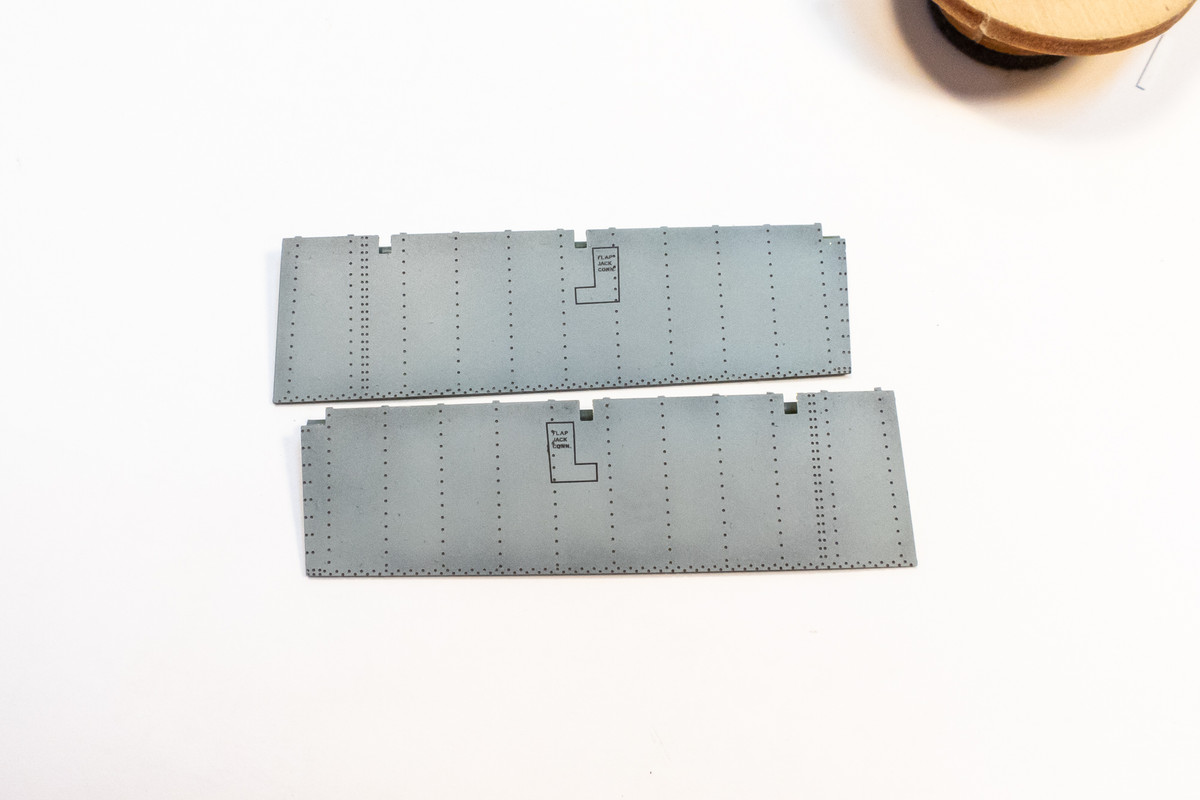
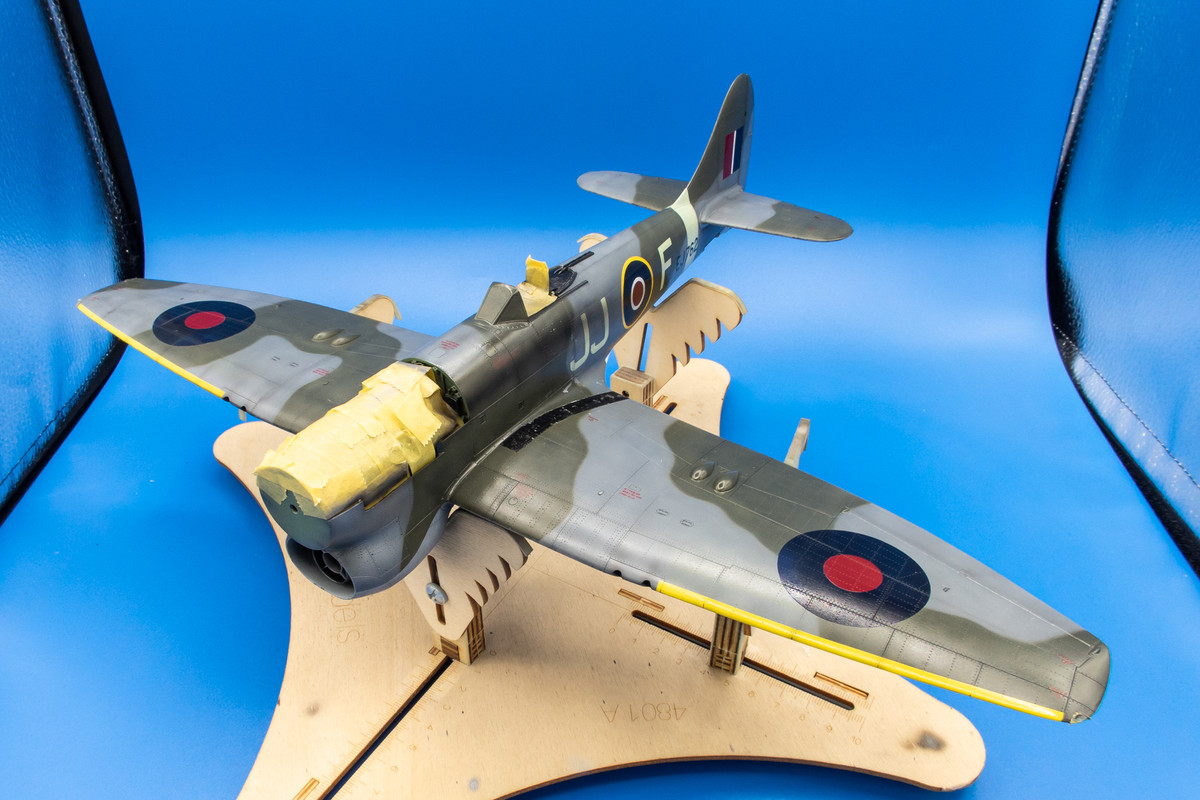
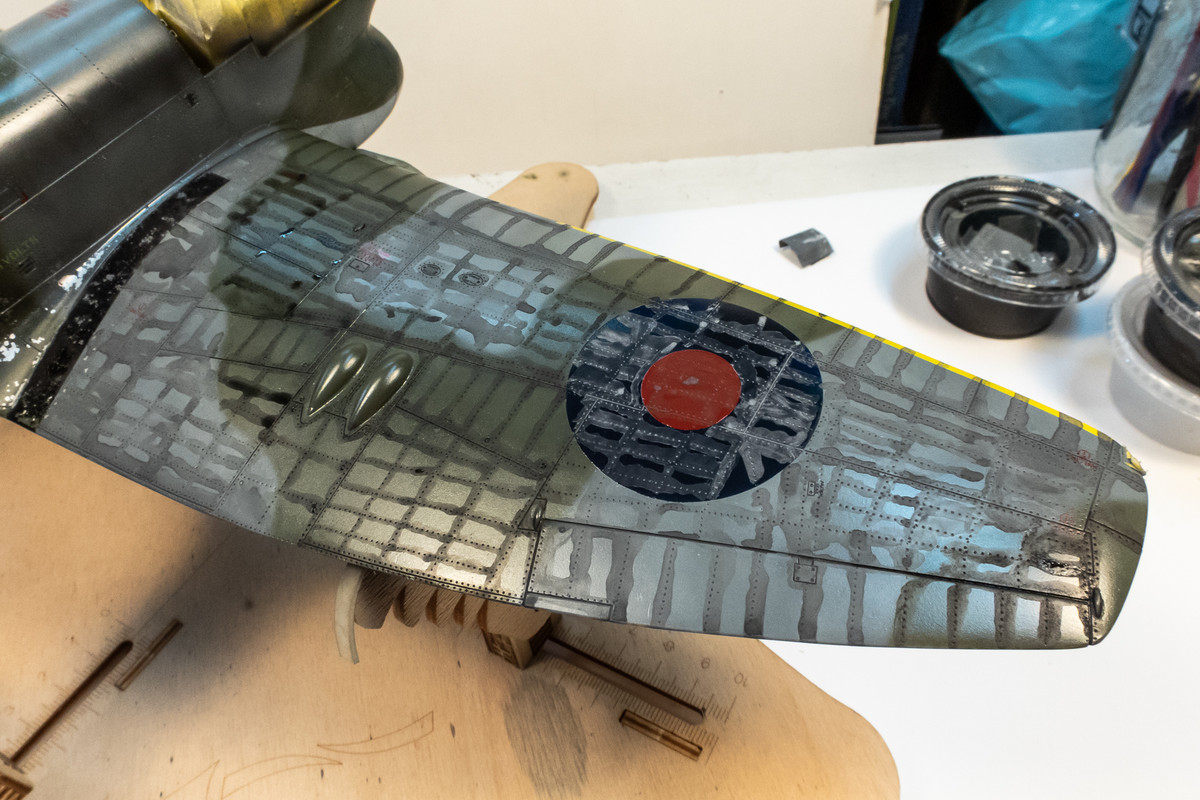
I also put the walkways through another round of salt chipping. The walkways look better but the masks lifted some paint, most notably on the starboard side so I'll have to retouch some areas. Two steps forward and one step back means I'm moving ahead right?
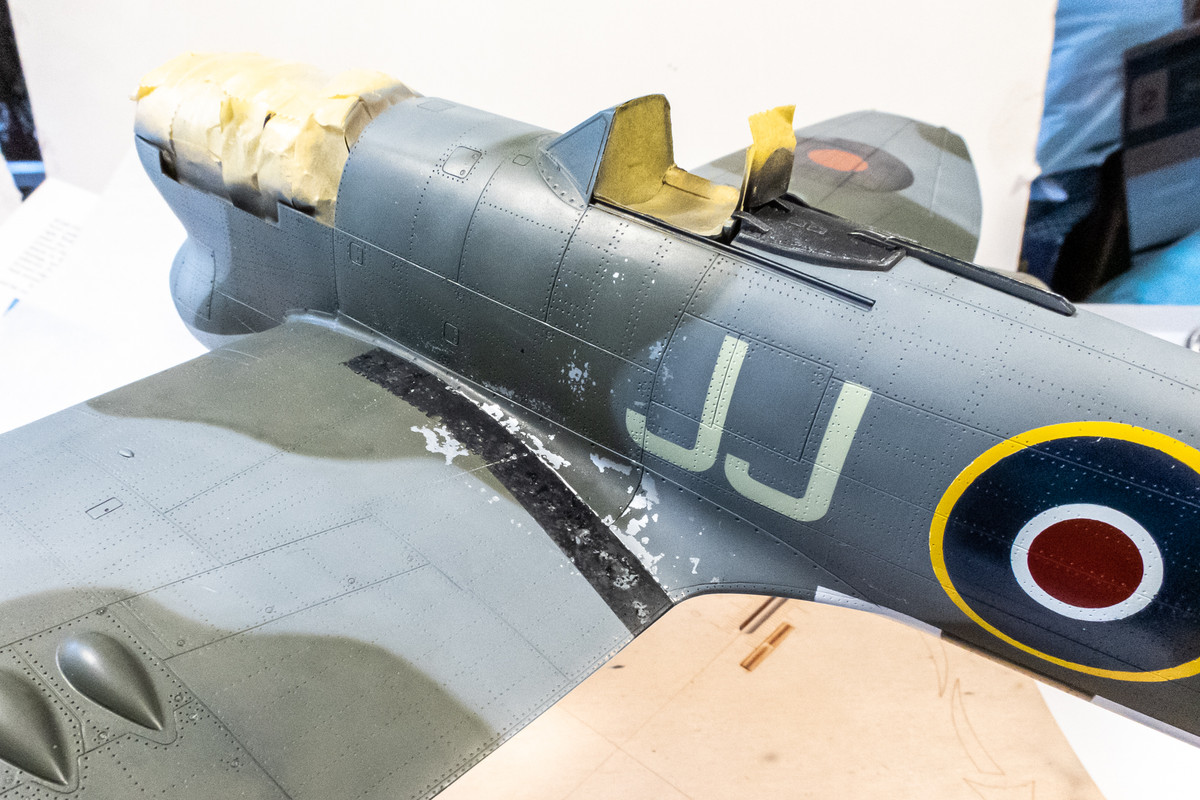
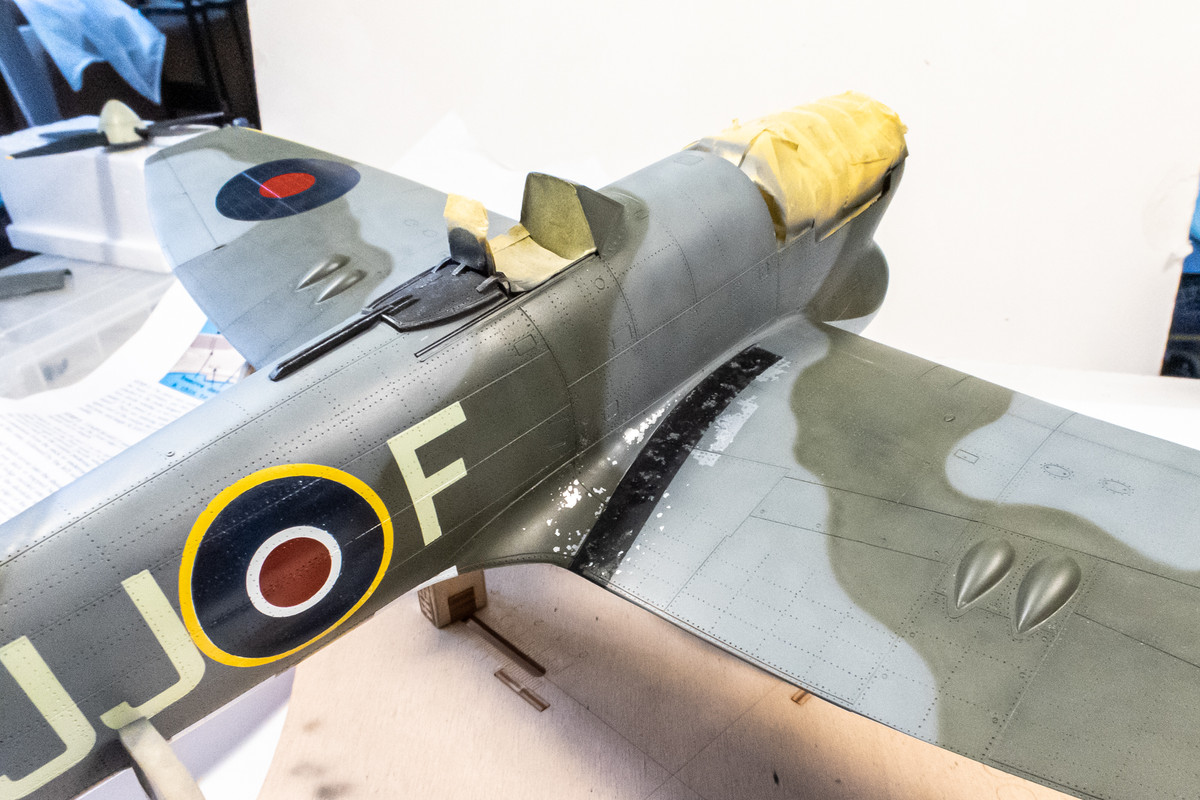
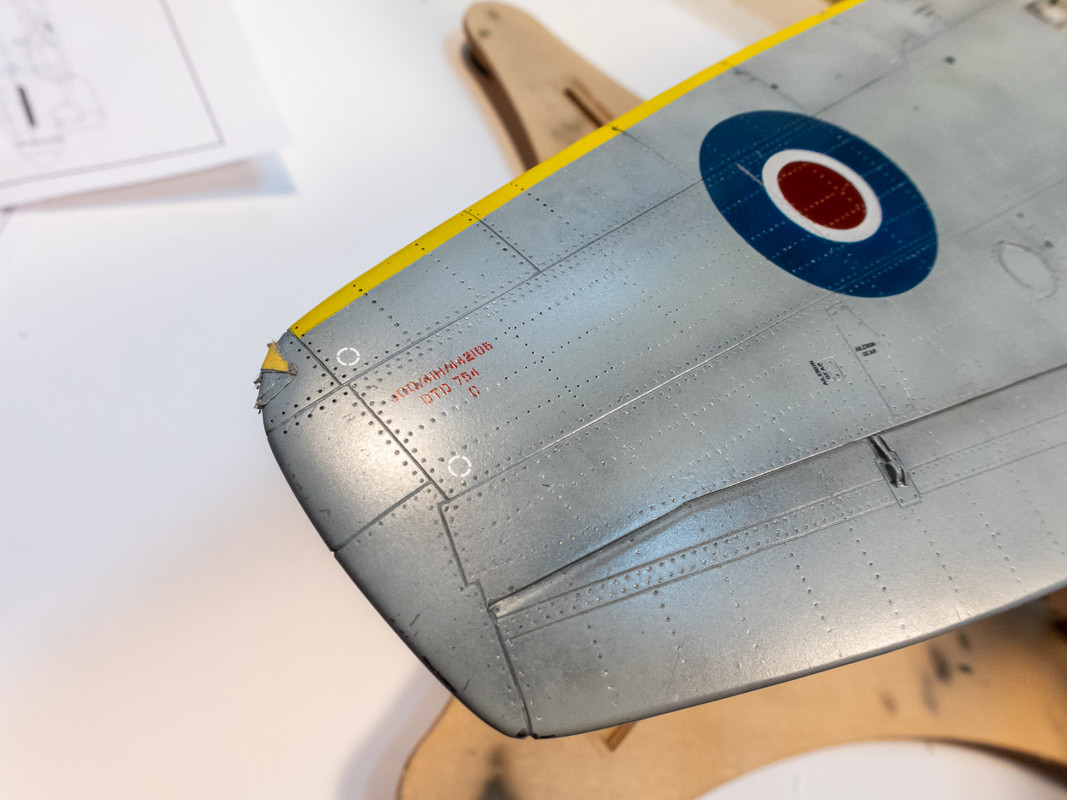
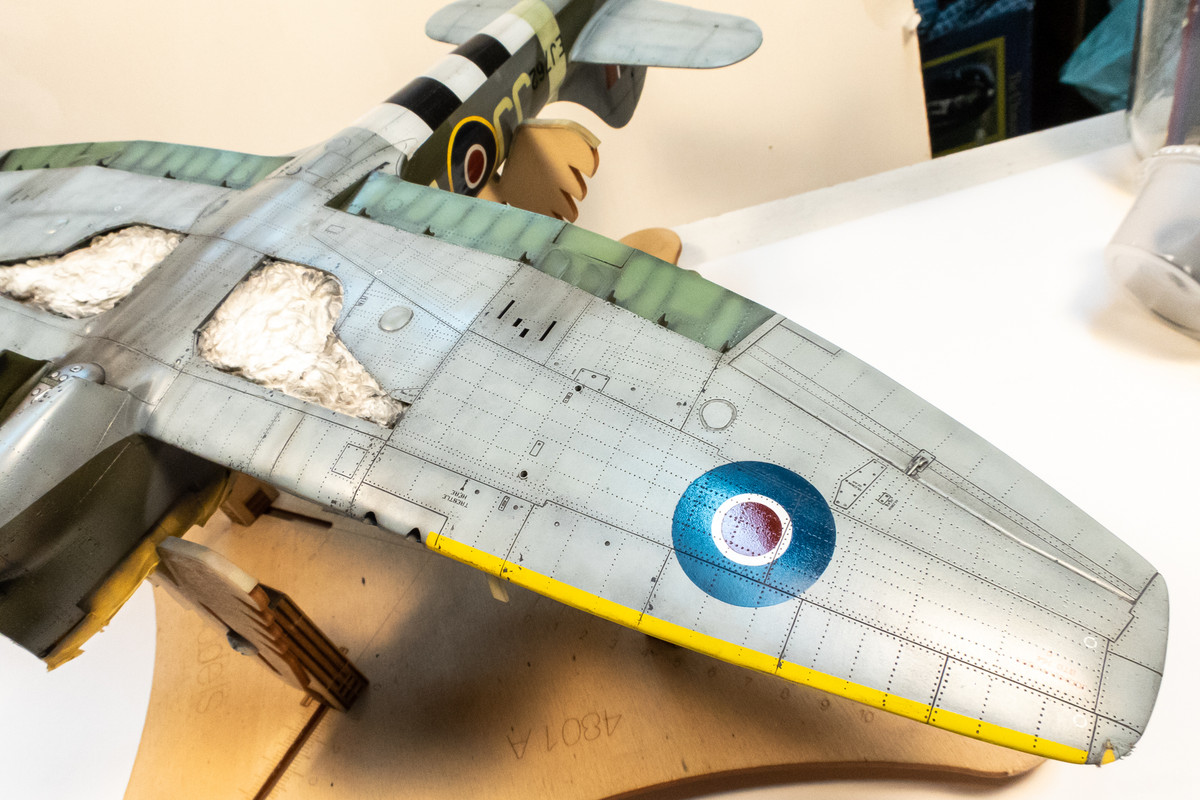
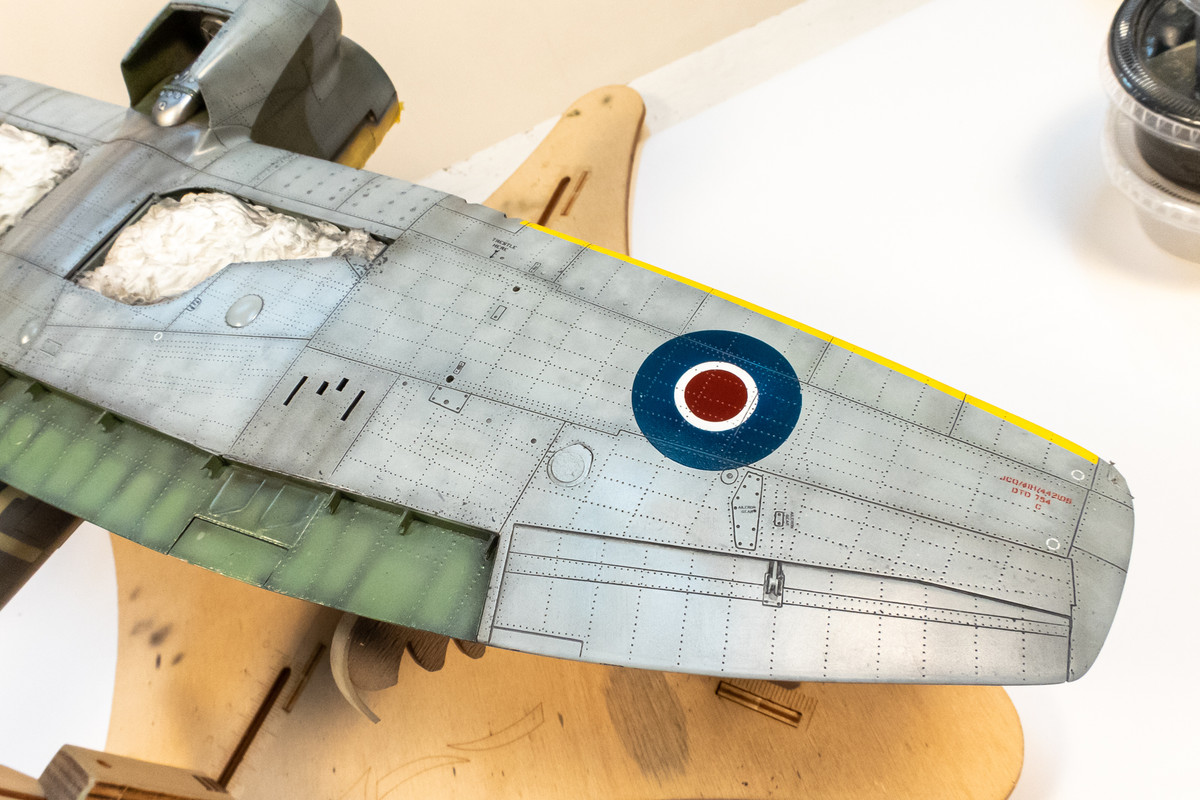
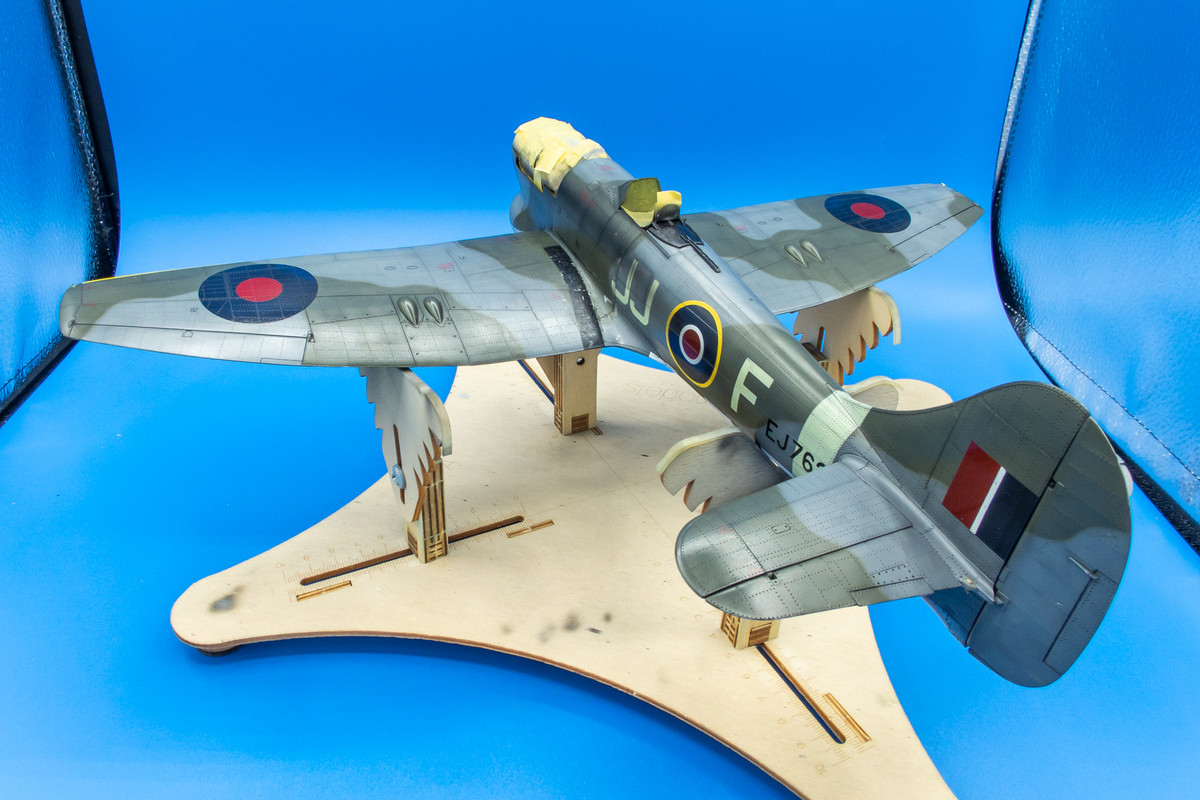
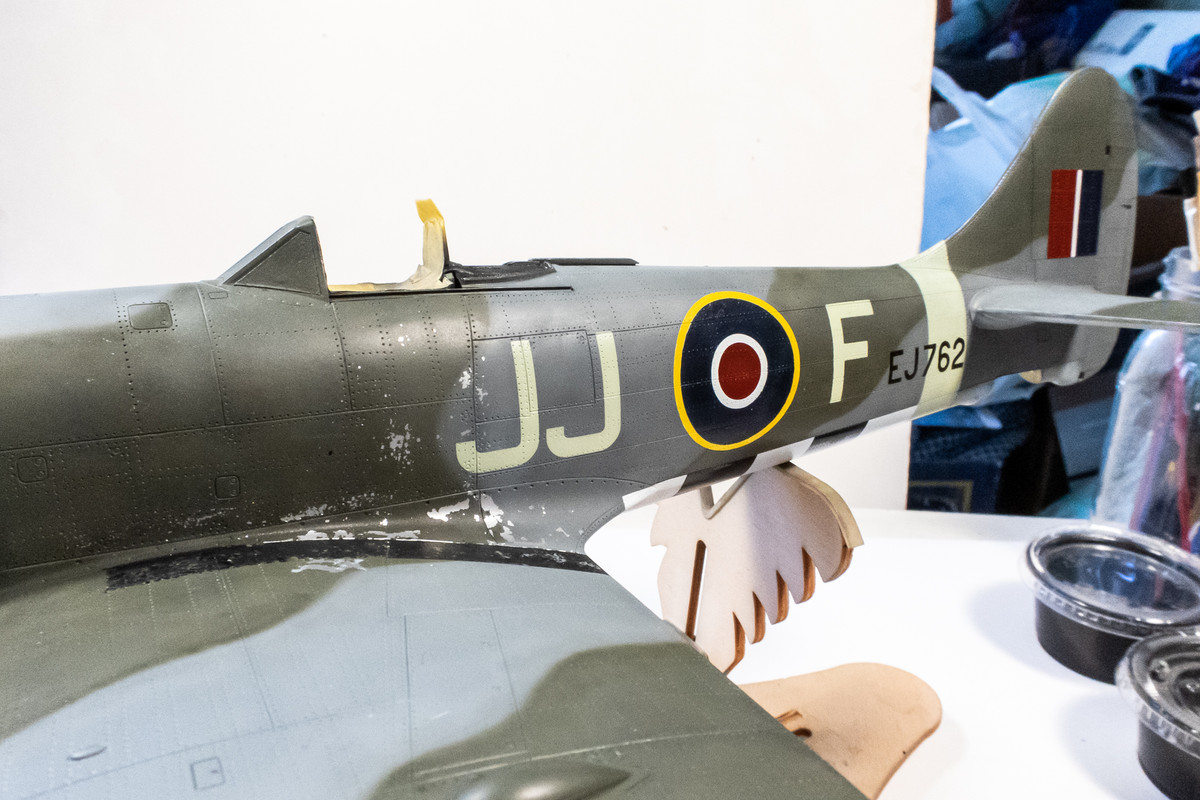
Another view of the port side markings. I've also performed some touch-up repairs to the fuselage roundels as well as re-spraying the red on the port fin flash.
Re: 1/32 Special Hobby Hawker Tempest Mk V
Posted: Fri Jun 03, 2022 5:44 am
by mustang1989
I feel your pain with the two steps back gig John but your efforts are slowly paying off. This is the first time I've heard of this Portrait Cutter so I decided to look it up and check it out. WOW!! I may have to get me one of these things!!!
Re: 1/32 Special Hobby Hawker Tempest Mk V
Posted: Fri Jun 03, 2022 7:20 am
by LyleW
mustang1989 wrote:I feel your pain with the two steps back gig John but your efforts are slowly paying off. This is the first time I've heard of this Portrait Cutter so I decided to look it up and check it out. WOW!! I may have to get me one of these things!!!
Had one for years, several do. I am a raw rookie compared to those that use it with CAD (Keaton, Floki and others).
Re: 1/32 Special Hobby Hawker Tempest Mk V
Posted: Fri Jun 03, 2022 12:23 pm
by Floki
mustang1989 wrote:I feel your pain with the two steps back gig John but your efforts are slowly paying off. This is the first time I've heard of this Portrait Cutter so I decided to look it up and check it out. WOW!! I may have to get me one of these things!!!
Get one! You will love it
Re: 1/32 Special Hobby Hawker Tempest Mk V
Posted: Fri Jun 03, 2022 1:34 pm
by Duke Maddog
That's it, time for me to quit! I cannot ever succeed like this in any fix; I haven't the skills or talent. Any attempt I would make would be only half as good as the original. You are a Masterful magician!
Re: 1/32 Special Hobby Hawker Tempest Mk V
Posted: Fri Jun 03, 2022 11:44 pm
by jkim
Re: 1/32 Special Hobby Hawker Tempest Mk V
Posted: Sat Jun 04, 2022 4:40 pm
by jkim
Re: 1/32 Special Hobby Hawker Tempest Mk V
Posted: Sun Jun 05, 2022 10:57 am
by KSaarni
so outstanding John, so outstanding!
- Kari
Re: 1/32 Special Hobby Hawker Tempest Mk V
Posted: Sun Jun 05, 2022 5:47 pm
by Stuart
Having just caught up with this over the last five or six pages... all I can say is wow! A painting masterclass indeed John, that repair you did on the d-day stripes was excellent!