Oh now that's awesome!mustang1989 wrote:Thanks Mike.Medicman71 wrote:Texas plates!! Nice!
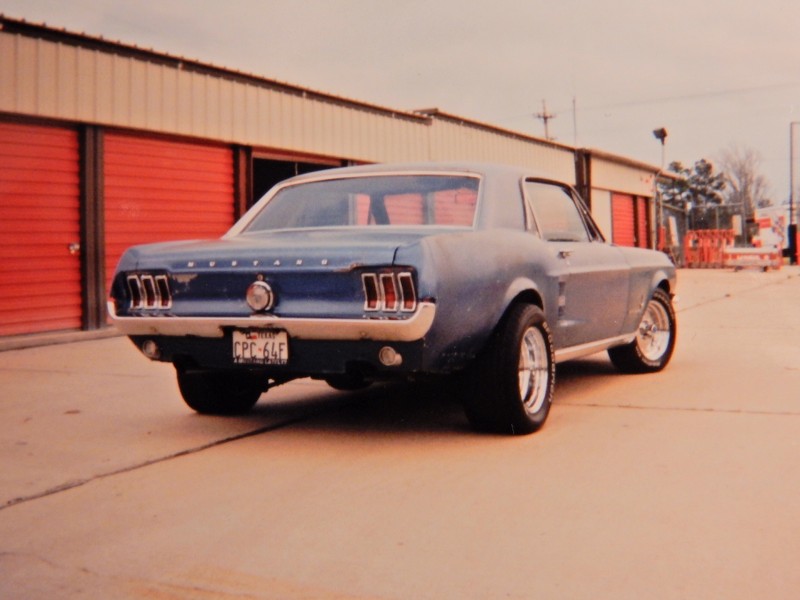
Just like the original...
AMT '67 Mustang Fastback-Close-04/15
-
Medicman71

- Elite Member
- Posts: 9729
- Joined: Mon Apr 07, 2014 9:32 am
- Location: Houston, Tx
Re: AMT '67 Mustang Fastback-Back Panel---04/06
Mike
Sponsored by Boeing, Lockheed Martin, Northrop Grumman, Saab, BAE, and Dassault
Sponsored by Boeing, Lockheed Martin, Northrop Grumman, Saab, BAE, and Dassault
-
mustang1989

- Moderator
- Posts: 4903
- Joined: Tue Mar 18, 2014 8:35 pm
Re: AMT '67 Mustang Fastback-Back Panel---04/06
Man I miss my old car.

Re: AMT '67 Mustang Fastback-Back Panel---04/06
Niceeeeee!!!!
That rear bumper looks spot on Mike!
That rear bumper looks spot on Mike!
Stuart Templeton 'I may not be good but I'm slow...'
My blog: https://stuartsscalemodels.blogspot.com/
My blog: https://stuartsscalemodels.blogspot.com/

Re: AMT '67 Mustang Fastback-Back Panel---04/06
Fantastic rear light design. You have to love that era.
When the sun of culture hangs low even dwarfs throw shadows.
-
mustang1989
- Moderator
- Posts: 4903
- Joined: Tue Mar 18, 2014 8:35 pm
Re: AMT '67 Mustang Fastback-Back Panel---04/06
Thanks you guys.
I completed the rear panel yesterday afternoon as I had off from work. I did NOT like those stupid little bumperettes that stem from the rear bumper down along side of the license plate. I never did like those things and sure as hell never had any on my 1:1 scale car. I cut those off, stripped the chrome from the bumper, cleaned the bumper up and re-chromed using the Alclad II method. I'm super happy with this outcome.
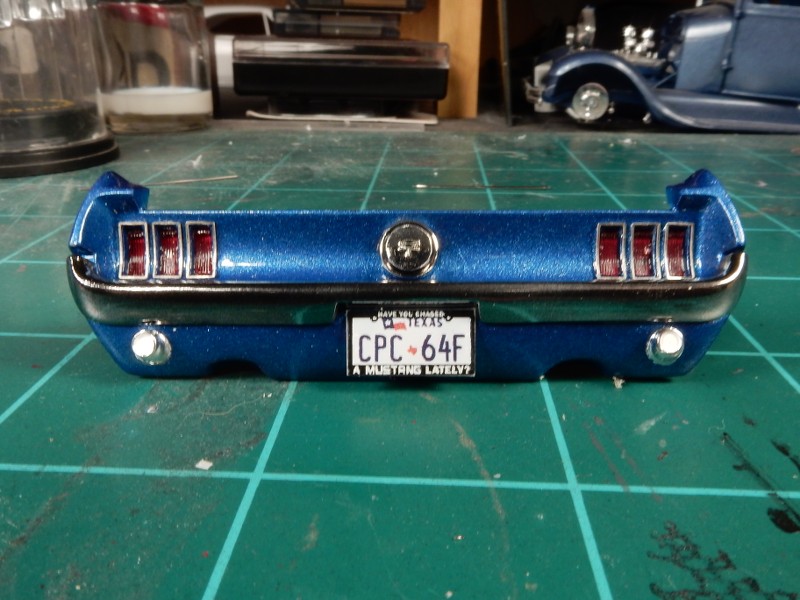
I completed the rear panel yesterday afternoon as I had off from work. I did NOT like those stupid little bumperettes that stem from the rear bumper down along side of the license plate. I never did like those things and sure as hell never had any on my 1:1 scale car. I cut those off, stripped the chrome from the bumper, cleaned the bumper up and re-chromed using the Alclad II method. I'm super happy with this outcome.
Re: AMT '67 Mustang Fastback-Back Panel---04/06
Stuart Templeton 'I may not be good but I'm slow...'
My blog: https://stuartsscalemodels.blogspot.com/
My blog: https://stuartsscalemodels.blogspot.com/
-
mustang1989
- Moderator
- Posts: 4903
- Joined: Tue Mar 18, 2014 8:35 pm
Re: AMT '67 Mustang Fastback-Back Panel-Complete-04/13
Thanks Stuart.
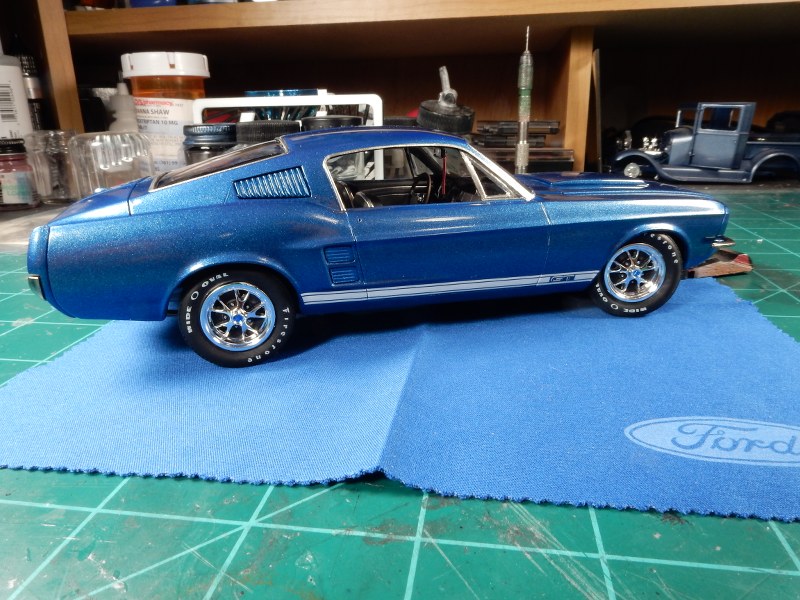
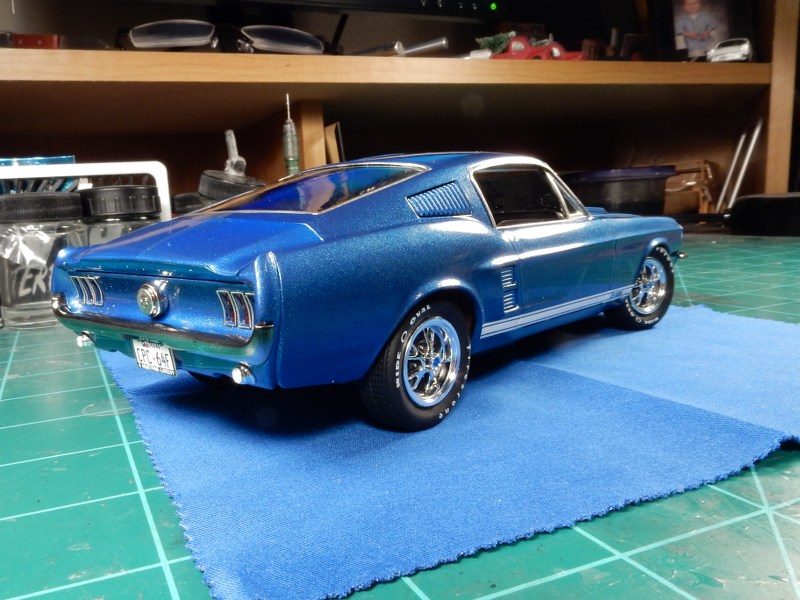
Well guys......this one is going to be coming to a close a little quicker than I thought. I had a block of time yesterday that I hadn't planned on having and was able to get alot done. Here's the final mock up before I go any further and will be the last pictures I'll post in this thread until I'm either done or have a major catastrophe with the build.
I've still got a couple of things to do like
1. Scrub the tire tread on tires and touch up the rim edges and then install permanently onto the vehicle. Also the rear wheel isn't "sucked" all the way down on the tire which makes the tire look like it's not properly seated on the wheel so I'll have to make that happen as well.
2. Install all door handles and outside rear view mirrors (mirrors still need the Alclad II treatment)
3. Add the metal coating to the windshield wiper arms
4. Apply the PE M U S T A N G lettering to the trunk lid (although I am contemplating a complete repaint and clearing of the trunk lid because it doesn't seem to be as dark a shade of blue as the rest of the car).
5. Install the exhaust tips that I just got applying the Alclad Chrome treatment to
6. Install radiator hoses and final details in the engine bay
7. Paint the bottom side of the hood
Anyhow....here's where we are right now. (Couldn't resist throwing my "REMOVE BEFORE FLIGHT" tag from the mirror. I've had this tag on all my 1:1 scale rides for the last 32 years now. It was in Mustang #2 of mine, my blue #3 Mustang, my 89 LX Coupe and now in my Silverado truck.
Re: AMT '67 Mustang Fastback-Close-04/15
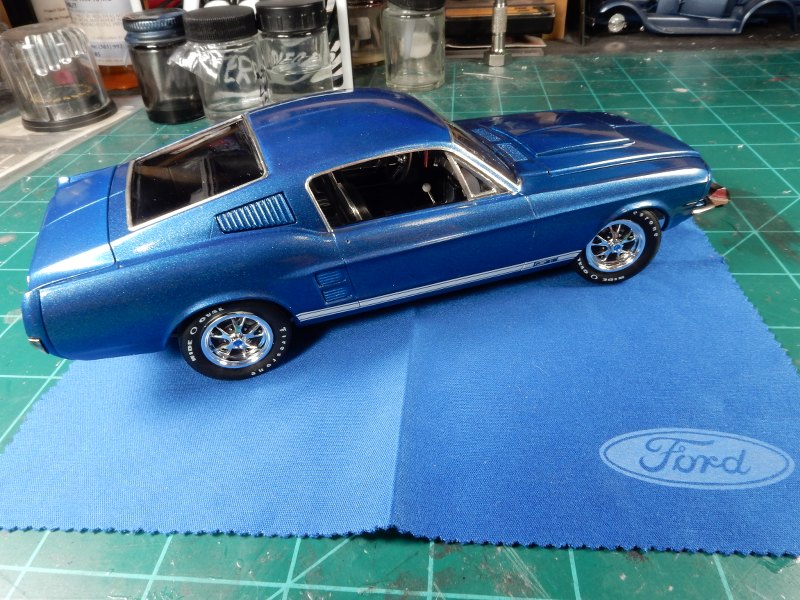
Man that is AWESOME. That looks superb Joe, your attention to detail is superb as always and I love that tag - great stuff. I kind of see what you mean by the boot lid... sorry, trunk lid  but I'm not sure if I'd repaint it or not.
Stuart Templeton 'I may not be good but I'm slow...'
My blog: https://stuartsscalemodels.blogspot.com/
My blog: https://stuartsscalemodels.blogspot.com/
-
mustang1989
- Moderator
- Posts: 4903
- Joined: Tue Mar 18, 2014 8:35 pm
Re: AMT '67 Mustang Fastback-Close-04/15
Thanks Stuart!
It's not as big a deal as it might seem to repaint the deck lid as it's not permanently glued into place just yet. I have it being held in place by silly putty so I could mount the rear panel onto the body so it can come right off to be worked with which kinda had to happen anyways to install the PE lettering on it.
It's not as big a deal as it might seem to repaint the deck lid as it's not permanently glued into place just yet. I have it being held in place by silly putty so I could mount the rear panel onto the body so it can come right off to be worked with which kinda had to happen anyways to install the PE lettering on it.
Re: AMT '67 Mustang Fastback-Close-04/15
Ah cool - that'll make life easier!
Stuart Templeton 'I may not be good but I'm slow...'
My blog: https://stuartsscalemodels.blogspot.com/
My blog: https://stuartsscalemodels.blogspot.com/