Page 1 of 5
MPM Wellington Mk.IC
Posted: Sat Jul 03, 2021 2:14 pm
by Bish
Made a start on MPM's Wimpy last night.

I'm adding 4 CMK resin sets, interiour, undercarrage, flaps and engines. I'll be useing kit markings for an aircraft from 75 (NZ) Sqn based at Feltwell in Norfolk.
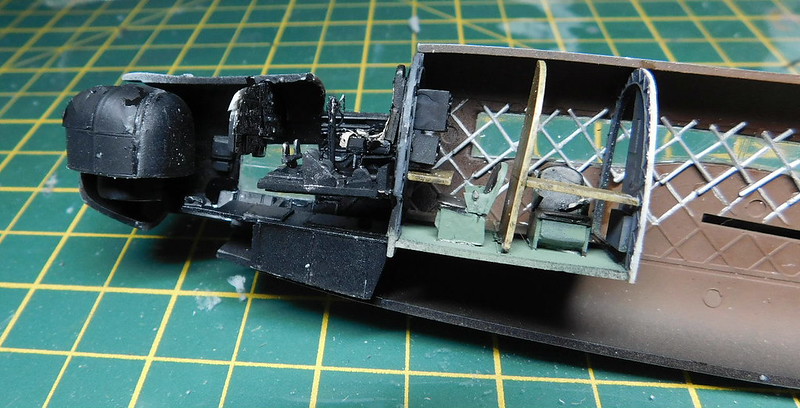
The nose section inside had to be sanded smooth before fiting a coupl e of resin pieces.
The CMK set replaces most of the pit pieces but also adds a radion and navigators compartment which should be quite visible with that long window along the sides.

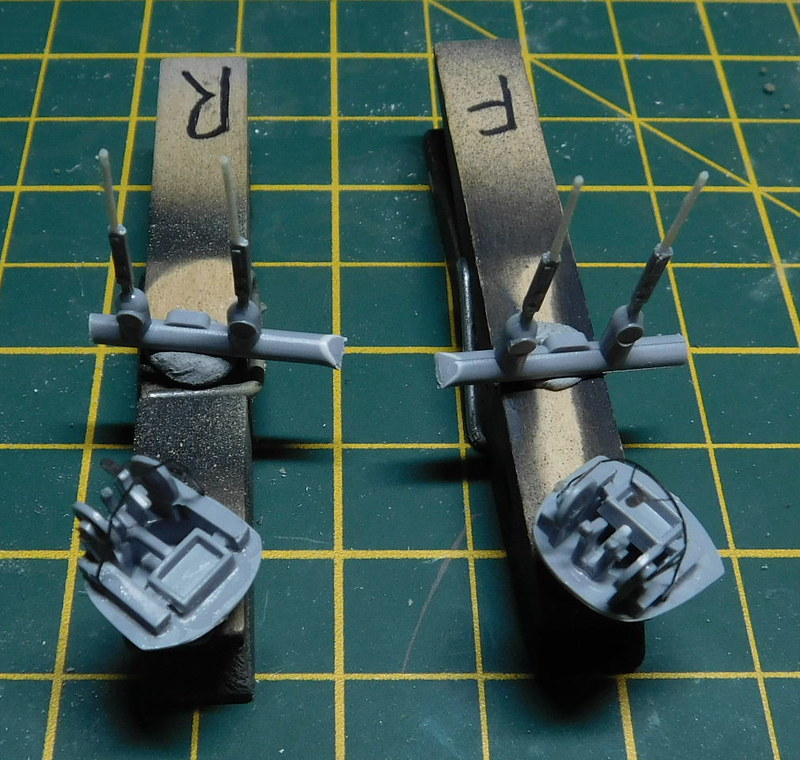
And the front and rear turrets with resin barrels and one small PE piece.
It got primed this evening and i'll get it painted in the morning. I'll be working on the engines and undercarrage tonight.
Re: MPM Wellington Mk.IC
Posted: Sat Jul 03, 2021 2:48 pm
by BlackSheep214
Another good subject not too often seen built up.

Re: MPM Wellington Mk.IC
Posted: Sat Jul 03, 2021 3:51 pm
by KSaarni
My absolute favorite RAF WW2 bomber, the Wellington!
This will be nice to follow
- Kari
Re: MPM Wellington Mk.IC
Posted: Sun Jul 04, 2021 2:23 am
by Stuart
Cool looking kit & what a great subject!
Re: MPM Wellington Mk.IC
Posted: Sun Jul 04, 2021 2:38 am
by Floki
Some nice looking resin pieces
Re: MPM Wellington Mk.IC
Posted: Sun Jul 04, 2021 1:09 pm
by Stikpusher
Very cool subject choice Bish!

Re: MPM Wellington Mk.IC
Posted: Sun Jul 04, 2021 10:33 pm
by jeaton01
When I get to the Wellington I'm going for this nose art:
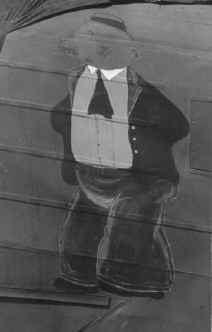 https://www.feltwell.net/raffeltwell/75p6_nose_art.htm
Re: MPM Wellington Mk.IC
Posted: Thu Jul 08, 2021 12:48 pm
by Medicman71
Nice! This will be another cool build.
Re: MPM Wellington Mk.IC
Posted: Sat Jul 10, 2021 12:25 pm
by Bish
Thanks guys.
John, what decals are you useing for that. mine doesn't have any nose art but would be nice to. As long as its a Feltwell based Wimpy.
Re: MPM Wellington Mk.IC
Posted: Sun Jul 18, 2021 12:42 pm
by Bish
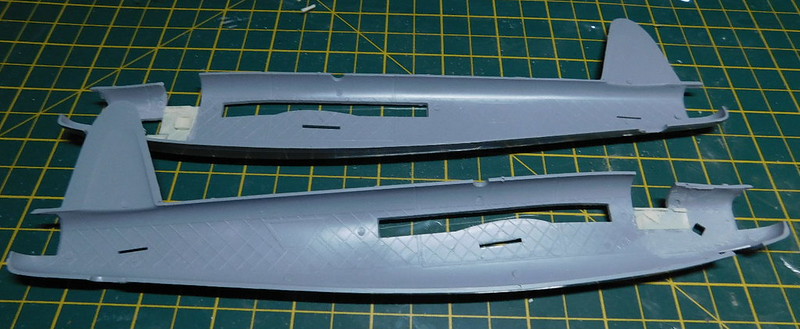
One thing about this Wimpy kit is that there is nothing to represent the lattice work behind the windows. So i used some thin styrene rod painted aluminium. This took a few nights getting it all fitted. I had to sand down the edges of the bulkhead for it to fit.

The fuselage went together pretty well considering its an MPM kit (i've had worse) and with the lattice work added. Though one small section did come away and its now wedged between the bulkhead and window.

The resin tail pieces fitted well.
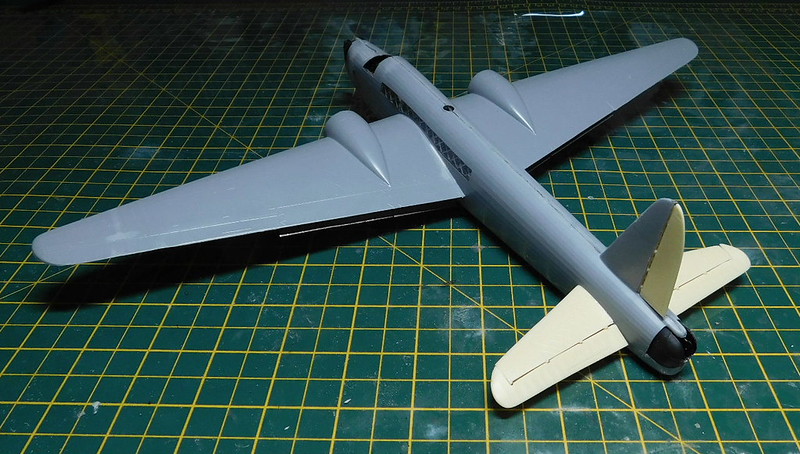
The PE flaps were a different matter. Instructions say the ribs are to be 2mm apart and i excepted that. There are 30 on each wing, but it wasn't until i fitted 27 on the first that i realised the remaining 3 would not fill the gap. So i worked it out and it should have been clser to 2.5mm between each rib. So once i removed the 27 ribbs, and straighted out the bent ones, i got them fitted as they should have been.

I'm now working on the rather intricate resin engines.