Bish wrote:Nice progress. I don't get why they have you put those delicate parts on so early.
1/32 Meng Me163 Komet
-
Stikpusher

- Moderator
- Posts: 18912
- Joined: Sat Apr 05, 2014 8:37 pm
- Location: Ceti Alpha 5
Re: 1/32 Meng Me163 Komet
"Surely I have made my meaning plain? I intend to avenge myself upon you, Admiral. I have deprived your ship of power, and when I swing 'round, I intend to deprive you of your life."
FLSM
FLSM

Re: 1/32 Meng Me163 Komet
Thanks guys! I appreciate the comments. It feels good to get my hands on some plastic again. It takes a bit of time to get acquainted with the build again but having the the process documented in this thread makes it easy. Life has been moving on since the passing of my mother-in-law and we've made some family transitions like moving my younger daughter from Davis to LA to start her new job. One more scheduled fishing trip to Barrett Lake before the season ends and I foresee a more definitive return to modeling by October.
I'm guessing it's just a matter of economics. Keeping the instruction sheets to a certain amount of pages. Show all of the little wing attachments when you show the wing being assembled and you don't have to show the wing a second time. I think we've all developed a wary eye for that type of thing.Bish wrote:Nice progress. I don't get why they have you put those delicate parts on so early.
John aka JKim
-----------<><

-----------<><
Re: 1/32 Meng Me163 Komet
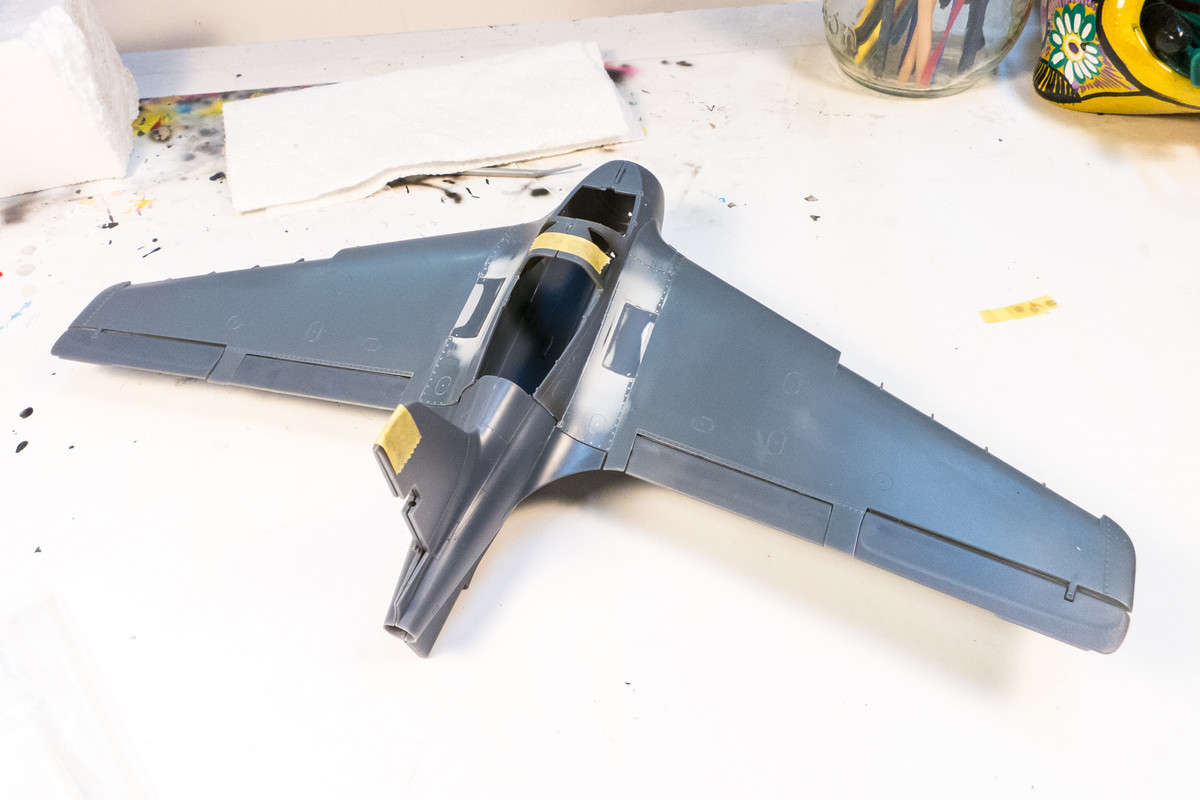
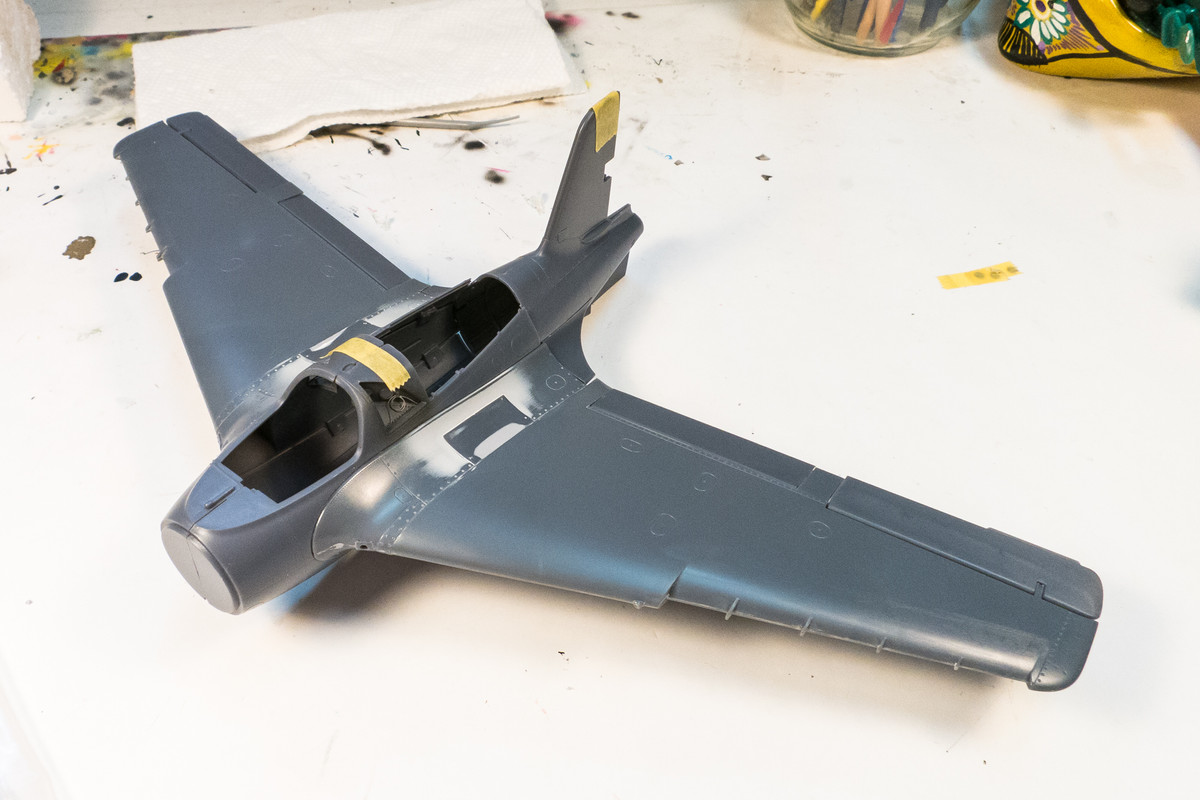
I've painted the guns and gun bay black and glued the wings together. The control surfaces are pin-mounted and therefore semi-posable.
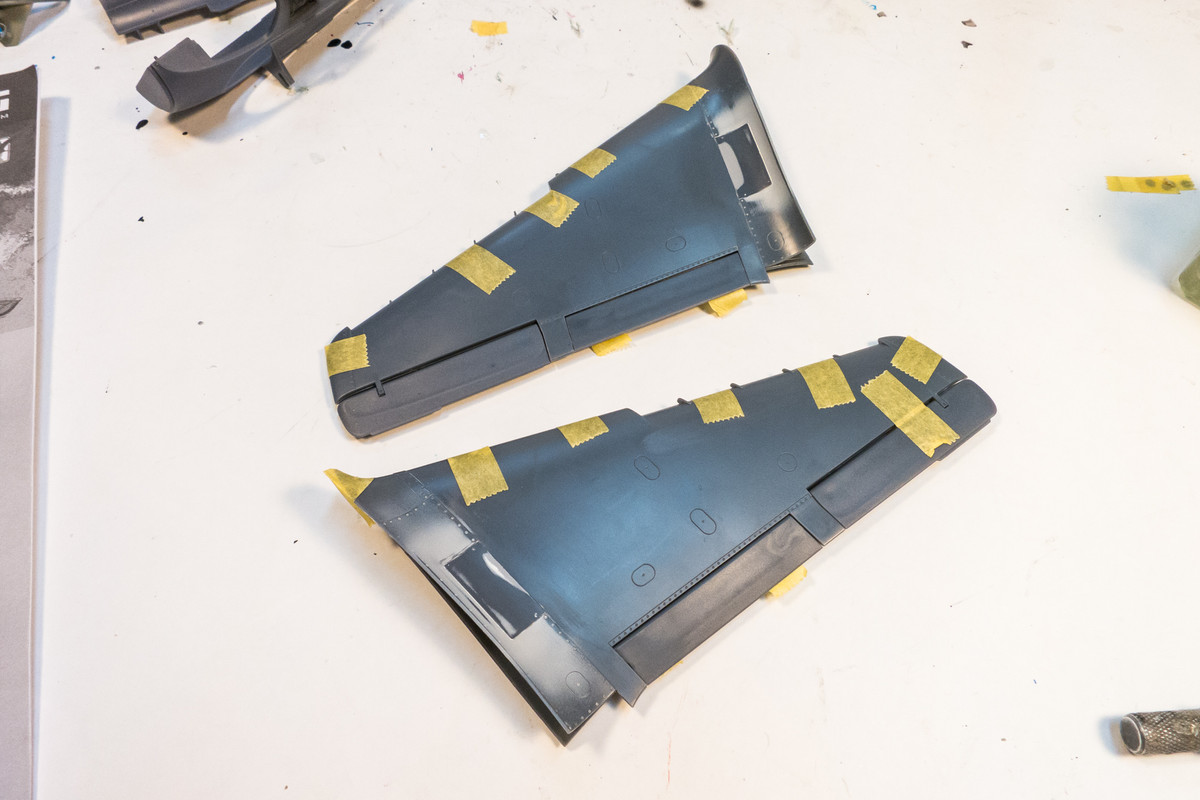
The cannon openings in the wings are separate parts, which thankfully fit well.
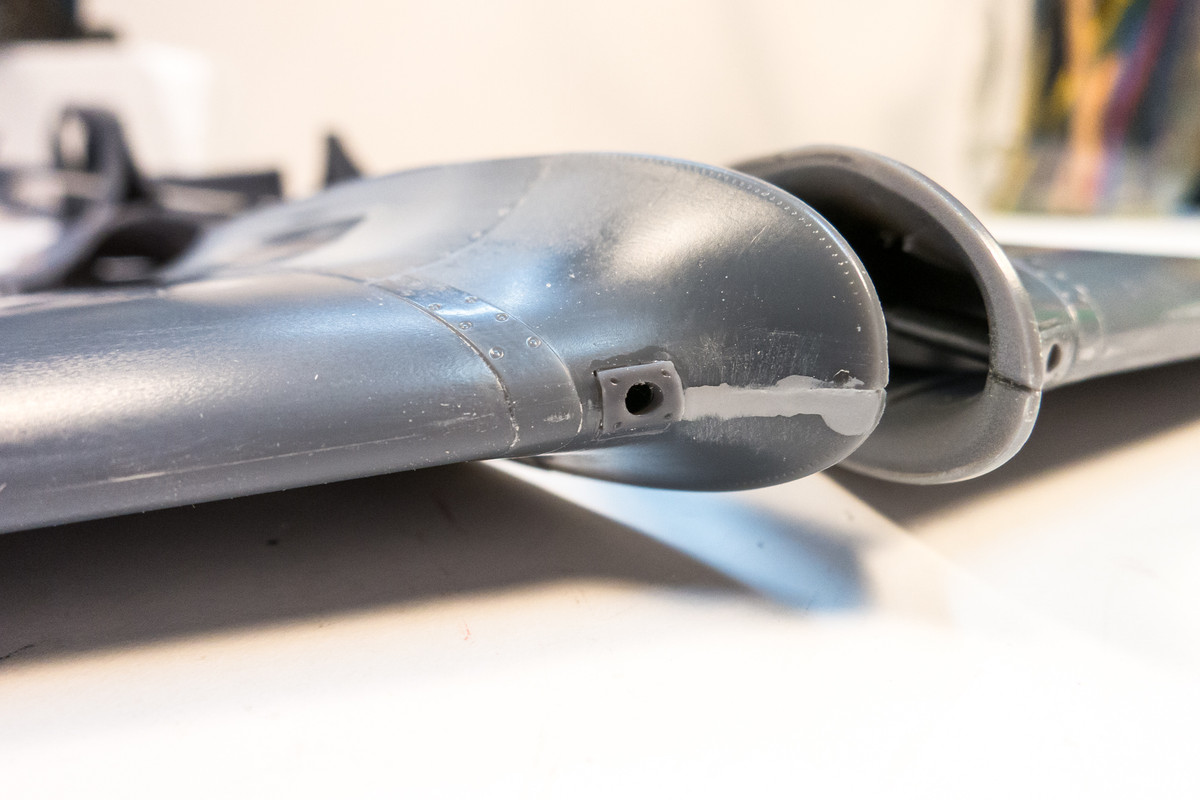
The wings are then glued onto their respective fuselage sides. To ensure the best fit possible, I've elected to fully glue in the top seam first and let it completely cure before applying glue to the bottom seam.

Fit is very good and it seems like this deviation in construction order was a good call.
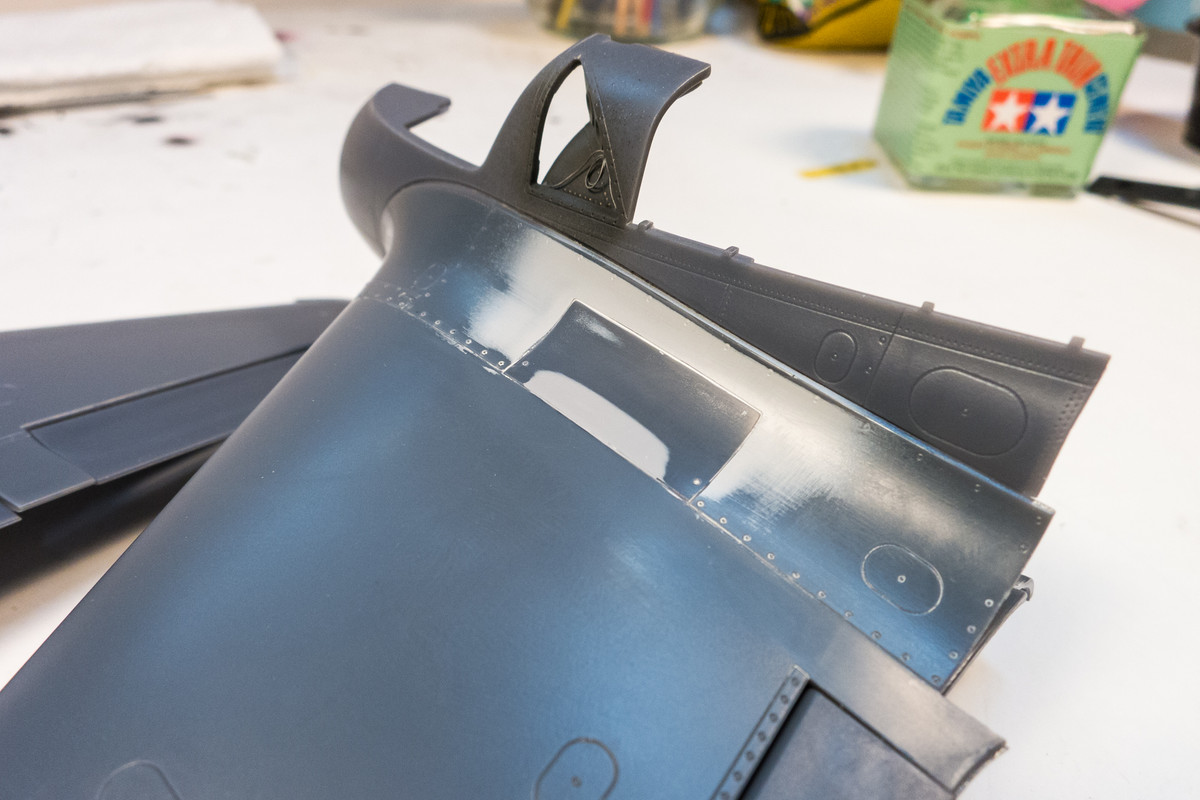
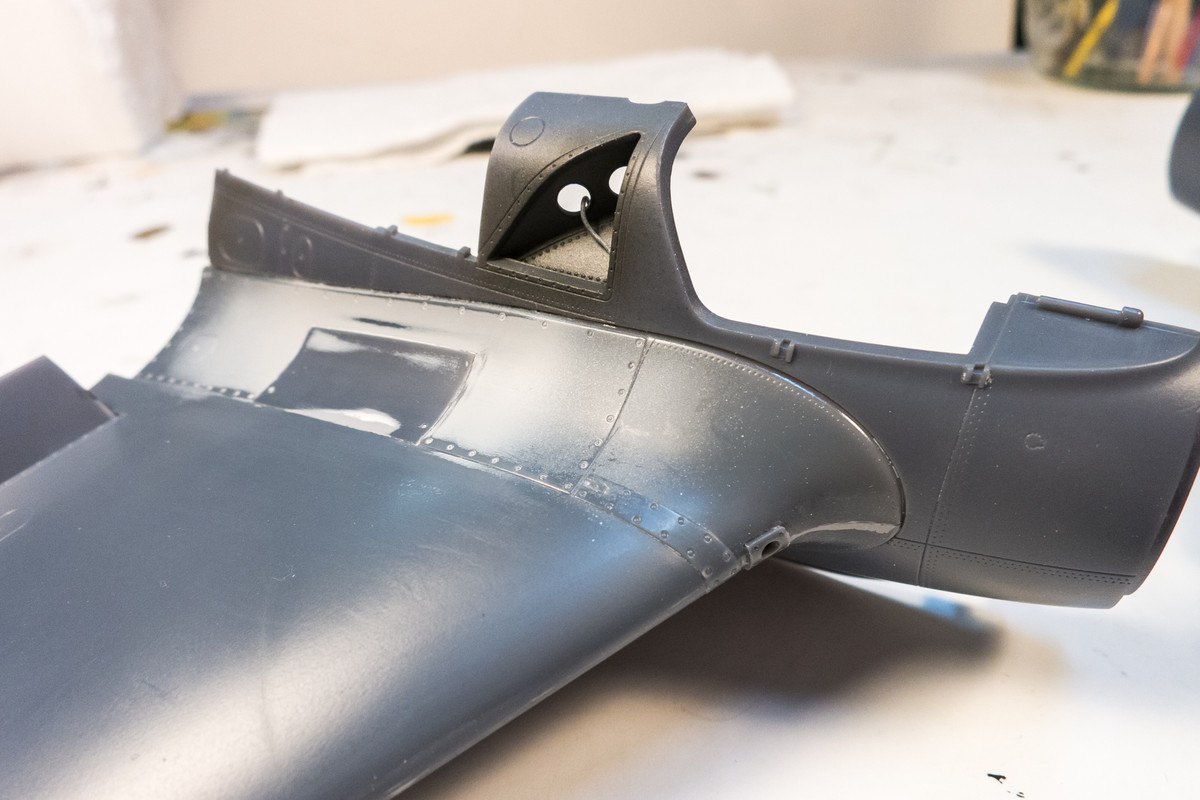
A quick pose with the fuselage halves taped together and the tail unit slid into place.
Keeping in mind that my aircraft will be fully buttoned up, there are a bunch of interior components that need to be added besides the cockpit and I need to figure out... (a) which internal parts are structurally necessary or beneficial and (b) if and how these internal parts will be painted.
The cannon openings in the wings are separate parts, which thankfully fit well.
The wings are then glued onto their respective fuselage sides. To ensure the best fit possible, I've elected to fully glue in the top seam first and let it completely cure before applying glue to the bottom seam.
Fit is very good and it seems like this deviation in construction order was a good call.
A quick pose with the fuselage halves taped together and the tail unit slid into place.
Keeping in mind that my aircraft will be fully buttoned up, there are a bunch of interior components that need to be added besides the cockpit and I need to figure out... (a) which internal parts are structurally necessary or beneficial and (b) if and how these internal parts will be painted.
John aka JKim
-----------<><
-----------<><
-
Medicman71

- Elite Member
- Posts: 9764
- Joined: Mon Apr 07, 2014 9:32 am
- Location: Houston, Tx
Re: 1/32 Meng Me163 Komet
It's looking great John!
Mike
Sponsored by Boeing, Lockheed Martin, Northrop Grumman, Saab, BAE, and Dassault
Sponsored by Boeing, Lockheed Martin, Northrop Grumman, Saab, BAE, and Dassault
-
BlackSheep214

- Elite Member
- Posts: 10462
- Joined: Sun Apr 06, 2014 8:47 pm
Re: 1/32 Meng Me163 Komet
“Who controls the skies, controls the fate of this Earth”
Author unknown- 352nd Fighter Group, Blue-Nosed Bastards of Bodney
“Send one plane it’s a sortie; send two planes it’s a flight; send four planes it’s a test of airpower. - Richard Kohn
Author unknown- 352nd Fighter Group, Blue-Nosed Bastards of Bodney
“Send one plane it’s a sortie; send two planes it’s a flight; send four planes it’s a test of airpower. - Richard Kohn
-
Stikpusher
- Moderator
- Posts: 18912
- Joined: Sat Apr 05, 2014 8:37 pm
- Location: Ceti Alpha 5
Re: 1/32 Meng Me163 Komet
Taking shape nicely John 
"Surely I have made my meaning plain? I intend to avenge myself upon you, Admiral. I have deprived your ship of power, and when I swing 'round, I intend to deprive you of your life."
FLSM
FLSM
Re: 1/32 Meng Me163 Komet
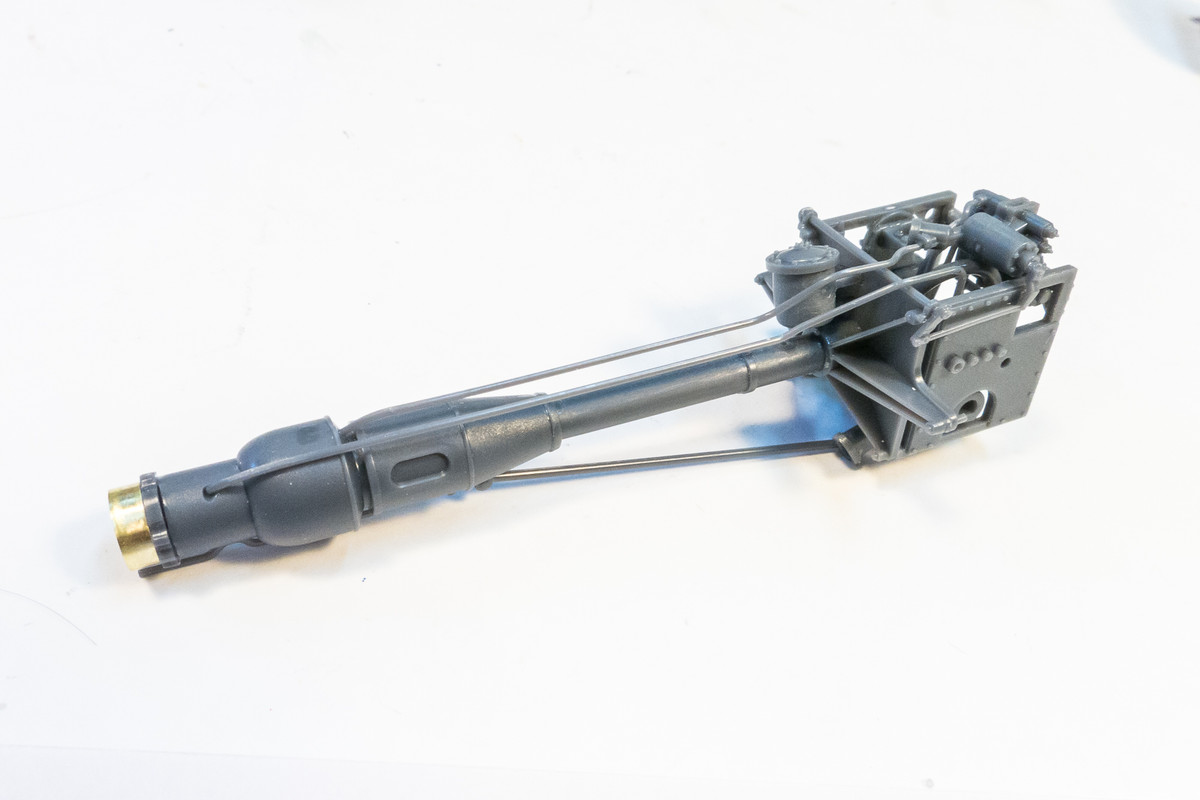
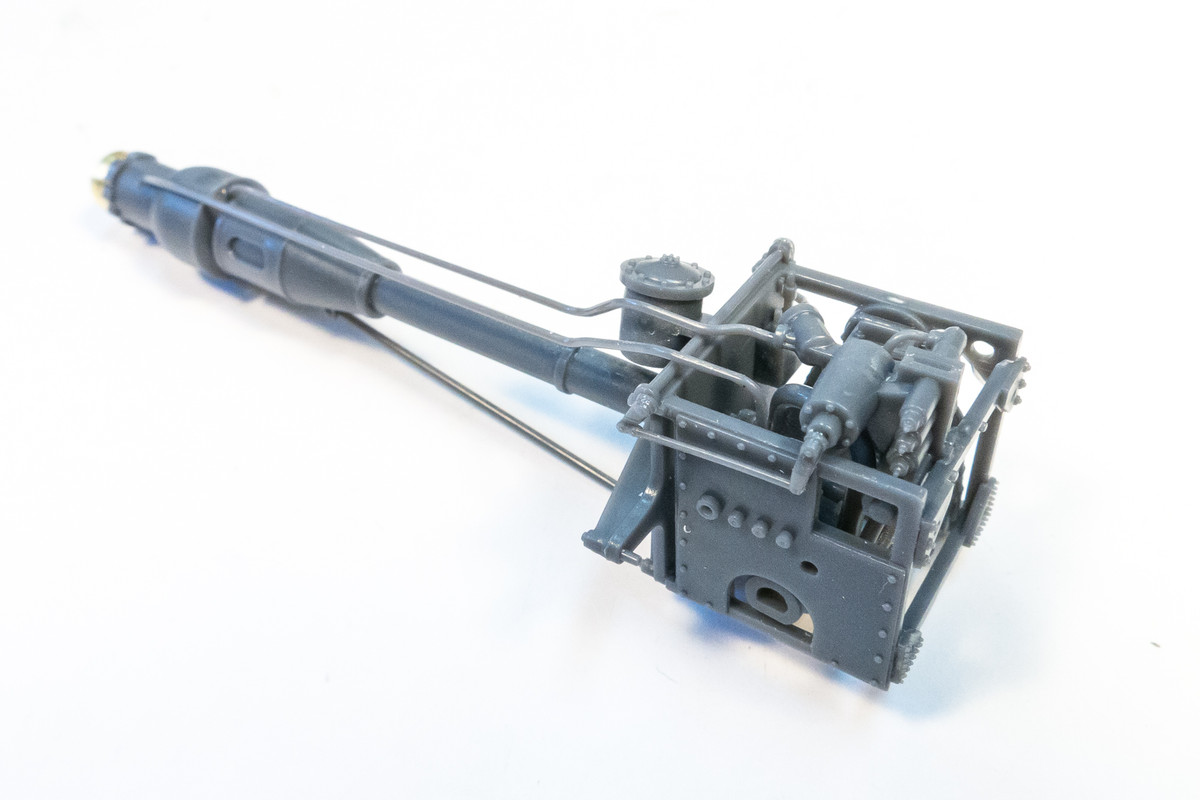
Thanks guys! I've assembled some of the internal components including the big fuel tank behind the cockpit and the rocket motor assembly.
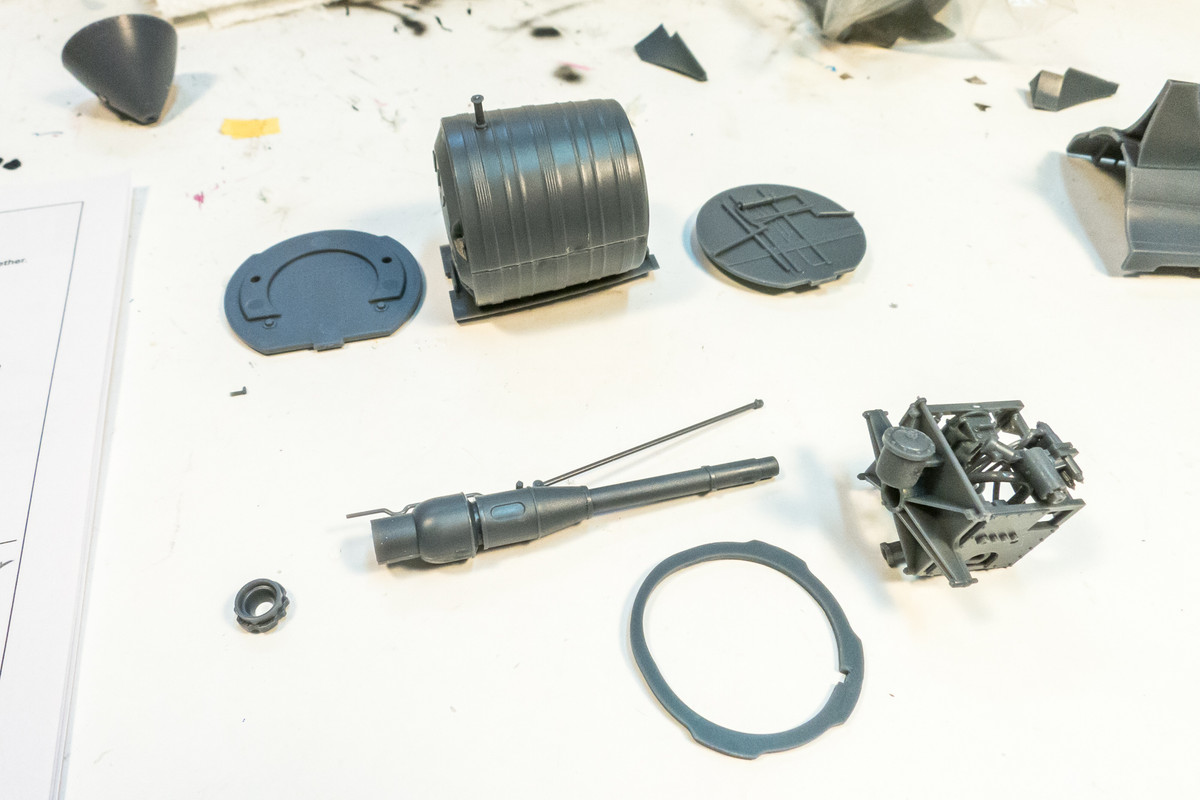
The little rocket motor is impressively detailed right out of the box. This includes some very fine hydraulic lines, separately molded, which I rarely see on an injection kit. The rocket motor is attached to the fuel tank, which in turn butts up against the rear wall of the cockpit tub. I'm assuming that I'll need all of these in place to ensure that the motor nozzle is in the correct place, which will be only visible part of these recently assembled parts.
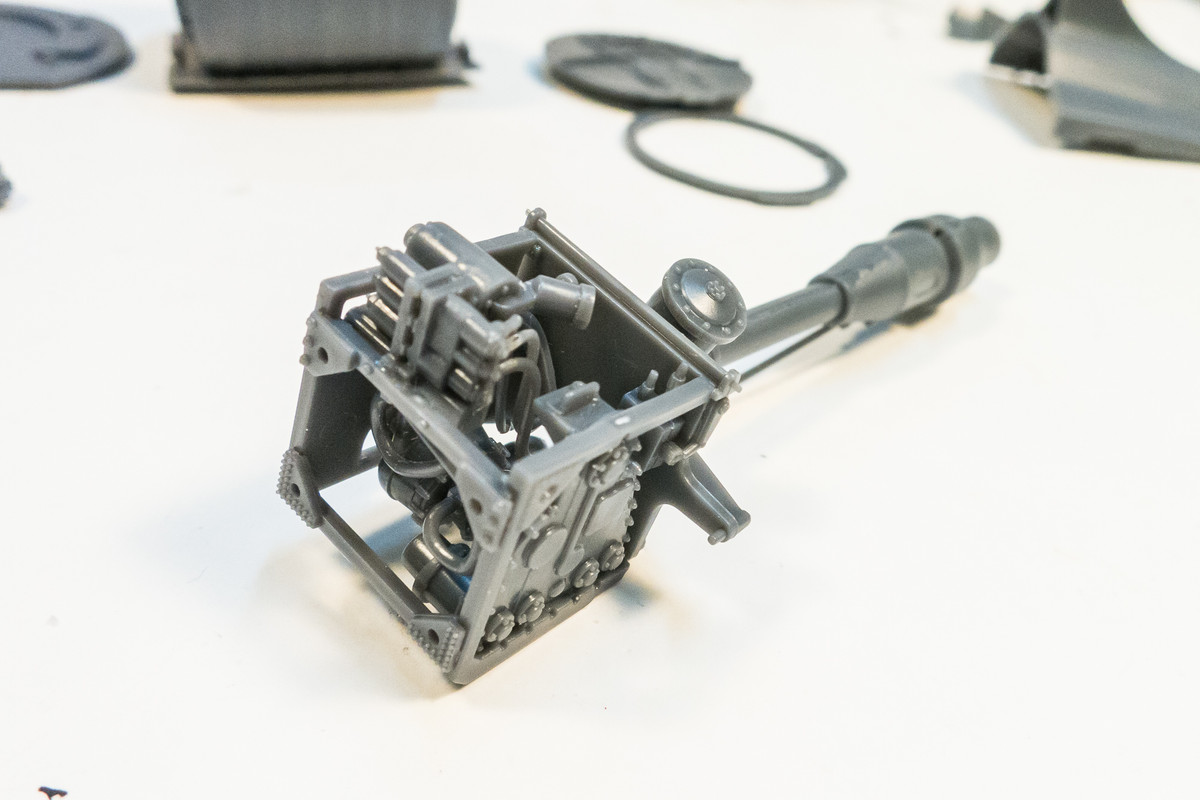
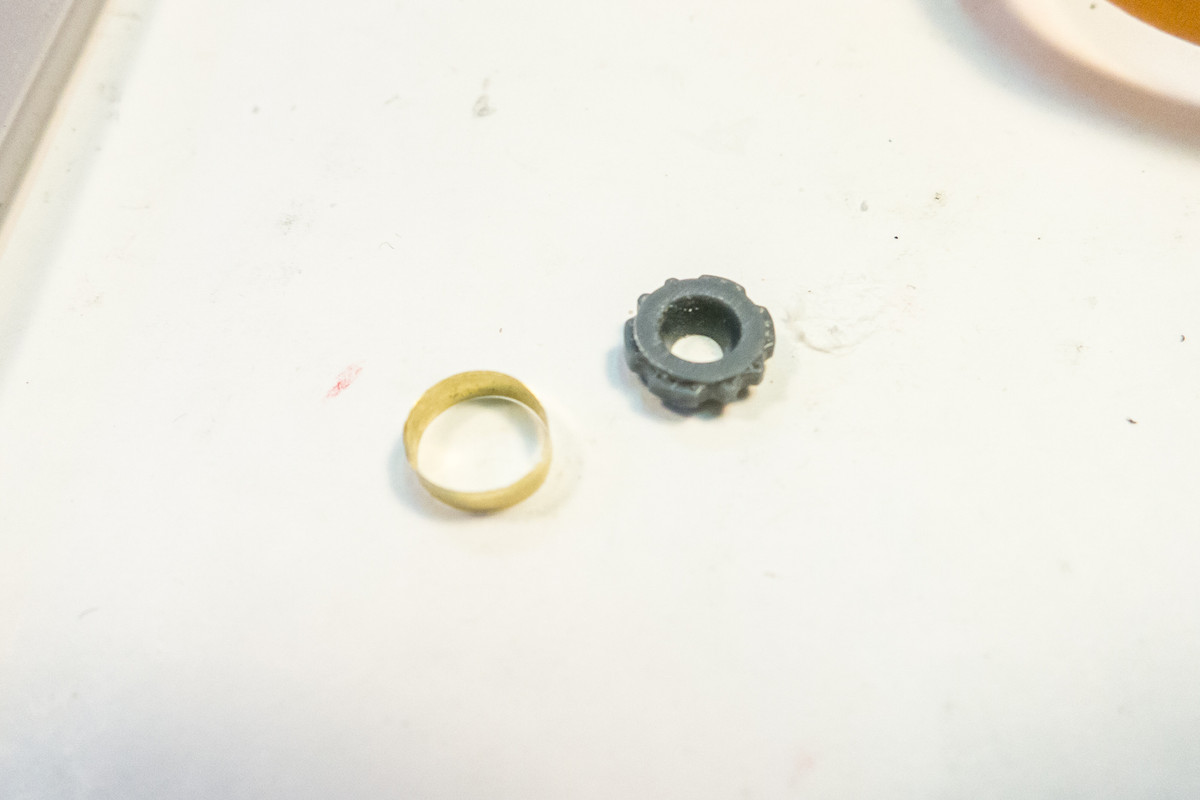
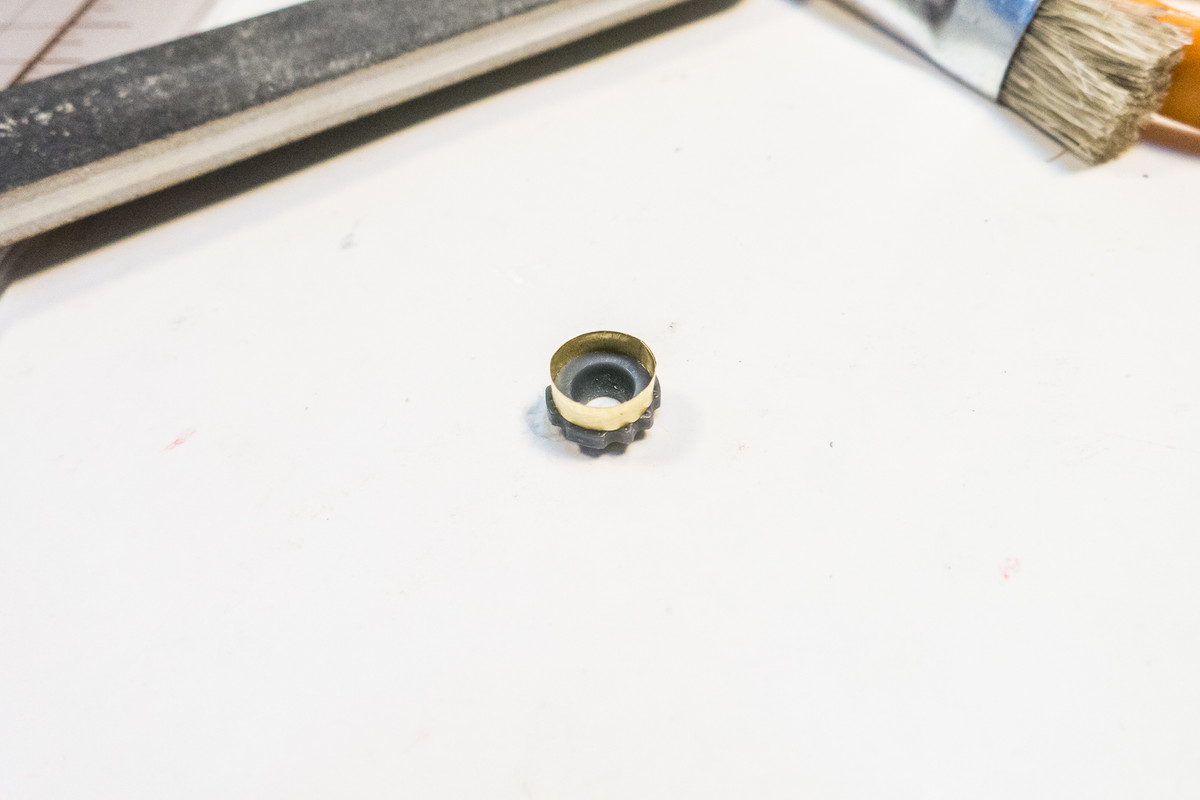
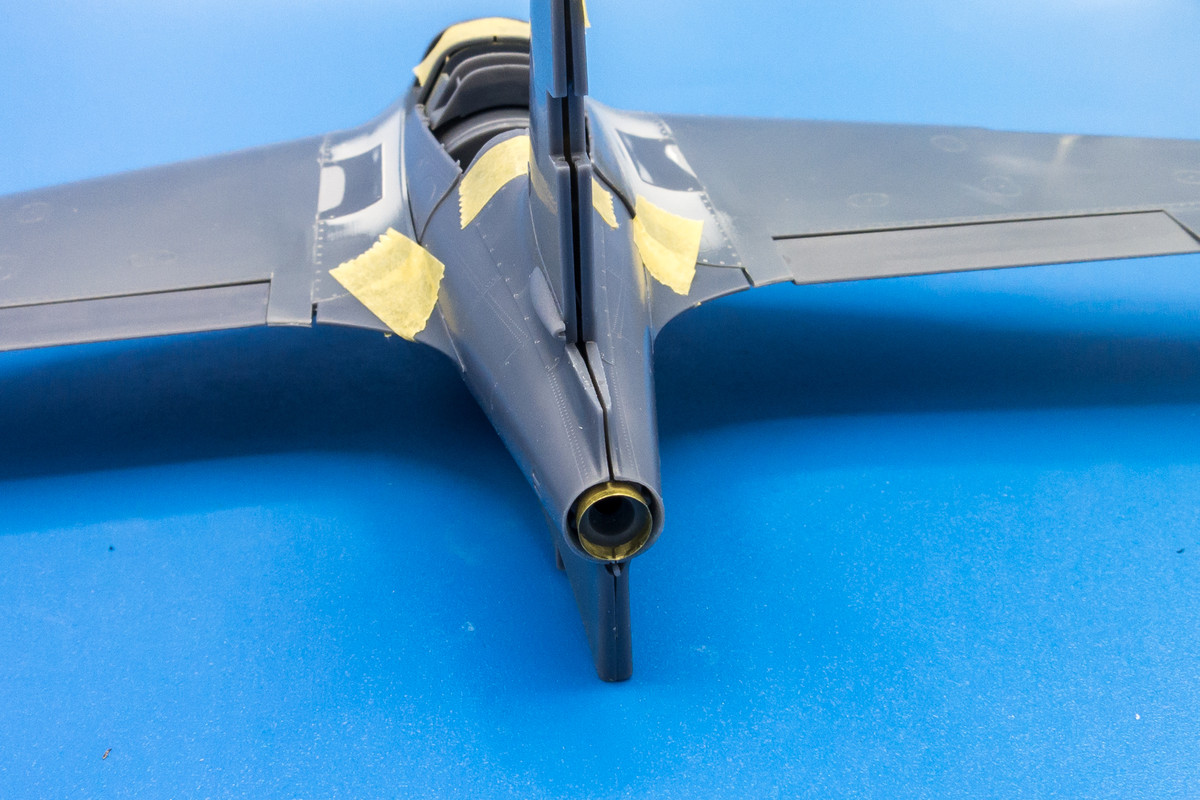
Speaking of the nozzle... I thought that the business end of the motor had such a thick trailing edge that it needed to be replaced.

So I fashioned a new one out of a strip of brass sheet.
The little rocket motor is impressively detailed right out of the box. This includes some very fine hydraulic lines, separately molded, which I rarely see on an injection kit. The rocket motor is attached to the fuel tank, which in turn butts up against the rear wall of the cockpit tub. I'm assuming that I'll need all of these in place to ensure that the motor nozzle is in the correct place, which will be only visible part of these recently assembled parts.
Speaking of the nozzle... I thought that the business end of the motor had such a thick trailing edge that it needed to be replaced.
So I fashioned a new one out of a strip of brass sheet.
John aka JKim
-----------<><
-----------<><
Re: 1/32 Meng Me163 Komet
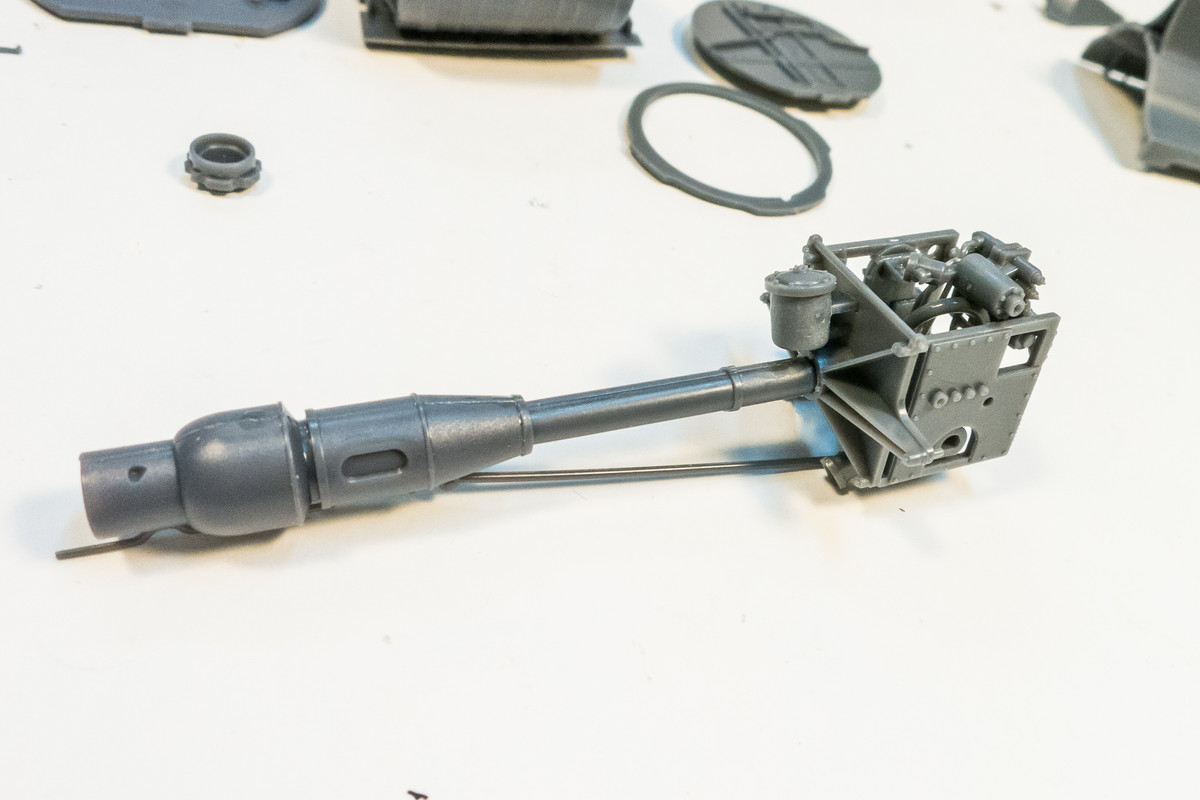
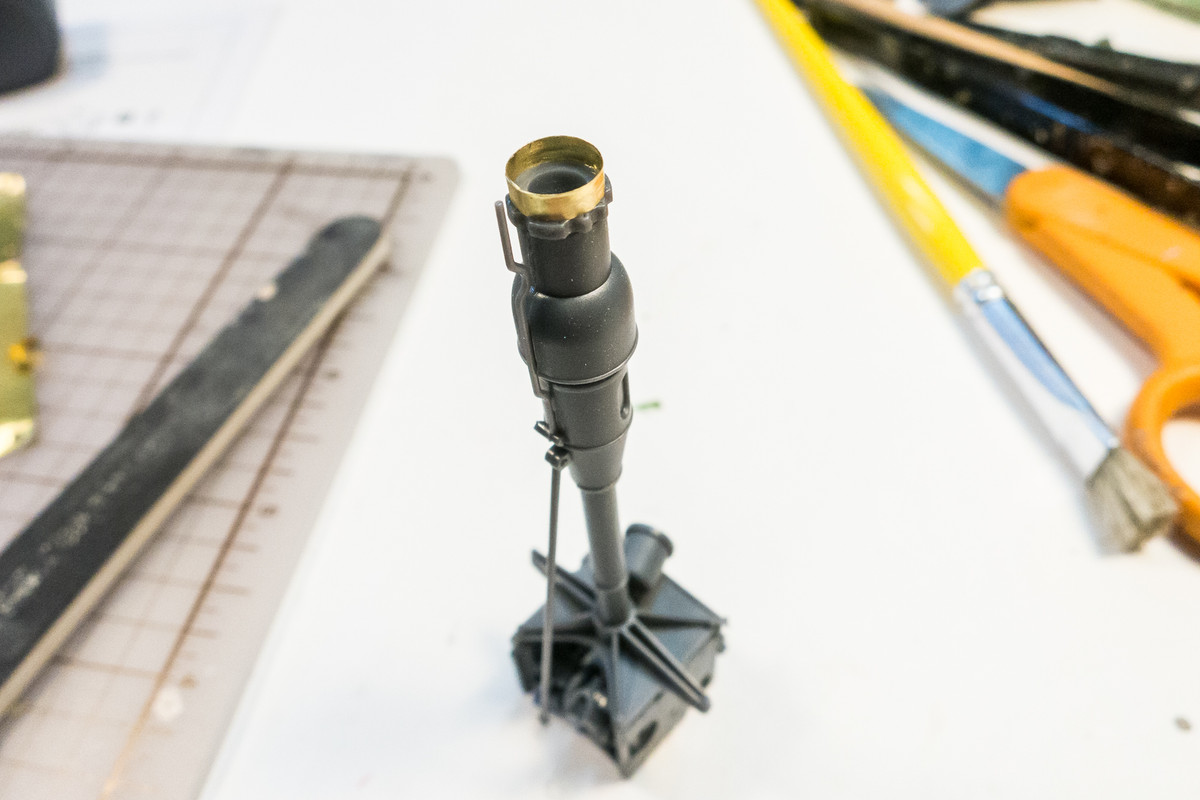
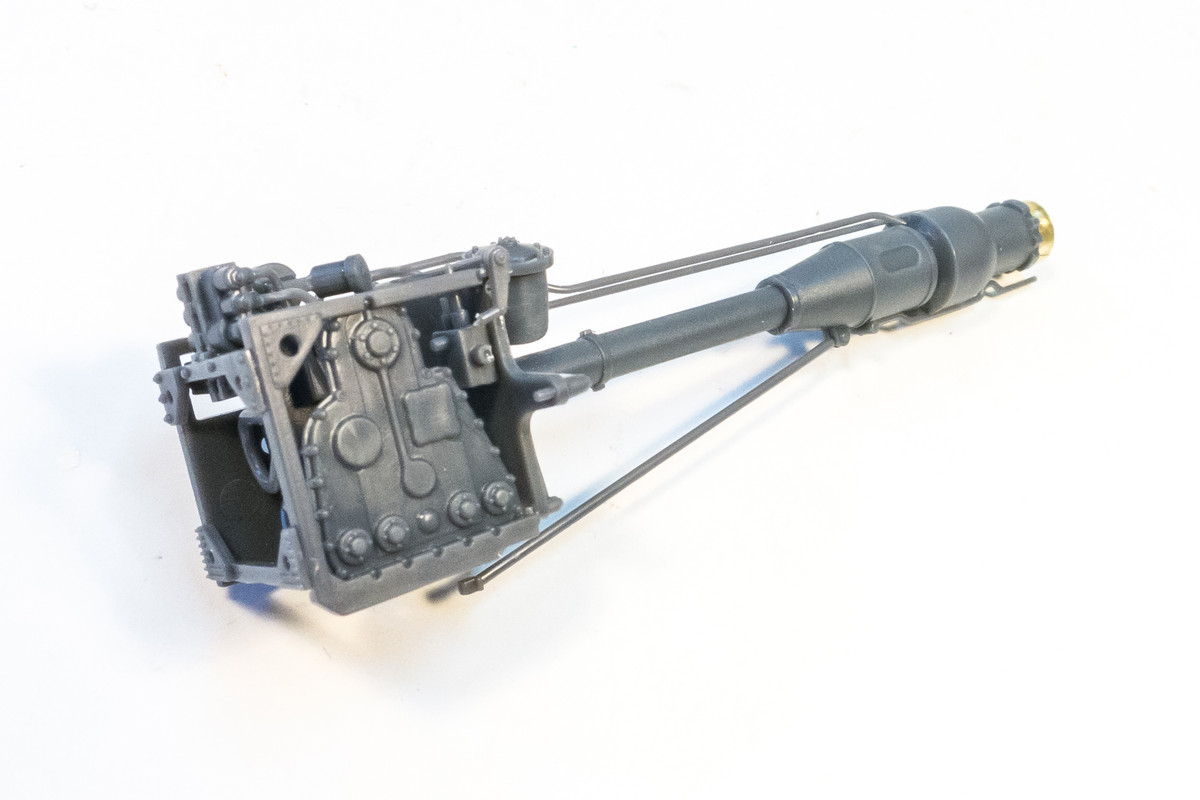
Here is the completed rocket motor in all of its unpainted glory. The last added pieces are two of those long, delicate hydraulic lines, which were impressively molded in plastic and dropped into place without any drama.
With the rocket motor complete, I conducted a dry fit of the major internal components: resin cockpit, fuel tank and motor to see how they fit within the fuselage halves and tail assembly. So far, so good!
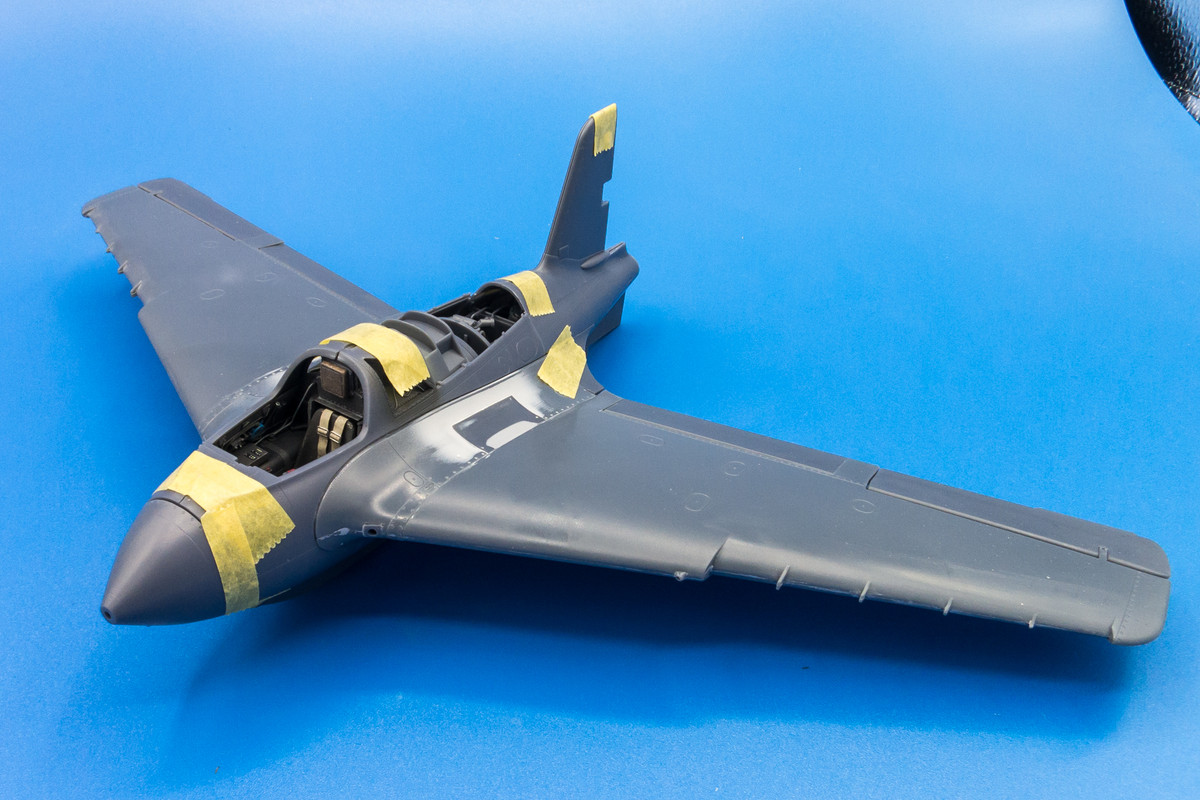
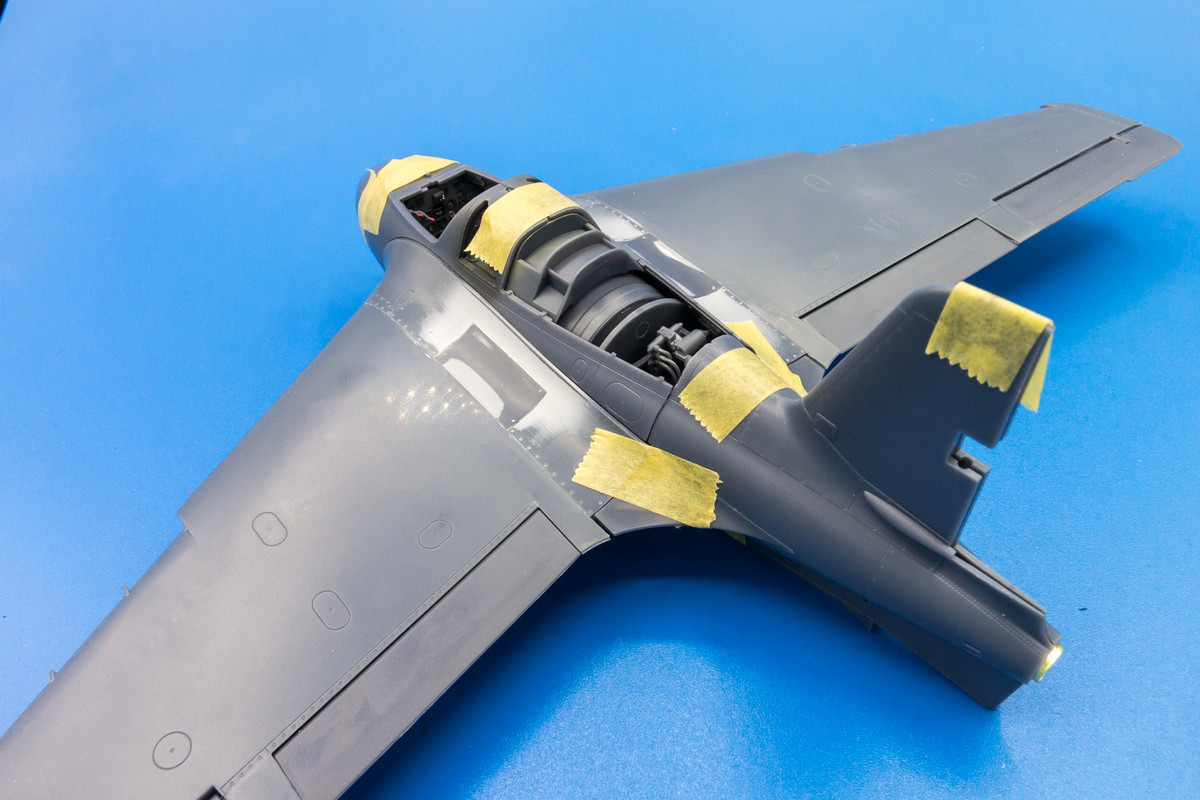
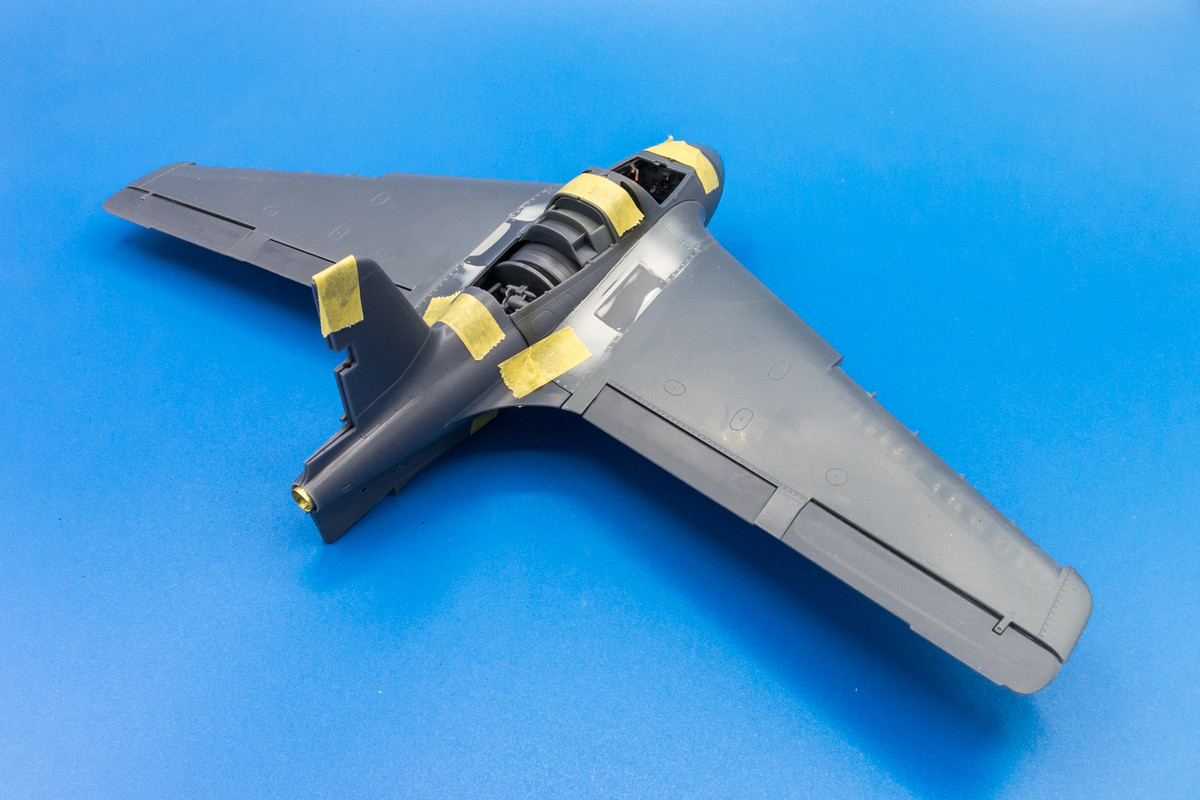
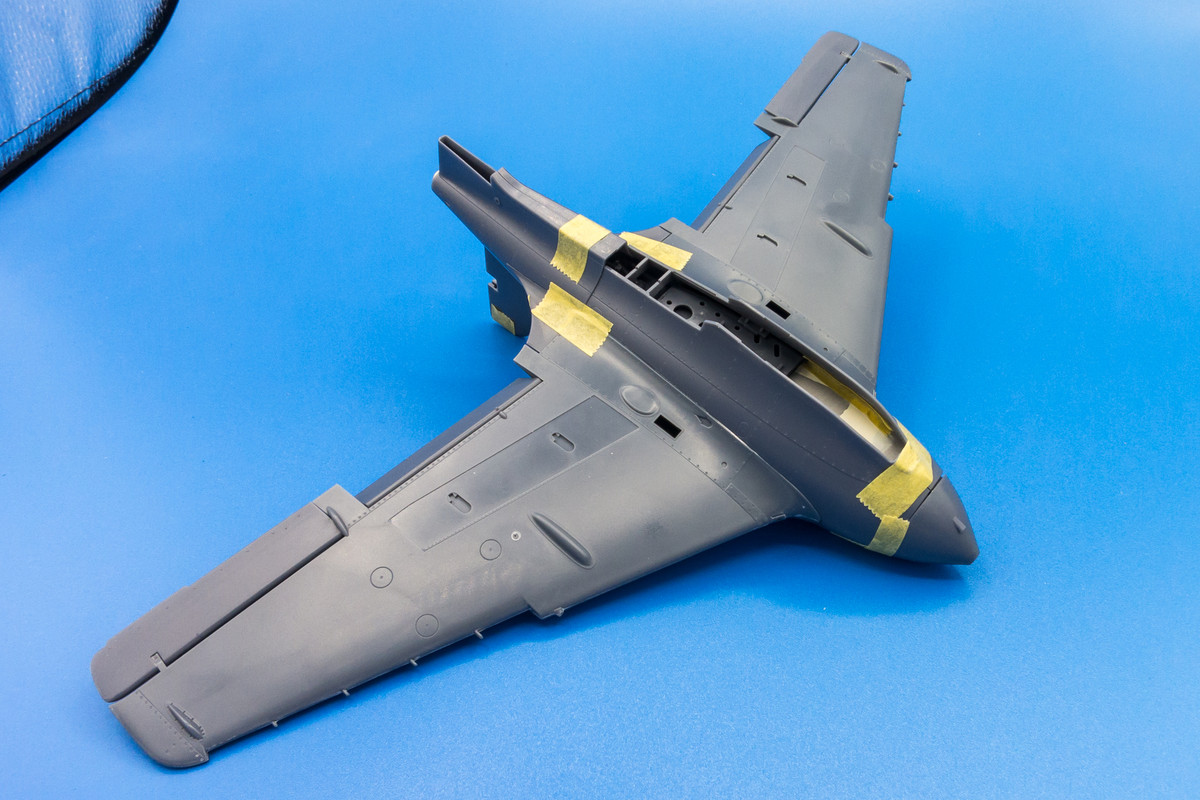
Wing dihedral seems to check out ok.
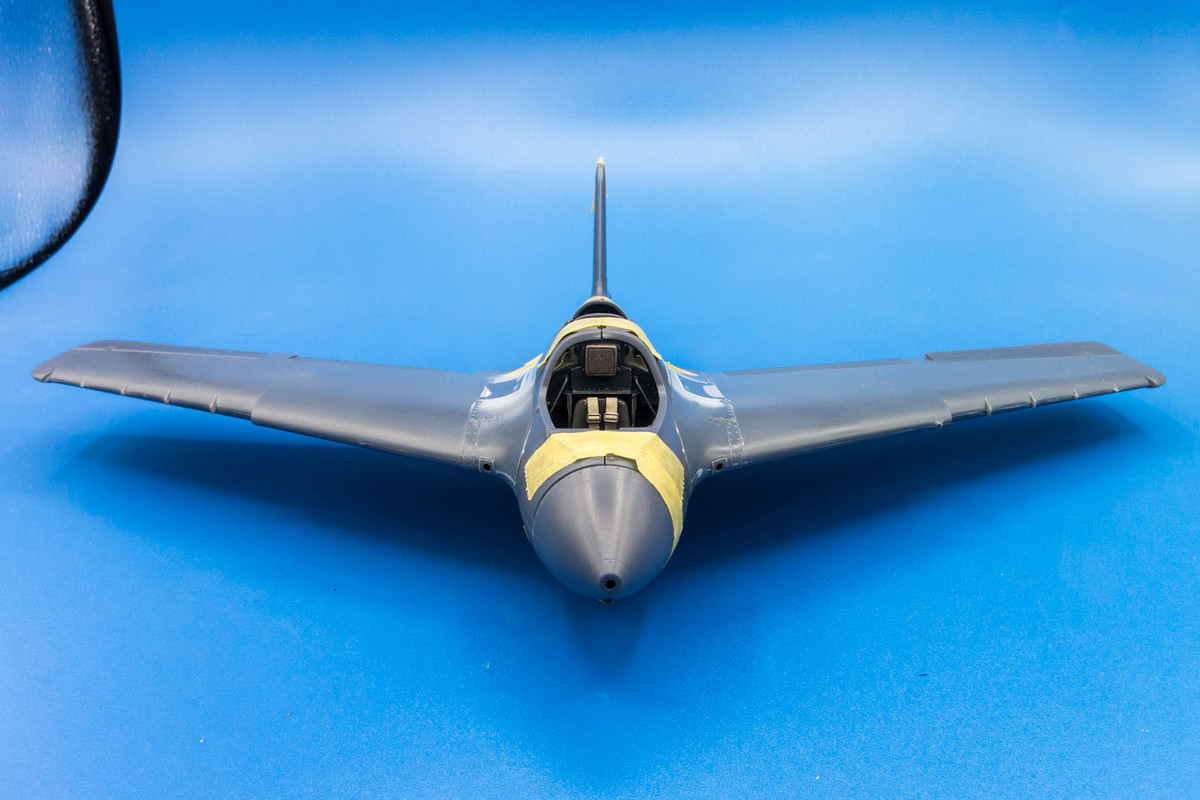
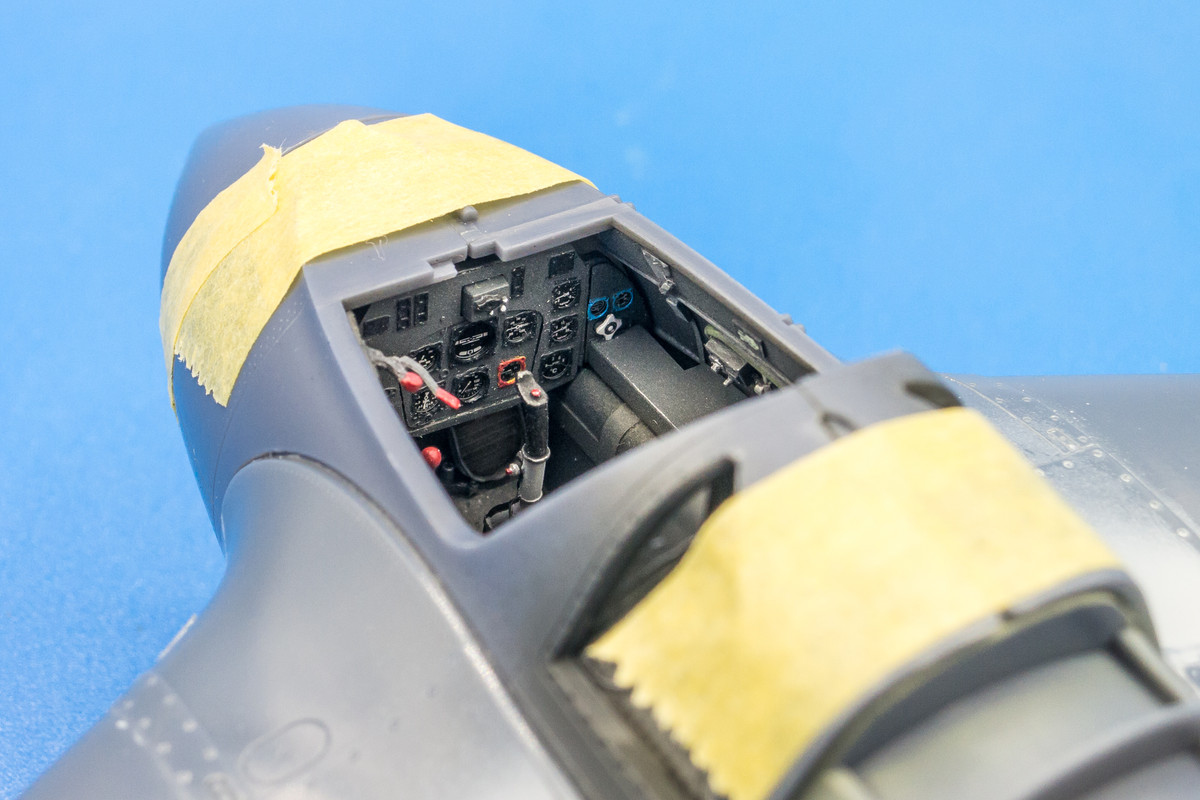
Preliminary view of the painted cockpit from the outside.

With the rocket motor complete, I conducted a dry fit of the major internal components: resin cockpit, fuel tank and motor to see how they fit within the fuselage halves and tail assembly. So far, so good!
Wing dihedral seems to check out ok.
Preliminary view of the painted cockpit from the outside.
John aka JKim
-----------<><
-----------<><
-
Gary Brantley

- Addicted Member
- Posts: 1751
- Joined: Tue Apr 08, 2014 9:40 pm
- Location: Cameron, Texas
Re: 1/32 Meng Me163 Komet
Fine, fine work John! That's good progress!
-
BlackSheep214
- Elite Member
- Posts: 10462
- Joined: Sun Apr 06, 2014 8:47 pm
Re: 1/32 Meng Me163 Komet
Whoa.... 
“Who controls the skies, controls the fate of this Earth”
Author unknown- 352nd Fighter Group, Blue-Nosed Bastards of Bodney
“Send one plane it’s a sortie; send two planes it’s a flight; send four planes it’s a test of airpower. - Richard Kohn
Author unknown- 352nd Fighter Group, Blue-Nosed Bastards of Bodney
“Send one plane it’s a sortie; send two planes it’s a flight; send four planes it’s a test of airpower. - Richard Kohn