Hasegawa 1/32 Fw 190D-9 Brown 4

Post your work in progress of your aircraft builds in here.
User avatar
jkim
Elite Member
Posts: 3931
Joined: Mon Apr 10, 2017 4:03 pm

Re: Hasegawa 1/32 Fw 190D-9 Brown 4

Post by jkim »

Thanks guys! Pushing forward a little bit more on this Dora. Here are the Eduard brass ammo chutes glued into place and painted.
Image

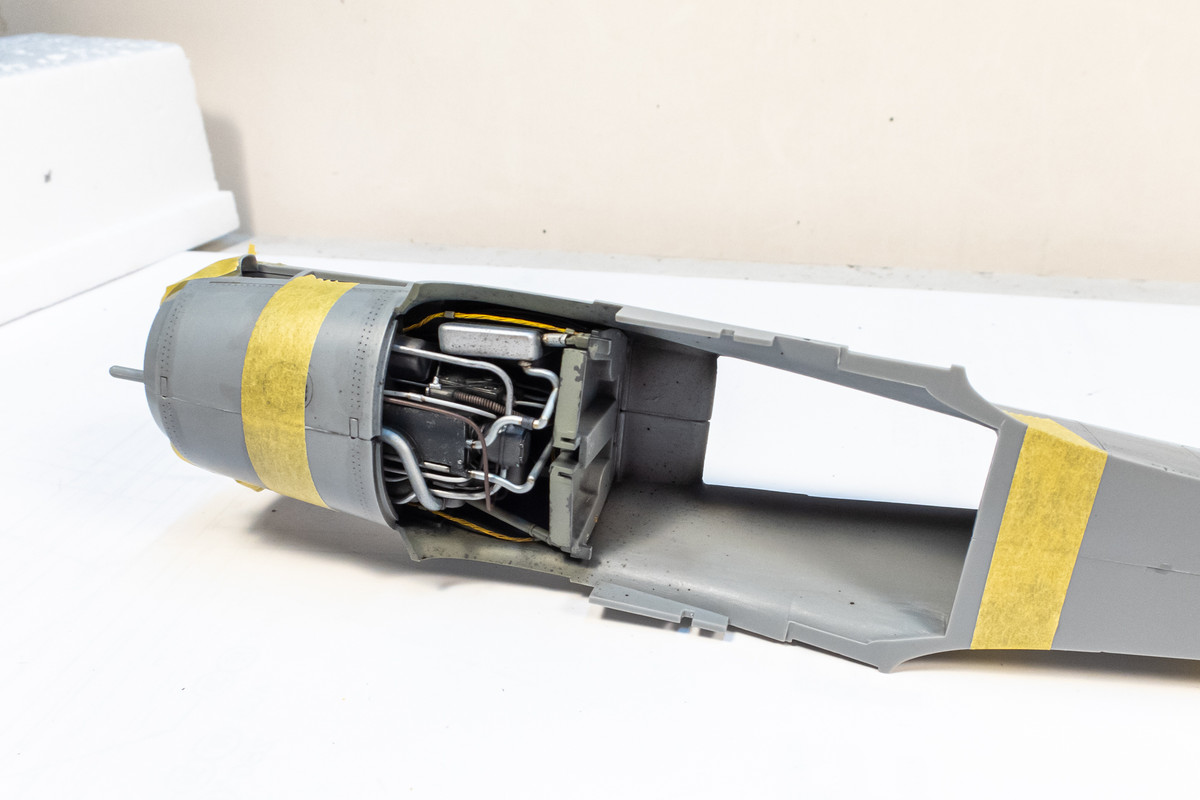
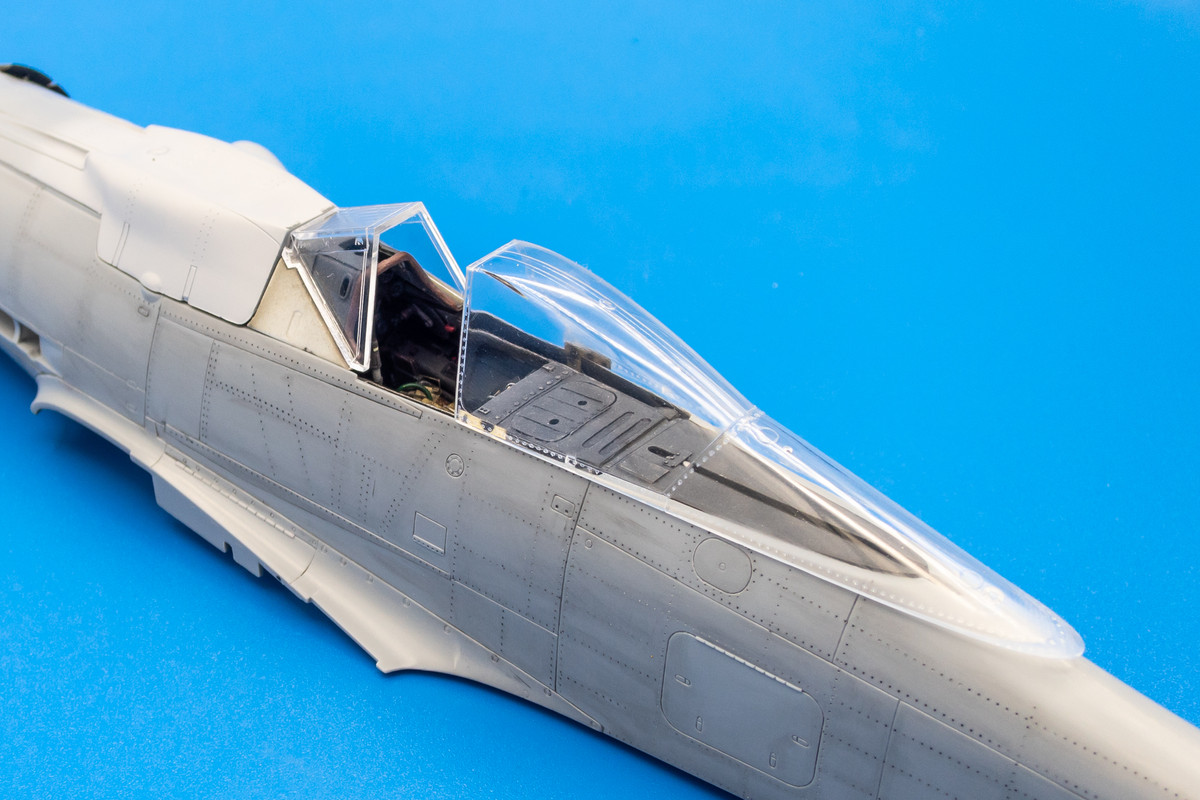
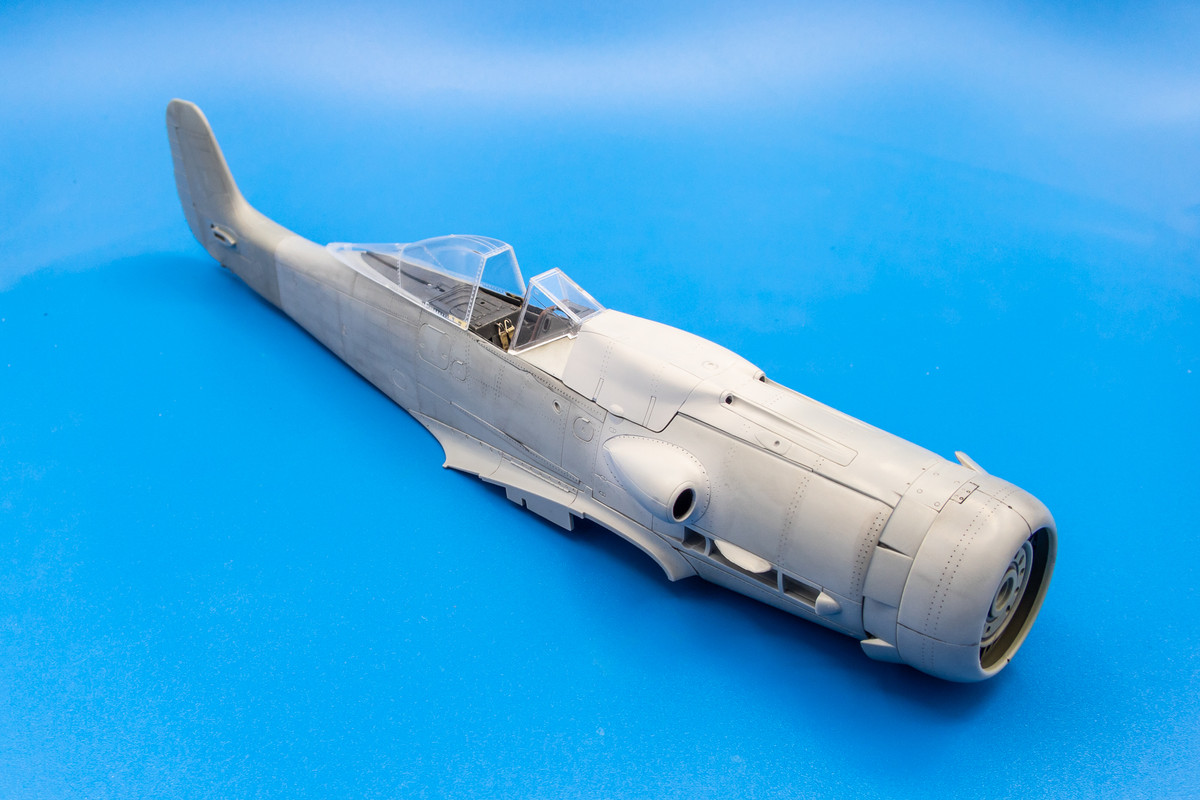
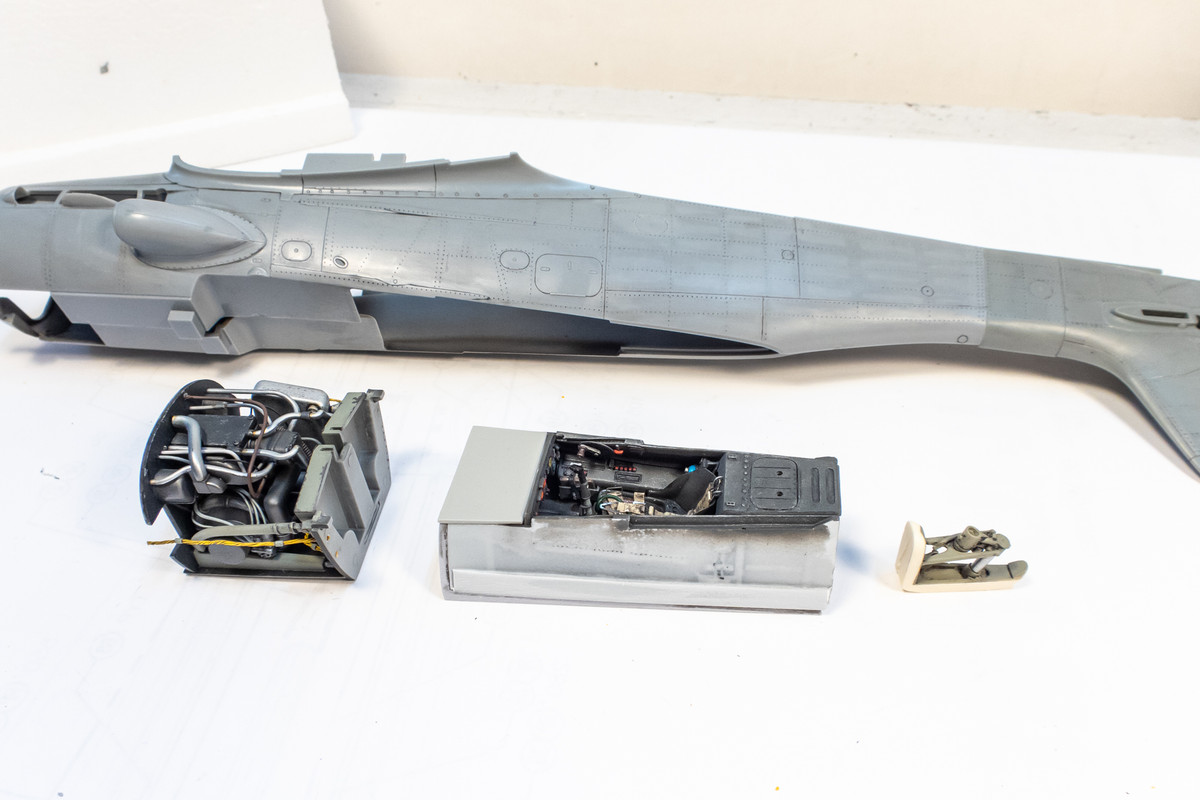
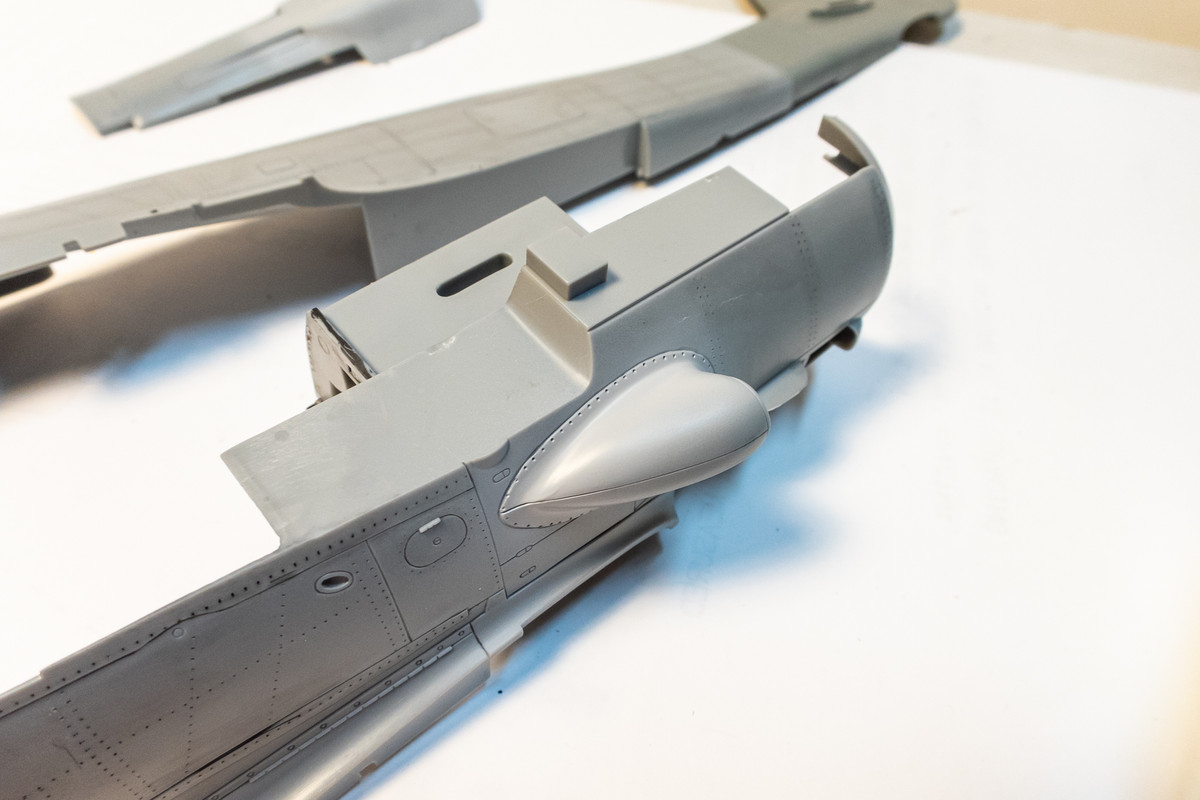
With the engine plug complete and temporarily in place, I can also dry-fit the cockpit tub.
Image
Image

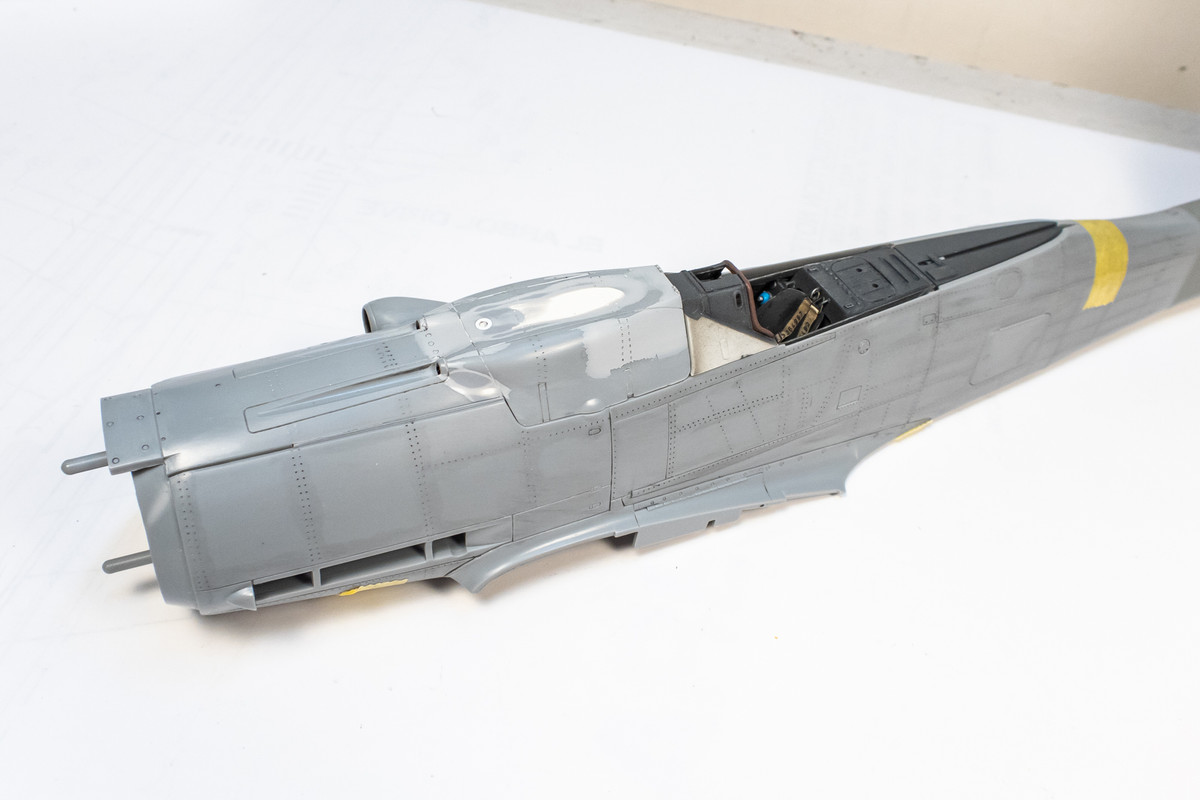
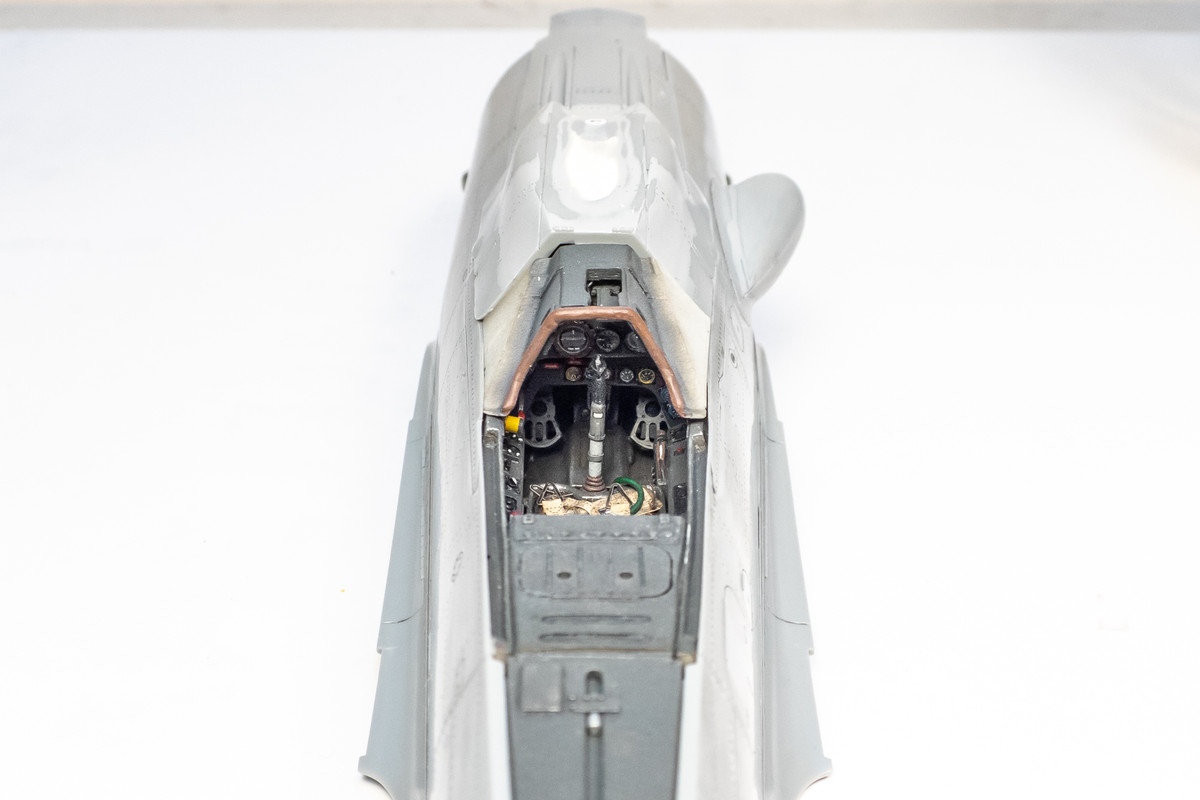
I'm now ready to glue the fuselage halves together. There are three sub-assemblies that go inside the fuselage. The cockpit slides into place after the fuselage is together so that will be last.
Image

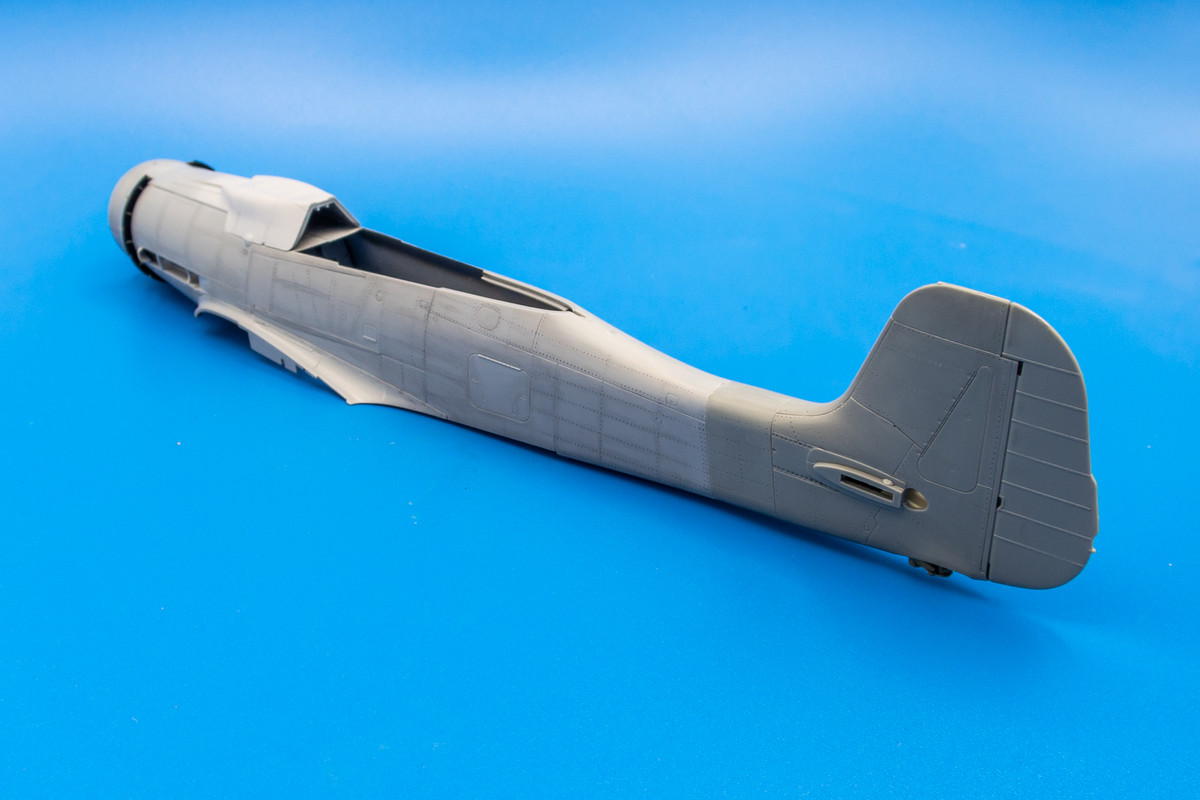
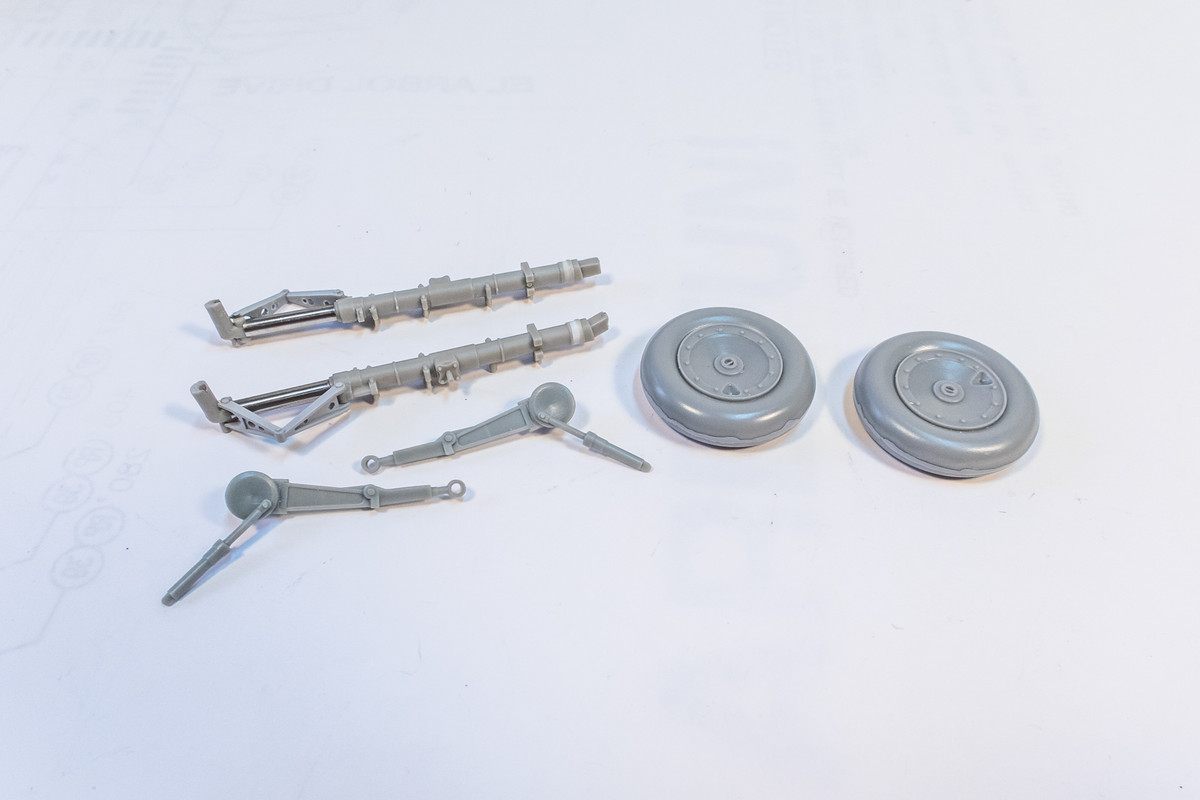
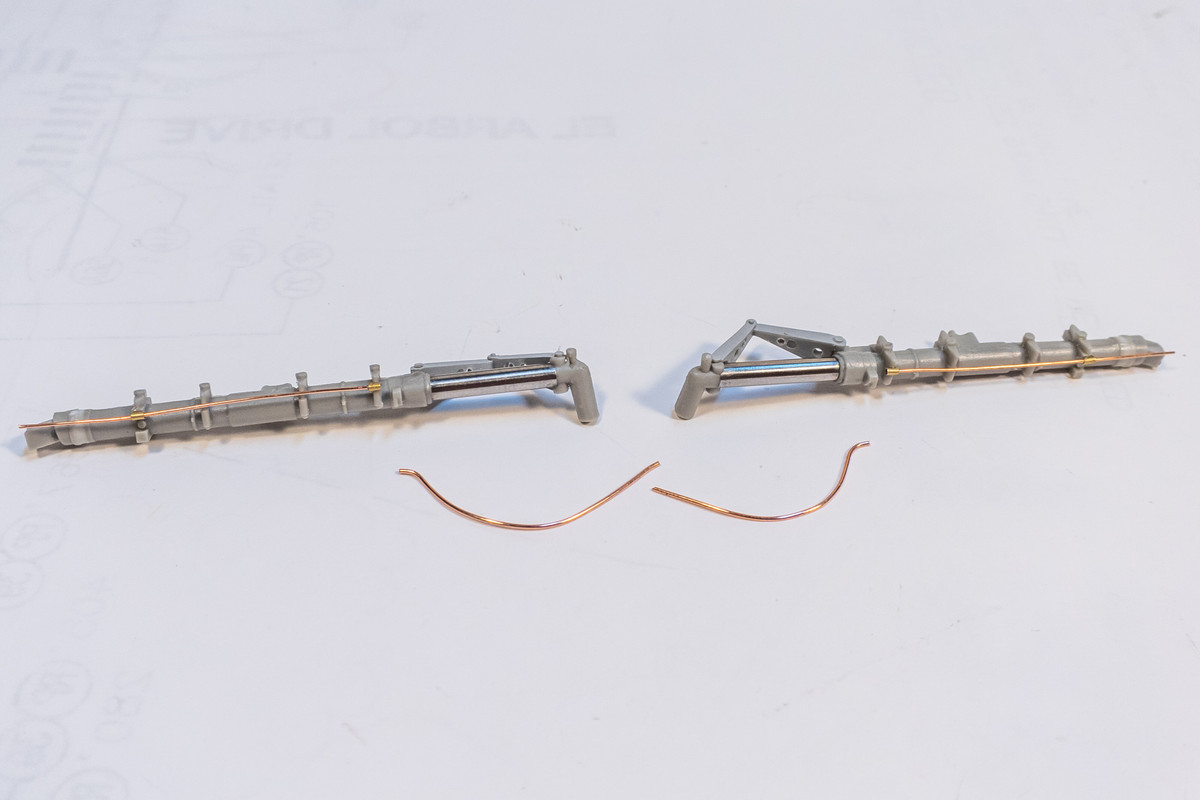
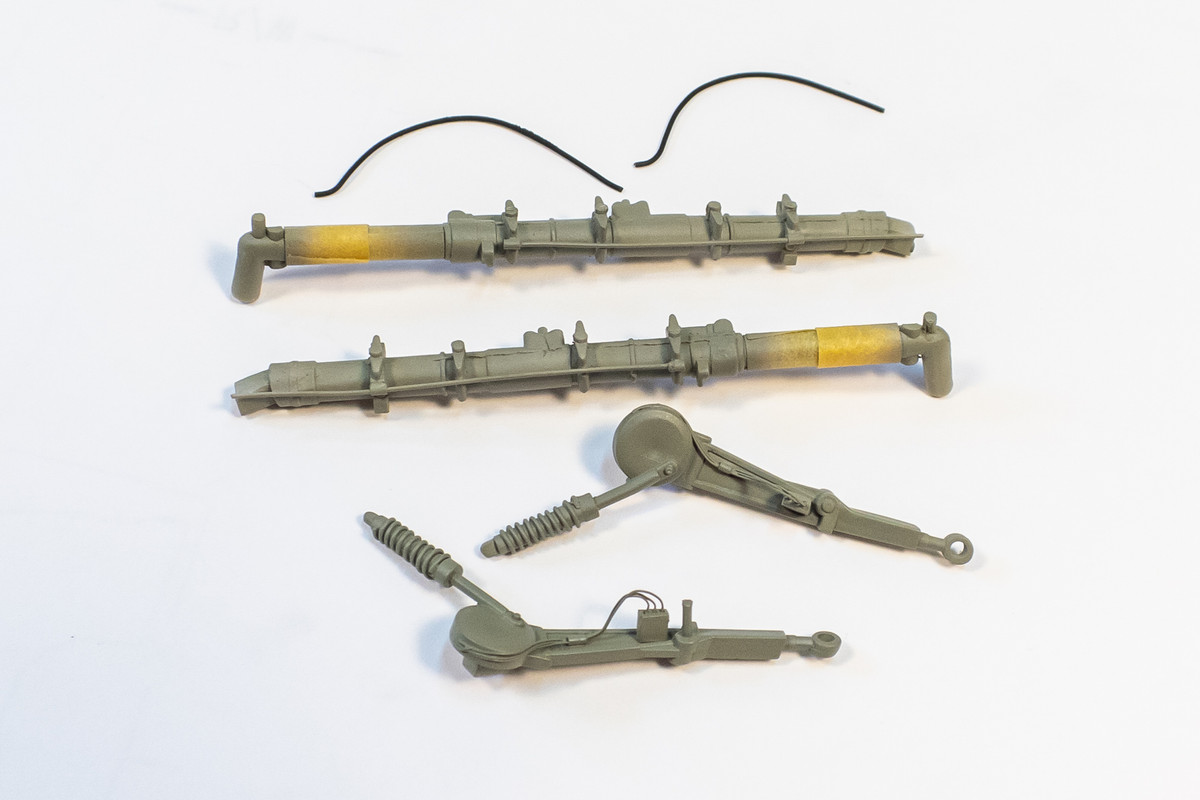
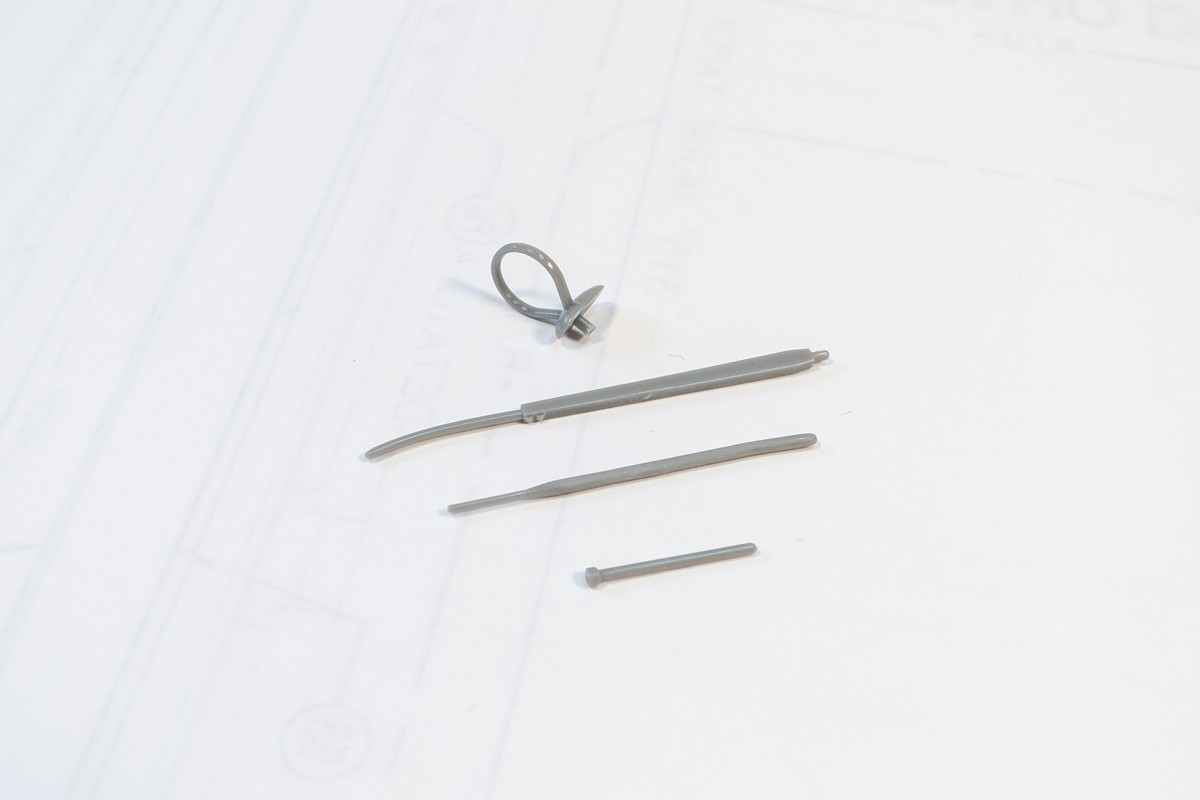
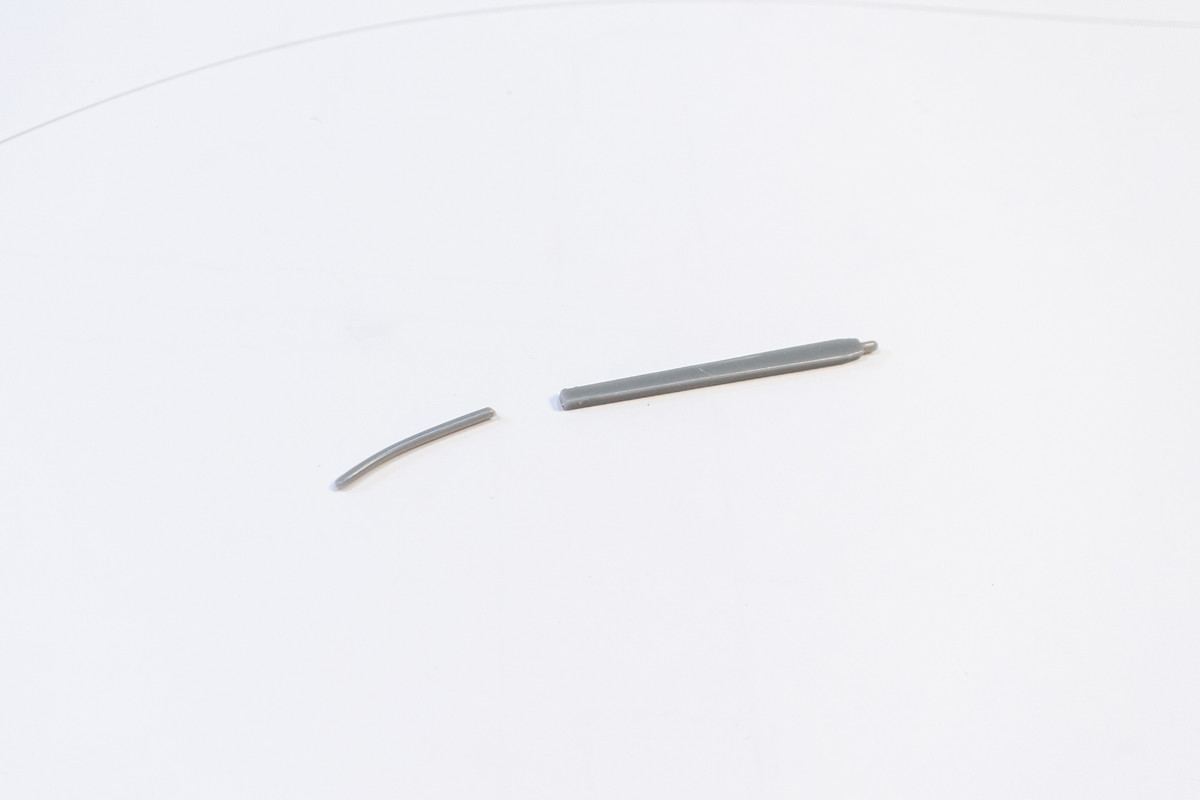
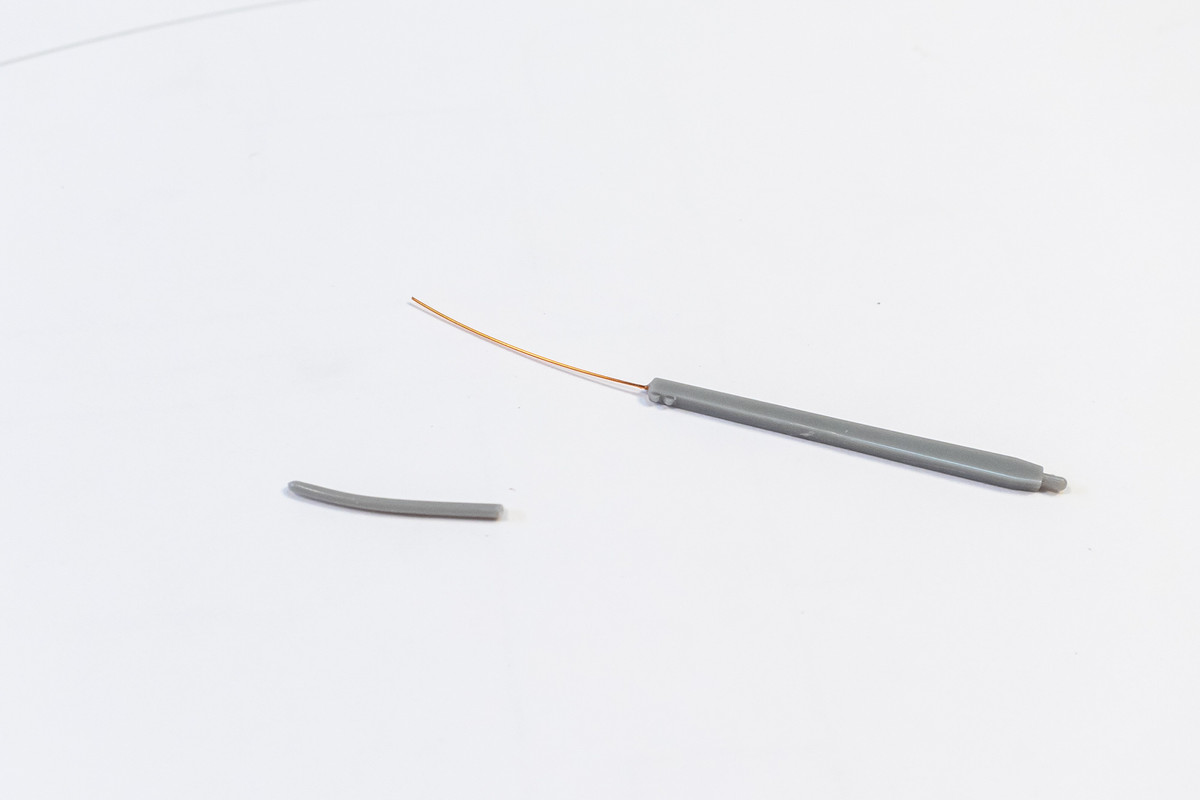
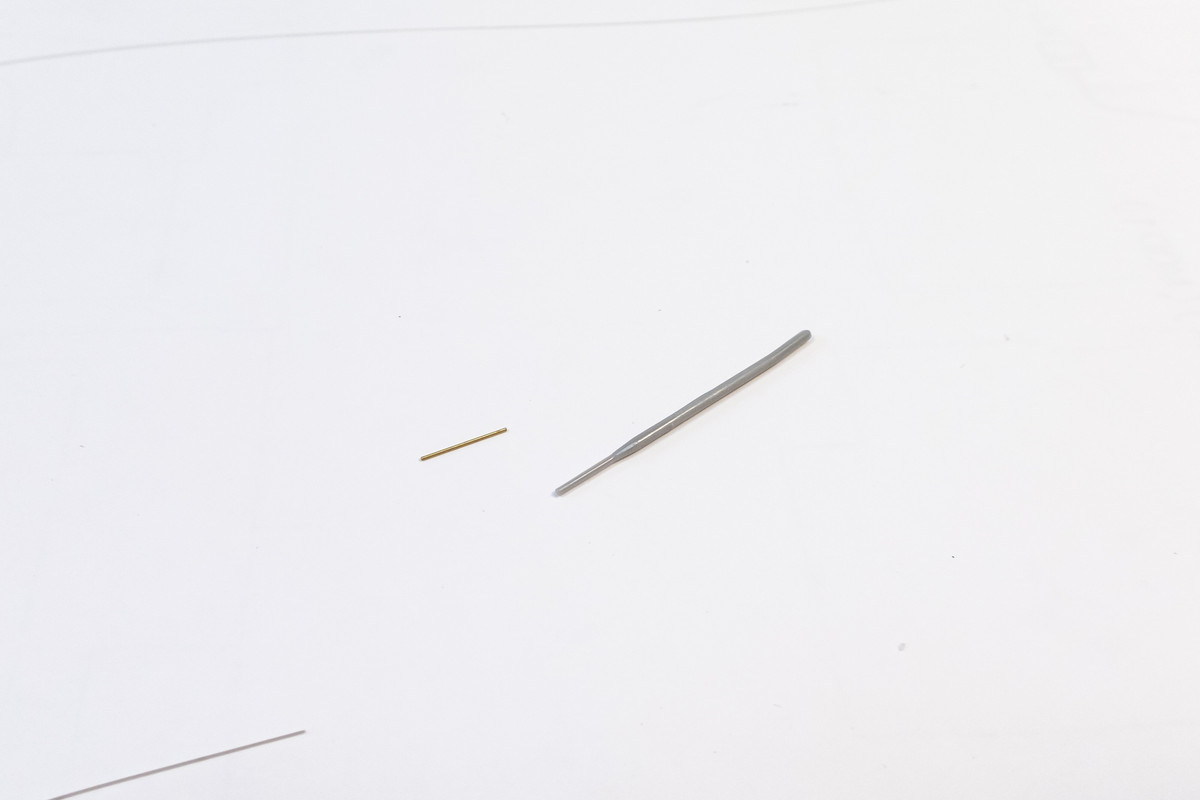
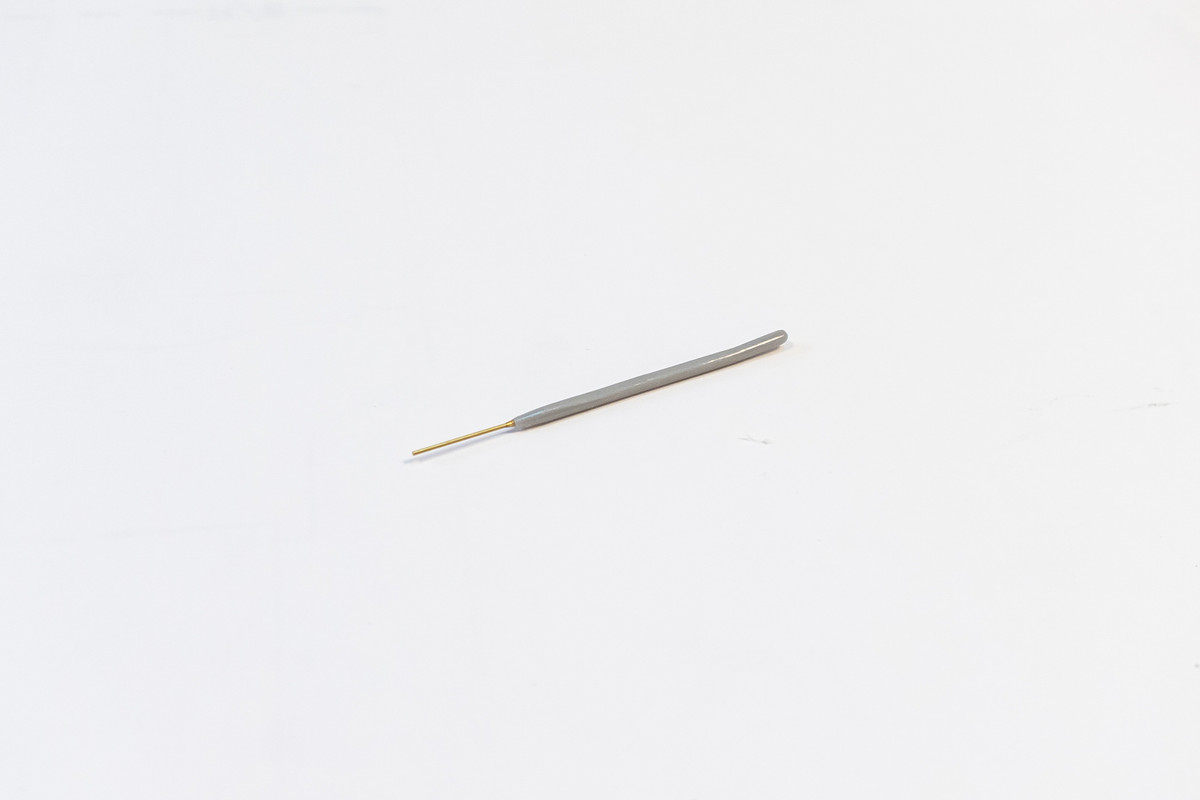
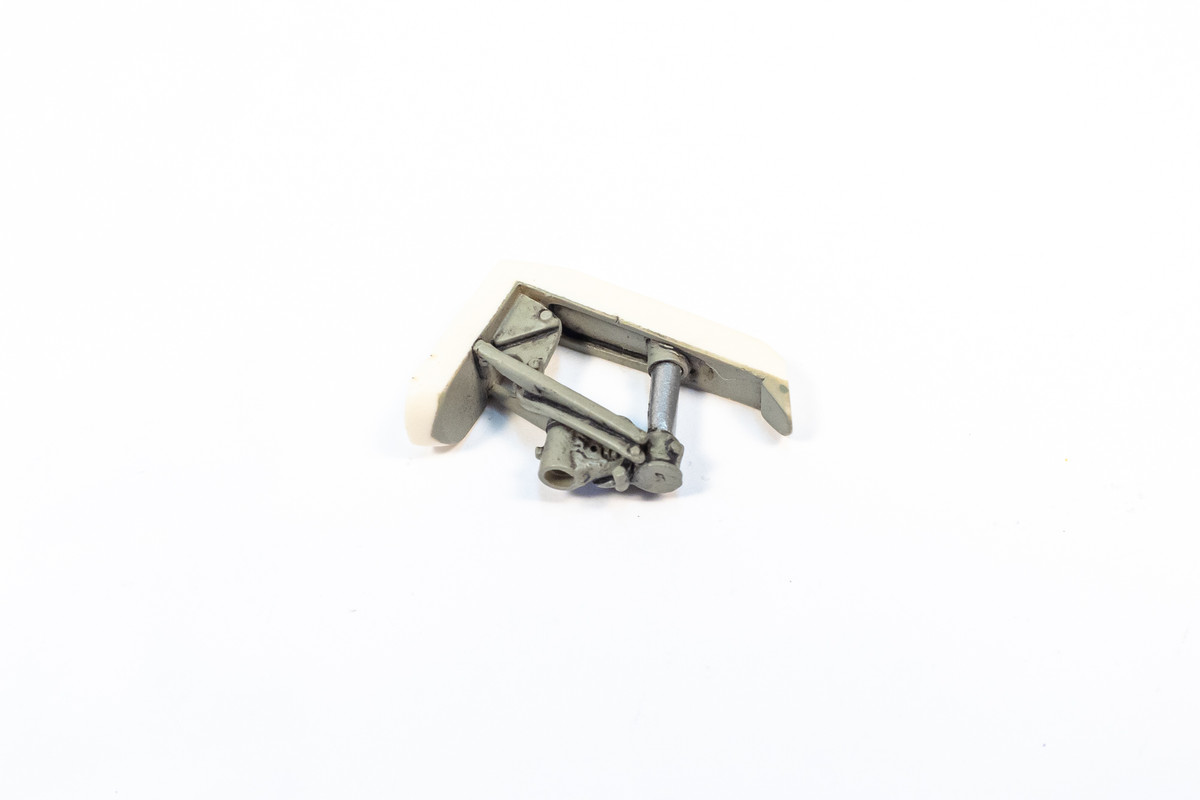
I'm not sure if I showed the painted Eagle Editions resin tail wheel strut so here it is...
Image

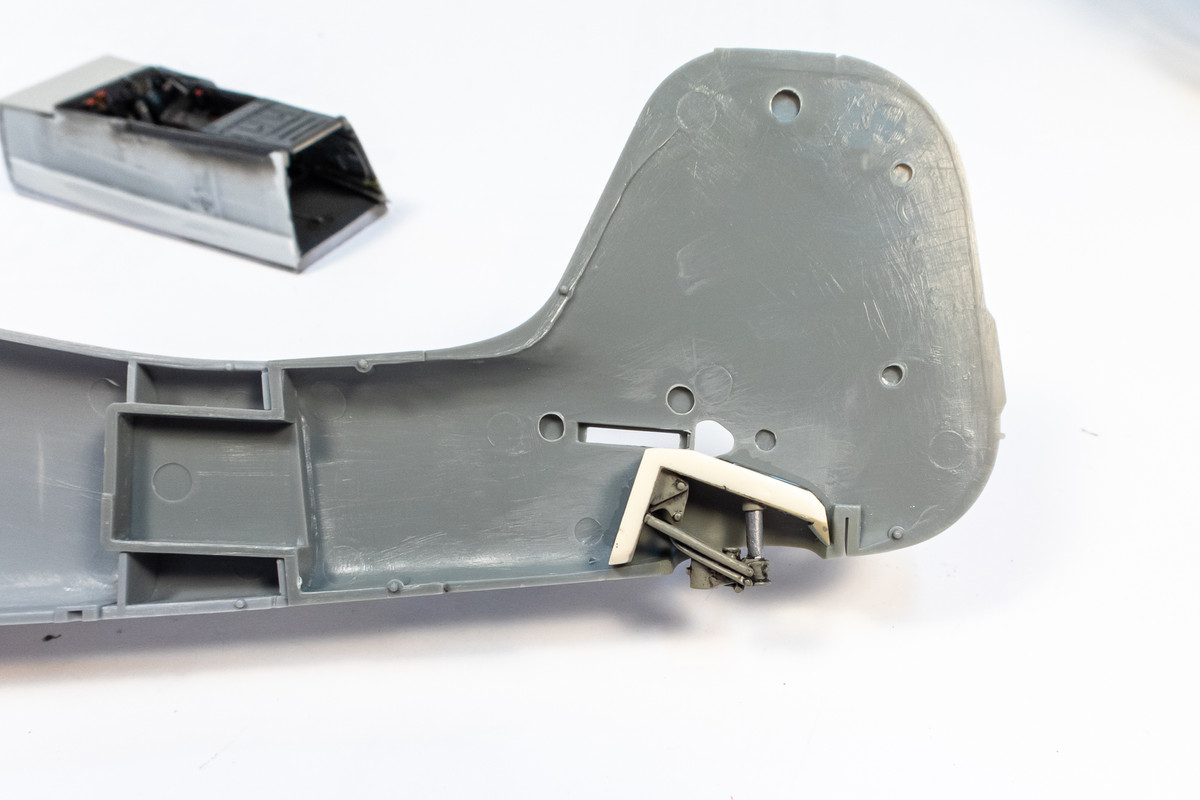
The tail wheel is glued into place with CA glue. I had to trim the corner of the tail wheel base to allow the tabs of the horizontal tail planes to fit.
Image

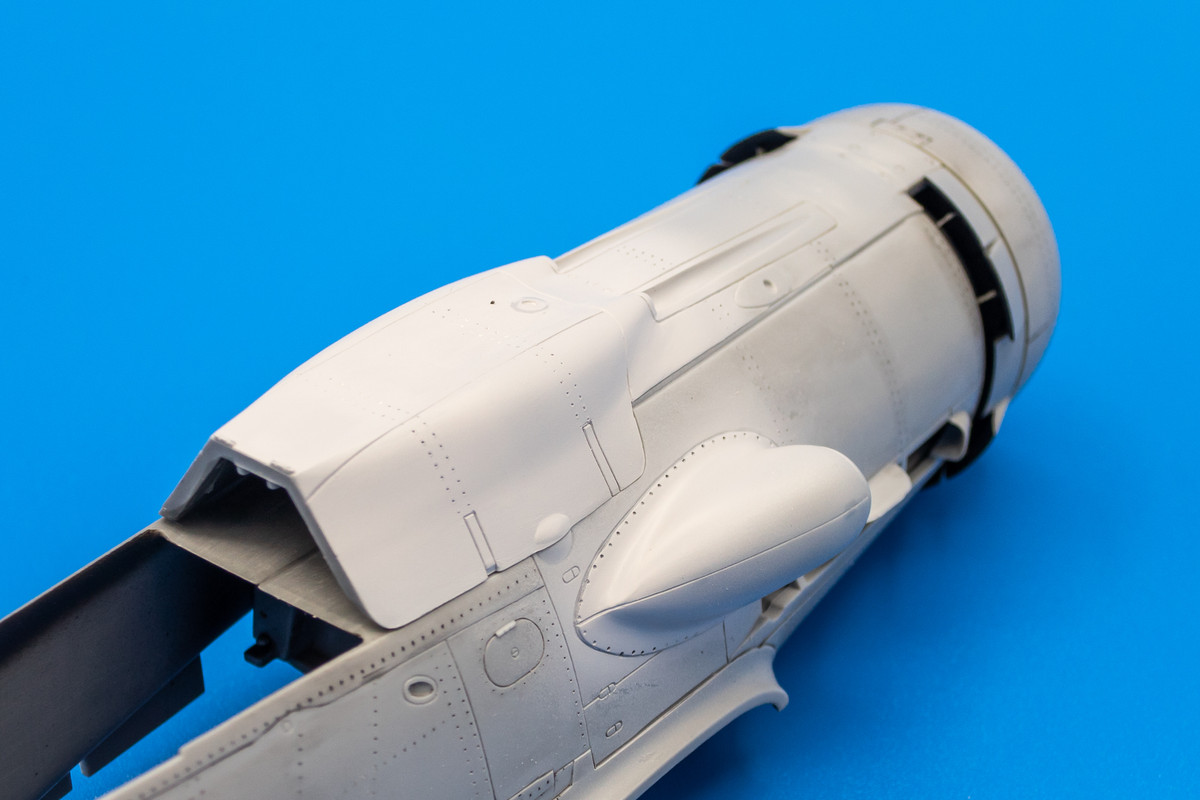
The engine plug is glued into the starboard fuselage side first.
Image

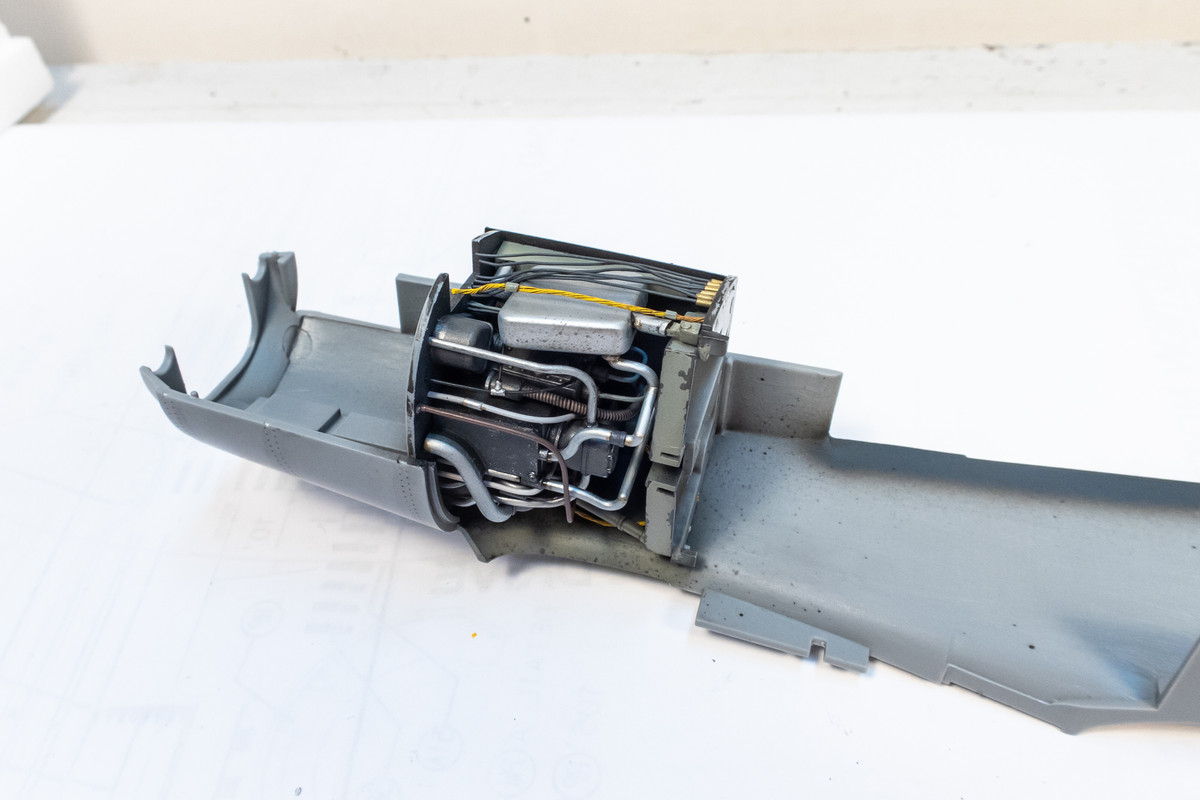
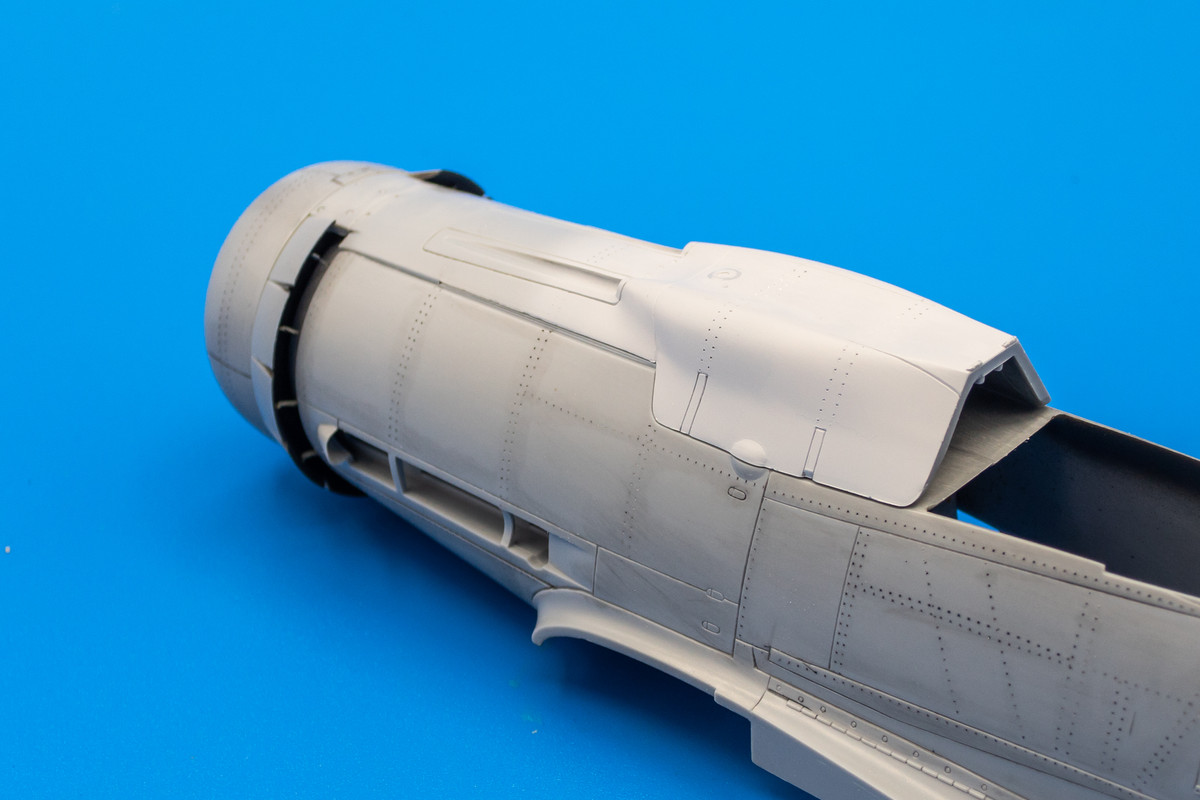
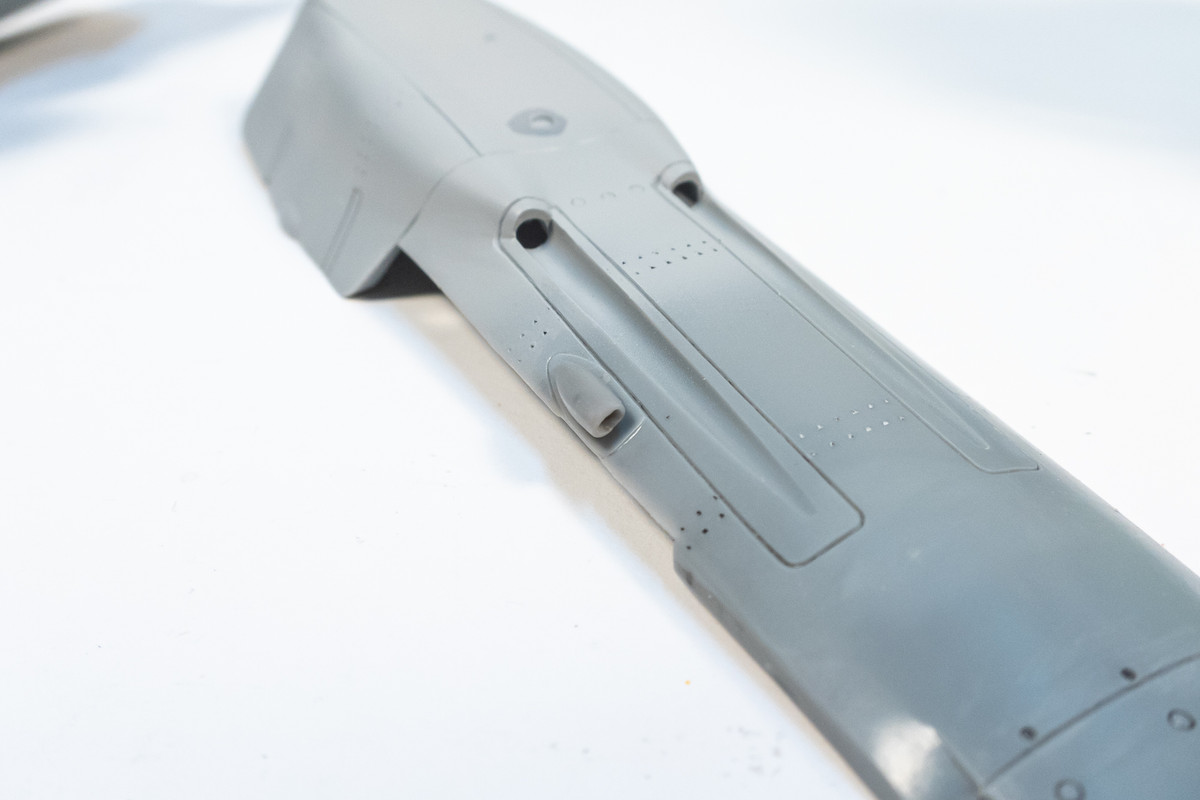
The joint along the base of the supercharger intake was treated with multiple applications of Mr Surfacer 1000.
Image

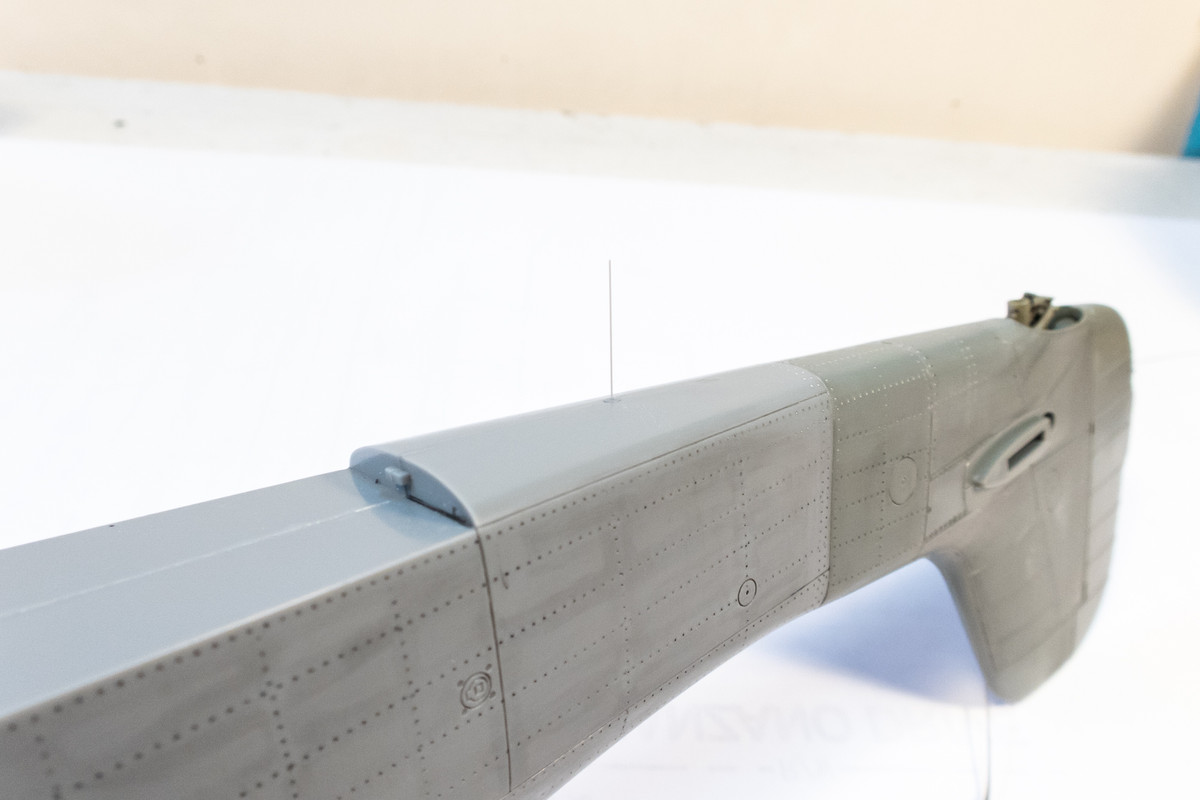
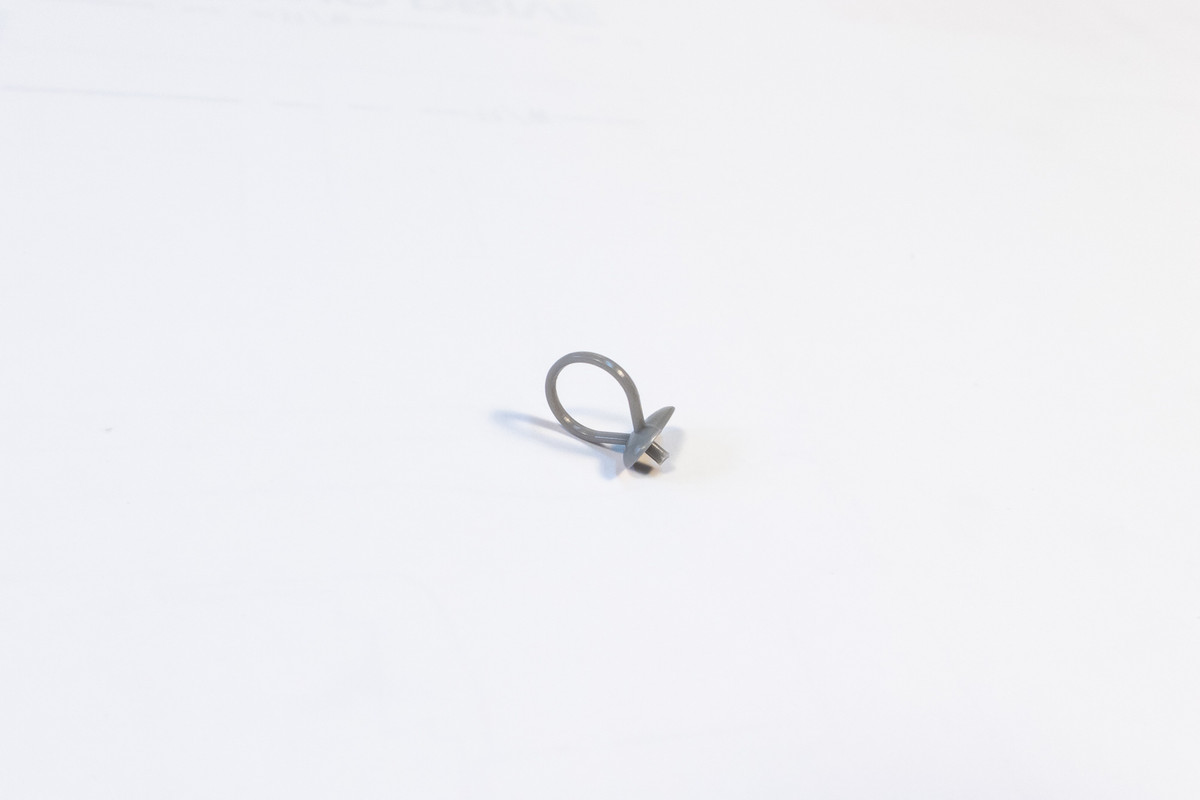
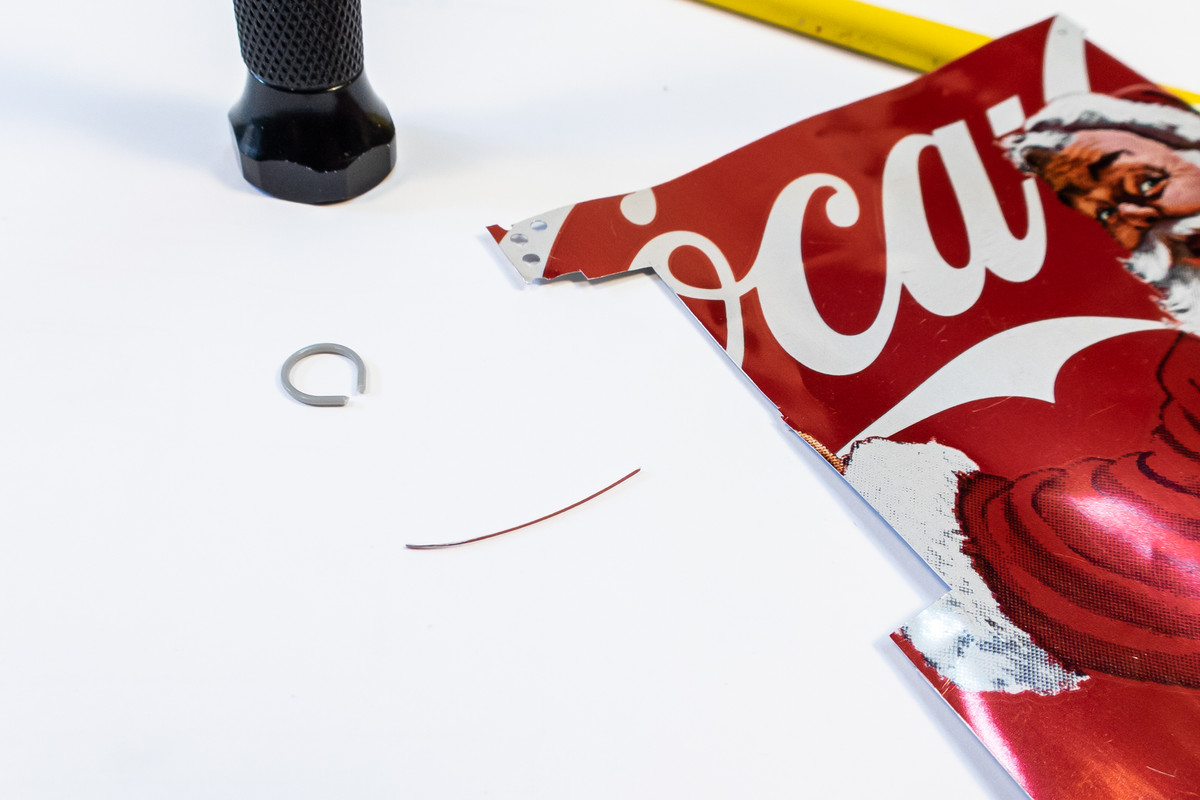
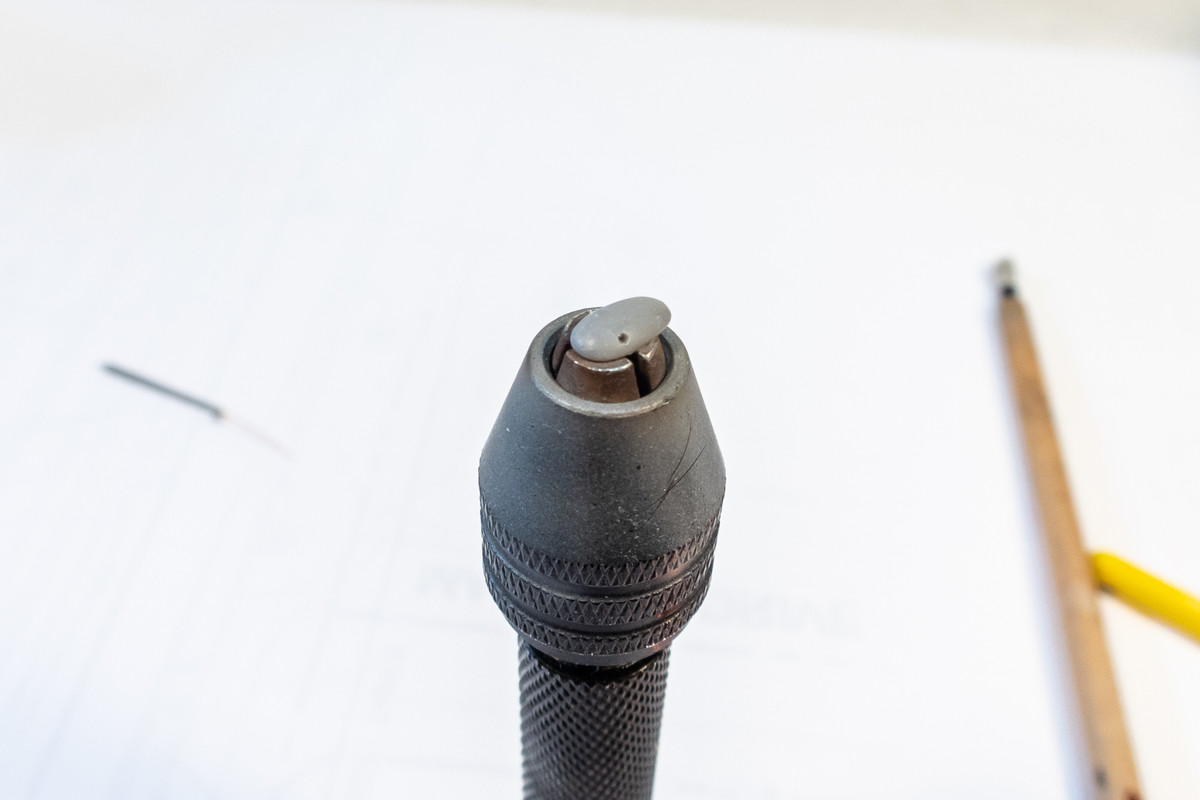
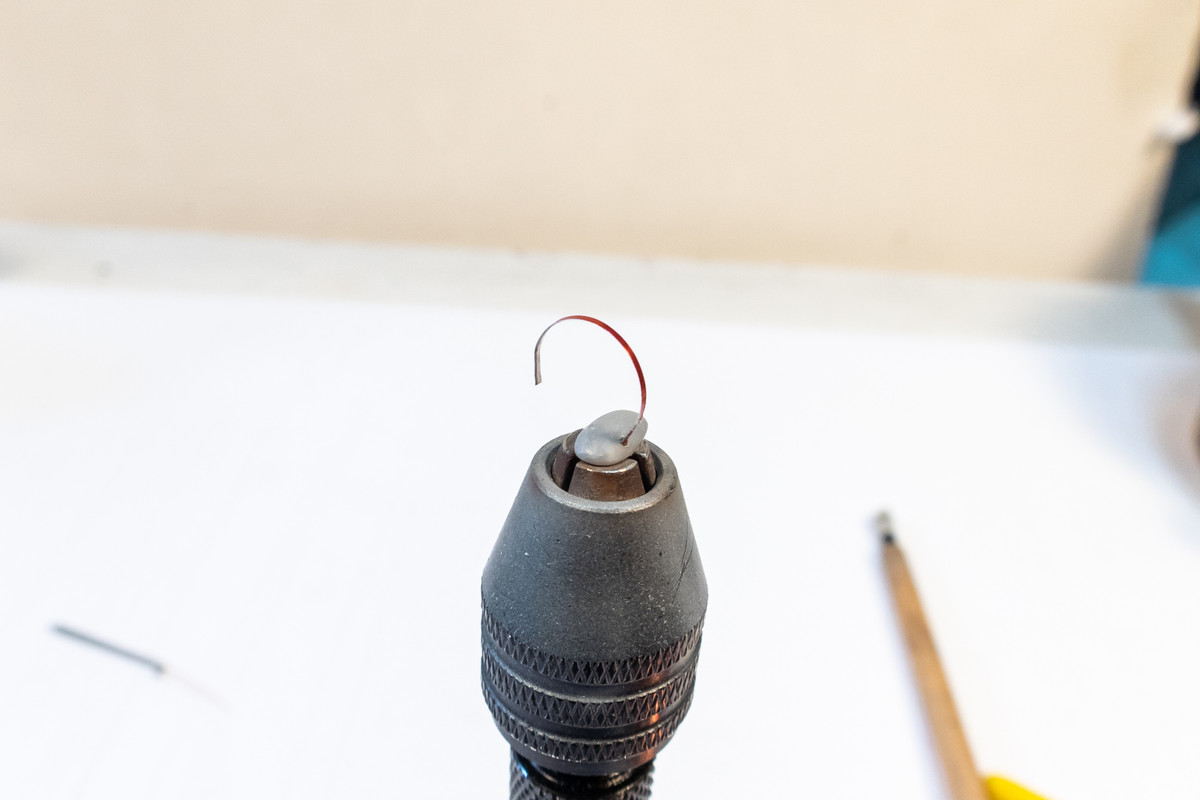
The little scoop on top of the gun cowling is not ready for attachment but I've hollowed out the end using an x-acto blade.
Image

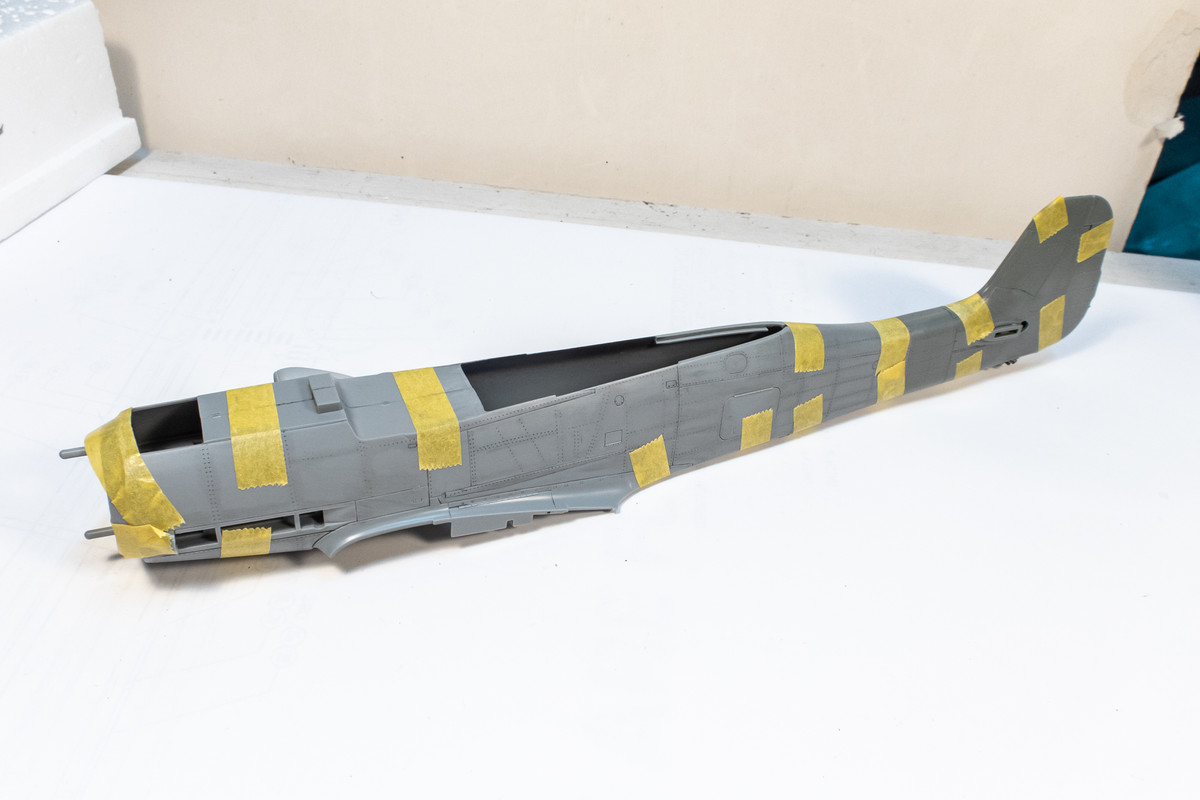
The fuselage halves are now fused together using Tamiya Extra Thin cement.
Image

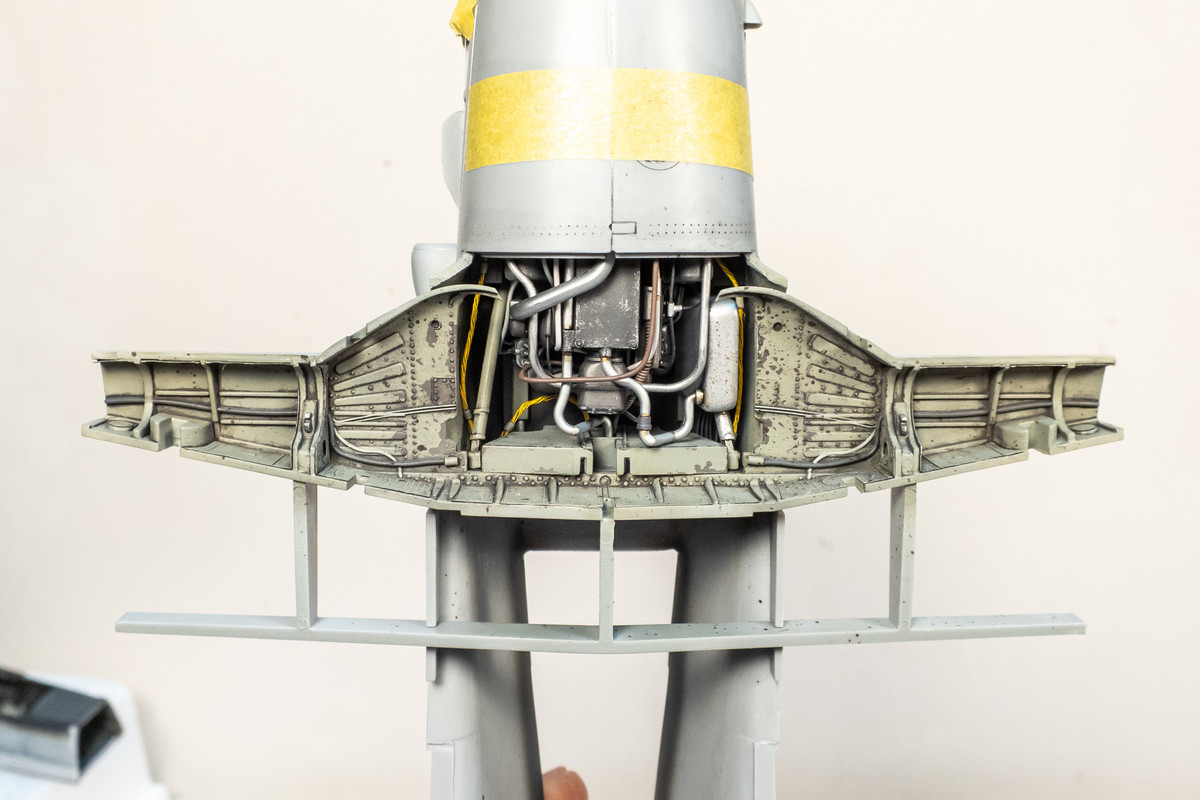
Double checking to see if the engine plug is seated correctly.
Image
Image
John aka JKim
-----------<><
Image
User avatar
Stikpusher
Moderator
Posts: 18880
Joined: Sat Apr 05, 2014 8:37 pm
Location: Ceti Alpha 5

Re: Hasegawa 1/32 Fw 190D-9 Brown 4

Post by Stikpusher »

Man I always like the shot you take of the engine rear installed with all the plumbing. Hard to believe that it does not run for real.
"Surely I have made my meaning plain? I intend to avenge myself upon you, Admiral. I have deprived your ship of power, and when I swing 'round, I intend to deprive you of your life."

FLSM
User avatar
Duke Maddog
Elite Member
Posts: 7091
Joined: Tue Jun 03, 2014 11:22 am
Location: Rowland Heights, CA

Re: Hasegawa 1/32 Fw 190D-9 Brown 4

Post by Duke Maddog »

Agreed! I'm sure of you put a drop of fuel in that, it'll fire right up!

Just like your cockpits: I always feel I can slip in and start pushing buttons and flipping switches!
The Duke
Virtuoso of Miniatures

"Do you know what the chain of command is? It's the chain I get and beat you with 'till you understand who's in ruttin' command!"
-Jayne Cobb, Firefly Episode 2 "The Train Job"

We are modelers - the same in spirit, in hunger to insanely buy newly released kits, hustlers in hiding our stash from our better halves and experts in using garbage as replacements for after-market parts.
User avatar
jkim
Elite Member
Posts: 3931
Joined: Mon Apr 10, 2017 4:03 pm

Re: Hasegawa 1/32 Fw 190D-9 Brown 4

Post by jkim »

Thanks guys! Yeah, I like that engine shot too... it gives a good look into the work done in that area before it gets covered up by the wing structure.

A small detail to attend to... earlier, I had placed a section of brass tubing in the wheel well to accept a piece of wiring so that the wiring run doesn't just end at the edge of the plastic part. I've cut and bent small pieces of copper wiring so that they will continue the wiring run into the engine compartment. These parts can be painted dark grey and added afterwards.
Image

The interior of the radiator cowling pieces have been painted. RLM02 Green Grey (Mr Hobby Aqueous) and Black (Tamiya) are the primary colors used here. The radiator face has been dry-brushed with Testors Silver to highlight the mesh. You can see that the hole for the prop is a bit wonky... the result of trying to enlarge an existing hole to accept the Henri Daehne prop shaft. No worries though... there is a plug glued to the rear with hole that is perfectly centered.
Image

While the fuselage seams are being cleaned, this is a good time to check out the fit of the external fuselage components, including the re-shaped gun cowling and the large, Ta-152H-style tail unit.
Image
Image
Image
Image

The Fw190D-9 canopy, made of flexible plexiglass, narrows as it slides open to the rear. In order to replicate this effect, I've glued some tabs to the inside edge of the canopy. These tabs are simply pieces of photoetch sprue that I found in my spares box and glued into place with CA glue.
Image

You can see how the tabs catch the fuselage sides, mimicking the pinching effect of the real canopy.
Image
Image
Image

Next, I'll be doing some work on the landing gear parts. Mostly kit parts augmented with a pair resin/metal composite legs by Strategic Ordnance Works.
Image
John aka JKim
-----------<><
Image
User avatar
jkim
Elite Member
Posts: 3931
Joined: Mon Apr 10, 2017 4:03 pm

Re: Hasegawa 1/32 Fw 190D-9 Brown 4

Post by jkim »

Working on the landing gear components, I've added a spring to the actuator arm using lead wire. I've also added a small junction box and electrical wiring. The black stem is the post from which the tail landing gear retraction cable will be attached later.
Image
Image

Brake lines have been added to the main landing gear legs, made of copper wiring and held in place by small sections of brass tubing. The last length the brake lines were fashioned with a slightly thicker gauge of wiring and will be added after the gear legs have been painted.
Image

These components will be primed with Mr Primer Surfacer 1000 before painting.
John aka JKim
-----------<><
Image
User avatar
BlackSheep214
Elite Member
Posts: 10424
Joined: Sun Apr 06, 2014 8:47 pm

Re: Hasegawa 1/32 Fw 190D-9 Brown 4

Post by BlackSheep214 »

Oh my... :shoutout: :shoutout: :shoutout: :shoutout: :shoutout:
“Who controls the skies, controls the fate of this Earth”

Author unknown- 352nd Fighter Group, Blue-Nosed Bastards of Bodney

“Send one plane it’s a sortie; send two planes it’s a flight; send four planes it’s a test of airpower. - Richard Kohn
User avatar
jkim
Elite Member
Posts: 3931
Joined: Mon Apr 10, 2017 4:03 pm

Re: Hasegawa 1/32 Fw 190D-9 Brown 4

Post by jkim »

I've started painting the landing gear components. Base color of RLM02 (Mr Hobby Aqueous) over a coat of Mr Primer Surfacer 1000.
Image

While that paint dries, I am going to modify/improve the various external antennae including (from top to bottom): the FuG16ZY loop antenna, FuG16ZY morane antenna, pitot tube and FuG25a IFF antenna.
Image

Generally speaking, the kit representations for these parts are too thick and can be easily replaced with other materials. For the IFF antenna, I simply drill a small hole in the bottom of the base and glue a piece of stretched sprue. I like stretched sprue in this instance since it is not as easily bent as thin wire. Note that I have kept the molded antenna intact to make the base easier to hold.
Image

The molded antenna is then snipped off.
Image

The modified antenna is now more to scale.
Image

The FuG16ZY morane antenna tip is snipped off and replaced with a piece of copper wire.
Image
Image

The tip of the pitot tube is similarly replace with a section of brass tubing.
Image
Image

The loop antenna is snipped off of its base. I like to use the thin aluminum from a soda can for this replacement.
Image
Image

A pin vise is used to hold the small base. Two holes are drilled out using the tip of an x-acto blade for the new loop.
Image

The thin strip of soda can material is wrapped around the shaft of an appropriately-sized paint brush to get the circular shape.
Image

One end is attached first with CA glue. Since there is a bit of springiness in the loop, it's best to let the glue cure before attaching the other side.
Image

After attaching the other side, you can gently adjust and re-shape the loop to your satisfaction.
Image

Four quick and easy modifications!
Image
John aka JKim
-----------<><
Image
User avatar
Stikpusher
Moderator
Posts: 18880
Joined: Sat Apr 05, 2014 8:37 pm
Location: Ceti Alpha 5

Re: Hasegawa 1/32 Fw 190D-9 Brown 4

Post by Stikpusher »

:shoutout:

Might be a bit more challenging to do those mods in smaller scales. But in 1/32, they looks quite simple to pull off.
"Surely I have made my meaning plain? I intend to avenge myself upon you, Admiral. I have deprived your ship of power, and when I swing 'round, I intend to deprive you of your life."

FLSM
User avatar
BlackSheep214
Elite Member
Posts: 10424
Joined: Sun Apr 06, 2014 8:47 pm

Re: Hasegawa 1/32 Fw 190D-9 Brown 4

Post by BlackSheep214 »

Stikpusher wrote:
Might be a bit more challenging to do those mods in smaller scales. But in 1/32, they looks quite simple to pull off.
:that:
“Who controls the skies, controls the fate of this Earth”

Author unknown- 352nd Fighter Group, Blue-Nosed Bastards of Bodney

“Send one plane it’s a sortie; send two planes it’s a flight; send four planes it’s a test of airpower. - Richard Kohn
User avatar
Floki
Elite Member
Posts: 3548
Joined: Wed Dec 12, 2018 2:23 am
Location: Muncie, Indiana

Re: Hasegawa 1/32 Fw 190D-9 Brown 4

Post by Floki »

Quick and easy but increase detail a ton
March as one, Don't look back
Odin's sons... Attack!
Unleash hell! Do not repent! Warfare grants us no lament
Let your weapons slash and tear This is no place for fear
Hold the lines! Move as one! In unity our victory's won
Our shields will form a mighty wall
United we shall never fall
Post Reply

Return to “Aircraft Work in Progress”