Page 8 of 29
Re: Hasegawa 1/32 Fw 190D-9 Brown 4
Posted: Mon Jun 20, 2022 11:44 am
by Medicman71
Man that looks awesome!
Re: Hasegawa 1/32 Fw 190D-9 Brown 4
Posted: Mon Jun 20, 2022 2:06 pm
by KSaarni
I live the very visual step-by-step instruction of the harness!
Looks so easy, but it’s not really that..
- Kari
Re: Hasegawa 1/32 Fw 190D-9 Brown 4
Posted: Wed Jun 22, 2022 11:31 am
by jkim
Thanks guys! The HGW harnesses are not too difficult to put together. The main ambiguity for me is the spacing of the buckles and the overall length of each piece, which has to be guesstimated based on the particular seat and the location of the shoulder harness attachment.
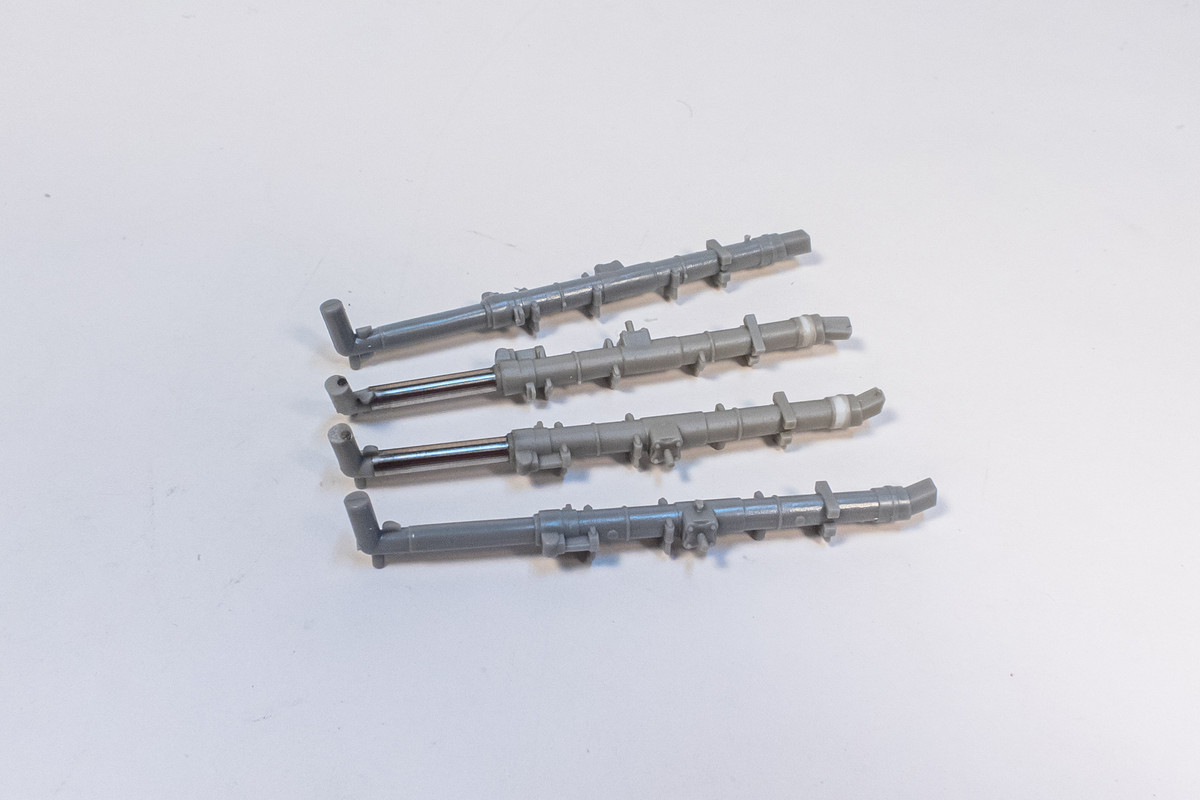
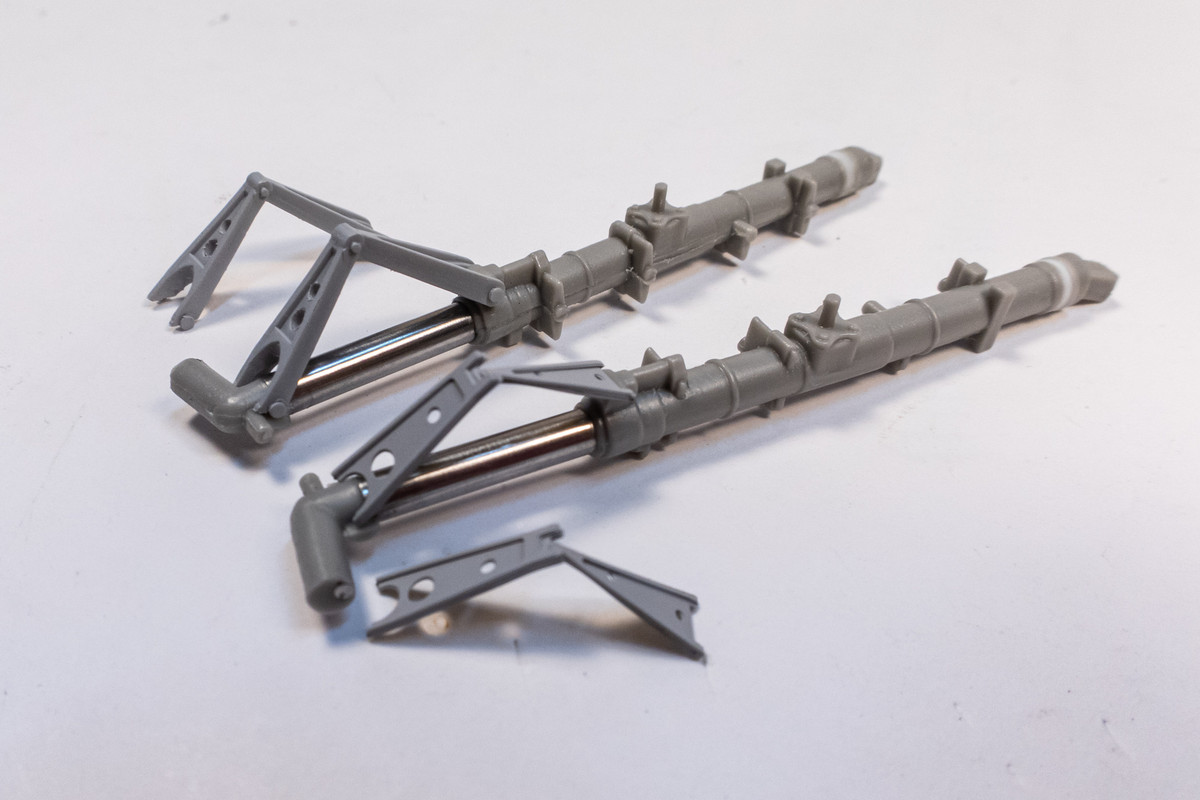
A minor update showing the beautiful composite landing gear by Strategic Ordnance Works compared to the kit landing gear. These are resin over metal so they offer both strength and great detail.
The Eduard exterior set has a pair of oleo scissors so I took a look and folded them up.

However, I think I like the kit plastic parts better, which I've added some bolt detail using small punched discs of plastic.
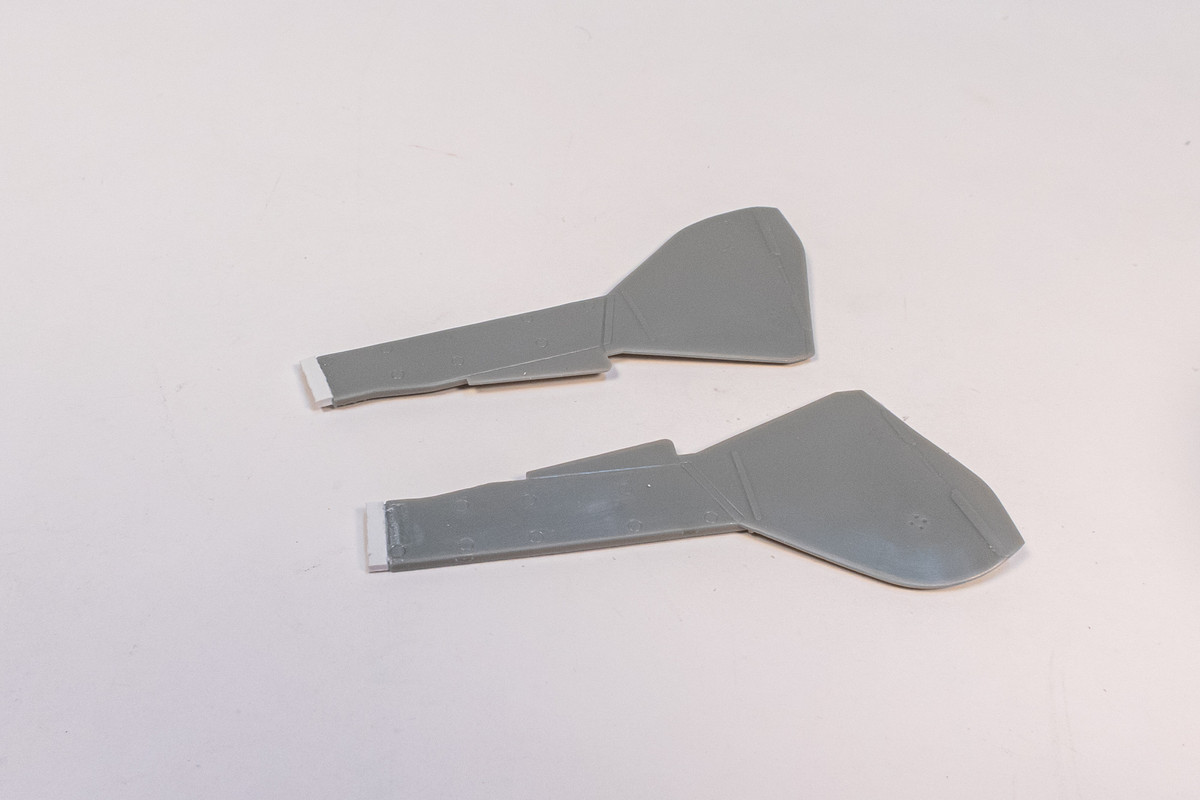
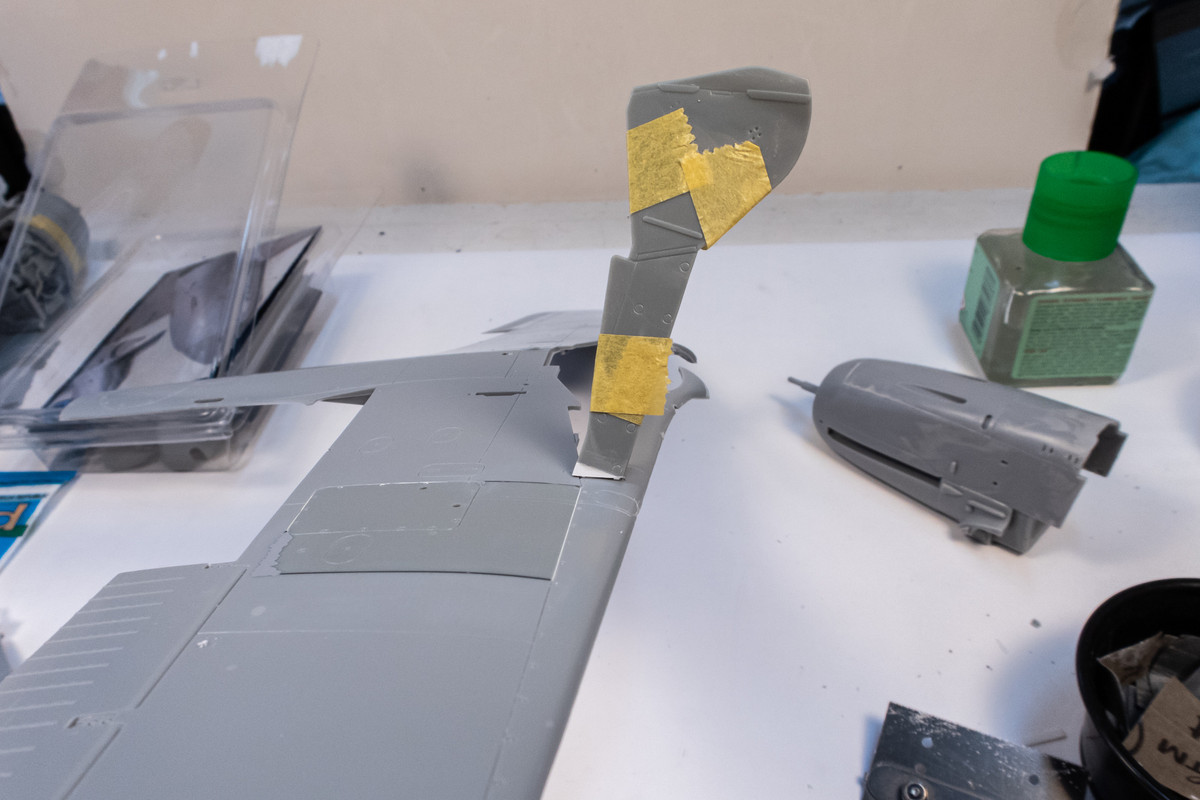
Another small detail that I want to address is the landing gear cover. The Hasegawa main landing gear cover has a noticeable gap at the base.
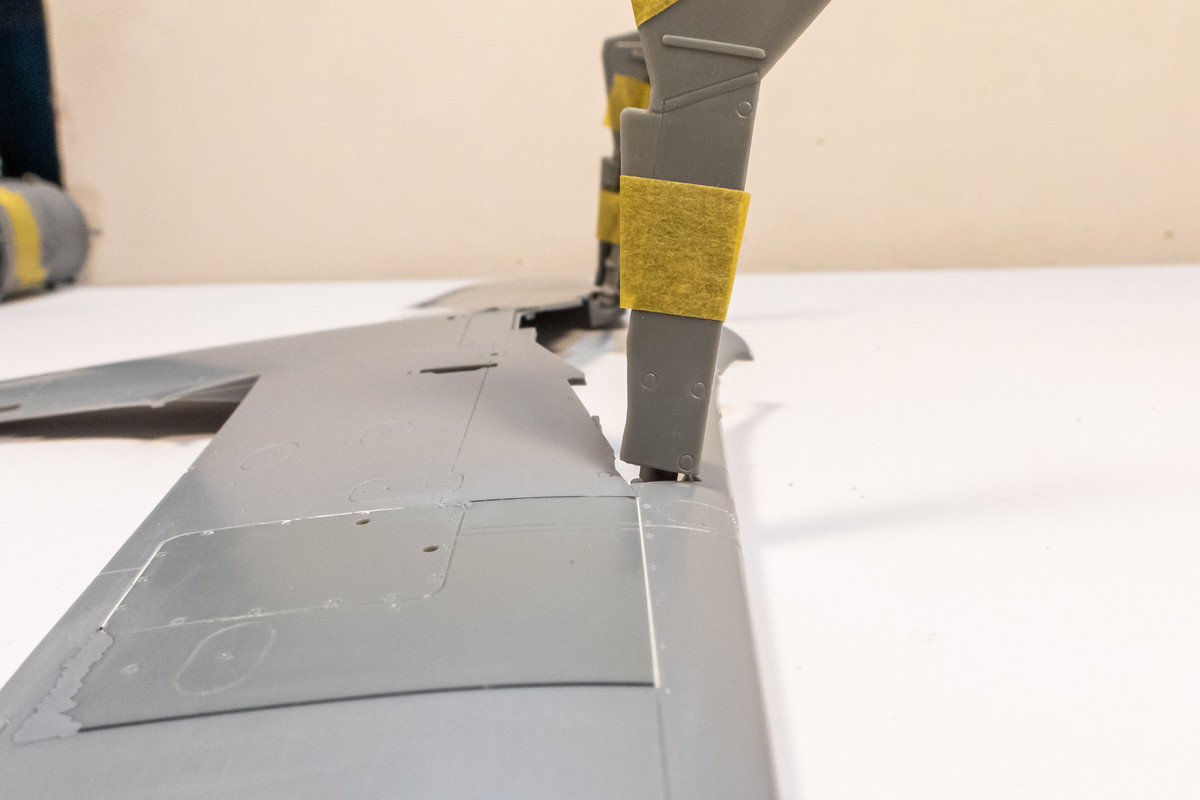
In actuality, this cover extends into the wheel well. Due to the lack of spacing, I can't make that happen but I can reduce that gap visibly using pieces of sheet styrene.
Re: Hasegawa 1/32 Fw 190D-9 Brown 4
Posted: Wed Jun 22, 2022 7:51 pm
by BlackSheep214
Incredible work, John.
Re: Hasegawa 1/32 Fw 190D-9 Brown 4
Posted: Thu Jun 23, 2022 5:53 am
by tempestjohnny
It's the details

Re: Hasegawa 1/32 Fw 190D-9 Brown 4
Posted: Thu Jun 23, 2022 12:13 pm
by Stikpusher
tempestjohnny wrote:It's the details
They all add up.

Re: Hasegawa 1/32 Fw 190D-9 Brown 4
Posted: Sun Jun 26, 2022 9:54 pm
by jkim
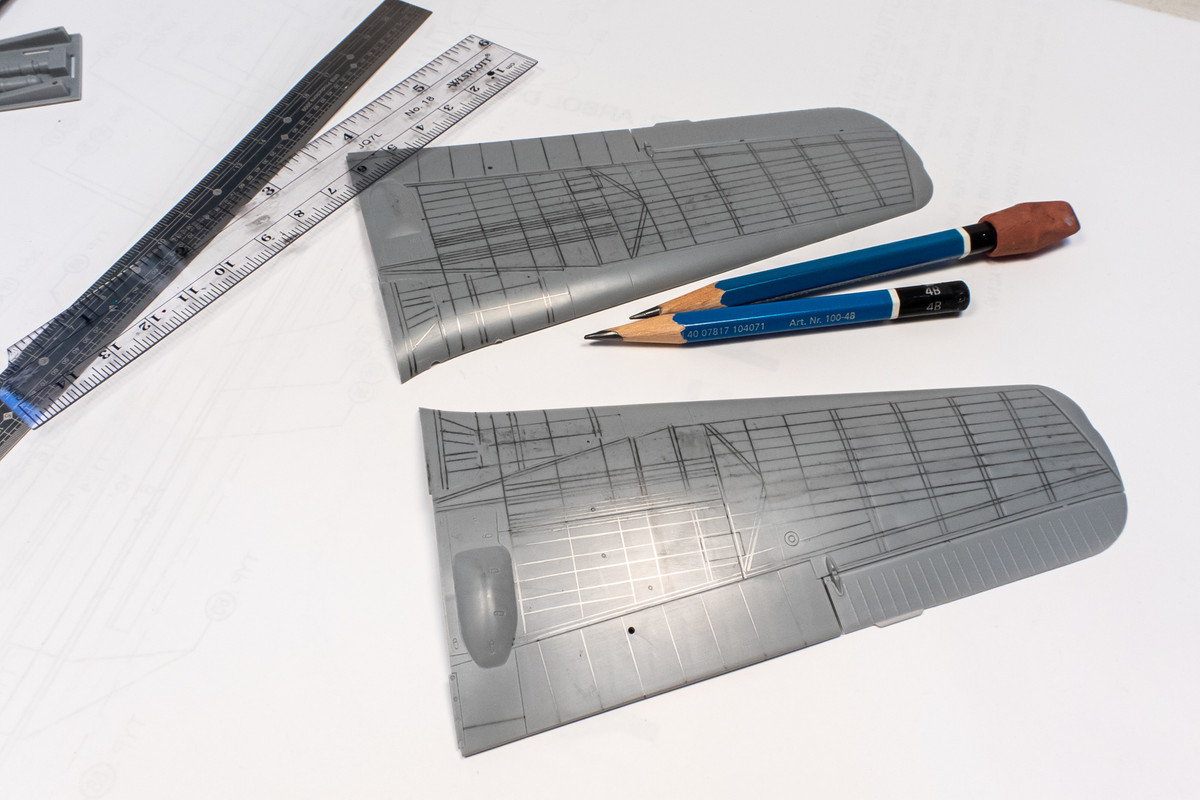
Thanks guys! Jumping back onto the D-9 build for a bit... I thought I'd get the upper wing riveting out of the way. Riveting takes some time effort and I need to be motivated to actually put in the hours so when the inclination bubbled up this afternoon, I took advantage of it. The first and most tedious step is to draw the rivet patterns on the model parts. Lots of rivets on the upper wings!
Once the rivet patterns are drawn, a wheeled rivet tool is used to punch tiny holes in a linear row.
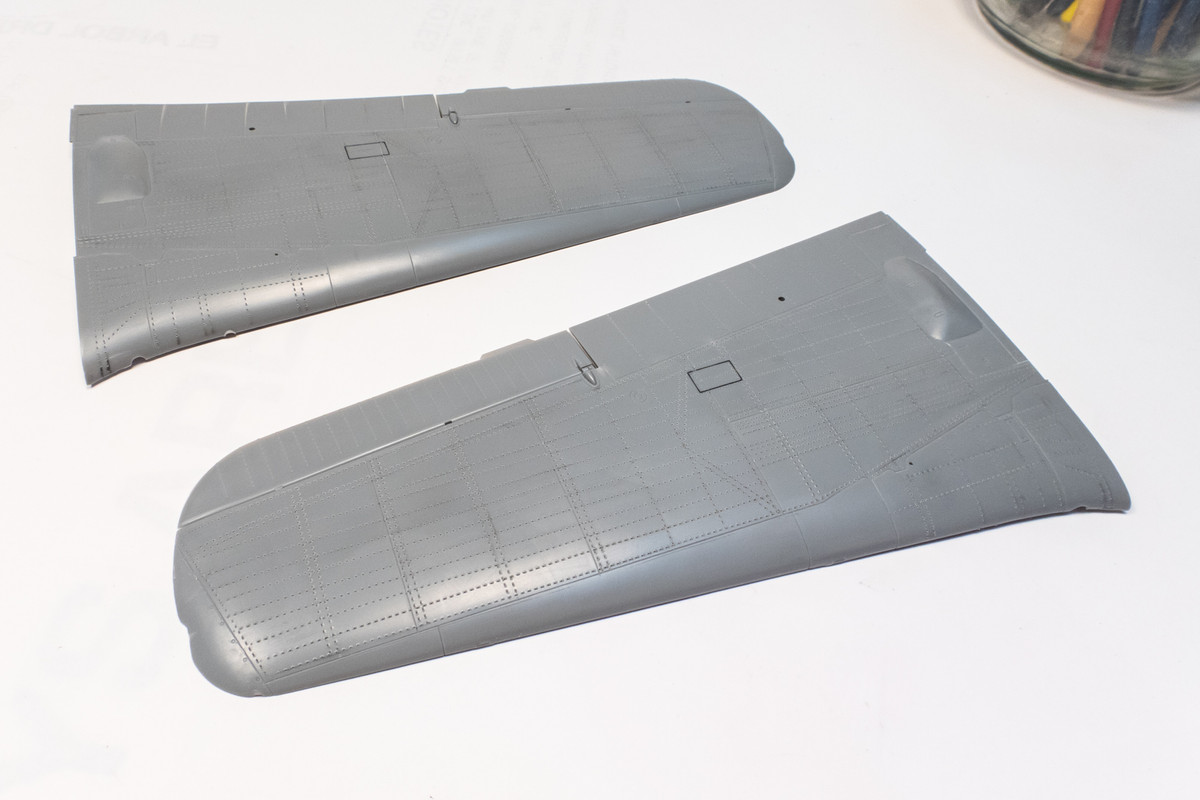
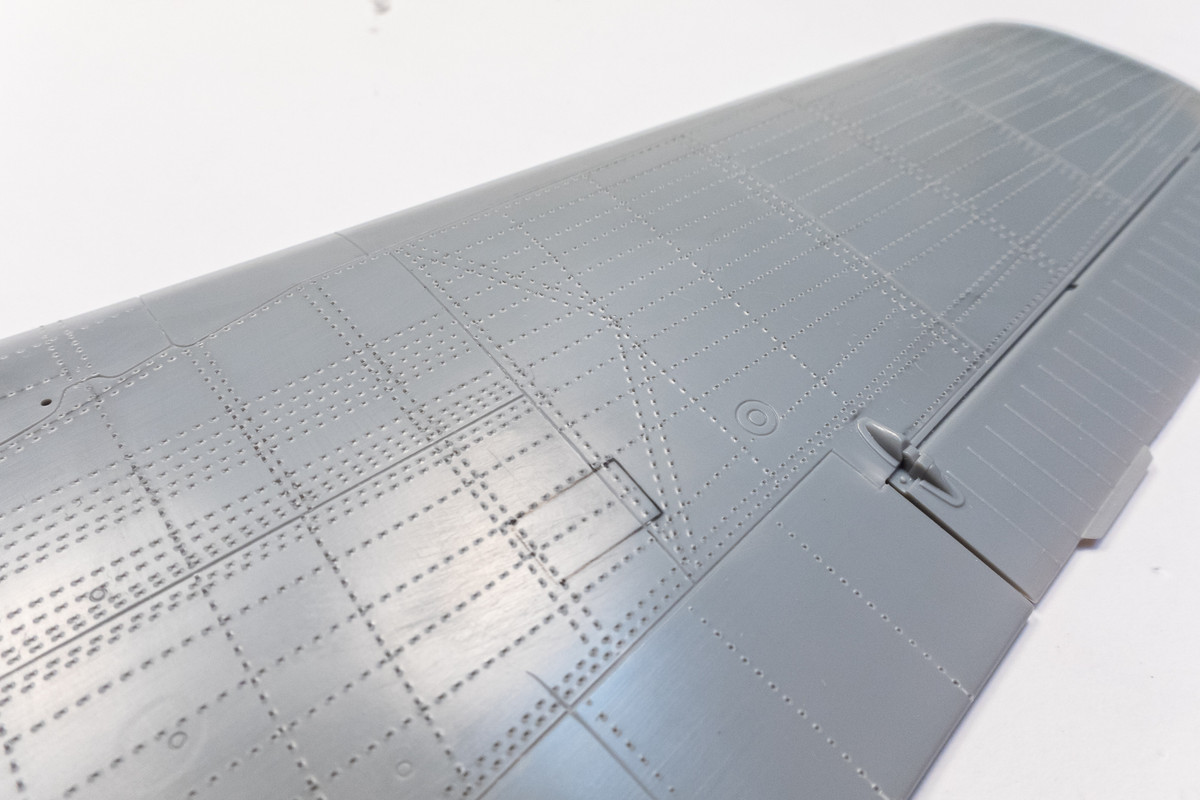
The wings are then sanded to get rid of the raised plastic around each rivet hole. A temporary pastel wash is used to check the results.
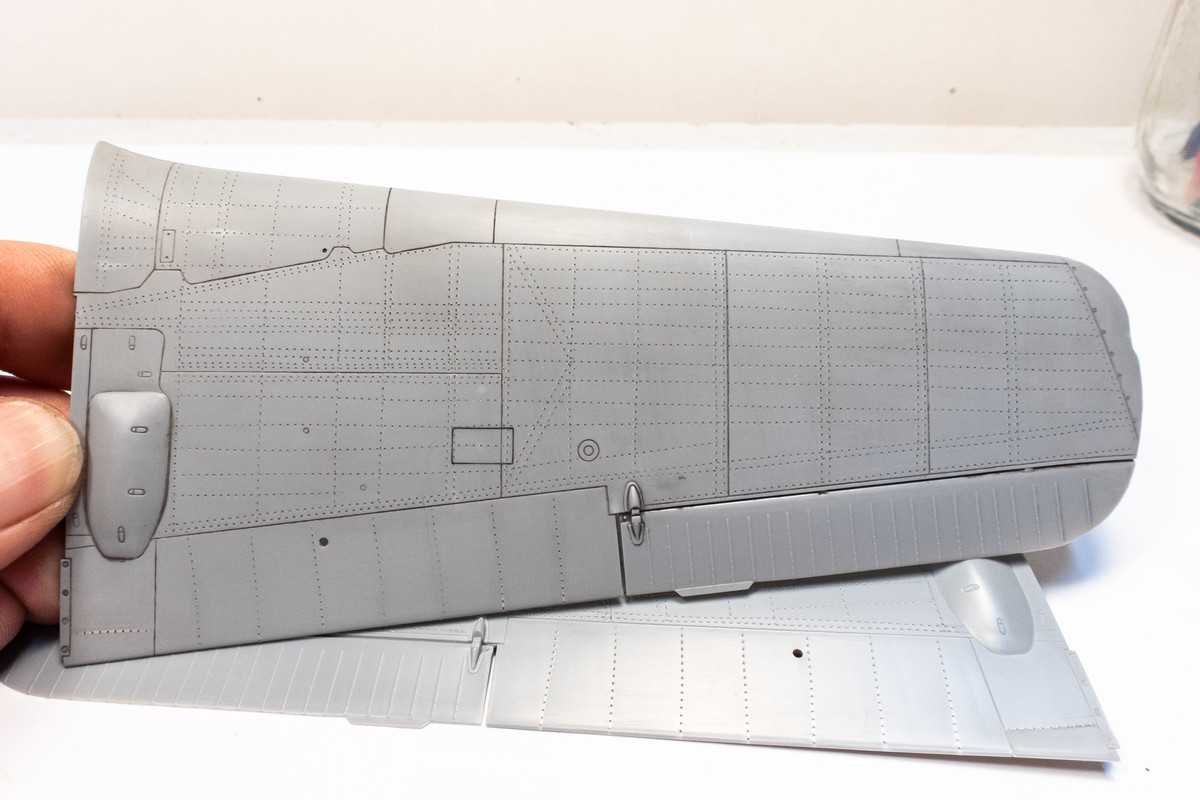
You can see that the wing surface is nice and smooth now compared to the pic prior to sanding.

Both upper wings have been riveted.
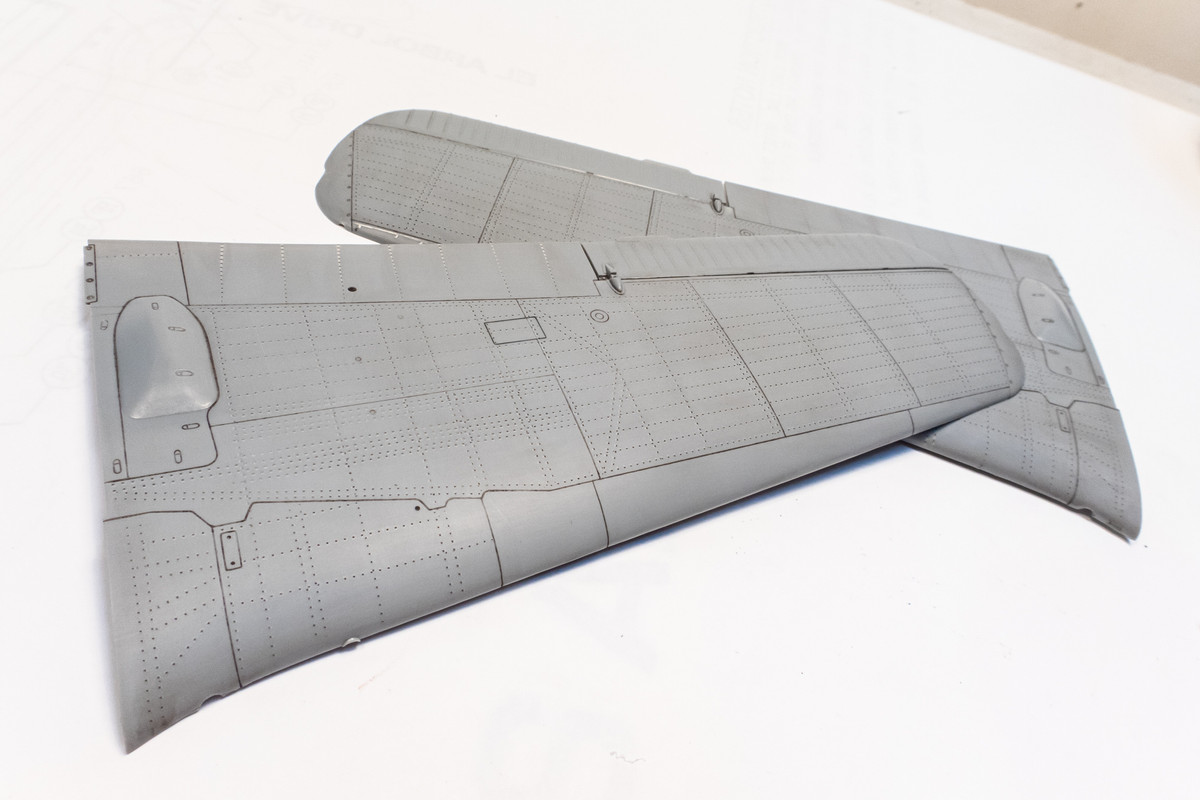
Circular fasteners along the leading edge of the wing that are added using a beading tool.

Re: Hasegawa 1/32 Fw 190D-9 Brown 4
Posted: Mon Jun 27, 2022 6:35 am
by tempestjohnny
Wow. Big difference
Re: Hasegawa 1/32 Fw 190D-9 Brown 4
Posted: Mon Jun 27, 2022 8:40 am
by Stuart
Amazing detail work there John - it's always interesting to see how you go about adding it all.
Re: Hasegawa 1/32 Fw 190D-9 Brown 4
Posted: Mon Jun 27, 2022 2:32 pm
by Floki
Great job! This step is time consuming but adds so much detail