Page 7 of 20
Re: 1//32 Hasegawa Ki-61-1 Tei Hien
Posted: Sun Aug 28, 2022 10:48 am
by KennyX
This made my eyes bug out of my skull. I love the subject. I have a kit, Tamiya’s 1:72 Hien. It’s one subject I’ve always wanted to do, but I don’t think I could do 1:72. Anyway, I’m loving what you e done with this so far. It’s fantastic. That color you’ve achieved in the cockpit is gorgeous.
Re: 1//32 Hasegawa Ki-61-1 Tei Hien
Posted: Fri Apr 14, 2023 3:35 pm
by jkim
Hey Spammers!
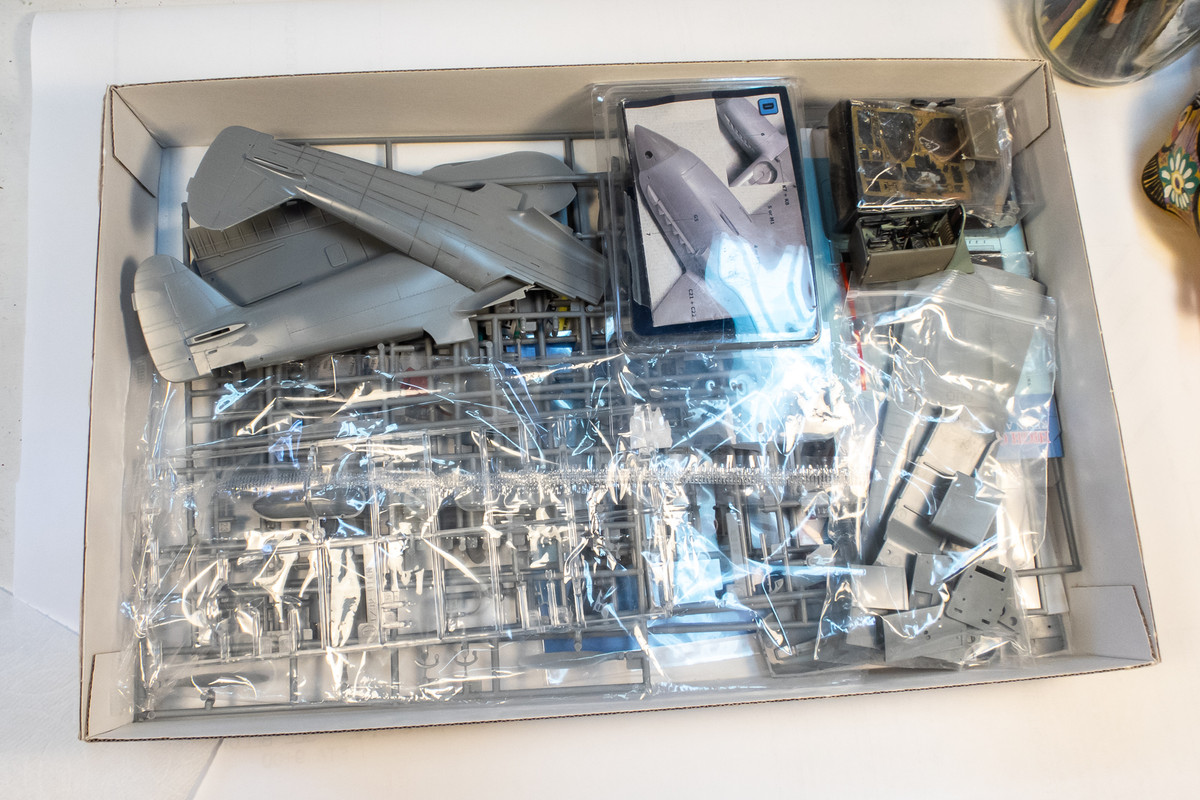
I've taken a few months break from modeling but am ready to start doing it again. For whatever reason, I feel it more difficult to re-start on the P-47D Eileen build since it is in the advanced painting stage. I wanted to get my hands on unpainted plastic to transition me back to building so I'm jumping back onto this Hien build. It's been boxed up for a few months now and it's time to take a peek to see where we are at.
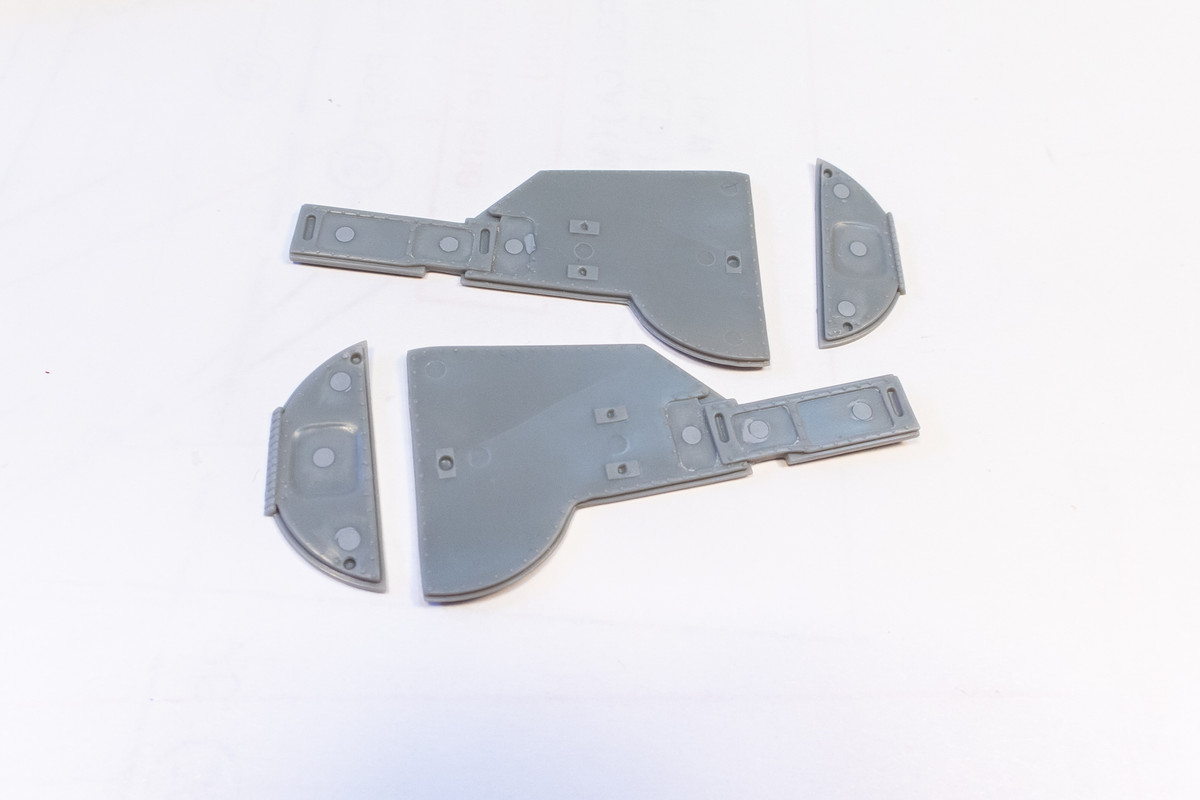
Ahhh... now I remember. The resin cockpit has been completed but before I glue the fuselage halves together, I wanted to apply rivets to the fuselage parts. I got as far as drawing some lines on the port fuselage.
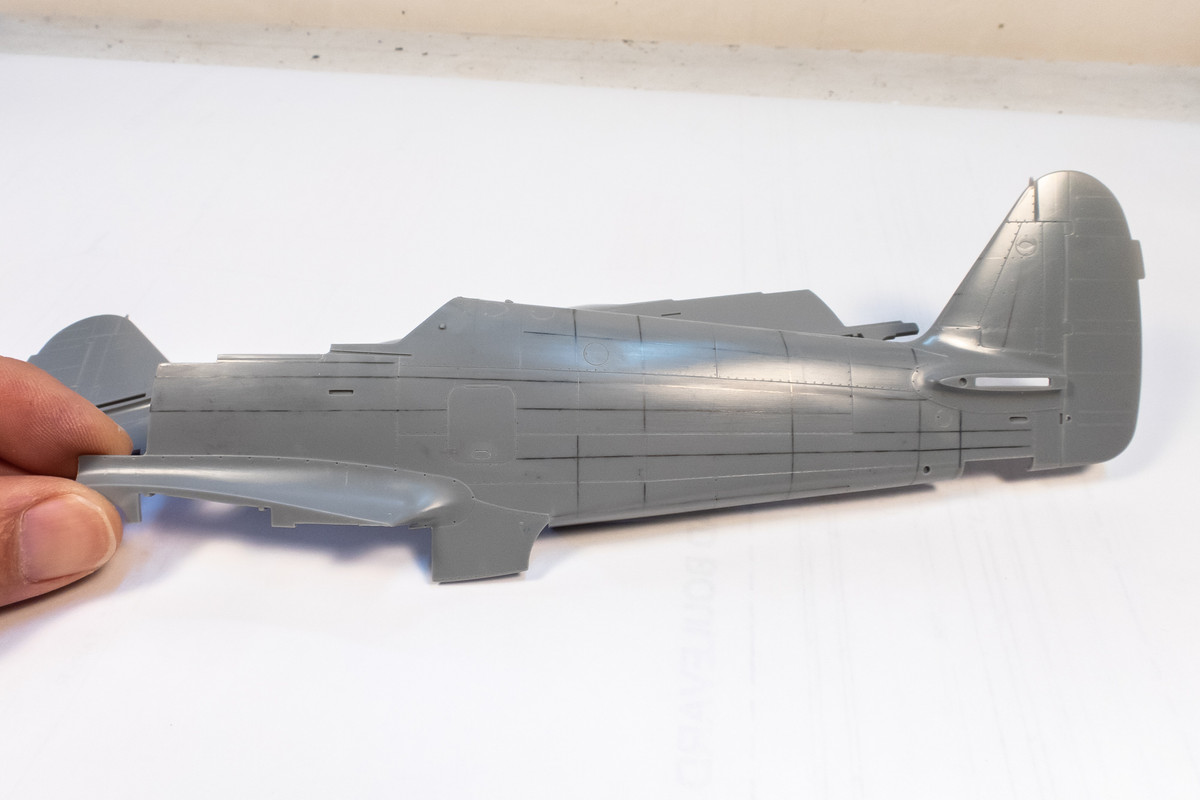
I finished sketching the rivet lines on both fuselage parts using a soft leaded pencil. I didn't have the patience to capture all of the rivet lines but put enough to add some needed surface detail to the model.

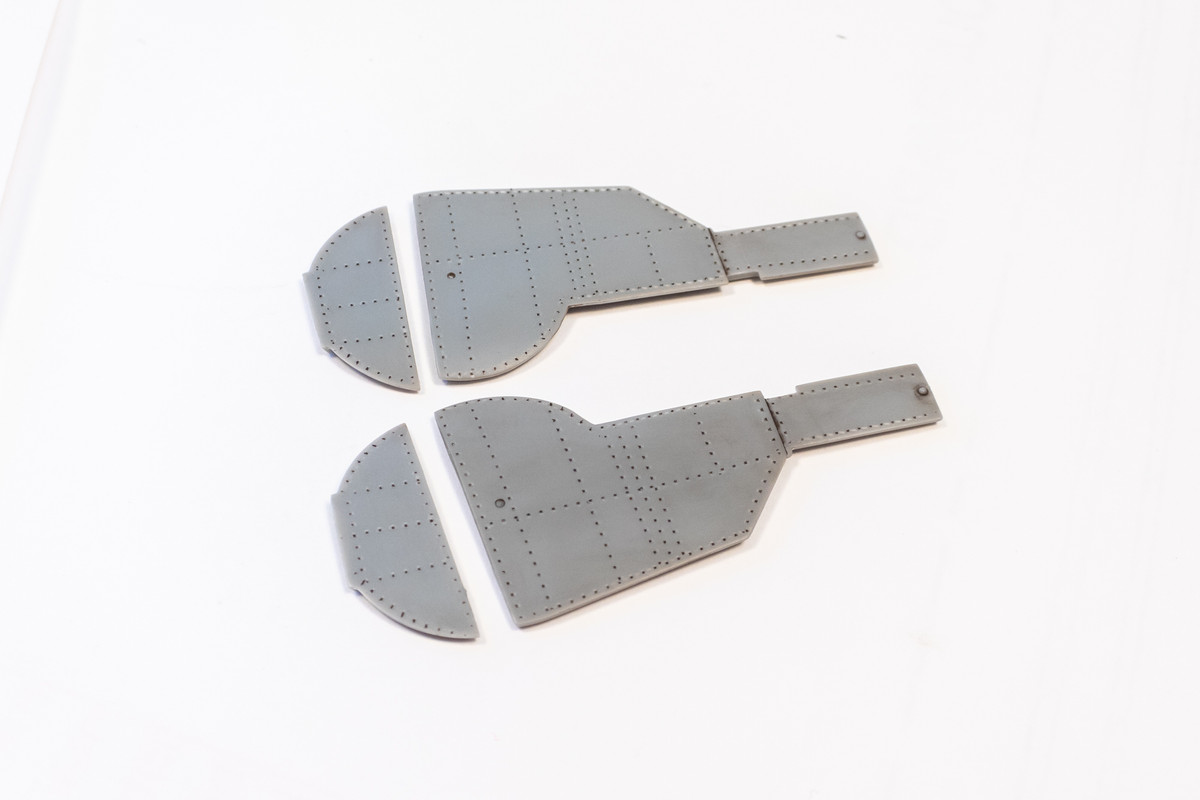
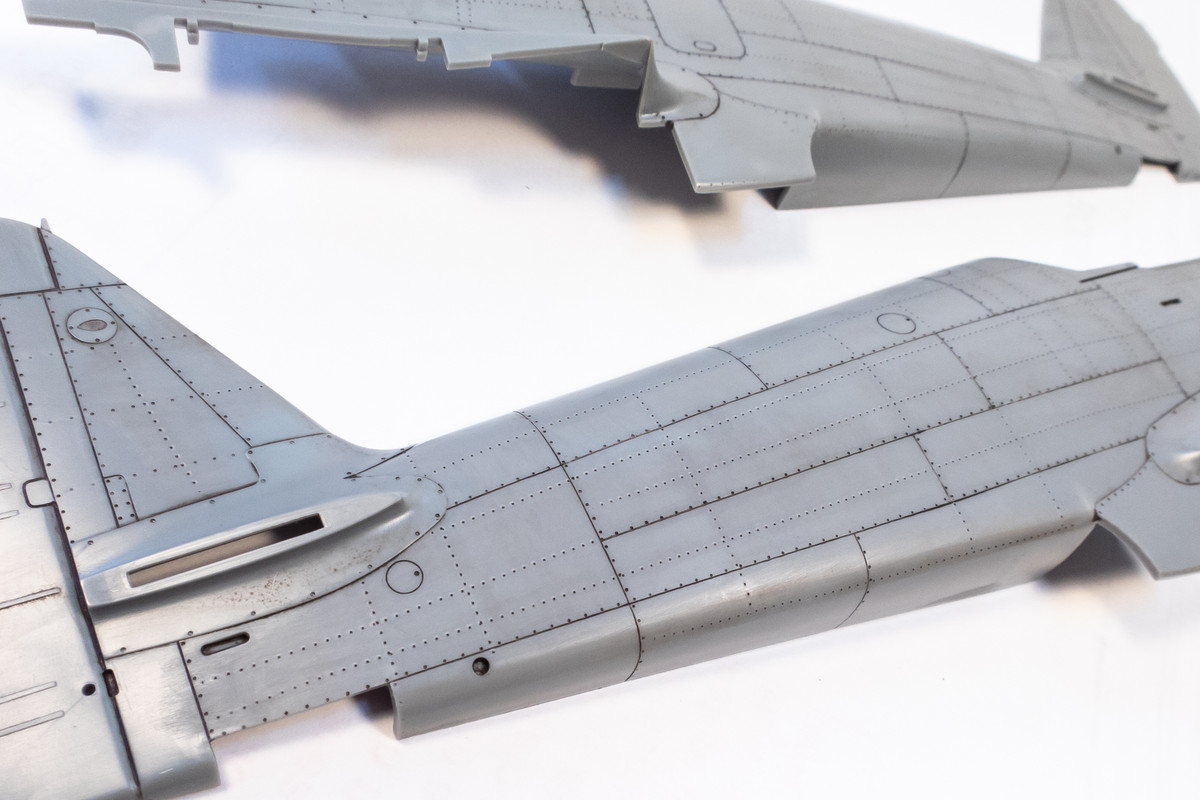
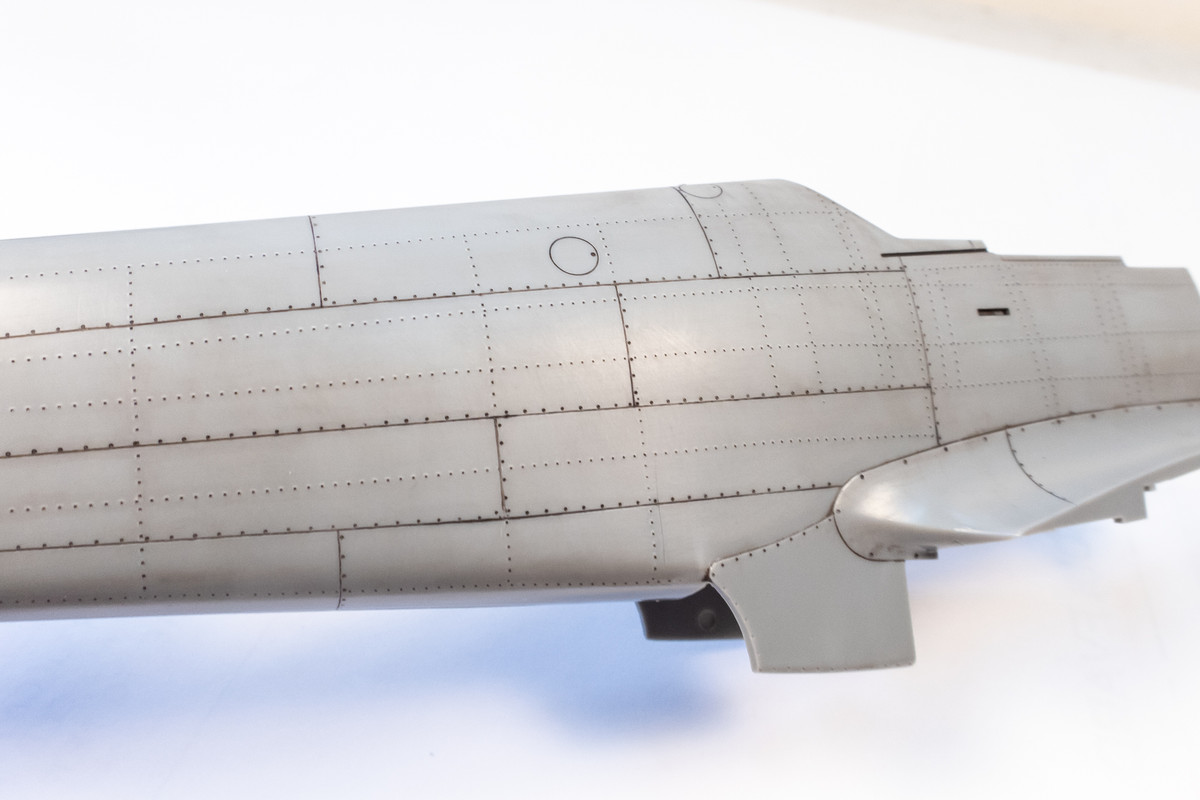
The rivets were made using a Galaxy Tools riveter in the 1.00mm size. Hard to see but this right after the rivets have been applied and the pencil markings washed off.
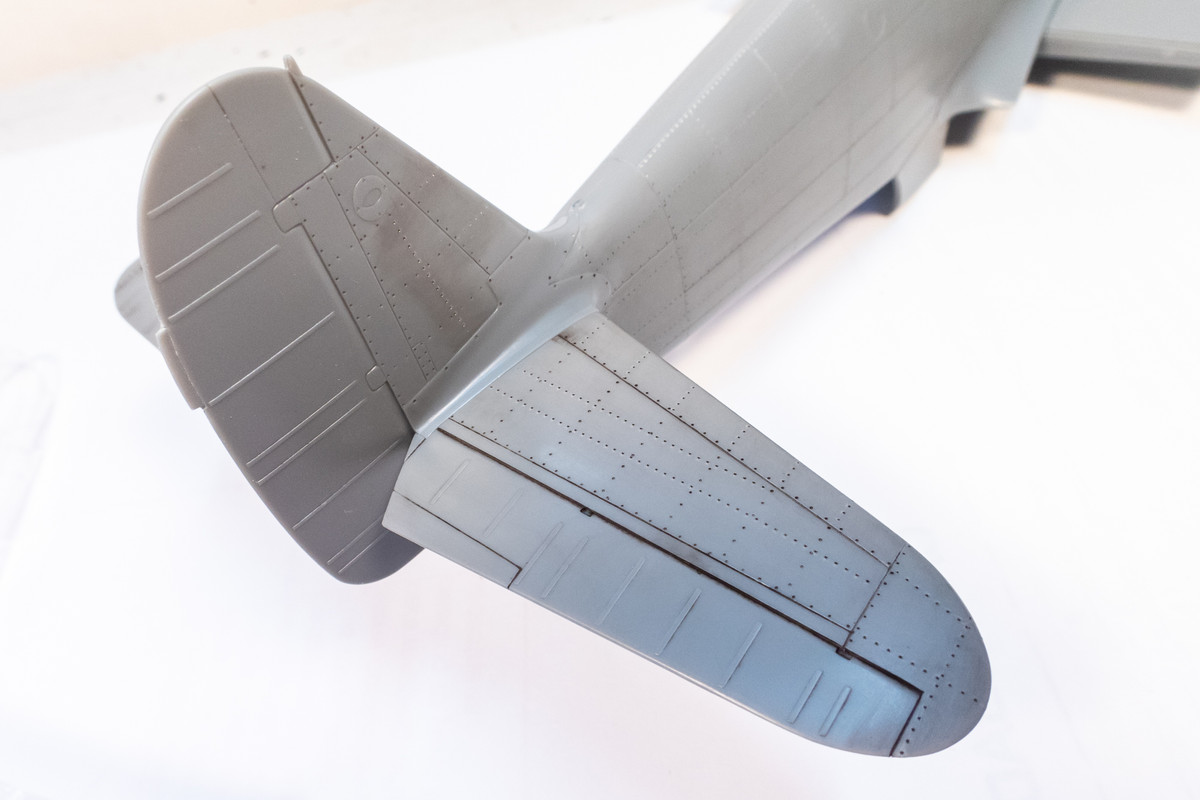
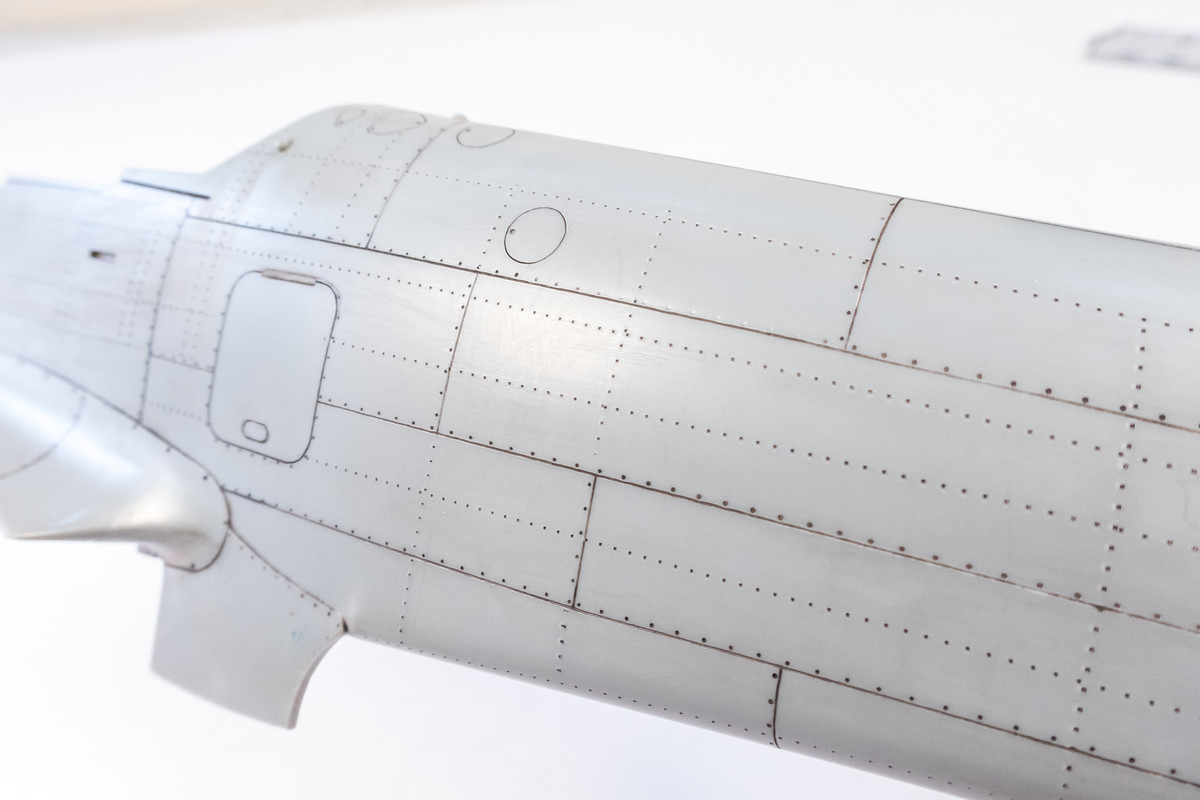
Using 600# sandpaper, I rubbed down the rivet lines to remove the raised plastic around each hole. I then applied a temporary brown wash to check the surface detail. Any rivets or panel lines that aren't holding the wash can be touched up now.

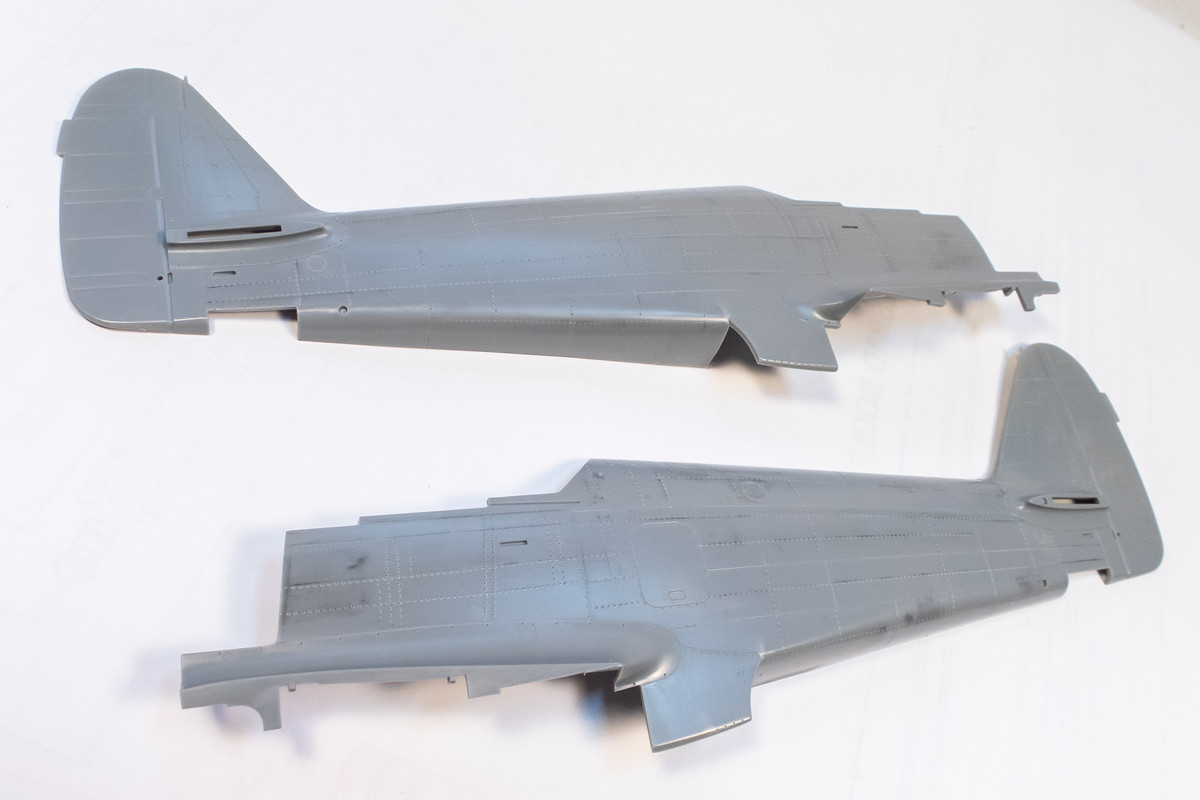
Here are the fuselage parts after the rivet job. After the touch-ups are complete, I'll scrub the wash off prior to gluing the fuselage halves together.
Re: 1//32 Hasegawa Ki-61-1 Tei Hien
Posted: Fri Apr 14, 2023 4:40 pm
by jeaton01
Why scrub the wash off, John? Adhesion issues? Good to see you back at it.
Re: 1//32 Hasegawa Ki-61-1 Tei Hien
Posted: Sat Apr 15, 2023 2:21 pm
by jkim
Thank you John! It's just a precaution. The rivet holes are very fine and can get plugged up by the subsequent painting stages. So I like to remove as much of the wash particulates out of the rivets and panel lines.
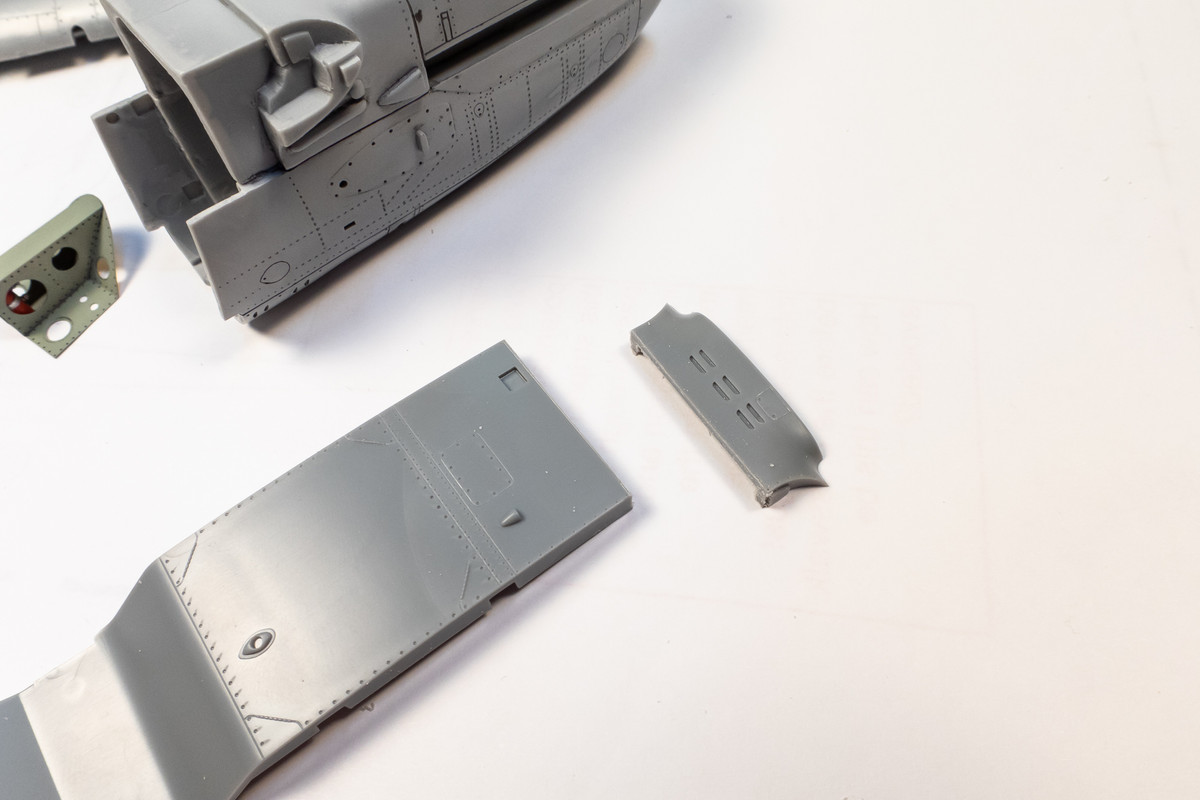
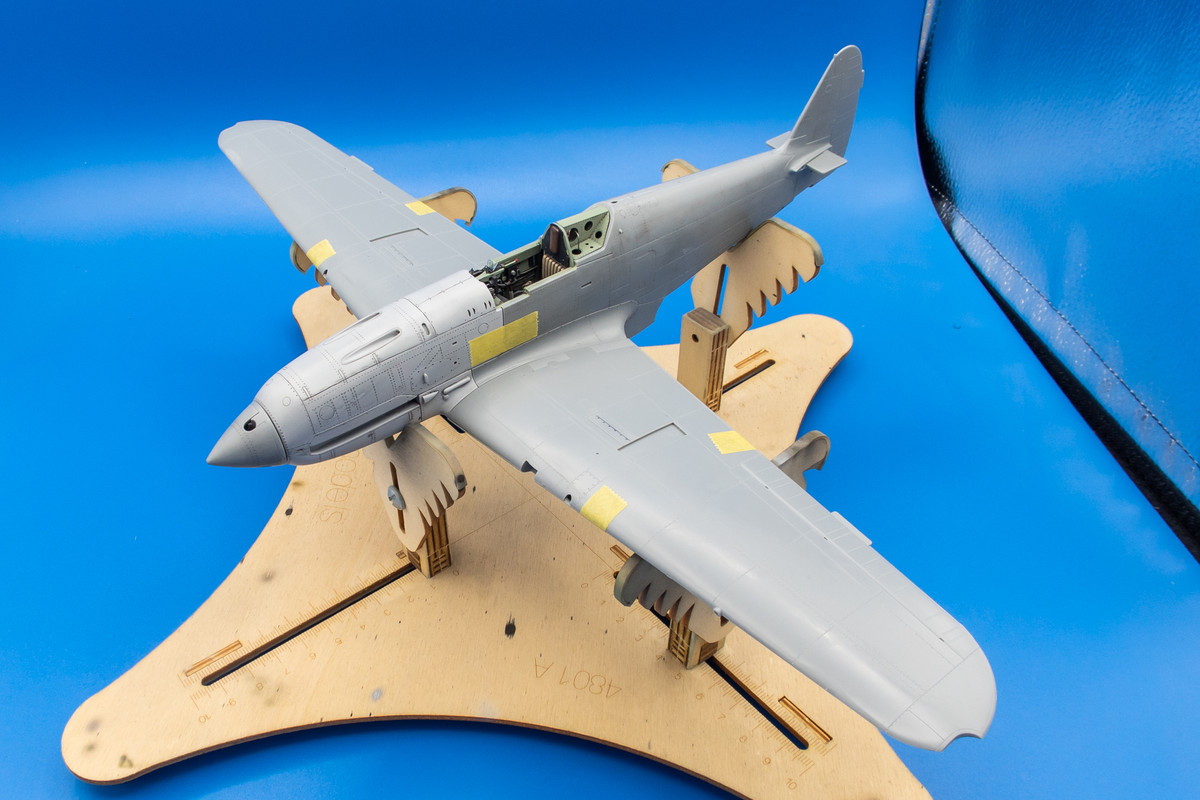
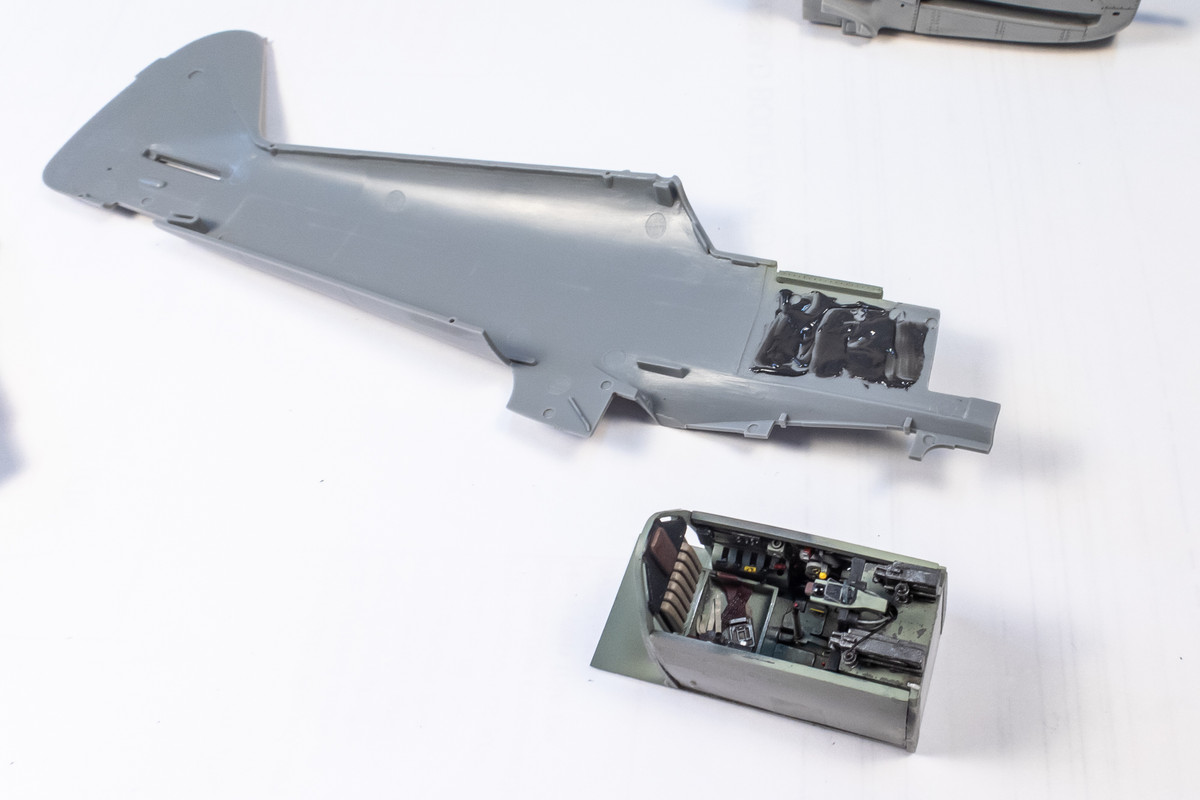
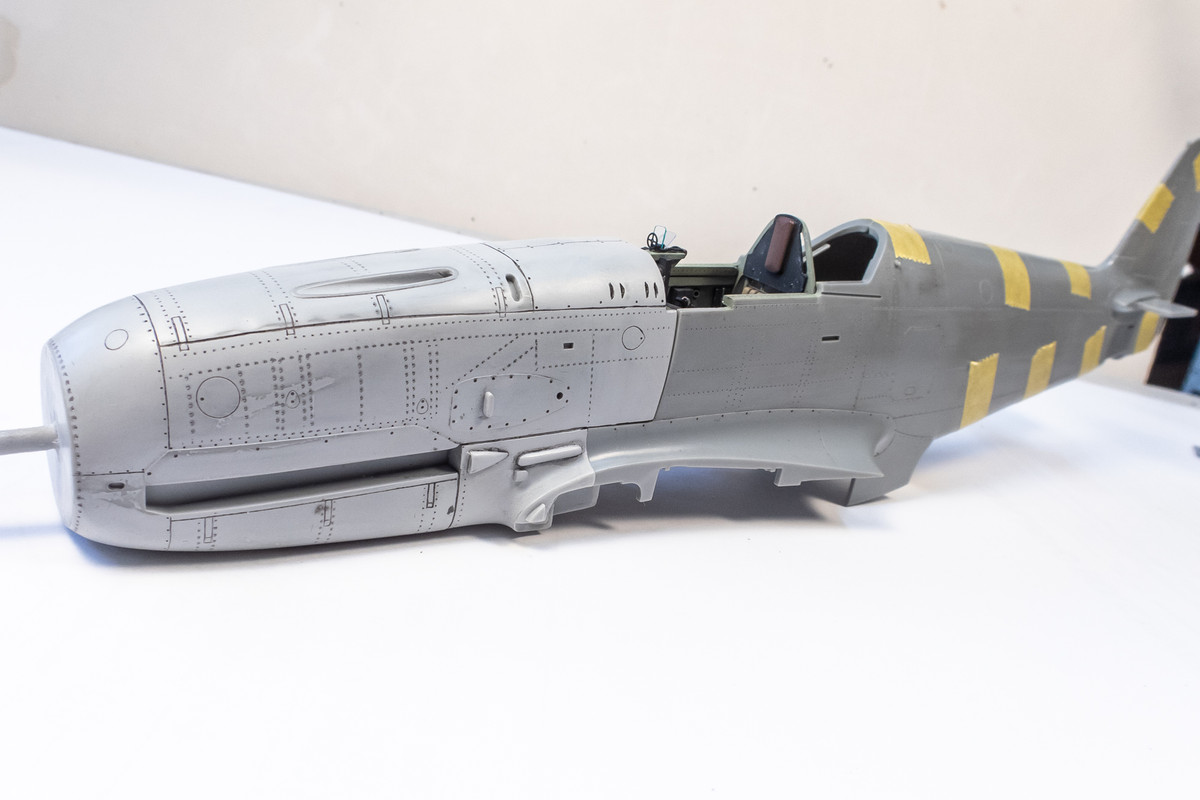
Since the fuselage riveting is finished, I can now insert the resin cockpit tub and glue the fuselage sides together. I am using JB KwikWeld two-part epoxy to attach the resin sidewalls to the fuselage interior. It cures in about five minutes, giving me time to push the cockpit tub into the correct position. Note the small rectangular piece in the upper left... it is an insert for the horizontal tailplanes that needs to be sandwiched between the fuselage sides.
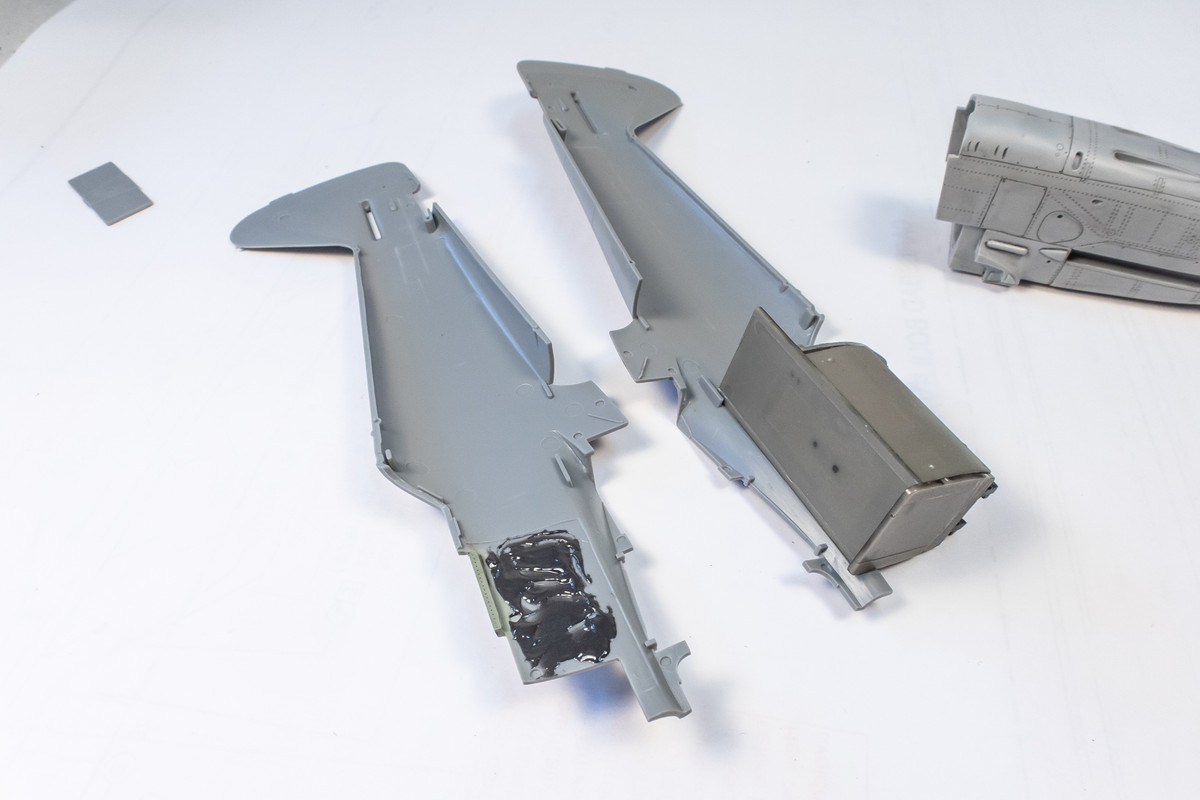
Once the cockpit tub is secured in place, I used Tamiya Extra Thin to cement the fuselage parts together.
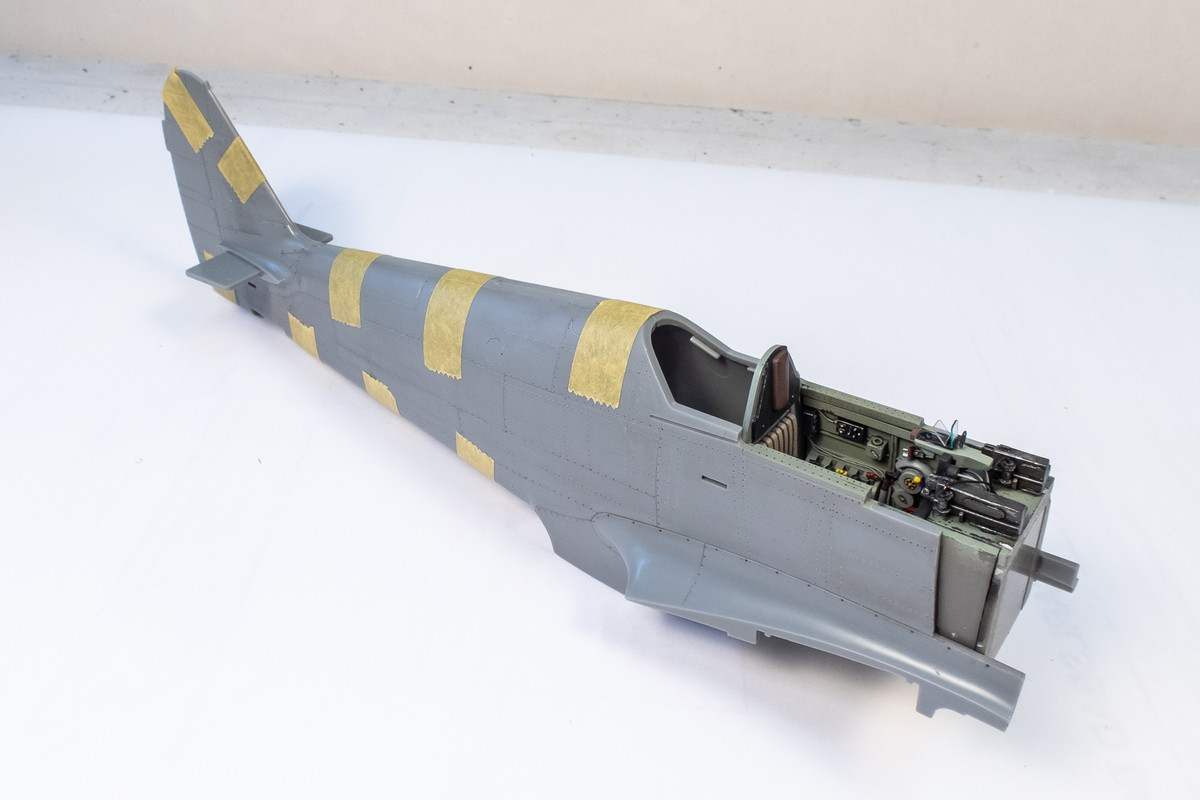
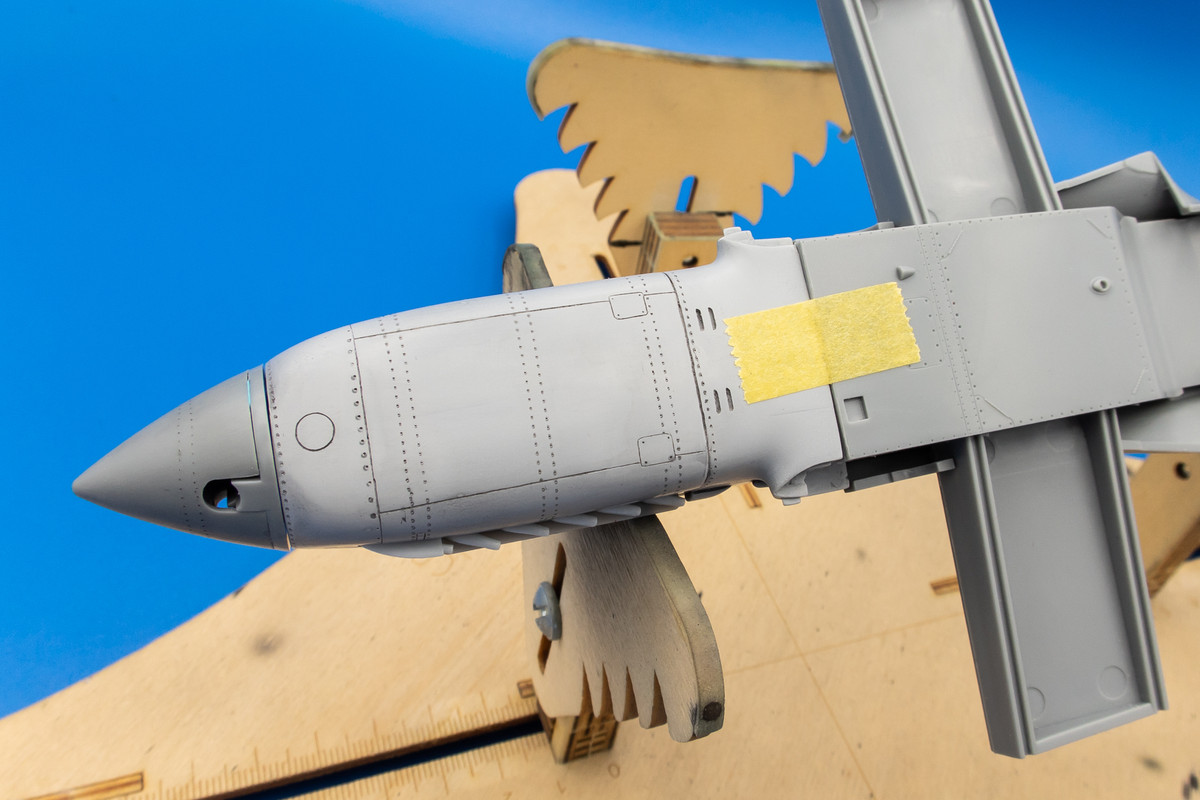
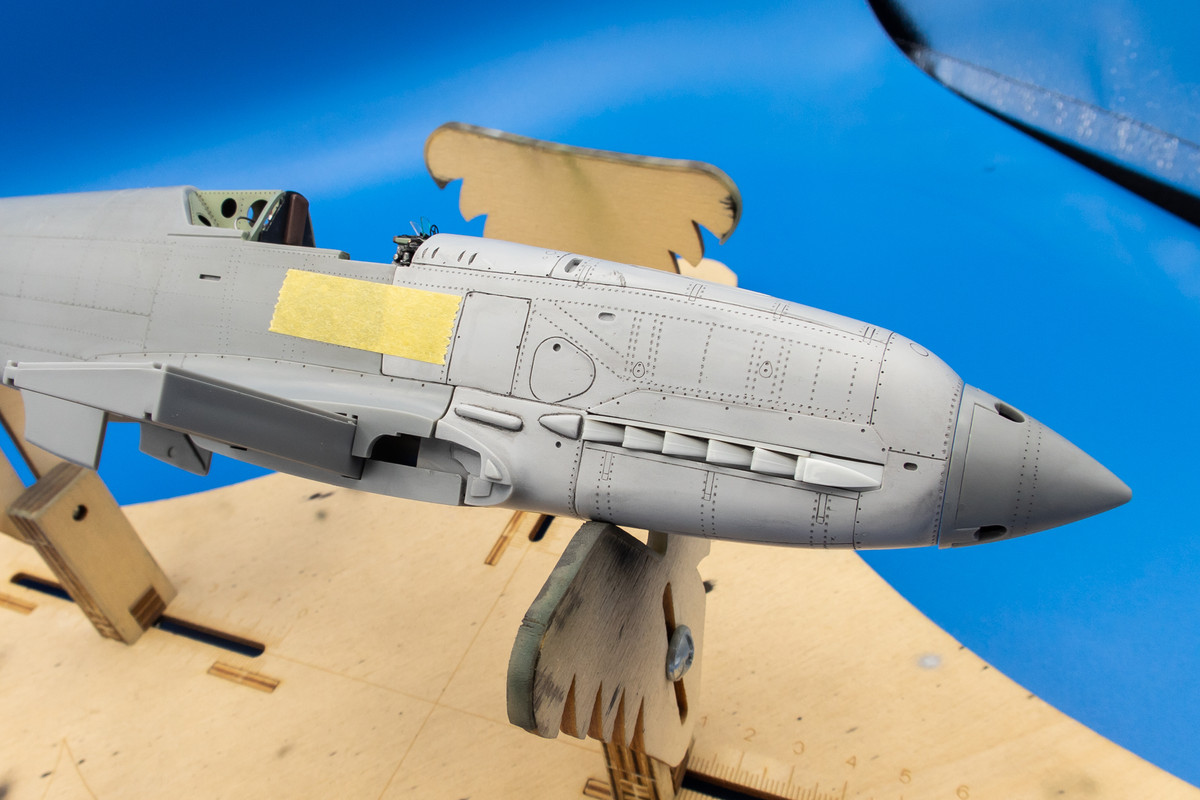
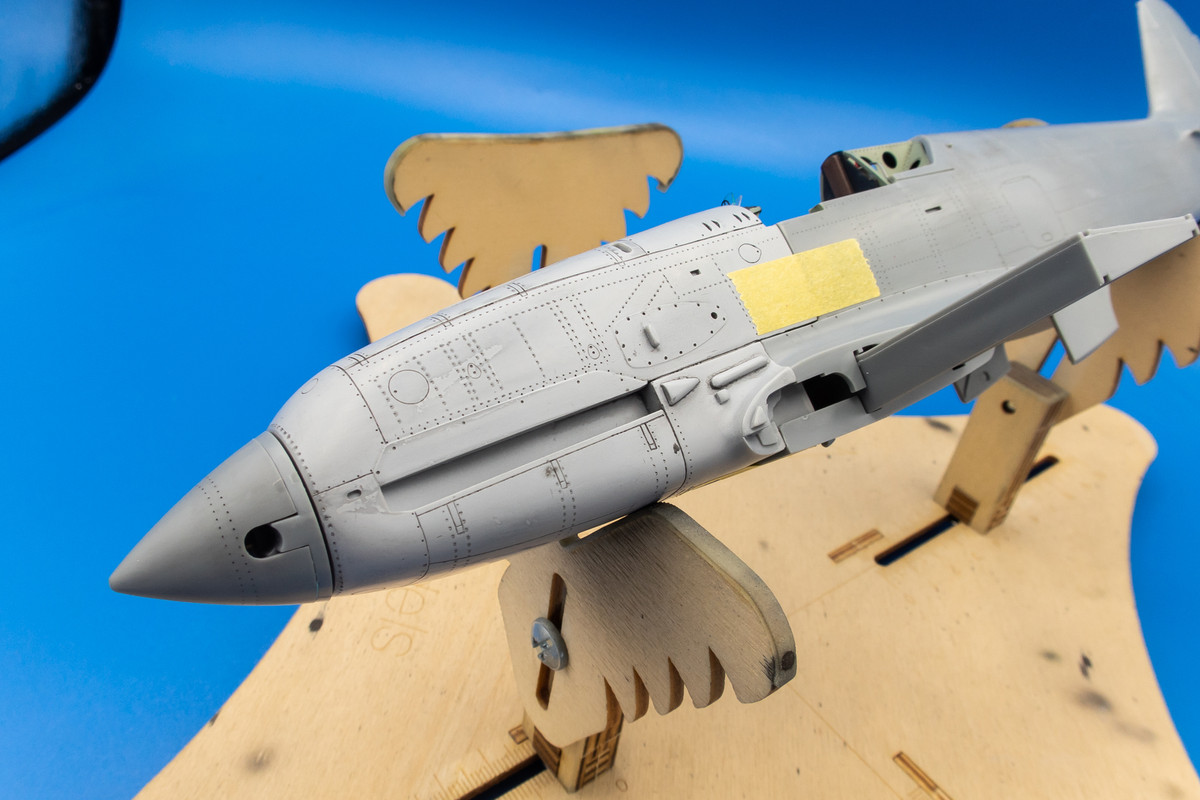
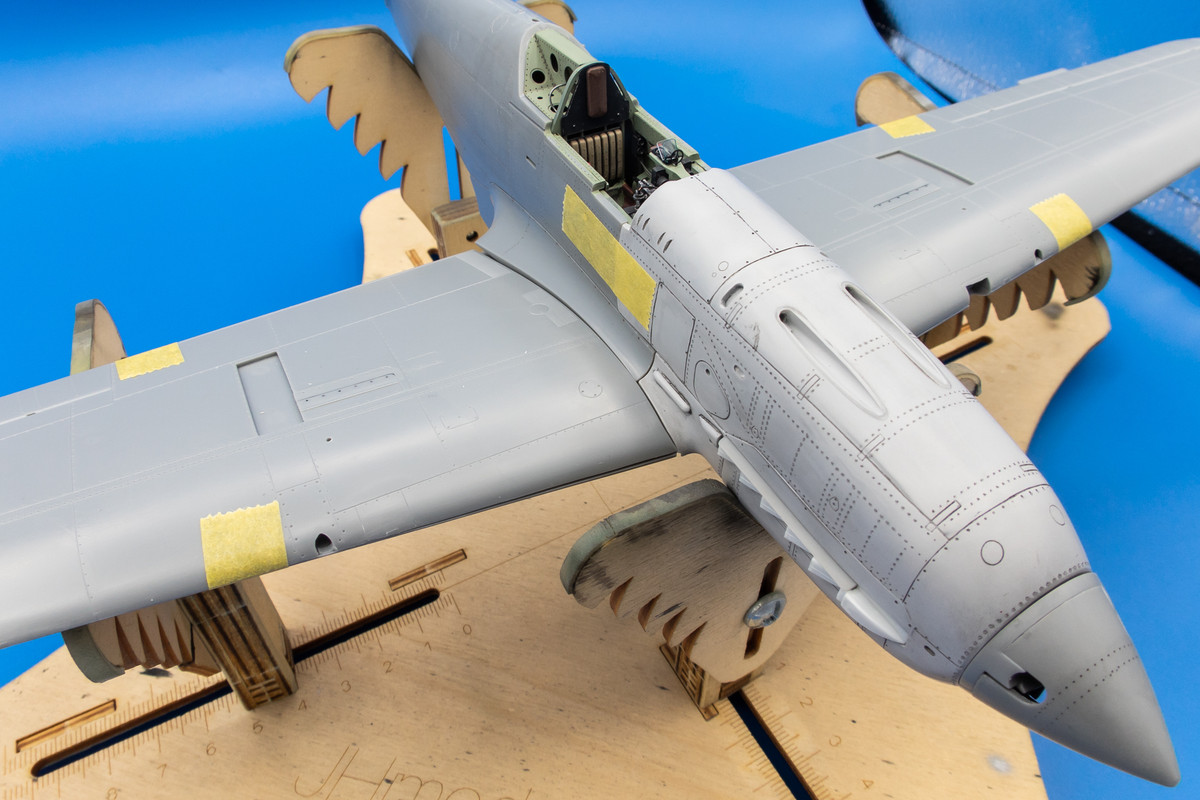
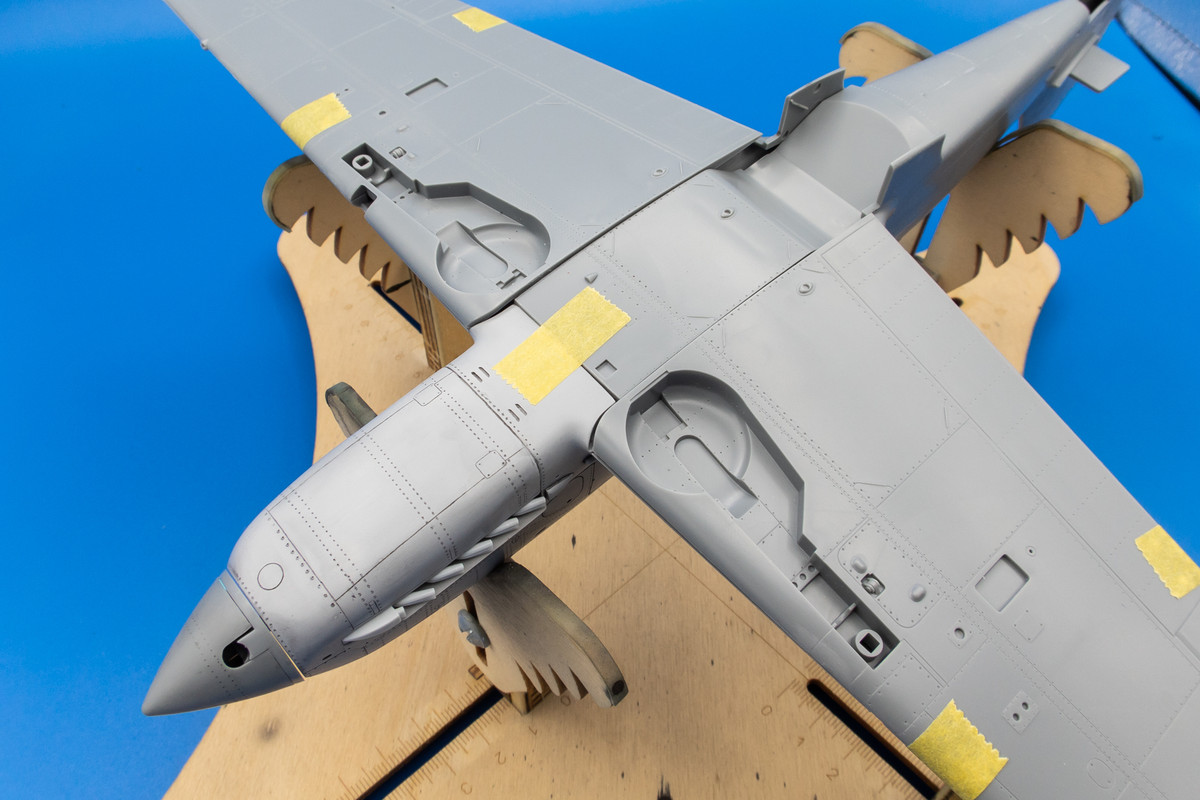
A pre-fit of the Wolfpack resin nose...

Re: 1//32 Hasegawa Ki-61-1 Tei Hien
Posted: Sun Apr 16, 2023 9:14 pm
by Floki
Glad to see you working on this one again!
Re: 1//32 Hasegawa Ki-61-1 Tei Hien
Posted: Mon Apr 17, 2023 6:38 am
by BlackSheep214
Floki wrote: ↑Sun Apr 16, 2023 9:14 pm
Glad to see you working on this one again!

Re: 1//32 Hasegawa Ki-61-1 Tei Hien
Posted: Wed Apr 19, 2023 8:41 am
by jkim
Re: 1//32 Hasegawa Ki-61-1 Tei Hien
Posted: Sat Apr 22, 2023 3:05 pm
by jkim
Re: 1//32 Hasegawa Ki-61-1 Tei Hien
Posted: Sat Apr 22, 2023 5:37 pm
by Floki
Incredible work! The before and after photos of everything is really nice to see
Re: 1//32 Hasegawa Ki-61-1 Tei Hien
Posted: Sat Apr 22, 2023 8:31 pm
by keavdog
Wow John the rivets add so much. Seems like quite the omission.