Trumpeter P-47D Razorback "Eileen"
Posted: Thu Nov 17, 2022 5:14 pm
Ready to spin up a new project. Taking a break from my usual Luftwaffe/Axis subjects, I wanted to revisit another Allied aircraft and try an Olive Drab/Neutral Grey scheme. I've decided to on this one...
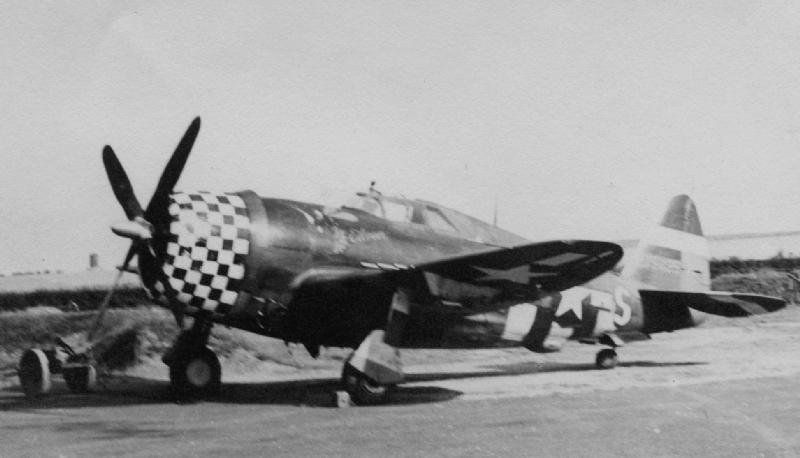
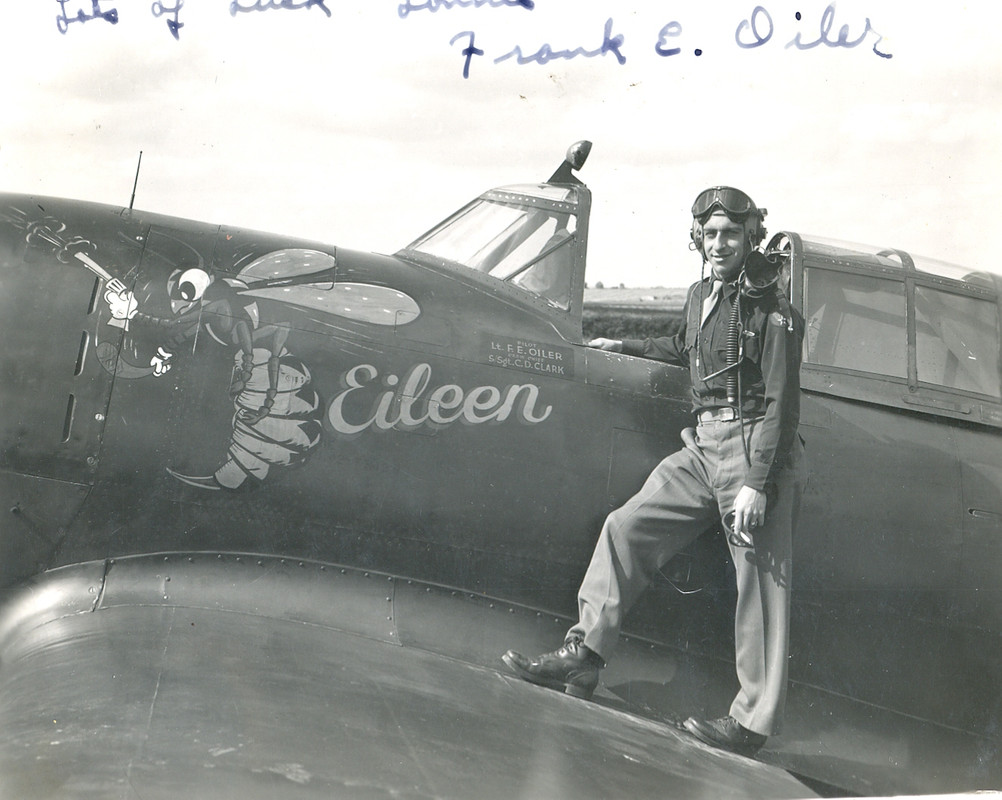
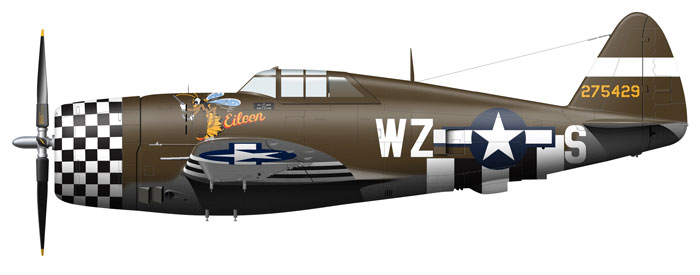
This is a P-47D-11-RE Razorback Thunderbolt manufactured at the Republic factory. It was piloted by Lt. Frank Oiler of the 78th FG of the 84th FS based at Duxford, England, 1944.
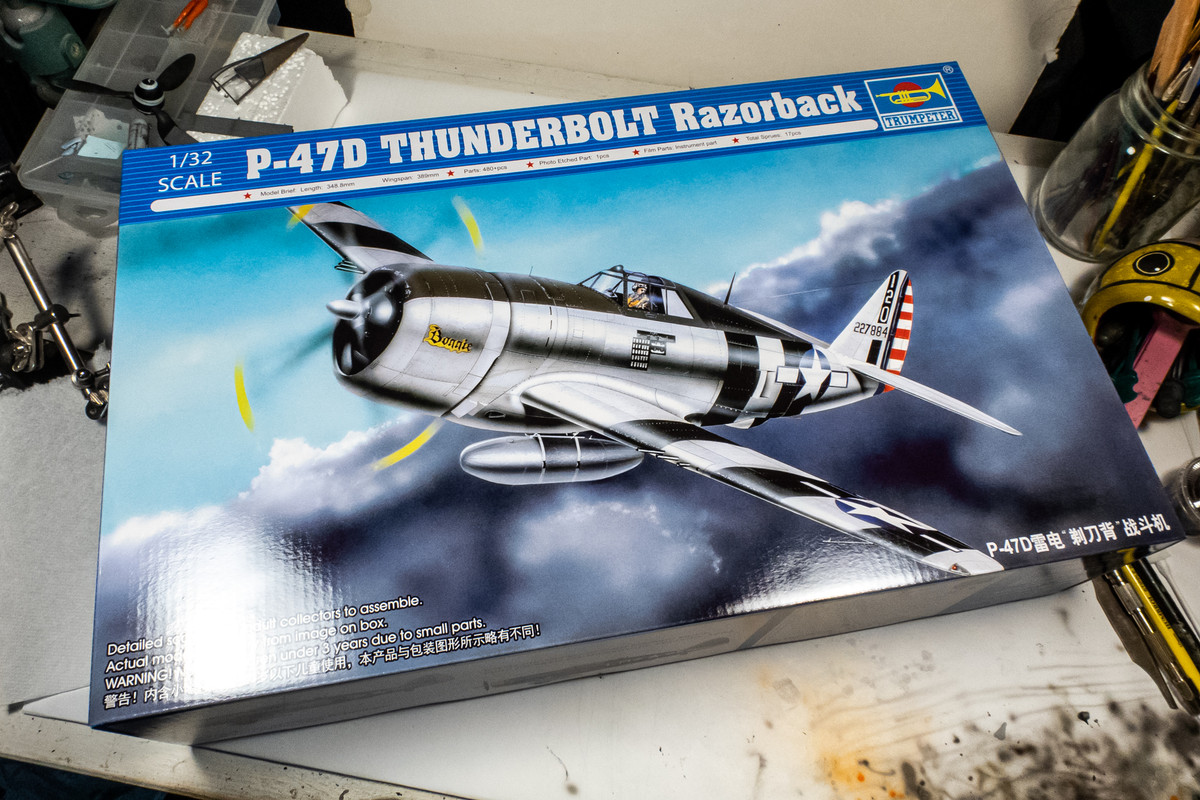
I'll be using the 1/32 Trumpeter kit for this build. I've reviewed multiple online builds of this kit. I have to admit that Trumpeter is not my favorite model company but from what I've read on line, the Jug is one of their better efforts. I expect some fit issues but hopefully we can overcome those and present a decent result.
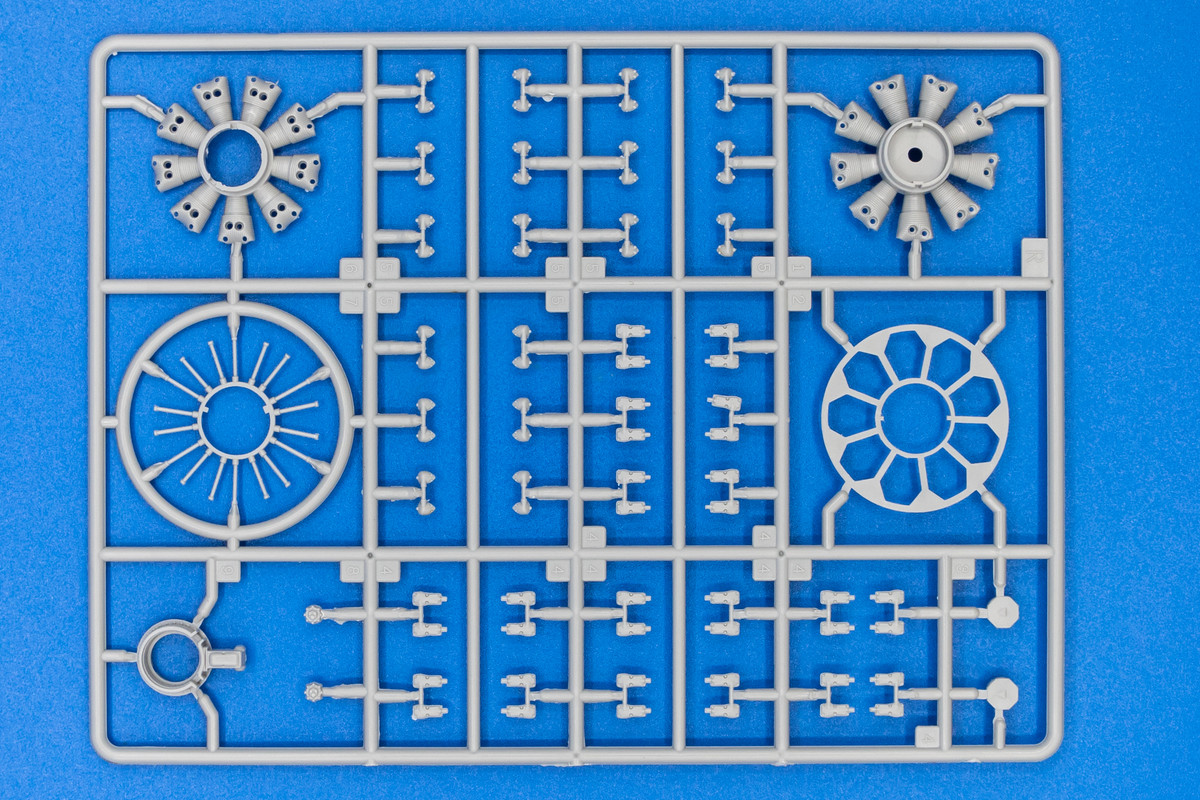
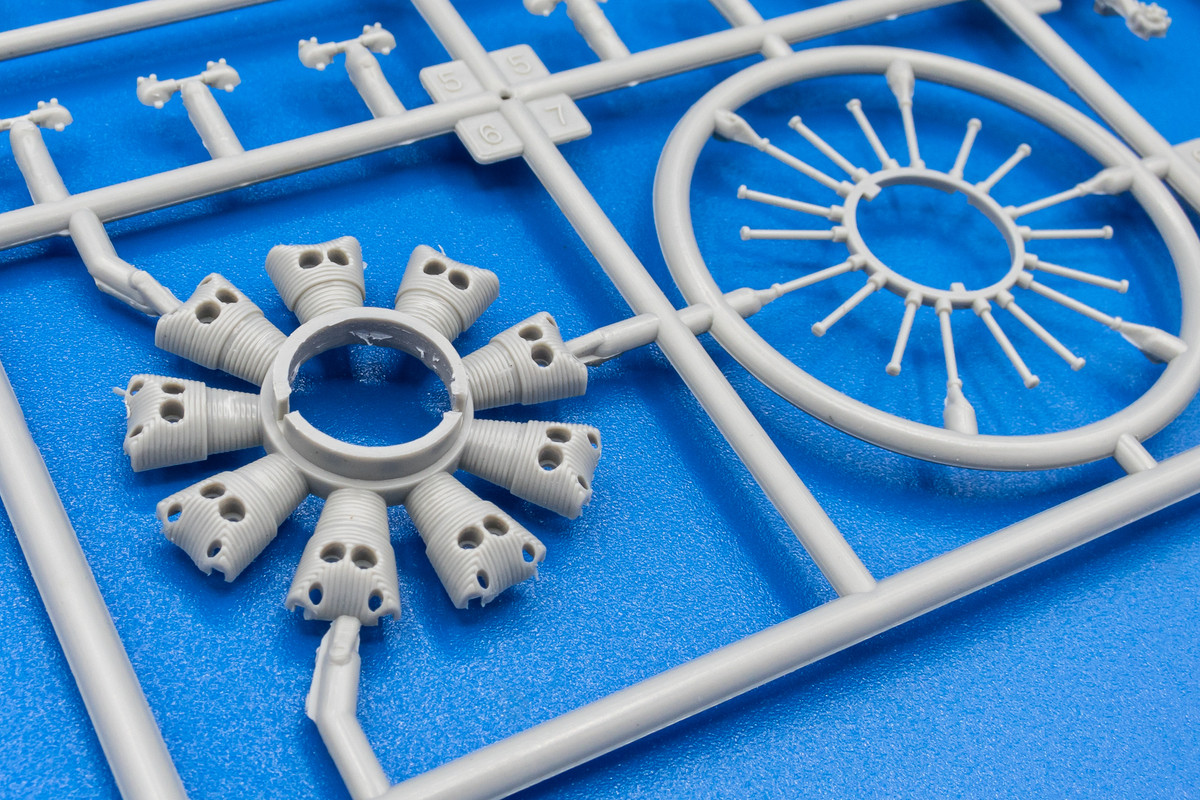
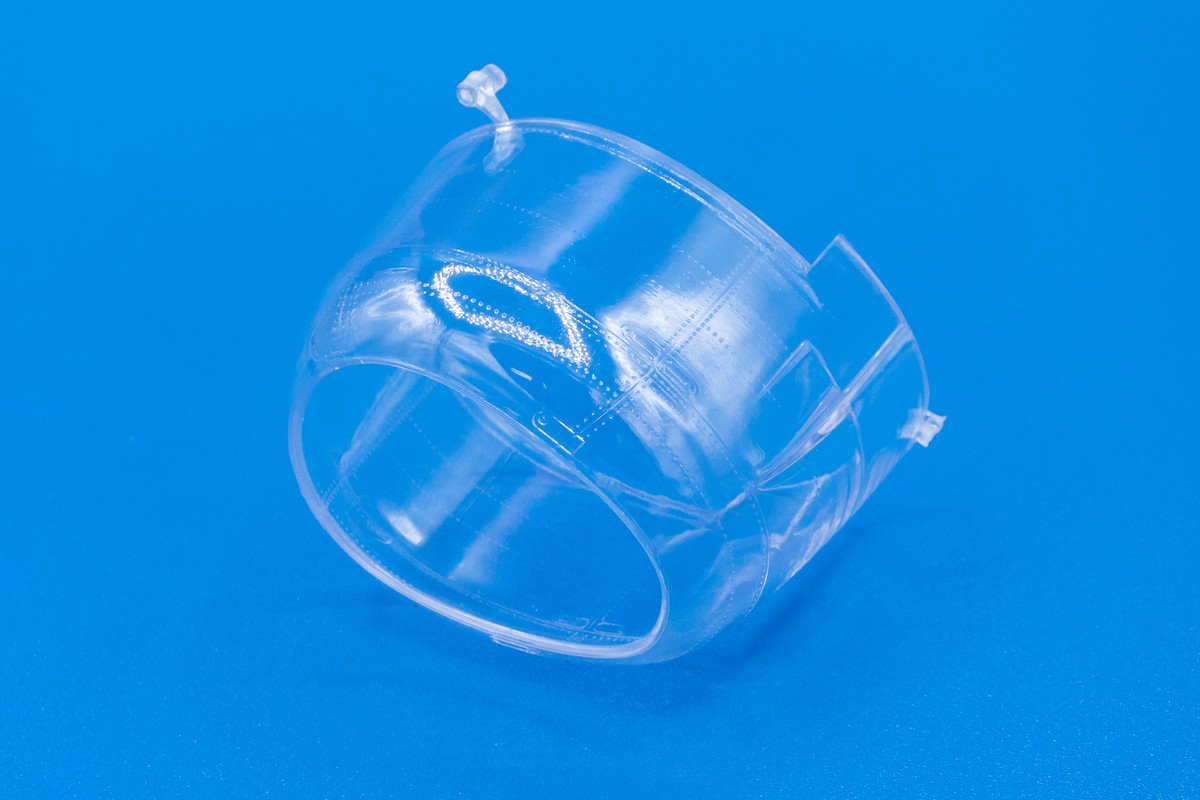
An interesting aspect of this kit is the inclusion of a clear, 1-piece engine cowling. To Trumpeter's credit, the cowling is VERY clear to facilitate a view of the engine details but needless to say, I'll be painting this one!
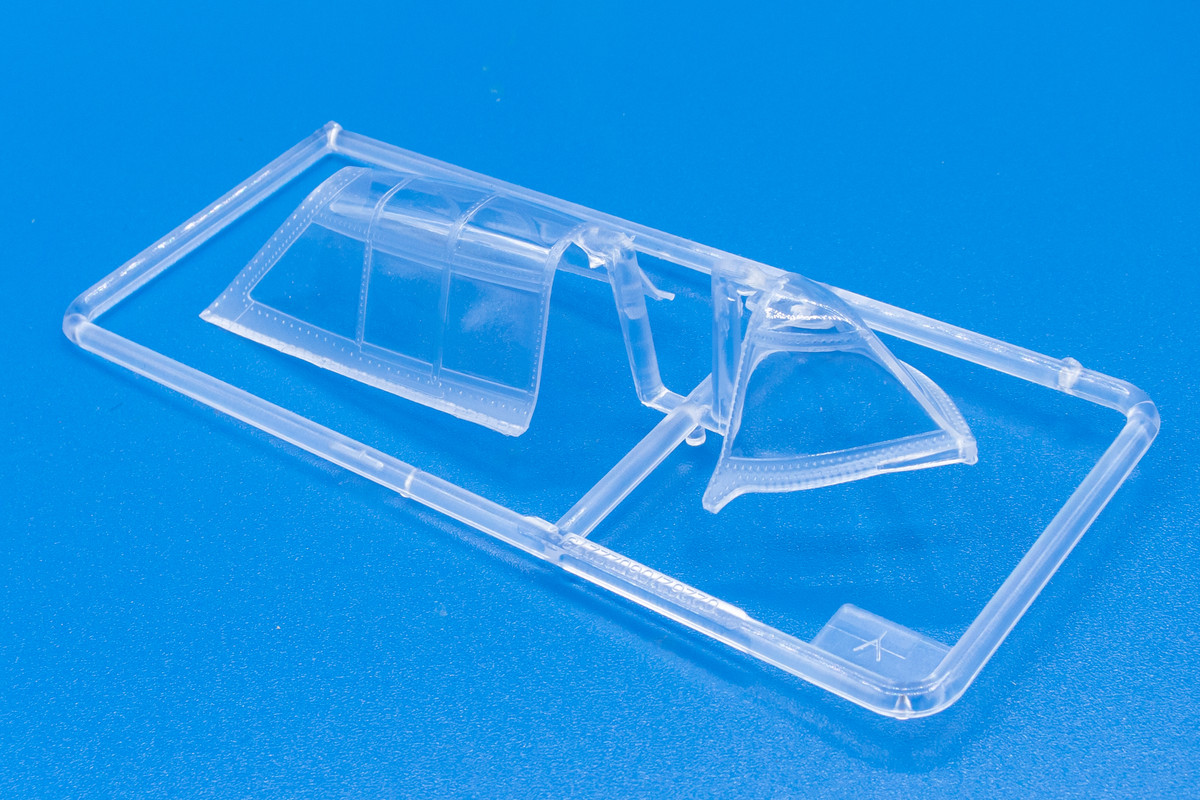
The traditional clear parts: windscreen and sliding canopy look ok.
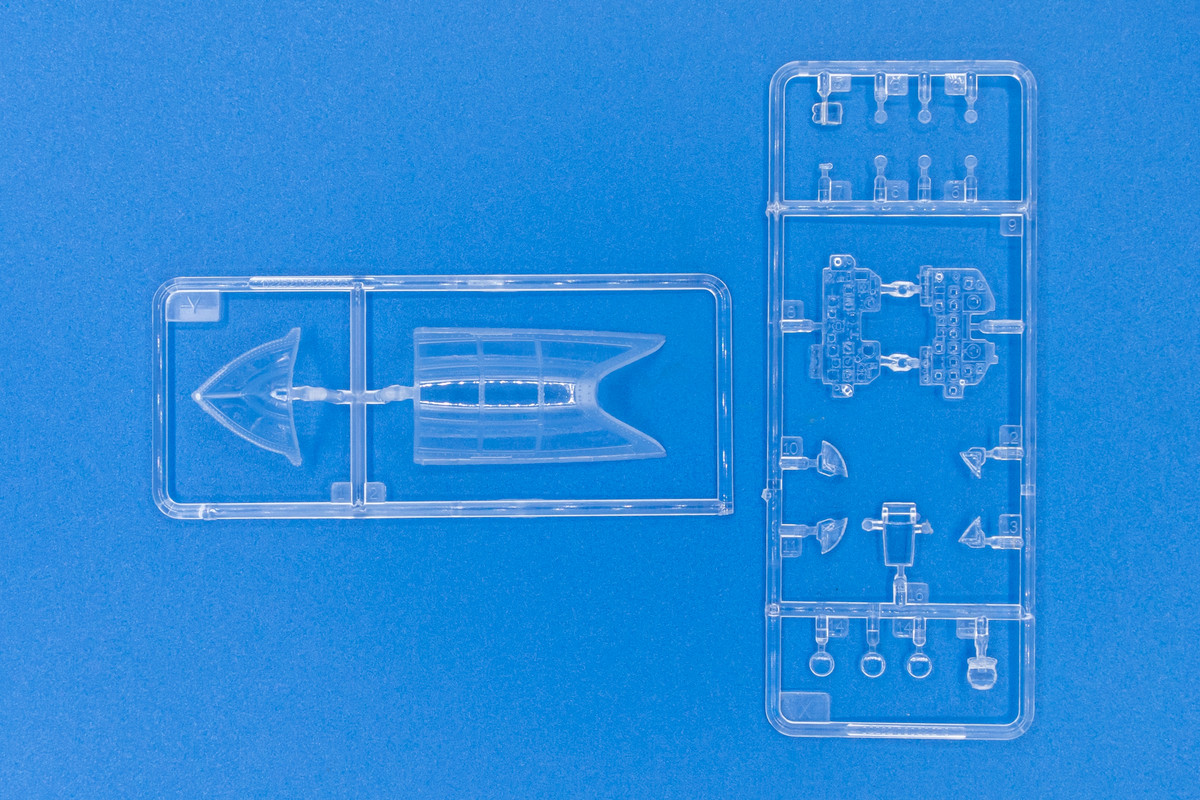
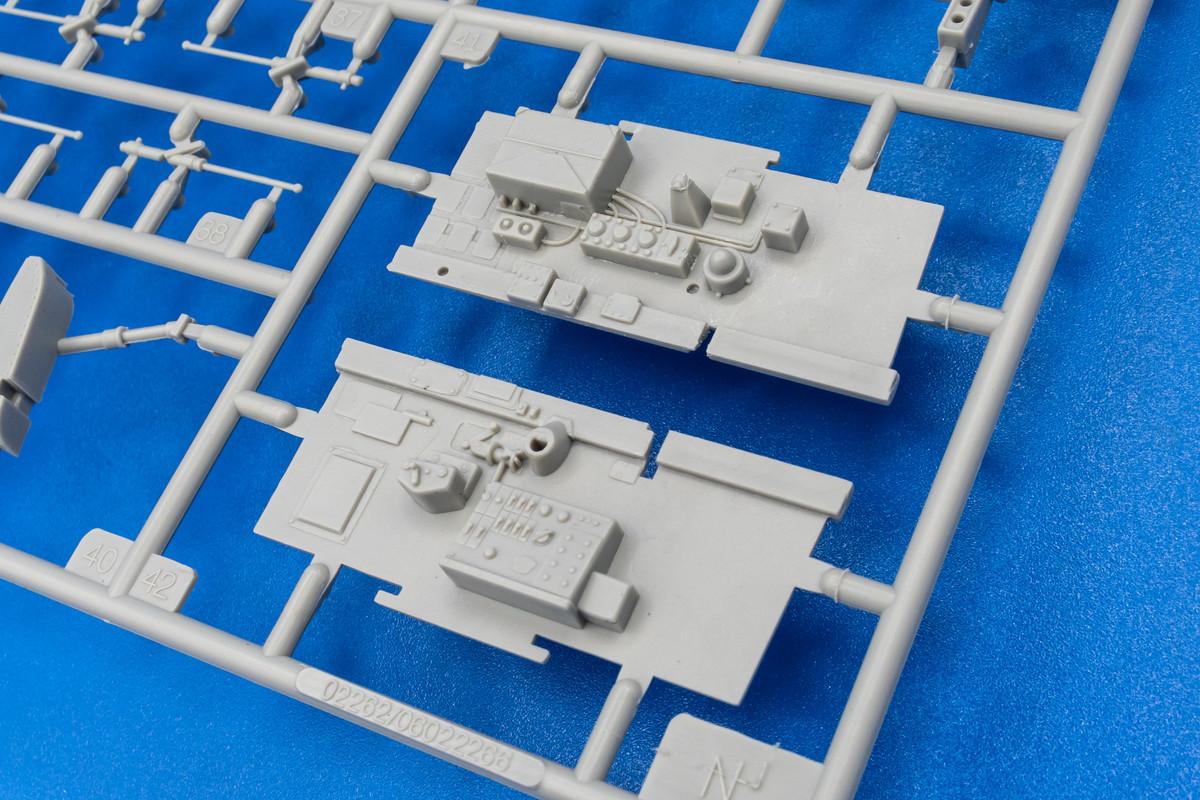
The front face of the instrument panel is presented as a clear part. The intention is to view the instrument details, supplied as a sheet of printed acetate, through the clear plastic. If so, why in the world would you mold instrument details onto the clear part? Nope, doesn't make sense but I'll be using an Eduard instrument panel and I can just leapfrog this silliness altogether.
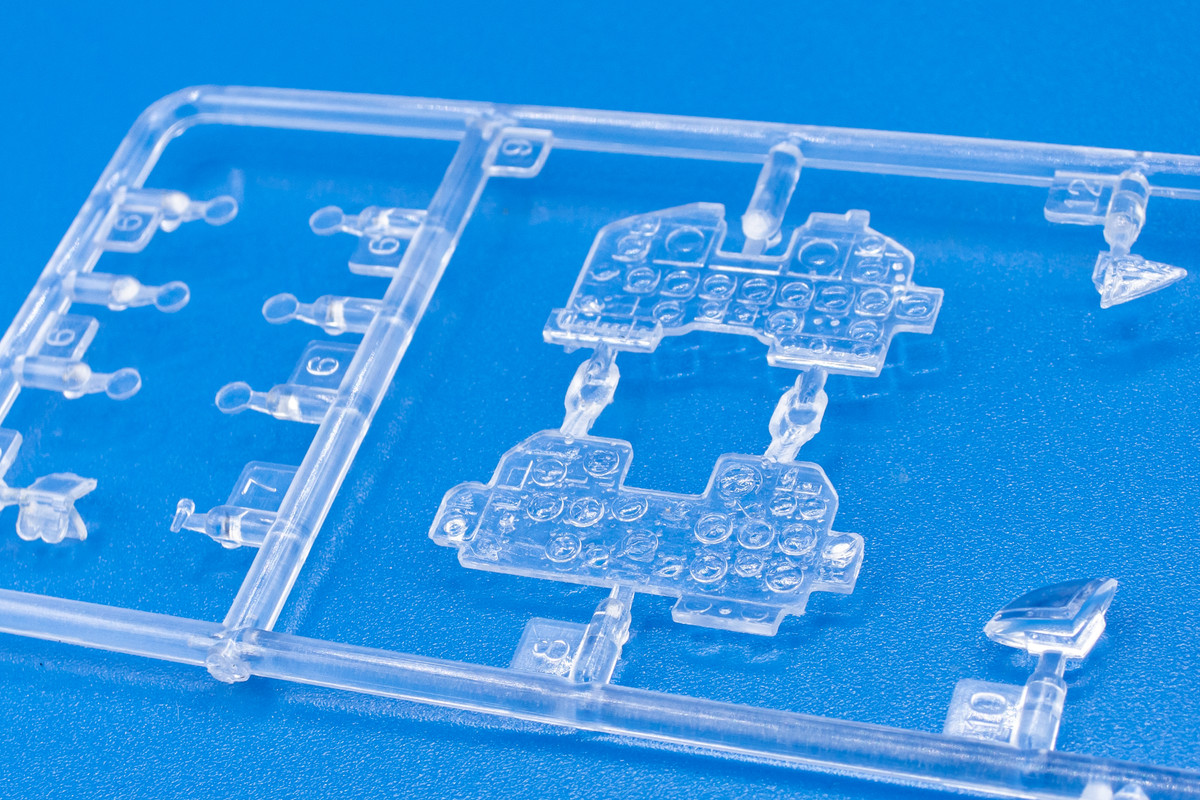
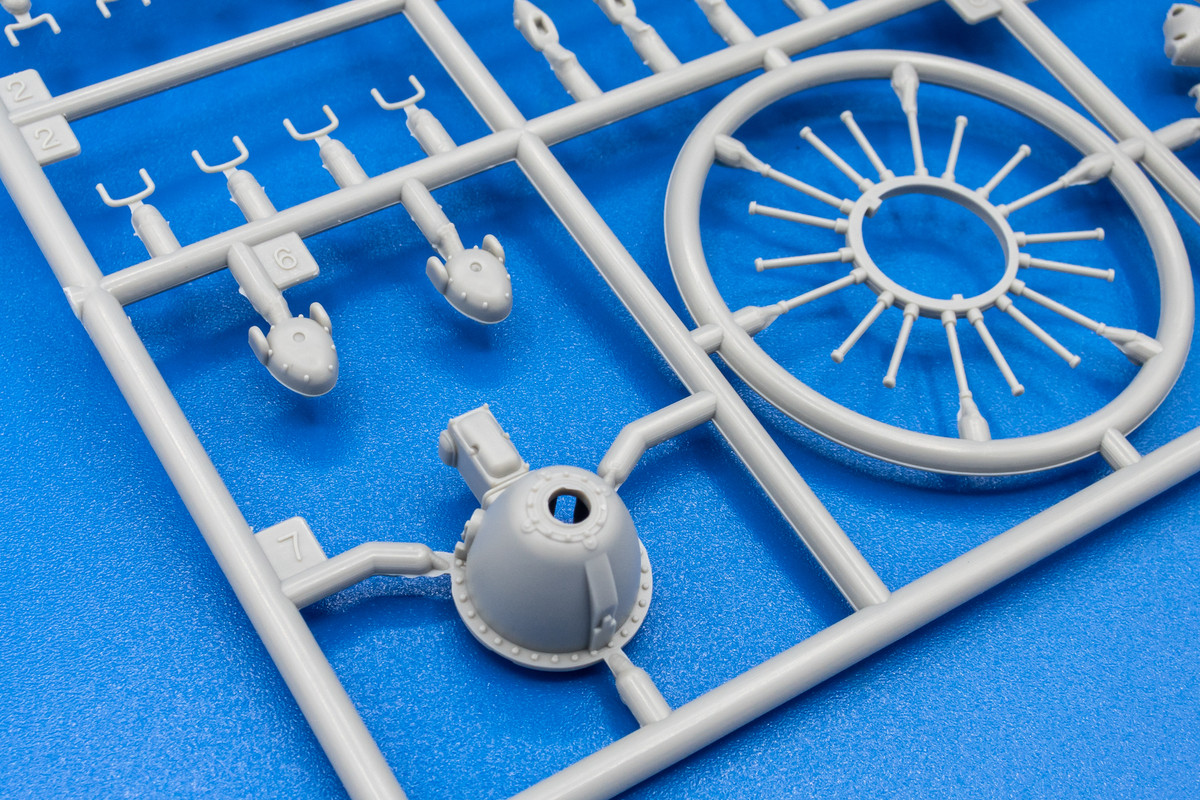
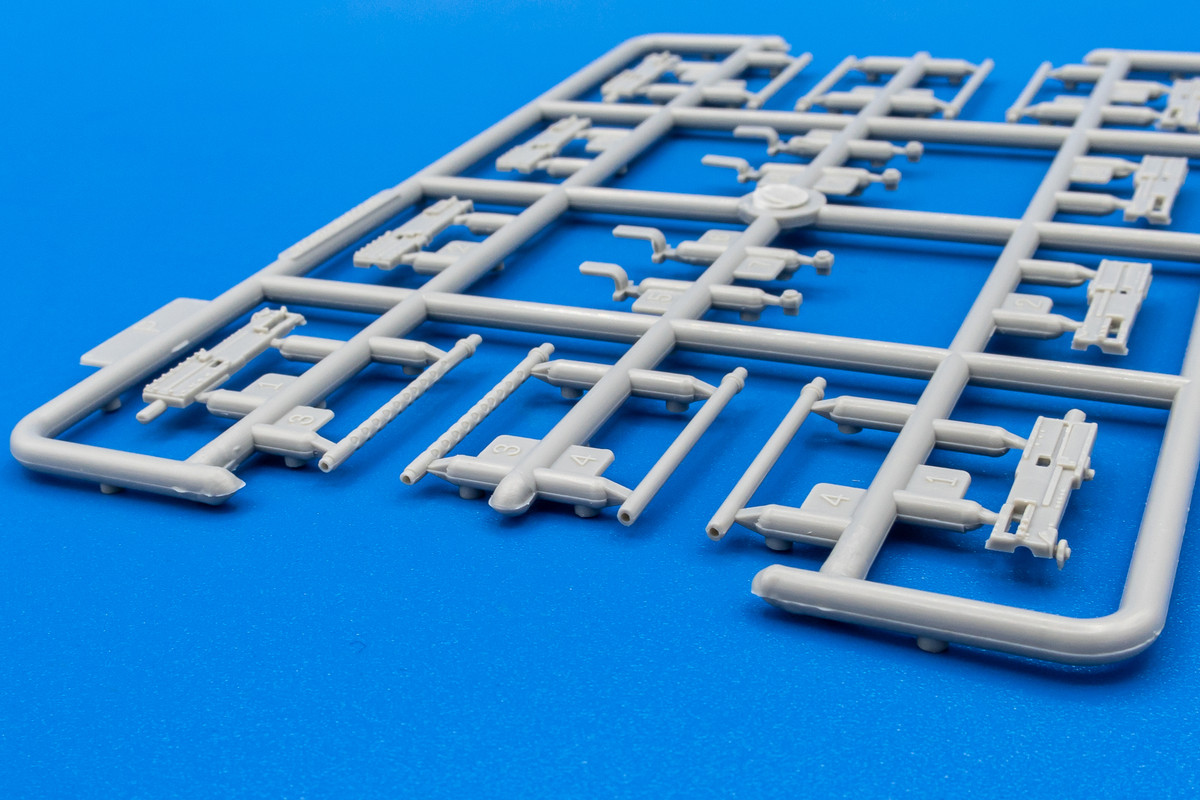
It's a shame because the acetate instrument panel is rather well-detailed. Builders wishing to utilize the kit parts could attempt to salvage this situation by drilling the gauge openings from the clear instrument panel. Also included in the kit are some rudimentary photoetch parts including very simplified seat harnesses, which I'll be replacing with the HGW product.

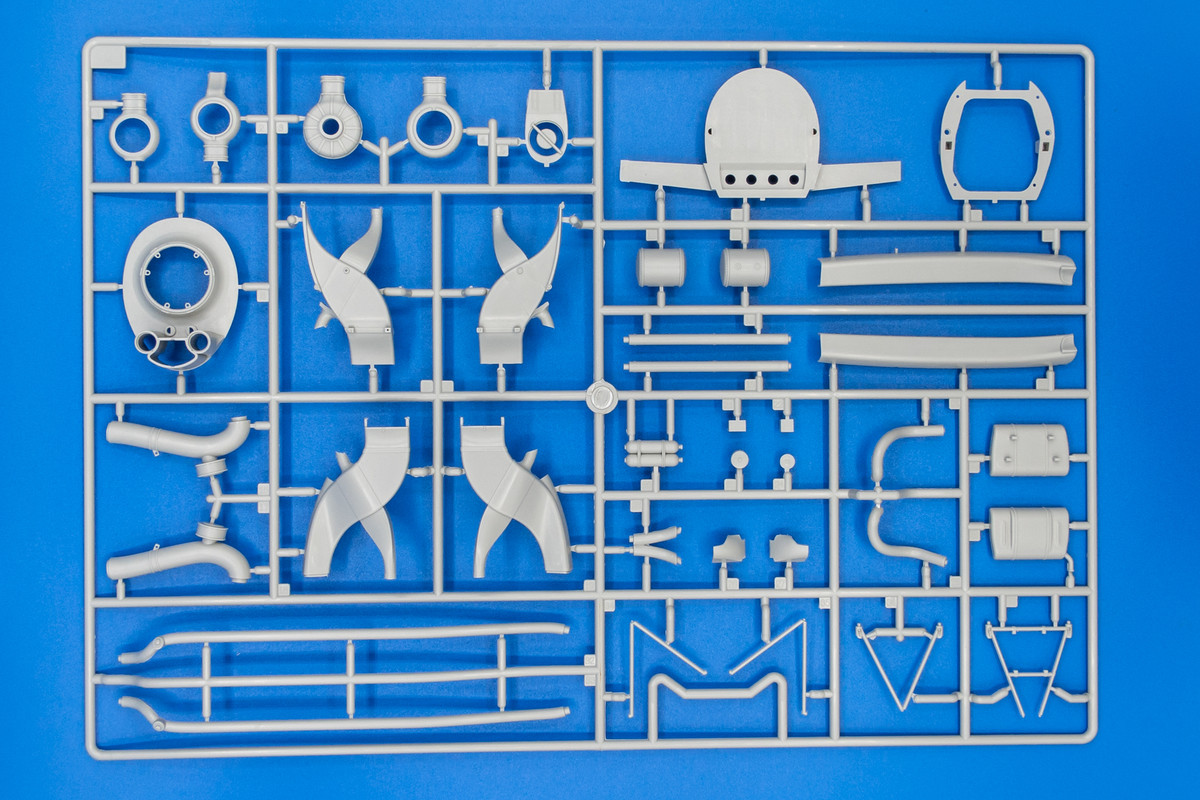
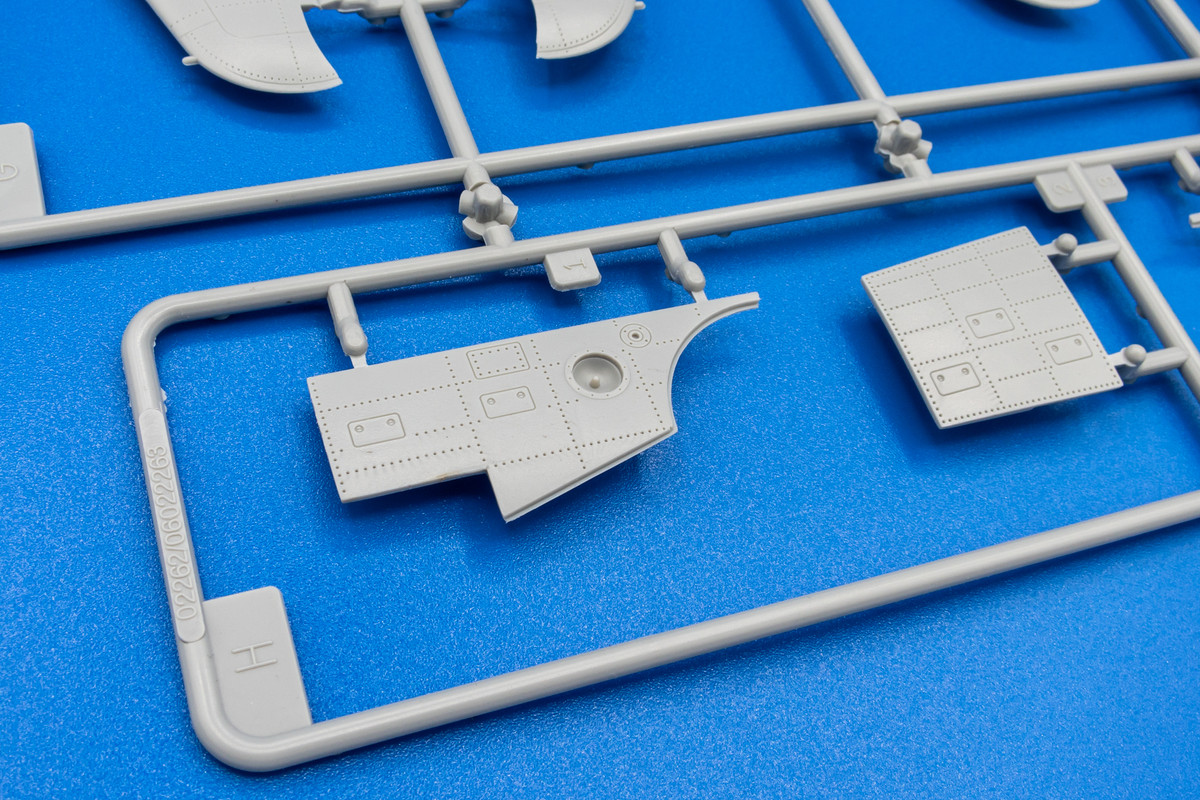
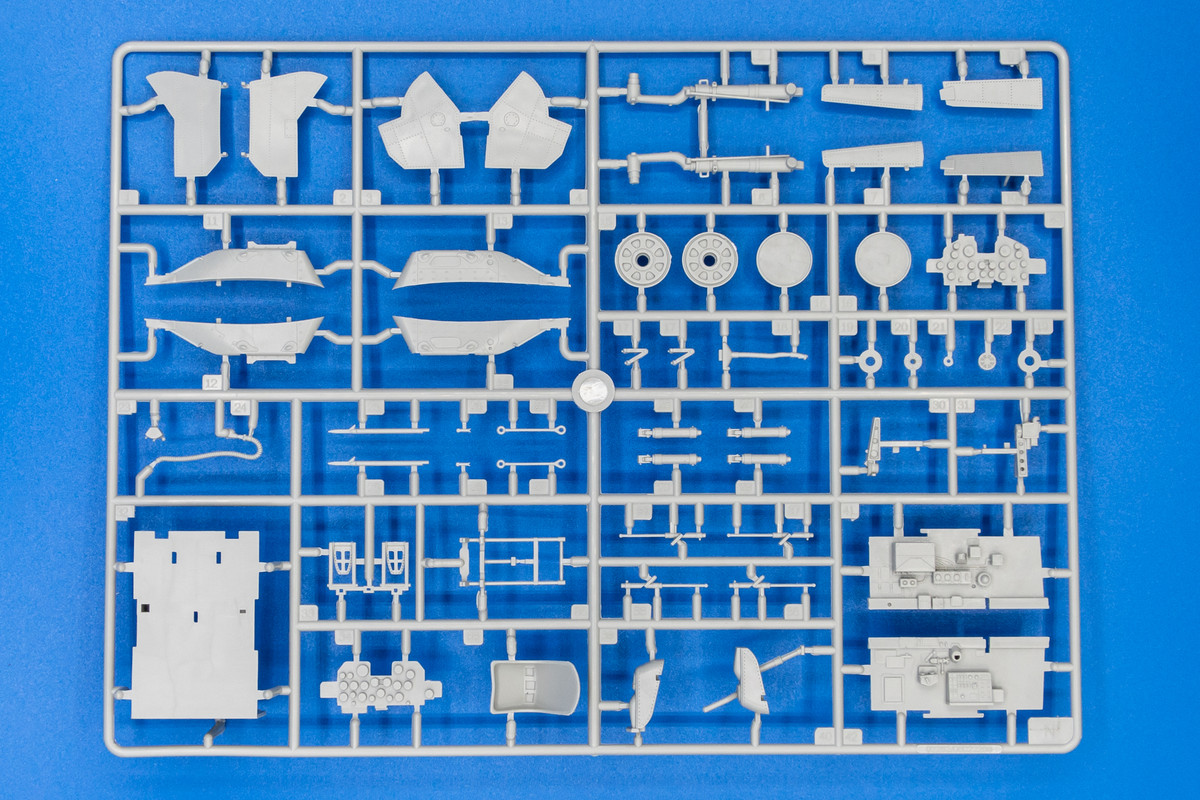
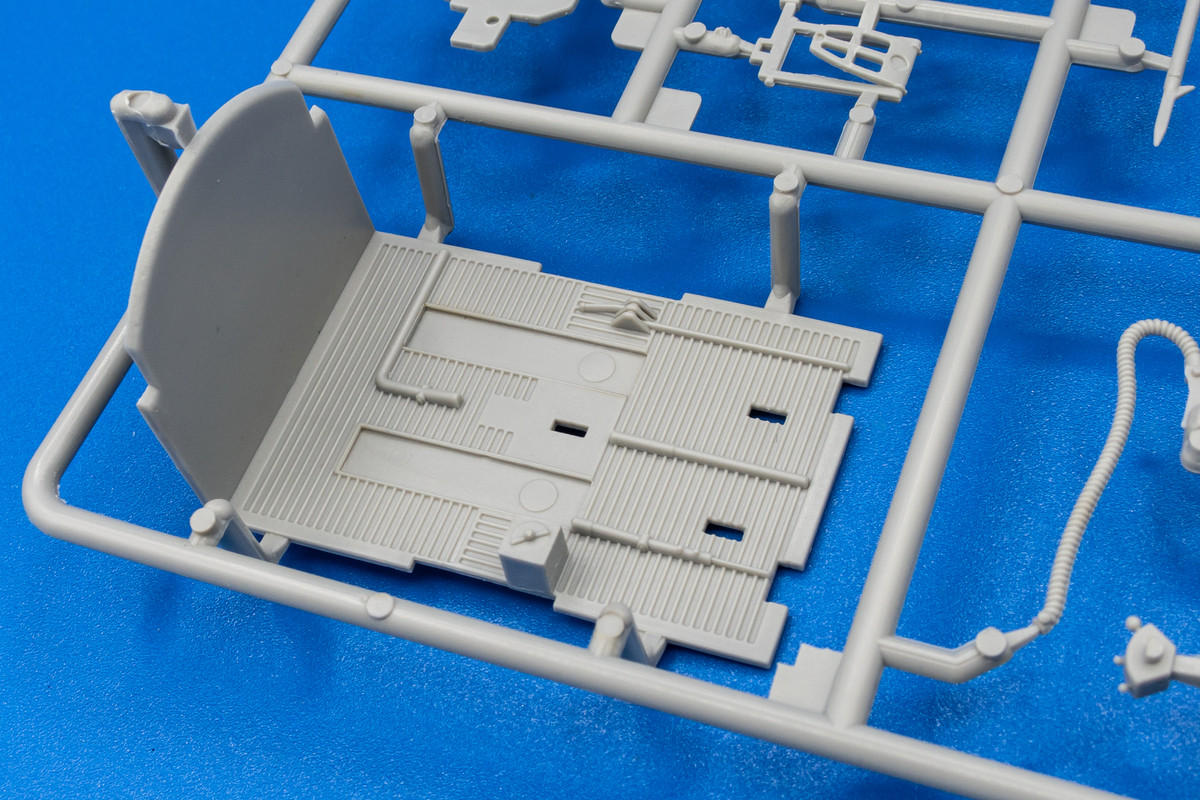
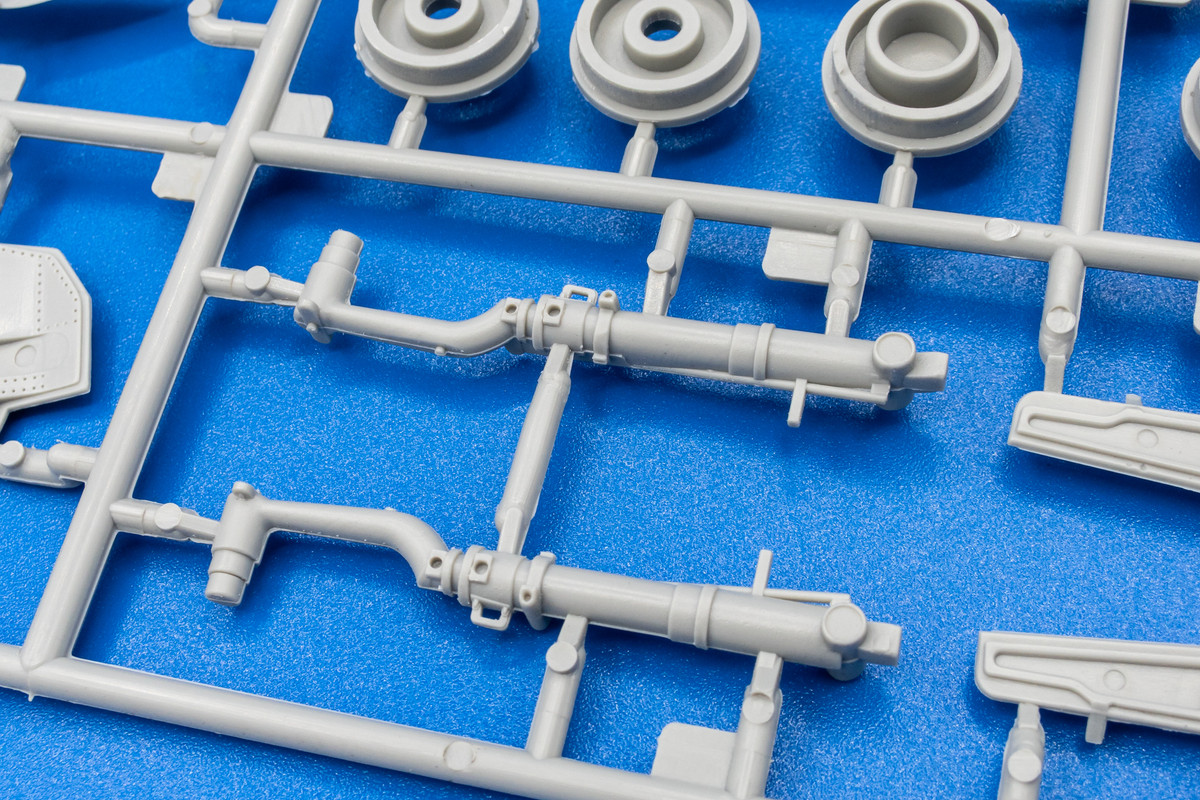
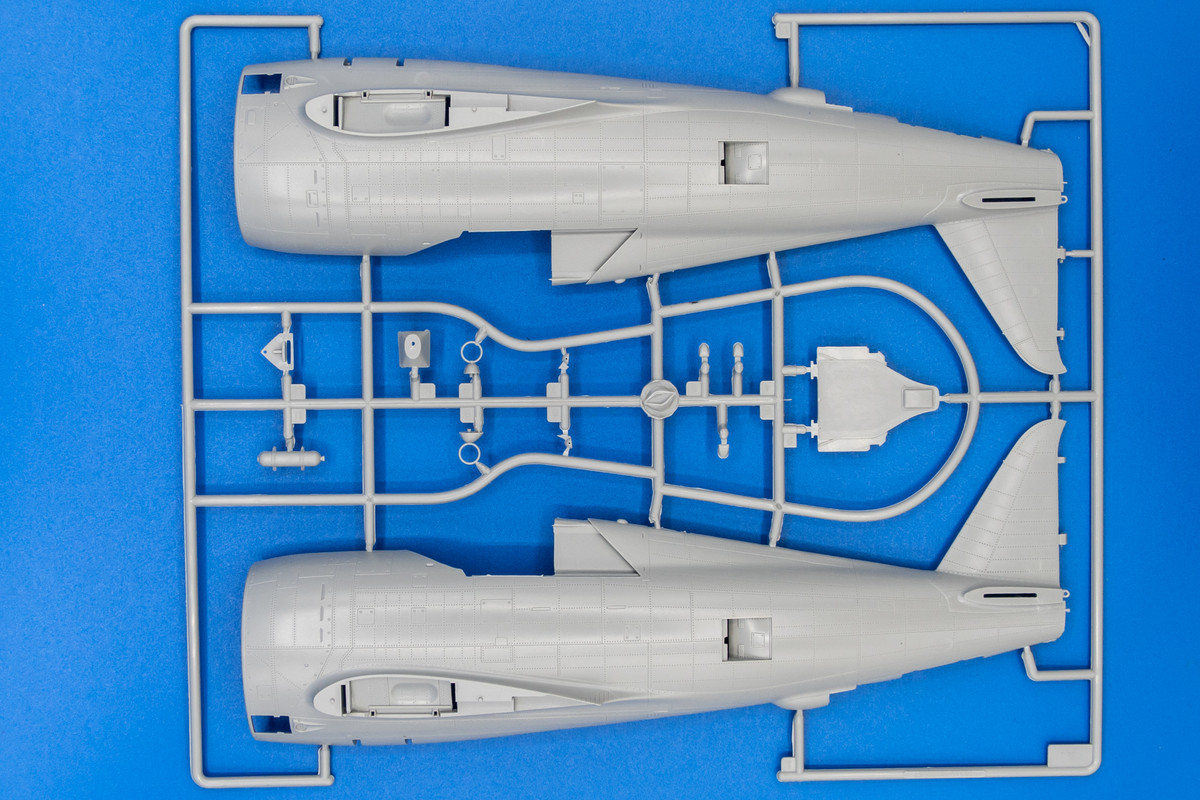
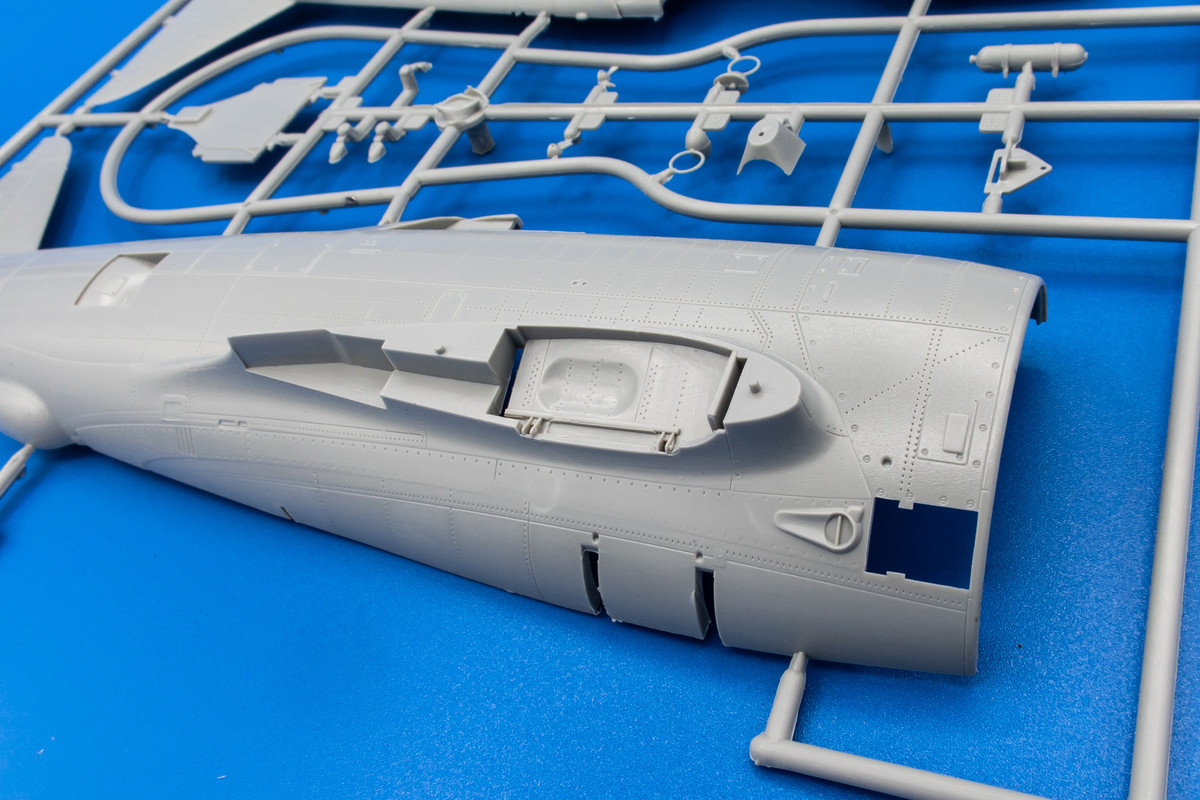
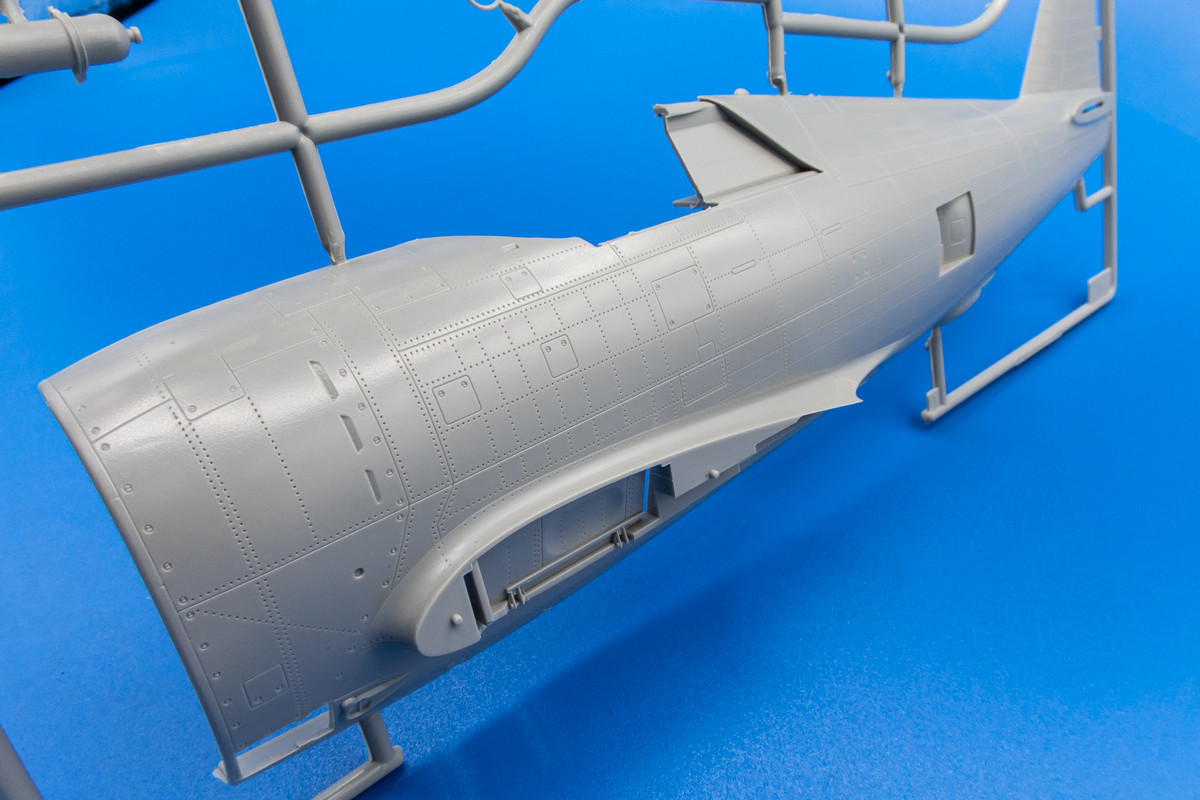
Jumping to the main plastic parts, we find a very squat looking fuselage on Sprue A. Big and beefy is how I would describe this aircraft.
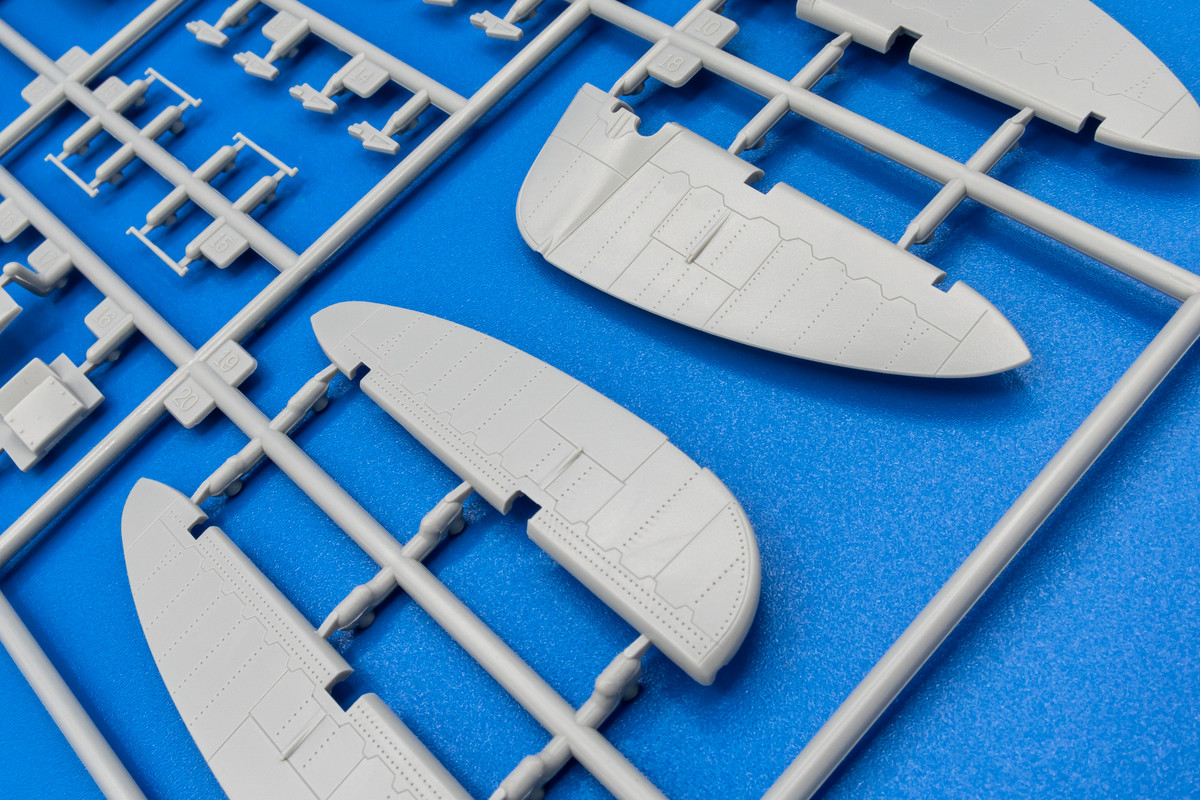
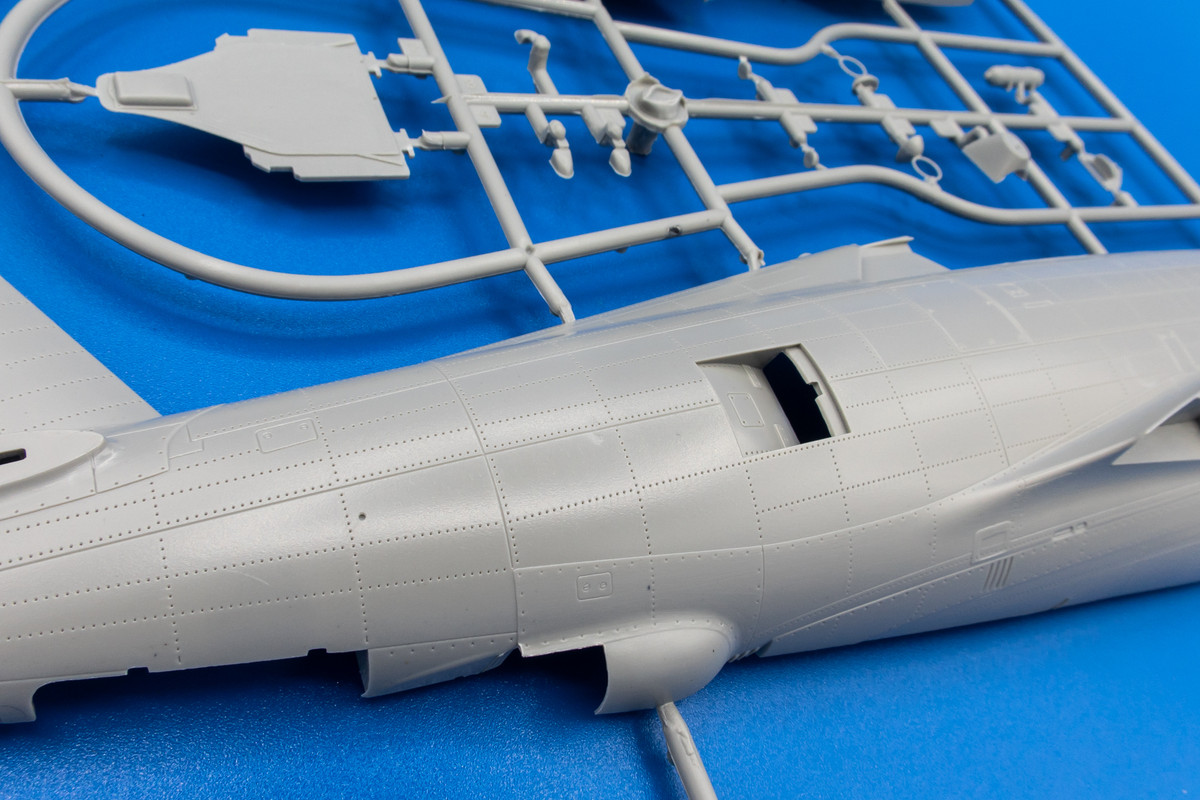
The entire exterior surface of the model is covered in rivets, represented by small holes. Some like this, some hate it. I consider myself neutral. I happen to like the look of rivets presented as small holes, but I prefer the smaller holes produced by using a rotary riveting wheel. For this build, I am trading in a bit of refinement for a lot less work and I'm ok with that.
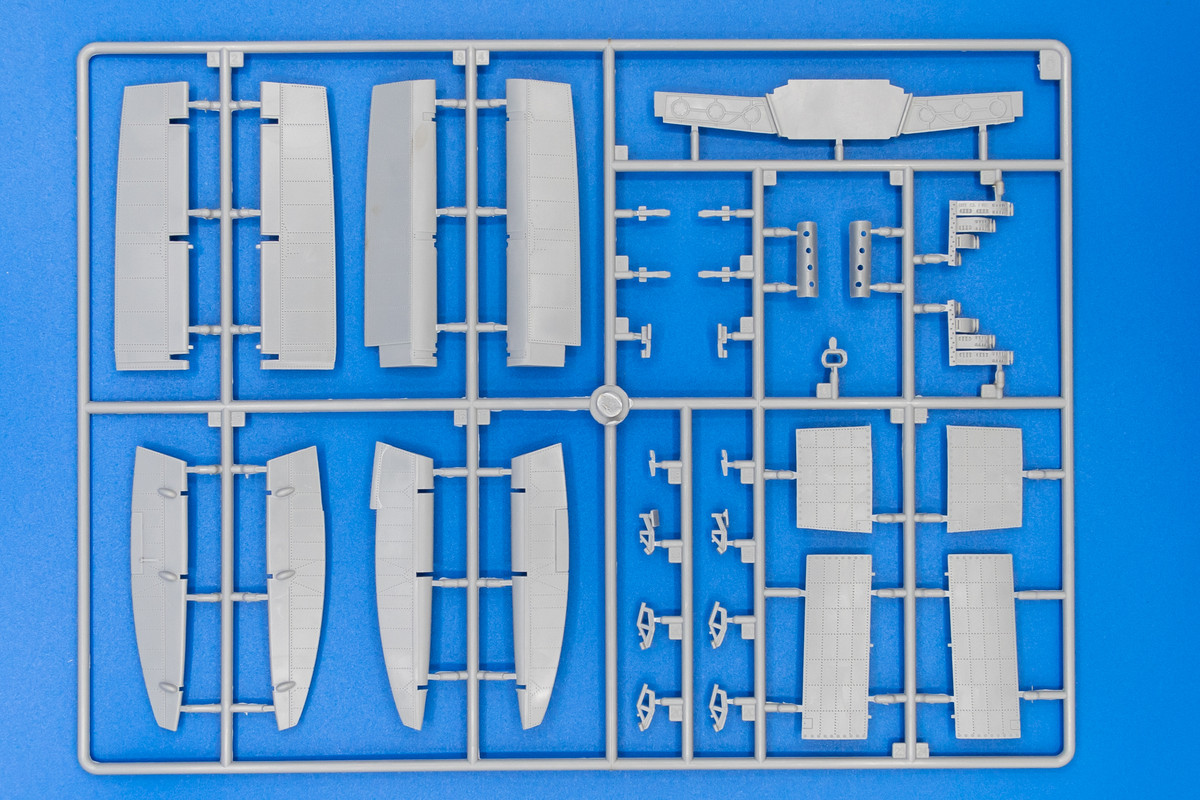
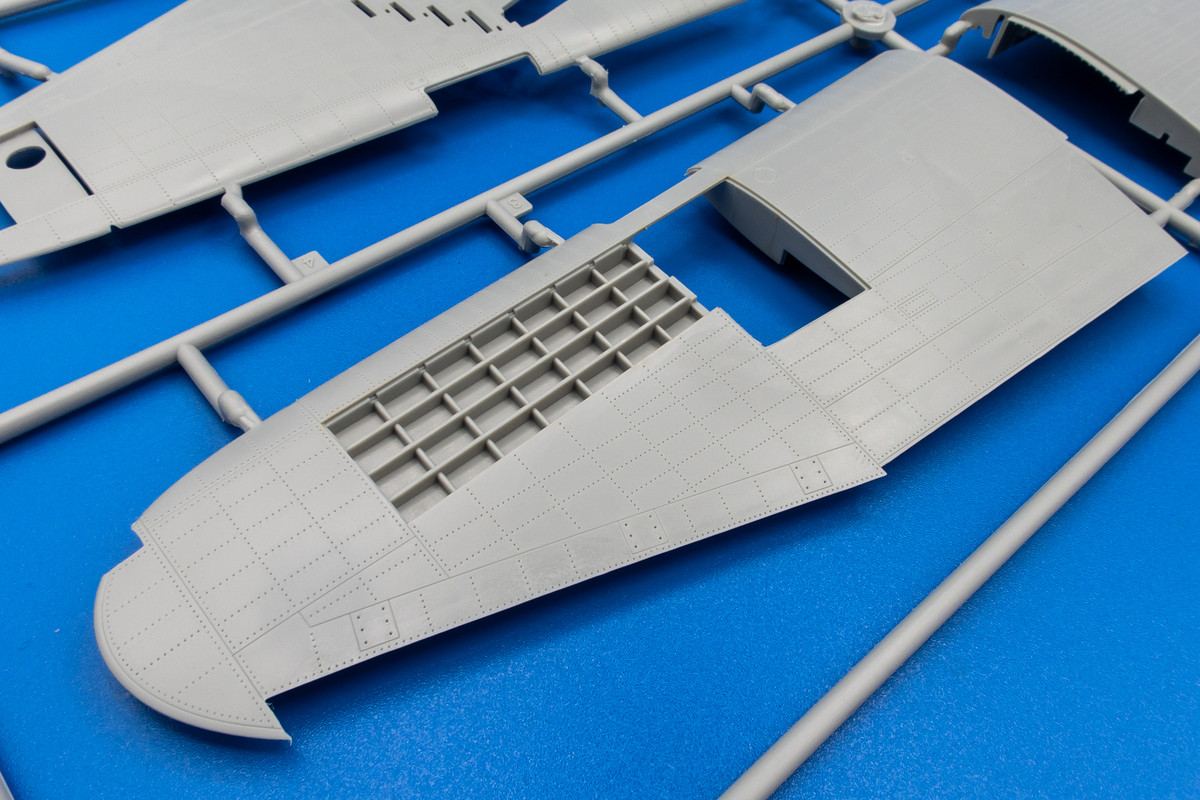
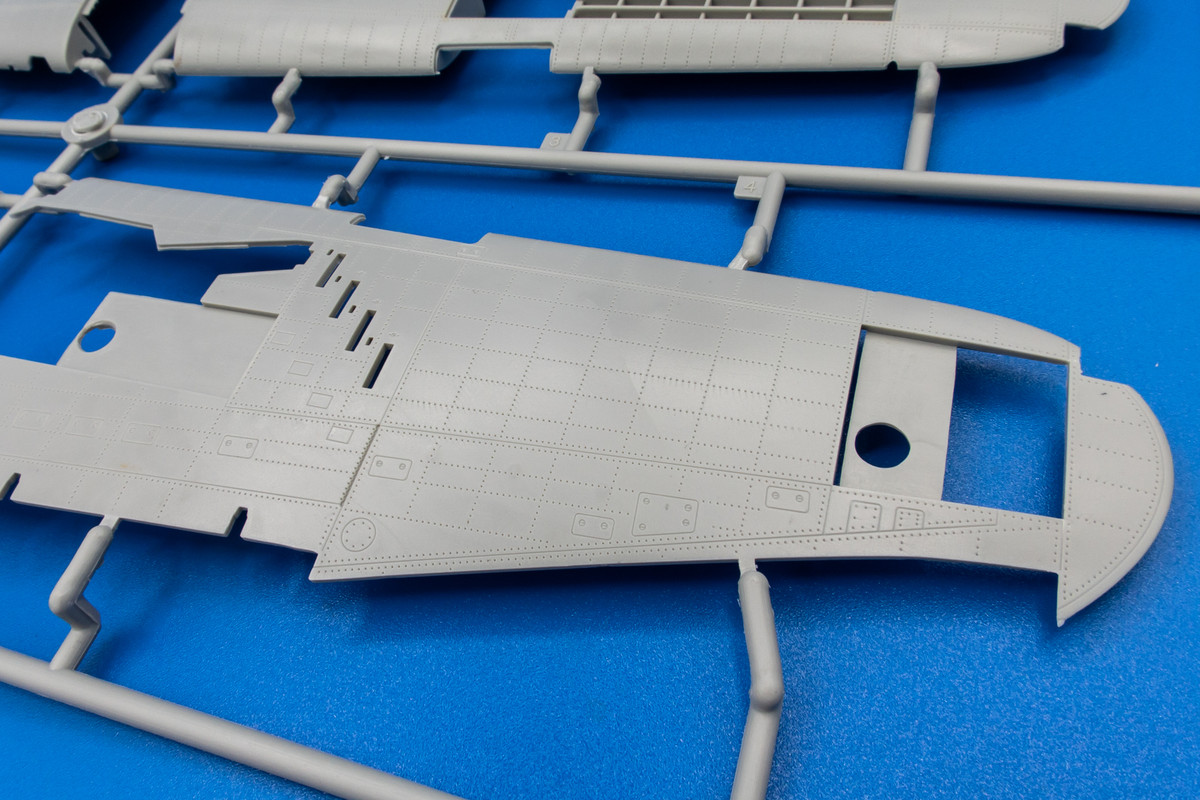
The wings make up the biggest sprue in the box.
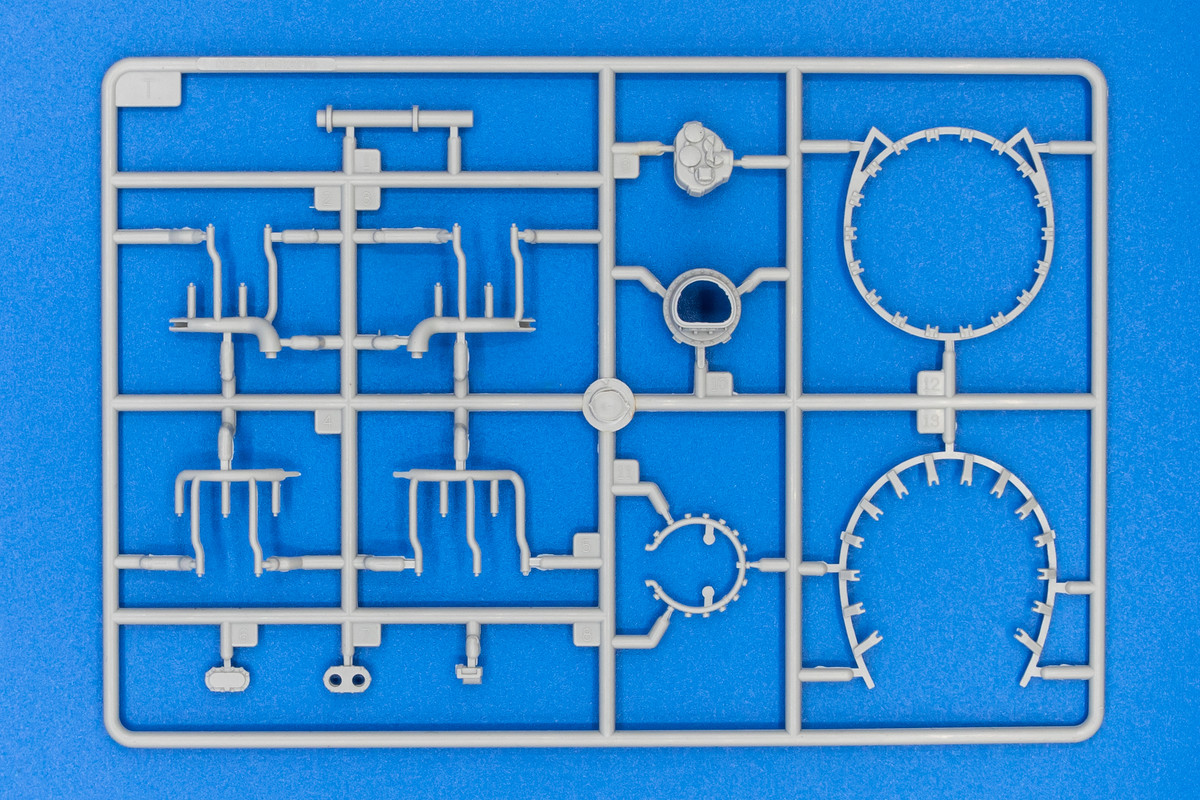
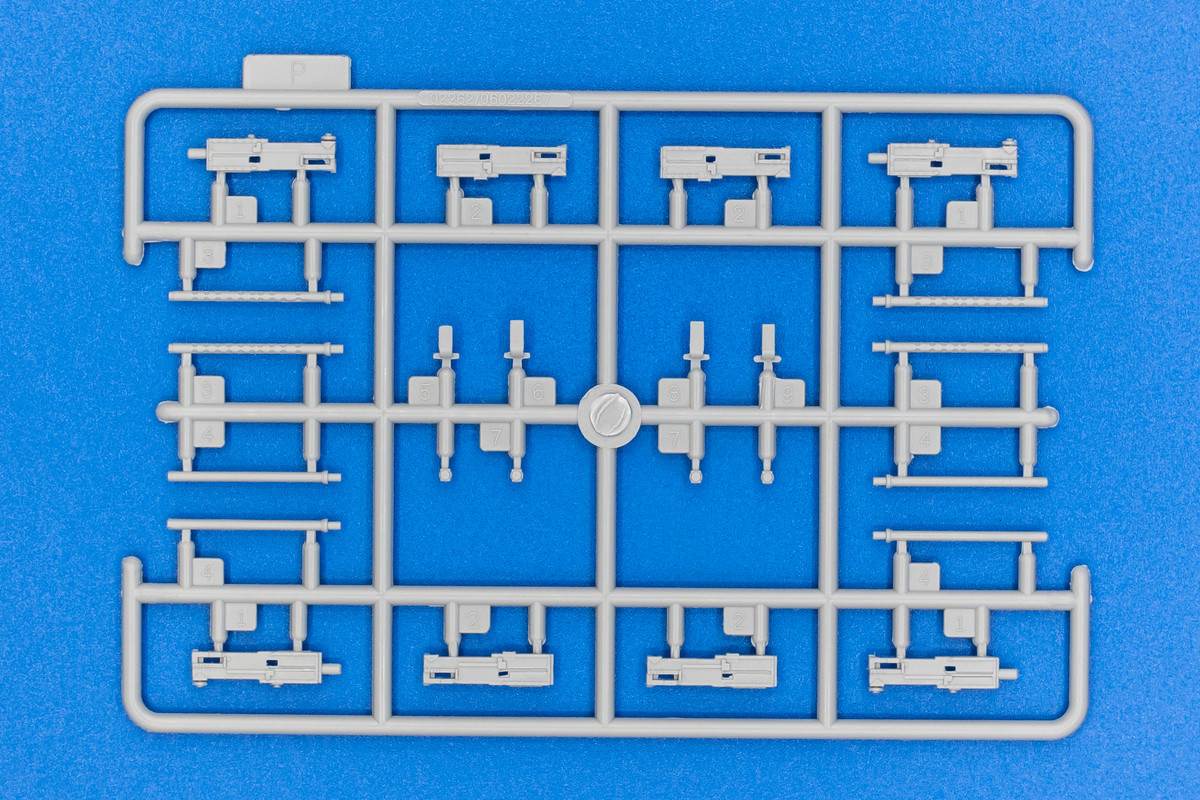
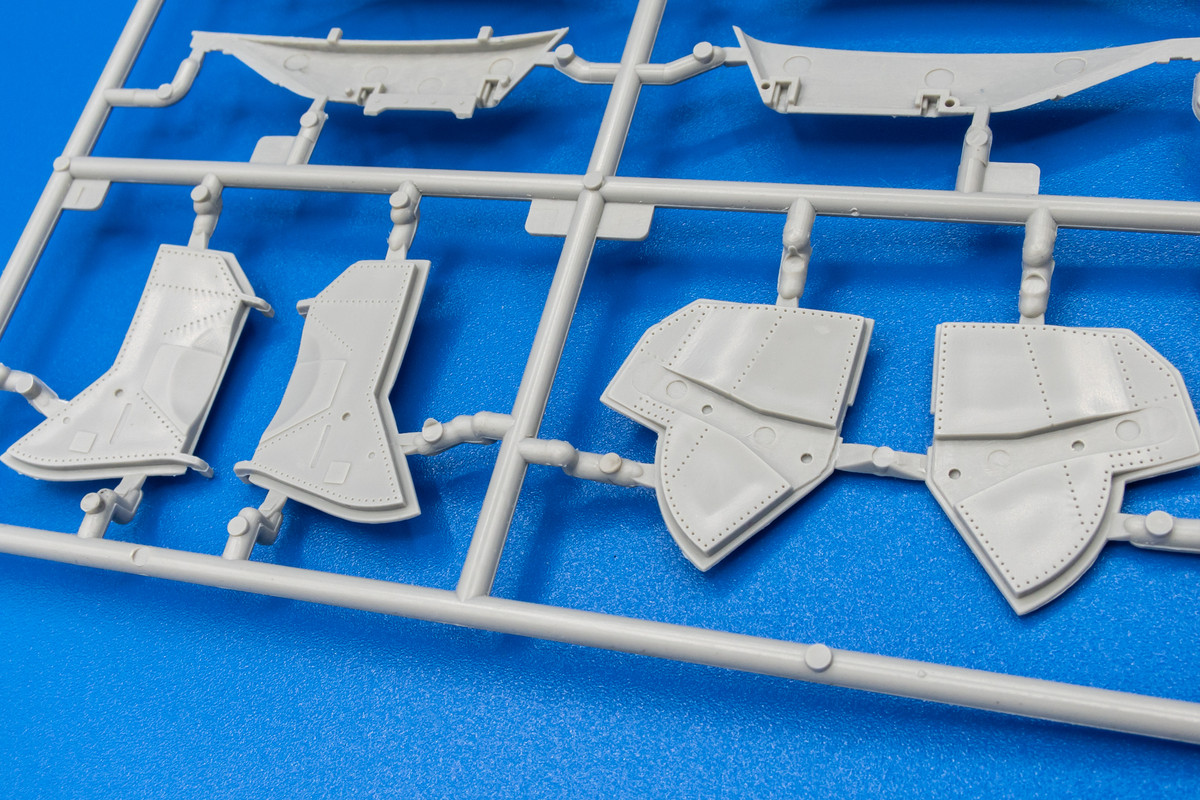
Some panels are left open if the modeler wishes to show the machine gun stations and ammo feeds. I'll be closing this model up so I'm hoping that these panels have a decent fit.
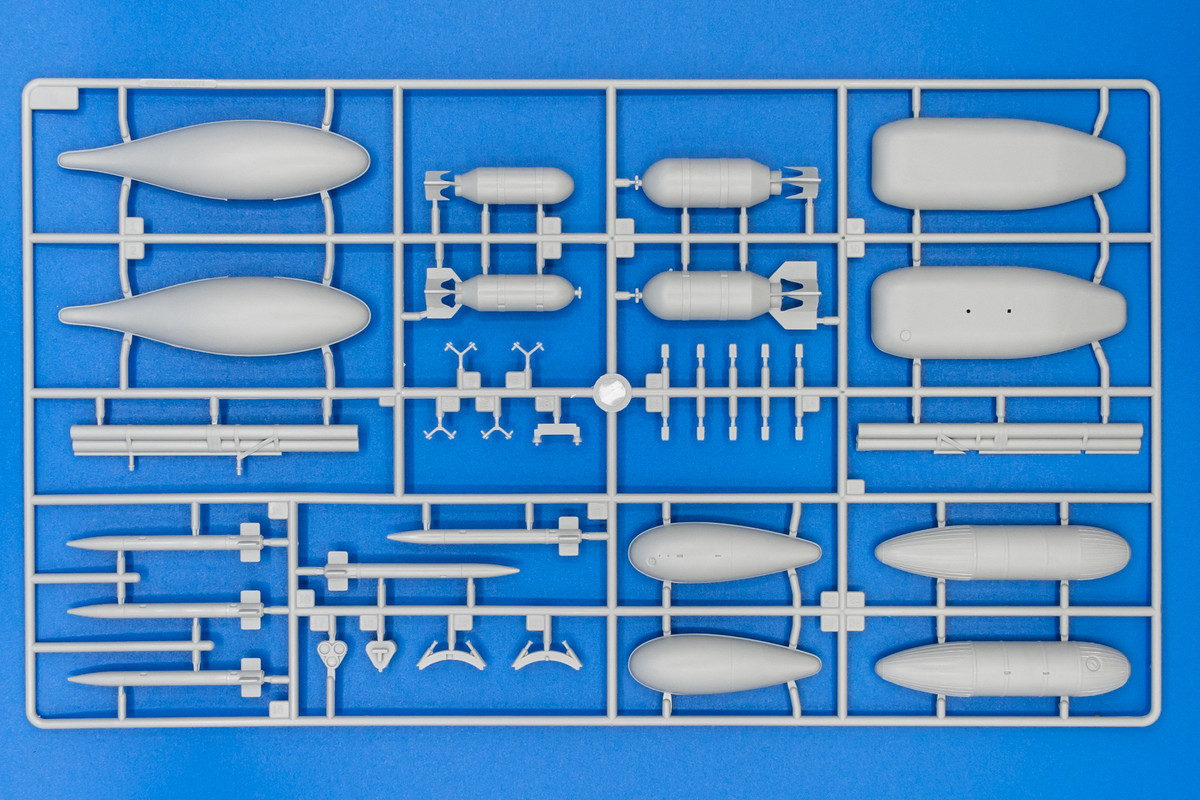
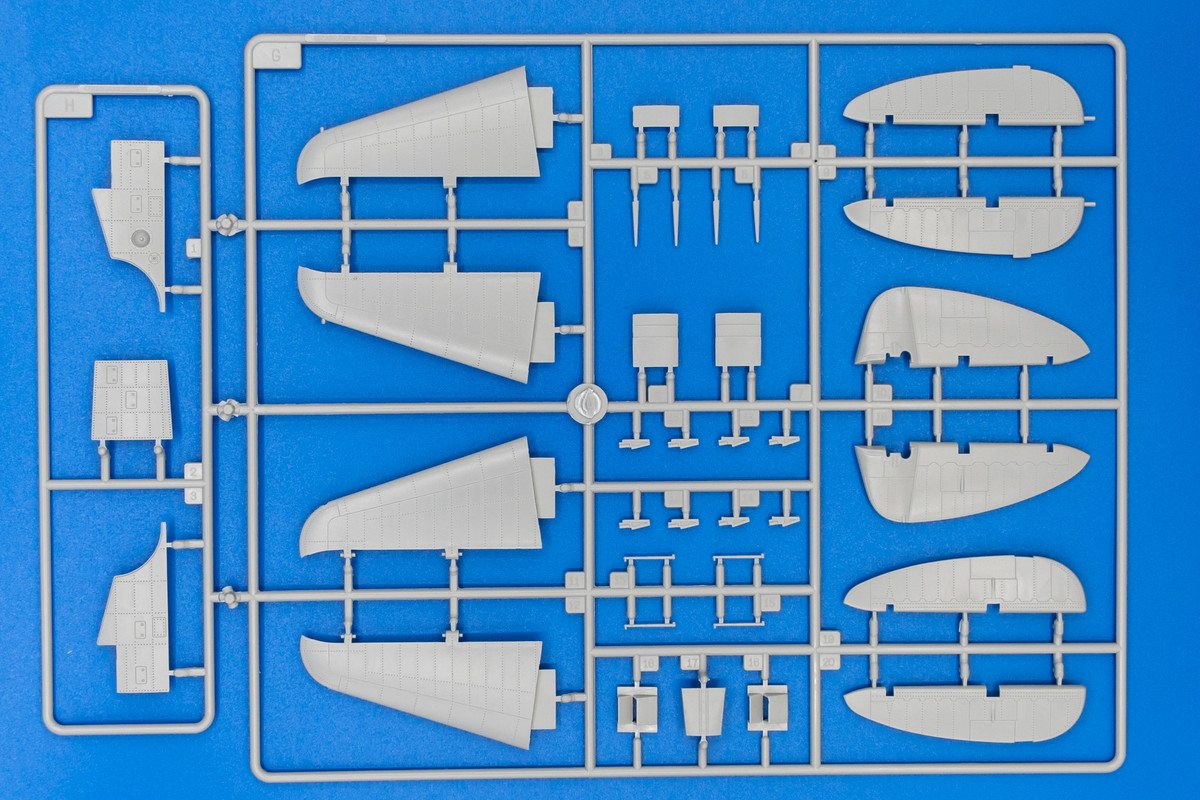
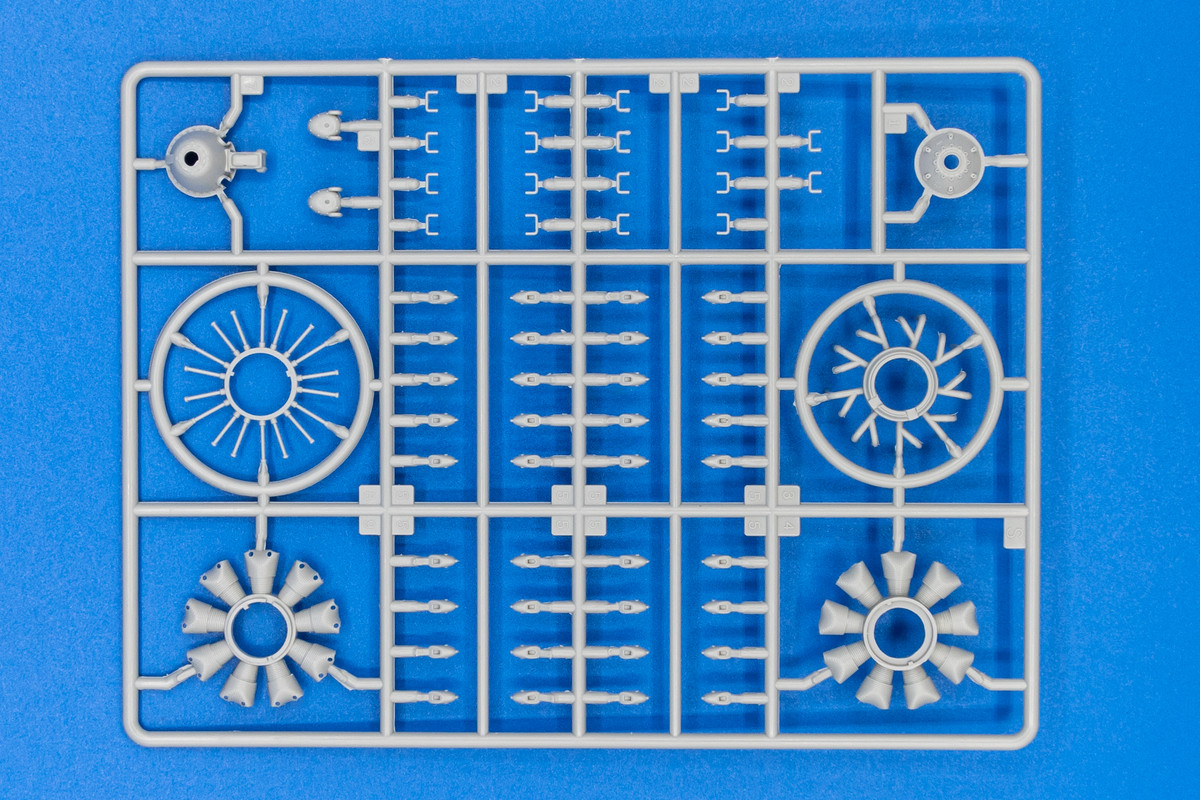
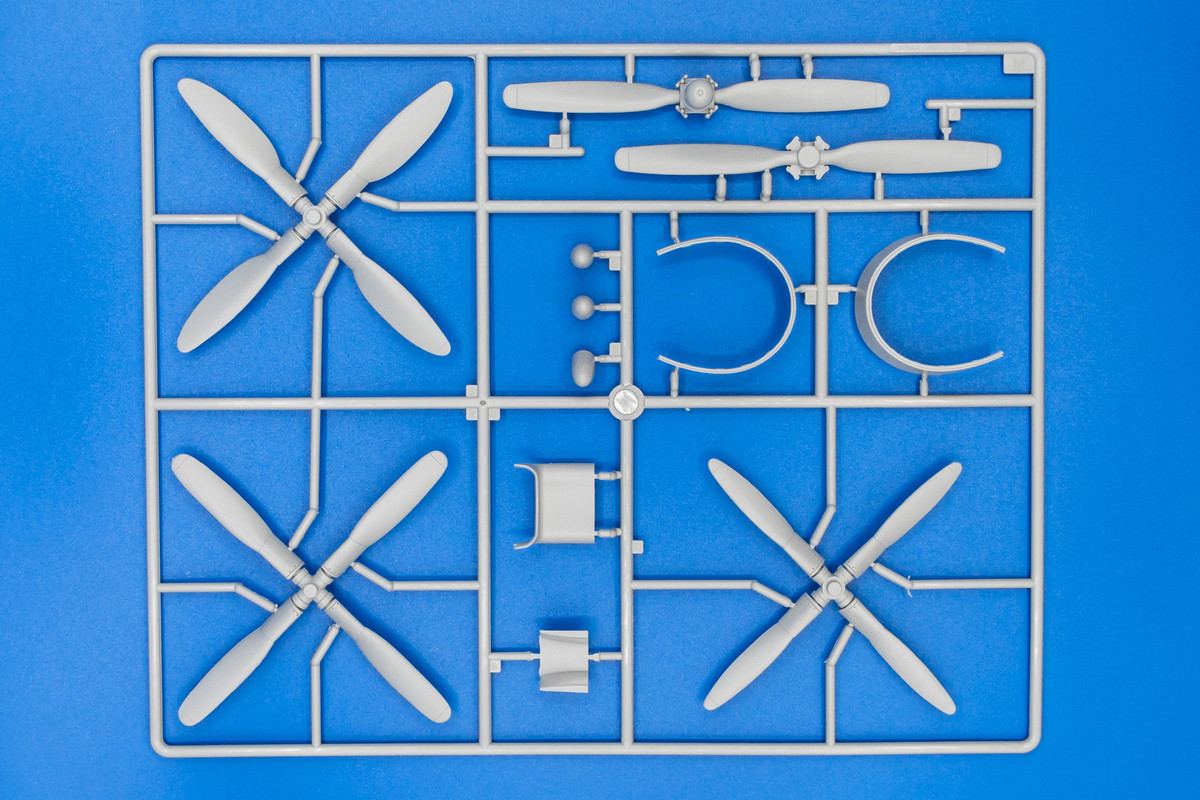
Four prop and two engine cowling options are provided but the Trumpeter instructions offer no guidance whatsoever on the differences or applicability of these options.
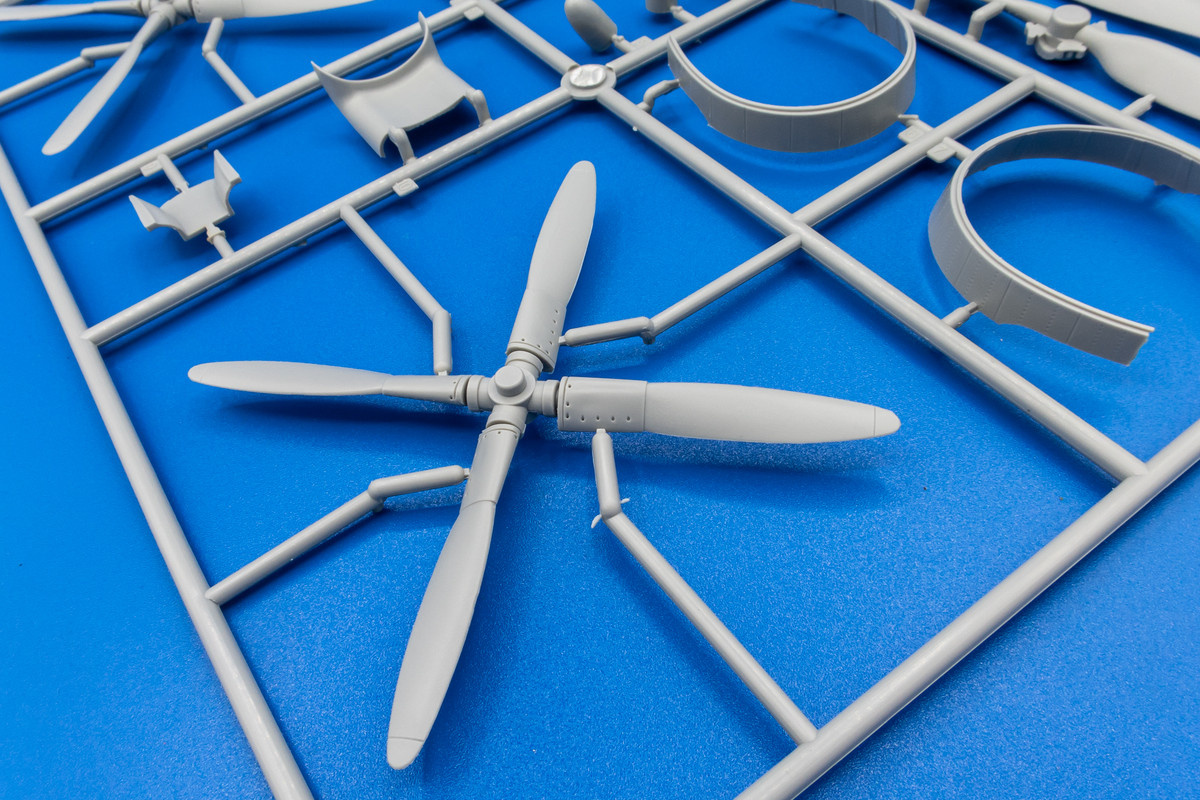
Which prop does this look like?
This is a P-47D-11-RE Razorback Thunderbolt manufactured at the Republic factory. It was piloted by Lt. Frank Oiler of the 78th FG of the 84th FS based at Duxford, England, 1944.
I'll be using the 1/32 Trumpeter kit for this build. I've reviewed multiple online builds of this kit. I have to admit that Trumpeter is not my favorite model company but from what I've read on line, the Jug is one of their better efforts. I expect some fit issues but hopefully we can overcome those and present a decent result.
An interesting aspect of this kit is the inclusion of a clear, 1-piece engine cowling. To Trumpeter's credit, the cowling is VERY clear to facilitate a view of the engine details but needless to say, I'll be painting this one!
The traditional clear parts: windscreen and sliding canopy look ok.
The front face of the instrument panel is presented as a clear part. The intention is to view the instrument details, supplied as a sheet of printed acetate, through the clear plastic. If so, why in the world would you mold instrument details onto the clear part? Nope, doesn't make sense but I'll be using an Eduard instrument panel and I can just leapfrog this silliness altogether.
It's a shame because the acetate instrument panel is rather well-detailed. Builders wishing to utilize the kit parts could attempt to salvage this situation by drilling the gauge openings from the clear instrument panel. Also included in the kit are some rudimentary photoetch parts including very simplified seat harnesses, which I'll be replacing with the HGW product.
Jumping to the main plastic parts, we find a very squat looking fuselage on Sprue A. Big and beefy is how I would describe this aircraft.
The entire exterior surface of the model is covered in rivets, represented by small holes. Some like this, some hate it. I consider myself neutral. I happen to like the look of rivets presented as small holes, but I prefer the smaller holes produced by using a rotary riveting wheel. For this build, I am trading in a bit of refinement for a lot less work and I'm ok with that.
The wings make up the biggest sprue in the box.
Some panels are left open if the modeler wishes to show the machine gun stations and ammo feeds. I'll be closing this model up so I'm hoping that these panels have a decent fit.
Four prop and two engine cowling options are provided but the Trumpeter instructions offer no guidance whatsoever on the differences or applicability of these options.
Which prop does this look like?