BlackSheep214 wrote: ↑Mon Jul 10, 2023 7:19 pm
Heh... still fighting to get her looking right.
The bane of limited run kits. I’ll bet that John will be fighting this one until all basic construction is finished…
tempestjohnny wrote: ↑Tue Jul 11, 2023 3:44 am
Your attention to detail
"Surely I have made my meaning plain? I intend to avenge myself upon you, Admiral. I have deprived your ship of power, and when I swing 'round, I intend to deprive you of your life."
Thanks guys! I was able to secure a copy of this out-of-print book for a real good price ($20 shipped) so I'm taking my time on things until it gets here.
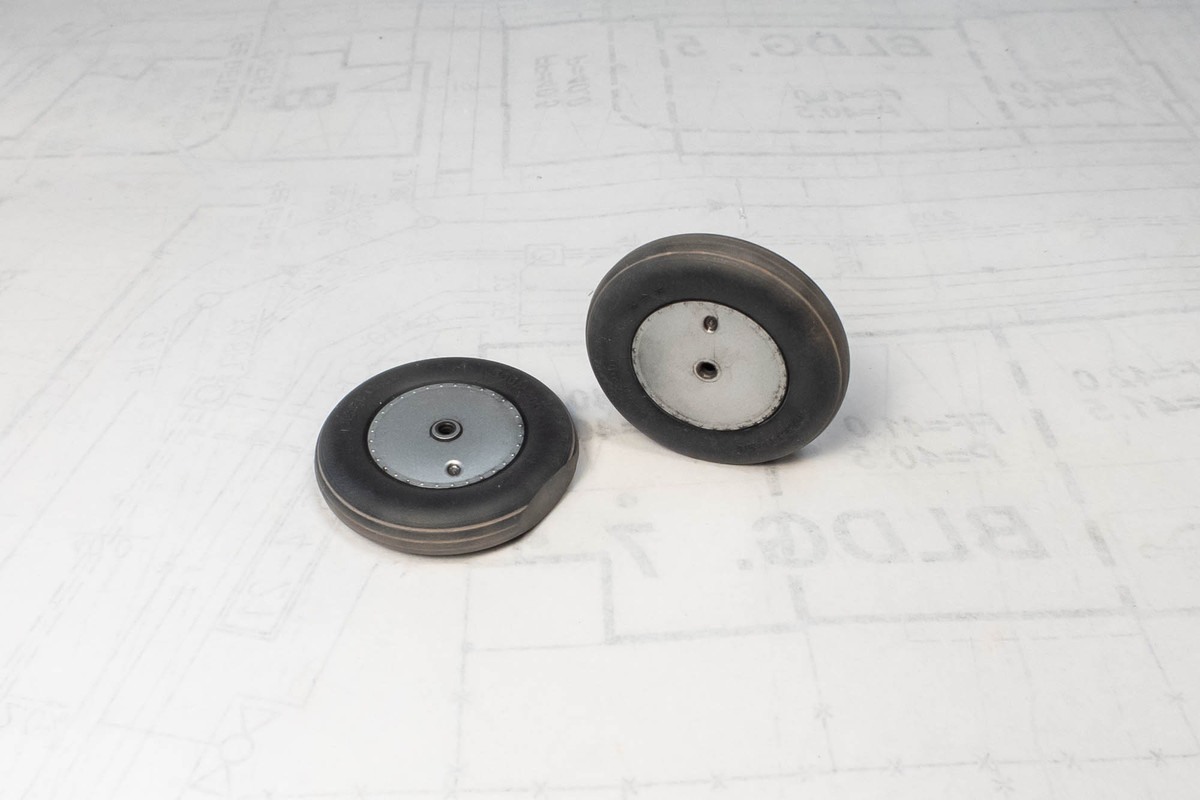
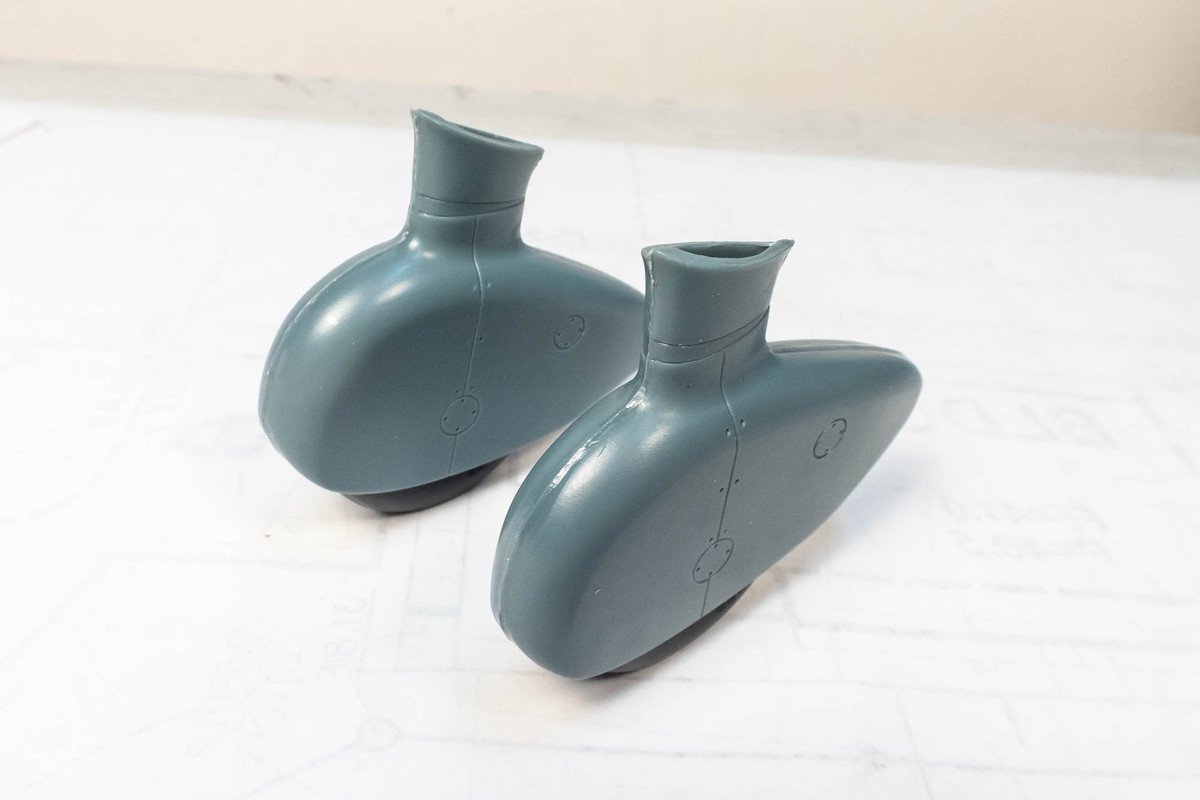
The wheels have been painted and weathered.
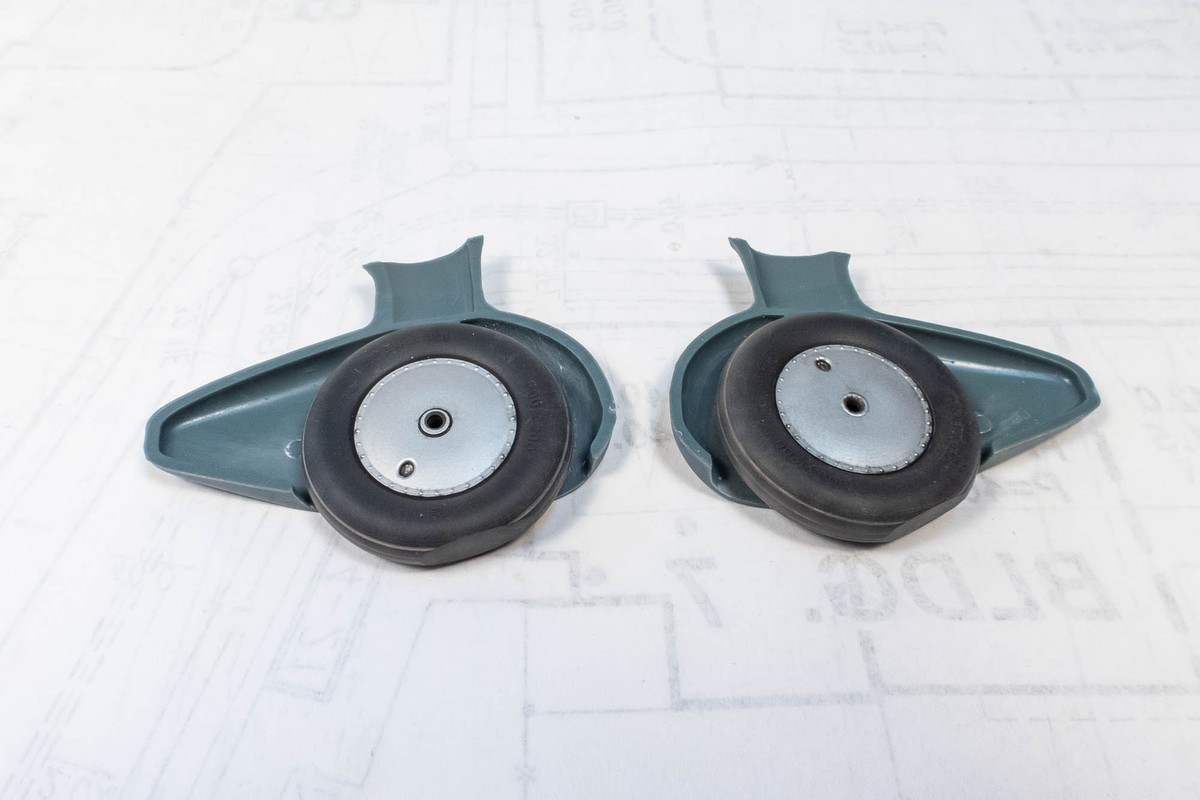
But only a sliver of them will be visible once they are mounted within the wheel spats.
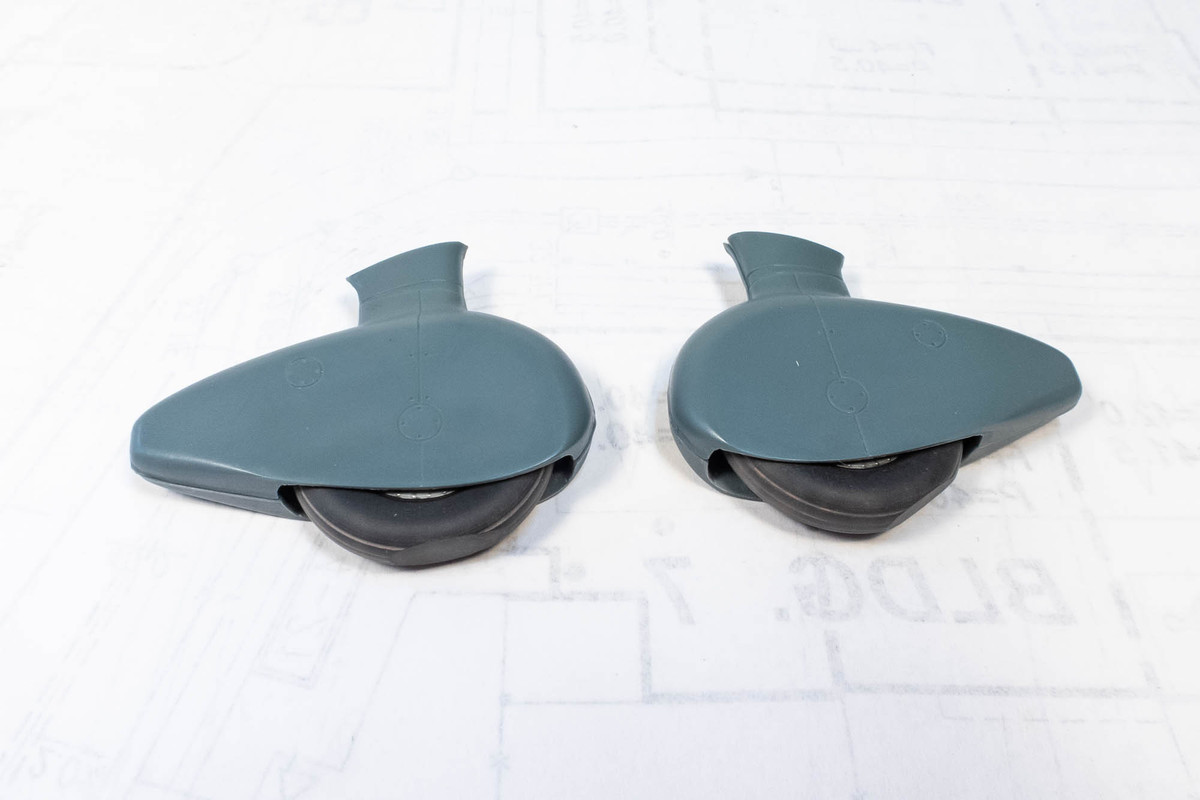
When gluing the spats together, I left the wheels rotatable so that I can orient the flat spots on the tires later. The prominent glue seam will get sanded and puttied.
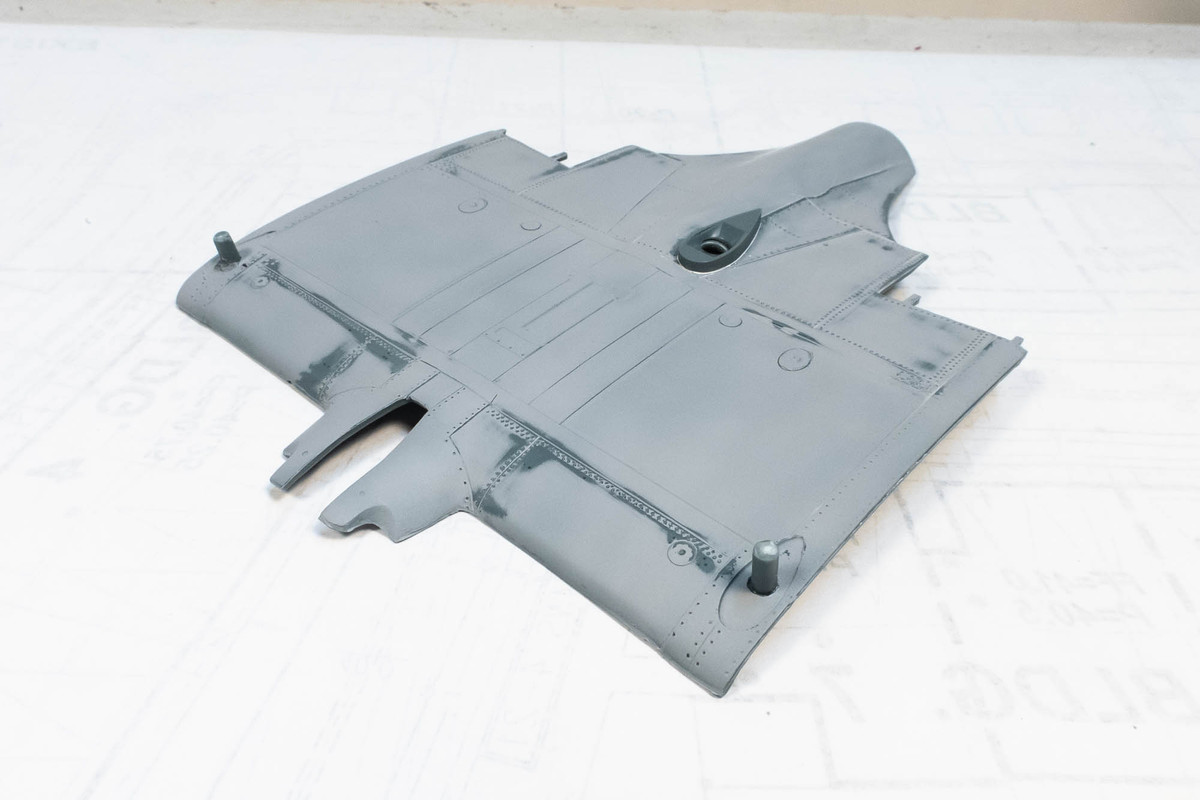
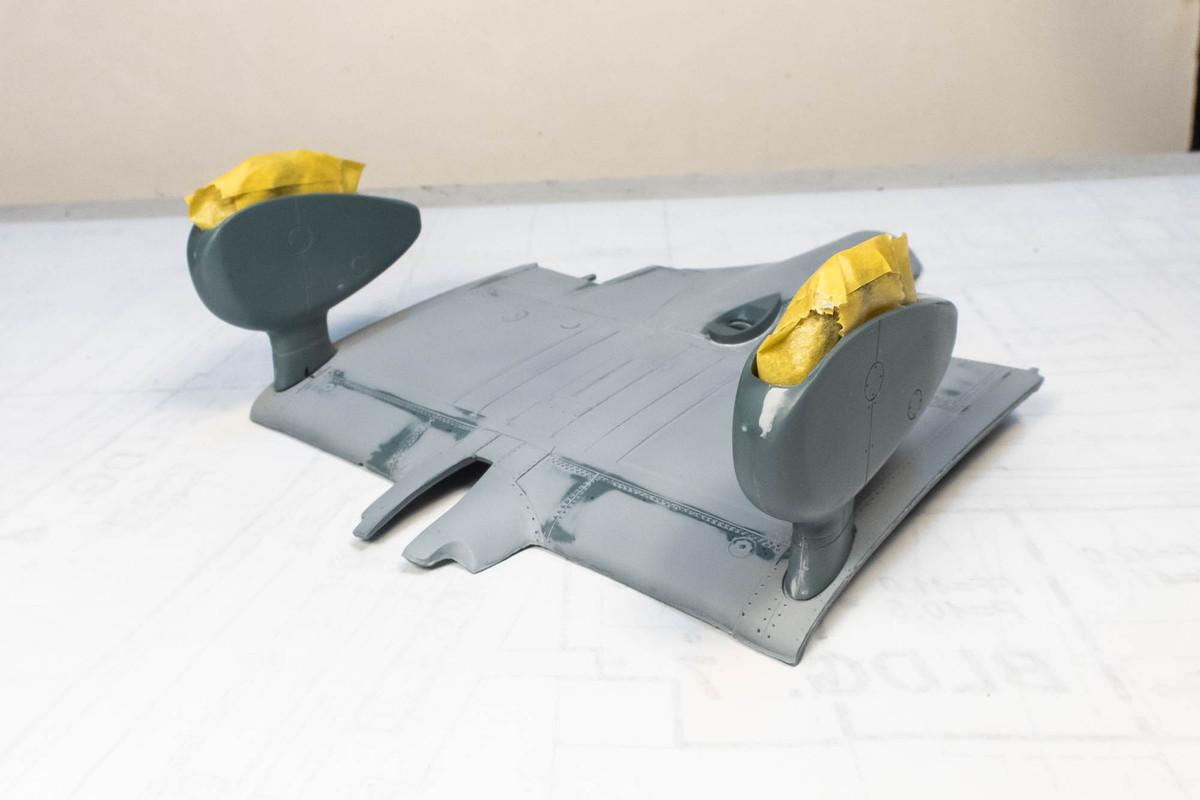
In order to get a more positive fit onto the wing bottoms, I added some mounting posts for the landing gear legs.
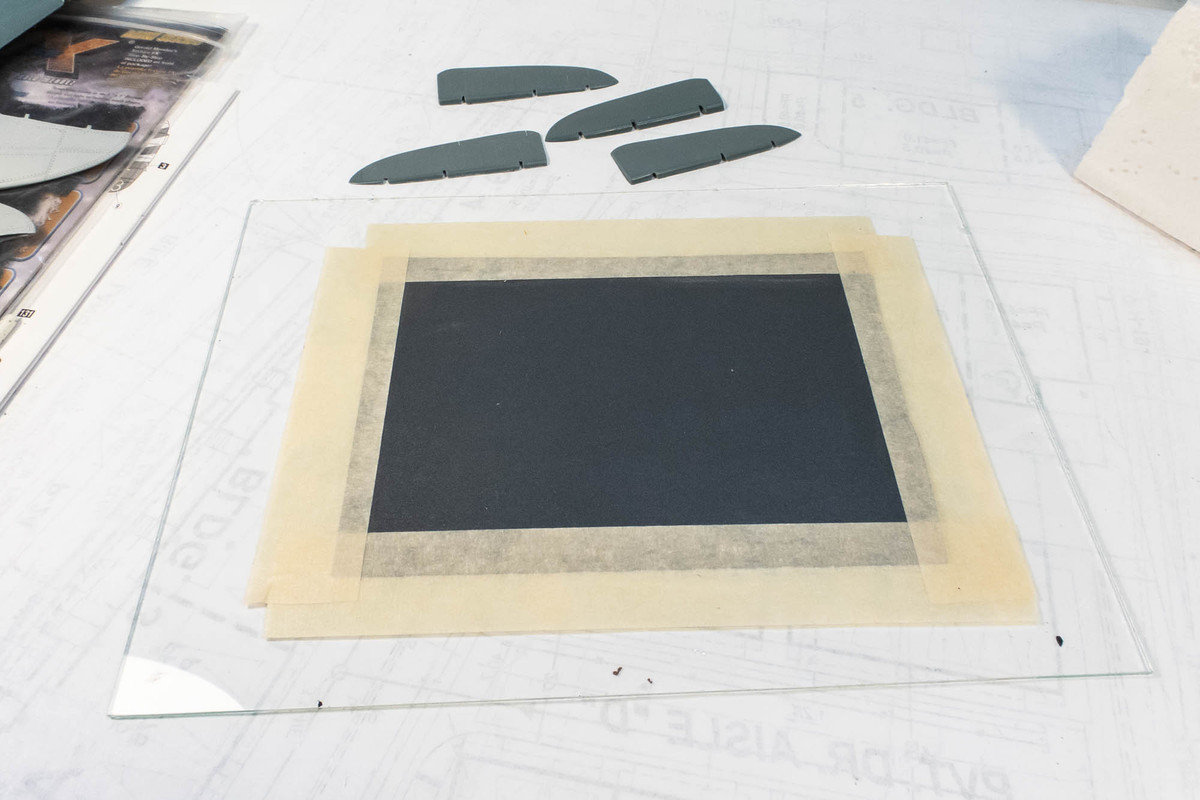
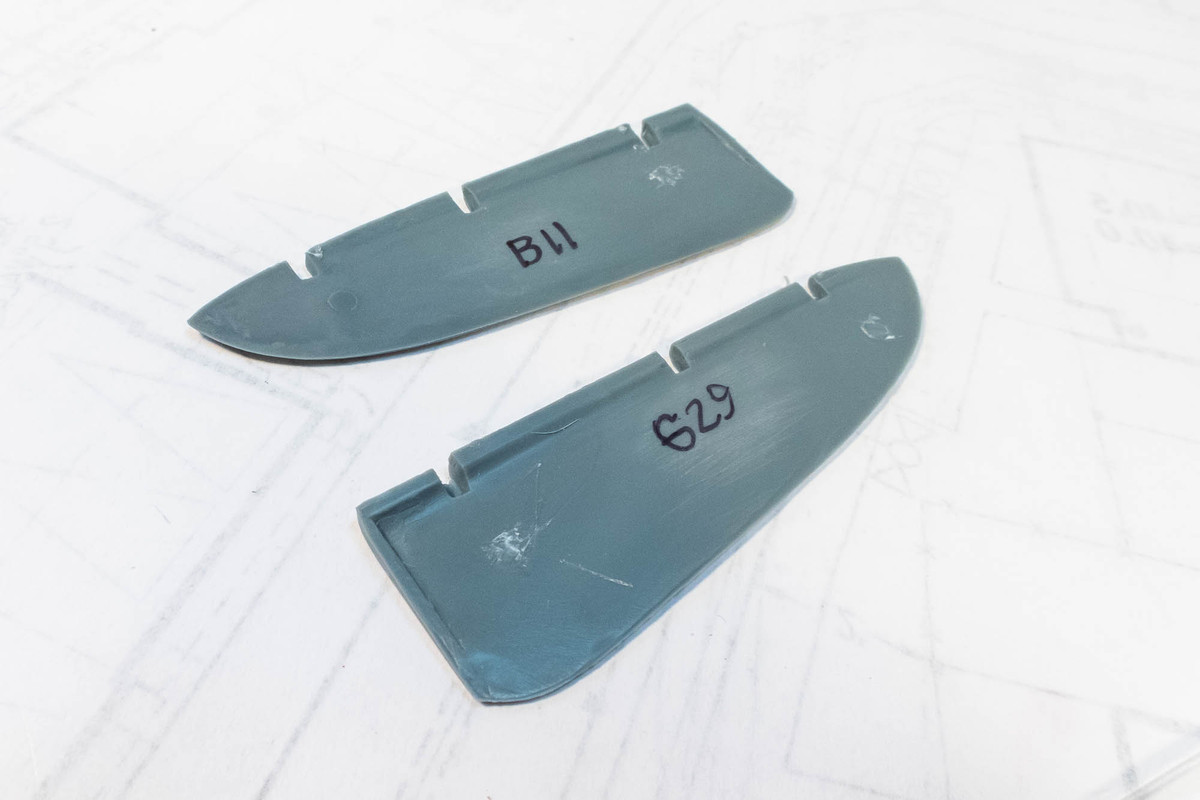
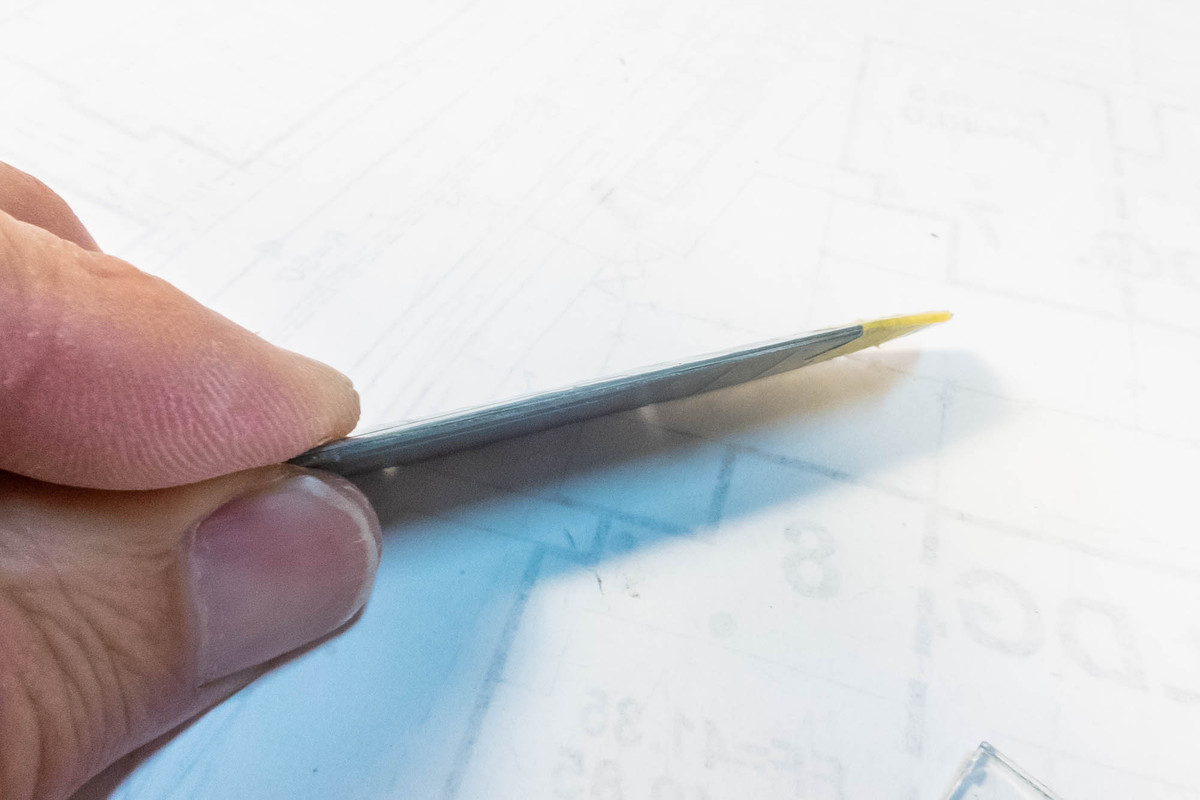
I heeded another builder's warning about the thickness of the control surface parts and decided to thin them before gluing them together. For this, I use a section of sanding paper taped onto a sheet of glass (from a photo frame). For this type of work, I use a coarser grain of sandpaper than I normally work with such as #320 or #220 (3M)
The insides of the elevator pieces look flat to the naked eye.
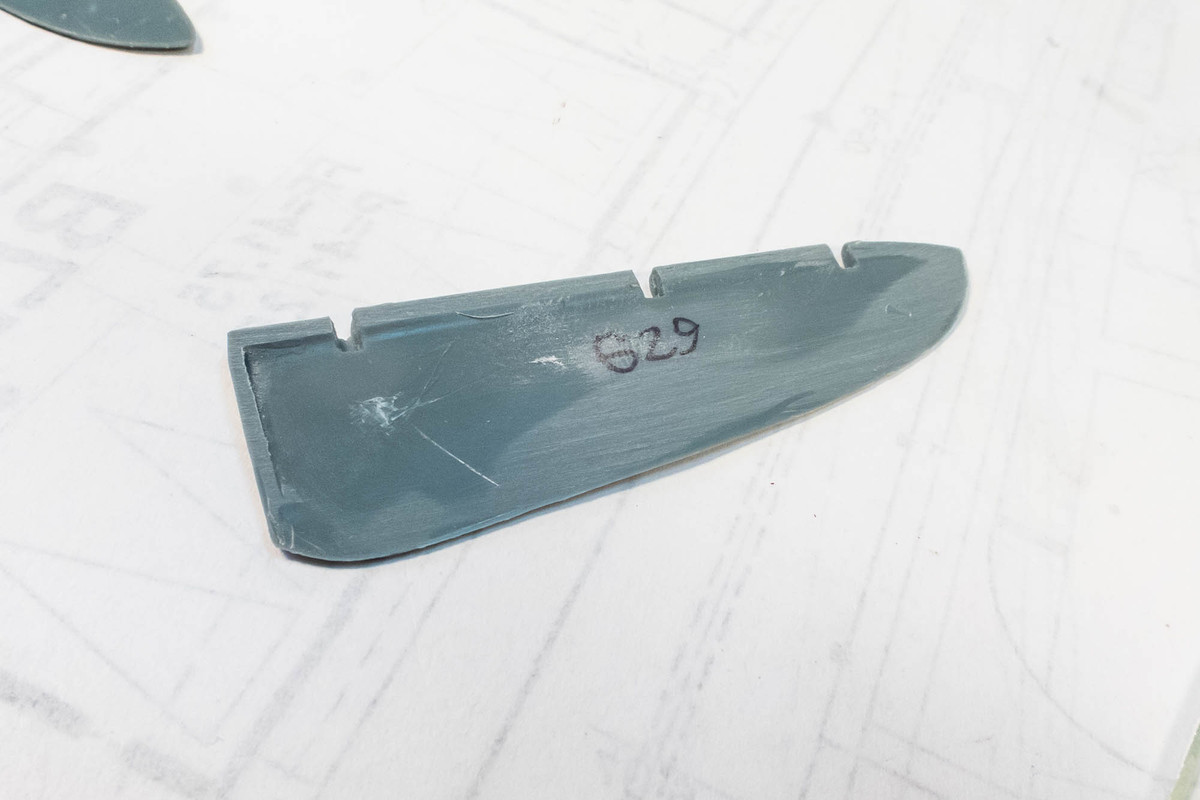
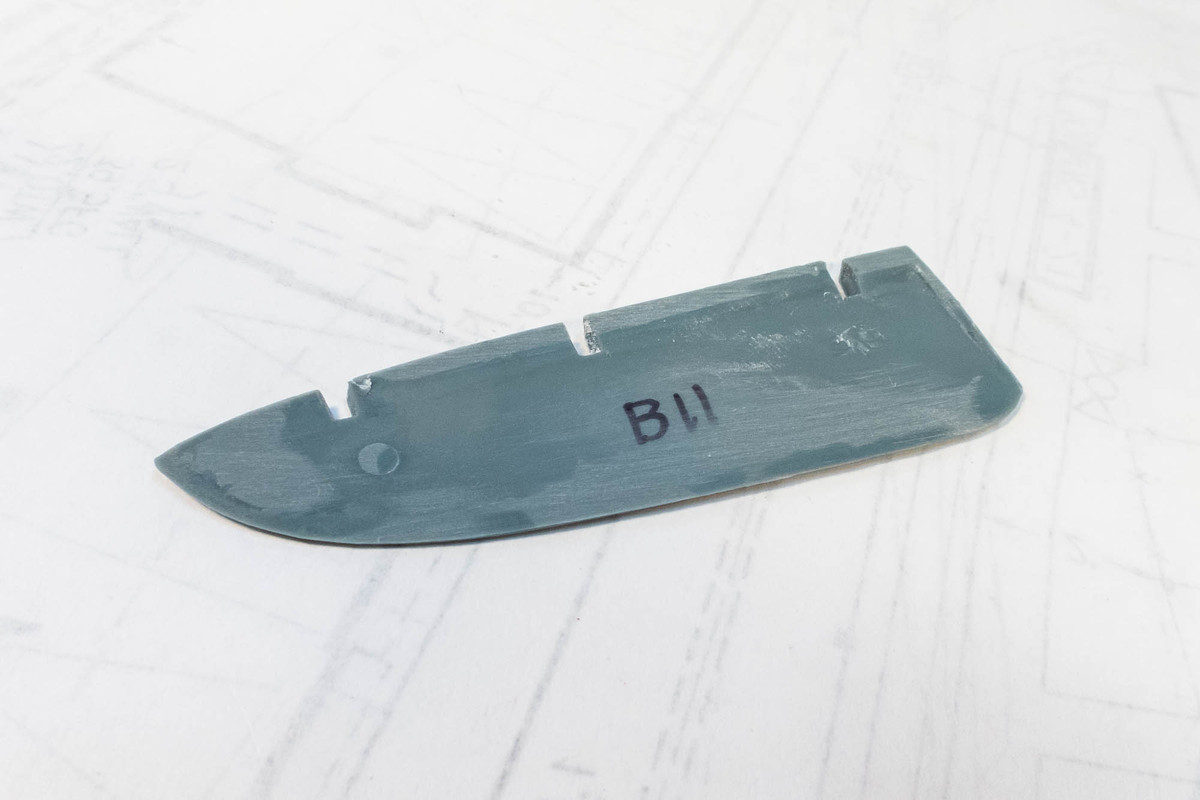
But a few swipes on the sanding block show that they aren't perfectly flat. The dark areas indicate surfaces that are lower than the surrounding areas. The dark areas along the edge will result in gaps which are difficult to correct.
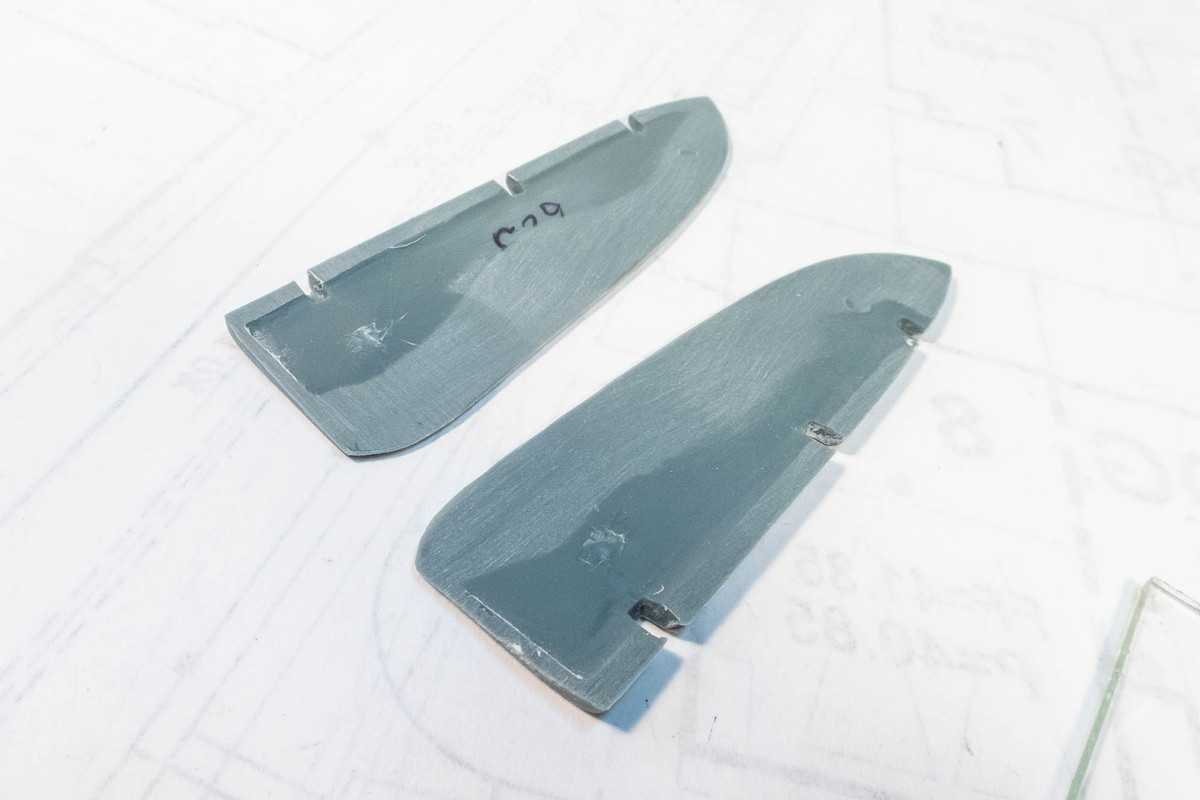
So I keep sanding until the all of the dark areas are gone.
The parts secured with just tape and finger pressure reveal the lack of gaps along the edge, which is the desired result. The elevators can now be glued together.
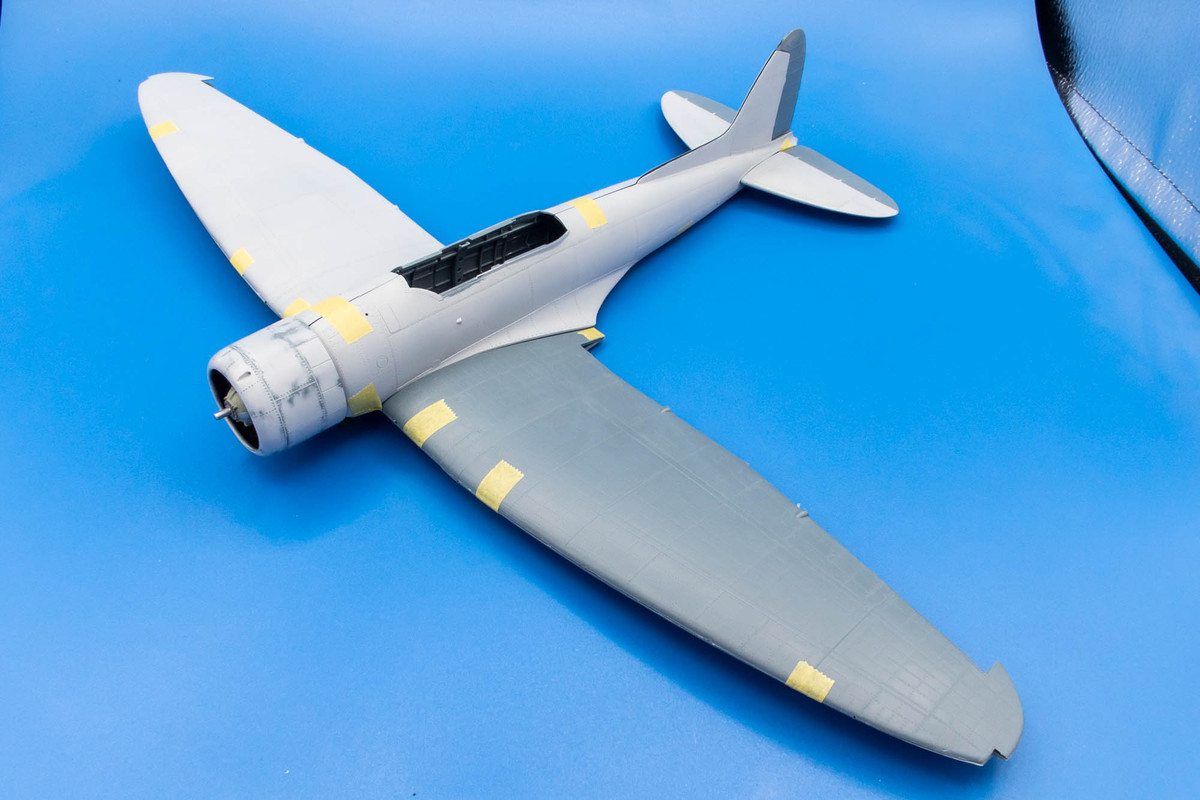
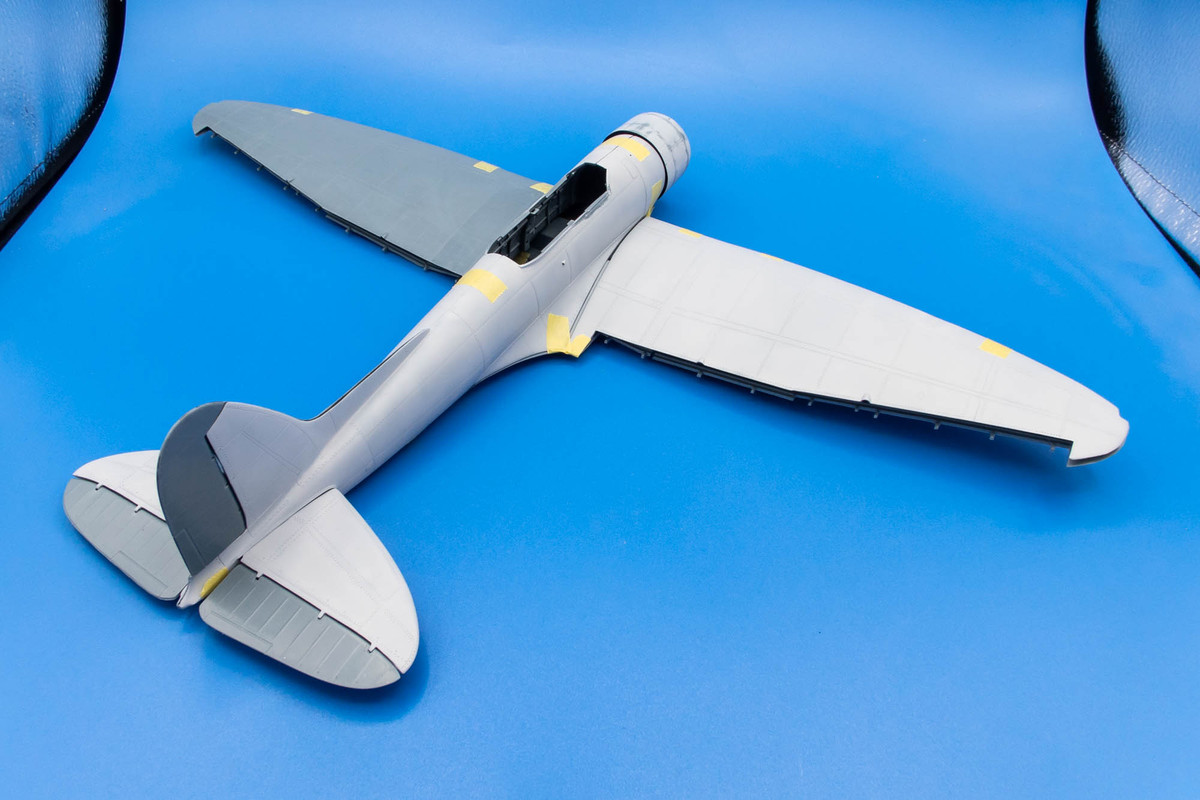
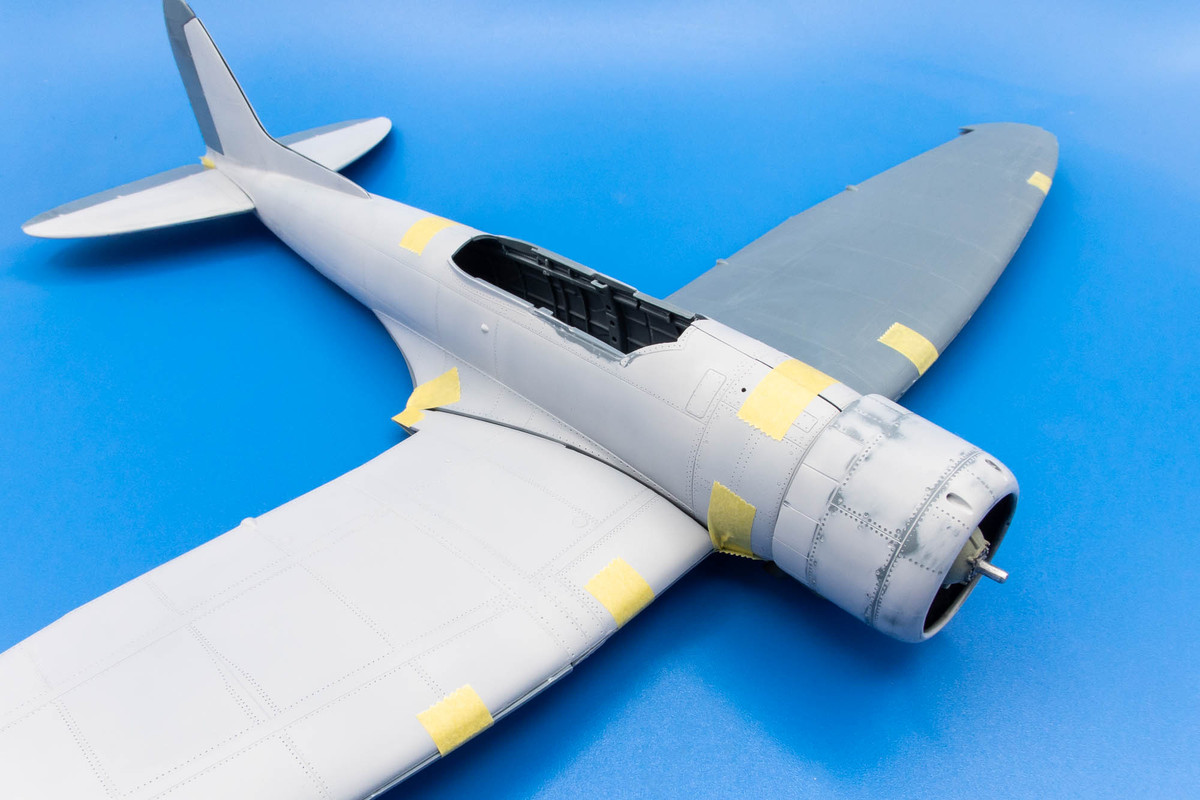
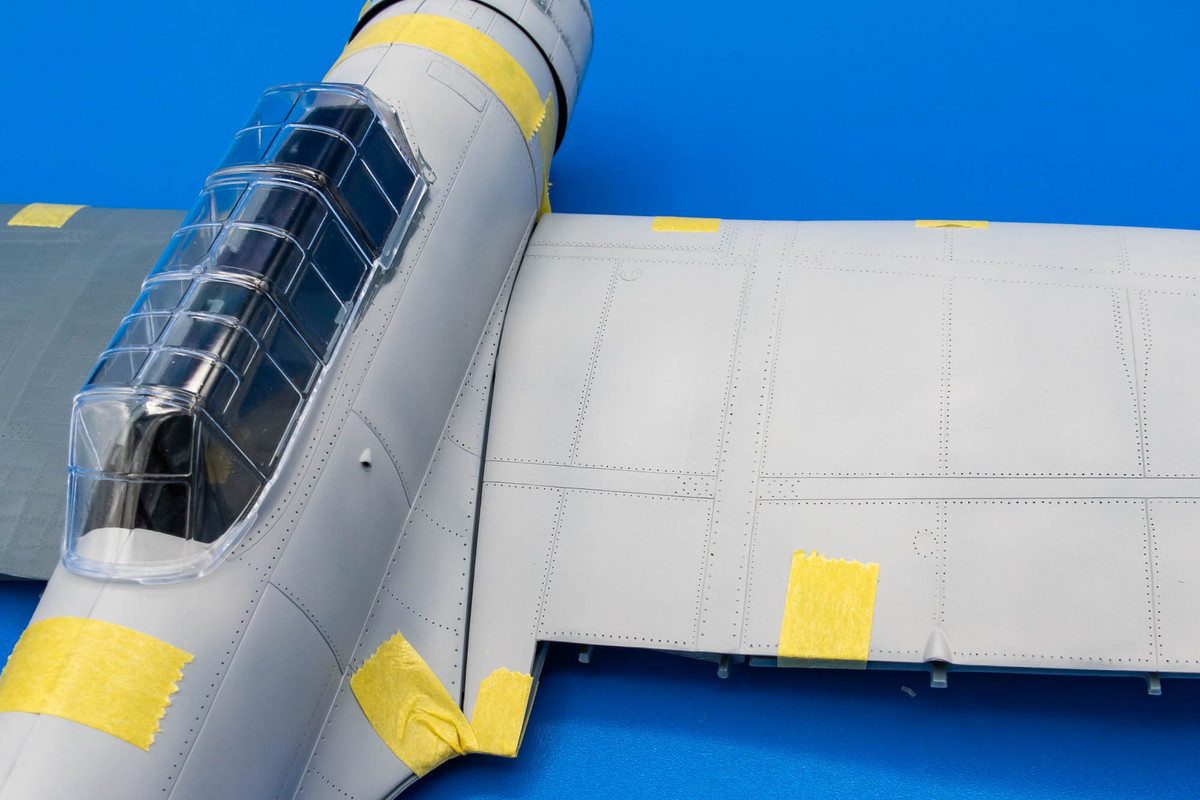
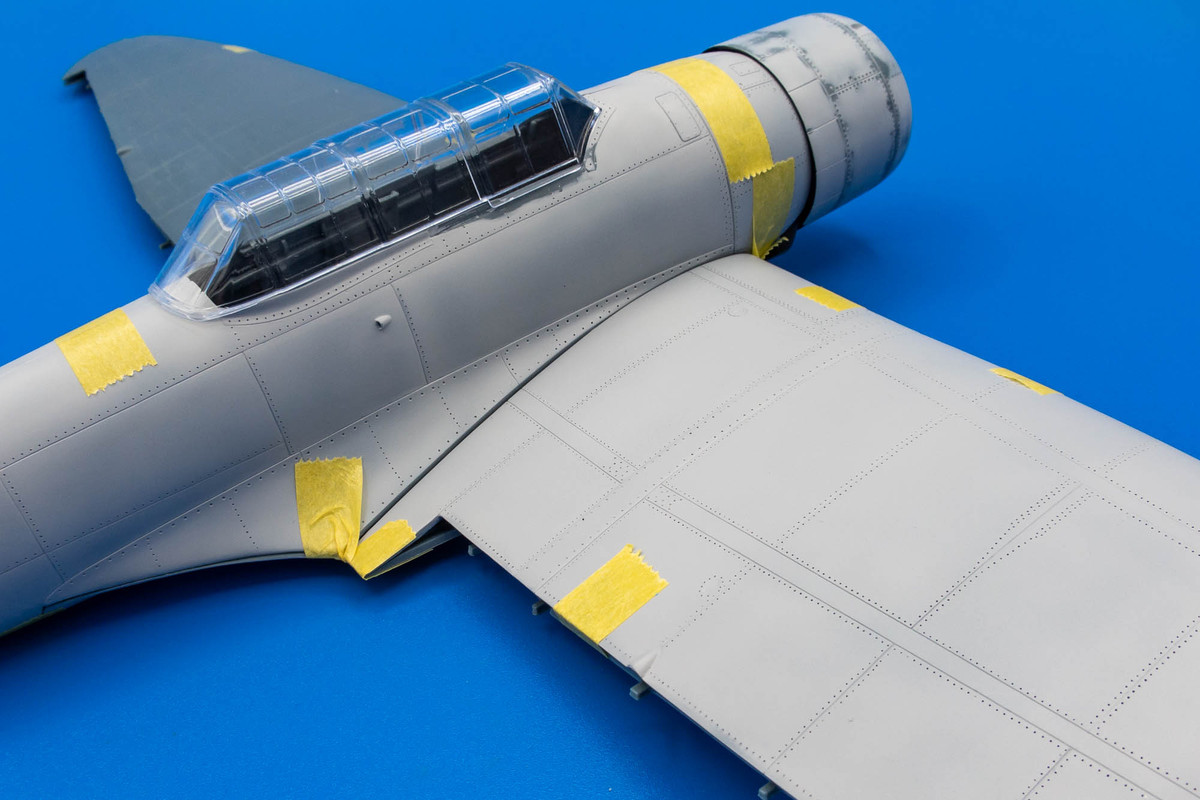
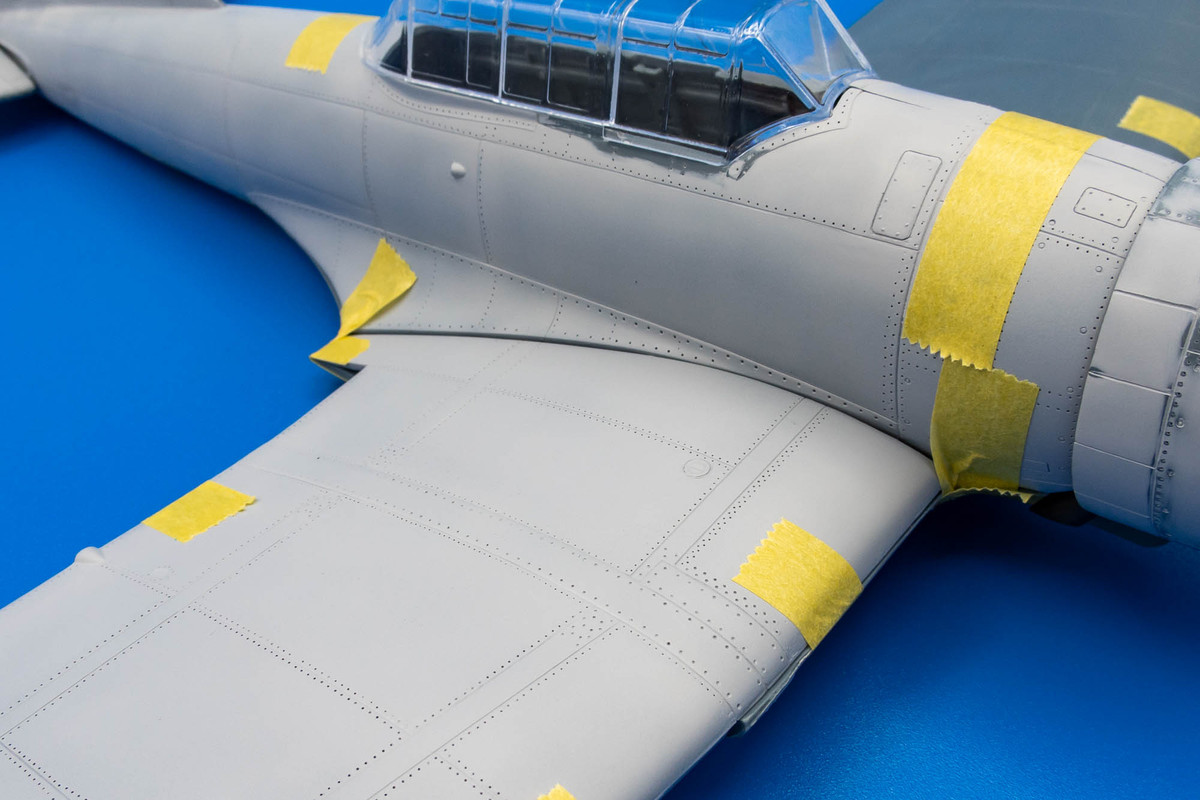
At this point, I decided to rough fit the major components together by tape to check overall fit. There may be some significant gaps that I'll need to pay attention to. Particularly along the edge of the vertical stabilizer fillet and at the wing roots. But overall, fit looks pretty good.
Great fix on the elevators John! A lot of older aircraft kits can use that sort of fix to their trailing edges.
"Surely I have made my meaning plain? I intend to avenge myself upon you, Admiral. I have deprived your ship of power, and when I swing 'round, I intend to deprive you of your life."