Tamiya 1/32 Spitfire XIVe Conversion
Posted: Sun Aug 13, 2023 1:06 am
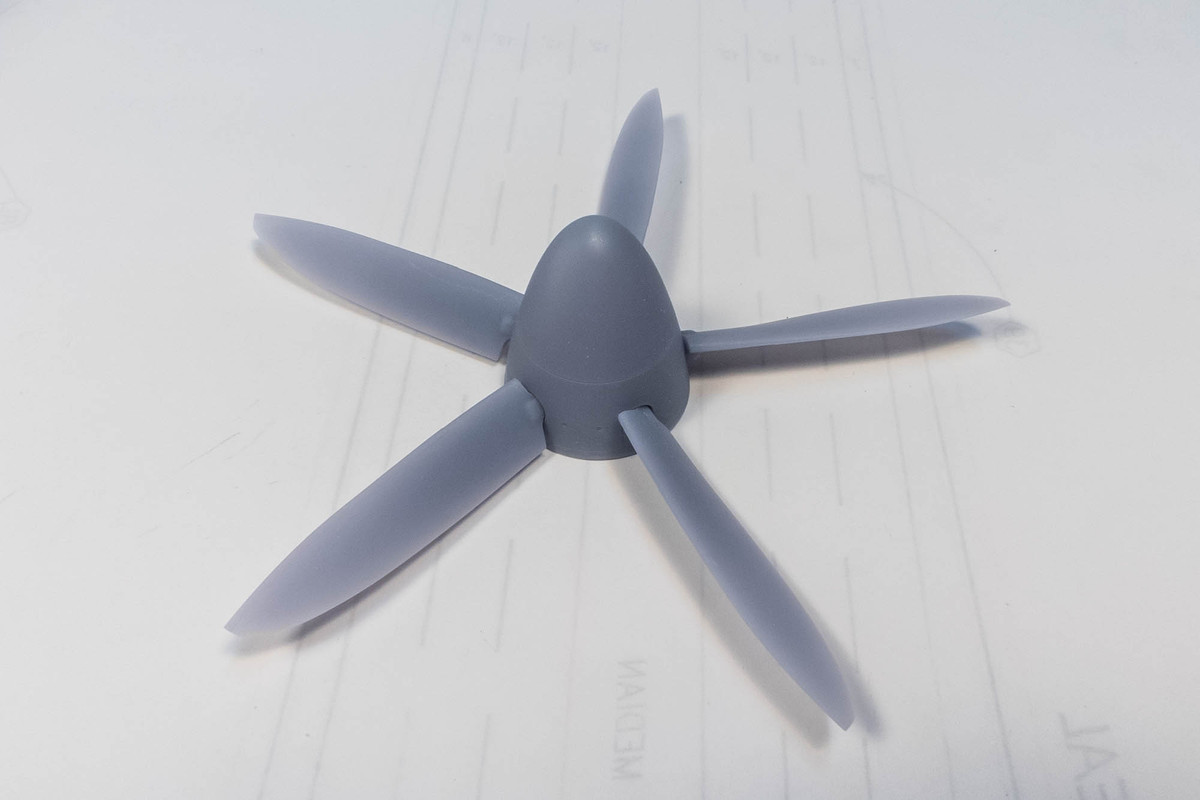
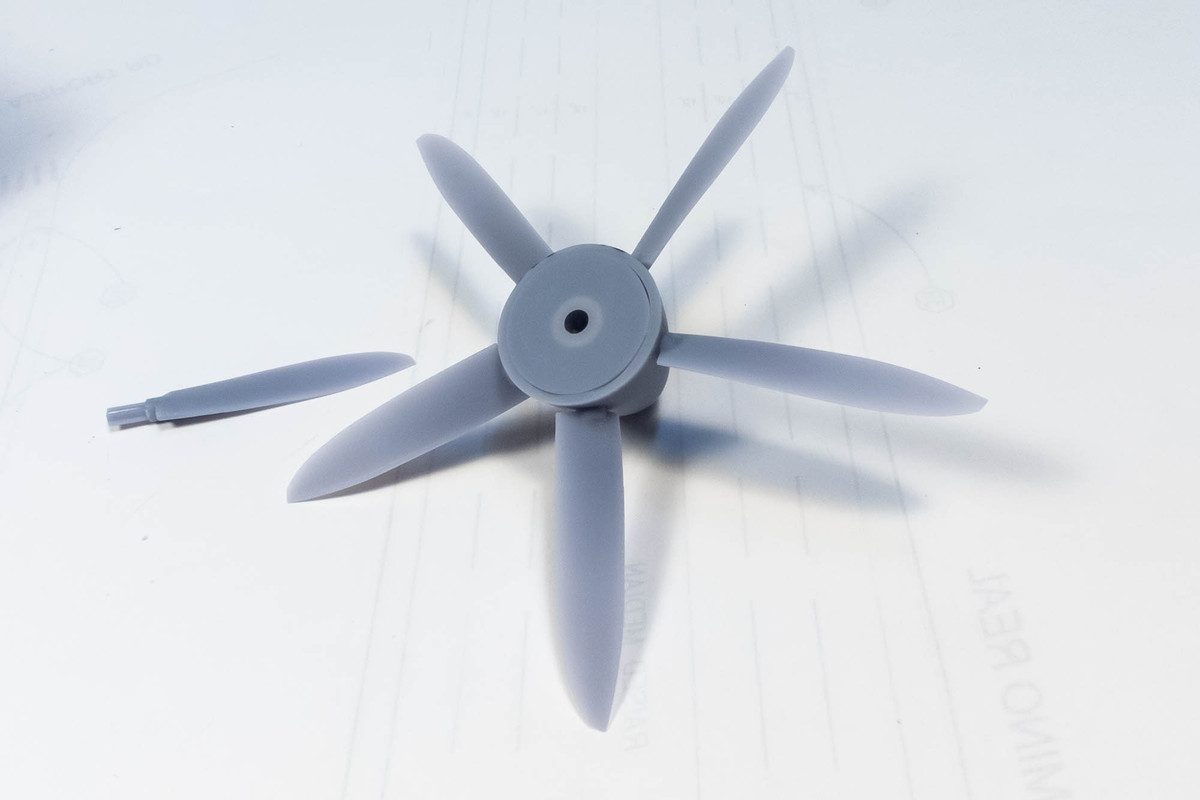
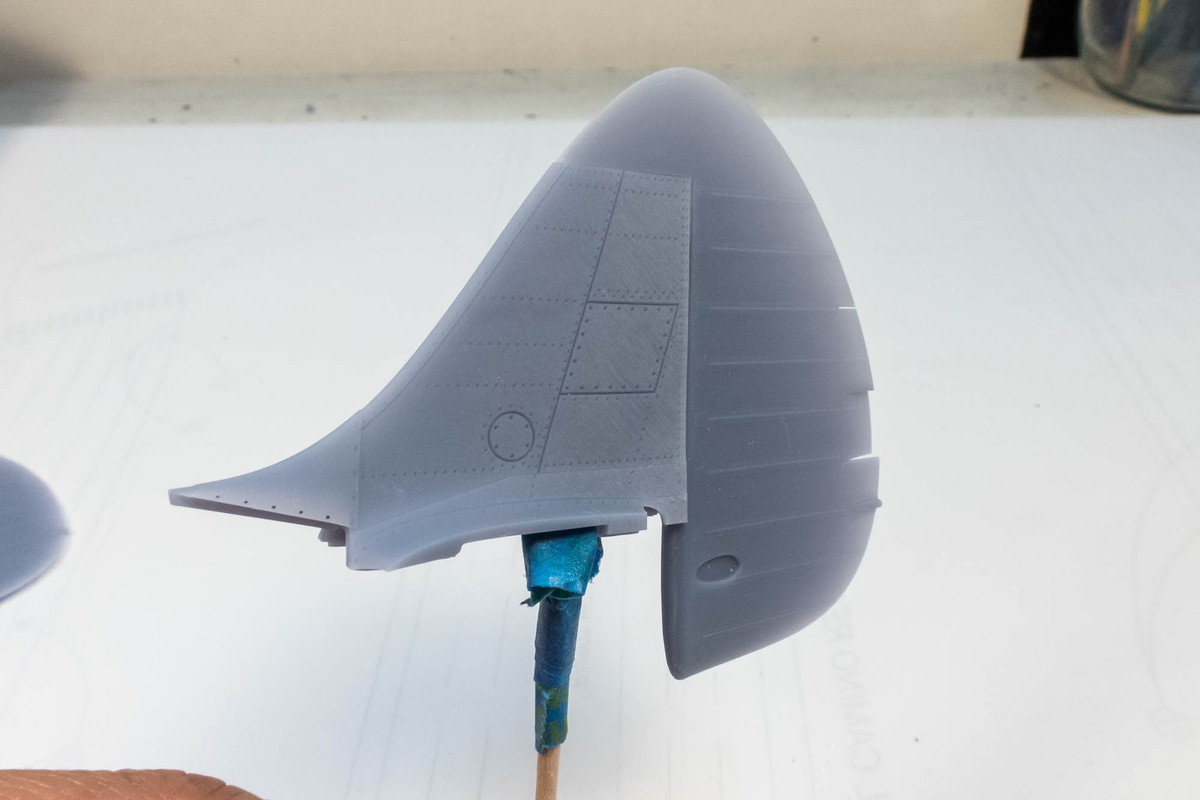
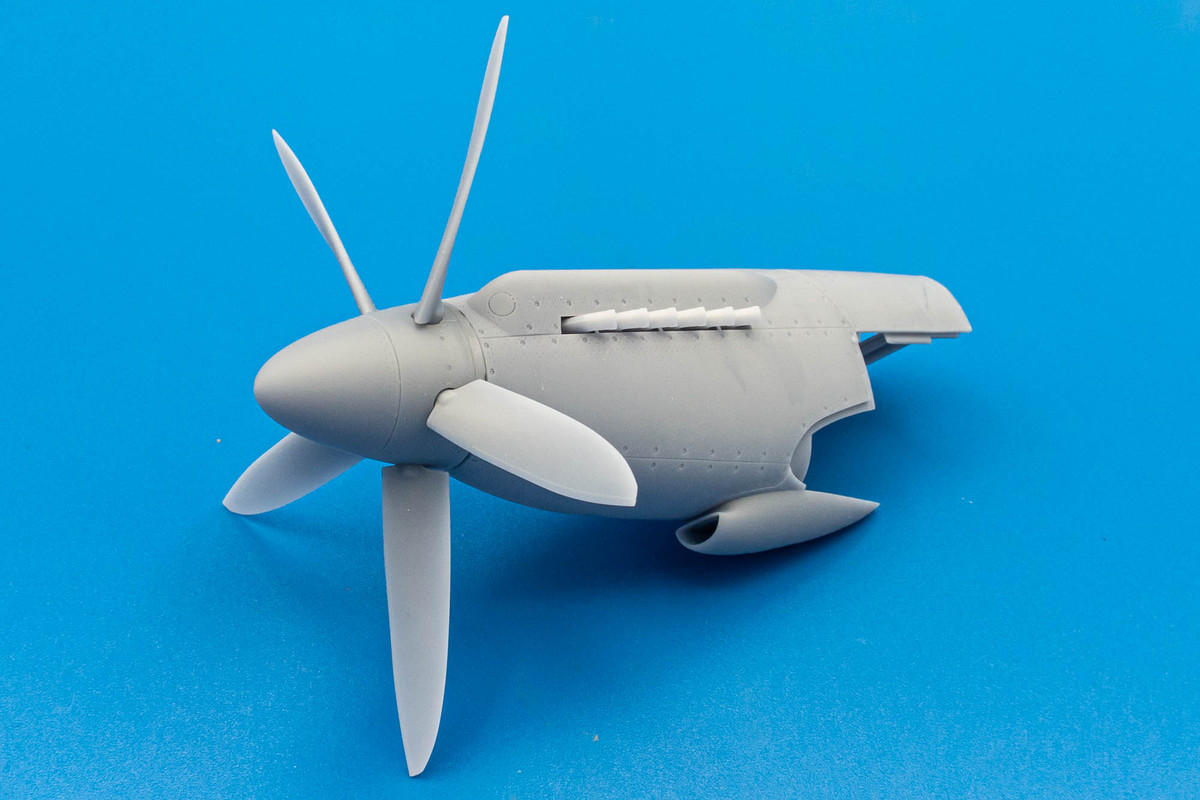
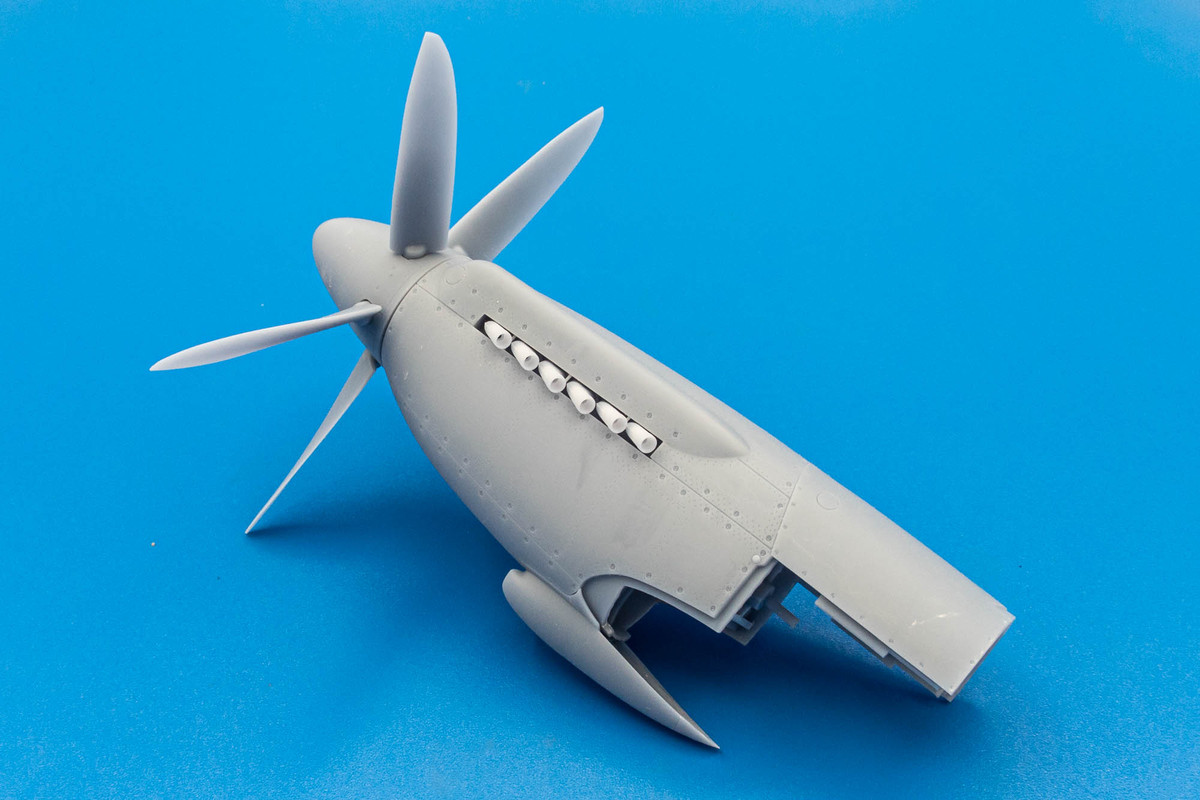
I'm not quite ready to start this one in earnest but since I just received the conversion set from Laminar Flow Designs, I was excited to take a peek and at least set this build up for the near future. I started following Matthieu on Facebook as he was developing plans to convert the Tamiya XVIe kit into a Griffon-powered XIVe using digitally-printed parts. I've always found the five-prop Griffon-powered Spitfires to be especially fascinating and patiently waited until development of this project turned into an actual product.
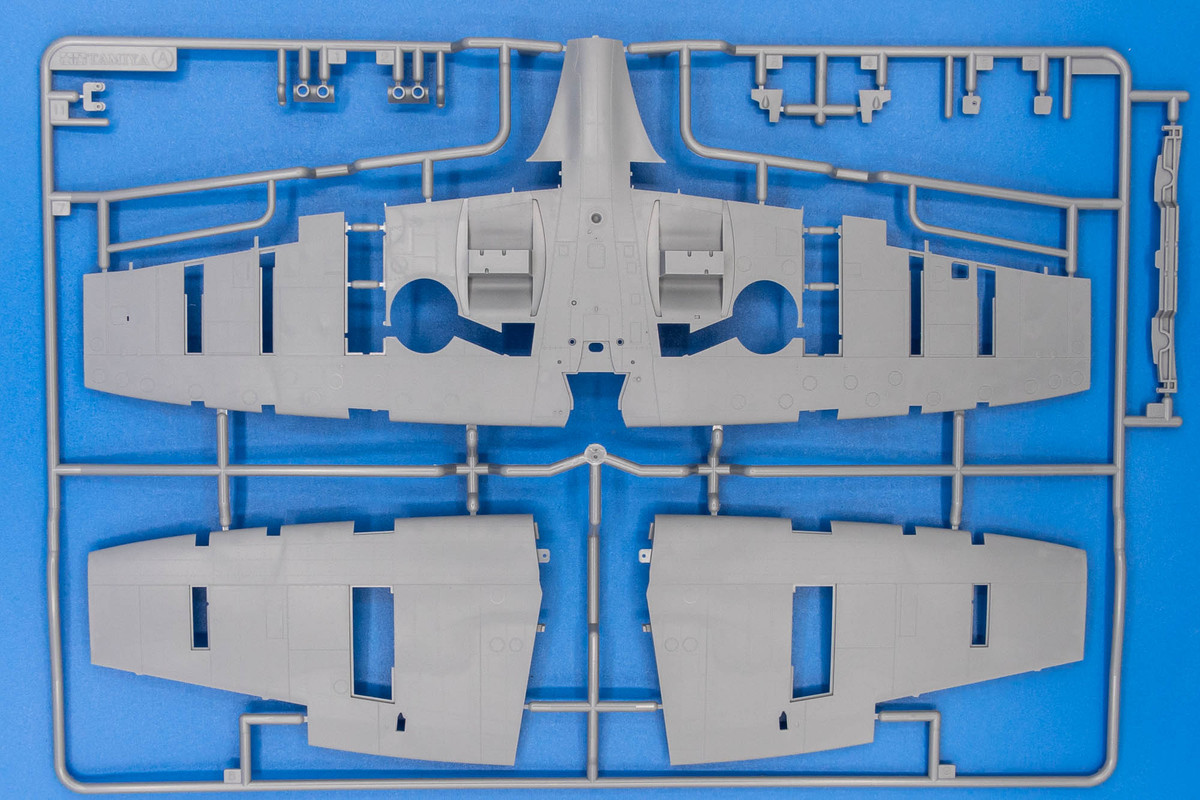
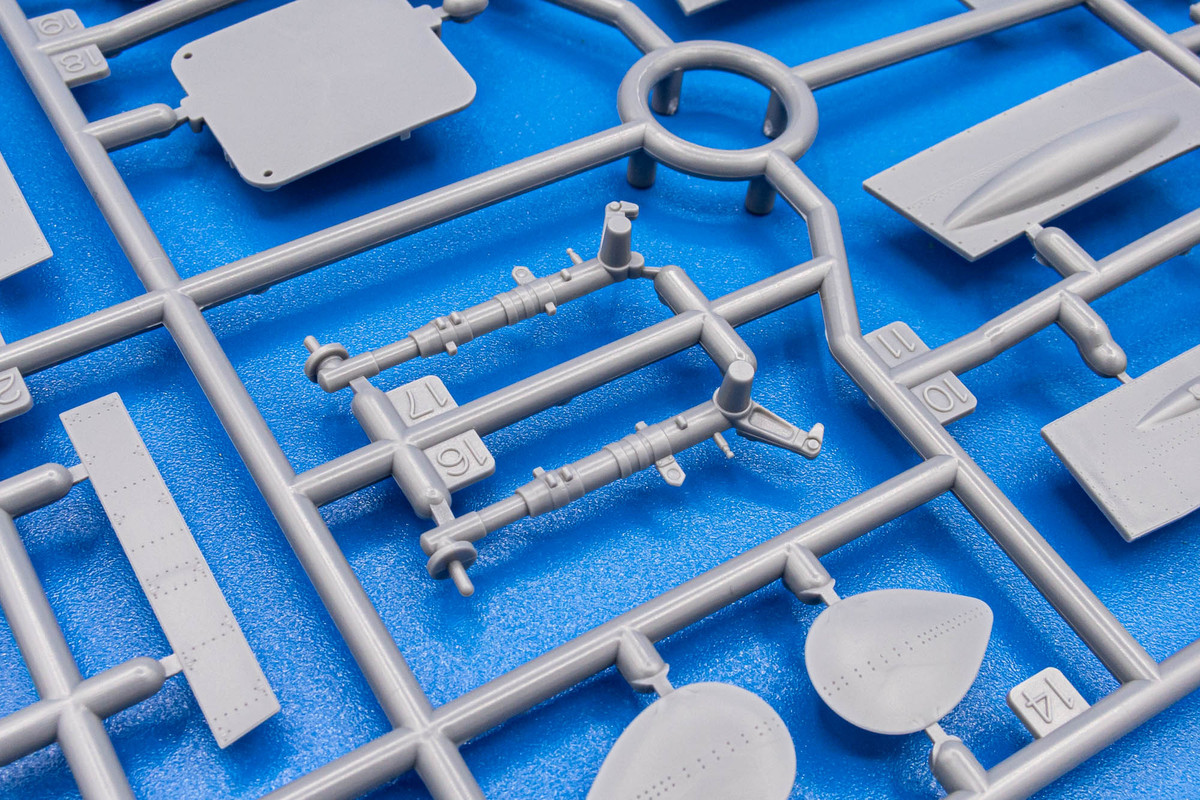
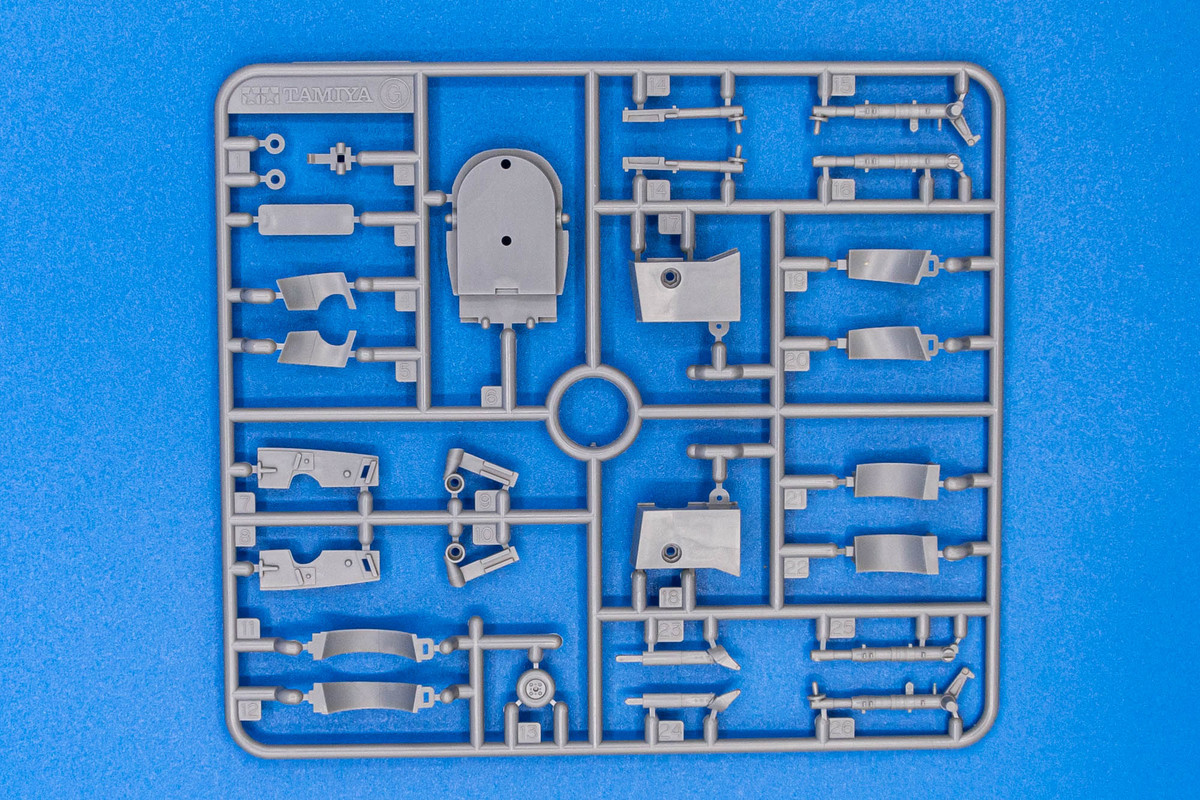
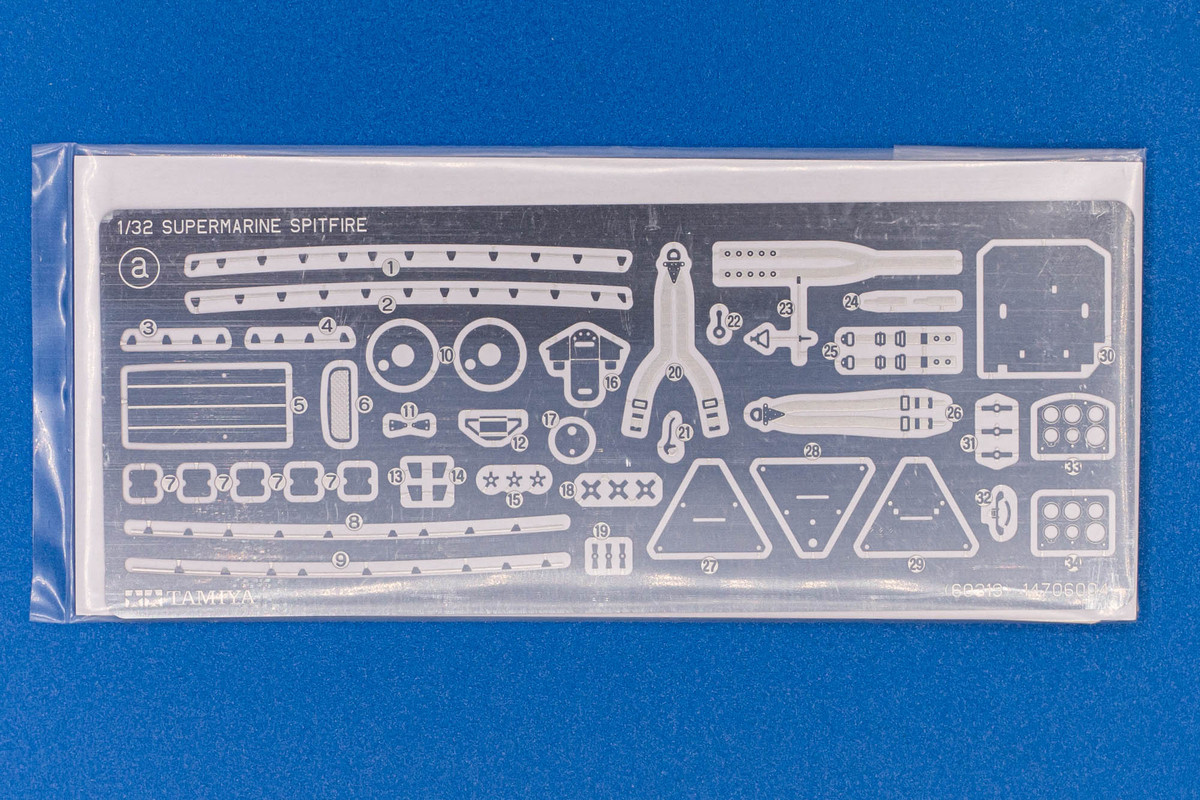
I've had the Tamiya XVIe kit on the shelf for several years now.
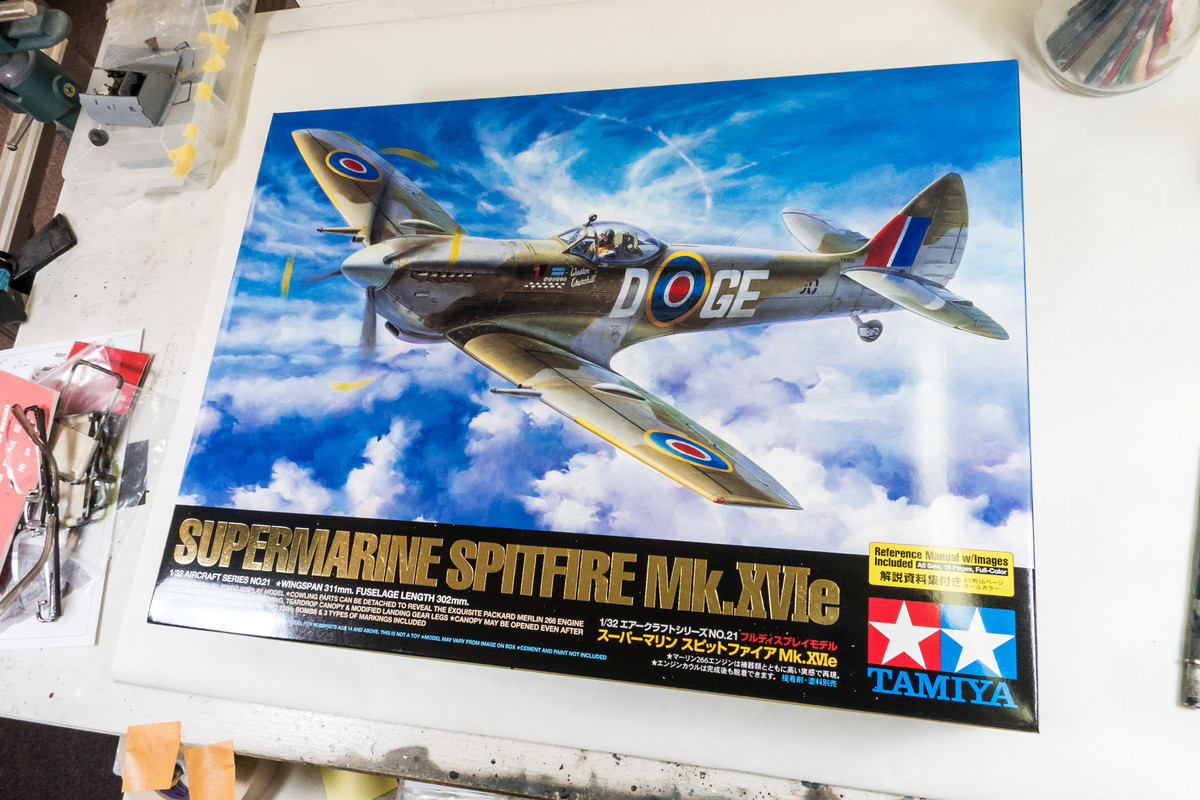
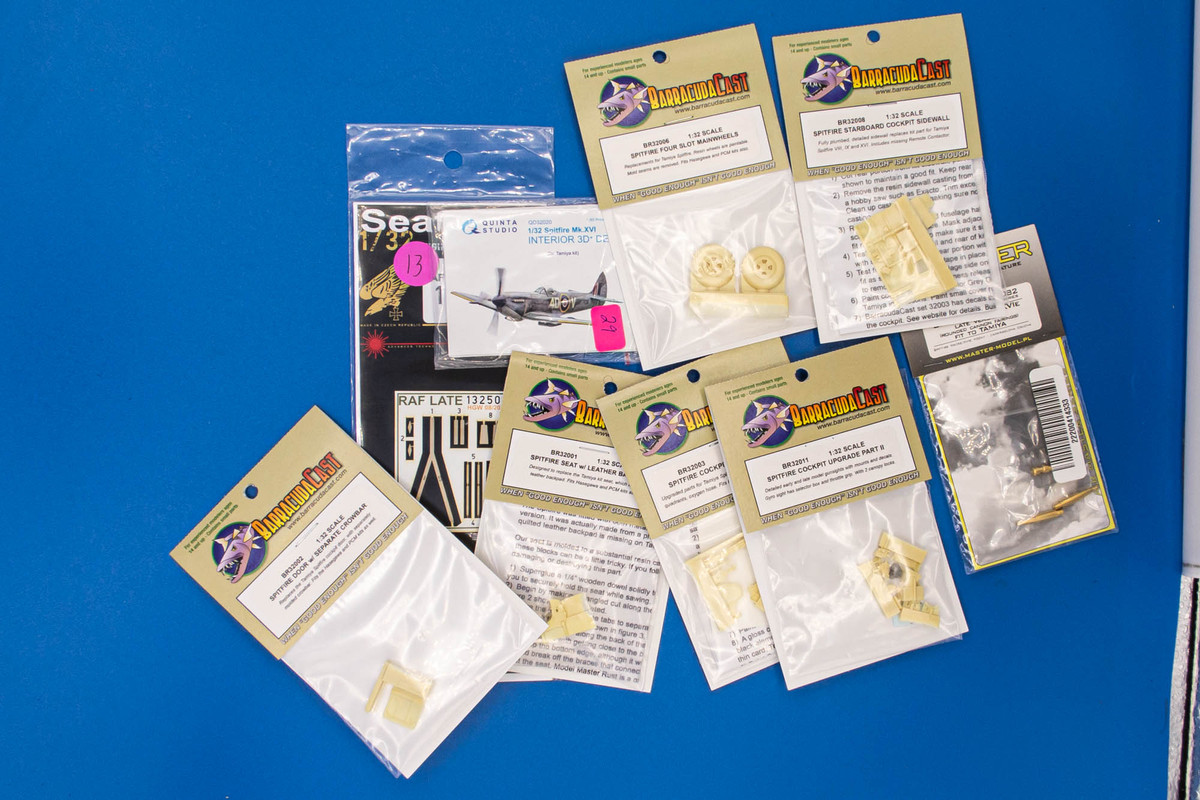
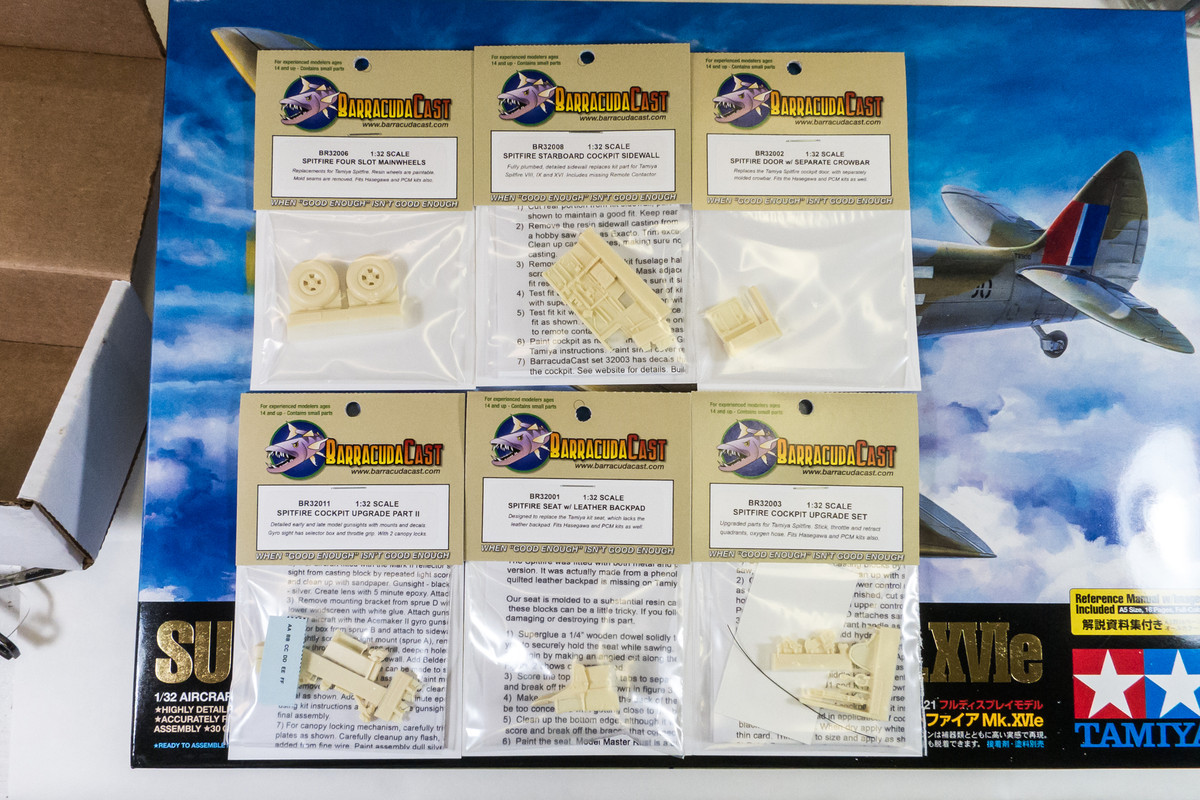
Prior to learning about the XIVe conversion, I was planning to build it as kitted and picked up a few aftermarket items from Barracuda, as well as some brass gun barrels from Master.
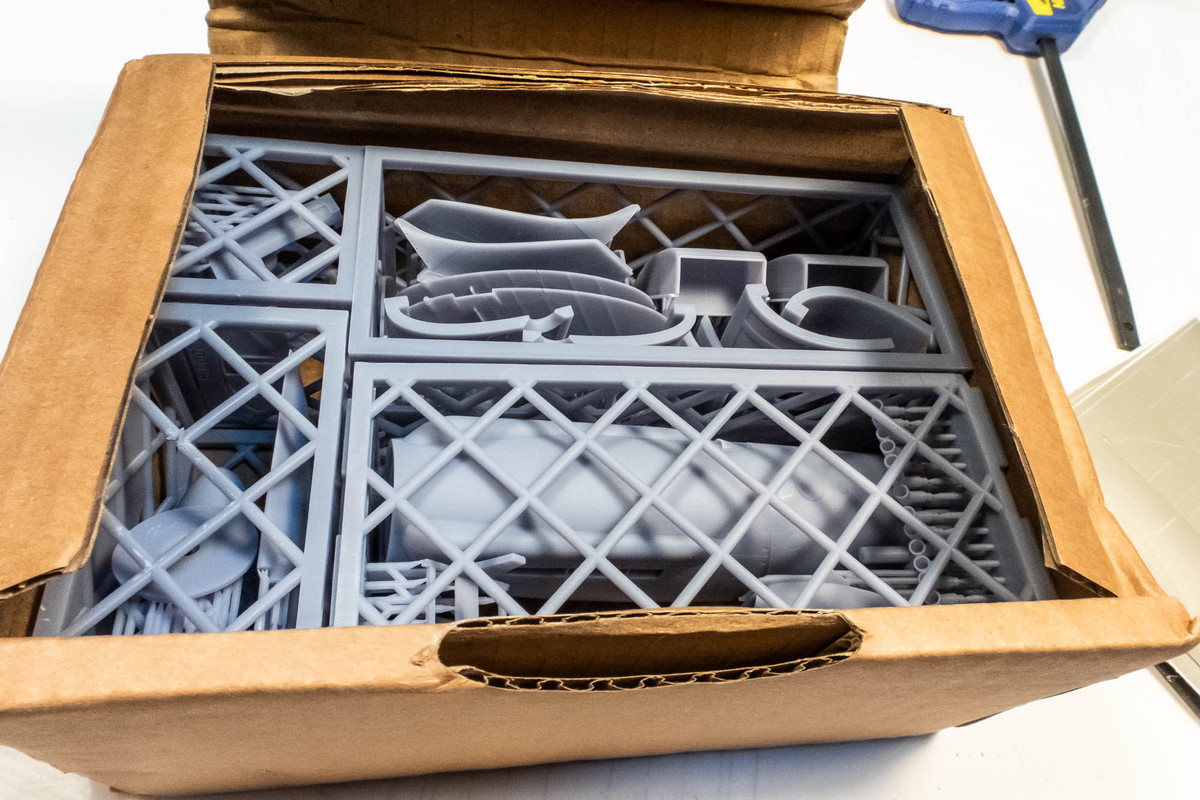
But today, I received this little box from Belgium!

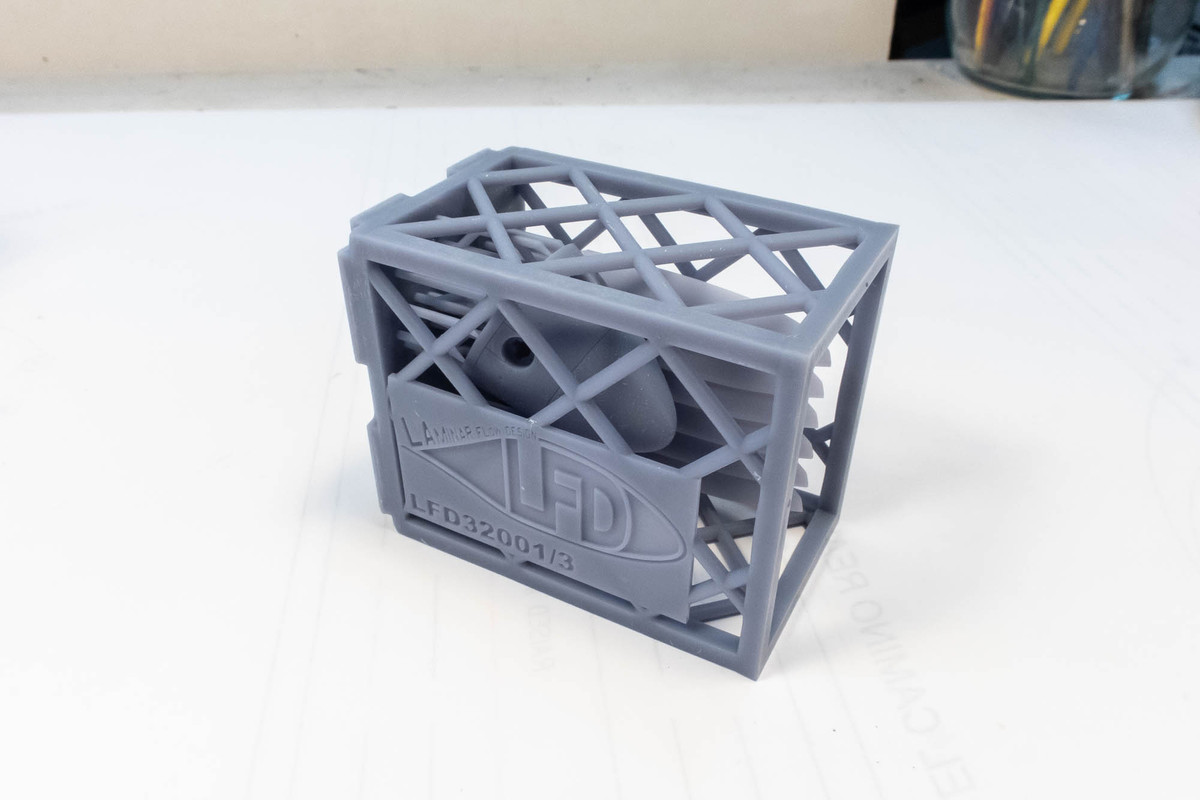
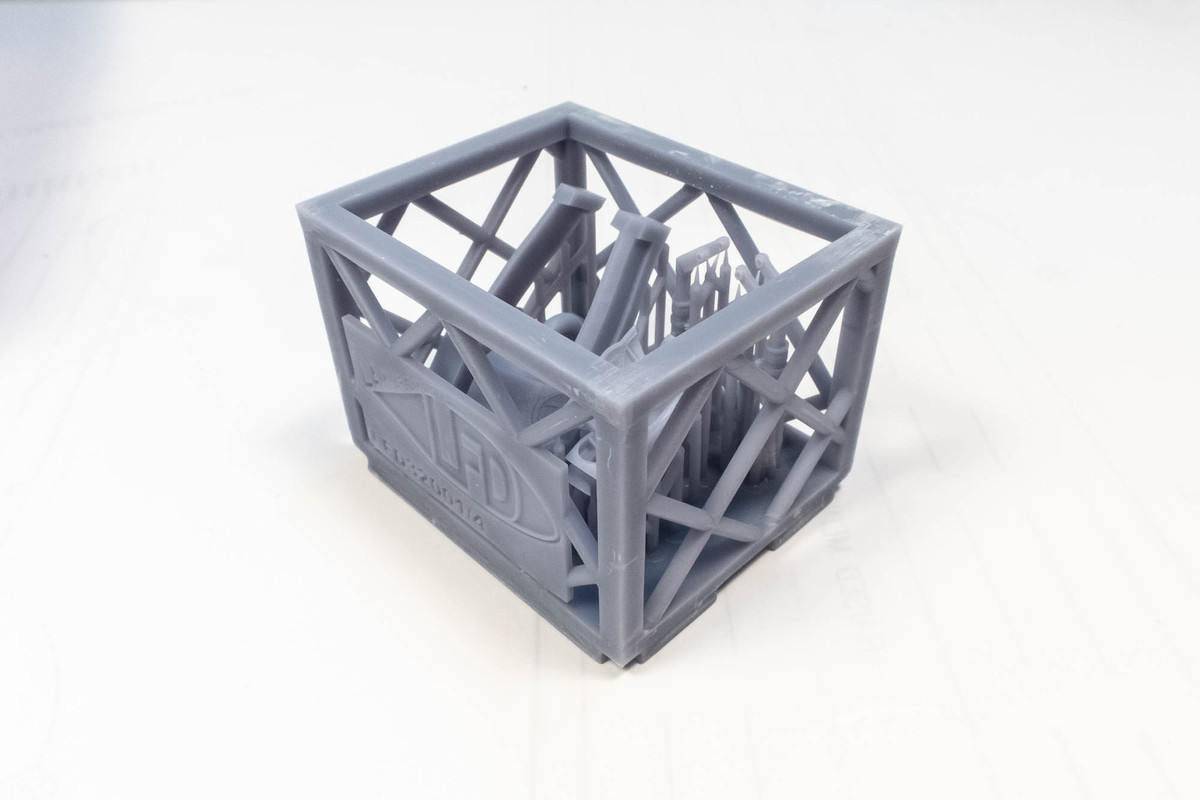
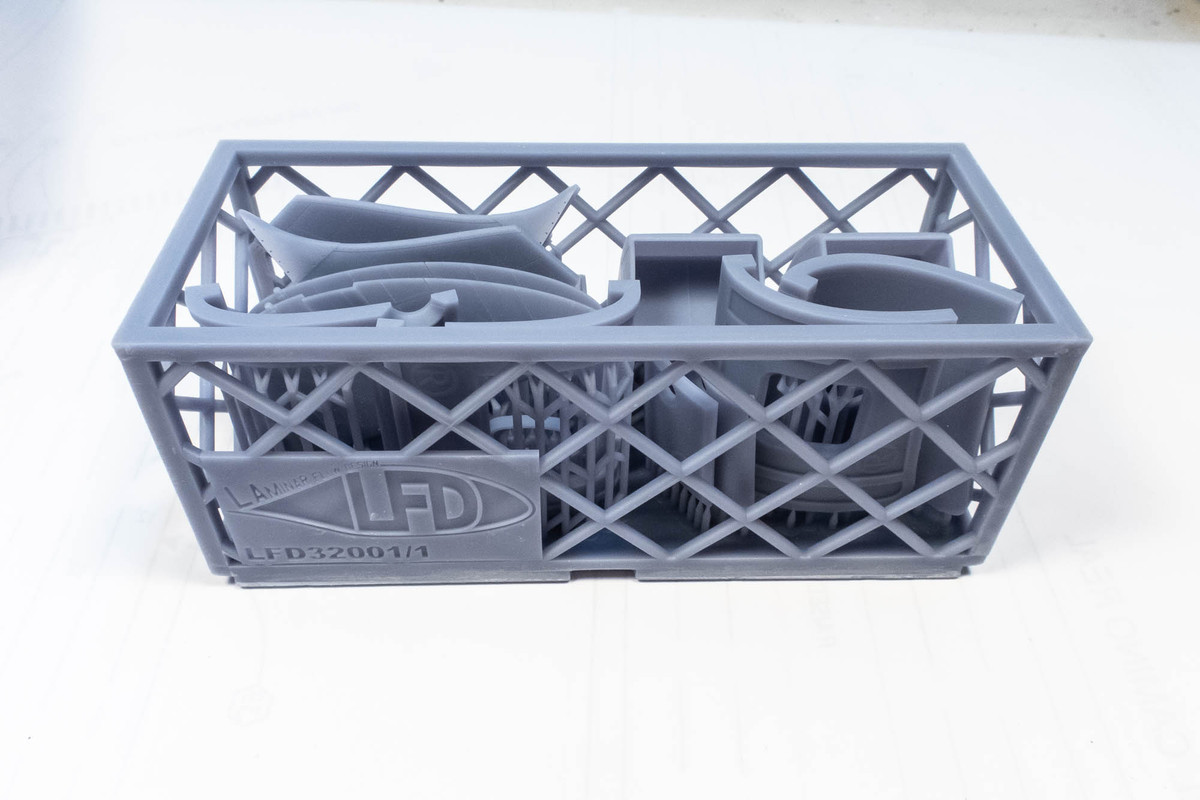
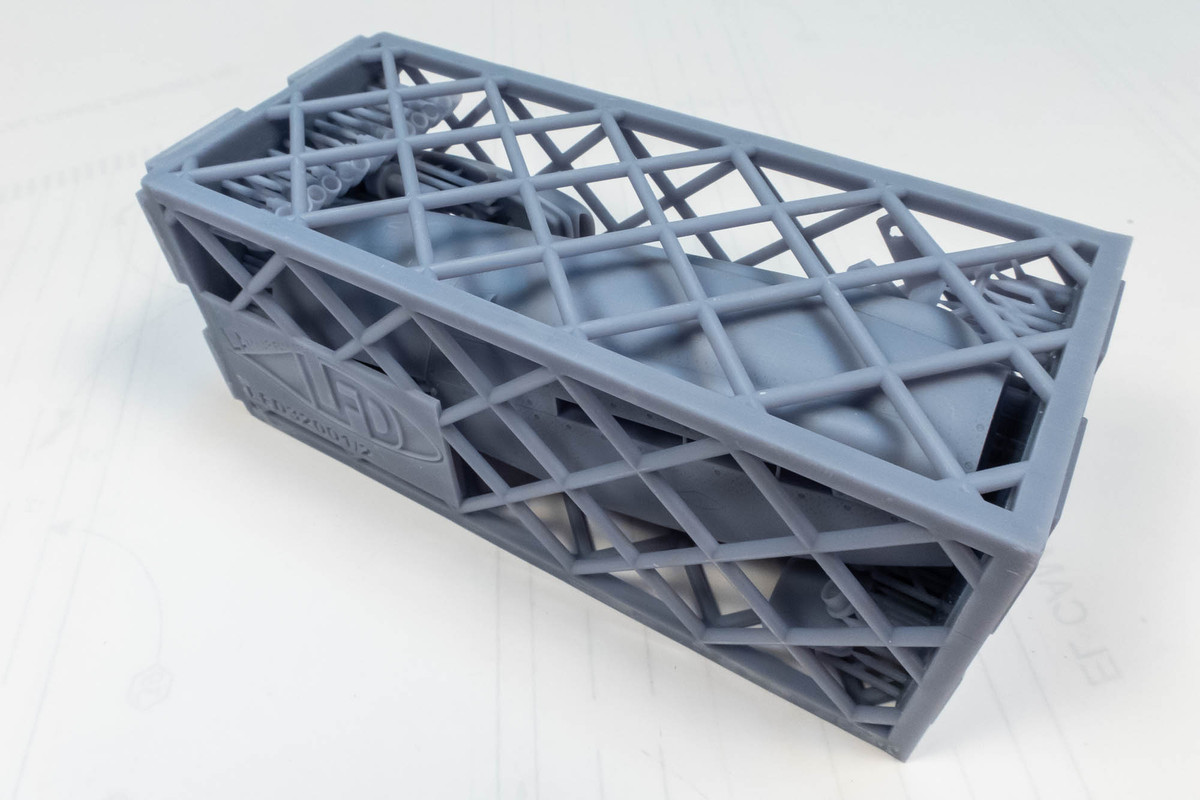
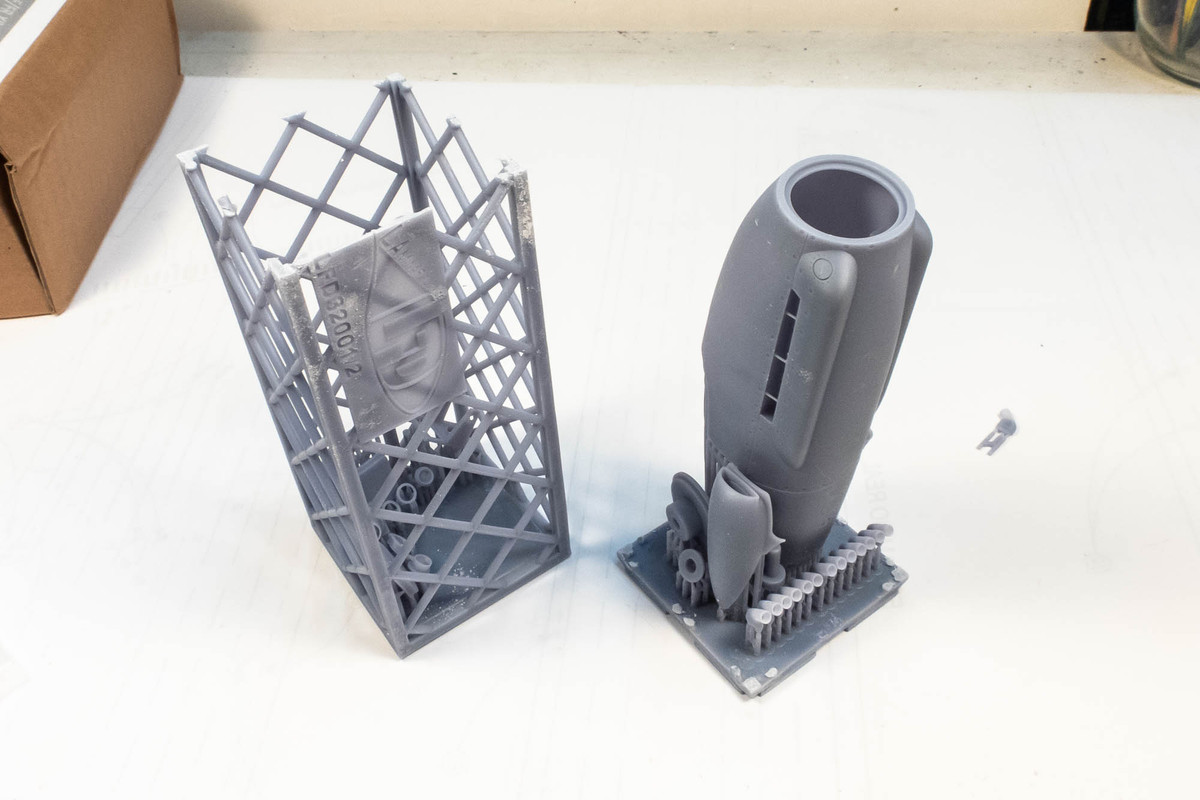
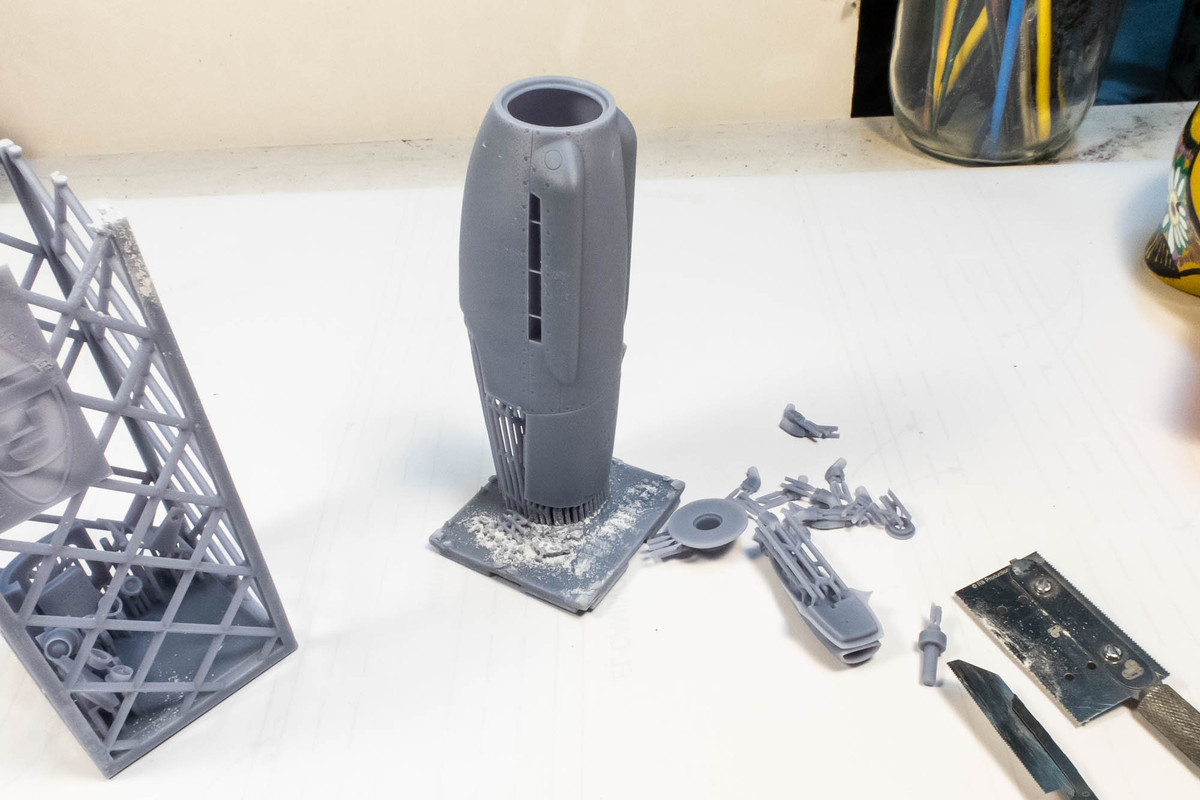
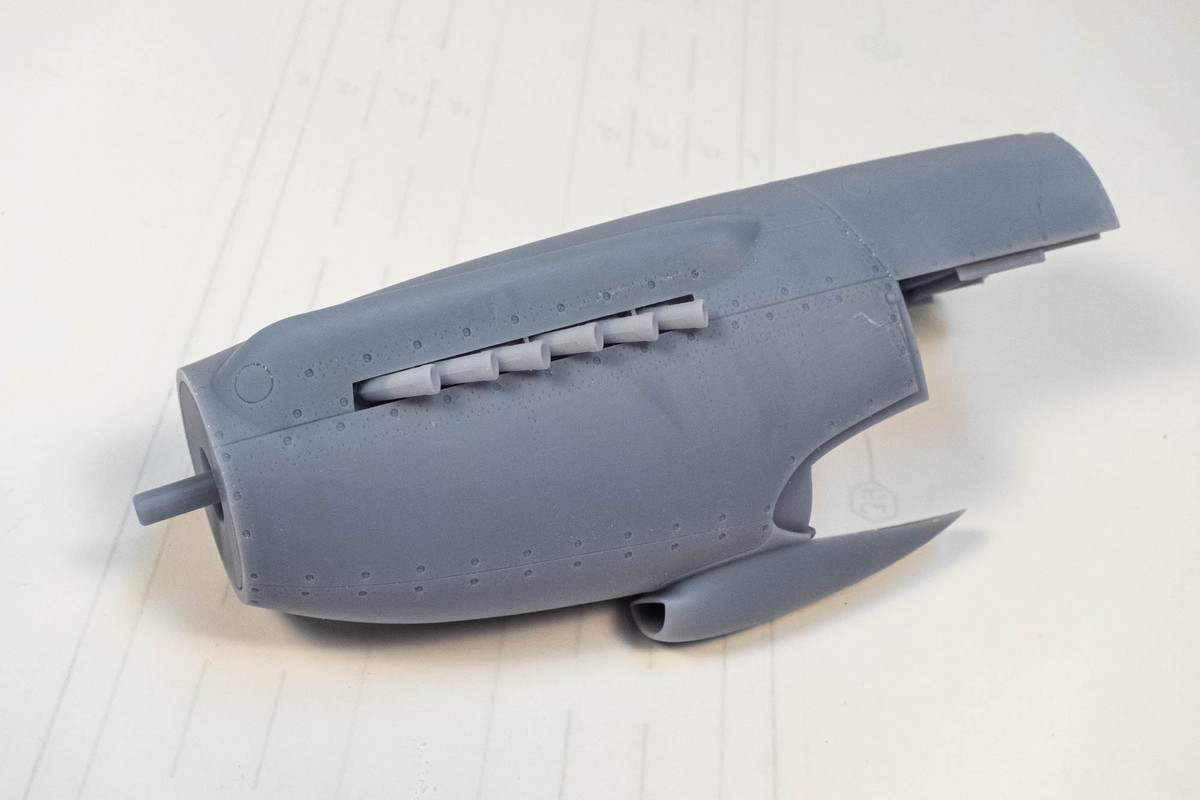
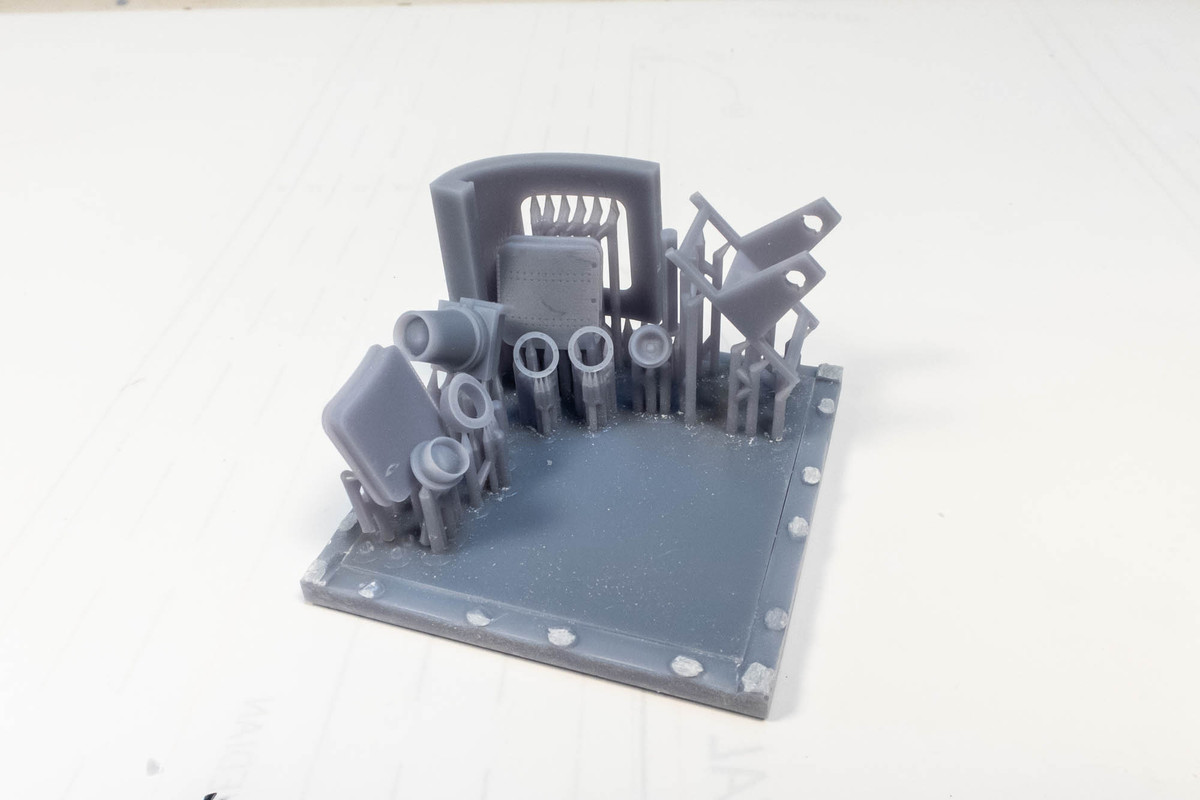
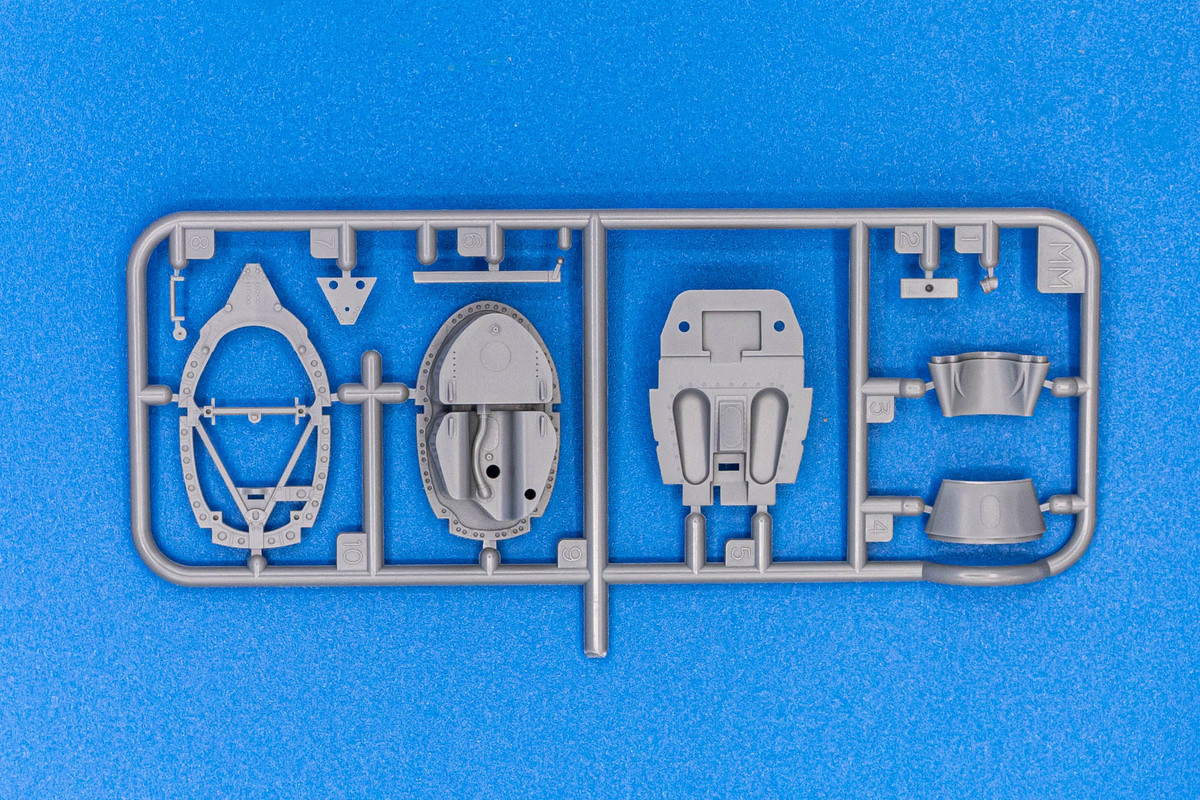
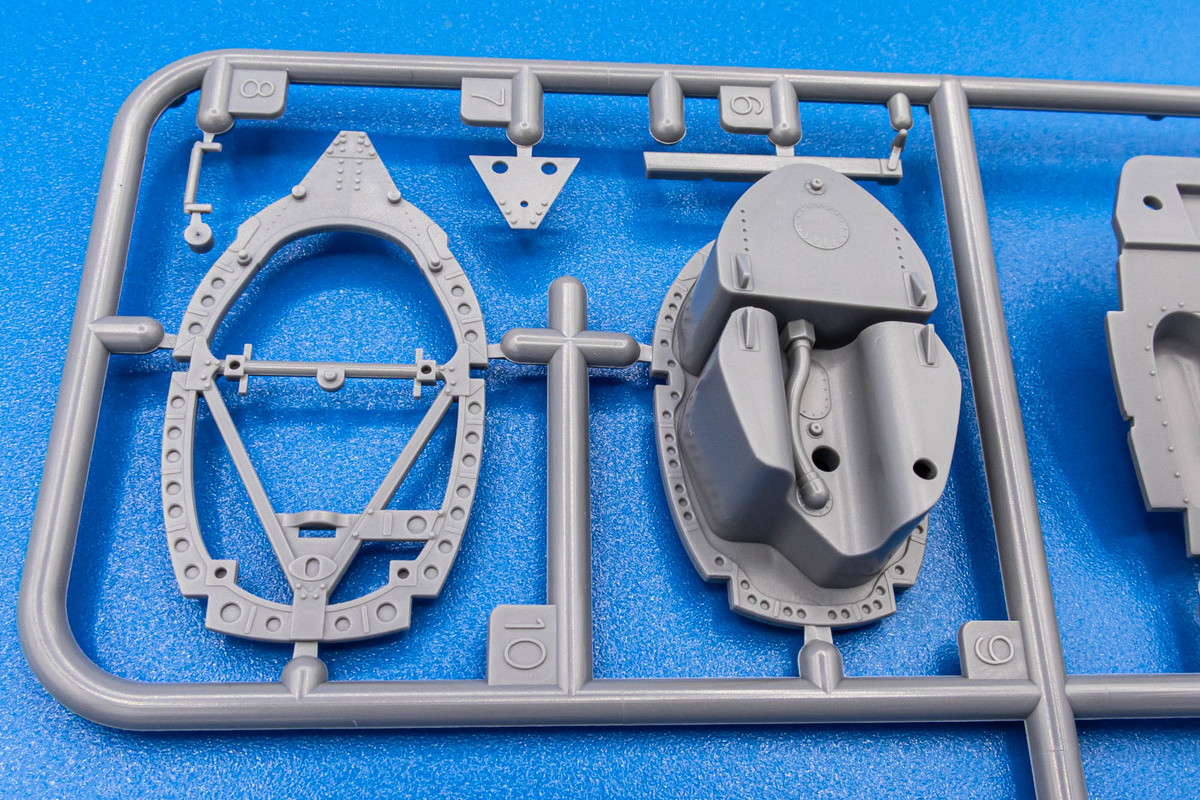
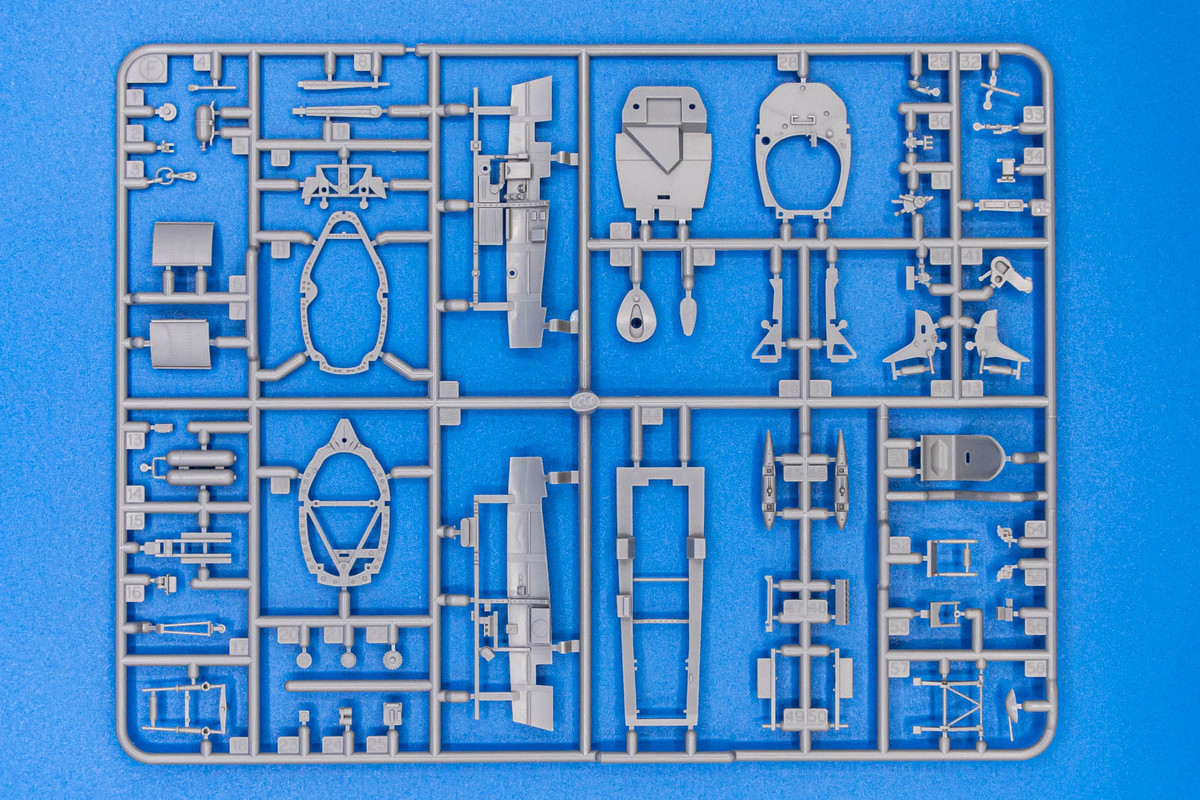
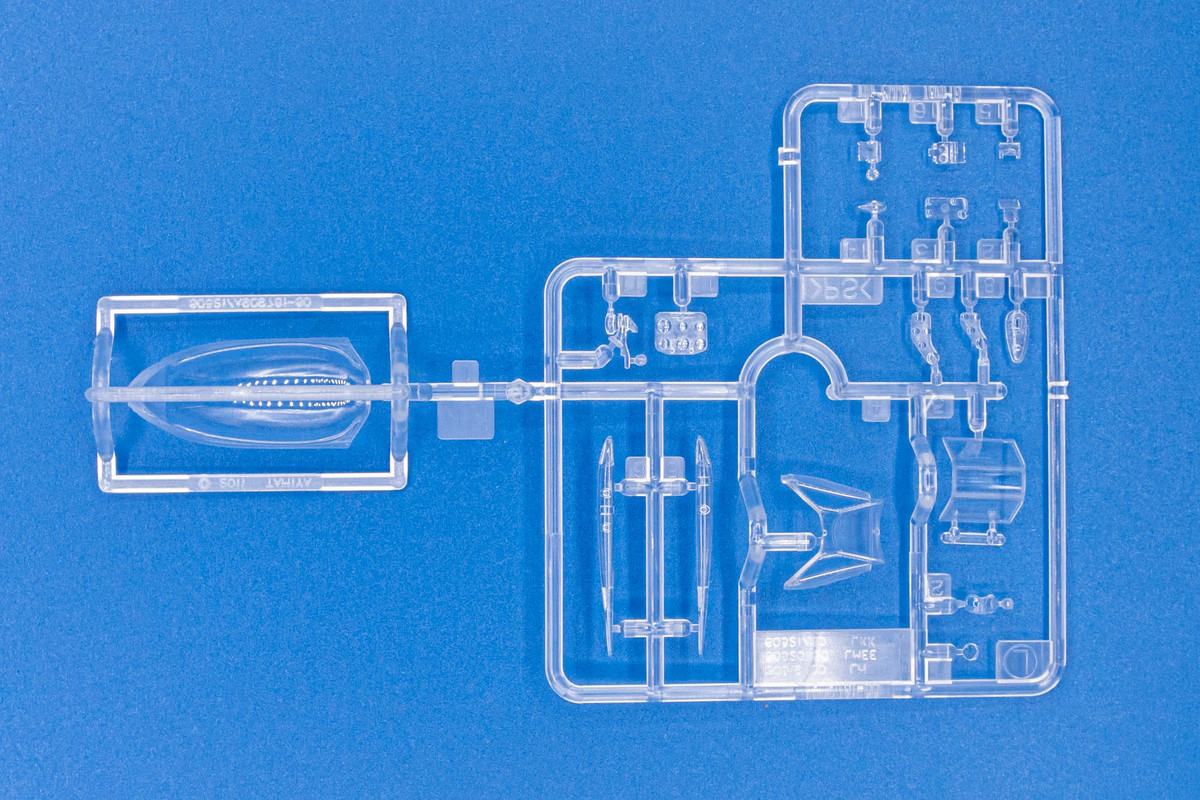
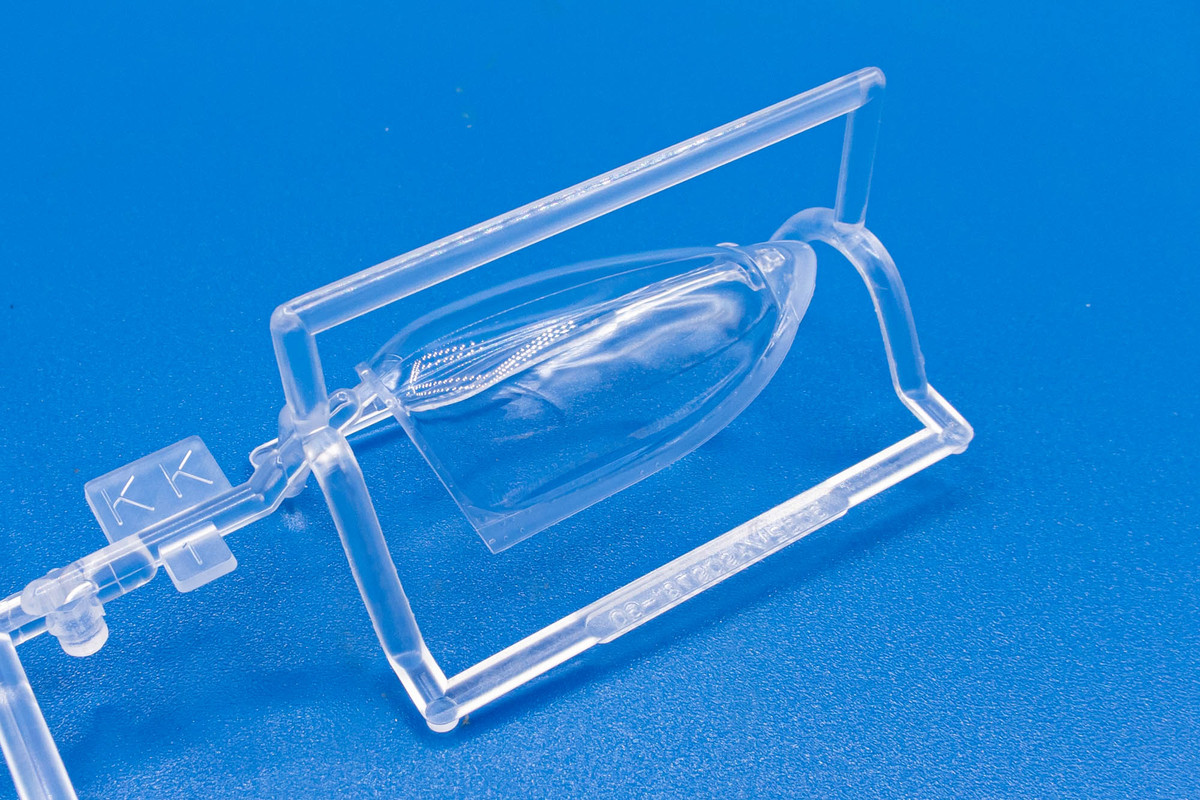
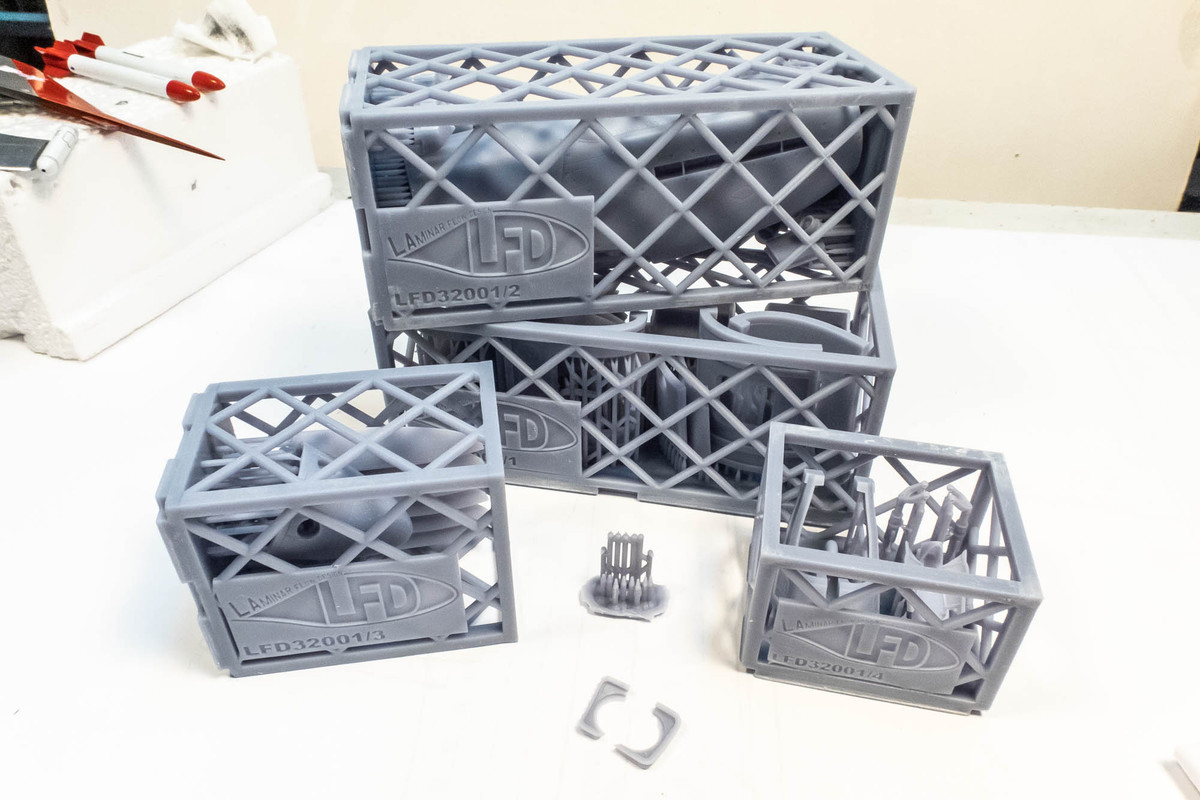
It packs a lot of stuff into a very small space, thanks to very clever production design. The parts are digitally printed within four separate cages to protect them during shipment. The four cages are designed to fit perfectly in the box.
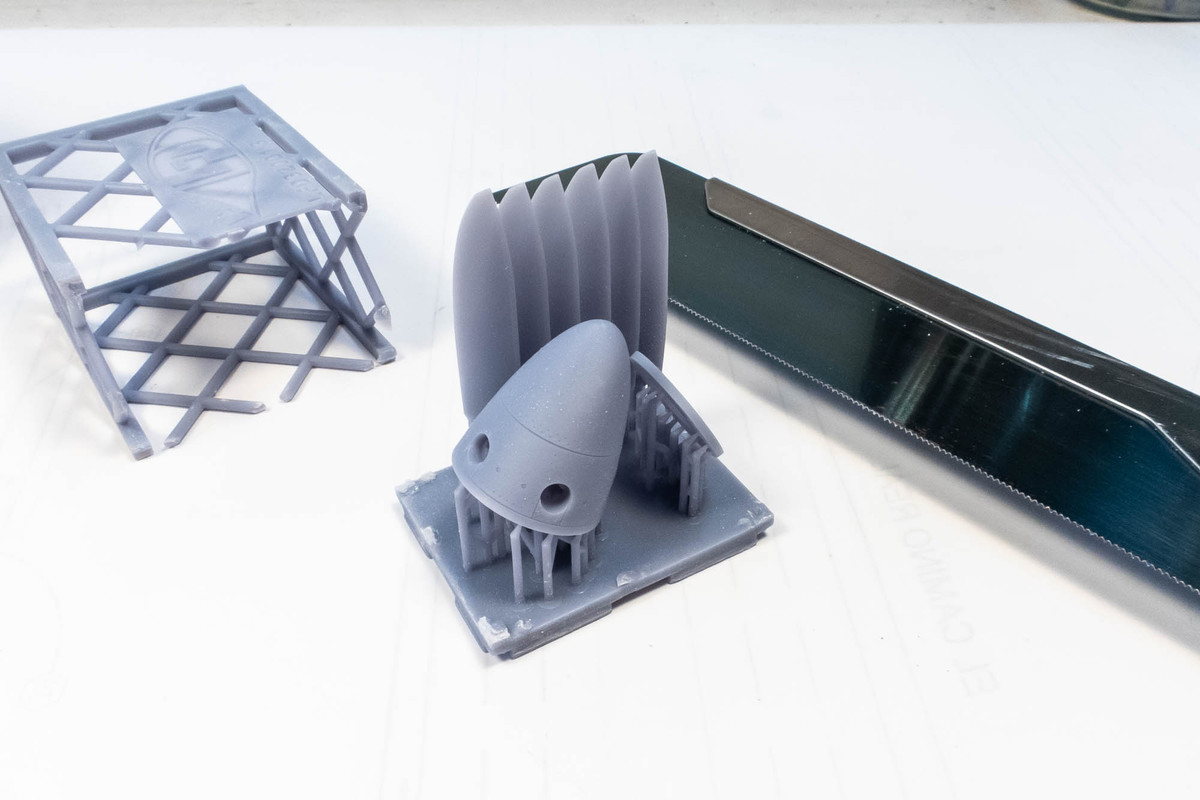
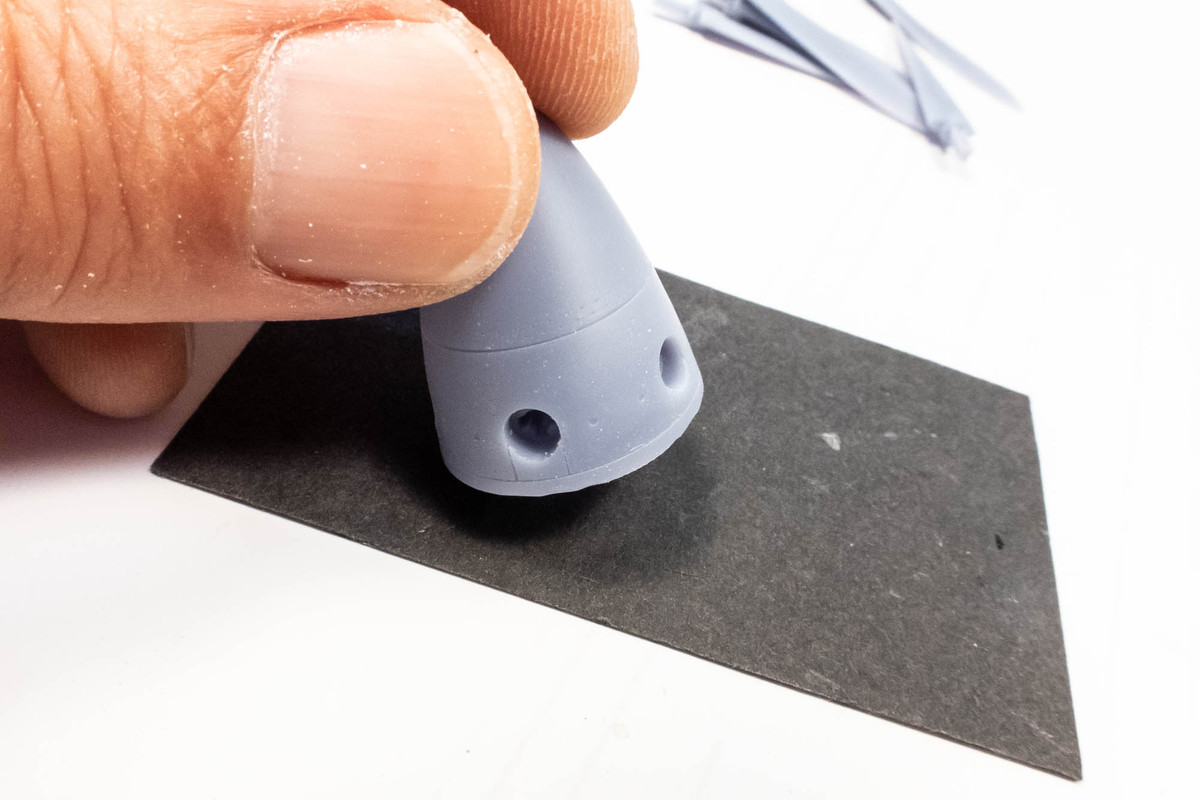
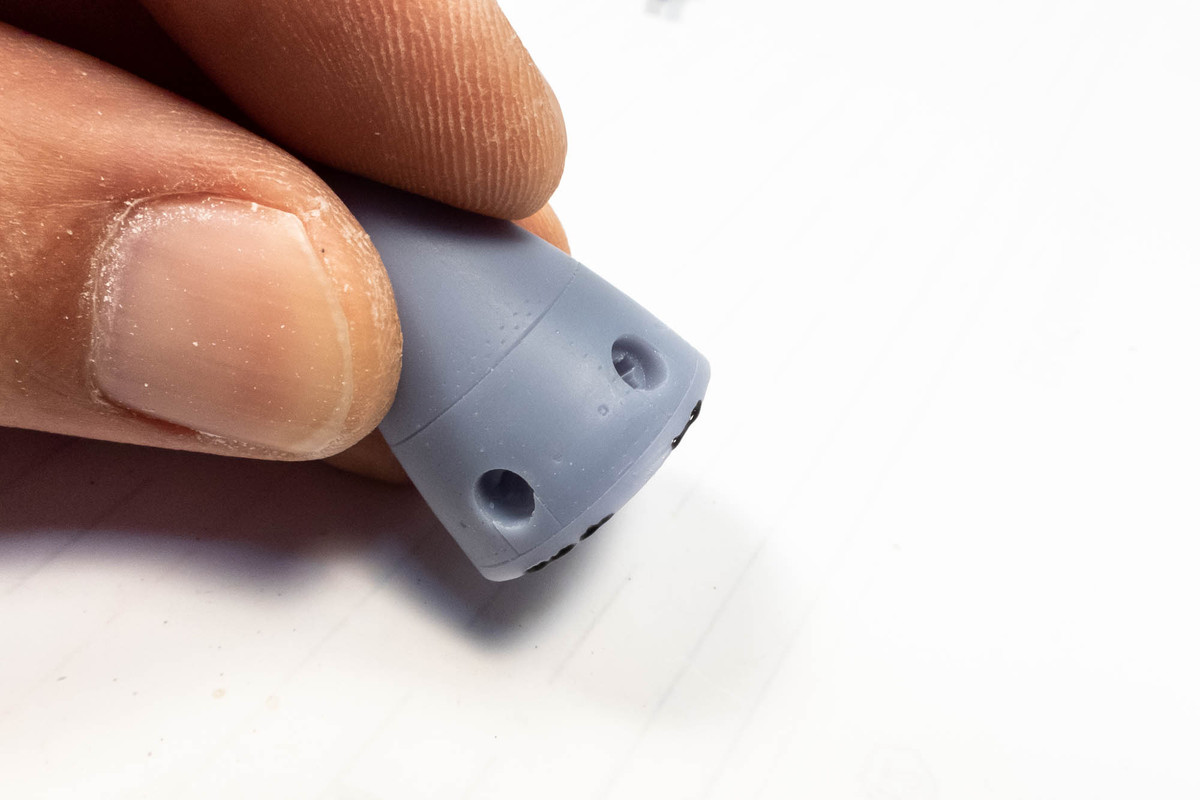
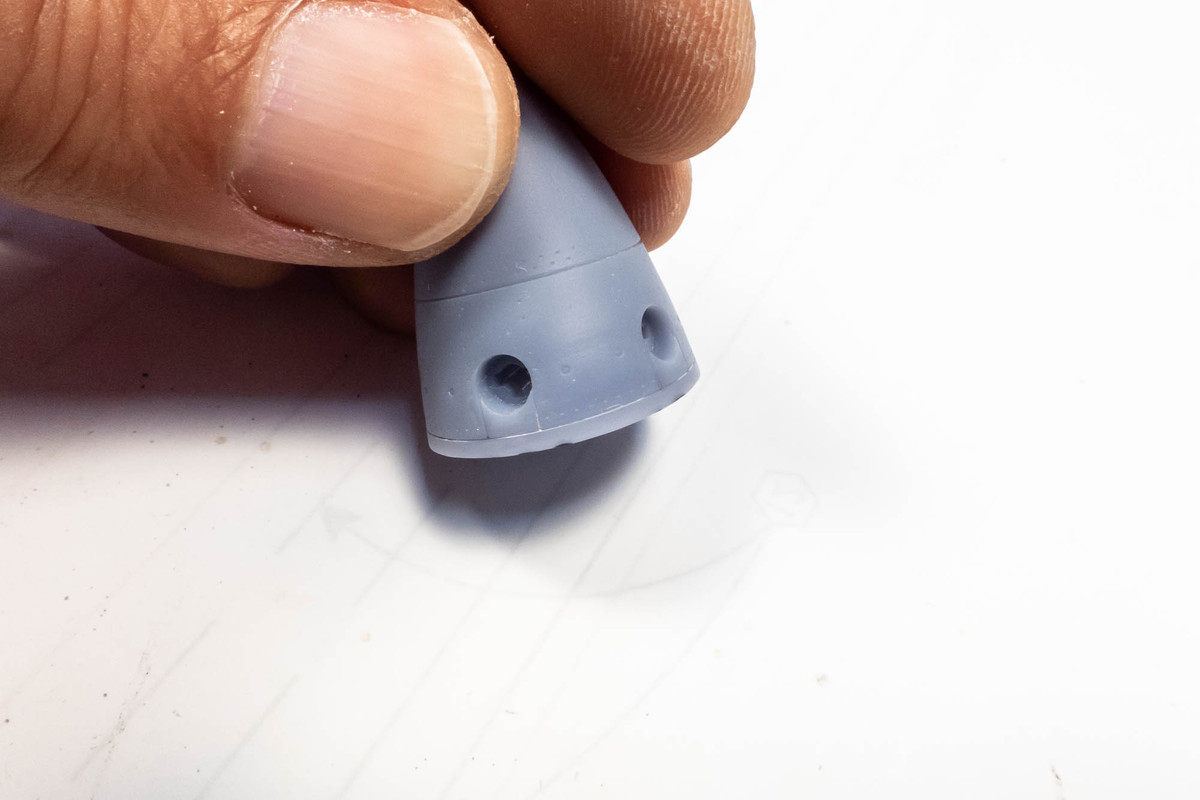
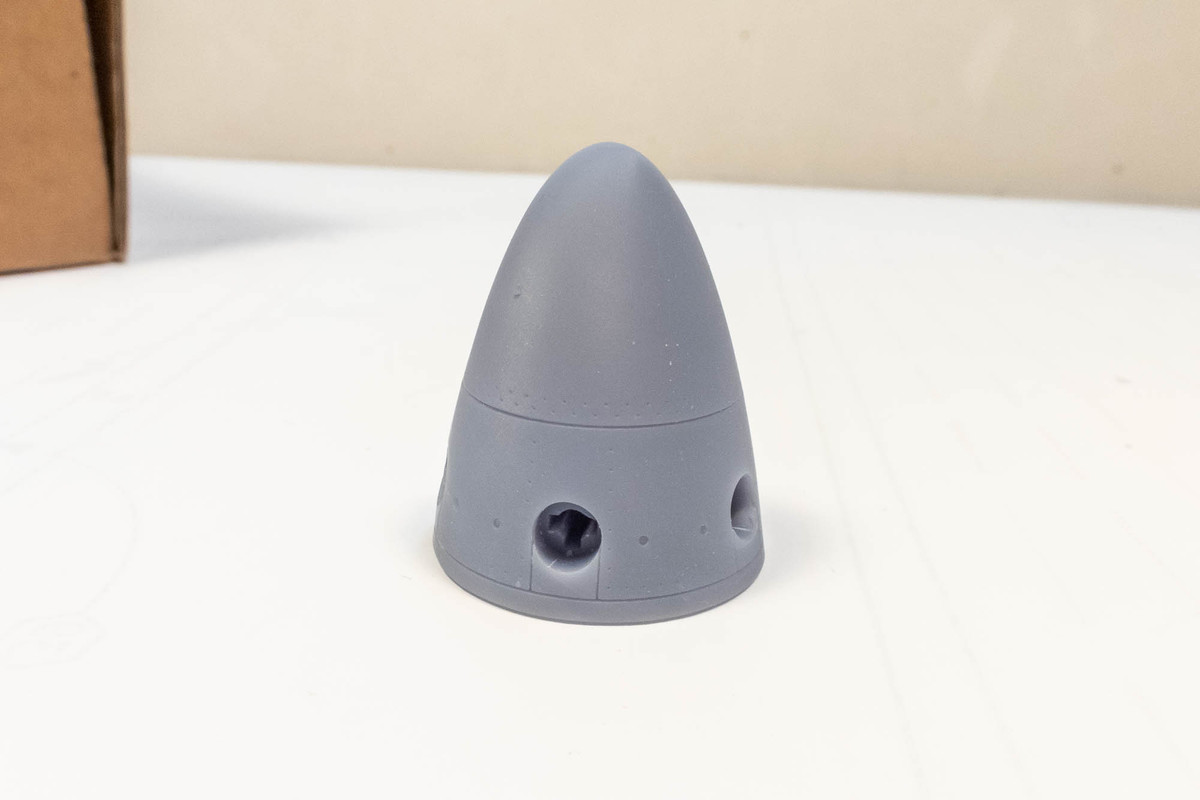
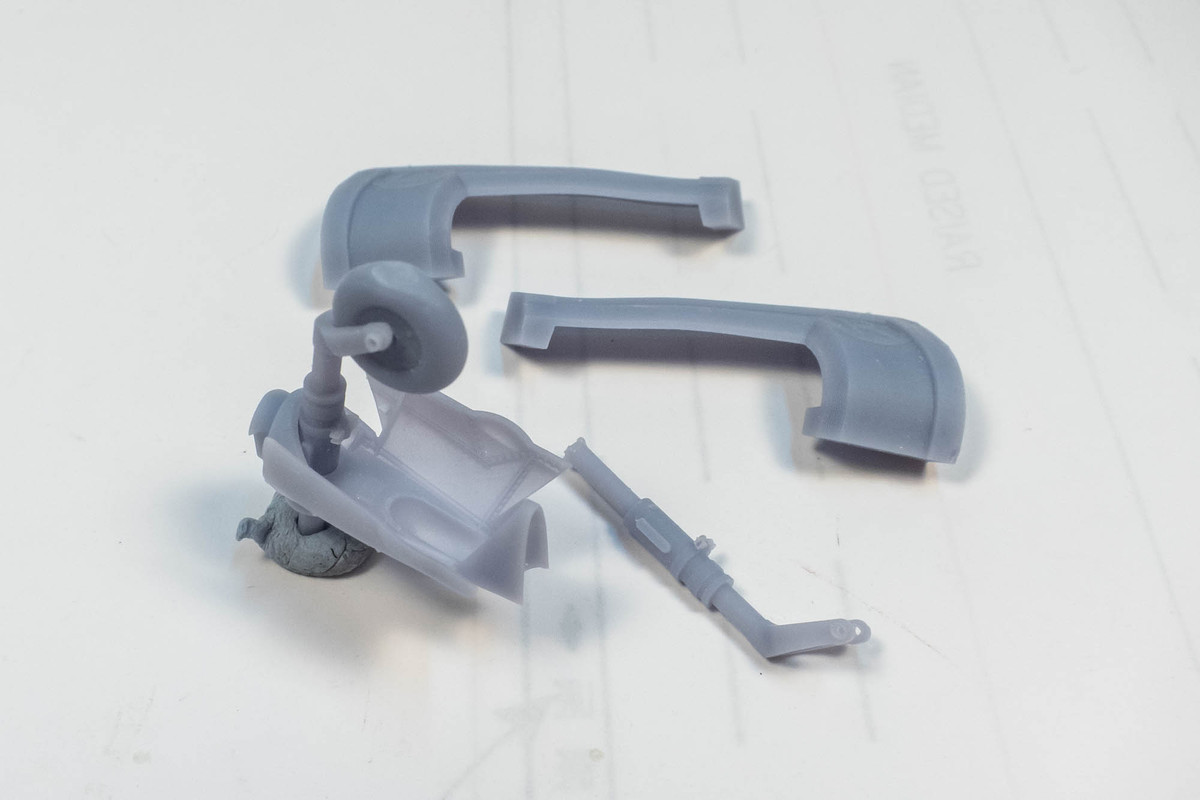
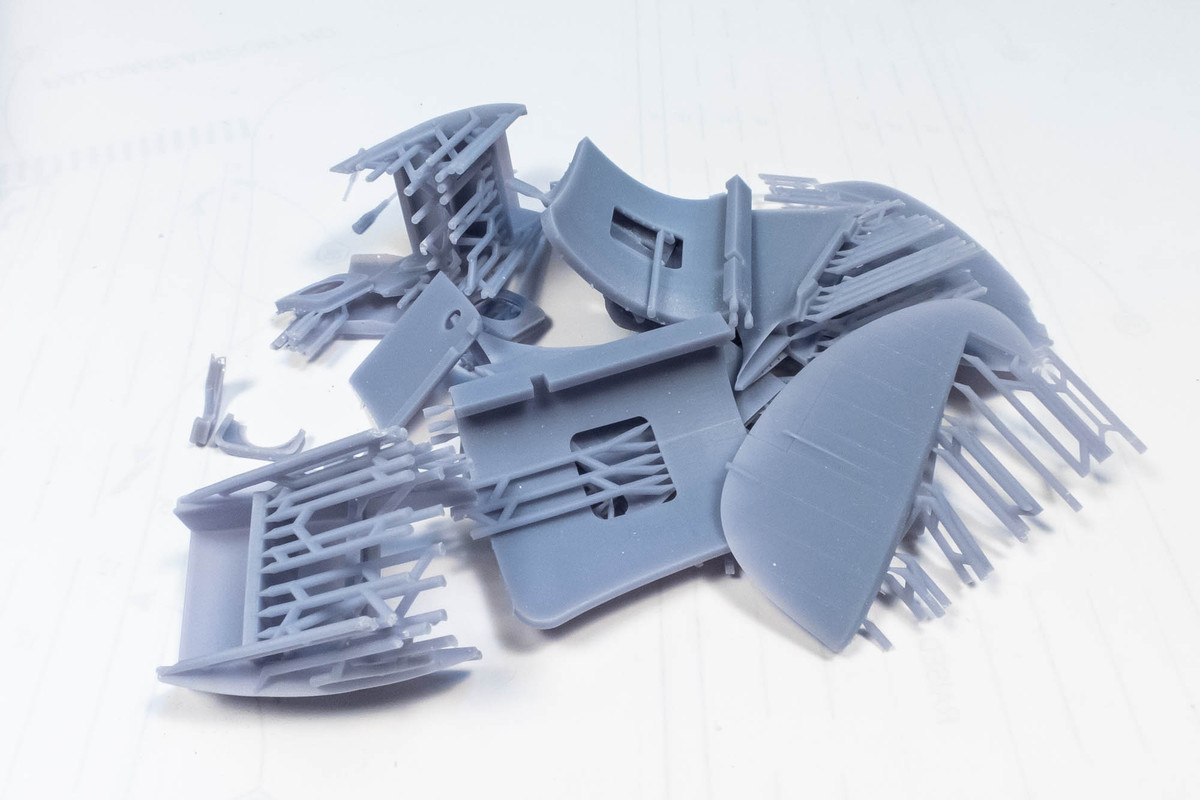
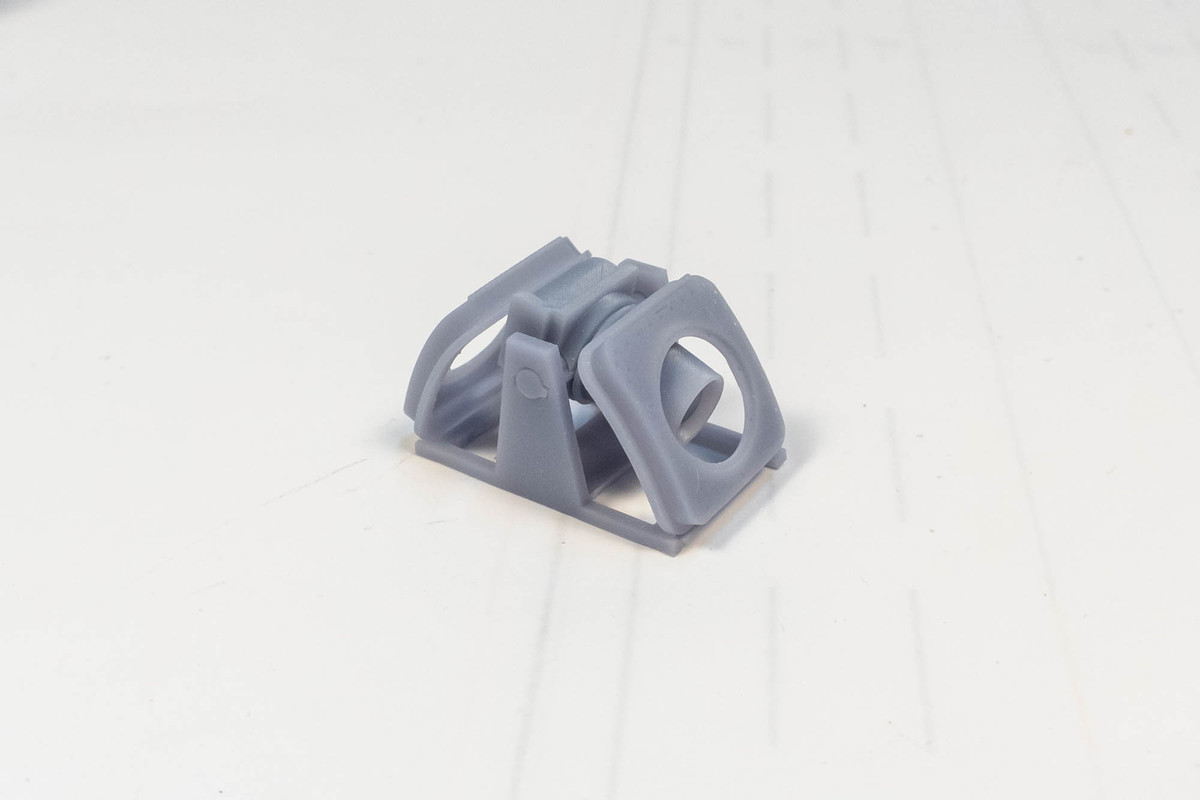
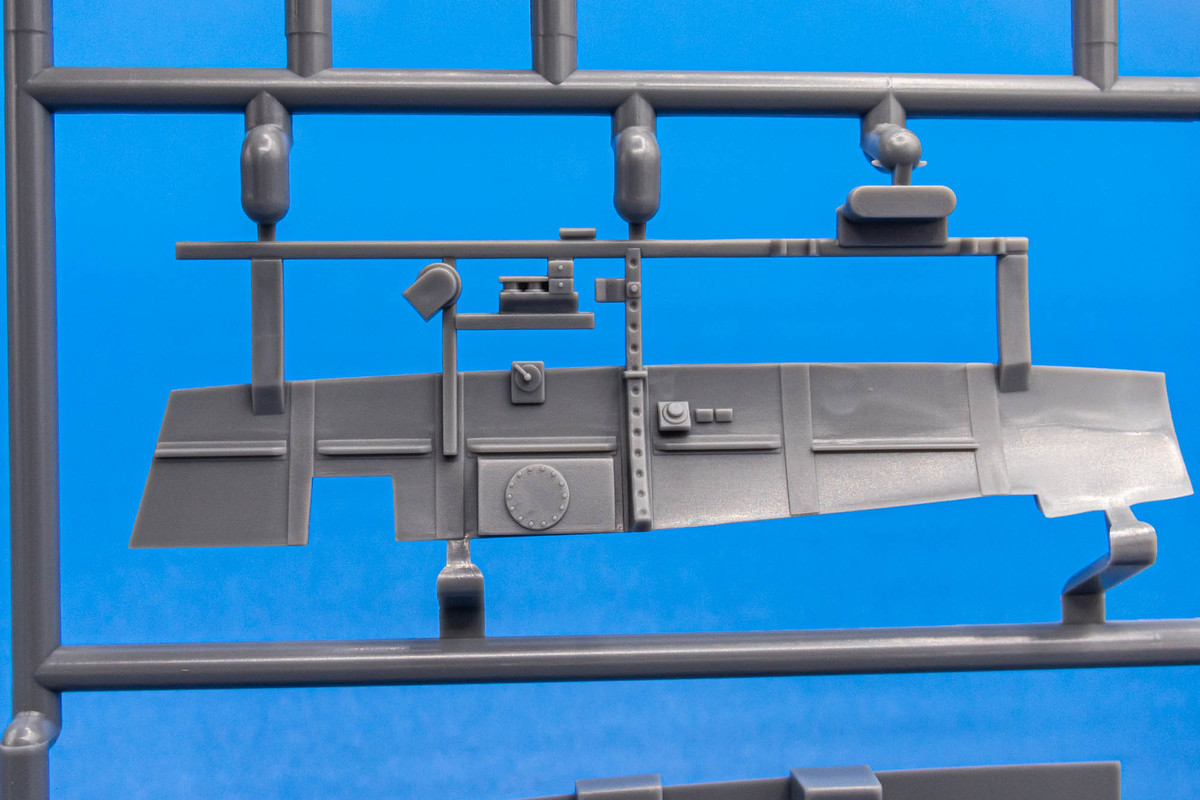
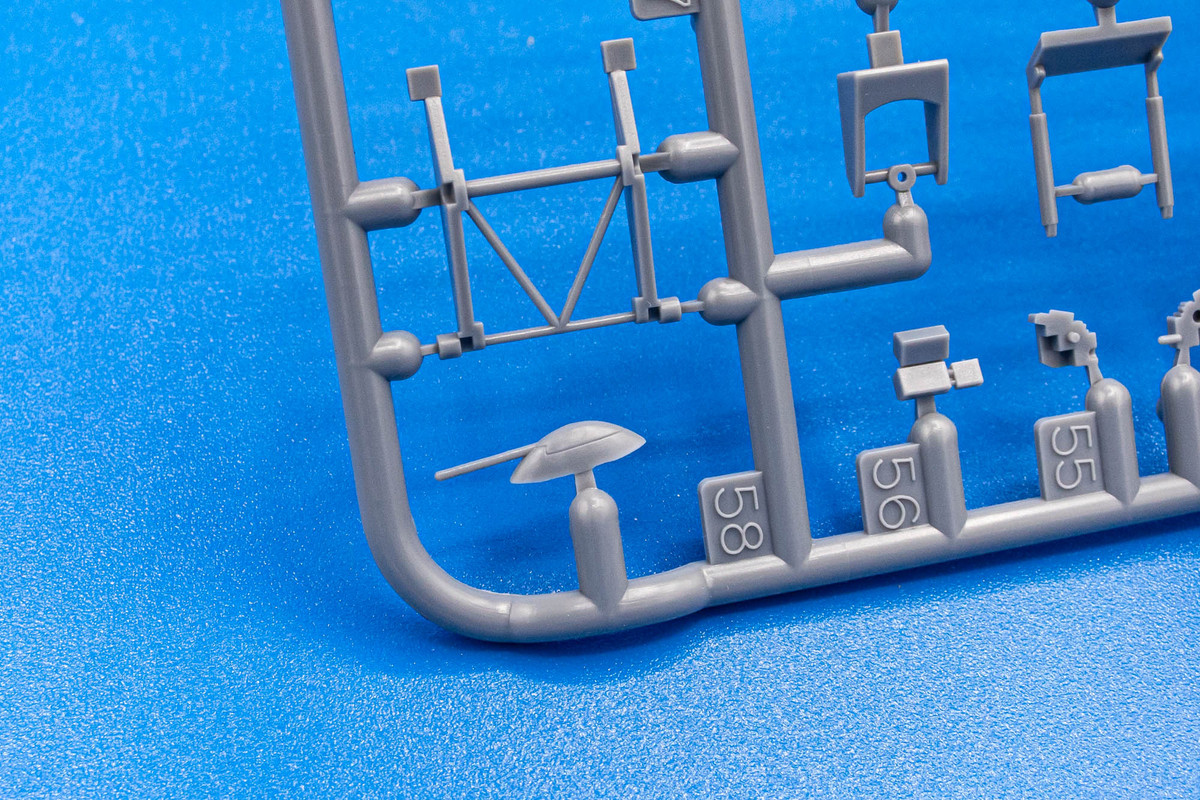
To my surprise, I found some loose parts in my box.
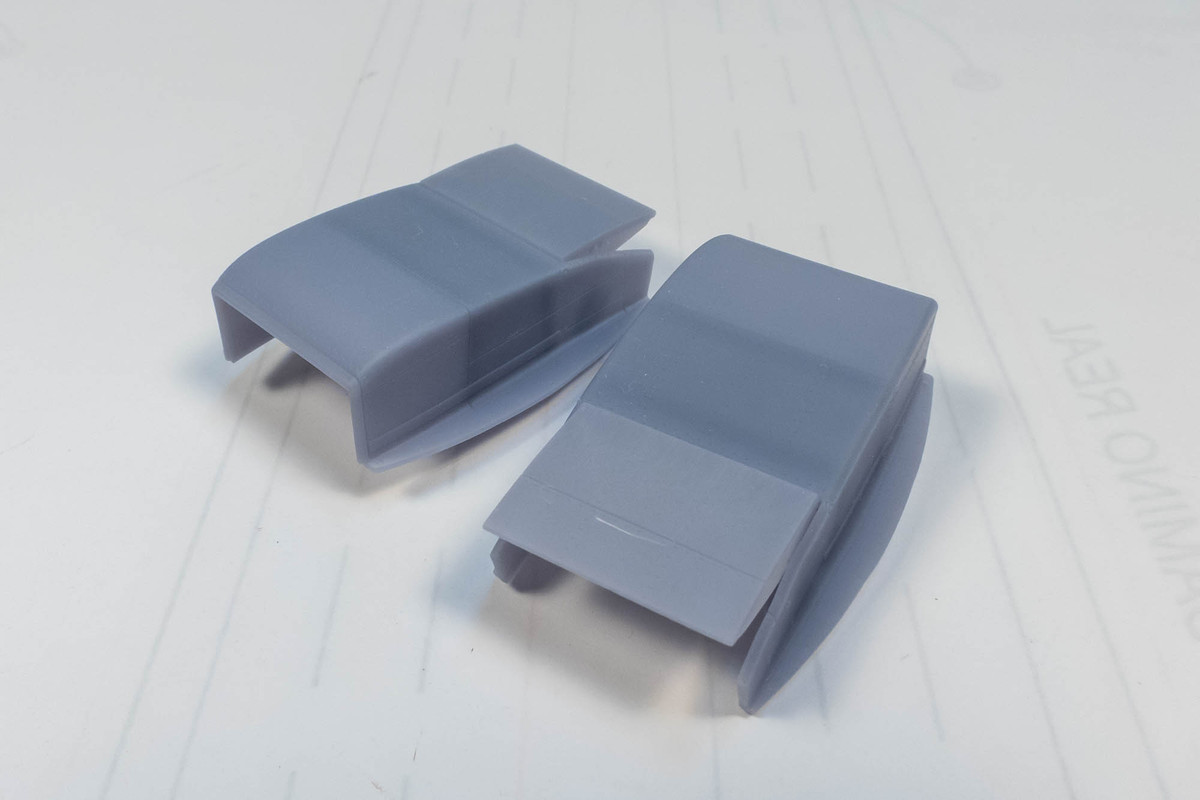
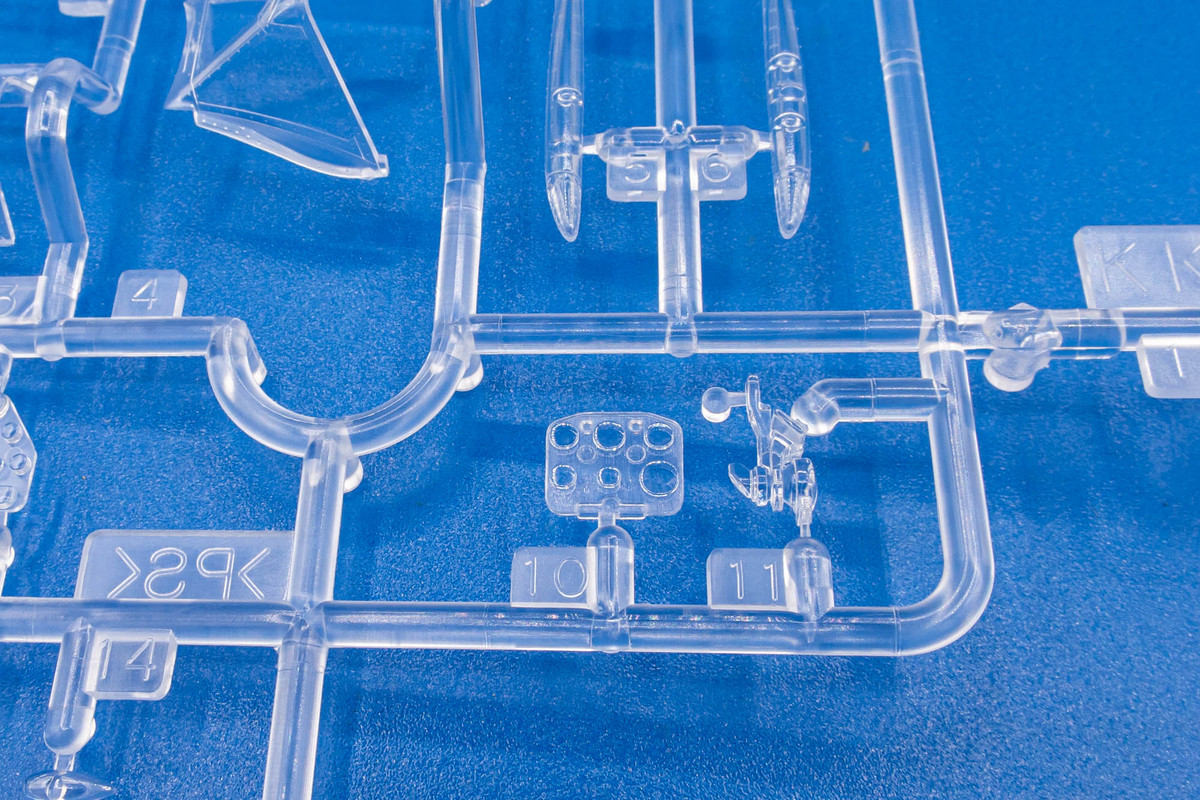
Strange... it appears to be one of the camera fairings for the FR variant.
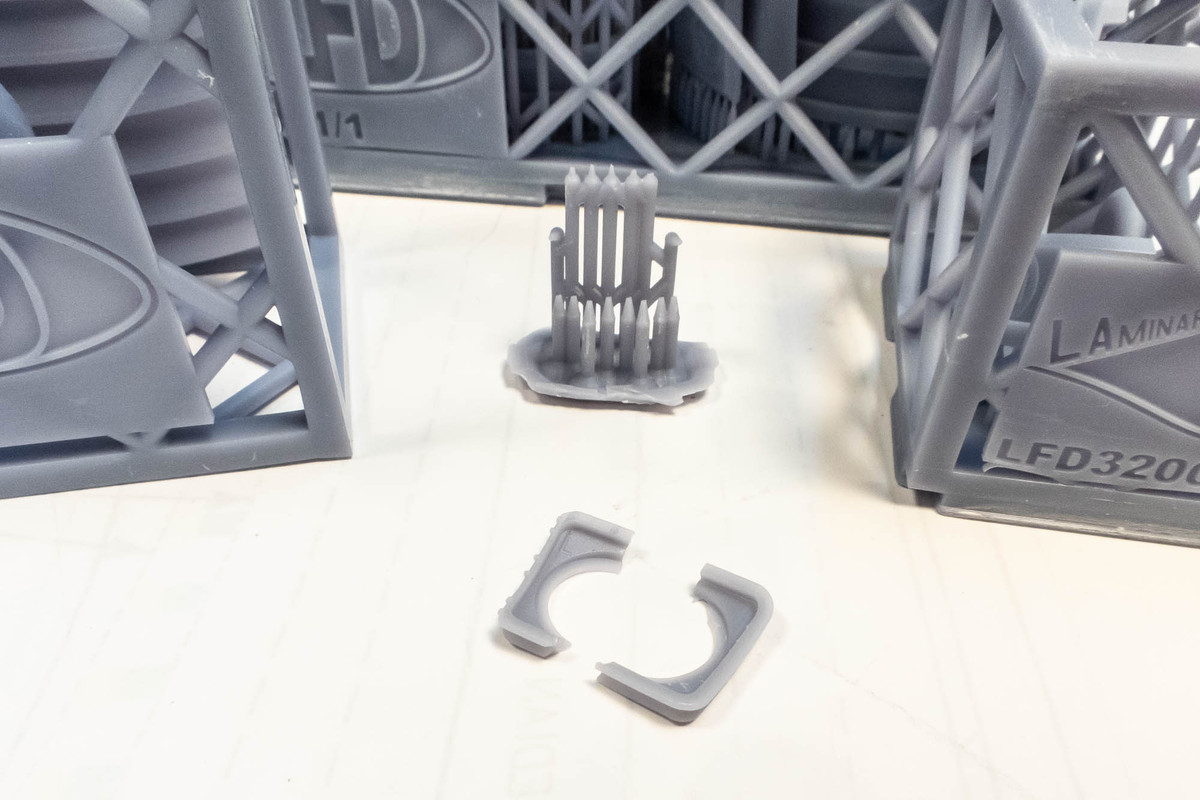
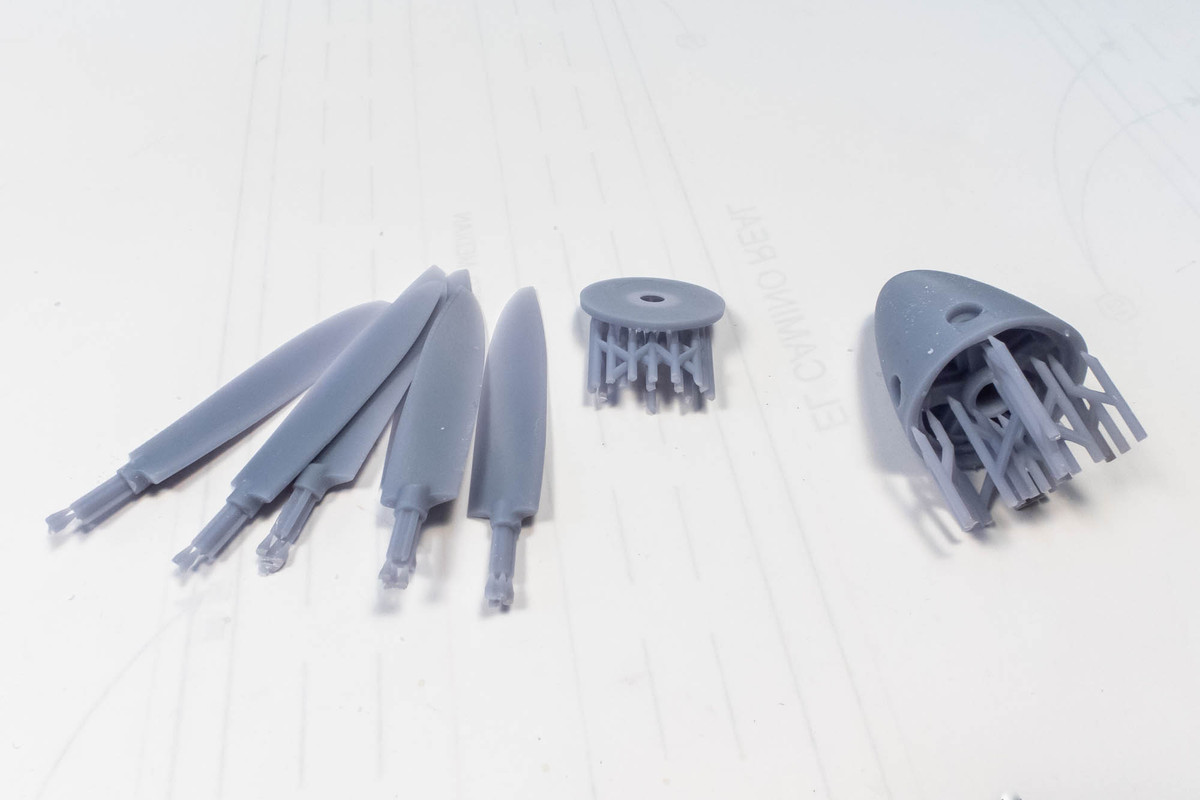
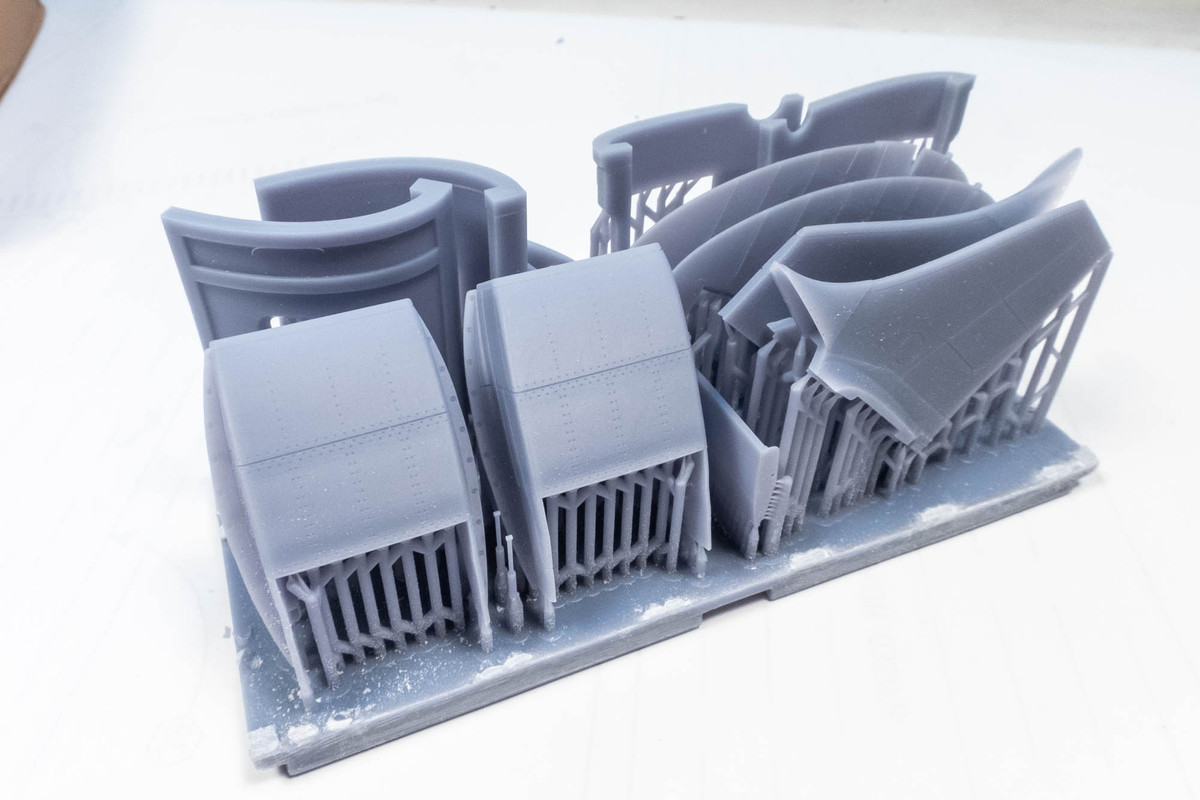
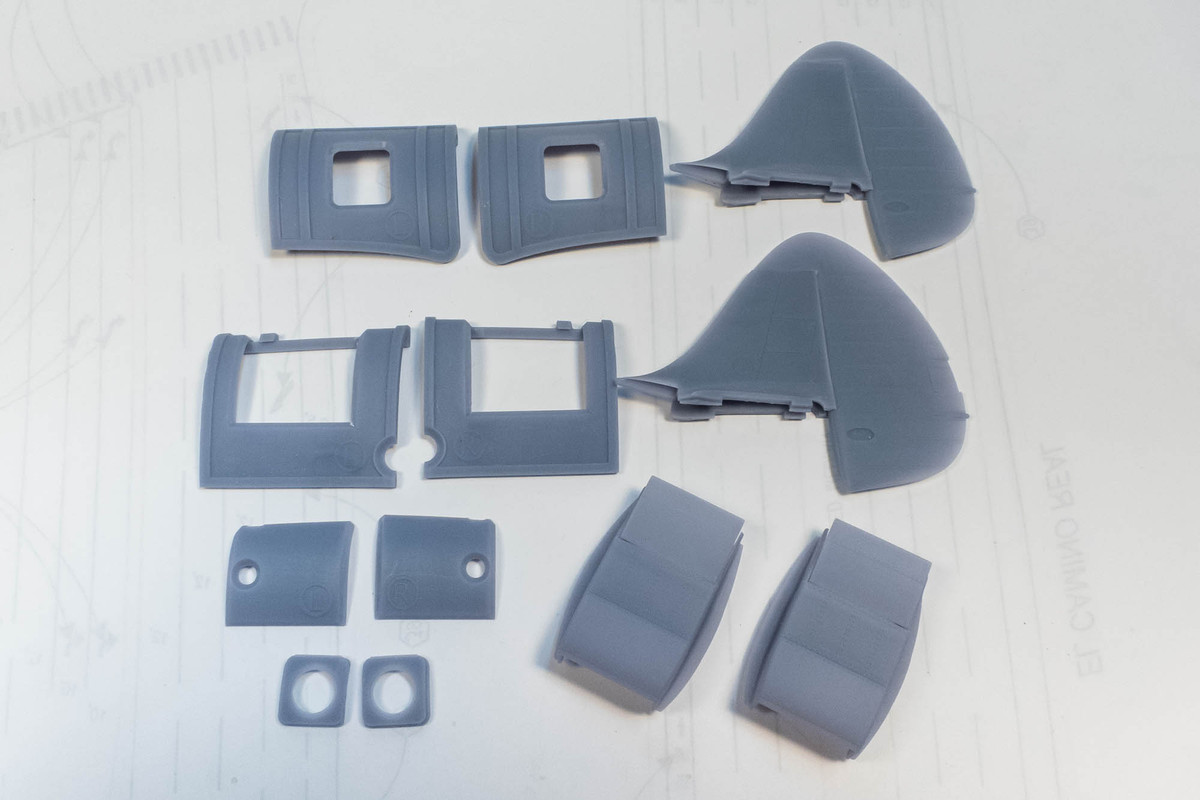
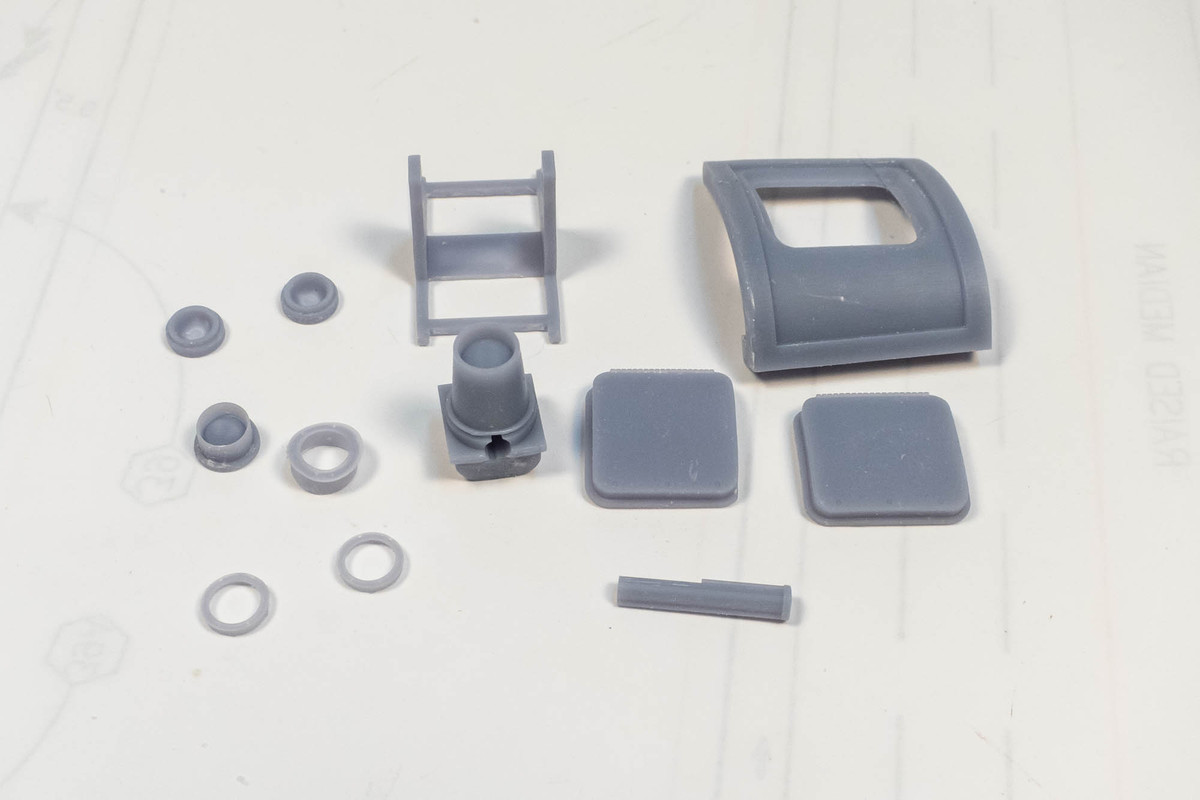
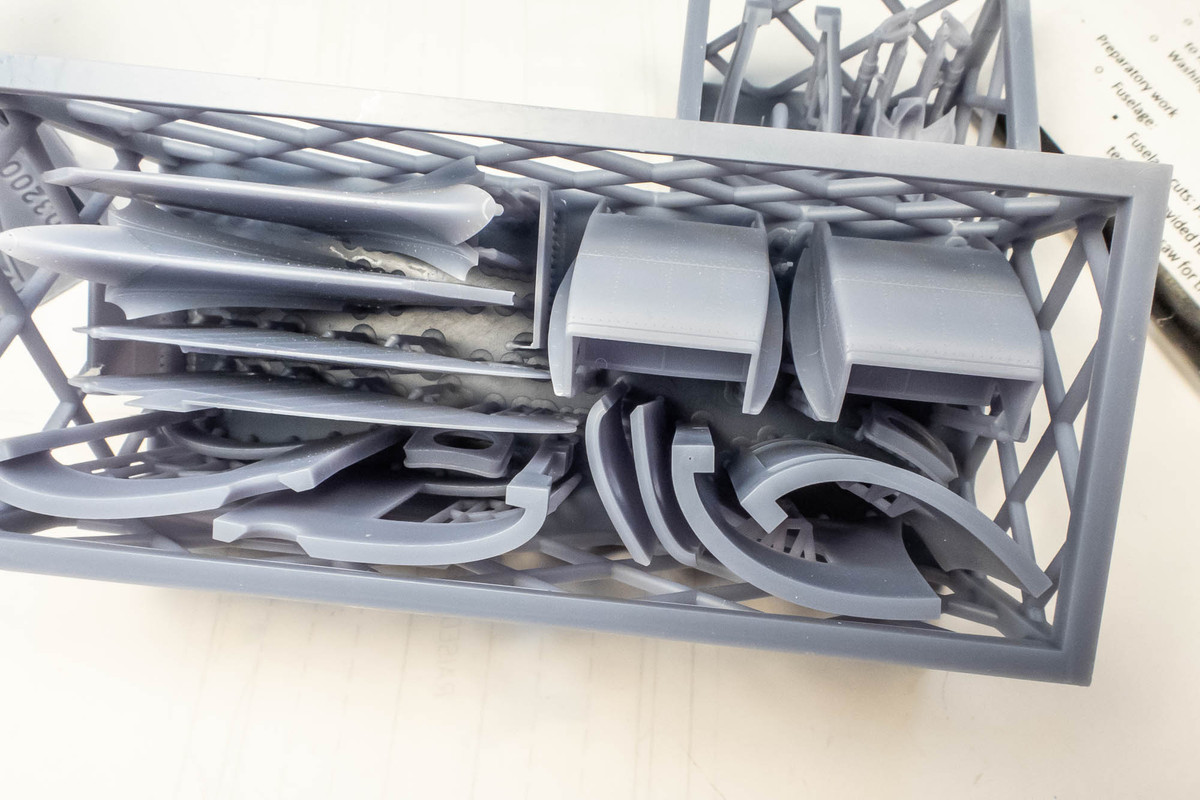
But when I peek into Cage #4, I can make out two camera fairings intact.
Unless there are more than two of these fairings in this set, I believe that the broken fairing and its support base got tangled up into this shipment during the packing phase. I'll contact Matthieu to inquire but I'm not too worried about it because my initial plans are for the fighter variant and I won't need the camera fairings anyway.
This is the aircraft that I've initially selected as my subject.
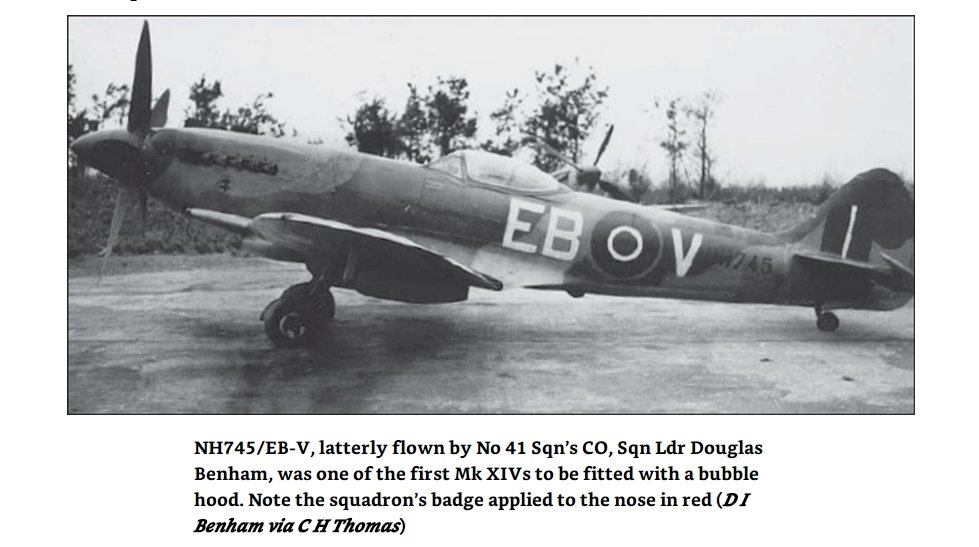
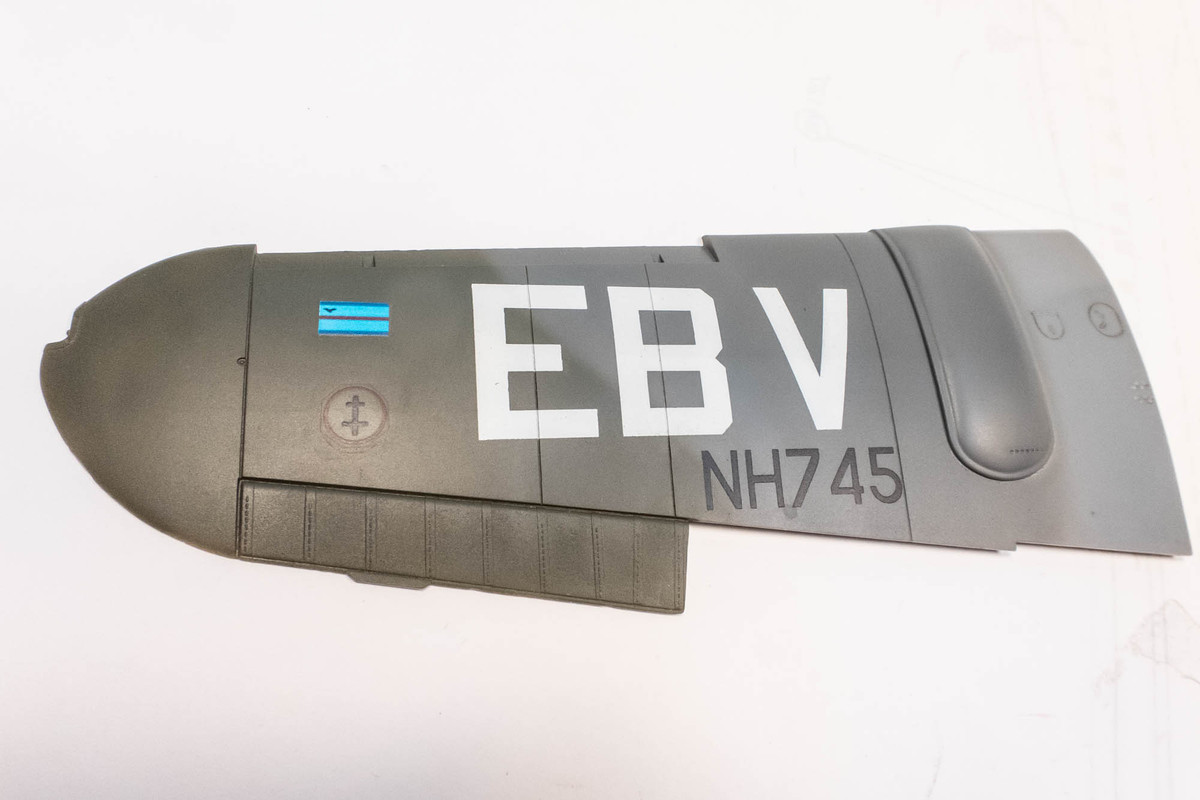
As an initial step, I wanted to see if I could fabricate the specific markings for this aircraft using a combination of custom cut masks for the larger markings and custom decals for the small squadron badge beneath the exhausts and the squadron leader flag under the windshield. The masks were created in AutoCAD and cut with a Silhouette Portrait and the decals were mocked up in Powerpoint and printed onto decal paper (Microscale).
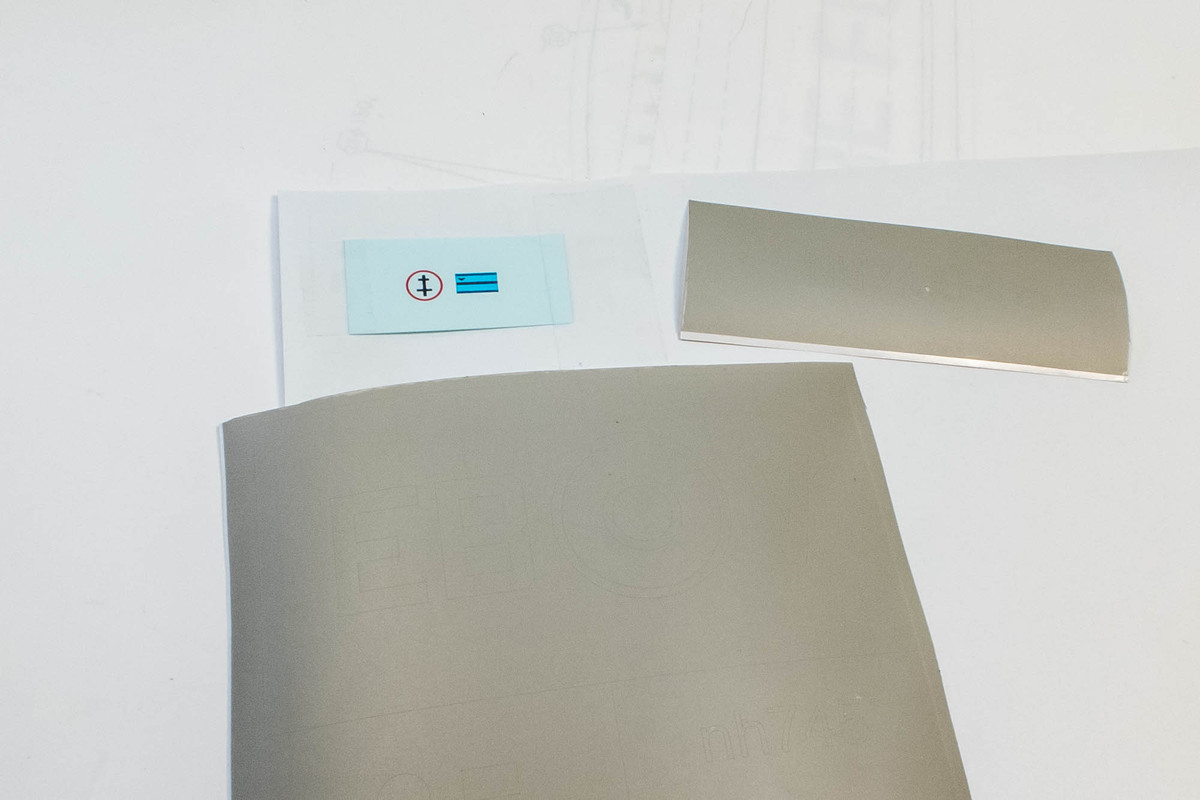
Due to the lack of opacity of the printed decal, I had to paint a white box as a background for the squadron leader flag.
That's it for now. This will be my first experience using 3D printed parts so I'll probably be asking some newbie questions along the way. Like... are these digitally printed parts made from resin? Do I treat them the same cast resin parts?
I've had the Tamiya XVIe kit on the shelf for several years now.
Prior to learning about the XIVe conversion, I was planning to build it as kitted and picked up a few aftermarket items from Barracuda, as well as some brass gun barrels from Master.
But today, I received this little box from Belgium!
It packs a lot of stuff into a very small space, thanks to very clever production design. The parts are digitally printed within four separate cages to protect them during shipment. The four cages are designed to fit perfectly in the box.
To my surprise, I found some loose parts in my box.
Strange... it appears to be one of the camera fairings for the FR variant.
But when I peek into Cage #4, I can make out two camera fairings intact.
Unless there are more than two of these fairings in this set, I believe that the broken fairing and its support base got tangled up into this shipment during the packing phase. I'll contact Matthieu to inquire but I'm not too worried about it because my initial plans are for the fighter variant and I won't need the camera fairings anyway.
This is the aircraft that I've initially selected as my subject.
As an initial step, I wanted to see if I could fabricate the specific markings for this aircraft using a combination of custom cut masks for the larger markings and custom decals for the small squadron badge beneath the exhausts and the squadron leader flag under the windshield. The masks were created in AutoCAD and cut with a Silhouette Portrait and the decals were mocked up in Powerpoint and printed onto decal paper (Microscale).
Due to the lack of opacity of the printed decal, I had to paint a white box as a background for the squadron leader flag.
That's it for now. This will be my first experience using 3D printed parts so I'll probably be asking some newbie questions along the way. Like... are these digitally printed parts made from resin? Do I treat them the same cast resin parts?