1/48 Eduard Bf 109E in Swedish Service (What-if)
-
Mopar Madness

- Junior Member
- Posts: 34
- Joined: Tue Dec 29, 2015 7:08 pm
- Location: North Texas
Re: 1/48 Eduard Bf 109E-4 Swedish (What-if)
What a great idea for a “what if”.
Chad
God, family, models.
At the plate: Something Luftwaffe...
On deck: Something Luftwaffe...
In the hole: Something Luftwaffe I’m sure!
God, family, models.
At the plate: Something Luftwaffe...
On deck: Something Luftwaffe...
In the hole: Something Luftwaffe I’m sure!
-
Handiabled

- Master Member
- Posts: 591
- Joined: Sat Mar 15, 2014 7:13 am
Re: 1/48 Eduard Bf 109E-4 Swedish (What-if)
I said it before and I'll say it again,, you are a 109 building machine !! Looks wonderful !

Re: 1/48 Eduard Bf 109E-4 Swedish (What-if)
Thanks Mopar!
Here is a shot of the Brassin tail wheel, a big improvement over the original part if you ask me and I like how it is way stronger too!

As soon as the gloss is cured I will be able to wash then button up the fuselage. Just waiting on the Quickboost radiators to arrive for the lower wing...
What can I say, I just love the lines of the 109!Handiabled wrote:I said it before and I'll say it again,, you are a 109 building machine !! Looks wonderful !
Here is a shot of the Brassin tail wheel, a big improvement over the original part if you ask me and I like how it is way stronger too!
As soon as the gloss is cured I will be able to wash then button up the fuselage. Just waiting on the Quickboost radiators to arrive for the lower wing...
Messerschmitt 109 Addict
Re: 1/48 Eduard Bf 109E-4 Swedish (What-if)
Update:
Fuselage halves are together now, hold off on installing the cockpit floor to add cement to the aft fuselage through the lower opening. I use the Mr Hobby black and yellow label cement since it is a strong bond and really reinforces the joint weld, then I follow up with Tamiya extra thin cement along the fuselage seam to finalize the bond with out changing the surface, no filler needed here!
Now to the weak point of the kit. Every kit out there has one and for the Eduard Emil it is the lower engine cowl. This is where I wish they did the lower cowl as a one piece since out of four builds (five over all) it fights a little differently each time. That is with how much that seam likes to keep on trying to show it’s ugly face. This time I think I will have to succumb to filler. The other downfall is you lose all the details that are near the seam... Now if you have a scribe, Rosie the Riveter in 0.65mm and the Eduard Detail Set EDU48774 for the PE access cover (this should be supplied in every Emil kit), then it’s no big deal. If you don’t then you are gonna lose rivet detail and are gonna have to take care not to lose the access panel detail and the panel line detail. The picture below it’s gone and one line a rivets has applied.

Note: for the closed up build, DO NOT install the radiator assembly into the lower cowl just yet like the instructions tell you! Hold off until you get the cowl fixed from that seam! You can try as hard as you want to get the lowest part flush, it won’t matter, it will show it’s ugly head not matter what. Focus on the front most part to be as flush as possible. Sanding the lower part is not that bad really. Once the lower is good to go, then proceed to dry fit the radiator and it should be a drop in fit (which it won’t) and trim the side tabs of the radiator til it drops into place with no force, it should literally drop in and click, then cement from the top side.
Fuselage halves are together now, hold off on installing the cockpit floor to add cement to the aft fuselage through the lower opening. I use the Mr Hobby black and yellow label cement since it is a strong bond and really reinforces the joint weld, then I follow up with Tamiya extra thin cement along the fuselage seam to finalize the bond with out changing the surface, no filler needed here!
Now to the weak point of the kit. Every kit out there has one and for the Eduard Emil it is the lower engine cowl. This is where I wish they did the lower cowl as a one piece since out of four builds (five over all) it fights a little differently each time. That is with how much that seam likes to keep on trying to show it’s ugly face. This time I think I will have to succumb to filler. The other downfall is you lose all the details that are near the seam... Now if you have a scribe, Rosie the Riveter in 0.65mm and the Eduard Detail Set EDU48774 for the PE access cover (this should be supplied in every Emil kit), then it’s no big deal. If you don’t then you are gonna lose rivet detail and are gonna have to take care not to lose the access panel detail and the panel line detail. The picture below it’s gone and one line a rivets has applied.
Note: for the closed up build, DO NOT install the radiator assembly into the lower cowl just yet like the instructions tell you! Hold off until you get the cowl fixed from that seam! You can try as hard as you want to get the lowest part flush, it won’t matter, it will show it’s ugly head not matter what. Focus on the front most part to be as flush as possible. Sanding the lower part is not that bad really. Once the lower is good to go, then proceed to dry fit the radiator and it should be a drop in fit (which it won’t) and trim the side tabs of the radiator til it drops into place with no force, it should literally drop in and click, then cement from the top side.
Messerschmitt 109 Addict
Re: 1/48 Eduard Bf 109E-4 Swedish (What-if)
Another little update:
How I add the either missing, lost, or barely visible rivet detail like on the spine and belly of the fuselage that end up getting lost through paint layers since they are very shallow to begin with. I spray down some of the black Mr Surfacer to help see the center line I want to run along, rolling slowly with it. Tape is too distracting for me and the black paint works better to my eyes to free hand the Rosie the Riveter (size is 0.65 on the Eduard Emil).

The little elongated notches you see on the wheel is a guide to place that over the panel line to get a nice placement that wont land in the panel line it self. Pretty easy tool to use, and you can lightly sand the rivets to match the surrounding rivets in the area!

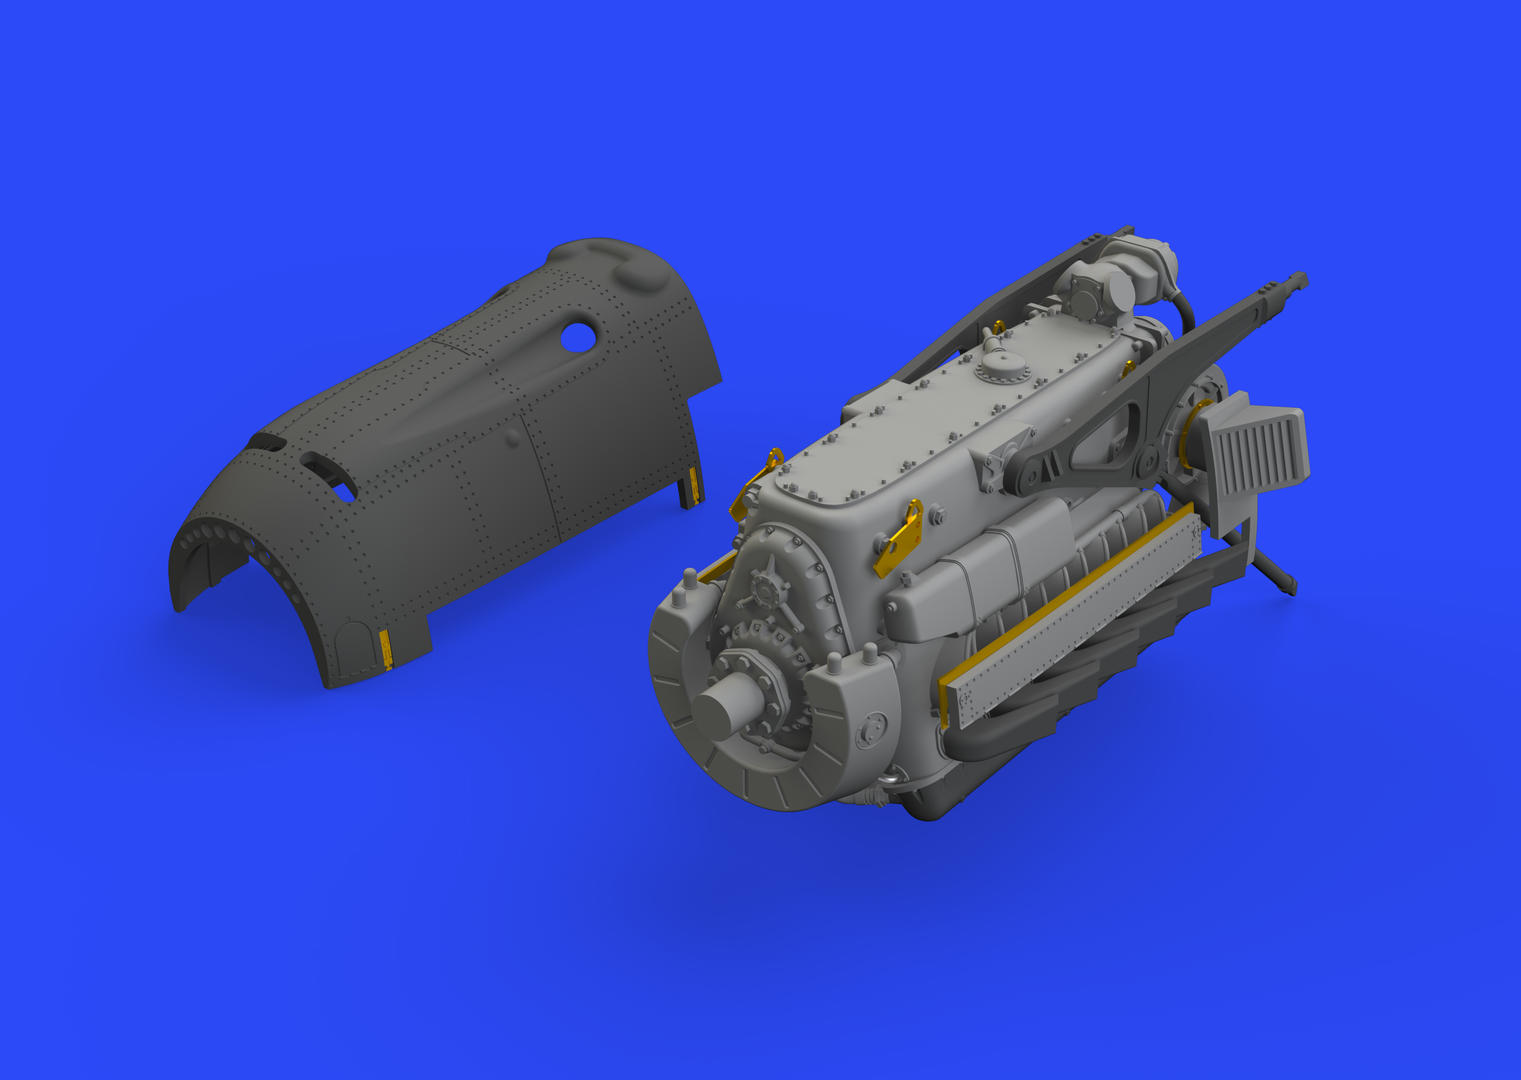
Now for my (as in my mistake, gotta have one in each build apparently) whoops! During the process of removing the seam from the lower radiator cowl I ending up sanding too much in the wrong spot. Never sanded that area before and for some reason I did it this time... it on the lower cowl where it mates up to the wing, now it dips before touching the wing and did not notice til after I installed the wing to the fuselage... I only looked at it once before calling it quits for the night but I will have to take the lower cowl off from another kit to fix this. Guess a future build will need a full resin engine and salvage what is good of this cowl...
For a future build? A more exposed Emil later down the road???
I have an E-3 I can snag the cowl from and then build it exposed like the 109 (not the guys..)

Until I decide what route I will go, here is just a progress photo, upper cowl is just sitting in place.

How I add the either missing, lost, or barely visible rivet detail like on the spine and belly of the fuselage that end up getting lost through paint layers since they are very shallow to begin with. I spray down some of the black Mr Surfacer to help see the center line I want to run along, rolling slowly with it. Tape is too distracting for me and the black paint works better to my eyes to free hand the Rosie the Riveter (size is 0.65 on the Eduard Emil).
The little elongated notches you see on the wheel is a guide to place that over the panel line to get a nice placement that wont land in the panel line it self. Pretty easy tool to use, and you can lightly sand the rivets to match the surrounding rivets in the area!
Now for my (as in my mistake, gotta have one in each build apparently) whoops! During the process of removing the seam from the lower radiator cowl I ending up sanding too much in the wrong spot. Never sanded that area before and for some reason I did it this time... it on the lower cowl where it mates up to the wing, now it dips before touching the wing and did not notice til after I installed the wing to the fuselage... I only looked at it once before calling it quits for the night but I will have to take the lower cowl off from another kit to fix this. Guess a future build will need a full resin engine and salvage what is good of this cowl...
For a future build? A more exposed Emil later down the road???
I have an E-3 I can snag the cowl from and then build it exposed like the 109 (not the guys..)
Until I decide what route I will go, here is just a progress photo, upper cowl is just sitting in place.
Messerschmitt 109 Addict

Re: 1/48 Eduard Bf 109E-4 Swedish (What-if)
That's a nice straight line you got free hand.
March as one, Don't look back
Odin's sons... Attack!
Unleash hell! Do not repent! Warfare grants us no lament
Let your weapons slash and tear This is no place for fear
Hold the lines! Move as one! In unity our victory's won
Our shields will form a mighty wall
United we shall never fall
Odin's sons... Attack!
Unleash hell! Do not repent! Warfare grants us no lament
Let your weapons slash and tear This is no place for fear
Hold the lines! Move as one! In unity our victory's won
Our shields will form a mighty wall
United we shall never fall
-
Stikpusher

- Moderator
- Posts: 21091
- Joined: Sat Apr 05, 2014 8:37 pm
- Location: Ceti Alpha 5
Re: 1/48 Eduard Bf 109E-4 Swedish (What-if)
That is taking on the classic Emil shape now. 
"Surely I have made my meaning plain? I intend to avenge myself upon you, Admiral. I have deprived your ship of power, and when I swing 'round, I intend to deprive you of your life."
FLSM
FLSM
-
BlackSheep214

- Elite Member
- Posts: 13306
- Joined: Sun Apr 06, 2014 8:47 pm
Re: 1/48 Eduard Bf 109E-4 Swedish (What-if)
Looking good so far... 
“Who controls the skies, controls the fate of this Earth”
Author unknown- 352nd Fighter Group, Blue-Nosed Bastards of Bodney
“Send one plane it’s a sortie; send two planes it’s a flight; send four planes it’s a test of airpower. - Richard Kohn
Author unknown- 352nd Fighter Group, Blue-Nosed Bastards of Bodney
“Send one plane it’s a sortie; send two planes it’s a flight; send four planes it’s a test of airpower. - Richard Kohn
Re: 1/48 Eduard Bf 109E-4 Swedish (What-if)
Thanks gents but now I will reveal the ugly I did.... Smoothed out the cowl, had to re-scribe the panel line, add the rivet detail lost and the it struck me like this: 
Here is one I did and notice the lower cowl mated (the kit it is one piece):

Let that sink in your mind, then compare to this:


I may be over reacting but the solution to fix this is cut the lower cowl off and transplant from the donor. Should go really good or could be a disaster! Gotta take risks sometimes..’
Here is one I did and notice the lower cowl mated (the kit it is one piece):
Let that sink in your mind, then compare to this:
I may be over reacting but the solution to fix this is cut the lower cowl off and transplant from the donor. Should go really good or could be a disaster! Gotta take risks sometimes..’
Messerschmitt 109 Addict
Re: 1/48 Eduard Bf 109E-4 Swedish (What-if)
No turning back now! But not to worry, the sacrifice will go for a good cause and my Swiss Emil will get love too (that has been in the box since the Royal Class days!! :
WARNING! Hold off on installing the fuselage gun cover (part in front of the windscreen / front canopy piece) until AFTER installing the windscreen. Found an issue I was having

Fresh blade, and continuous cuts down the panel line made the first part easy, getting the junk part off will need more care!
Well Part II is done....

The important part is Part III and whether this Emil will accept the transplant?!?!
It’s a success!

WARNING! Hold off on installing the fuselage gun cover (part in front of the windscreen / front canopy piece) until AFTER installing the windscreen. Found an issue I was having
Fresh blade, and continuous cuts down the panel line made the first part easy, getting the junk part off will need more care!
Well Part II is done....
The important part is Part III and whether this Emil will accept the transplant?!?!
It’s a success!
Last edited by pzl66 on Sun Jul 14, 2019 7:13 pm, edited 1 time in total.
Messerschmitt 109 Addict