1/32 Revell He111 with HPH cutaway

Post your work in progress of your aircraft builds in here.
kahunaminor
Advanced Member
Posts: 375
Joined: Thu Jul 07, 2016 4:53 am

Re: 1/32 Revell He111 with HPH cutaway

Post by kahunaminor »

So twelve days of procrastination and I have finally started work on the fuel filler ports. The tape template was removed from the wing and placed onto a piece of 0.50mm styrene sheet. I then pinpointed the panel corners, centre of the open fuel cell doors and other detail using a needle point scribe. The template was removed and the dots joined to make the panel outline, with details relief brought out using a 0.5mm mechanical pencil. This way, I still had the intact template if I made an error:

Image

Image


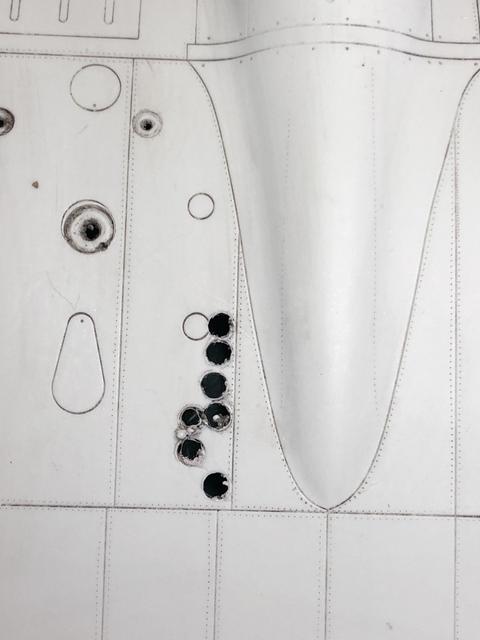
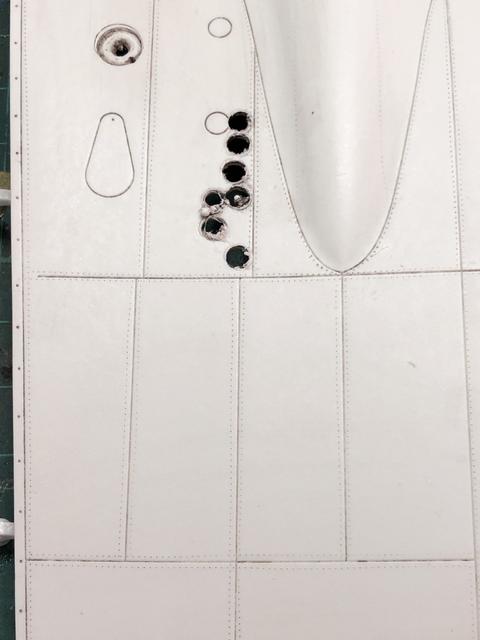
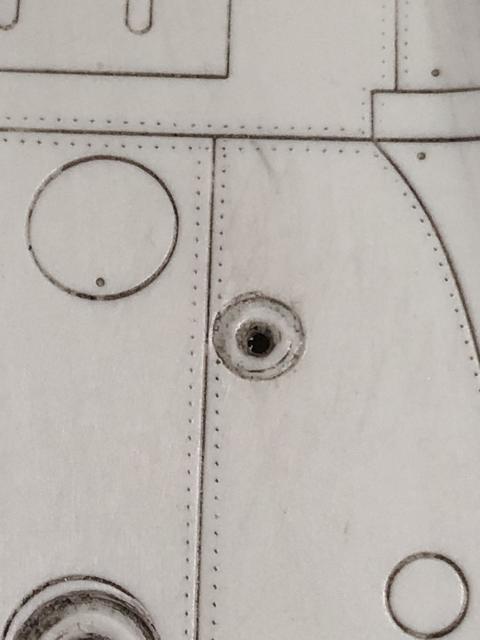
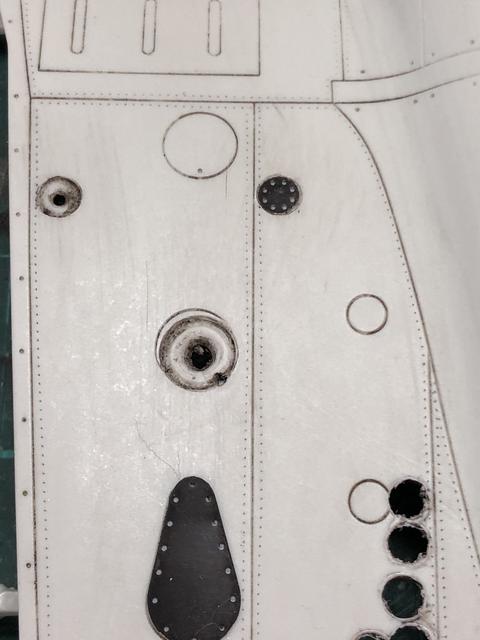
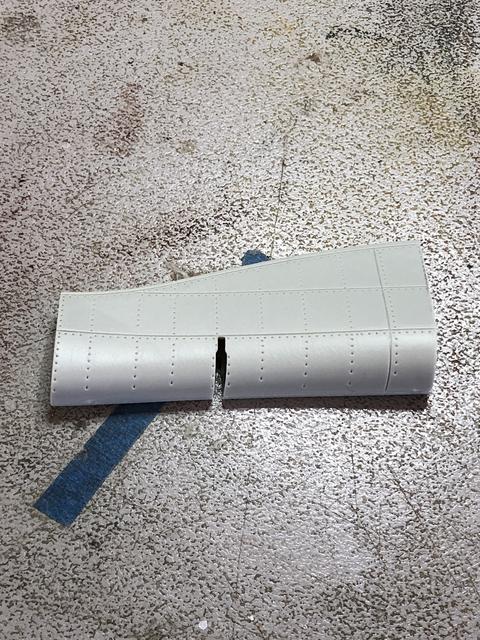
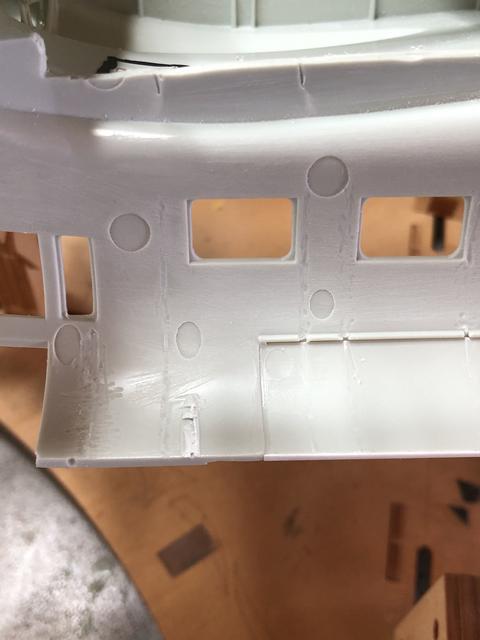
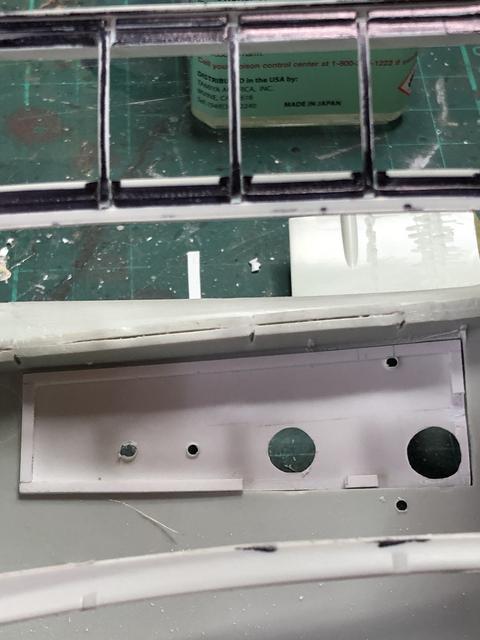
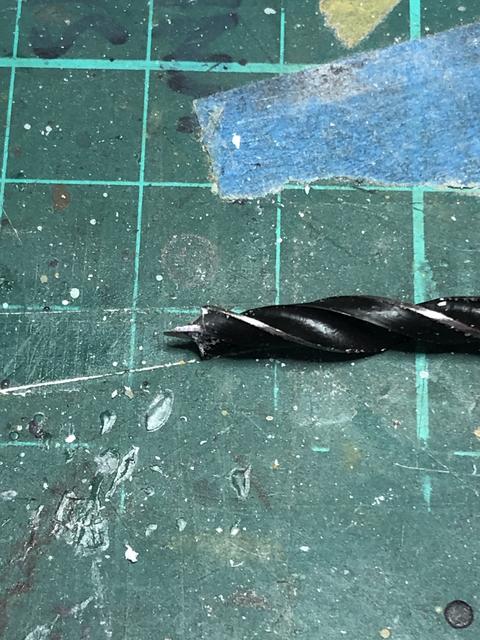
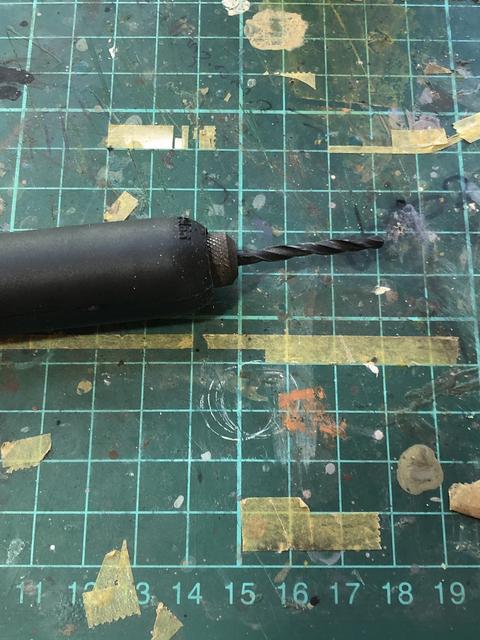
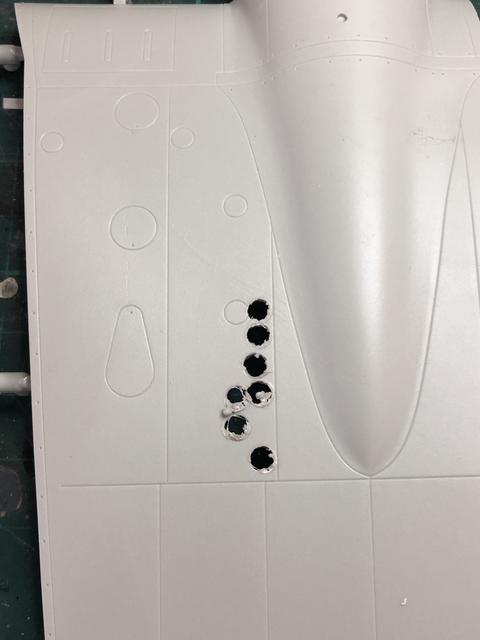
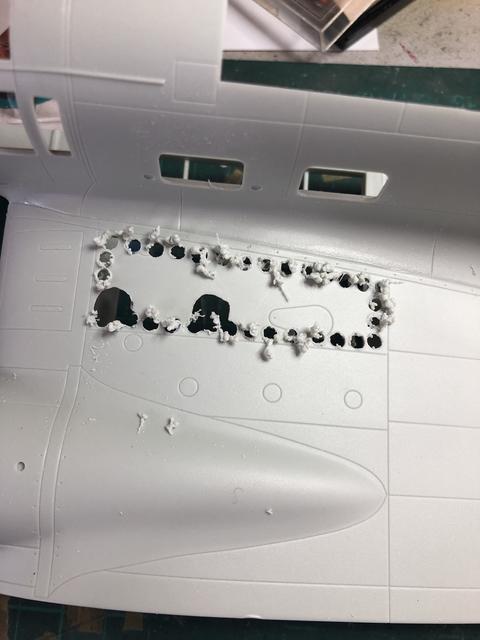
I test drilled the other spare wing piece to get the right speed and drill size to chain drill the panel I needed removed with my faux Dremel. Happy with my choice, I drilled out the actual piece, removing the waste with sprue cutters:

Image

Image

Image

Image

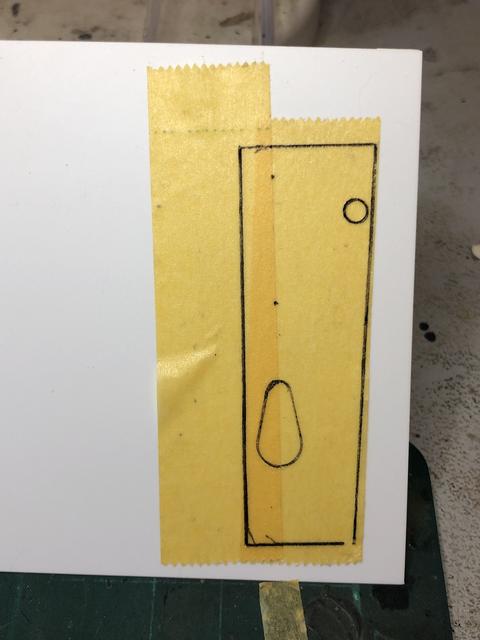
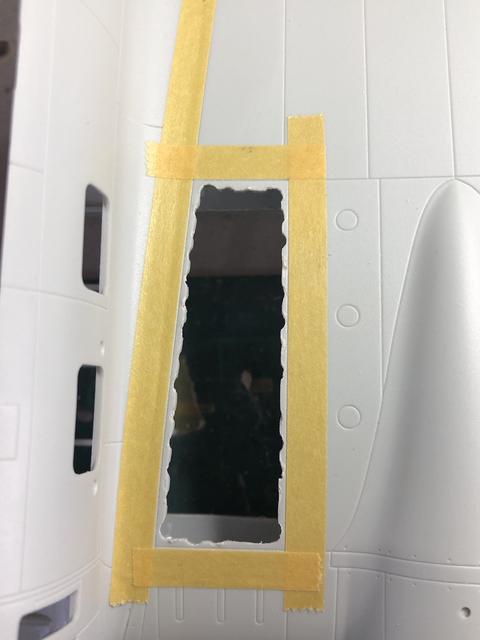
I then carefully taped the borders of the panel and using a flat file, sand stick and a lot of patience, I remove material to the tape edge:

Image

Image

Image


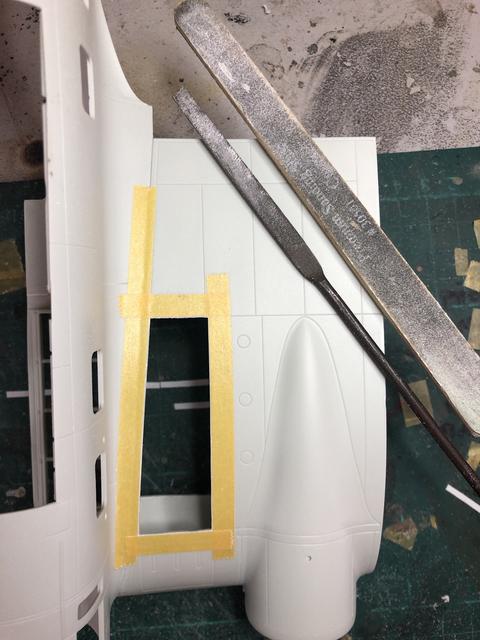
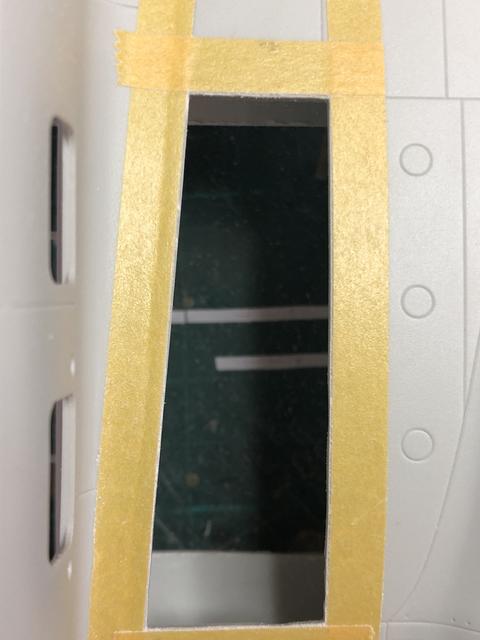
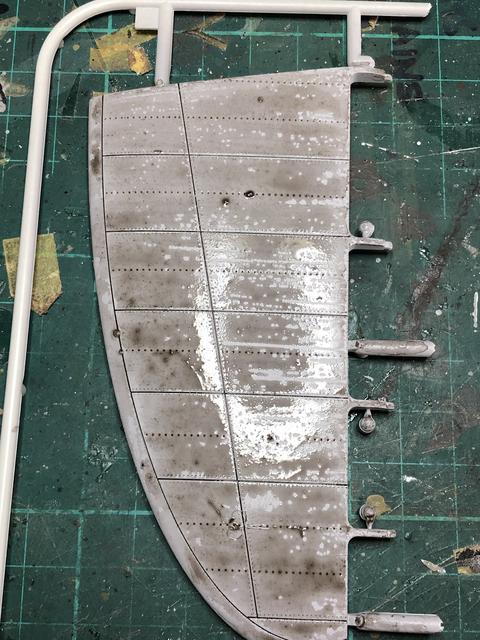
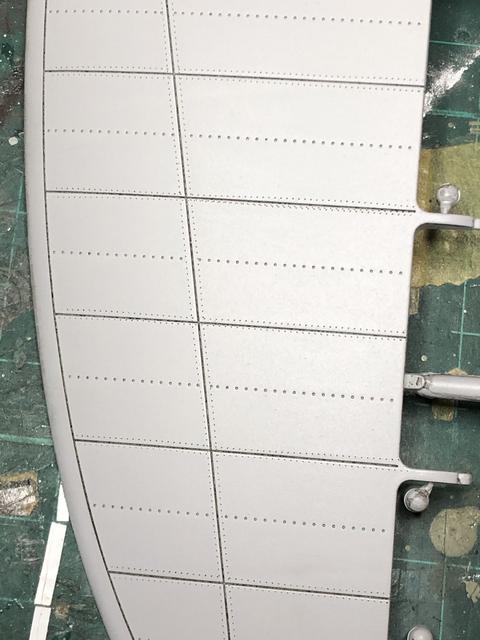
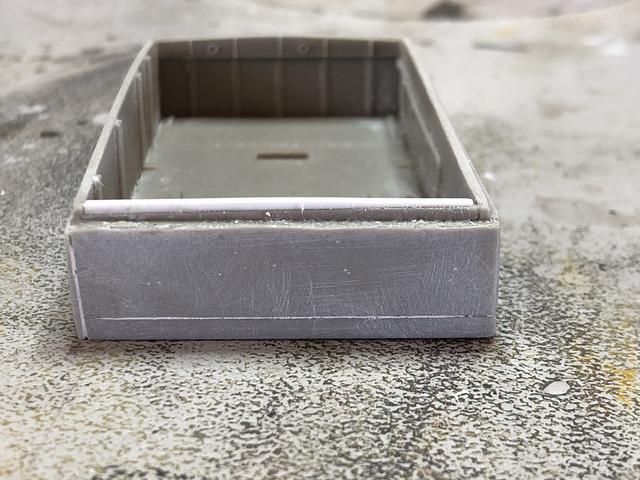
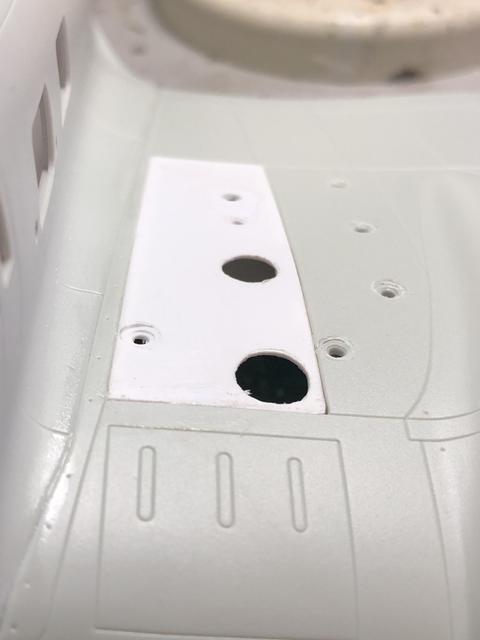
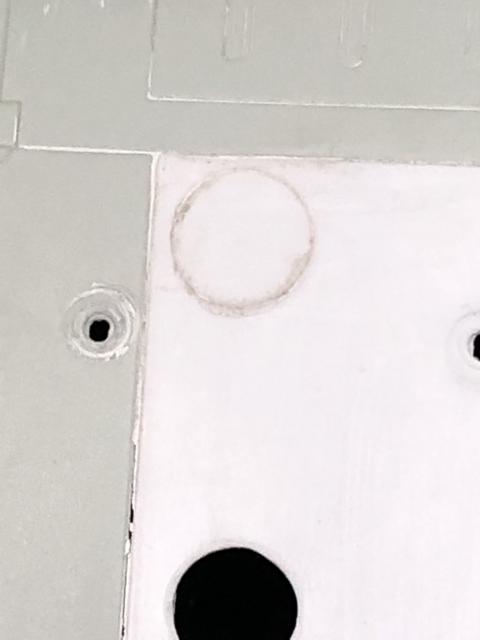
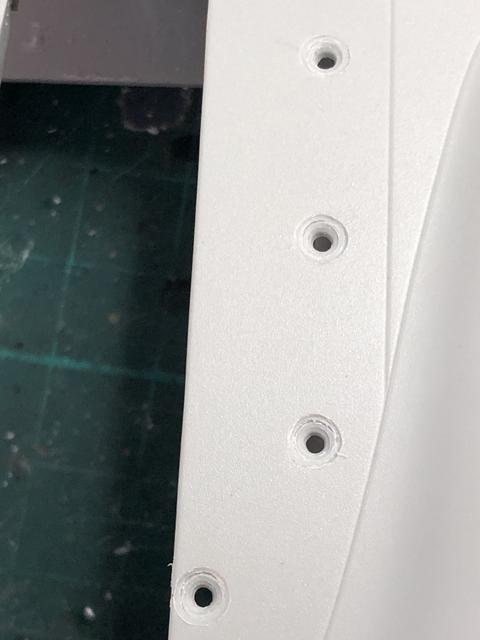
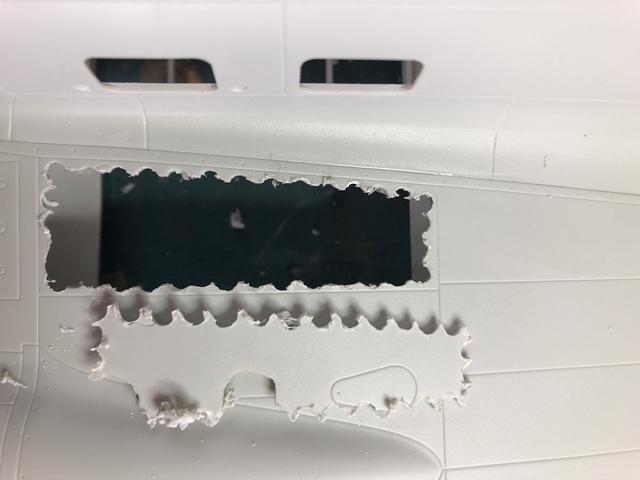
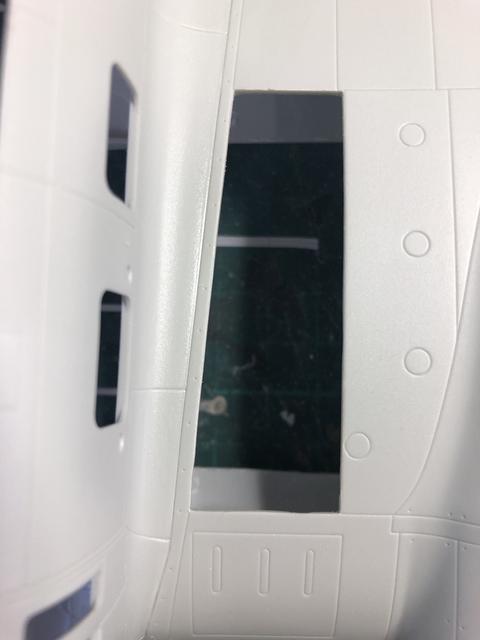
Until I was left with this result:

Image


Image

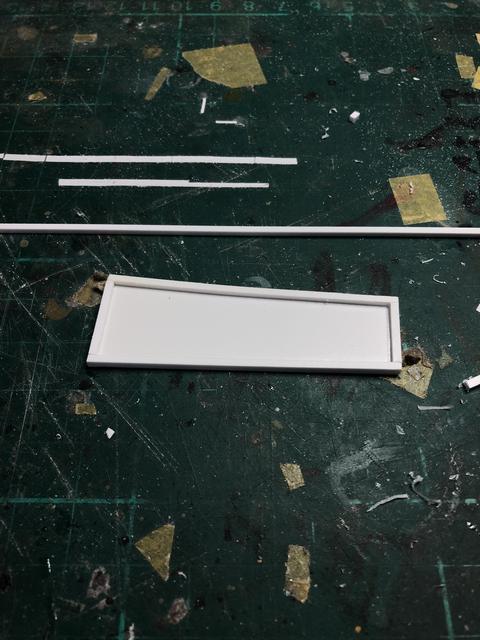
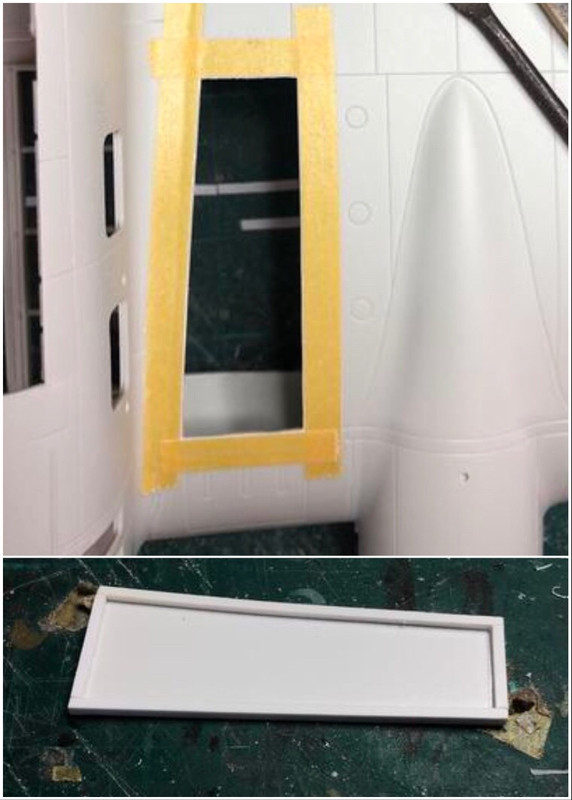
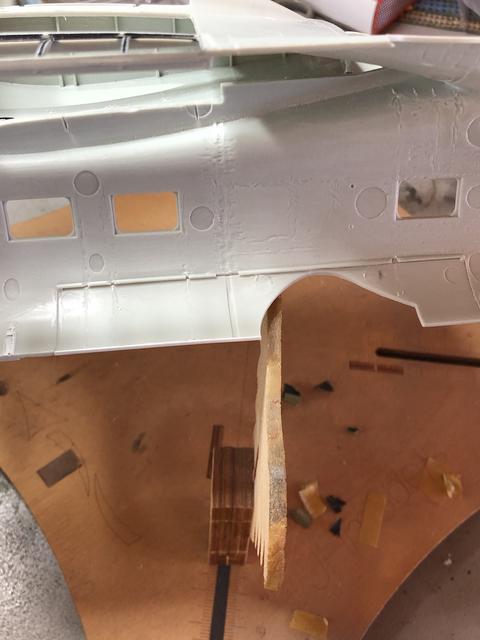
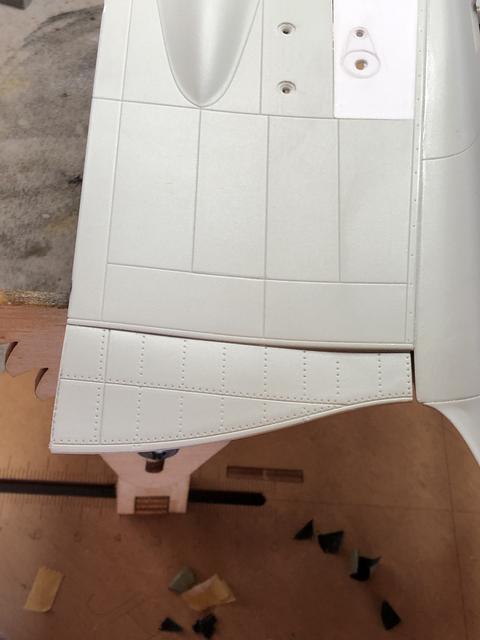
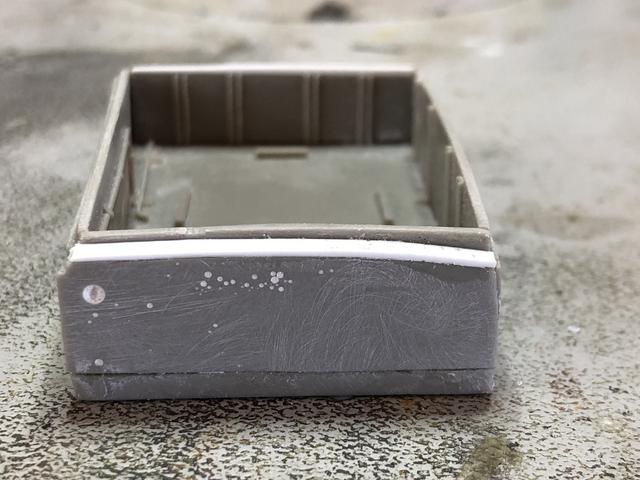
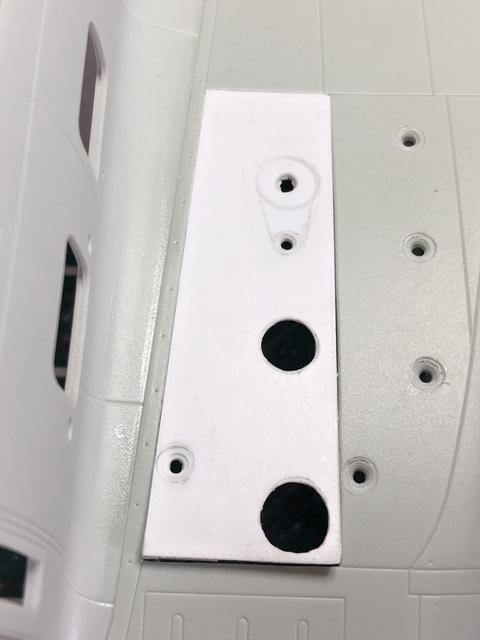
The replacement 0.50mm panel was edged with 1.5 x 1.5 strip to provide a good anchor the the plastic around the opening. Some test fits show the work has paid off and I am close.I will impart a slight curvature in the new styrene to match the wing shape and fix the smaller rear end first, allowing it to set up before moving forward to complete installation.

Regards
Kent in Oz
User avatar
speedgraflex
Moderator
Posts: 11285
Joined: Fri Feb 10, 2017 11:08 pm
Contact:

Re: 1/32 Revell He111 with HPH cutaway

Post by speedgraflex »

Image

Bravo, Kent!!!!

:shoutout:
Make more models!
User avatar
Floki
Elite Member
Posts: 3548
Joined: Wed Dec 12, 2018 2:23 am
Location: Muncie, Indiana

Re: 1/32 Revell He111 with HPH cutaway

Post by Floki »

Most impressive.
March as one, Don't look back
Odin's sons... Attack!
Unleash hell! Do not repent! Warfare grants us no lament
Let your weapons slash and tear This is no place for fear
Hold the lines! Move as one! In unity our victory's won
Our shields will form a mighty wall
United we shall never fall
kahunaminor
Advanced Member
Posts: 375
Joined: Thu Jul 07, 2016 4:53 am

Re: 1/32 Revell He111 with HPH cutaway

Post by kahunaminor »

Going to have a go at riveting the Heinkel. Well, the half Heinkel with a quarter wing. Practicing on the surplus parts with the RB 0.75mm rivet-r. Just following the natural panel lines as practice. Then a Flory Wash and Dullcote the bring them out. First off was bare plastic on the wing, then primer on the stab before running the rivet-r along the lines. I lack a bit of consistency in pressure so that is a learning point. Not that you need much, just consistent:

Image

Image

Image

Image

The Eduard PE sits slightly proud of the plastic if just glued on top. I got a small set of drills to remove some material (about 1mm) in a circular pattern and the PE just drops into place and sits flush:

Image

Image

Rivet plans for the P are very scarce so it will be a rudimentary rivet job. I have a set that Ralph used in his build a couple of years ago to assist me, so stay tuned!

Regards,
Kent in Oz
User avatar
Stikpusher
Moderator
Posts: 21091
Joined: Sat Apr 05, 2014 8:37 pm
Location: Ceti Alpha 5

Re: 1/32 Revell He111 with HPH cutaway

Post by Stikpusher »

That is some great work on the practice run.
"Surely I have made my meaning plain? I intend to avenge myself upon you, Admiral. I have deprived your ship of power, and when I swing 'round, I intend to deprive you of your life."

FLSM
User avatar
KennyX
Elite Member
Posts: 2631
Joined: Sun Dec 24, 2017 11:19 am

Re: 1/32 Revell He111 with HPH cutaway

Post by KennyX »

I really dig how cleanly and thoroughly you work, even whilst conducting experiments. This inspires me to up my game too.
Kenny X
Head Mother Trucker In-Charge @ Kenny X’s Reichs Winzigkleines Flugzeugewerks *and now* Airboat Records, too!
User avatar
pzl66
Master Member
Posts: 768
Joined: Fri Dec 13, 2013 12:36 am
Location: AZ - USA
Contact:

Re: 1/32 Revell He111 with HPH cutaway

Post by pzl66 »

Excellent rivets and PE work!
Messerschmitt 109 Addict
User avatar
mustang1989
Moderator
Posts: 5019
Joined: Tue Mar 18, 2014 8:35 pm

Re: 1/32 Revell He111 with HPH cutaway

Post by mustang1989 »

I continue to watch in wonder........ :wow:
kahunaminor
Advanced Member
Posts: 375
Joined: Thu Jul 07, 2016 4:53 am

Re: 1/32 Revell He111 with HPH cutaway

Post by kahunaminor »

Welcome back and thanks for looking in,


After a comment at last week’s club meet (you cut me deep Shrek), I thought I should document my minimalistic approach to progress. The fuselage upper gun position piece has been bisected and added to the fuselage:


Image


The flap section has also been assembled and test fitted to the wing:


Image


Image


Image


The engine assembly had its various cooler flaps and covers test assembled and dry fitted:


Image


Image


Image


Image


Work on the fuel cell insert continues with some card shim added to get the fit even:


Image


Image


Image


It was then that I realised the wheel bay assembly would need to be installed before the fuel cells. I have followed the HPH instructions but probably should have deviated and installed the MLG bay before cementing the wing halves together. Anyway, after some considered dry fitting and a couple of hours,I came up with a sequence to install which will hopefully prove the least testing:

Image

Image


I also removed all the alignment peg positions on the fuselage as they are superfluous and will need tidying up as well:


Image


So forward to the end of the year!
Kent in Oz
kahunaminor
Advanced Member
Posts: 375
Joined: Thu Jul 07, 2016 4:53 am

Re: 1/32 Revell He111 with HPH cutaway

Post by kahunaminor »

Just realised I forgot to include the progress (sort of) for the upper wing fuel area. The new piece was inserted into the wing and glued section at a time to conform to the wing contour. Unfortunately in drilling out the forward opening, I overlooked it so a piece of card was shaped and inserted into the hole. It will be smoothed out in the putty and sanding works:

Image

Image

Image

Image

The interior has had some more of the styrene ribs removed to accomodate the two fuel filler port boxes. These will be thinned in a box shape some more to get the fit level:

Image


The inspection ports have been drilled out to accept the PE covers and they will sit flush:

Image

Image


Thanks for looking in.
Kent in Oz
Post Reply

Return to “Aircraft Work in Progress”