Re: Revell H-291 by speedgraflex
Posted: Mon Jan 06, 2025 6:29 am
Thanks, Kari!
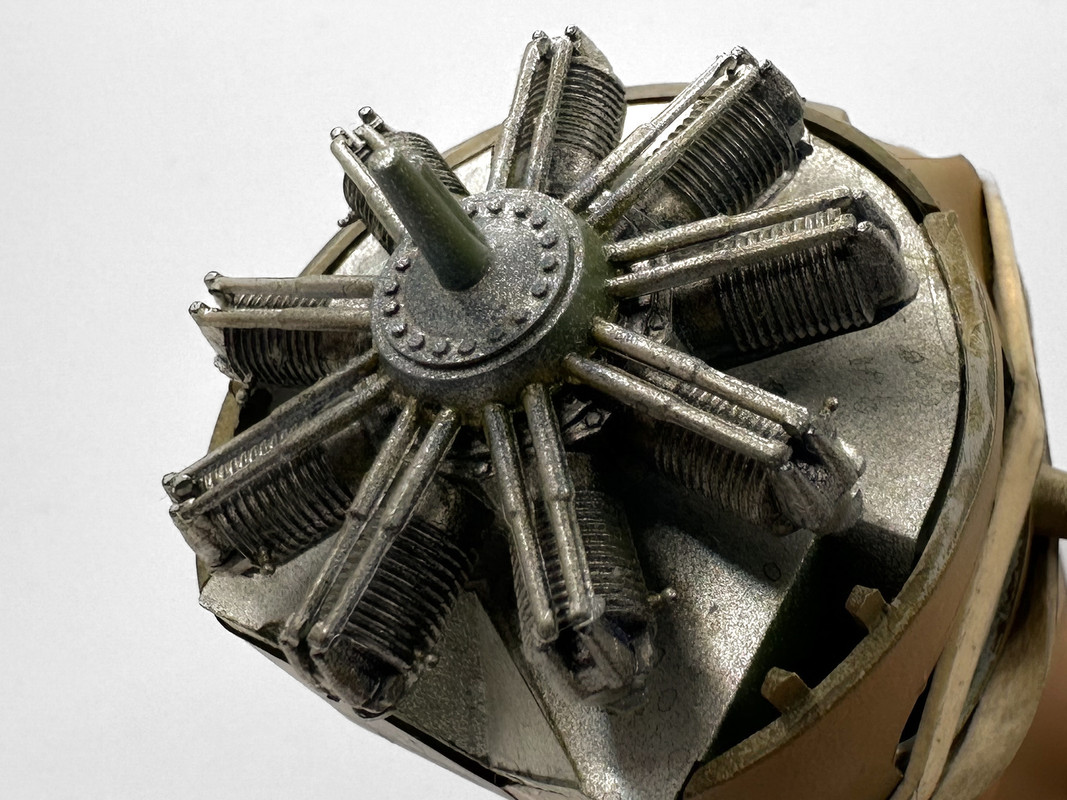
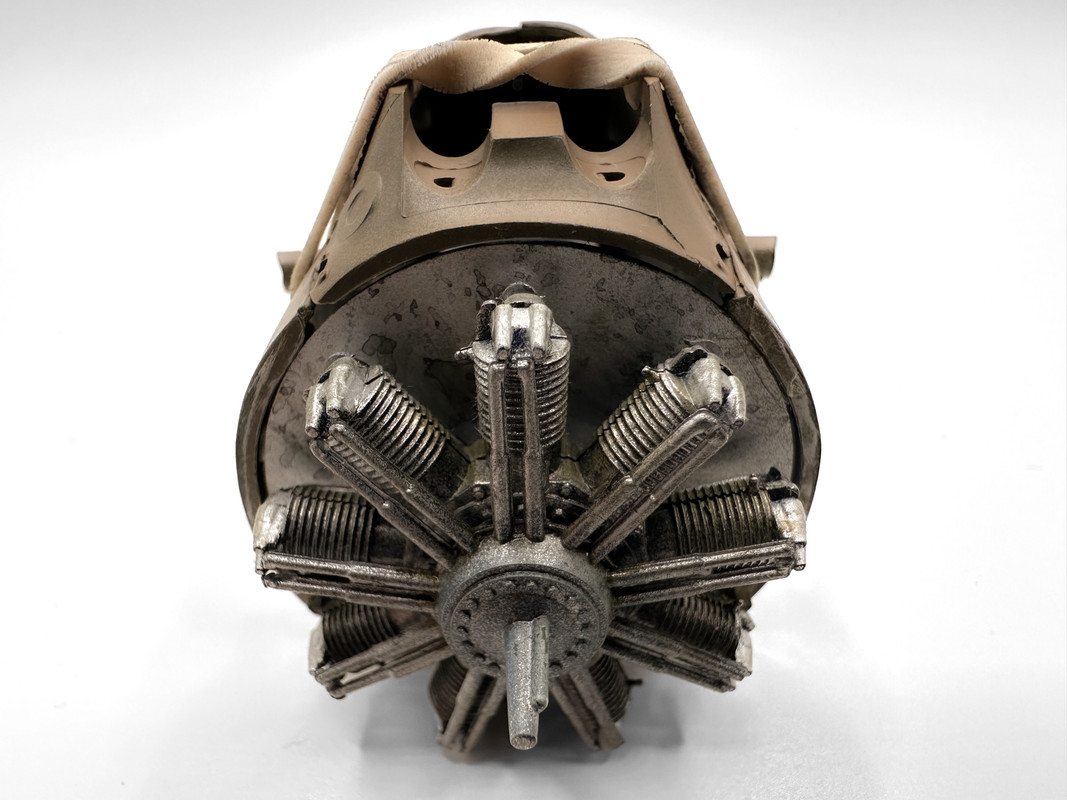
I found that painting the kit parts after cleanup reveals the areas that need to be removed or repaired, which I know is quite counterintuitive to the traditional building process for model makers; however this does make cleanup easier for me. I think the choice by Revell to use dark green for the plastic color makes identifying flash removal more difficult and that thought makes sense since the company’s current version is upgraded to a light tan plastic more representative of a basic linen color. This early kit was meant to only be partially painted and the green plastic was chosen as its final form. Since taking the photo, I have removed the “end brace” added by Revell to each pair of push rods. The red area—
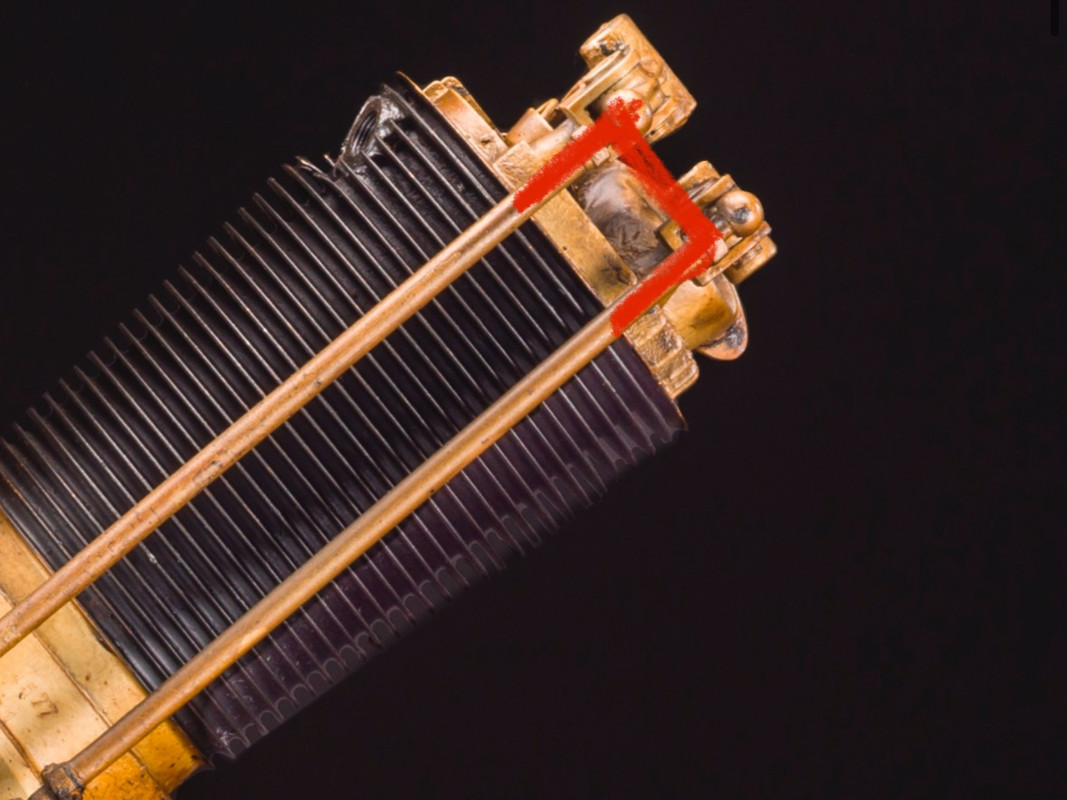
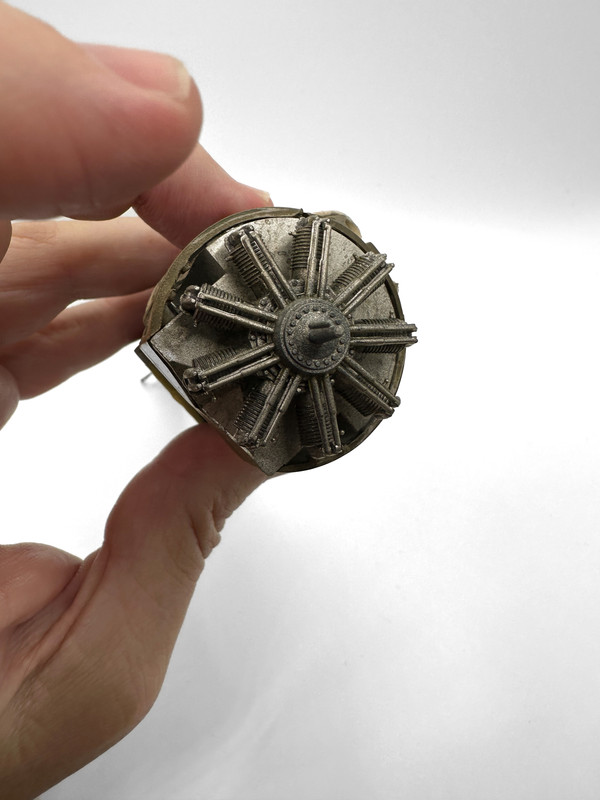
These are of actual engine closeup photos of a Clerget Type 9B owned by the Smithsonian—

The aircraft metal finish I am using is Tamiya’s excellent aluminum over a deep blue initial color base. I’m actually debating adding the copper color to the tubing sections behind the engine block itself. Revell’s instructions do call out painting those areas correctly. Also the instructions call for a Vaseline petroleum “lube job” of the propellor shaft as this is a moving part. I don’t think this is necessary as there is plenty of shaft spin hahaha, oh Revell! What I do see painting would be the white ceramic spark plugs and what might be fun to super detail would be the addition of the spark plug leads.
I found that painting the kit parts after cleanup reveals the areas that need to be removed or repaired, which I know is quite counterintuitive to the traditional building process for model makers; however this does make cleanup easier for me. I think the choice by Revell to use dark green for the plastic color makes identifying flash removal more difficult and that thought makes sense since the company’s current version is upgraded to a light tan plastic more representative of a basic linen color. This early kit was meant to only be partially painted and the green plastic was chosen as its final form. Since taking the photo, I have removed the “end brace” added by Revell to each pair of push rods. The red area—
These are of actual engine closeup photos of a Clerget Type 9B owned by the Smithsonian—
The aircraft metal finish I am using is Tamiya’s excellent aluminum over a deep blue initial color base. I’m actually debating adding the copper color to the tubing sections behind the engine block itself. Revell’s instructions do call out painting those areas correctly. Also the instructions call for a Vaseline petroleum “lube job” of the propellor shaft as this is a moving part. I don’t think this is necessary as there is plenty of shaft spin hahaha, oh Revell! What I do see painting would be the white ceramic spark plugs and what might be fun to super detail would be the addition of the spark plug leads.