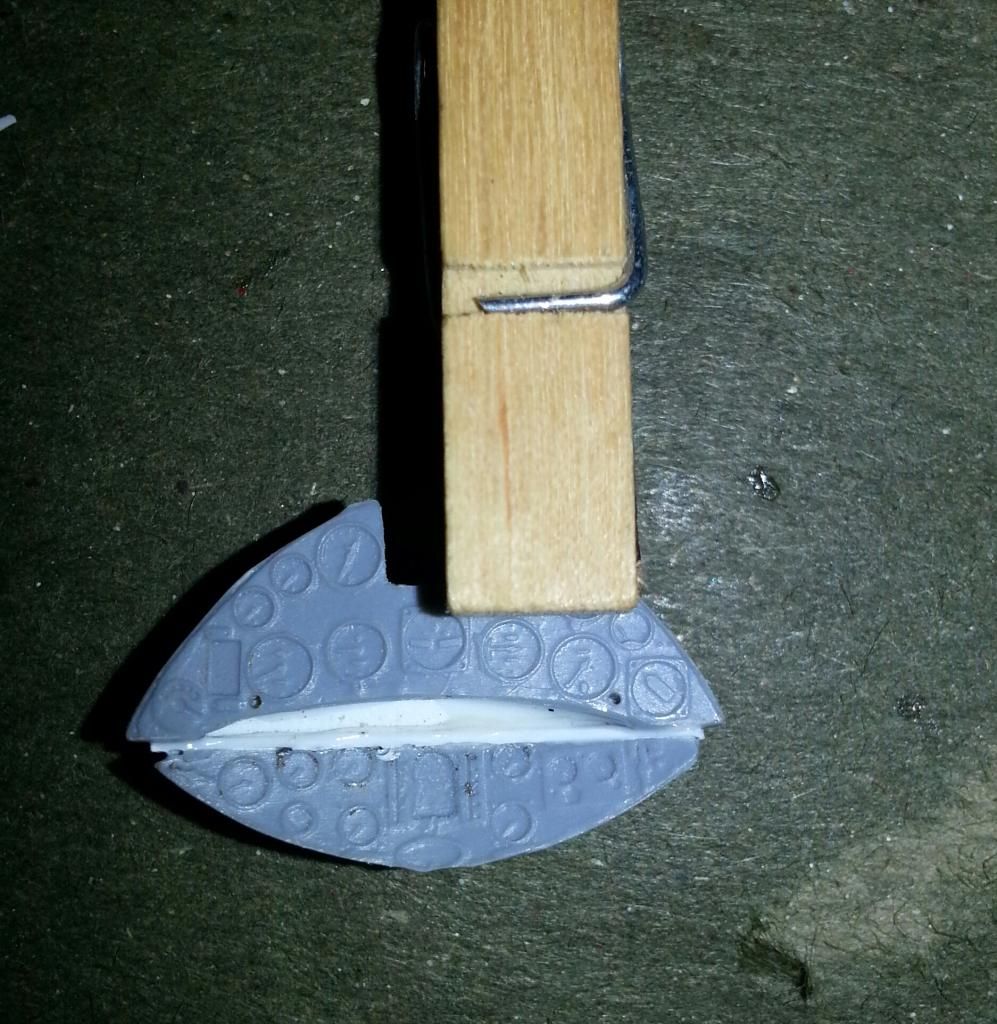
So I managed to take a few more pics this morning. A couple of things anyone who tackles this thing should be aware of. I already made mention of the instrument panel. If you google search the G.50 cockpit, you'll notice a distinct, curved spar that essentially cuts the IP in two. The kit makes no attempt to replicate this, but does provide an upper and lower IP. Both are curved, giving the illusion that they mate. They do not. Nor should they. That being said, I'm scratching a piece of thin styrene in there, in an attempt to at least get proper separation between the two. I know Doogs, (Matt), made mention of this in his build on another forum, but didn't understand until I saw it myself. I'll try to post some pics in the next couple days to illustrate this.
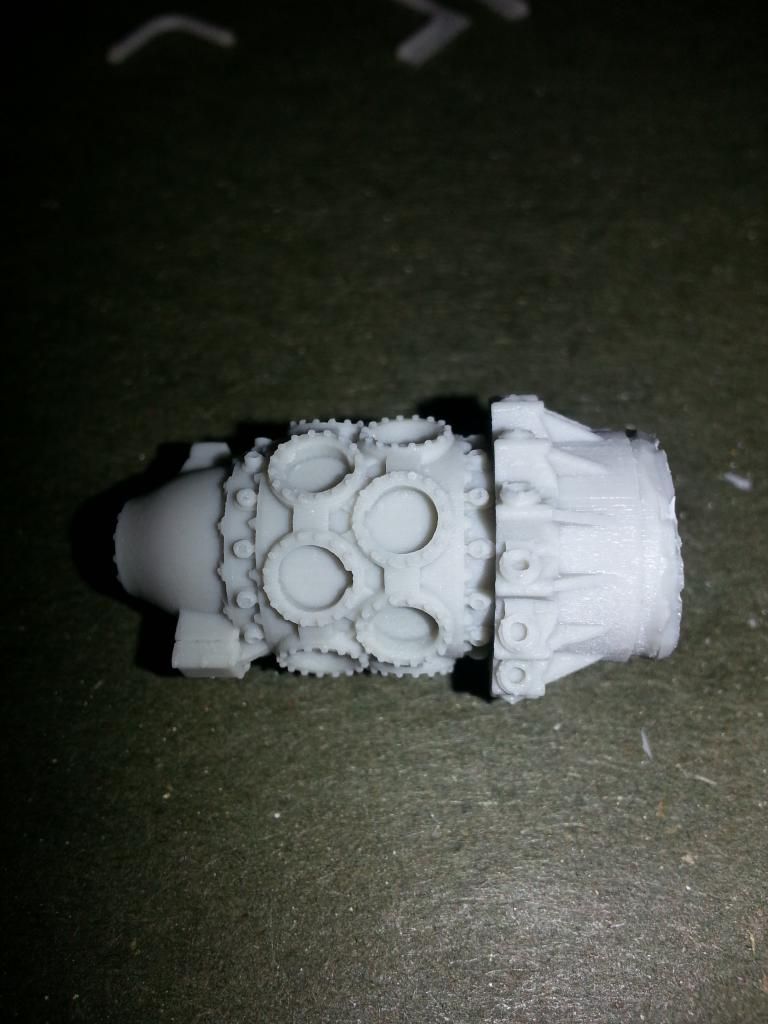
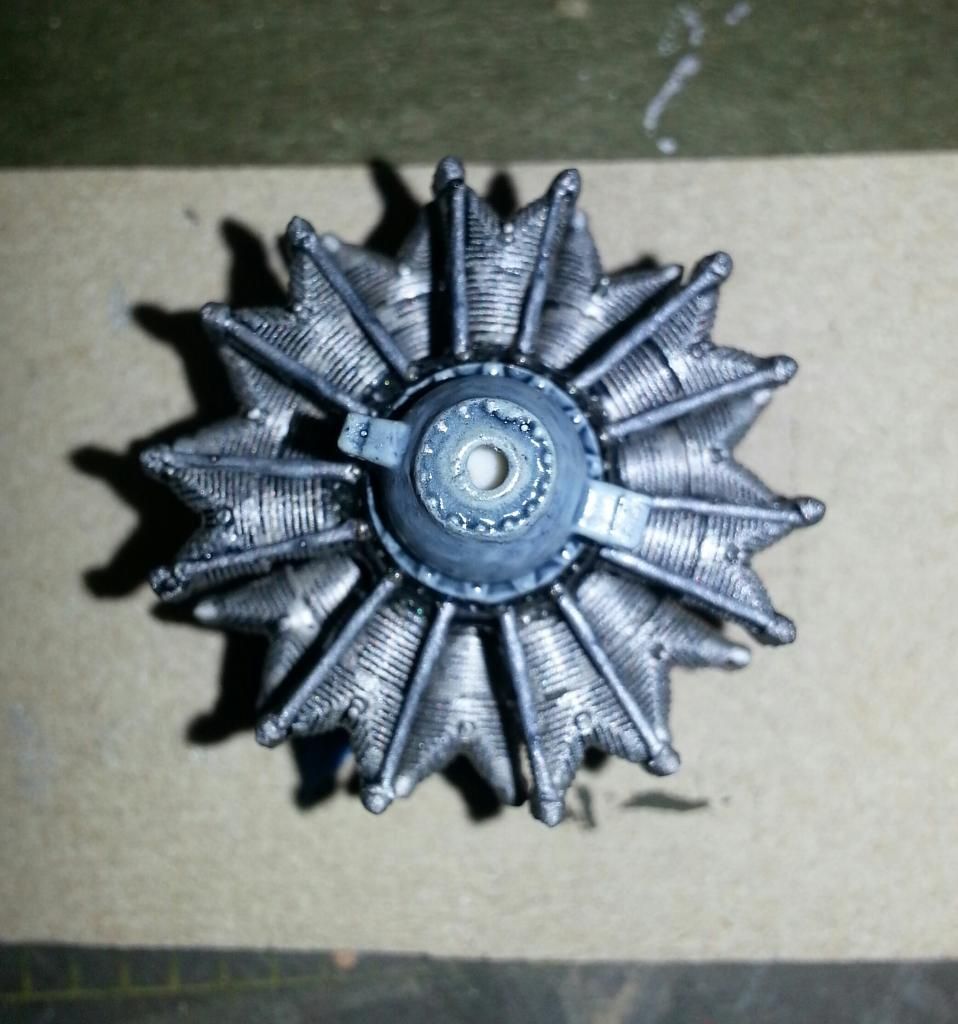
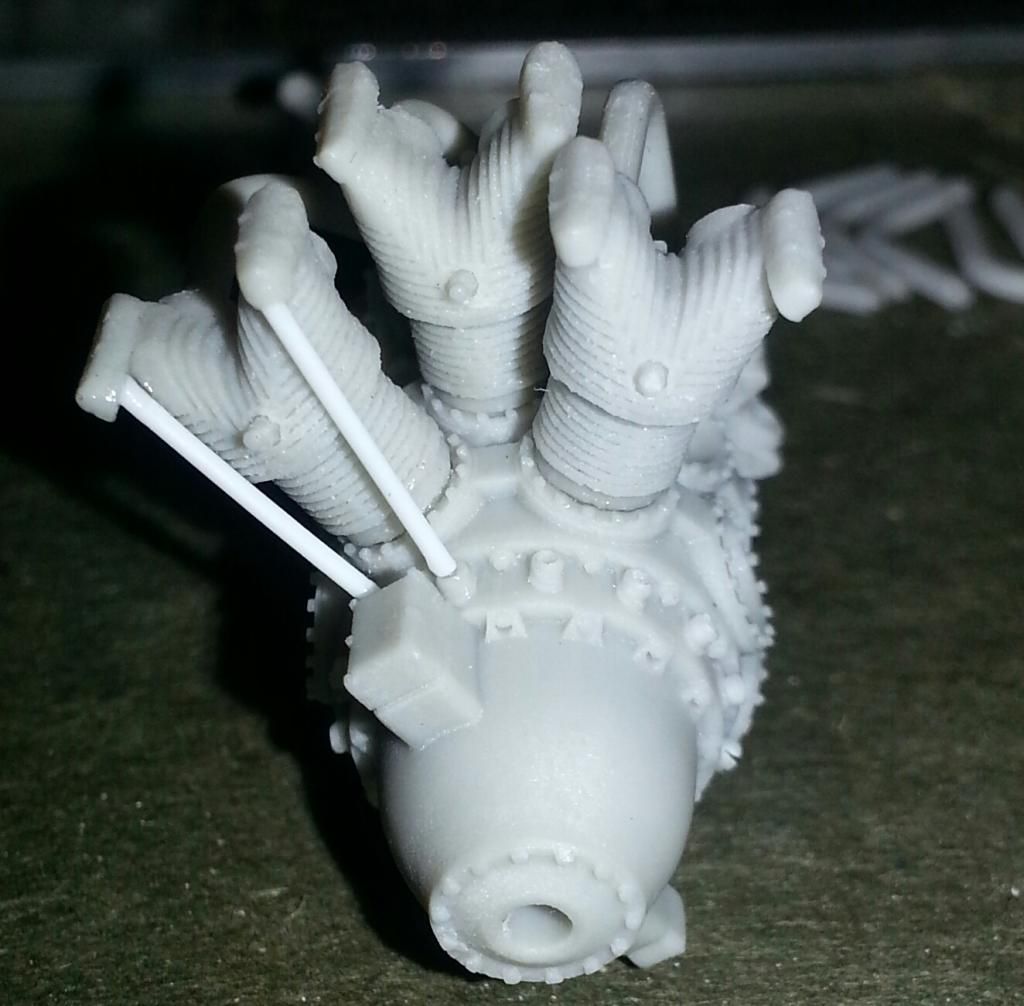
The other things pertain to that fantastic resin engine. First, even though there is very little flash, the resin itself is somewhat soft, so take care when cleaning it up. Very easy to dig a gouge into it. Secondly, depending on the level of detail you'd like, there are no push rods with the kit, so you'll have to make your own. I did for all the cylinders. At a minimum, I'd suggest doing at least the front bank, as it can be seen through the cowl.
This is for you especially, Ms. Owl!

As you can see, I used styrene rod to replicate the push rods. Took a pin vise and drilled out the holes in both the head and bottom of the rocker arms. Makes it much, much easier to insert. FWIW, the push rods are 9mm long, each!


Initial coat of paint. I painted the main block in Model Master Gunmetal, the cylinders in MM Steel, and the push rods in Testors Aluminum. I've found this to be a pretty acceptable combination, as the gunmetal gives the illusion of grease and grime build up. The steel will take a black wash nicely, and the aluminum adds just enough gloss to replicate lubricated chrome. Of course you'll have to take my word for it until I get to that stage....

Here you see I've painted the housing in my version of the interior color. Here's where Italian aircraft get really fun. There is no specific FS number that corresponds to the Regia Aeronautica version of "primer". depending on your source, it could be more green, more blue, more grey, etc... After scouring all the builds and forums on the Stormo! site, I found, in my eyes at least, that Model Master Hellblau RLM 78, appears to be closest in scale color. By painting the Gunmetal first, then the Hellblau, you get a sort of pre-shading effect.

Lastly, I just had to throw up the highly detailed, and uniquely designed Italian seatbelts.
Thanks for looking!